cbui2
Member
i just found this thread so i am sharing my new project.
Here it goes, beginning of the year I had set out a new year resolution to setup a full blown reef system w/self automated capabilities as possible, also stated in the title, this is my very first full reef system tank ever.. I guess you can call me a 31 yrs. old virgin for reefkeeping, but not in real life LOL. Just a few months of knowledge, and countless hours through the night-morning reading and going through plenty #'s of threads also sending emails to all the guys here and getting back the quickest response ever in no time, and I can't thank you enough to everyone here on -- that is so helpful, unlike LFS here in New Orleans who just want to collect money, but get very little if any info. Please let me know at anytime if I am doing anything wrong or any helpful advice will be appreciated, Thanks.
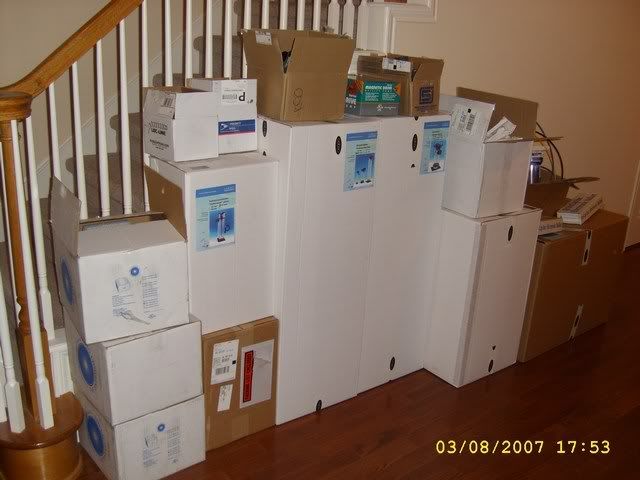
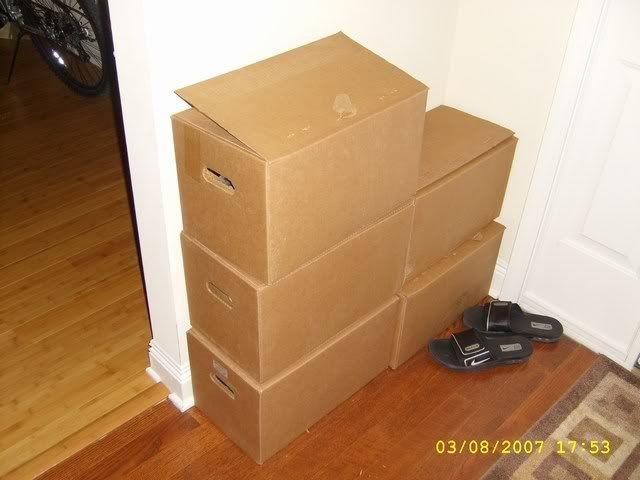
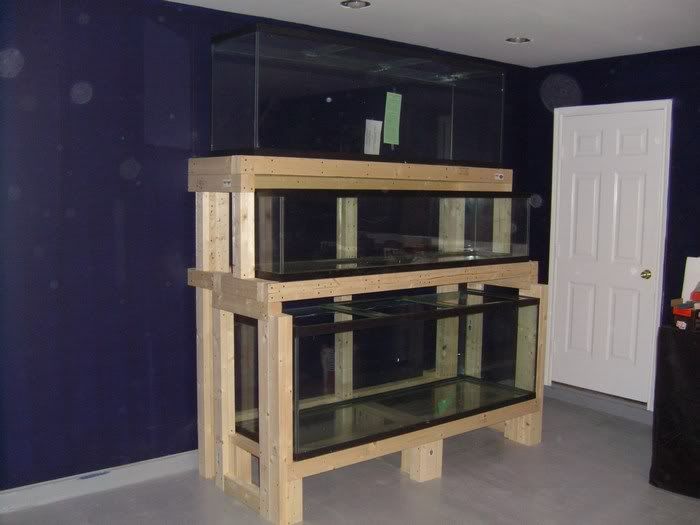
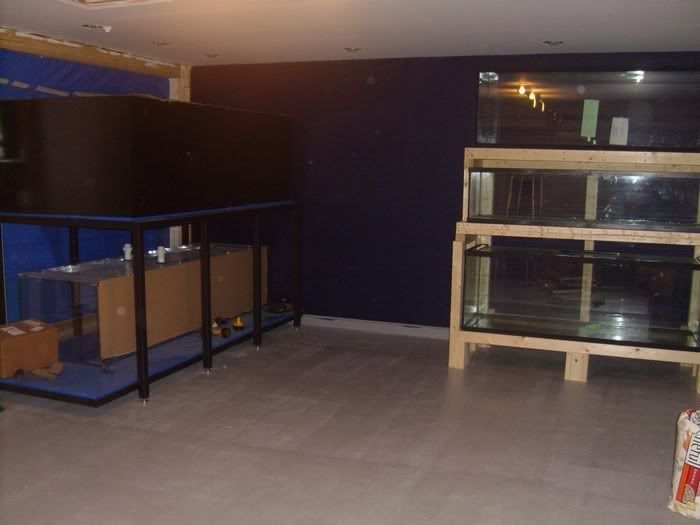
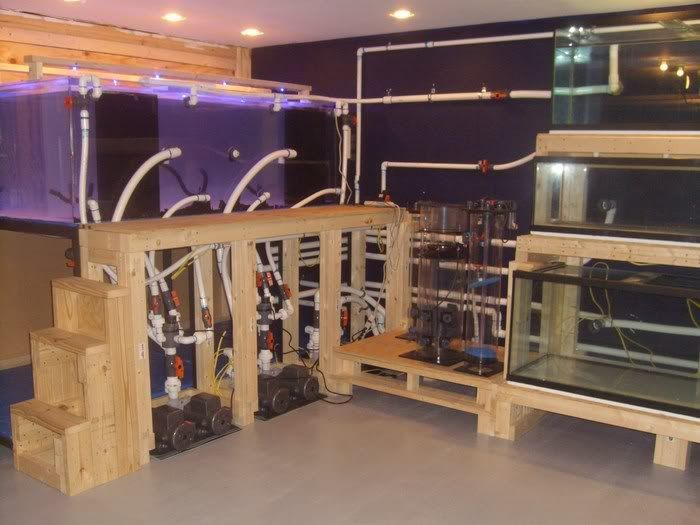
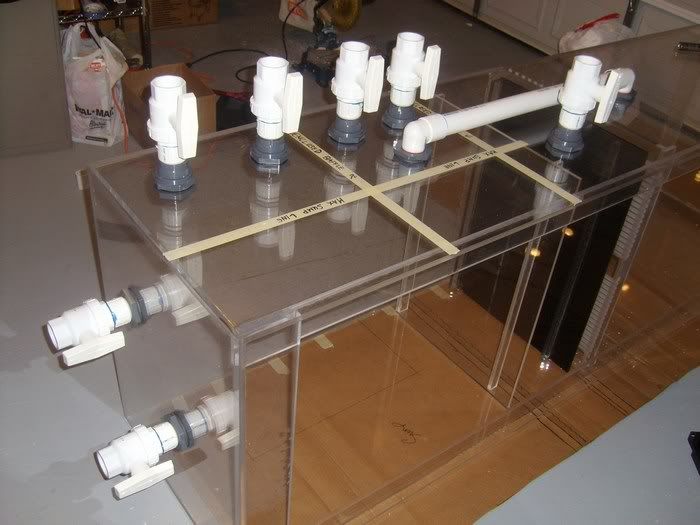
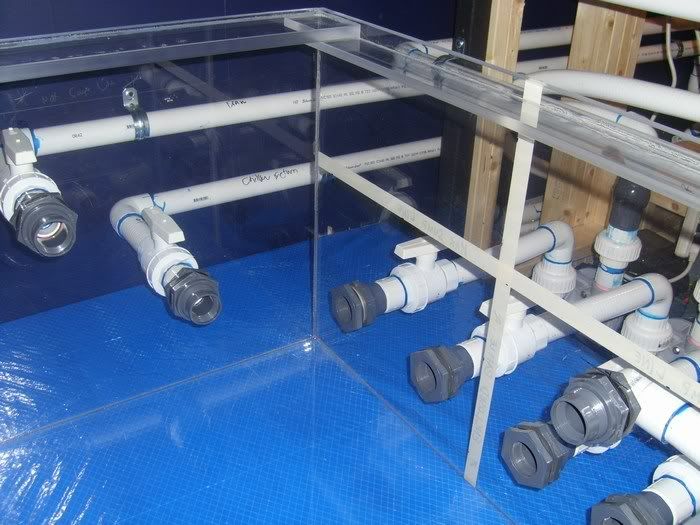
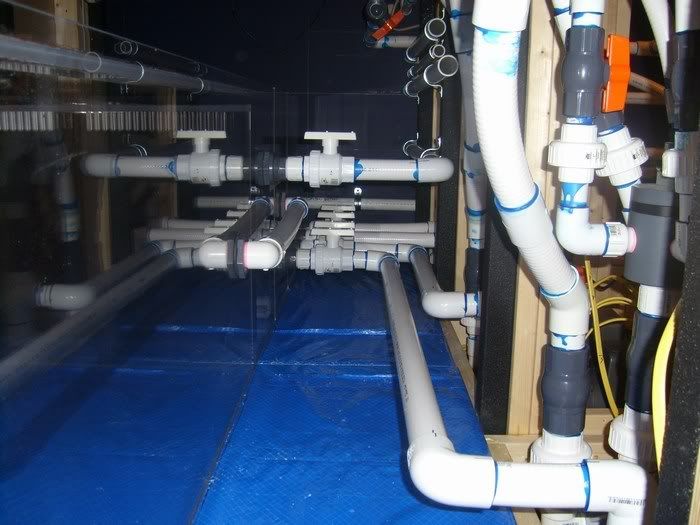
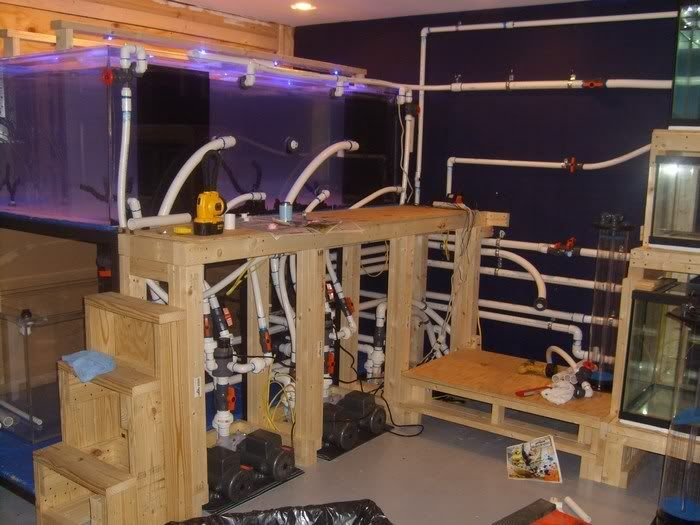
Here are the list of equipment I have acquire,
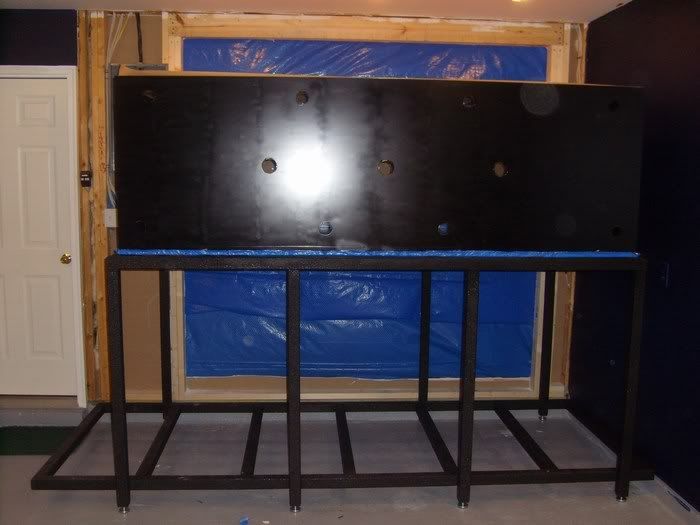
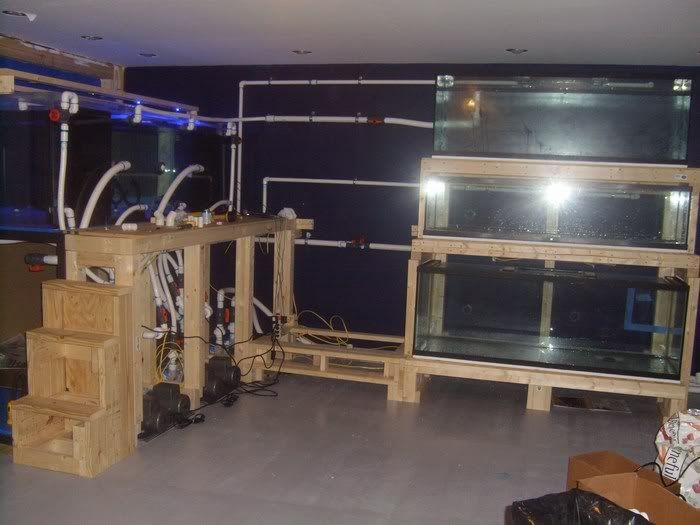
Tank:
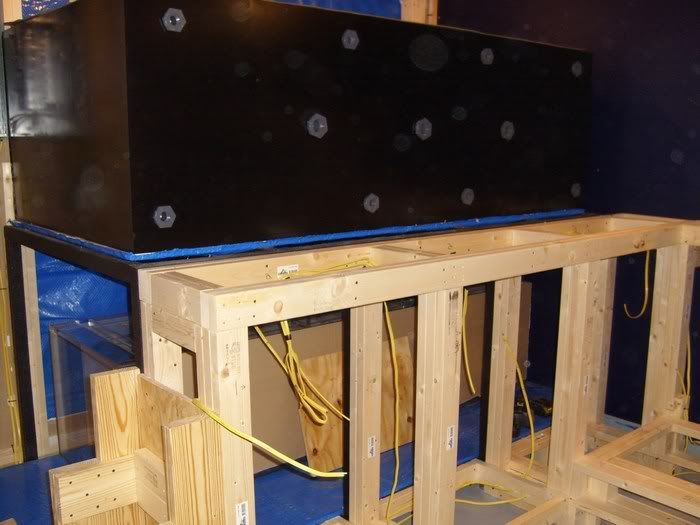
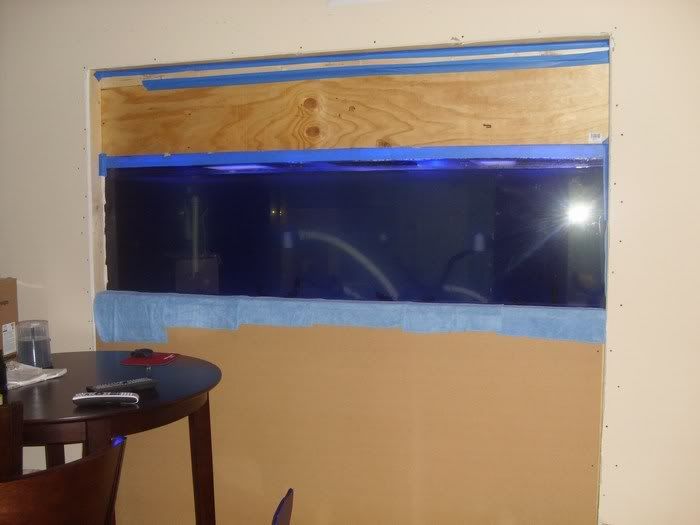
96"L x 48"W x 30"H (1" Cell Cast Acrylic w/1" Eurobace, 3/4" Bottom)
Custom built by The Aquarium Company in Winthrop, MN (Franz Metzger)
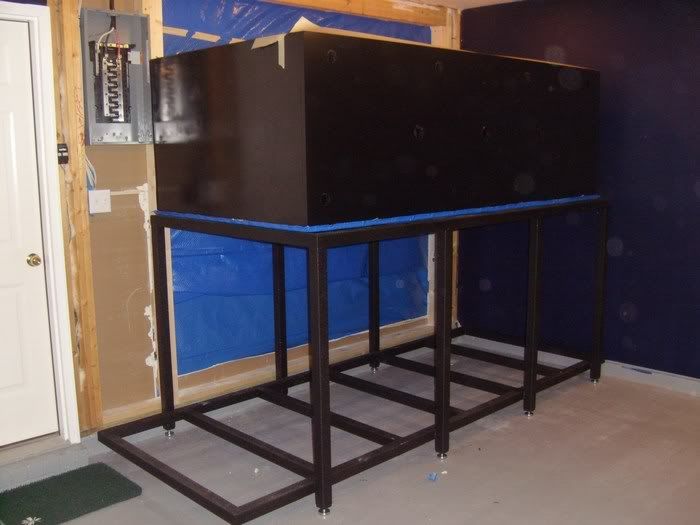
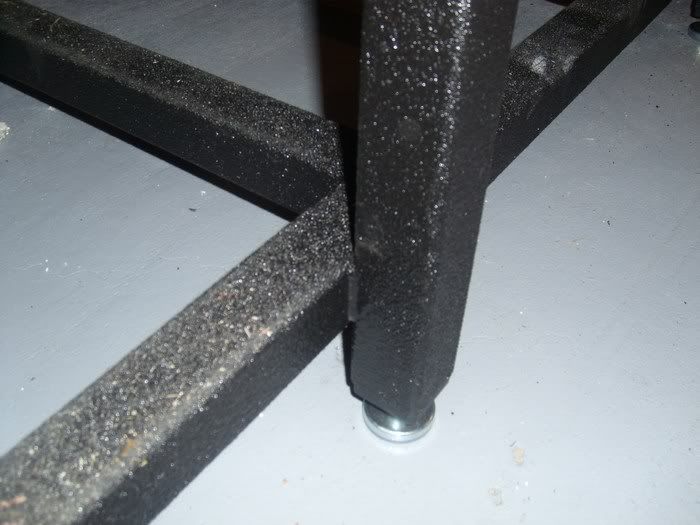
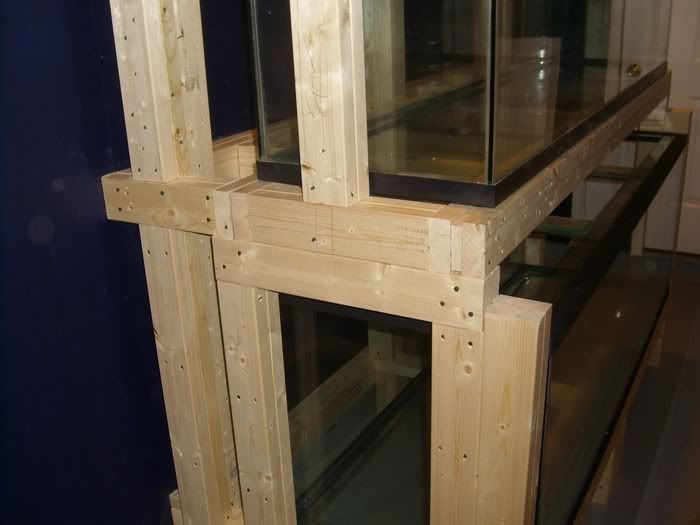
Stand:
48"H w/2" x 2" Custom built steel stand w/Line-X treatment
Custom built by The Aquarium Company in Winthrop, MN (Franz Metzger)
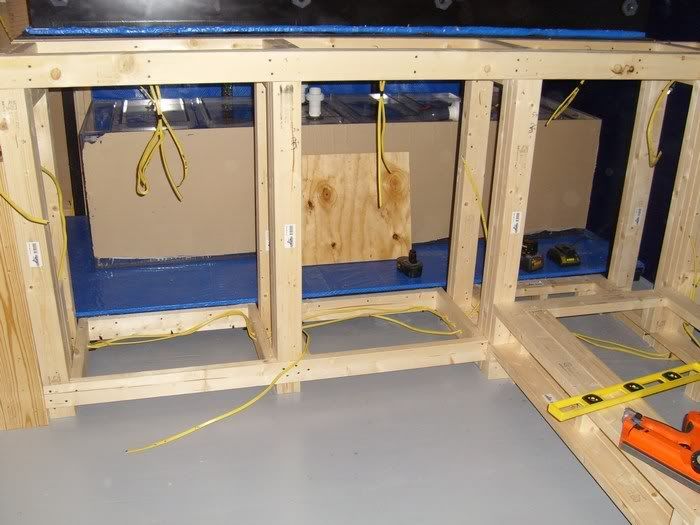
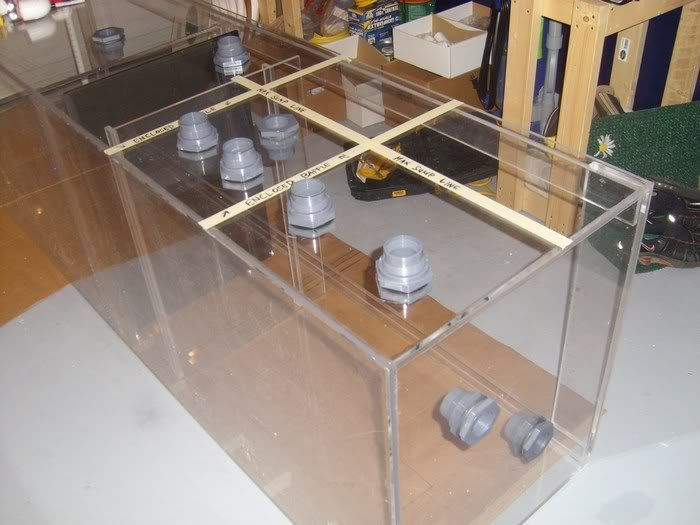
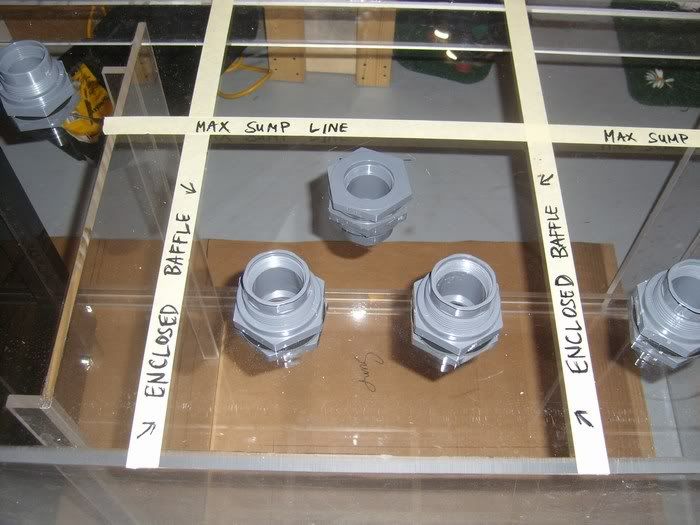
1st Refugium 150gal:
48"L x 30"W x 24"H (1/2" Acrylic)
2nd Refugium 135gal:
72"L x 18"W x 24"H (1/2" Glass)
Main Sump 150gal:
48"L x 30"W x 24"H (1/2" Acrylic)
Water Change Sump 180gal:
72"L x 18"W x 31"H 1/2" Glass)
Frag 100gal:
72"L x 18"W x 17"H (1/2" Glass)
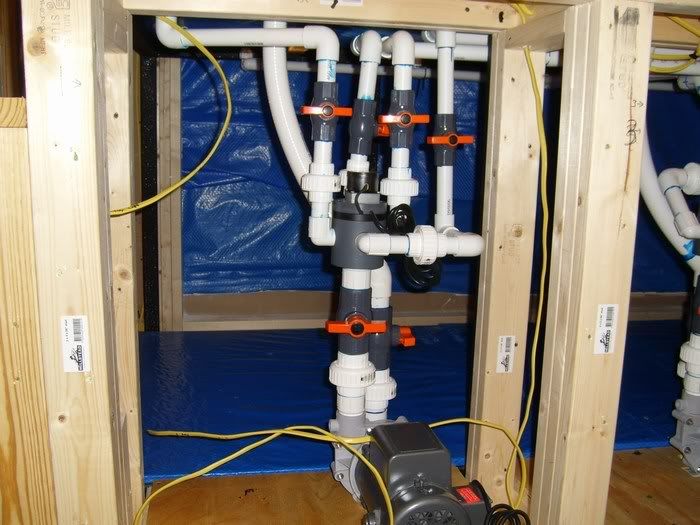
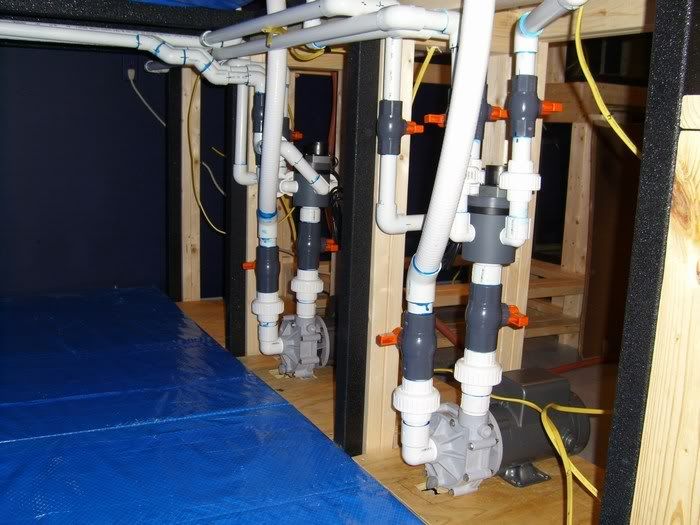
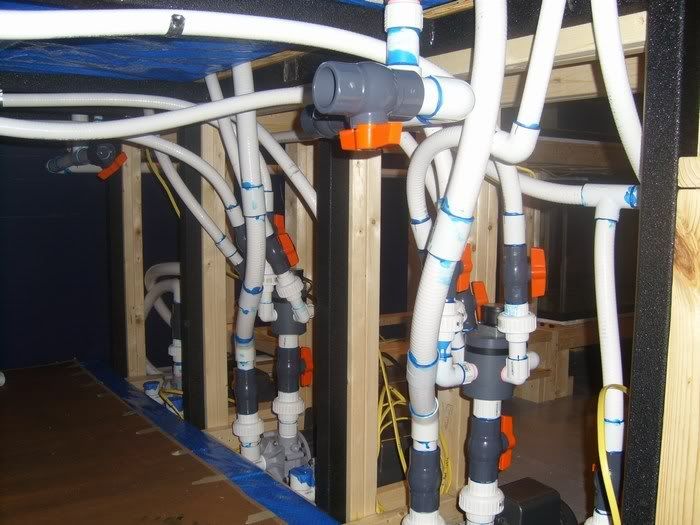
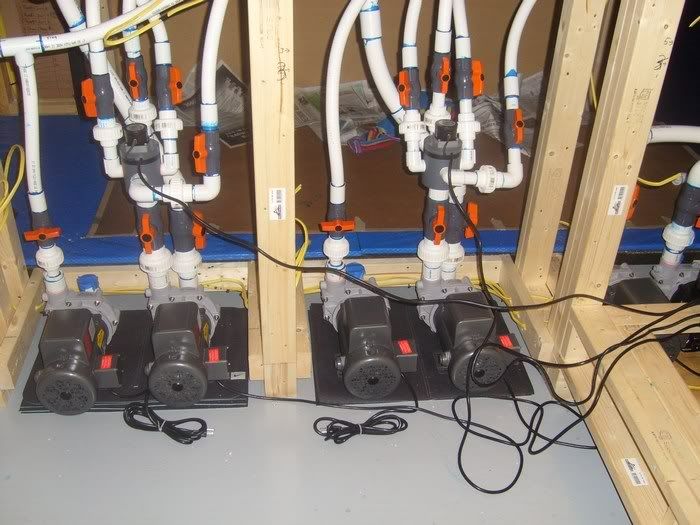
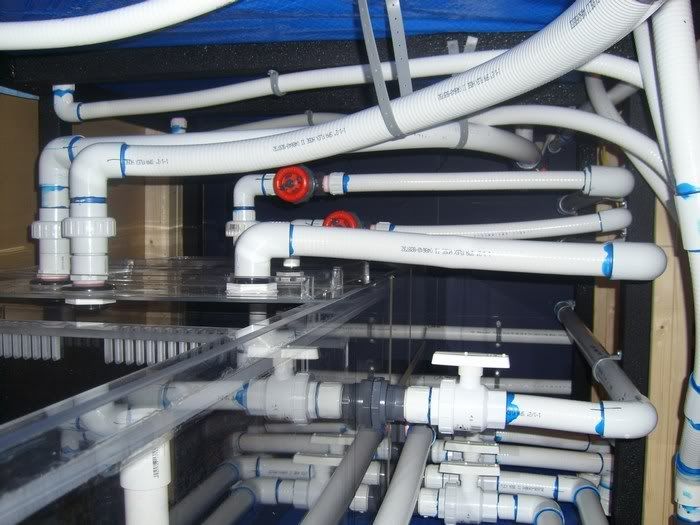
Pumps:
4 Sequence 1000 SEQ4300
sump returns, skimmers, chiller, and reactors
Closed Loop:
2 Sequence 1000 SEQ5800
2 4-Way V3 Oceans Motion
Protein Skimmer:
Deltec AP1004
Calcium Reactor:
Deltec PF1001 w/ROWALith C+ Media
Phosphate Reactors:
Deltec FR1016 w/ROWAPhos® Media
Kalkwasser Stirrers:
Deltec KM500S w/ROWAKalk Media
Chiller:
Tradewind IL-180-S 1.5HP 18,000BTU
Heater:
?
Dosing pump:
SpectraPure Litermeter 3
RO-DI unit:
SpectraPure MaxCap 5 stage produces 180 gal/day
Lights:
6 Single 400w PFO HQI Metal Halide Ballast
3 Lumenarc III Pendenat Reflectors
3 Reef Optix V Super Sun Reflectors
2 IceCap 660 VHO Ballast 8 36" URI Super
9 PFO Flat Night Light Moonlights
Controller:
Neptune AquaController 3 Pro
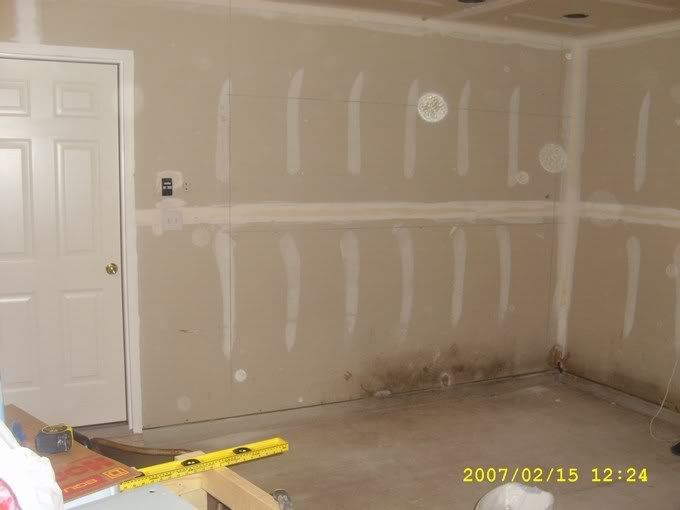
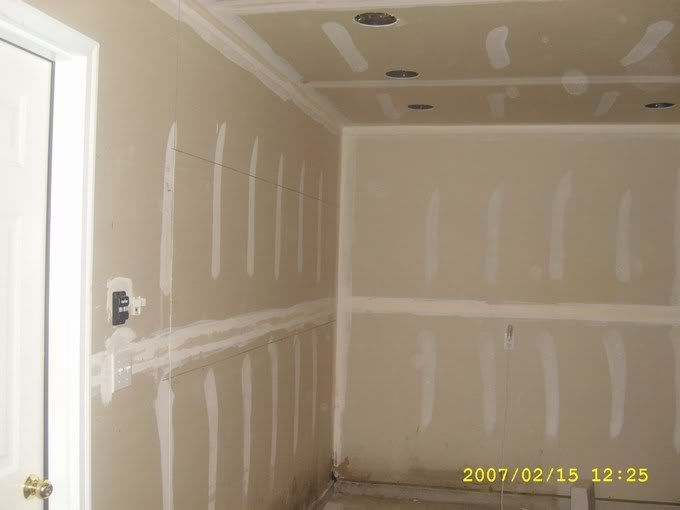
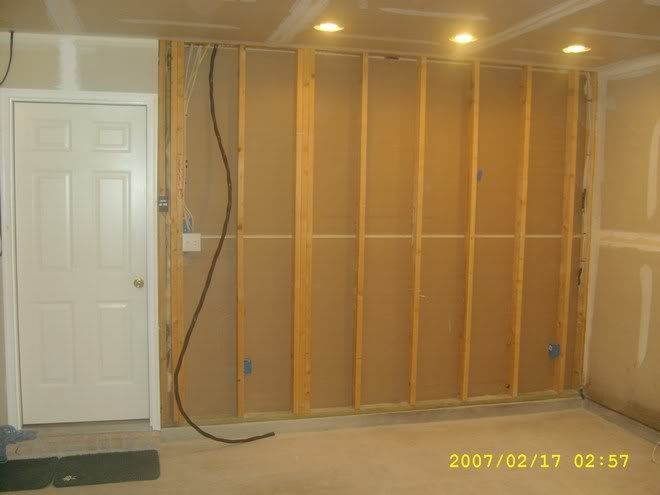
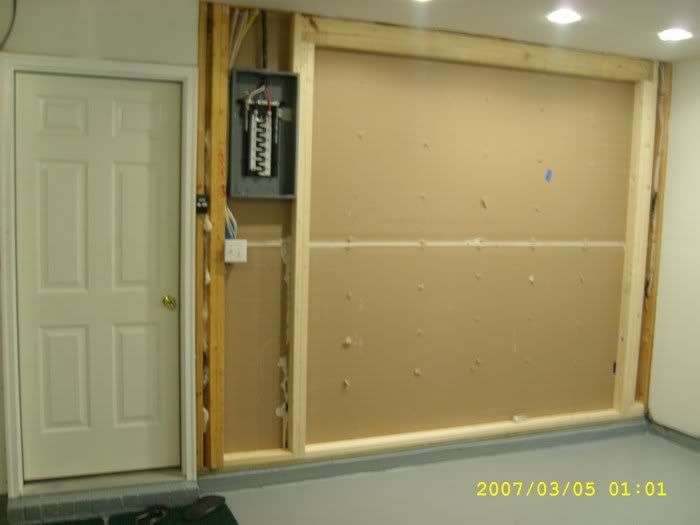
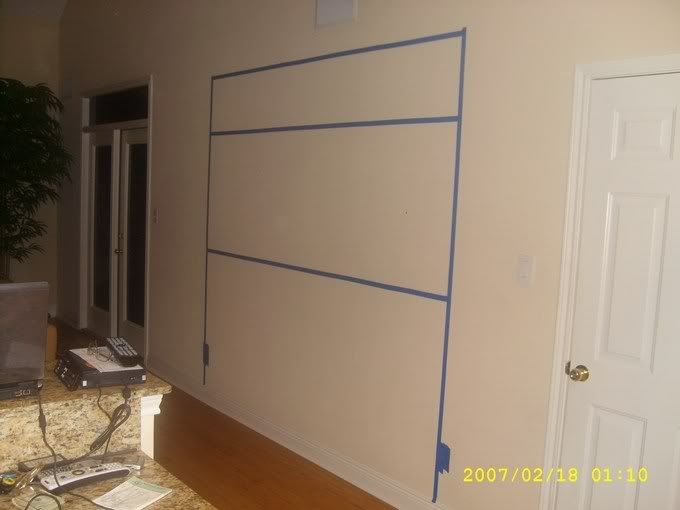
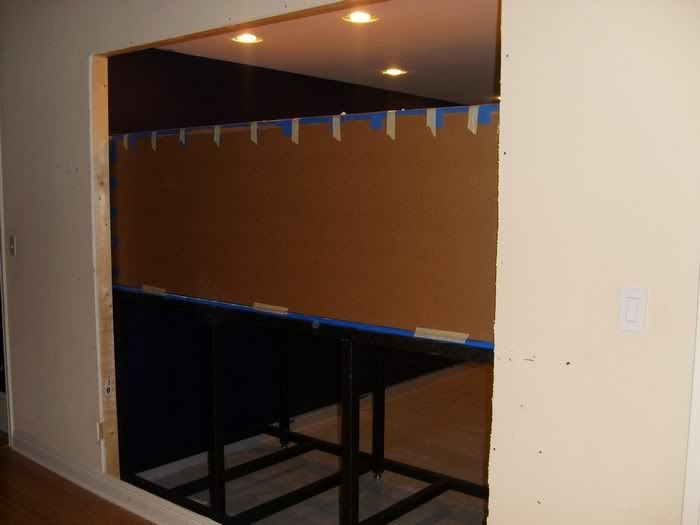
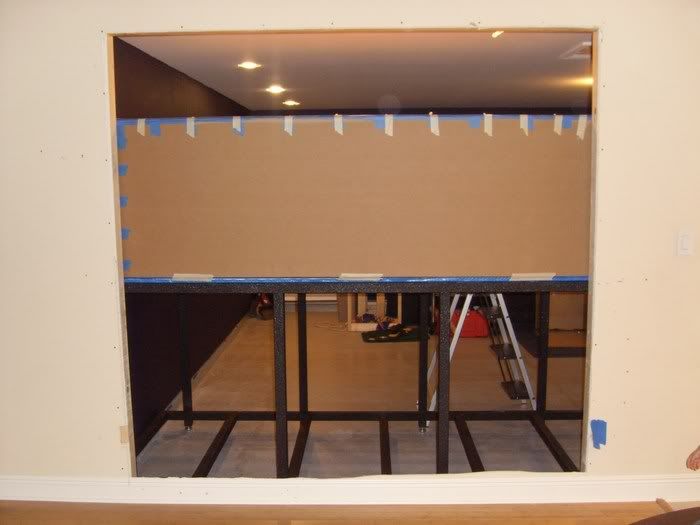
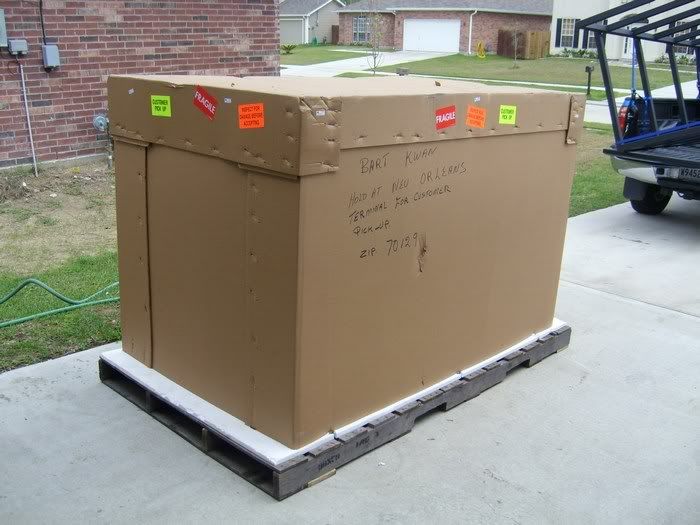
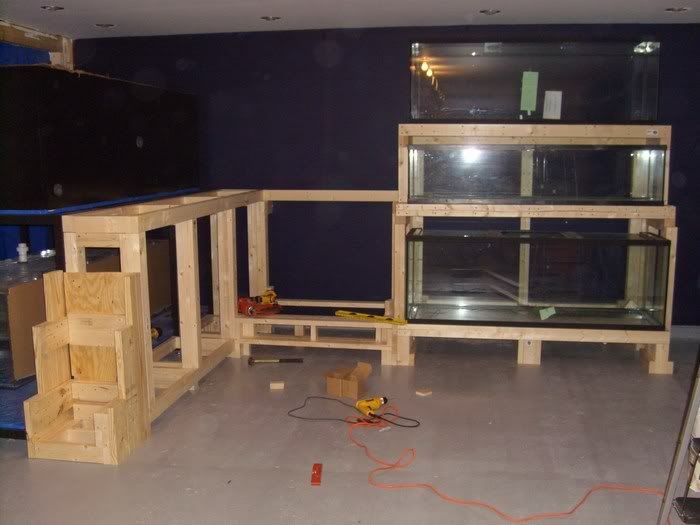
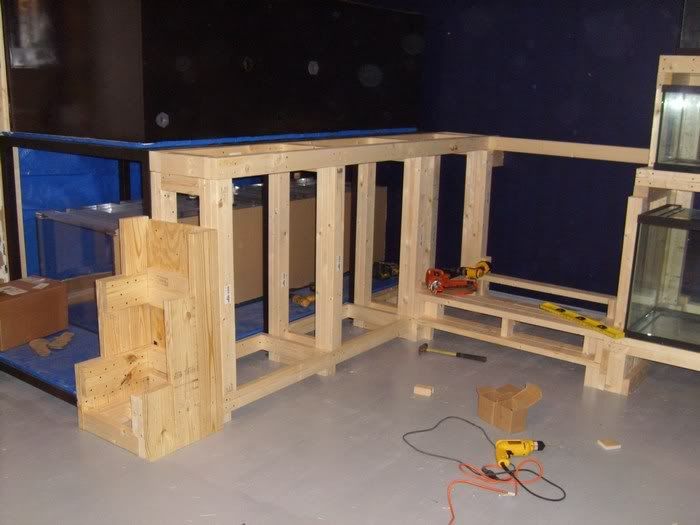
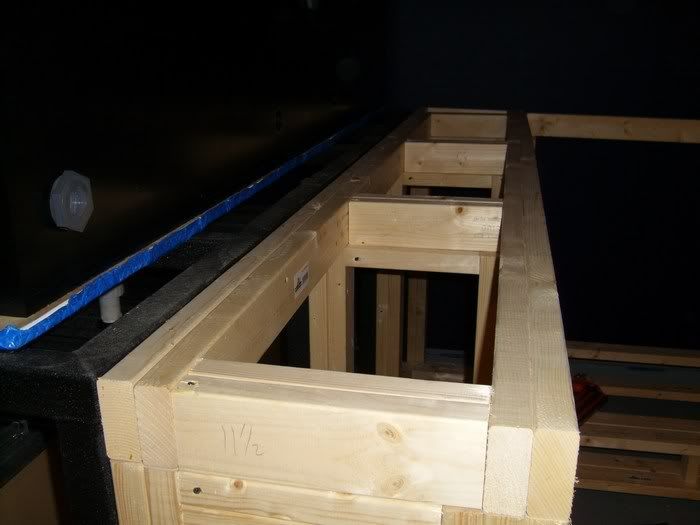
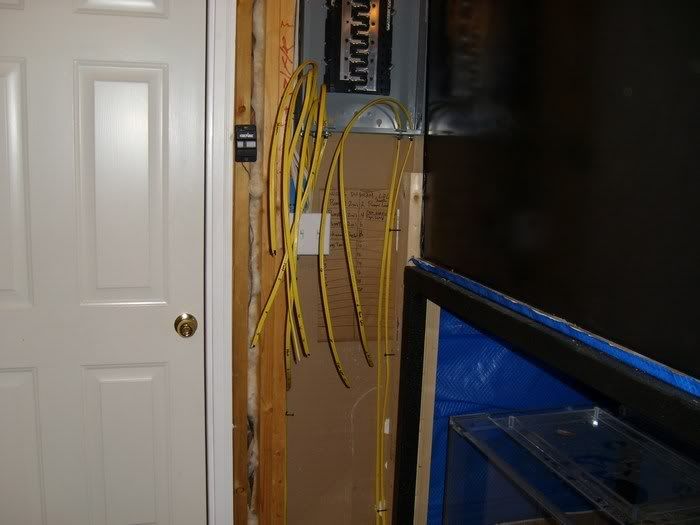
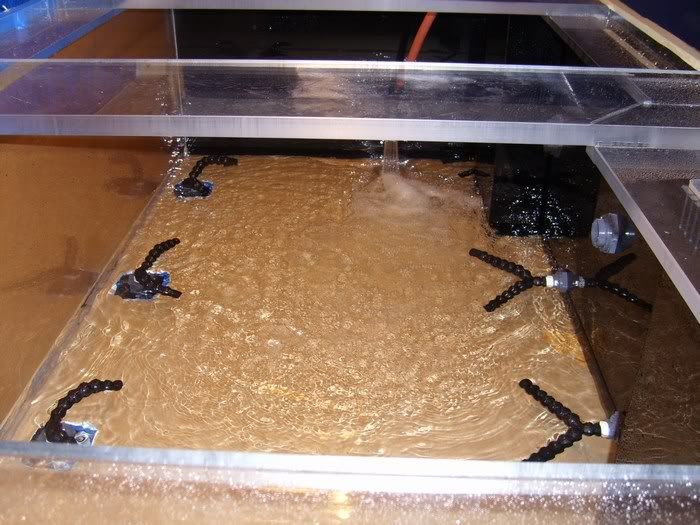
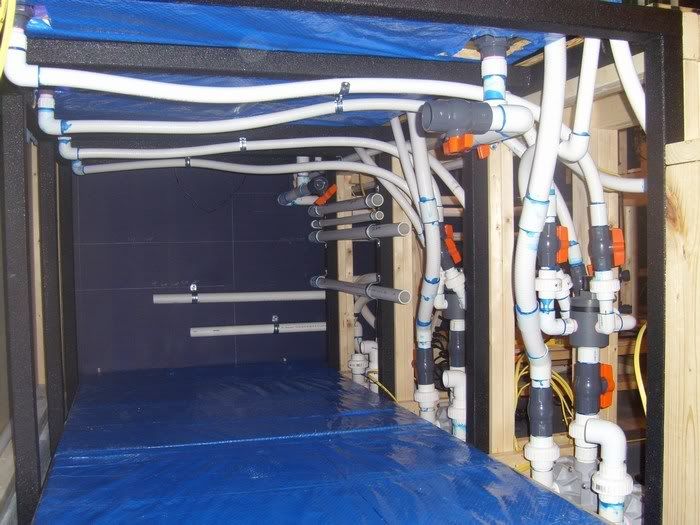
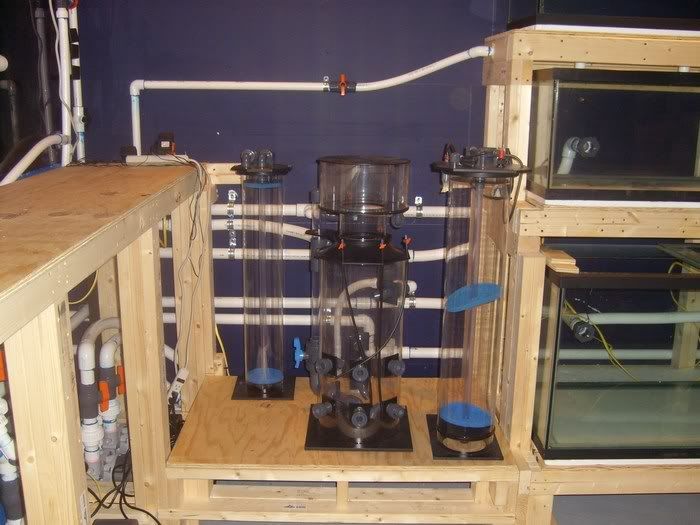
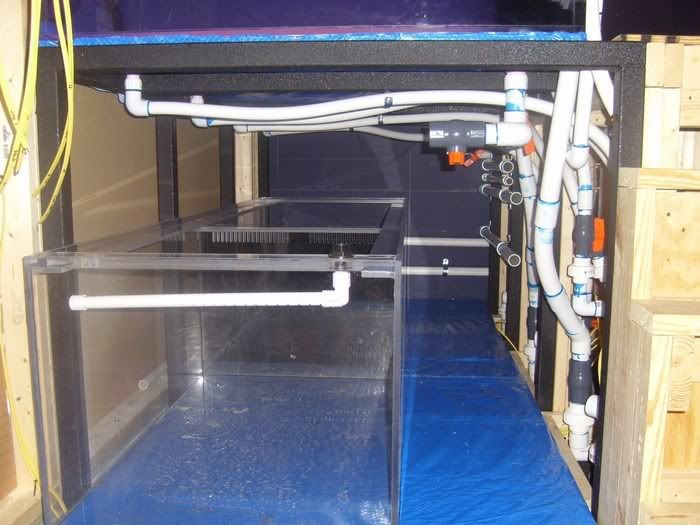
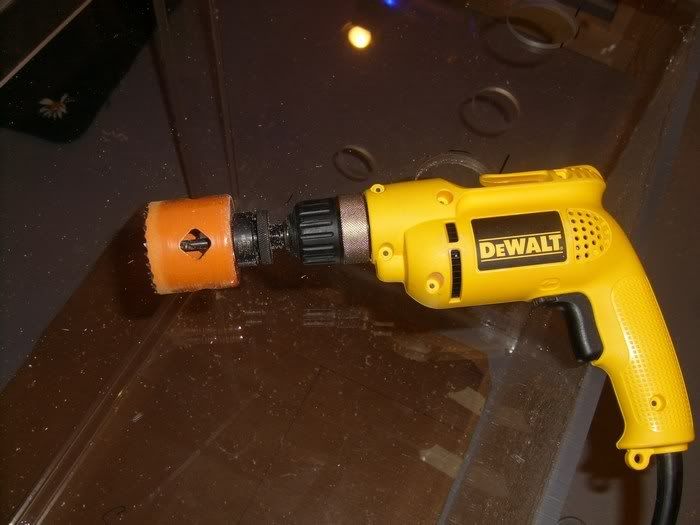
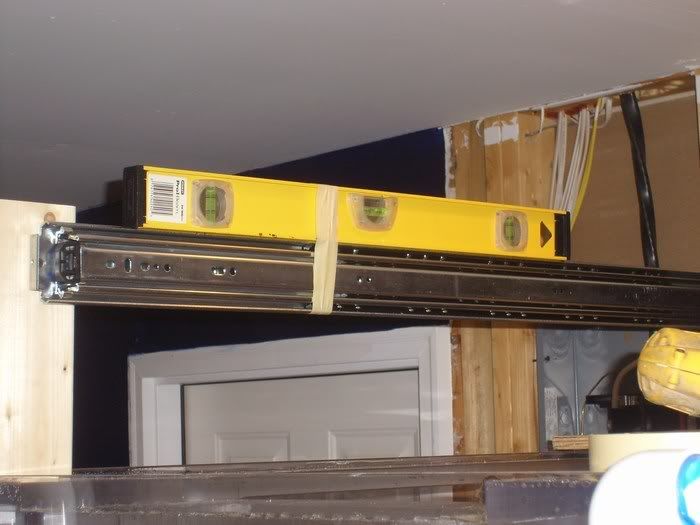
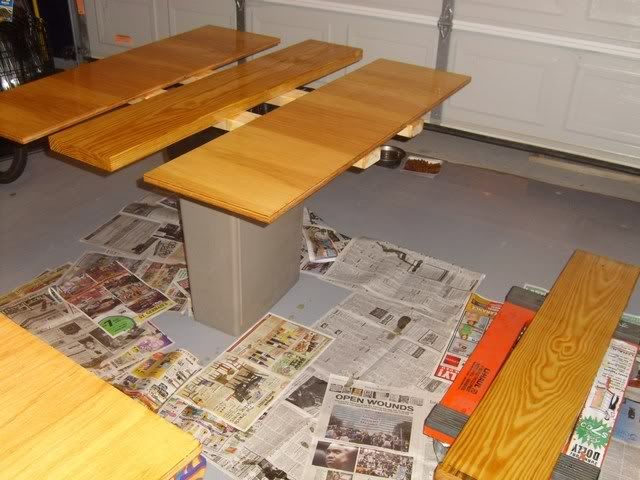
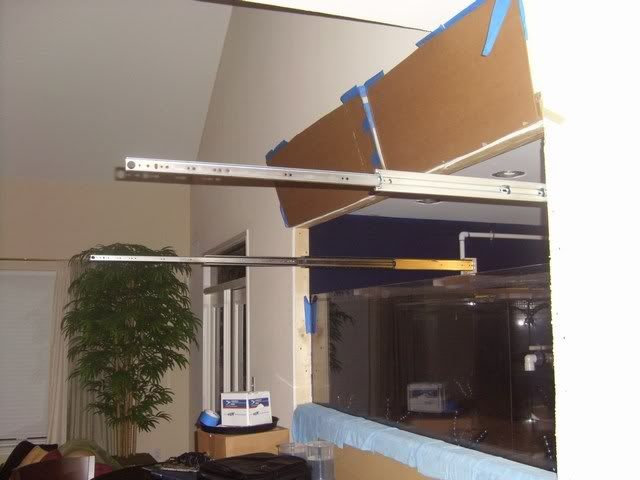
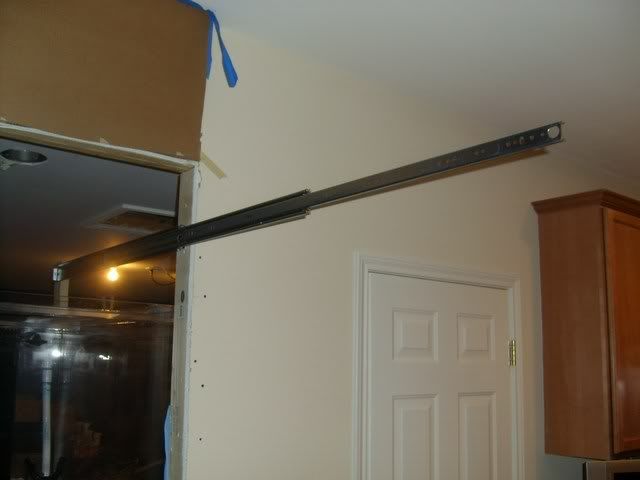
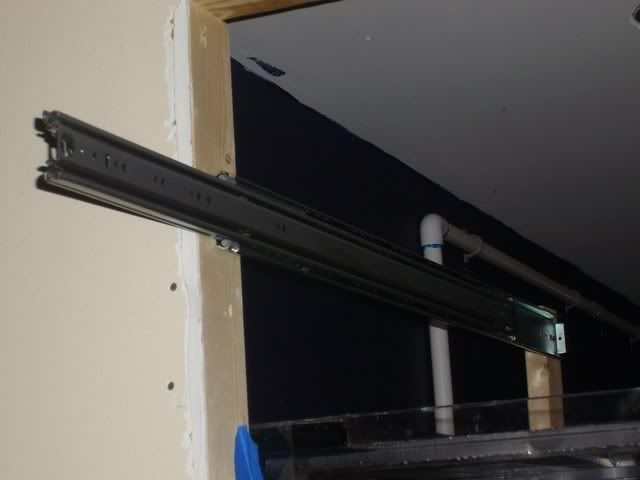
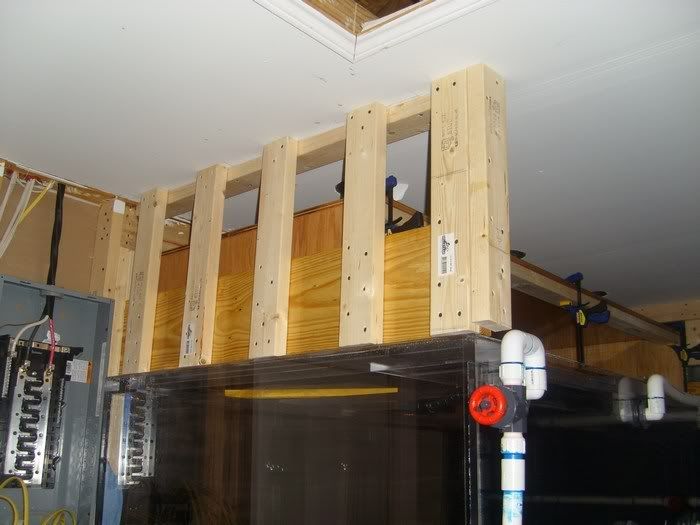
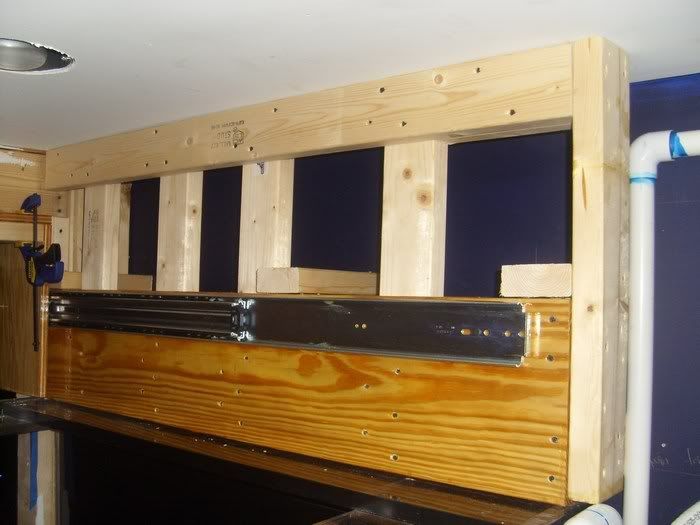
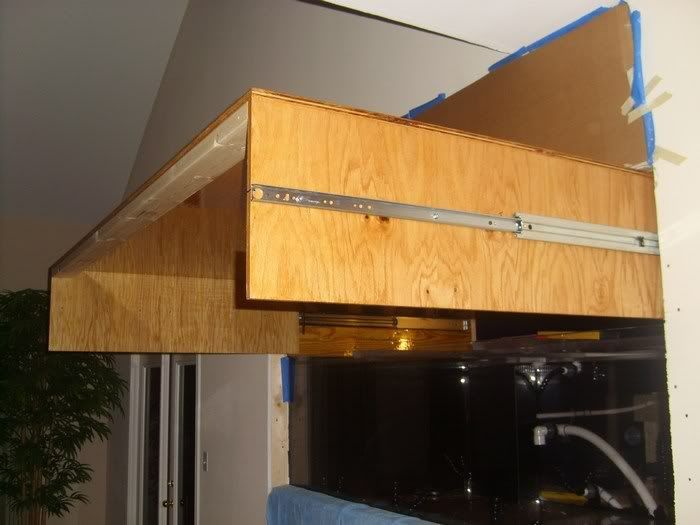
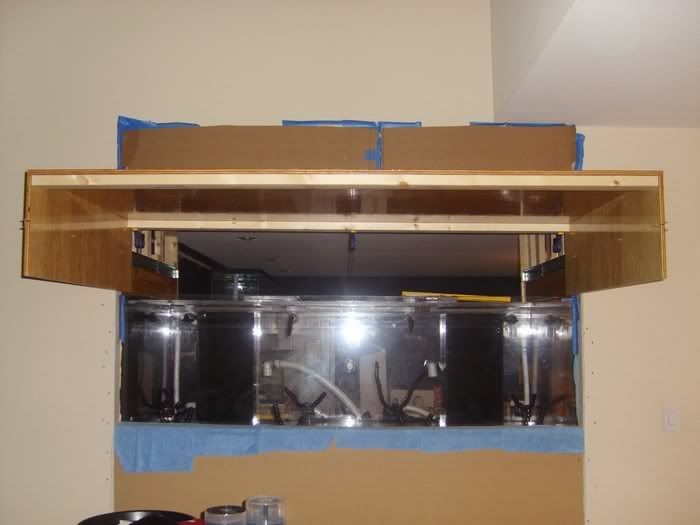
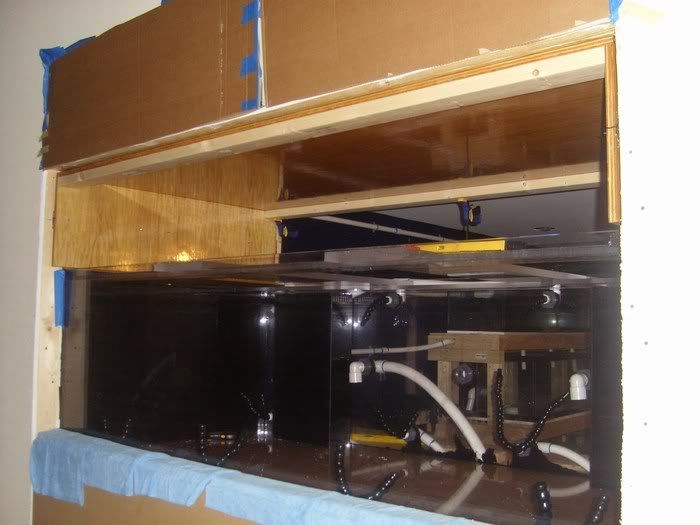
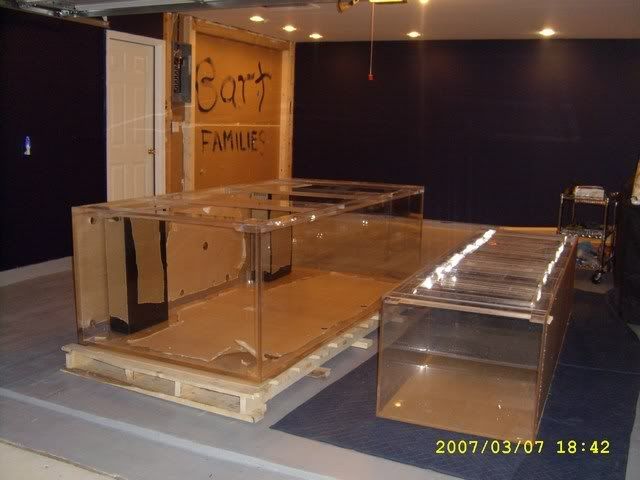
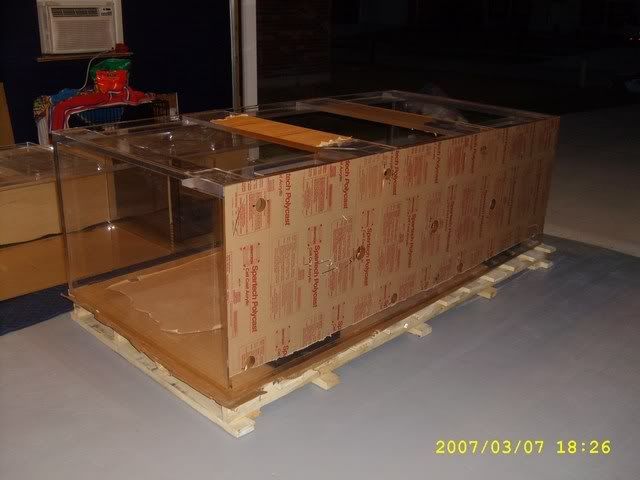
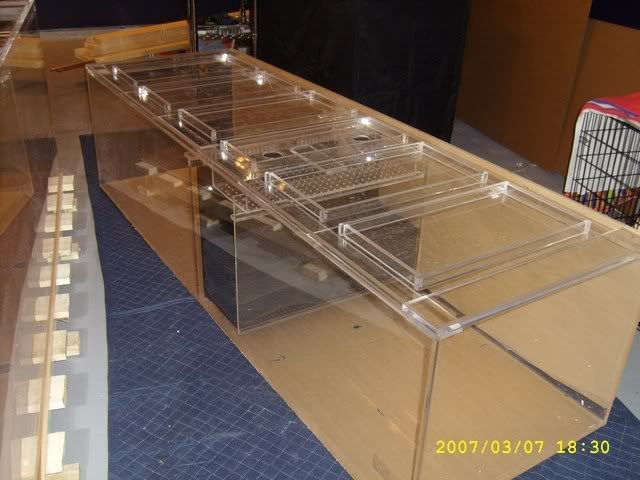
here are some pics, project have been started since 3-10-07
Here it goes, beginning of the year I had set out a new year resolution to setup a full blown reef system w/self automated capabilities as possible, also stated in the title, this is my very first full reef system tank ever.. I guess you can call me a 31 yrs. old virgin for reefkeeping, but not in real life LOL. Just a few months of knowledge, and countless hours through the night-morning reading and going through plenty #'s of threads also sending emails to all the guys here and getting back the quickest response ever in no time, and I can't thank you enough to everyone here on -- that is so helpful, unlike LFS here in New Orleans who just want to collect money, but get very little if any info. Please let me know at anytime if I am doing anything wrong or any helpful advice will be appreciated, Thanks.
Here are the list of equipment I have acquire,
Tank:
96"L x 48"W x 30"H (1" Cell Cast Acrylic w/1" Eurobace, 3/4" Bottom)
Custom built by The Aquarium Company in Winthrop, MN (Franz Metzger)
Stand:
48"H w/2" x 2" Custom built steel stand w/Line-X treatment
Custom built by The Aquarium Company in Winthrop, MN (Franz Metzger)
1st Refugium 150gal:
48"L x 30"W x 24"H (1/2" Acrylic)
2nd Refugium 135gal:
72"L x 18"W x 24"H (1/2" Glass)
Main Sump 150gal:
48"L x 30"W x 24"H (1/2" Acrylic)
Water Change Sump 180gal:
72"L x 18"W x 31"H 1/2" Glass)
Frag 100gal:
72"L x 18"W x 17"H (1/2" Glass)
Pumps:
4 Sequence 1000 SEQ4300
sump returns, skimmers, chiller, and reactors
Closed Loop:
2 Sequence 1000 SEQ5800
2 4-Way V3 Oceans Motion
Protein Skimmer:
Deltec AP1004
Calcium Reactor:
Deltec PF1001 w/ROWALith C+ Media
Phosphate Reactors:
Deltec FR1016 w/ROWAPhos® Media
Kalkwasser Stirrers:
Deltec KM500S w/ROWAKalk Media
Chiller:
Tradewind IL-180-S 1.5HP 18,000BTU
Heater:
?
Dosing pump:
SpectraPure Litermeter 3
RO-DI unit:
SpectraPure MaxCap 5 stage produces 180 gal/day
Lights:
6 Single 400w PFO HQI Metal Halide Ballast
3 Lumenarc III Pendenat Reflectors
3 Reef Optix V Super Sun Reflectors
2 IceCap 660 VHO Ballast 8 36" URI Super
9 PFO Flat Night Light Moonlights
Controller:
Neptune AquaController 3 Pro
here are some pics, project have been started since 3-10-07