Building a 72g tank and 20g sump/fuge

silverado61

Well-Known Member
I got my hands on a 72 gallon bow-front and a 20 gallon, two sided, sump. Before I ask my question, here's some photos.

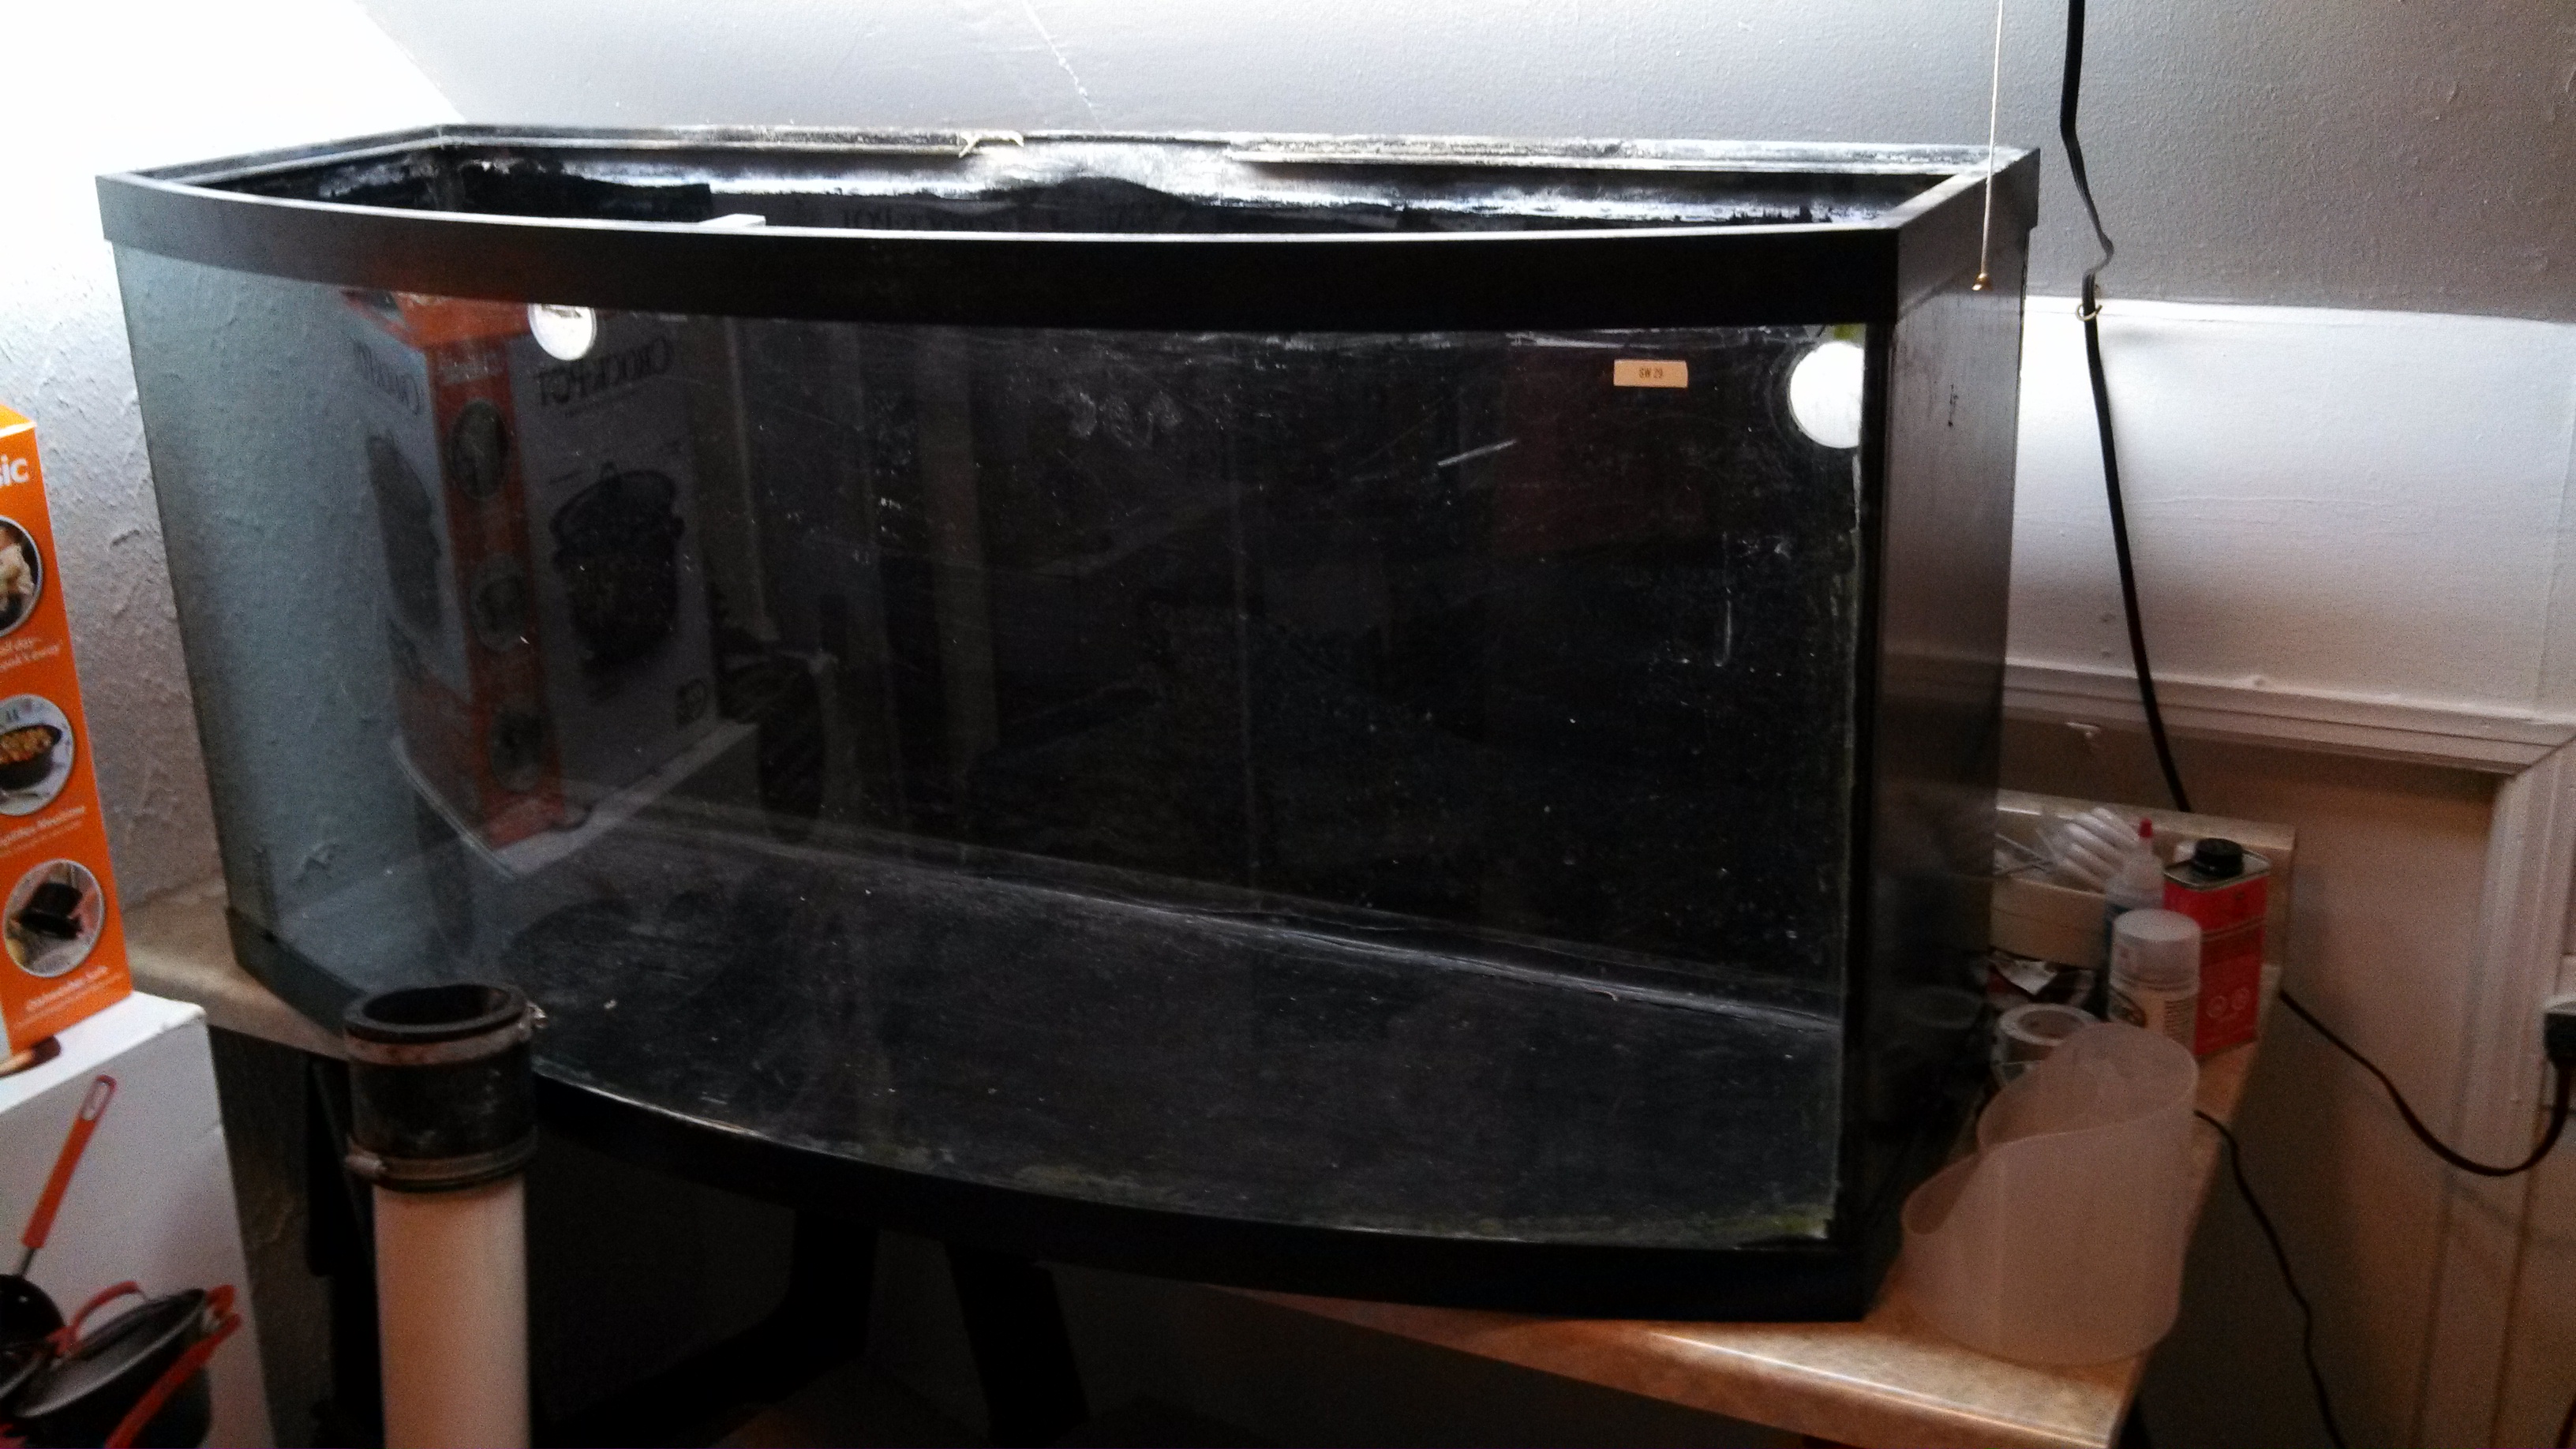
This is the 72 gallon bow-front. Predrilled for an outside filtration system.


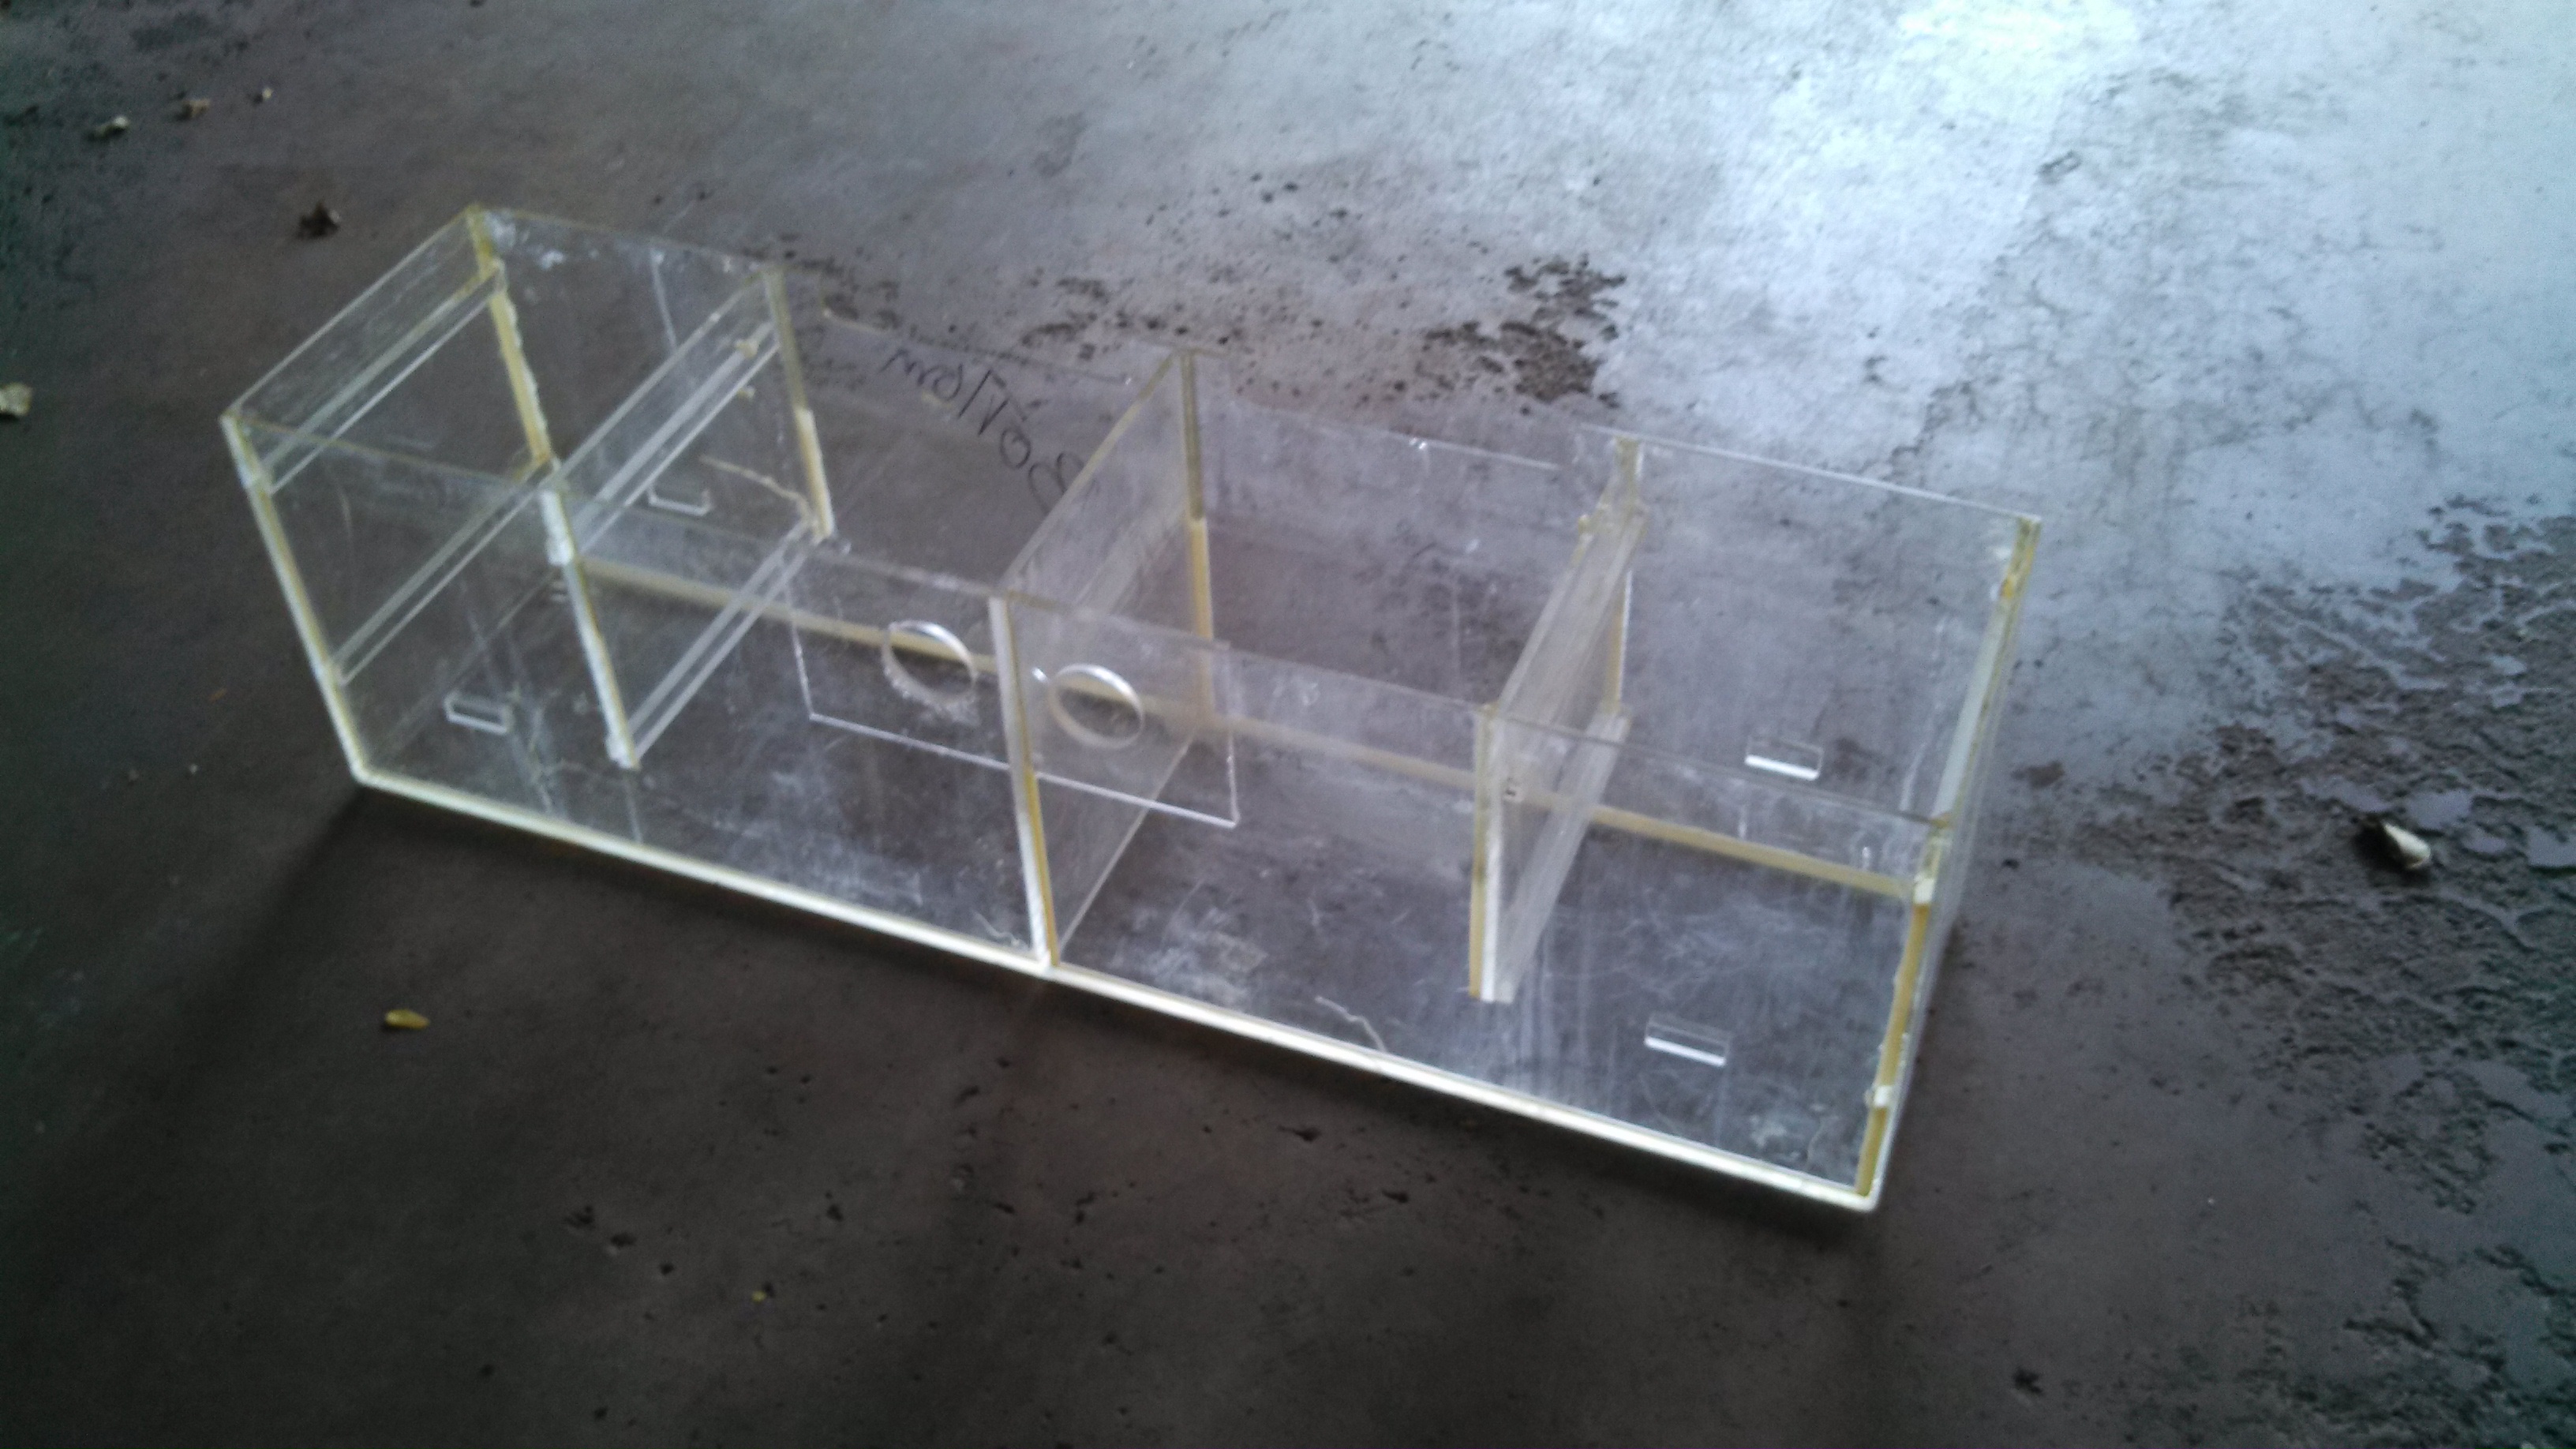
This is the 20 gallon sump. It measures 48" long x 12" wide x 14" high. Notice how it's got two sides. Left and right.

I never had a sump before but what I would like to do is use one side for a sump and the other side for a refugium. Is that feasable? If so, how would I do it? Leave it two separate systems? Drill holes in the partition? Remove the partition altogether? I've got the drilled inserts and acrylic trays for both sides there just in the wrong positions.

This is going to be a low budget DIY build. Any input would be helpful.

Thanks everyone.
 

beaslbob

Well-Known Member
Looks like the easiest thing to do is just add pvc pipe from the back holes straight down into the left and right sides of the refugium/sump. then pump it back.
Can't tell about the baffles on the sump. Can you post a picture or diagram? Do they go all the way down or stop 1" above the bottom.
I would be tempted run the water in the sump from one end and pump it back from the other. and just use one pump.
Are the pump(s) included?
 

silverado61

Well-Known Member
Quote:
Originally Posted by beaslbob http:///t/396646/researching-about-sumps#post_3534362
Looks like the easiest thing to do is just add pvc pipe from the back holes straight down into the left and right sides of the refugium/sump. then pump it back.
Can't tell about the baffles on the sump. Can you post a picture or diagram? Do they go all the way down or stop 1" above the bottom.
I would be tempted run the water in the sump from one end and pump it back from the other. and just use one pump.
Are the pump(s) included?

Allow me to elaborate a little: This is actually two (2) sumps. Like Siamese Twins, they are joined at the hip. But in this case, they are separated by a partition that goes from the top all the way to the bottom and sealed. Making it two systems that can service two tanks if need be. I only need or want it to service one (1) tank. A 72 gallon tank. Each side has only one baffle that stops about 4 inches from the bottom of the sump. I have two black perforated trays and I have two acrylic trays with one 2-1/2" hole drilled in the center of each.
Here's what I was thinking of doing, and feel free to correct me if I'm planing this wrong:

As your looking at the photo, in the sump on the left, in the left chamber I was going to put one black tray towards the bottom resting on the ledges that you can see about 4" from the bottom. Then fill it with bio-balls till it's 4" from the top and top it off with the other black tray that will rest 2" from the top on ledges and finish with an acrylic tray turned upside down using the 2-1/2" hole to keep the overflow pipe centered. This is where the overflow from my tank will feed to. In the next chamber of the same sump, that's where I was going to put live rock and Chaeto.

What I was thinking of doing with the partition that's separating the sumps: I was going to drill several rows of 1/4" holes. Starting at the top and finishing about 6" down from the top. Or just cut it down 6" from the top. Haven't decided yet.

Now the sump on the right: In the left chamber, I was going to put a skimmer. I just don't know what size I need. I have a Reef Octopus BH100SS HOB skimmer but I don't know if it will be big enough for a 72g FOWLR. In the right chamber, I was going to put my return pump. Again I don't know what size pump I need.

There you have it. That's my plan. Feel free to tell me what you think. Don't worry, I have thick skin about this because I want to make sure I do this right.
 

silverado61

Well-Known Member
Input from anybody would be great! I'll weigh the pros and cons on each. This is my first sump so I don't even know if my plan will work.
 

2quills

Well-Known Member
It can work. Personally I wouldn't bother with the bio balls if you're going to put live rock in the fuge but there's no reason why you couldn't if that's what you'd like to do. I just don't see any major benefit there is all. Lots of ways you can do it but my thoughts would be to partition it off into a 3 chamber tank. Maybe remove the center baffle entirely and use it to make two smaller baffles next to the existing ones but set these vertical from the bottom. You would then have a large fuge in the center or the tank. Put your skimmer in the first chamber (with overflow pipes) and put the return pump in the right chamber.
skimmer + fuge + pump
 

silverado61

Well-Known Member
Quote:
Originally Posted by 2Quills http:///t/396646/researching-about-sumps#post_3534375
It can work. Personally I wouldn't bother with the bio balls if you're going to put live rock in the fuge but there's no reason why you couldn't if that's what you'd like to do. I just don't see any major benefit there is all. Lots of ways you can do it but my thoughts would be to partition it off into a 3 chamber tank. Maybe remove the center baffle entirely and use it to make two smaller baffles next to the existing ones but set these vertical from the bottom. You would then have a large fuge in the center or the tank. Put your skimmer in the first chamber (with overflow pipes) and put the return pump in the right chamber.
skimmer + fuge + pump
Thanks 2quills. I appreciate the idea. One tiny problem. That center baffle is galvanized to the walls. No matter how I cut it off, it wouldn't be wide enough to reuse. The curfs from cutting would take away from the width. But... I could just get some new acrylic and make them. It's something to consider.
I was actually hoping you would chime in. I read your 120g rebuild thread cover to cover. Very informative read. Kudos on your craftsmanship.
 

2quills

Well-Known Member
Thanks
Yeah that would be a problem. I couldn't tell from the images if the height of the center baffle would cover the width or not. One thing I'd definitely do though is create at least one chamber with a non fluctuating water level for a skimmer. Unless you have the option of going with an external skimmer.
 

beaslbob

Well-Known Member
I'm worried about the design of the sump. But then could be just me.
I think you will find that when you pour water into the right or left ends the water in the center will rise all the way up to the center holes before draining.
IMHO you need to have a "refugium' area which has high water level and a small sump are with a lower water level. then the refugium level can remain constant and the level in the sump area varies. As it is now the level in both areas will remain the same.
you need to test 1) the system does not flood during power out.
2) the systems returns to normal operation with power return.
3) the system does not flood if a drain from the display fails. in this case the sump need to run out of water before the display floods.
take the sump to the driveway and use a hose to see what happens with the water level. If it fills up to the bottom of the holes then you have basically a flood waiting to happen.
see attached drawings to see if it helps clarify my point. (can send you pictures by email. could not load here. LOL )
Or perhaps there is something I'm not aware of.
finally best to test the setup in a driveway of garage then in the living room.
 

silverado61

Well-Known Member
I was planning on plugging those holes and cutting the center baffle down so that its about 6 inches from the top. I might still drill a couple rows of 1/4" holes in it also, but I don't know if that's overkill or even needed with it shortened.
 

beaslbob

Well-Known Member
ok gotcha.
On the right chamber where you want the return pump, I would extend the far right partition all the way to the bottom. That way the chambers to the left will be at a high level. And the chamber on the right will be at a lower level. As water evaporates (or is added for that matter) only the water level on the right chamber (sump) will vary.
An easier way would be just to put the pump in a container in the right chamber. the height of that container would set the water level in all the other chambers.. Of course the middle partition would have to be opened up to allow water flow as you suggested.
Of course all that would require some testing to make sure the water flows freely between containers and to prevent bubbles and the like.
just a thought.
my .02
 

silverado61

Well-Known Member
I'm copying all this to my laptop to use as a guide when I put all this together so keep the ideas and advice coming. Thanks to everybody so far. You've been a big help for the planning stages. I plan on doing all the modifications to the sump this weekend.
Next I gotta figure out what size in sump pump to get for the return flow along with how to plumb it all together.
 

silverado61

Well-Known Member
Well, here's what I've done so far on the sump/fuge:

Found two cracks & a blister (so to speak) on the sump/fuge so I so I fixed both cracks with VOC potable PVC glue then patched both sides of each with acrylic and acrylic glue. The PVC glue was used to stop the cracks from getting longer. In hindsight, I probably should have drilled a hole at the tip of each crack for insurance.


Then I applied the same PVC glue to the "blister" & patched it on the inside with acrylic and acrylic glue.


Next I plugged the drilled holes with acrylic & glue then sealed all the edges of all the patches/plugs with silicone.


Last, on the partition separating both sides of the sump/fuge, I drilled four rows of 3/8" holes, 9 holes each row. Starting 3" from the top edge & finishing 5" down from the top edge. If anyone thinks I should add more rows to lower the water level, let me know.


I also started buying the PVC fittings for the overflow from the tank. I'm still trying to figure out what size pump I need for the return. There are two overflow inlets and both are 1-1/2".

That's it so far. Any comments, please, feel free to post. Pro or con.
 
Top