taznut
Active Member
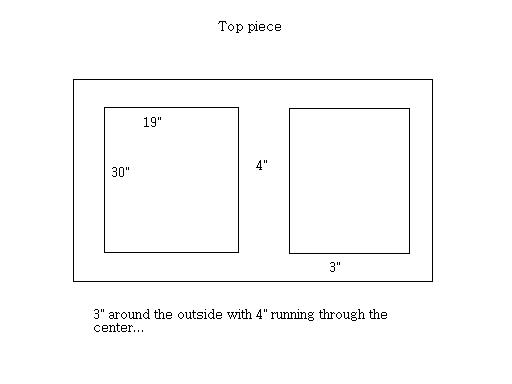
I am planning on building my own tank and sump... I started a thead in the 'new' forums but thought this would be a better place for it... I think I am going to model after jackri's frag tank and build a 4'X3'X18" out of 3/8" acrylic... I know glass has some advantages over acrylic but it also costs about twice as much... i had a few questions about the sump and the overflows... this will be my first time trying something like this so any and all help is welcomed...
I think the tank will be about 150g so I was planning on the sump being about 65g... I want the tank to beable to handle any type of corals I want later...
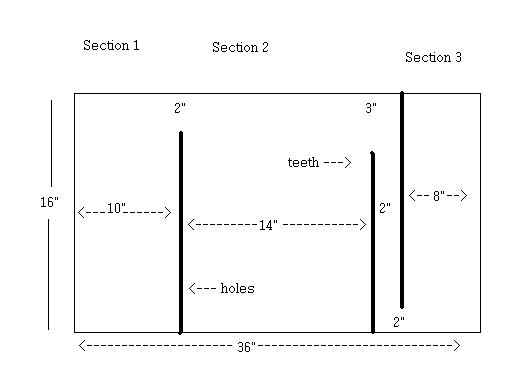
What pump would be best from the sump to the tank?? How big do the holes need to be from the overflows??? I am planning on doing 2 corner overflows unless that is a bad idea...
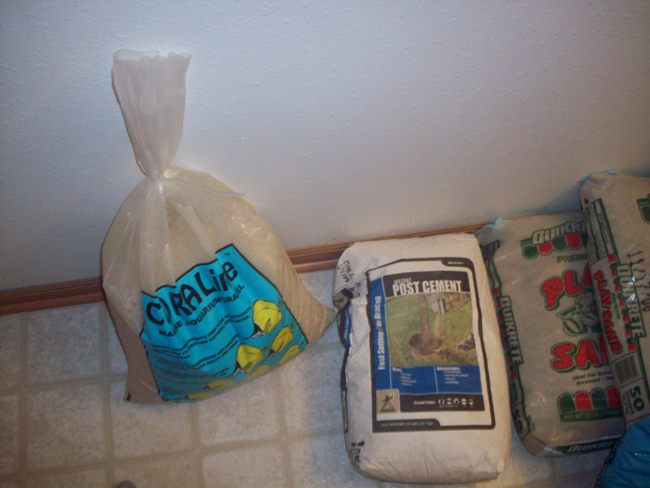
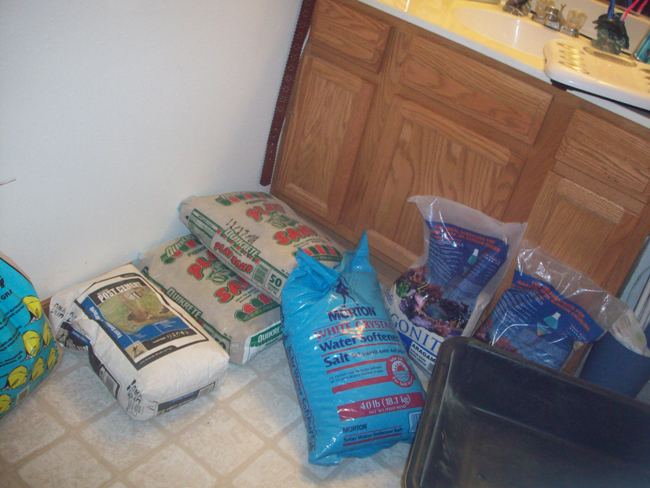
also about the lr and ls... i live in iowa and both are really expensive
 ... it would cost about $1000 for the lr alone and was hoping i could use something else to add bulk and only buy a little lr to start the cycle, is this possible? and I think i remember hearing you could do the same with the ls... use some other type of sand and add a little from an established tank to make it ls... is this true?? if so what proportions should I use and what type of rock and sand work best for this...
I think the tank will be about 150g so I was planning on the sump being about 65g... I want the tank to beable to handle any type of corals I want later...
What pump would be best from the sump to the tank?? How big do the holes need to be from the overflows??? I am planning on doing 2 corner overflows unless that is a bad idea...
also about the lr and ls... i live in iowa and both are really expensive


")