FoamBack Project 101

maxalmon

Active Member
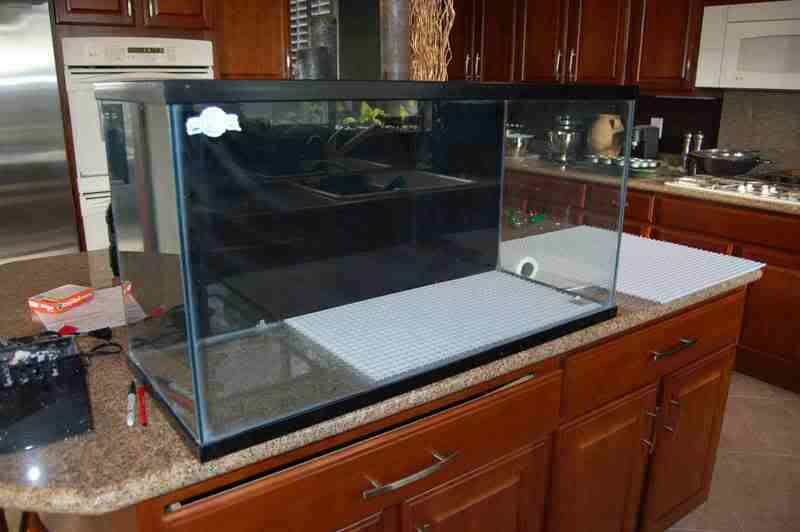
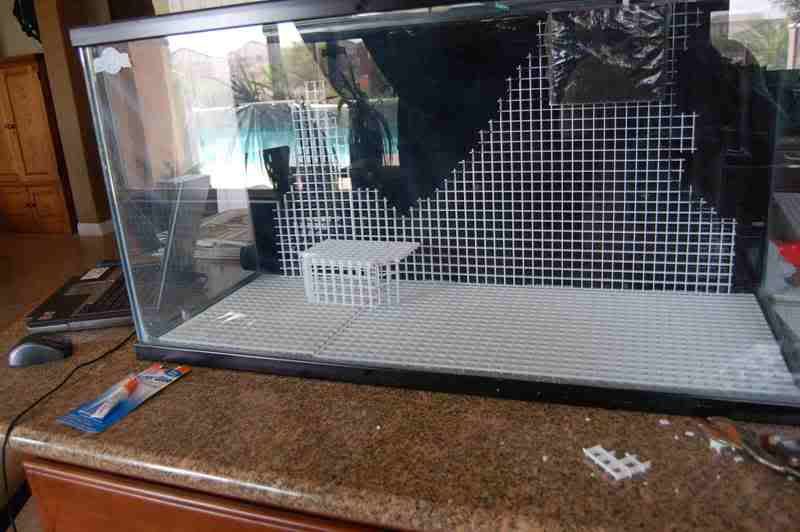
Decided to start testing some of my ideas and skills on doing a total foamback reeftank and figured that it would much easier to do several smaller tanks before converting my 215. This first tank is a 40g
There are a couple of concepts that I want to tackle with this project, mostly experimental and designed to test some of the unusual ideas that I have. This tank will eventually have a sump, so there is an overflow box.
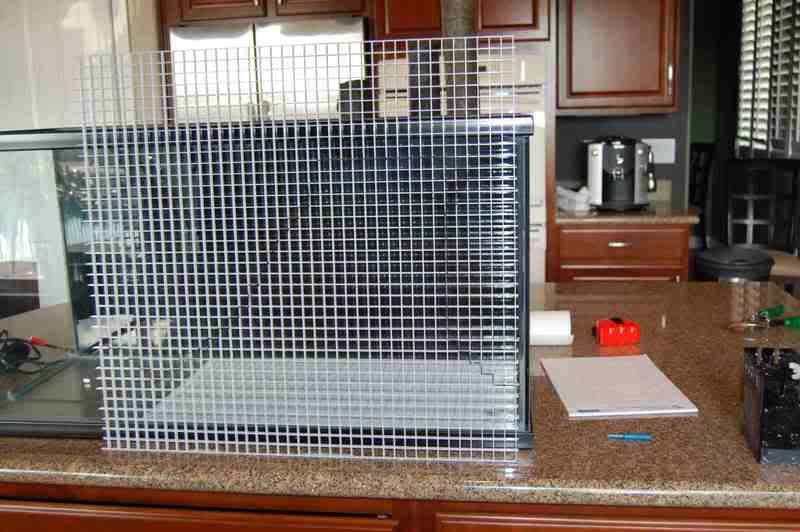
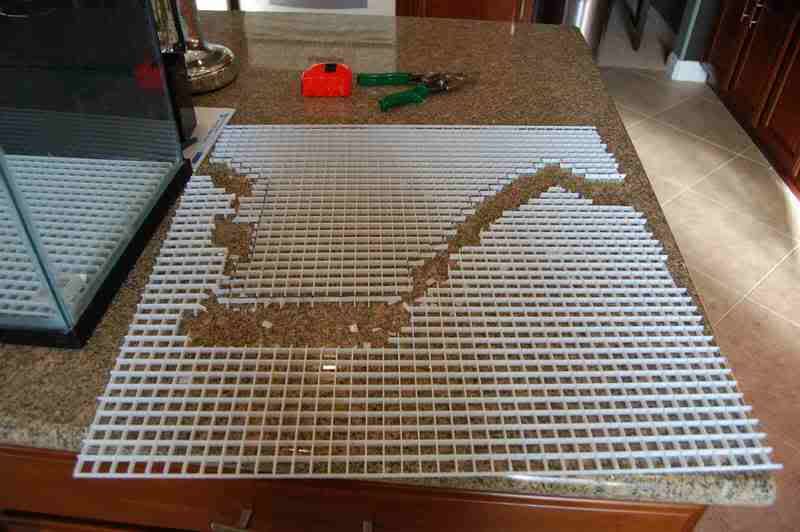
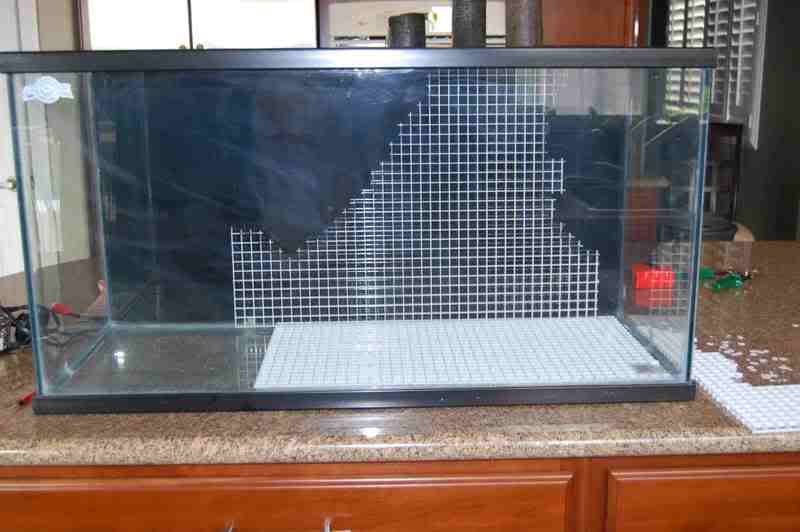
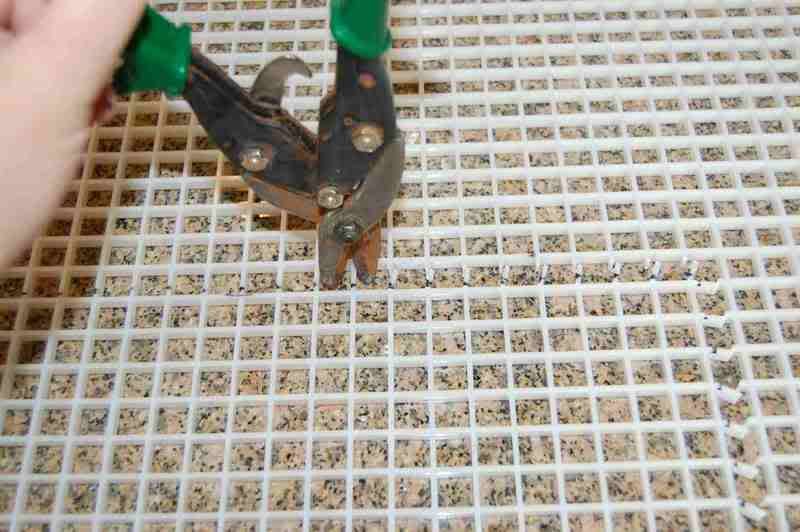
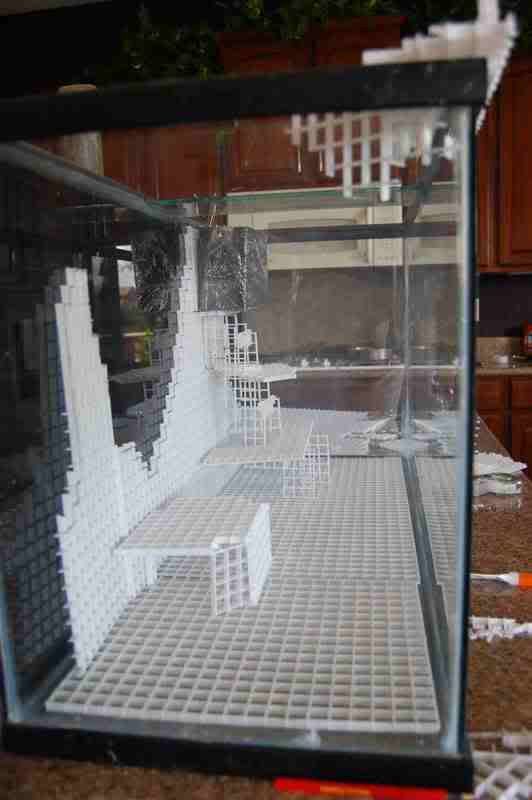
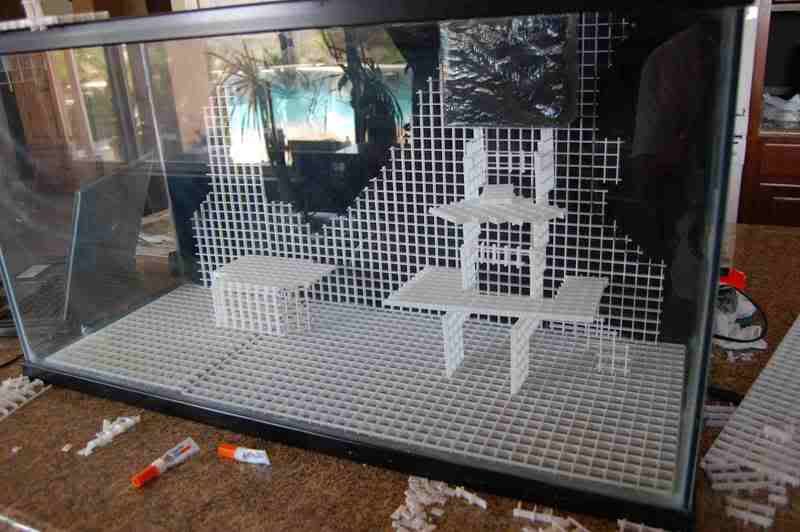
1) tank floor will be 100% covered in foam
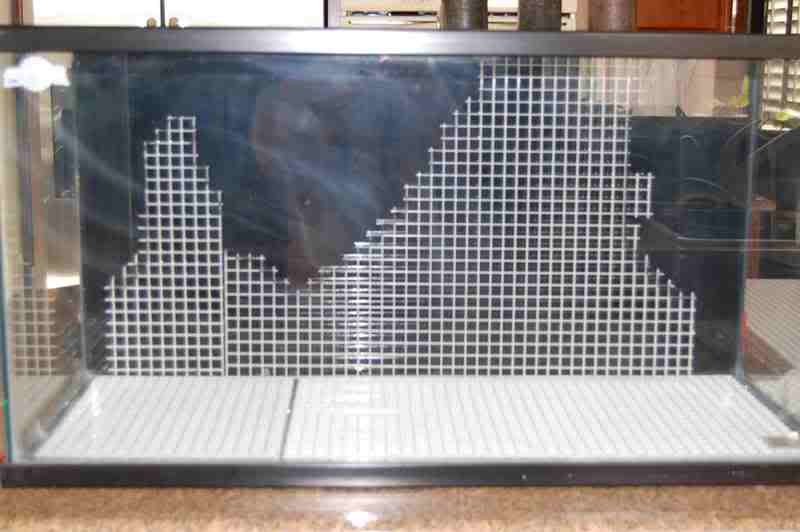
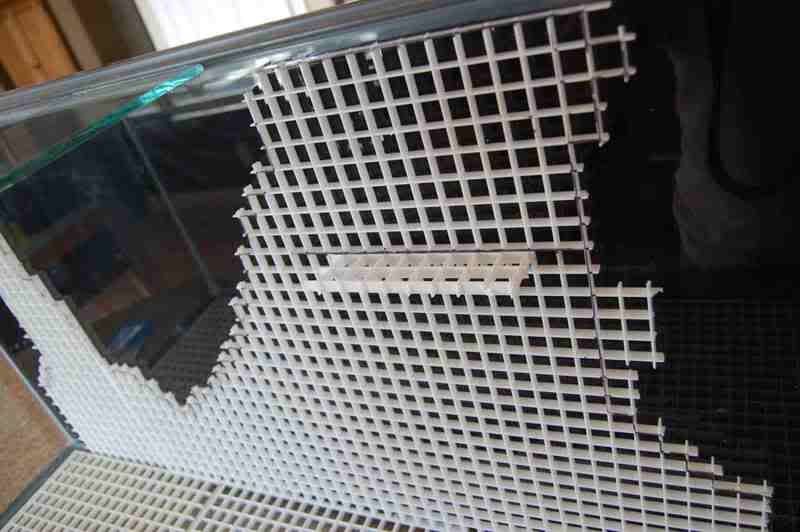
2) back wall will be 75% covered in foam
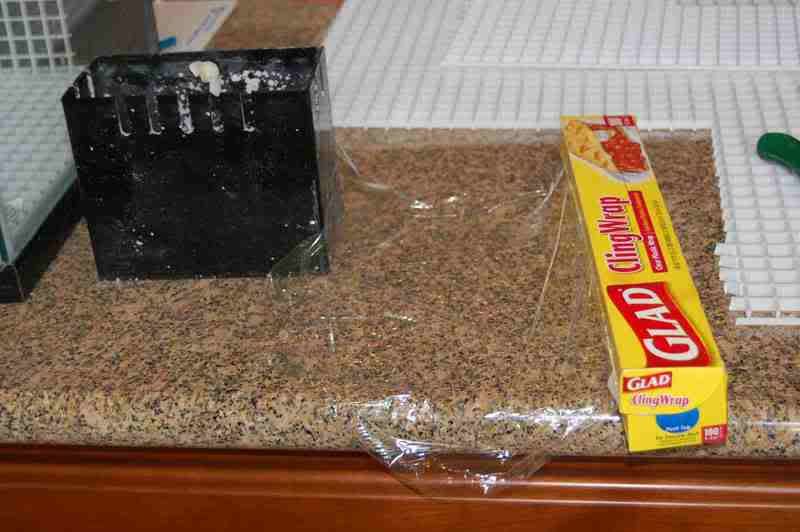
3) incorporate the overflow box in the designs so that it no longer stands out.
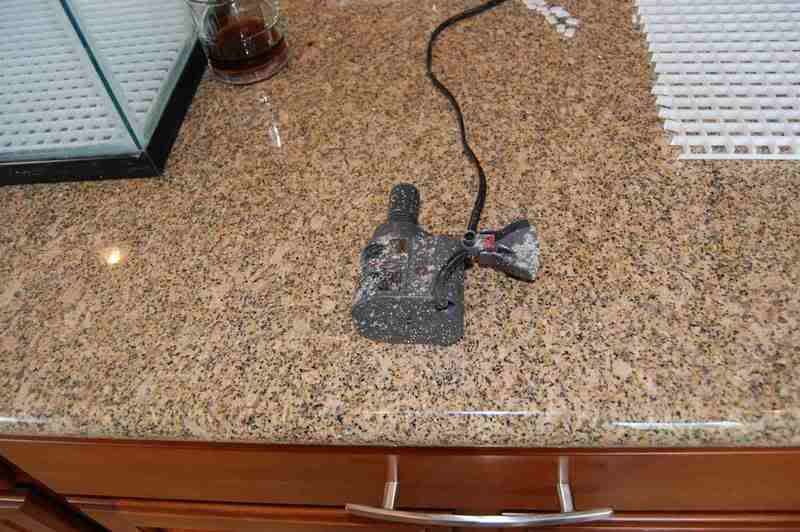
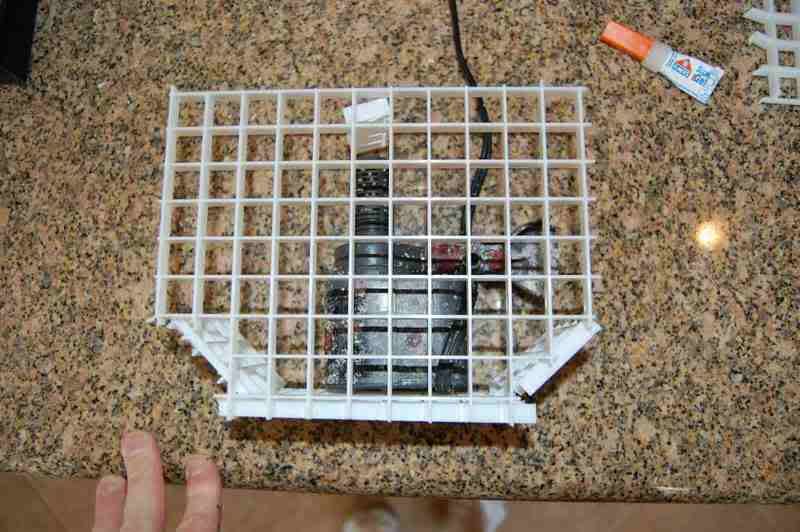
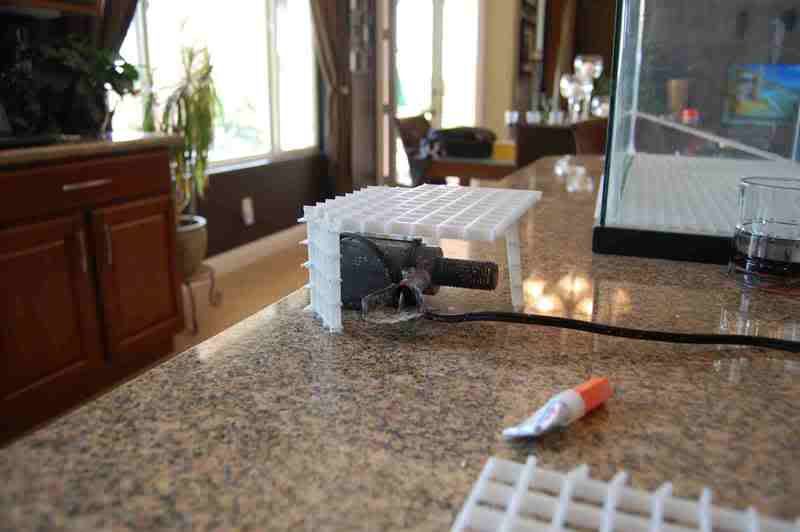
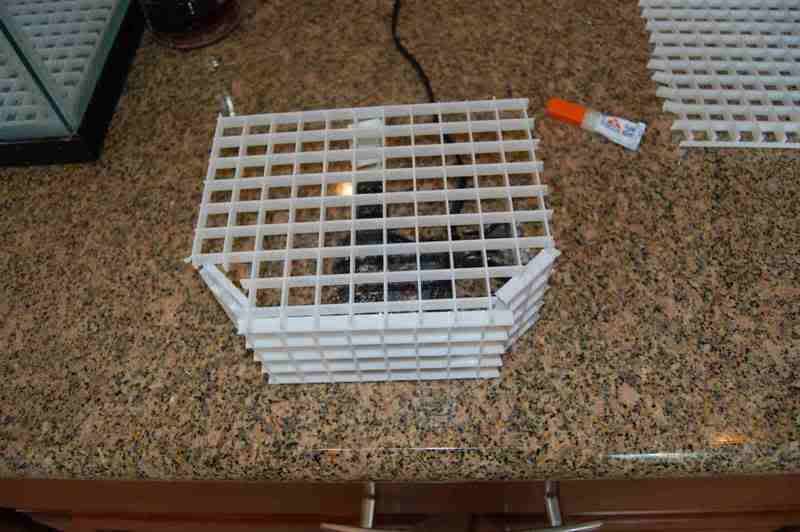
4) hide all the powerheads
5) hide all the heaters (I always put 1 heater in a tank and the others in the sump)
6) use various techniques to make the foam look as natural as possible
I'll post detailed photos as I make progress thru today, I'm hoping to have the project 100% competed by 5pm
 

maxalmon

Active Member
first thing to do was cut the gridwork for the bottom of the tank, I'm leaving 3/4" of empty space around the front and sides to allow for foam expansion.

Next thing to do was design the gridwork for the back wall, one of the interesting things I found was that it's easier to lean the gridwork up against the tank, then use a marker to create the desing to cut out and you totally eliminate having to measure to see if it fits. In this first image you can kinda see the dark outline of what I plan to cutou, this first piece will also house the overflow box and a hidden powerhead


And here is the piece inside of the tank

I've found that tin snipes are one of the easiest ways to cut gridwork, trick is to lay it flat on a surface and then just clipping, took me about 45 seconds to cut out the above piece
 

aquaknight

Active Member
Looks good can't wait to see more. I have considered toying with foam before, but the reason I've put it off, has been that I've heard the foam will start to breakdown after x number of years. Have you heard, or researched this at all?
 

maxalmon

Active Member
There is a considerable amount of prepwork before you start a project like this, key is to "think things thru" I've seen a bunch of people just grab a can of foam and start spraying. I have to build all the supports for the live rock and mechanical items.
I decided to cover the overflow box with saran wrap just in case there were any problems, that way I can remove or make changes without tearing the whole thing apart. All you do is wrap it like gift.

Using one of my other tanks that has an overflow, I determined that the overflow top needed to be 3/4 of an inch from the top of the aquarium, just for support and to make things easier in the desing of the other projects on this wall, I created a stand for the overflow to sit on, this is not neccessary, but will make it easier for me to work on the other project.


maxalmon

Active Member
Originally Posted by AquaKnight
http:///forum/post/2770932
Looks good can't wait to see more. I have considered toying with foam before, but the reason I've put it off, has been that I've heard the foam will start to breakdown after x number of years. Have you heard, or researched this at all?
A few people have mentioned that the UV from the lights will cause the foam to breakdown, but I plan on using a marine expoxy on top of all the exposed foam areas that is supposed to inhibit the UV and stop the foam from breaking down. This tank all the foam will be permanent, On my 215 I plan on making the panels removable.
 

maxalmon

Active Member
Next project. Here is the hidden maxijet 1200 that will sit on the bottom of the tank, kinda on the left hand side. I'm designing it so that it sits flat on the bottom and blows water across the entire bottom of the tank and will push all the detritus to the right side, up the side wall and hopefully into the overflow. (this may be hard for me to explain, so wait for the finished image so that you get the idea)
Pretty simple, just design a box to cover the MJ. then cover it with foam and use a bread knife to remove excess foam. The cord will be hidden by another idea I have as well, this will be about 4 projects away


This entire unit will fit against the back wall and will be covered with foam and then I have a really cool piece of LR that will sit ontop of this shelf and a few other pieces that will fit in front and around the sides
 

maxalmon

Active Member
ARGH....Totally forgot to get zipties.....Making progress on the internal structure, the overflow box is a little harder to hide...
 

maxalmon

Active Member
THe idea is to blow the water across the back of the tank, along the floor and then up the righthand side....If it doesn't work, then the fishies have cool places to hide.
 

maxalmon

Active Member
The overflow area will be hollow underneath and I've created ledges that stick out on the left and righ hand side so that I can mount some shelf type live rock, kinda hard to visualize.....
 

grue

Member
Very nice write up. Can't wait to see it finished. But DUDE your avatar scares the hell outta me......
Grue
 

grubsnaek

Active Member
def something dif going on here.....good luck, im on board....
glad to see your up and running around max....good stuff
 
Top