mkzimms
Member
alright, this project is a few months in the making. i've been stock piling parts and ideas, so everything is now coming together and i figured it was about time to start a build thread. i want a clean and well put together look... no hanging wires, nothing above the rim of the tank (other than lights) and everything easy to manage.
heres the basic equipment rundown as it stands right now... these are items currently in my hands. i still have some parts that need to be bought like the skimmer and fluidized bed filter which will be dealt with at a later date.
40G Breeder
20G Long sump/fuge
312 watts of T5HO (dual nova extremes)
Mag-drive 7 submersible (700gph)
700gph overflow setup from glass-holes
Three maxi-jet 1200 power heads
Redsea wavemaker pro
RO/DI auto-topoff
Two 100W pro-heat titanium heaters
27W 6500K PC fuge light
8-switch power center
---
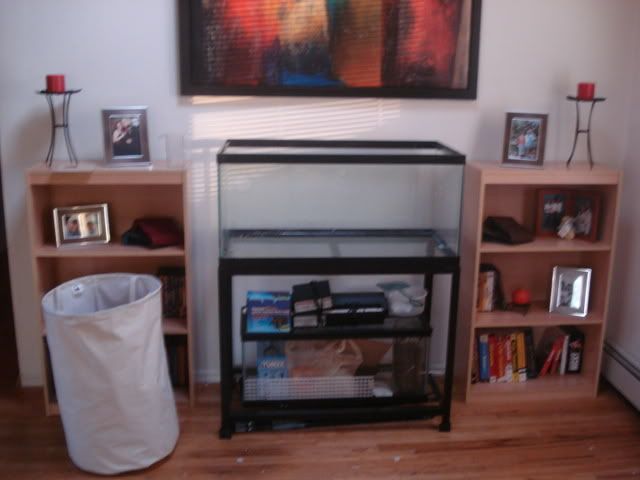
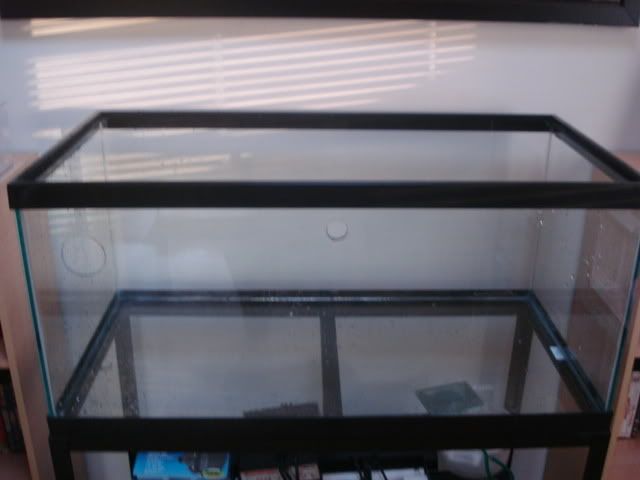
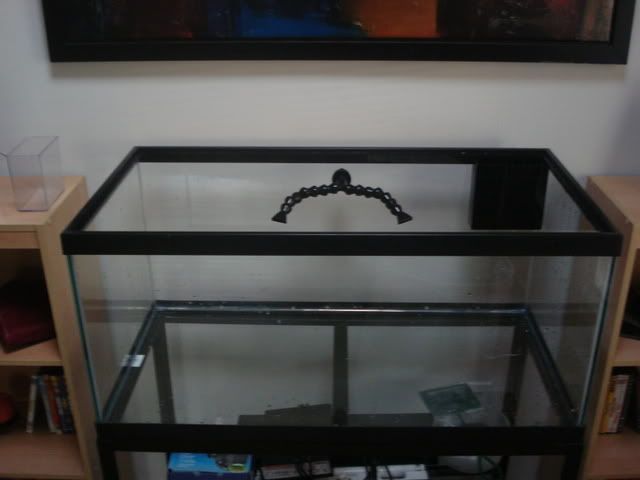
the tank has been sitting in the living room on the floor so i finally broke down and got the stand to make my girlfriend happy and she went out and bought some book shelves to sit on either side of it. i forgot to mount the lights for the picture, but im sure you get the idea. i took the picture kind of to the side so it doesn't look centered, but i assure you, my girl made sure it was 10000000% centered.
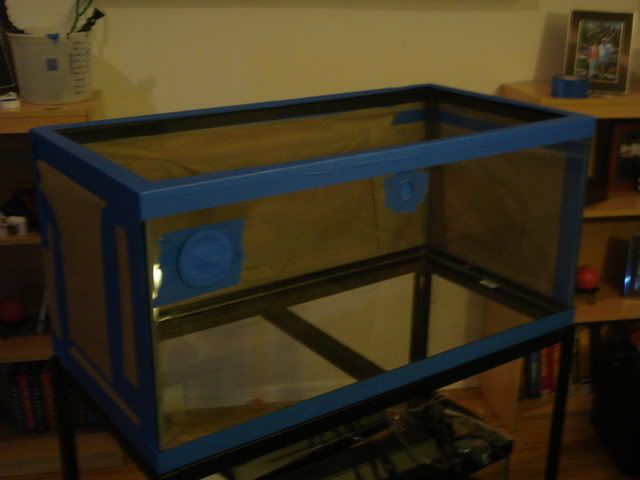
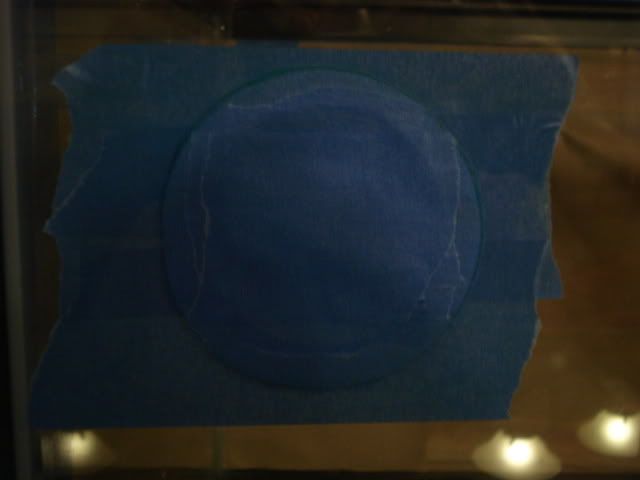
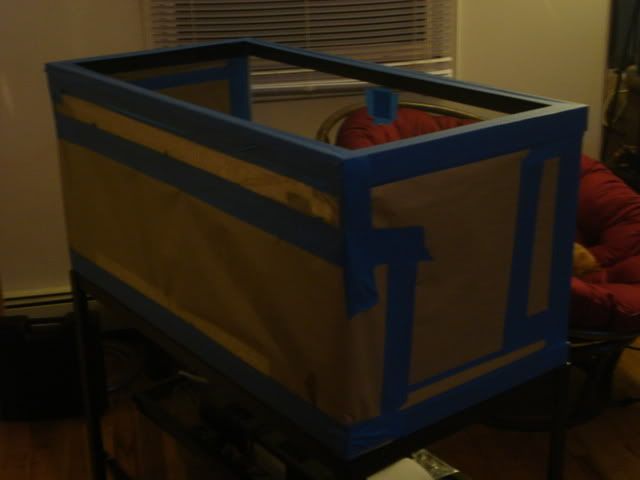
i spent today drilling the tank and getting the overflow and return parts squared away.
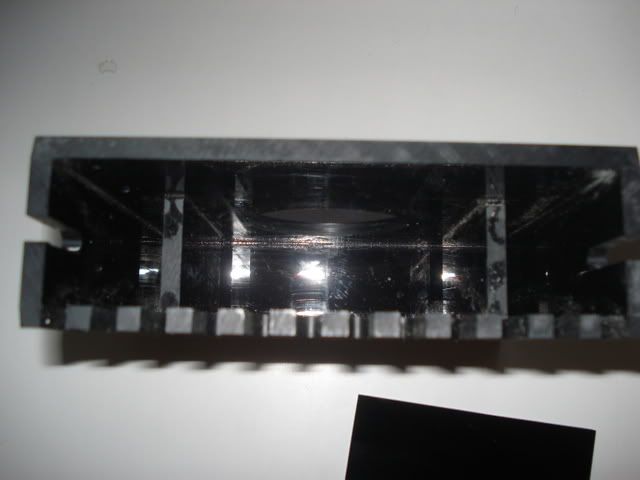
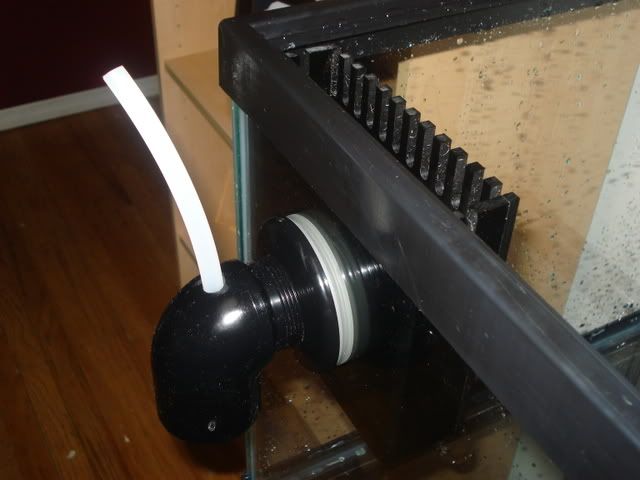
the overflow is a 700gph overflow kit from glass-holes. its a 1.5" bulk head that butts up to a 2"x2"x6" toothed acrylic box. it will run durso style with a vent tube. its baffled inside and there is a horizontal piece that crosses those two baffles (seen in the picture) to make the bulkhead draw from under the water-line and it will be ridiculously quiet because of that. no gurgles and hicups.
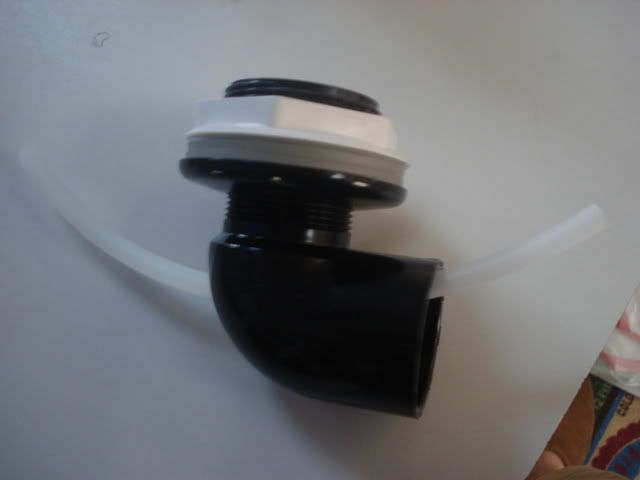
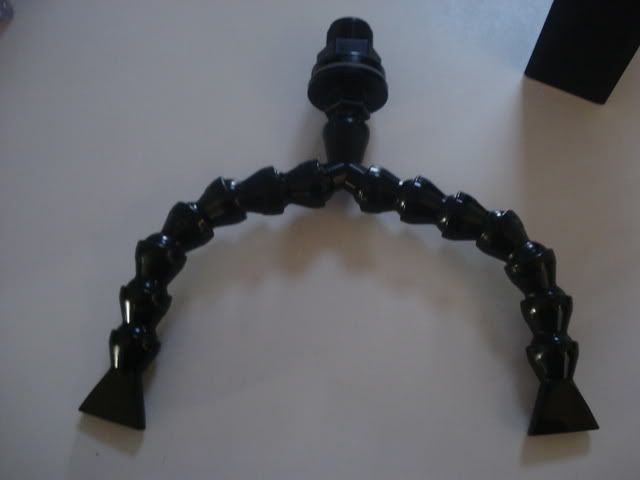
for the return i went with 1/2" loc-line bulkheaded through the center of the glass to achieve the "clean" look, no dog bones for me. its split with a Y fitting and runs to two 1 1/2" flares. pretty much standard issue.
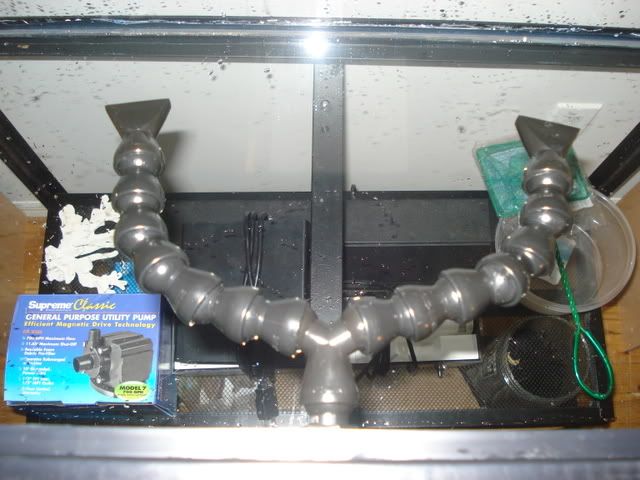
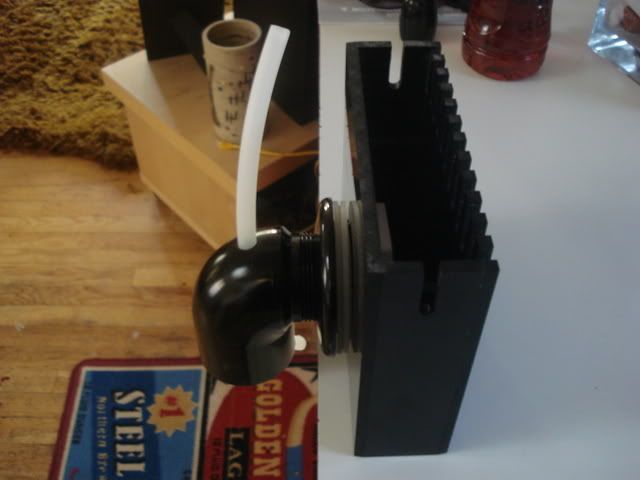
heres a pic of the finished overflow / return setup from the back... i think it looks pretty good and exactly the look i'm going for. im amazed at how well the overflow kit looks. it very low profile and has around 10" of linear overflow for sufficient surface skimming.
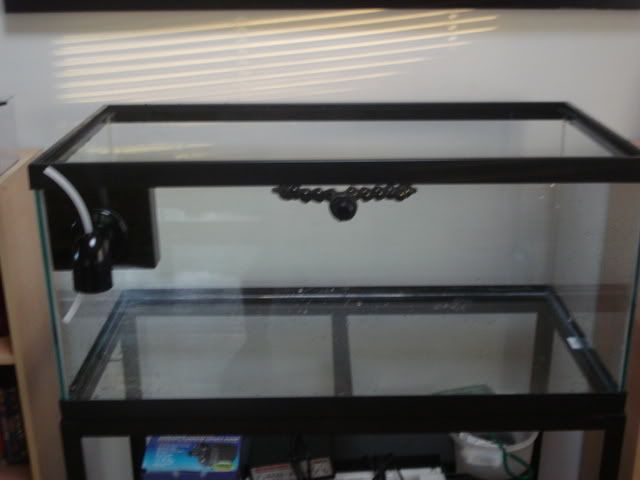
heres the setup from the front.
thats about all i can do for today... luckily i timed all the rest of the parts comming in for the 3 day memorial day weekend and have all weekend to fab up all the rest. tomorrow im going to try and get into some plumbing and sump fabricating.
heres the basic equipment rundown as it stands right now... these are items currently in my hands. i still have some parts that need to be bought like the skimmer and fluidized bed filter which will be dealt with at a later date.
40G Breeder
20G Long sump/fuge
312 watts of T5HO (dual nova extremes)
Mag-drive 7 submersible (700gph)
700gph overflow setup from glass-holes
Three maxi-jet 1200 power heads
Redsea wavemaker pro
RO/DI auto-topoff
Two 100W pro-heat titanium heaters
27W 6500K PC fuge light
8-switch power center
---
the tank has been sitting in the living room on the floor so i finally broke down and got the stand to make my girlfriend happy and she went out and bought some book shelves to sit on either side of it. i forgot to mount the lights for the picture, but im sure you get the idea. i took the picture kind of to the side so it doesn't look centered, but i assure you, my girl made sure it was 10000000% centered.

i spent today drilling the tank and getting the overflow and return parts squared away.

the overflow is a 700gph overflow kit from glass-holes. its a 1.5" bulk head that butts up to a 2"x2"x6" toothed acrylic box. it will run durso style with a vent tube. its baffled inside and there is a horizontal piece that crosses those two baffles (seen in the picture) to make the bulkhead draw from under the water-line and it will be ridiculously quiet because of that. no gurgles and hicups.


for the return i went with 1/2" loc-line bulkheaded through the center of the glass to achieve the "clean" look, no dog bones for me. its split with a Y fitting and runs to two 1 1/2" flares. pretty much standard issue.


heres a pic of the finished overflow / return setup from the back... i think it looks pretty good and exactly the look i'm going for. im amazed at how well the overflow kit looks. it very low profile and has around 10" of linear overflow for sufficient surface skimming.

heres the setup from the front.

thats about all i can do for today... luckily i timed all the rest of the parts comming in for the 3 day memorial day weekend and have all weekend to fab up all the rest. tomorrow im going to try and get into some plumbing and sump fabricating.


