My 125 Build

tferrante

Member
Its been a very long time since I posted on this forum, but I have a new project that I thought I would share with the members. I have a 55 and a 37 tall FOWLR at the moment, but my 55 used to be a beautiful reef tank (pic below) before I had a tank crash a little over a year ago. I had a thread on this forum about that 55 build. I almost gave up the hobby, but decided it was harder to tear everything down than to just work hard to get the tanks back in shape. I have abandoned corals for now, but hope to set up another reef tank in the future.
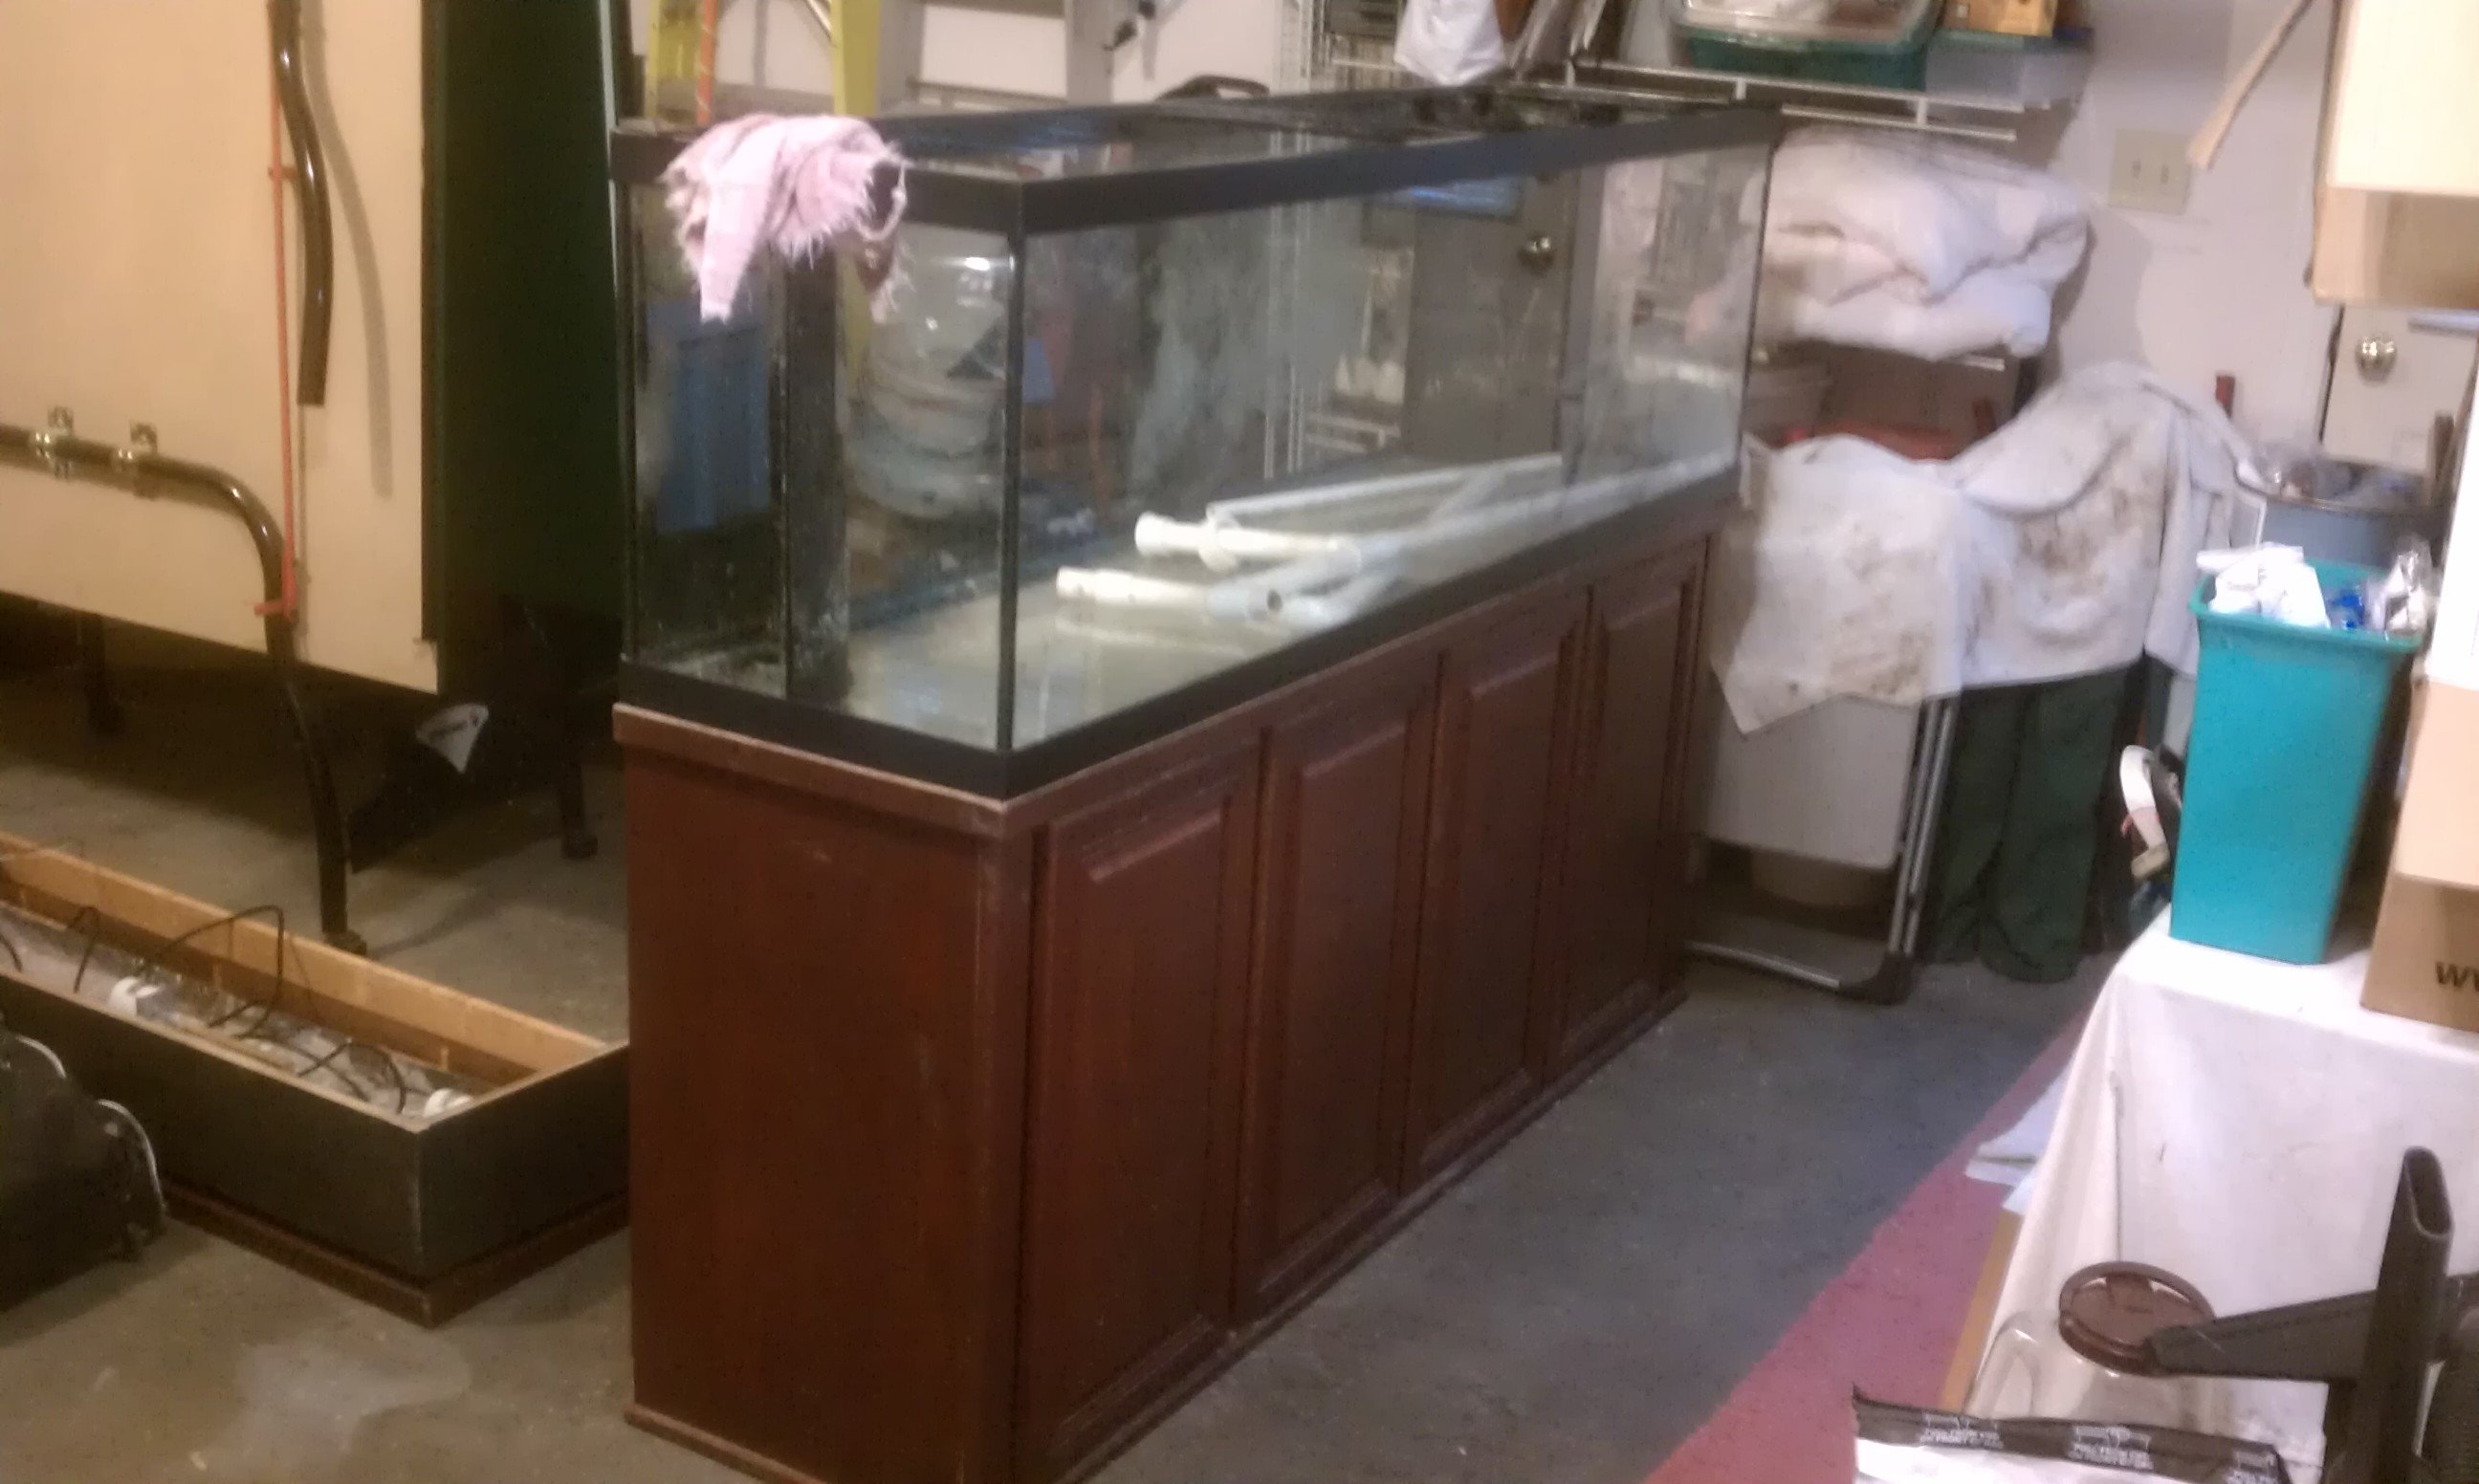
Just before Christmas, I saw a deal I could not pass up. I found a 125 with a tank, canopy, (3) 175 watt metal halides with ballasts, 2 icecap ballasts for actinics, and a 35 gallon acrylic sump. I jumped on it. I have always wanted a larger tank with a sump so here was my best opportunity yet. This is going to be a good project that will take a little time as I want to do it correctly. I have moved the tank and such in my garage and am beginning the build process. I plan on setting it up in the garage and circulating freshwater through the system to make sure all is working as planned, before I move it in the house. I am going to combine the inhabitants and my rock from my smaller tanks into this new tank when I set it up.
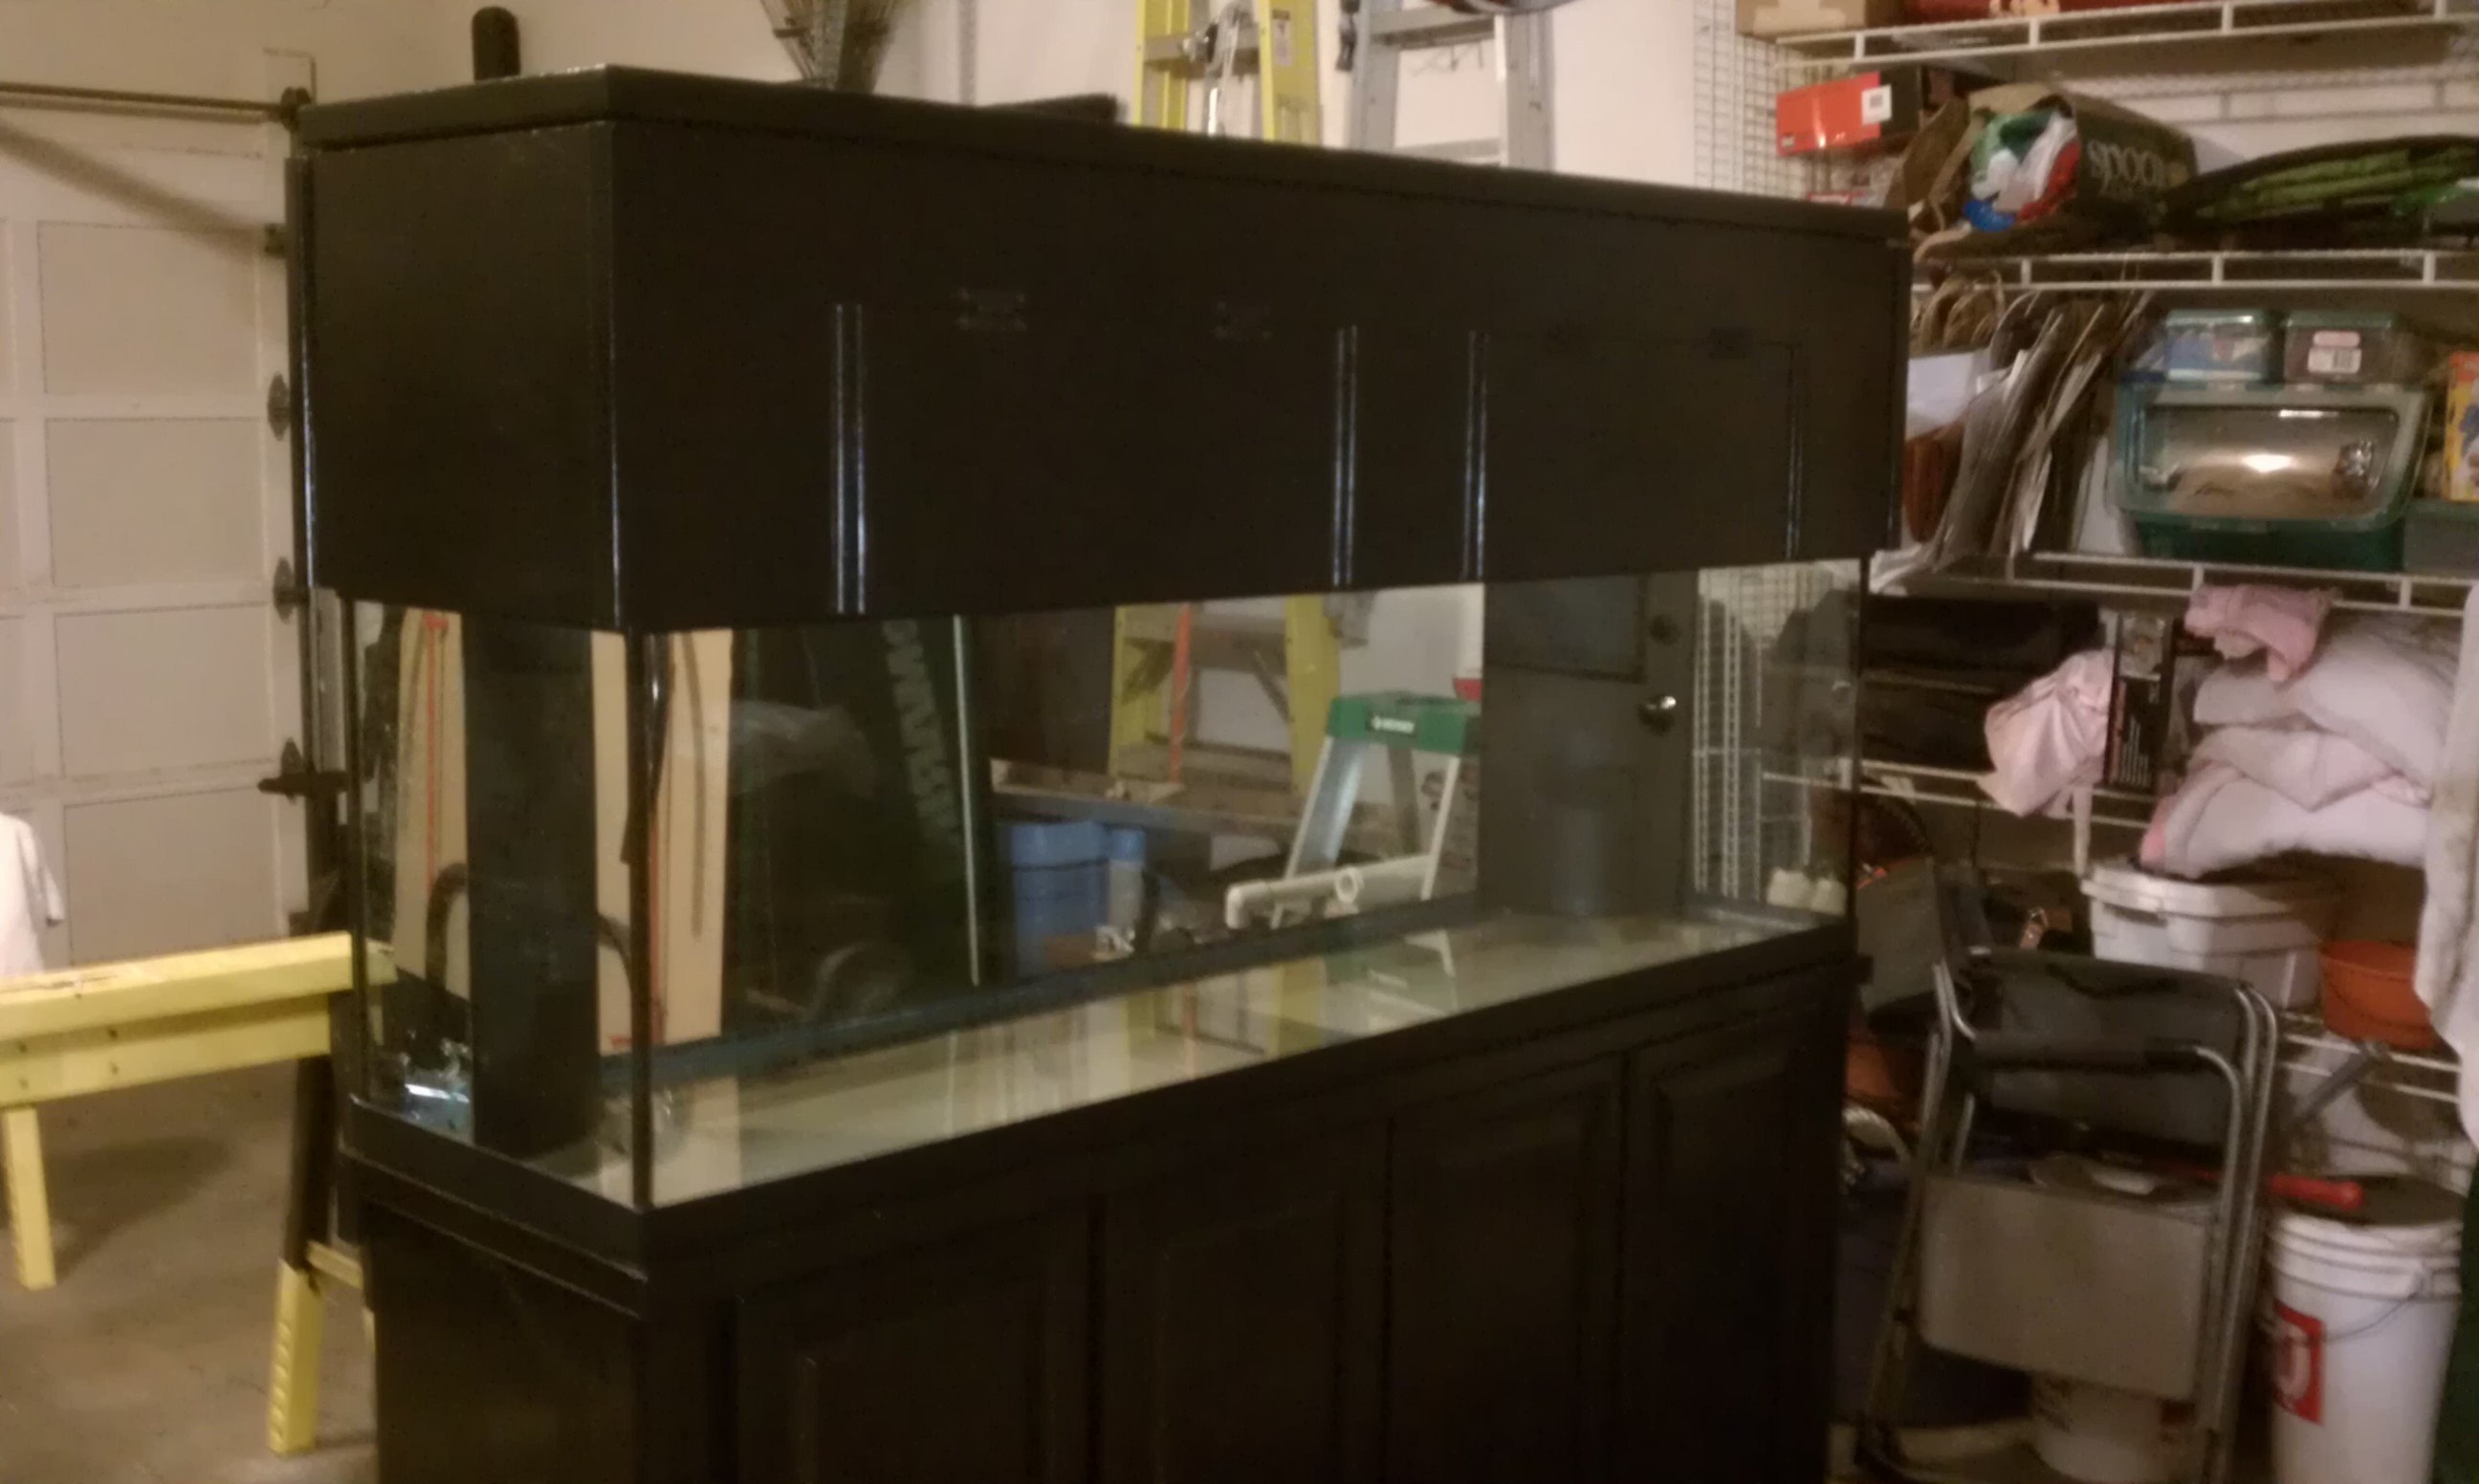
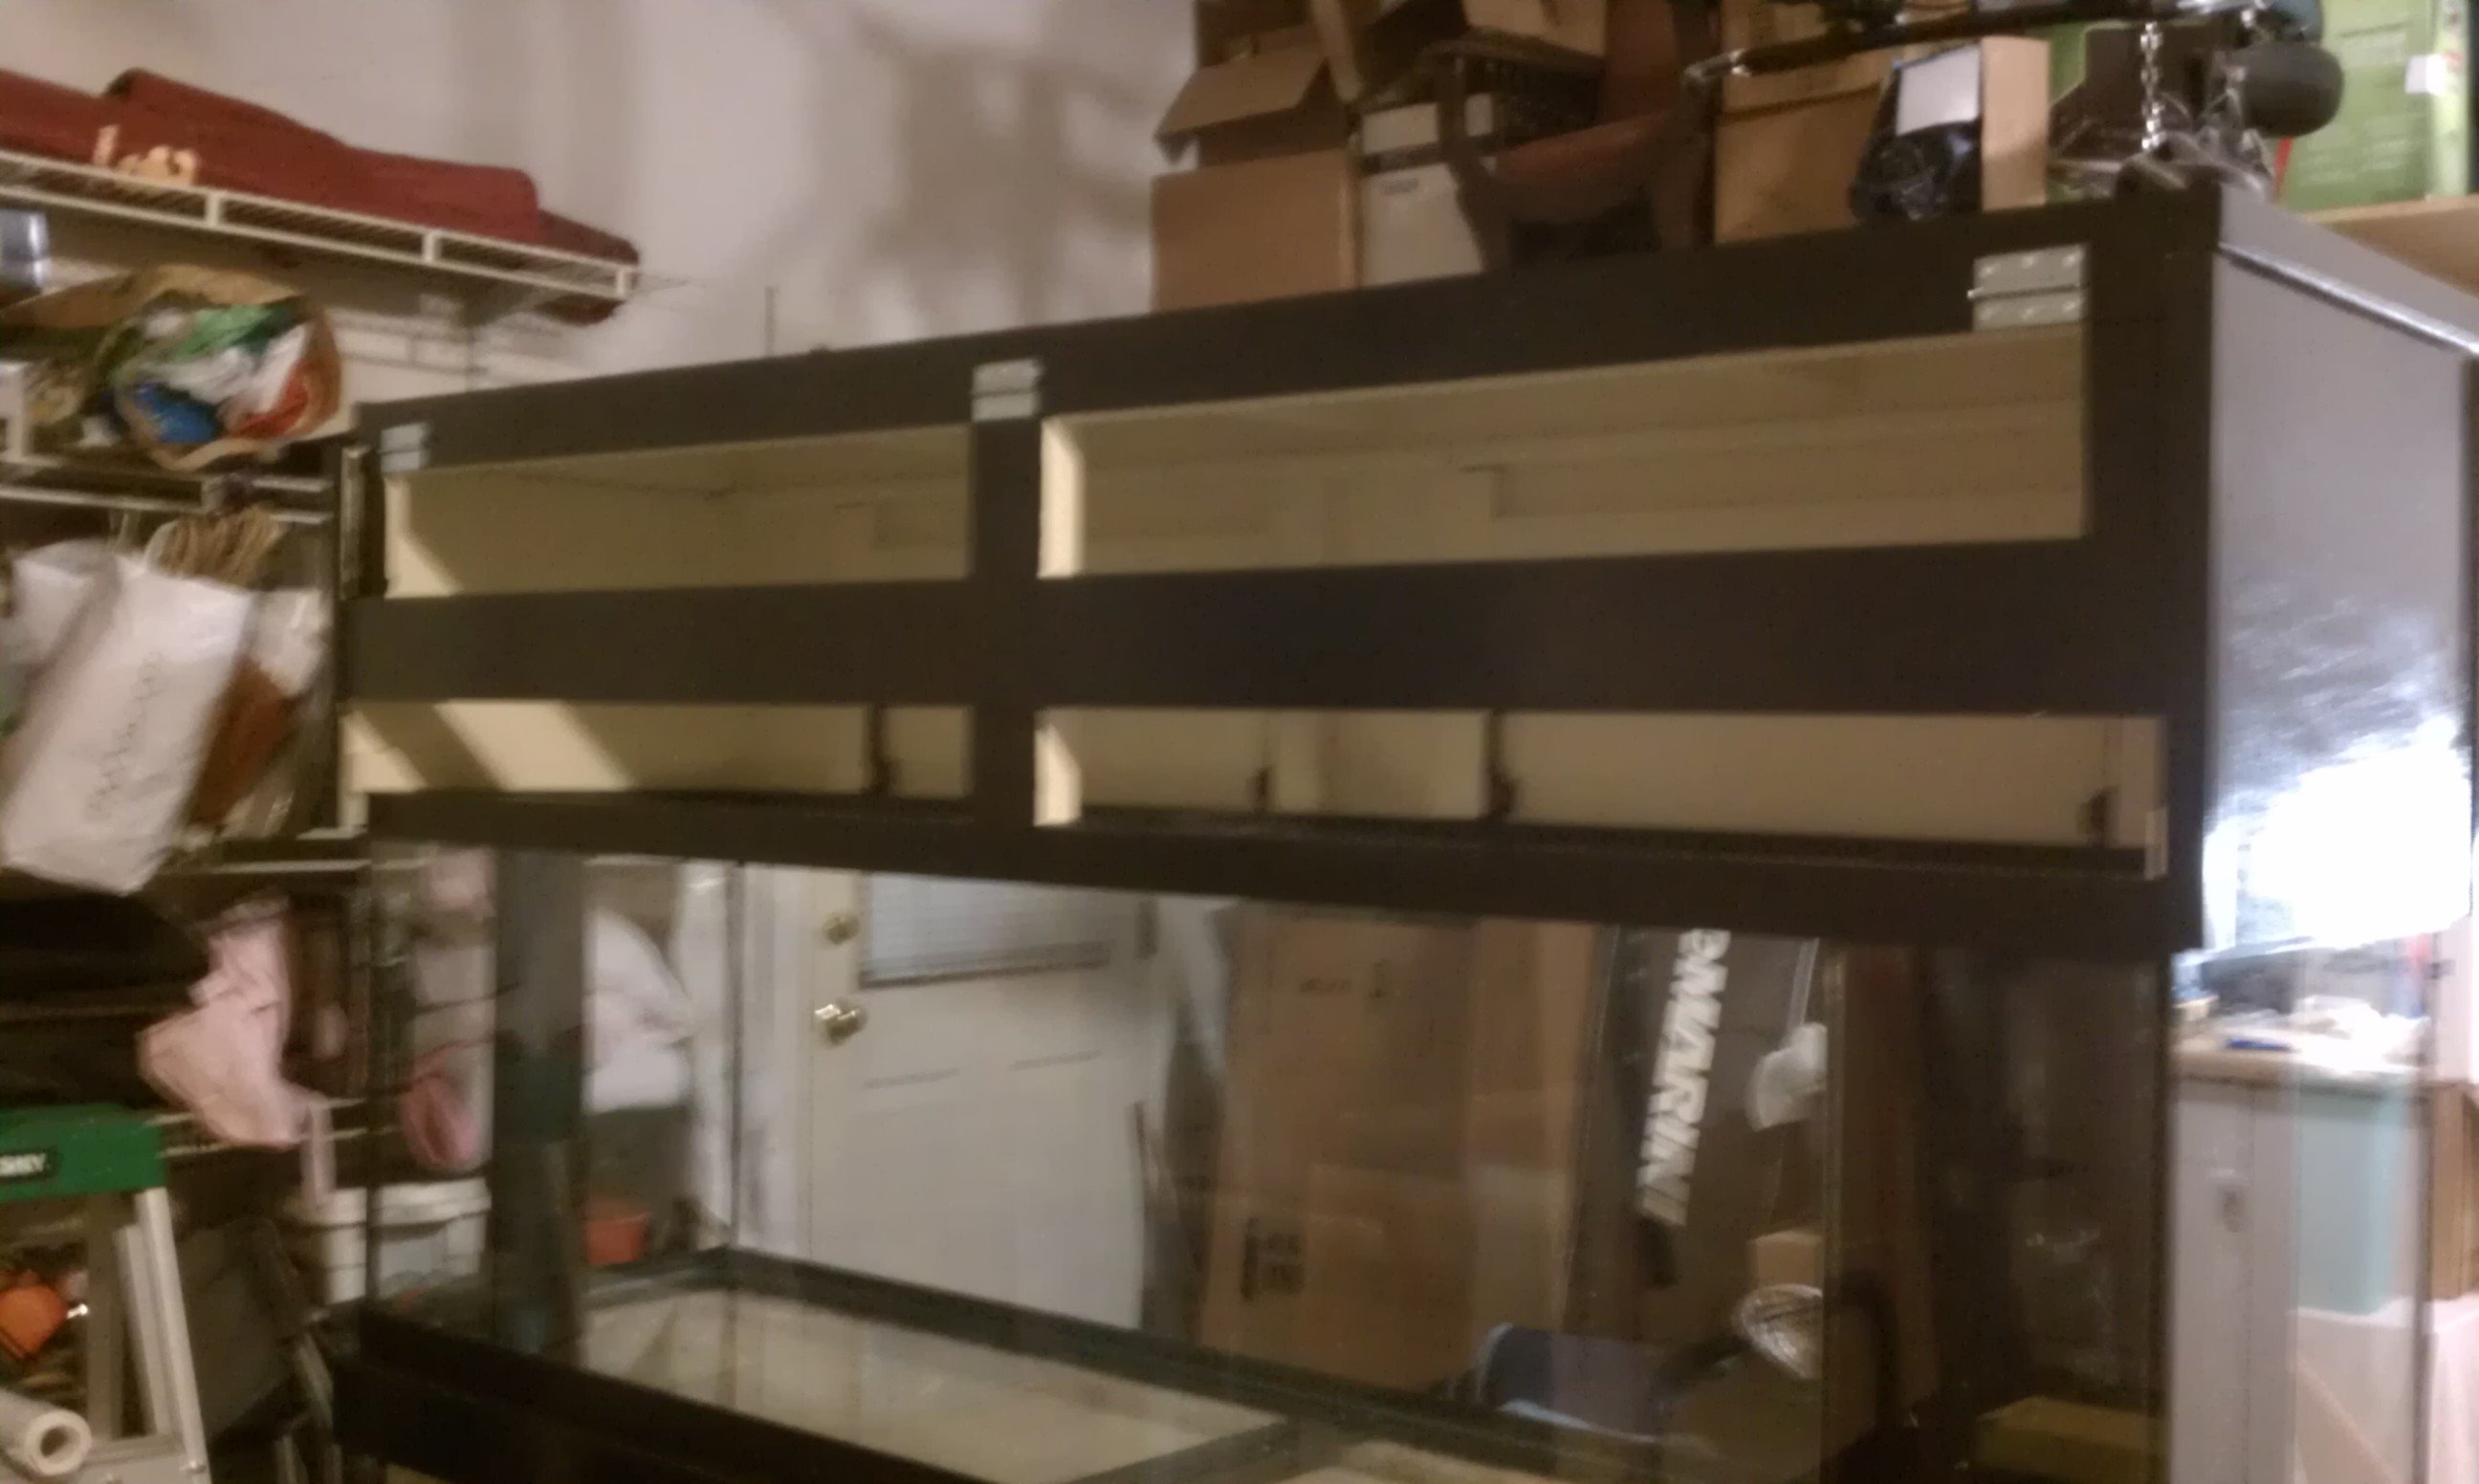
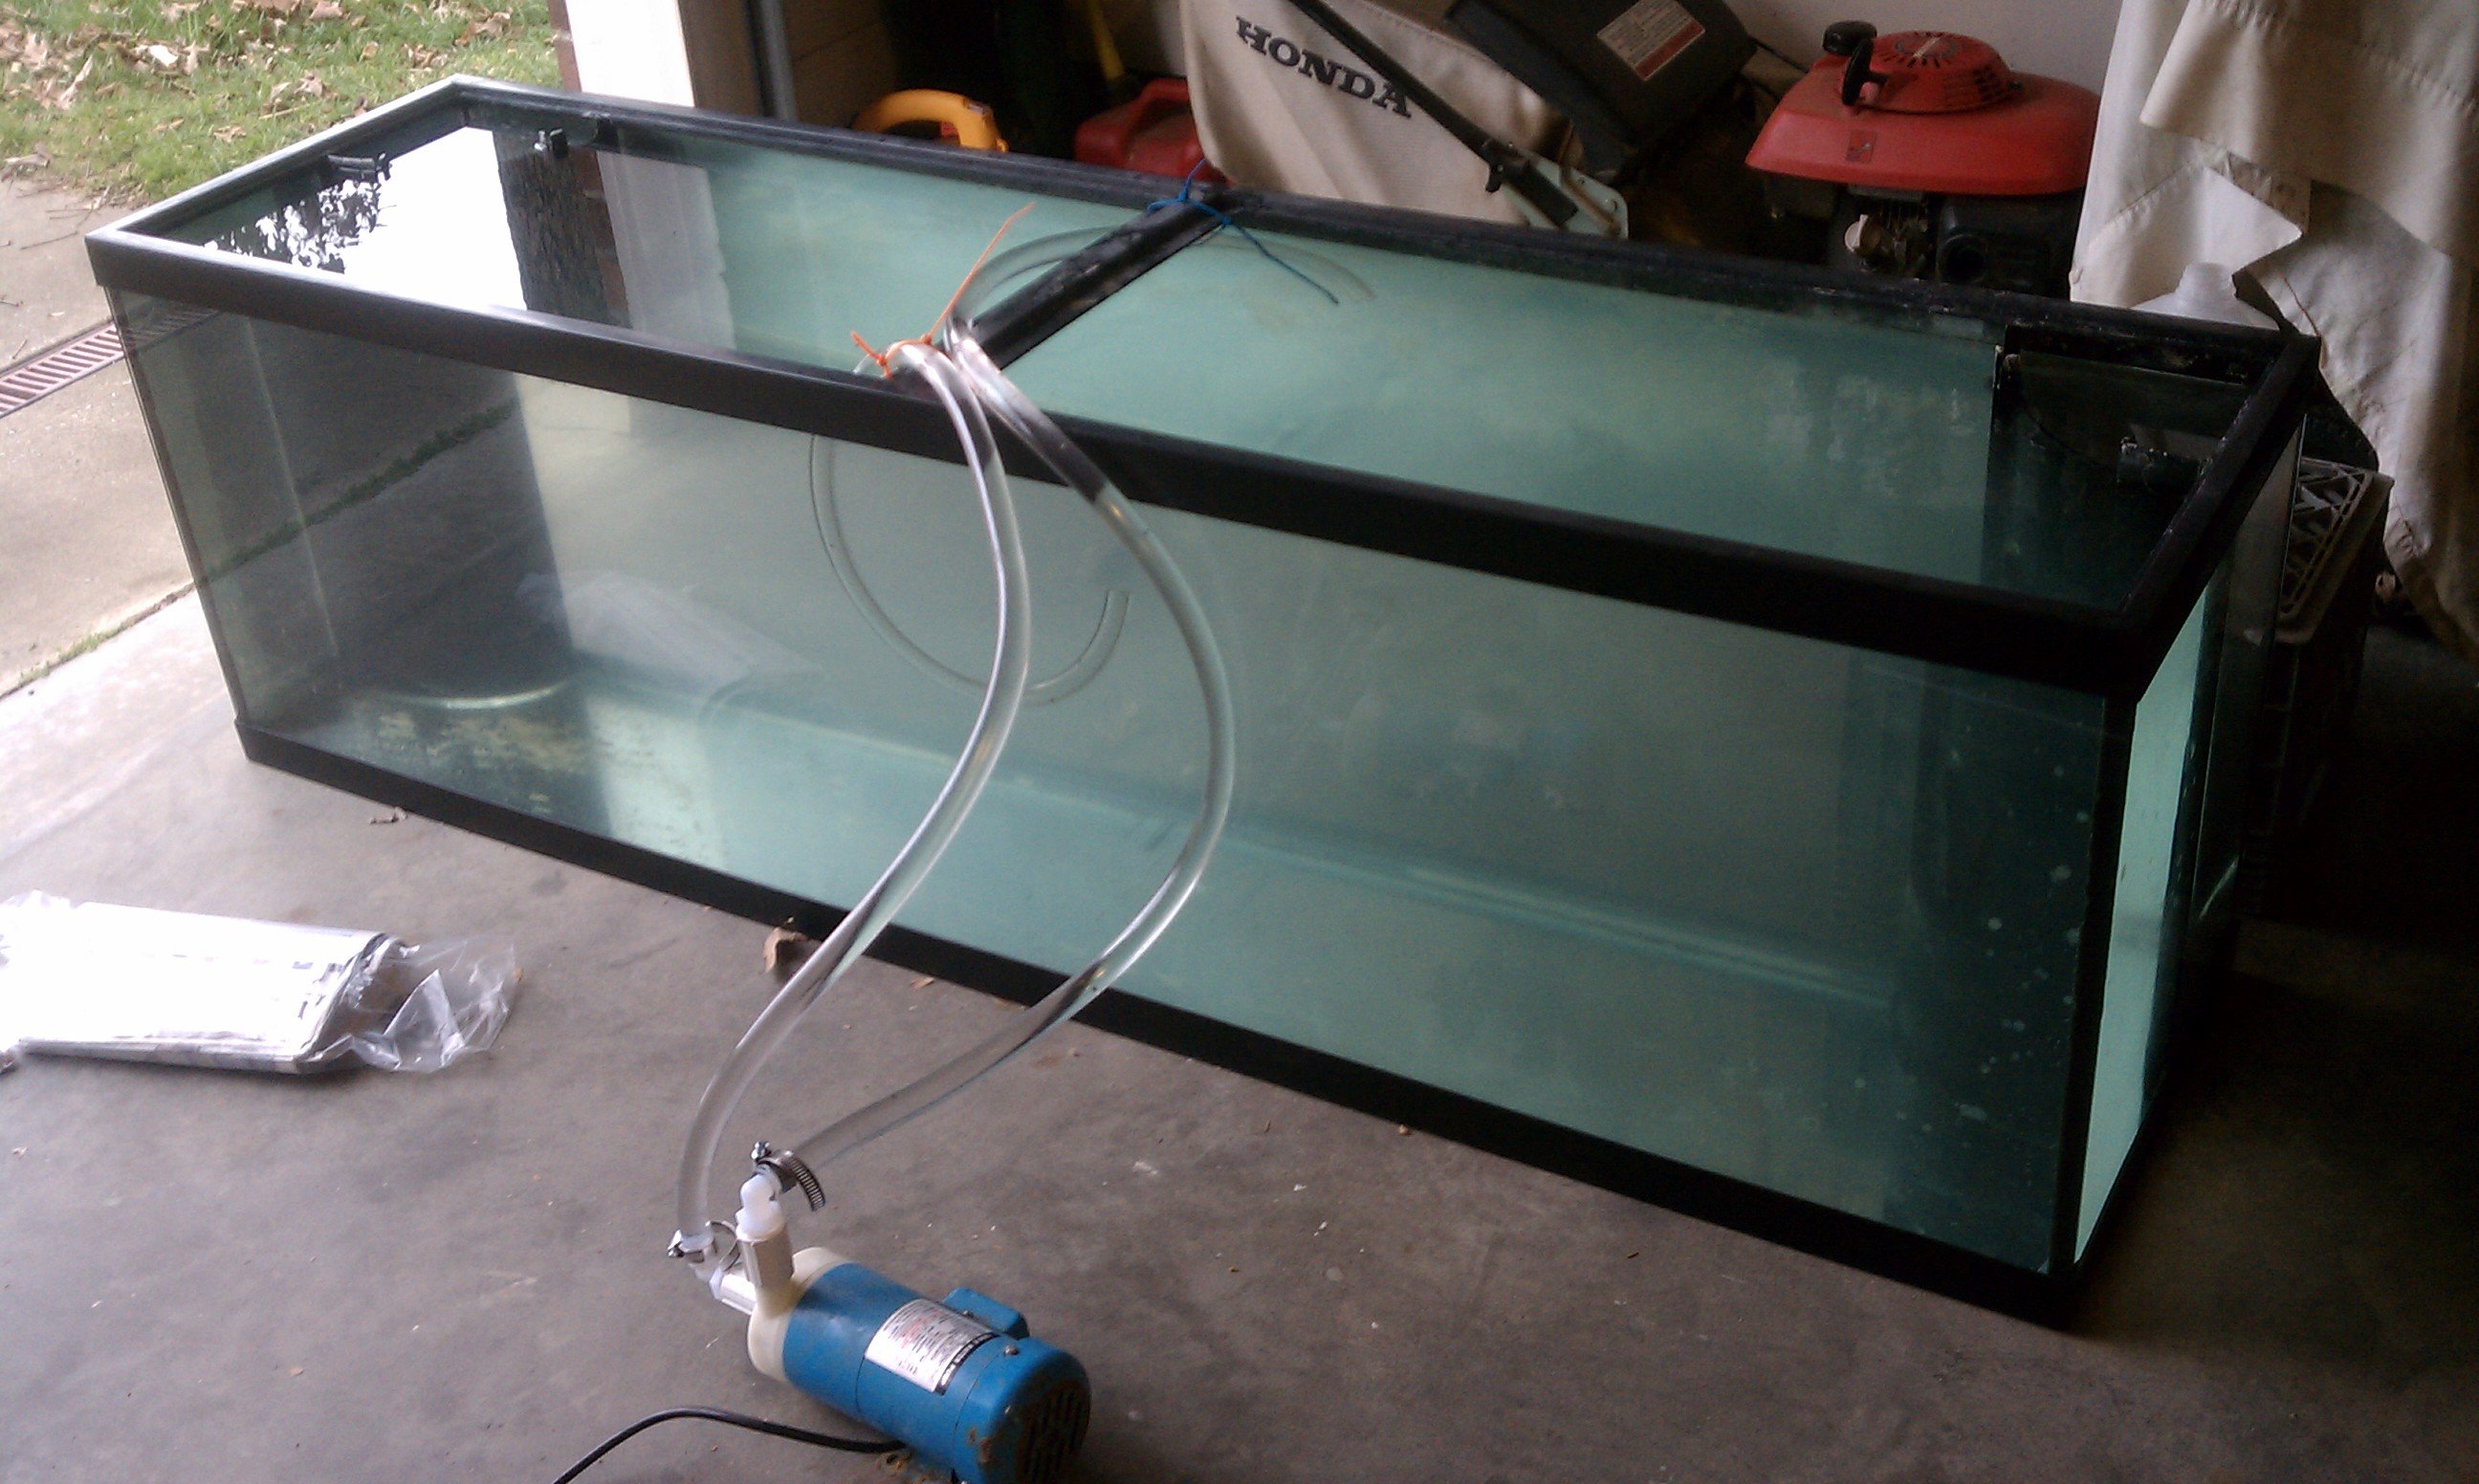
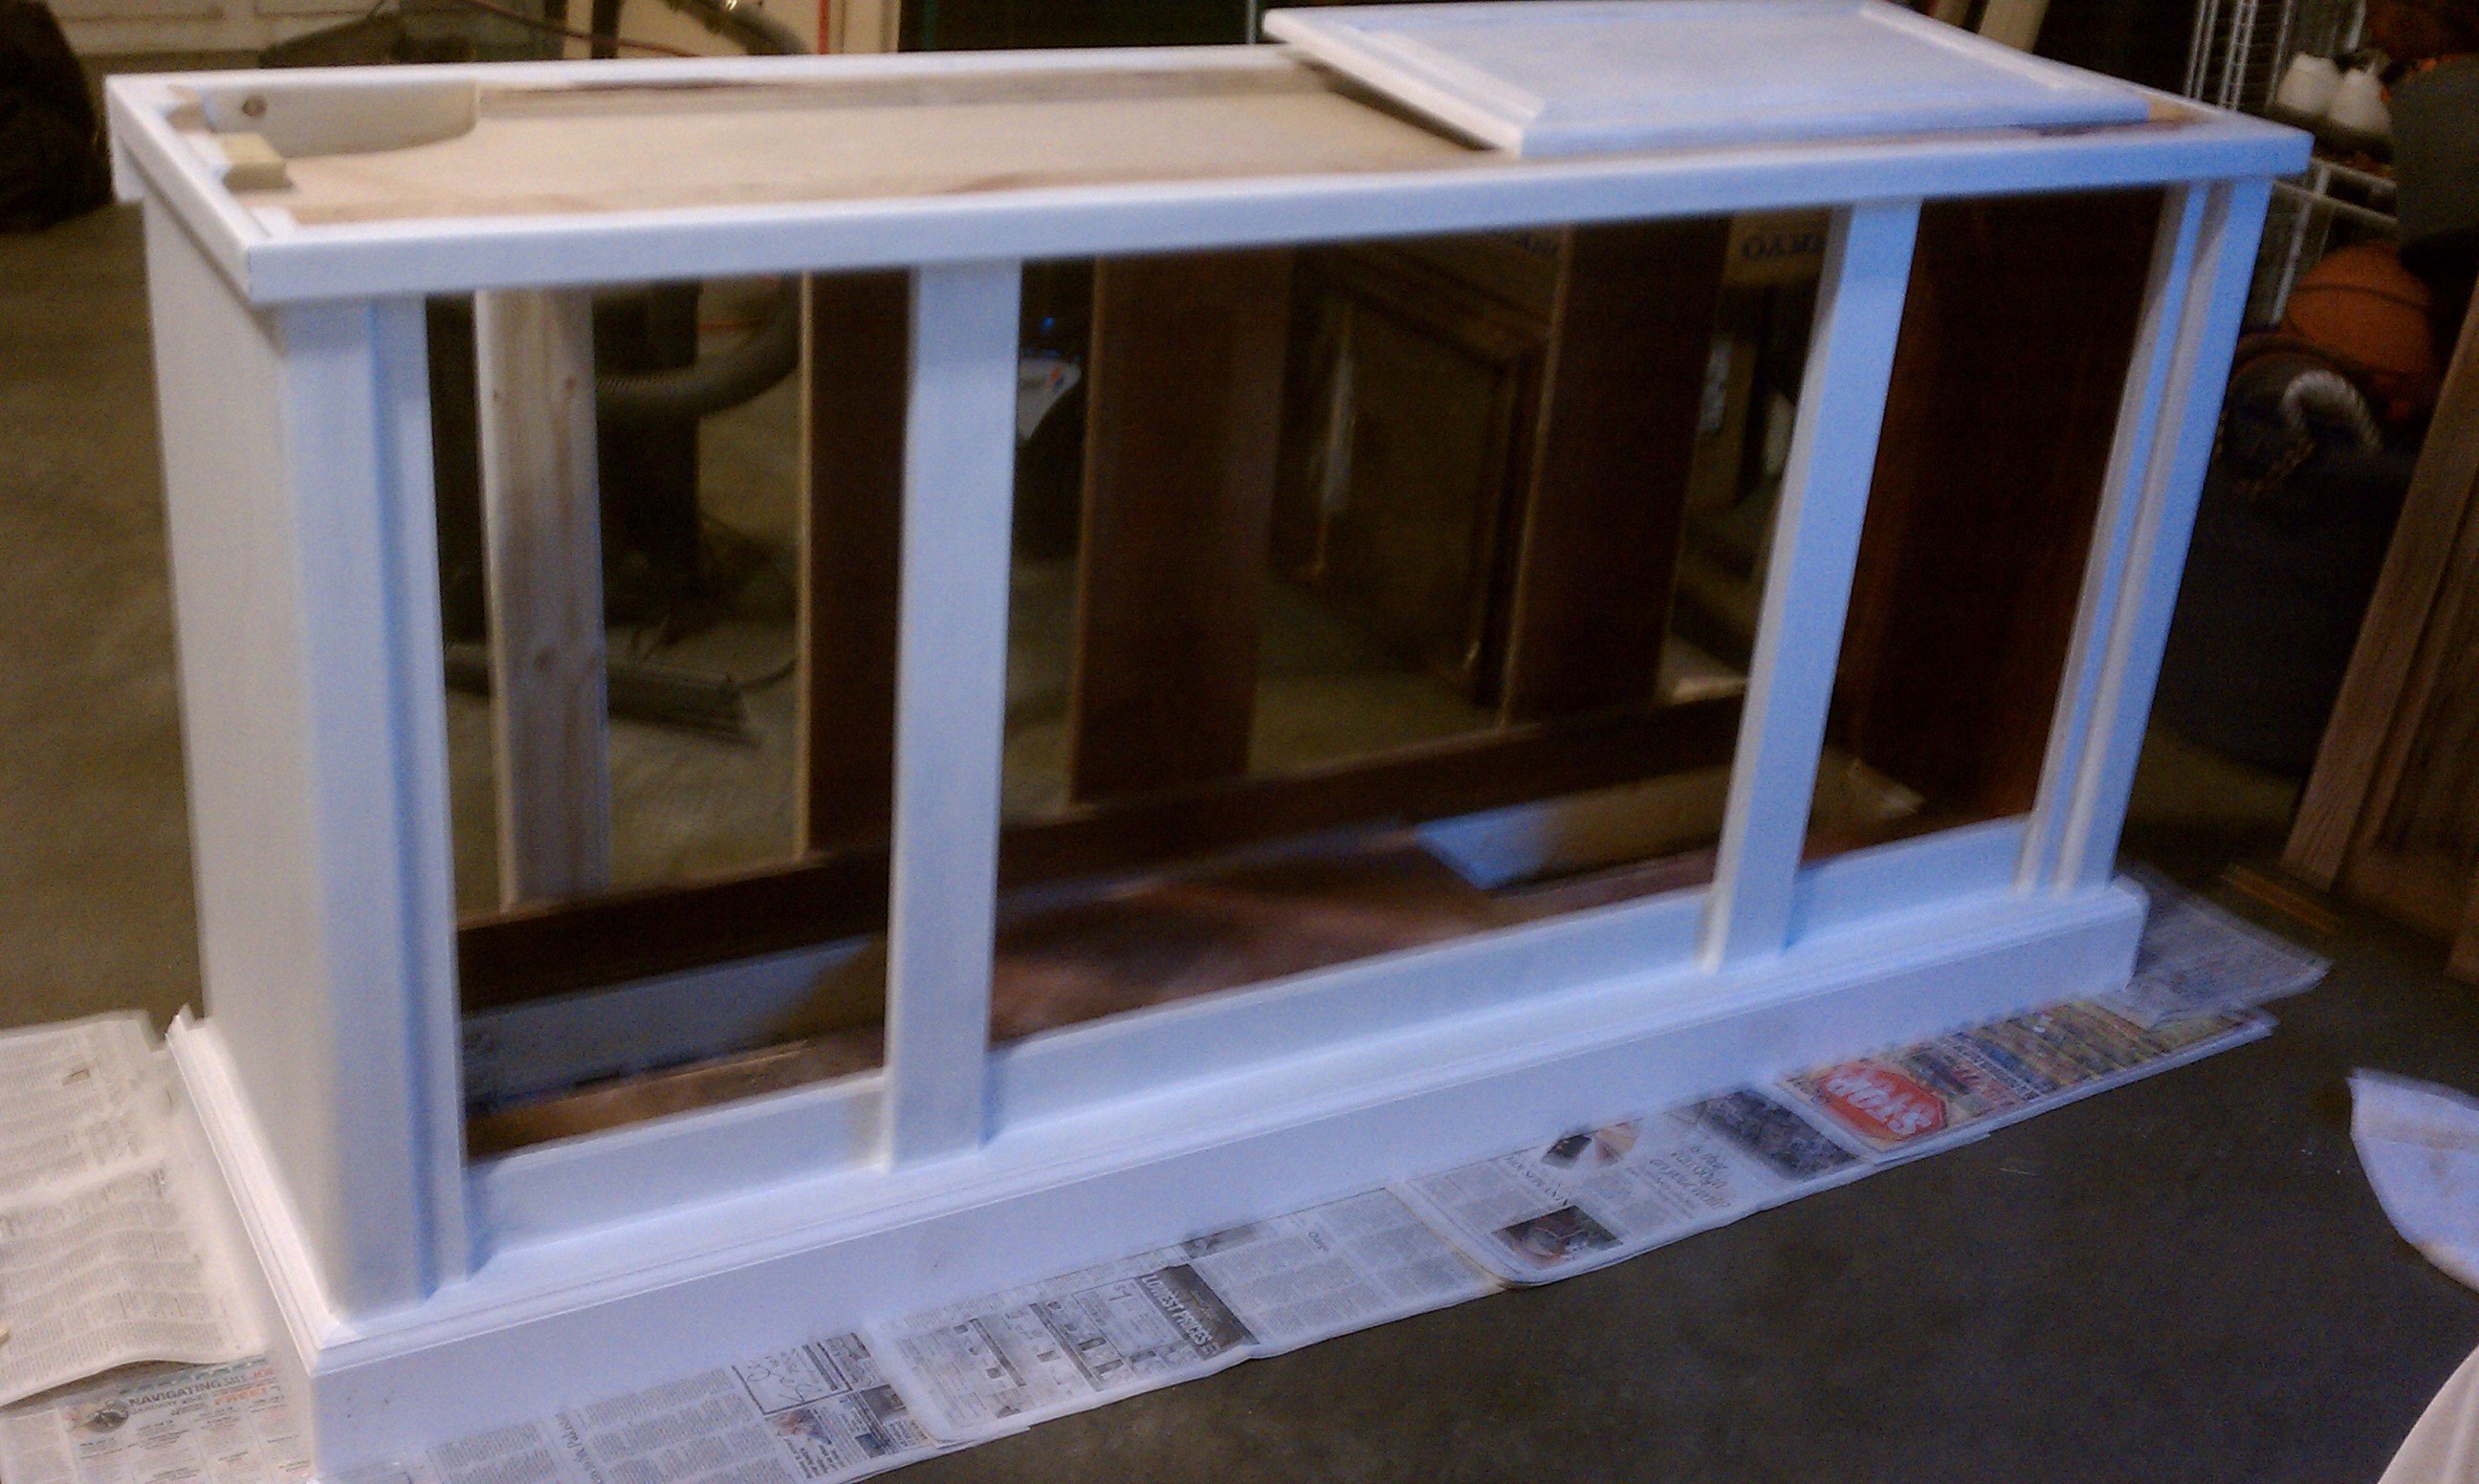
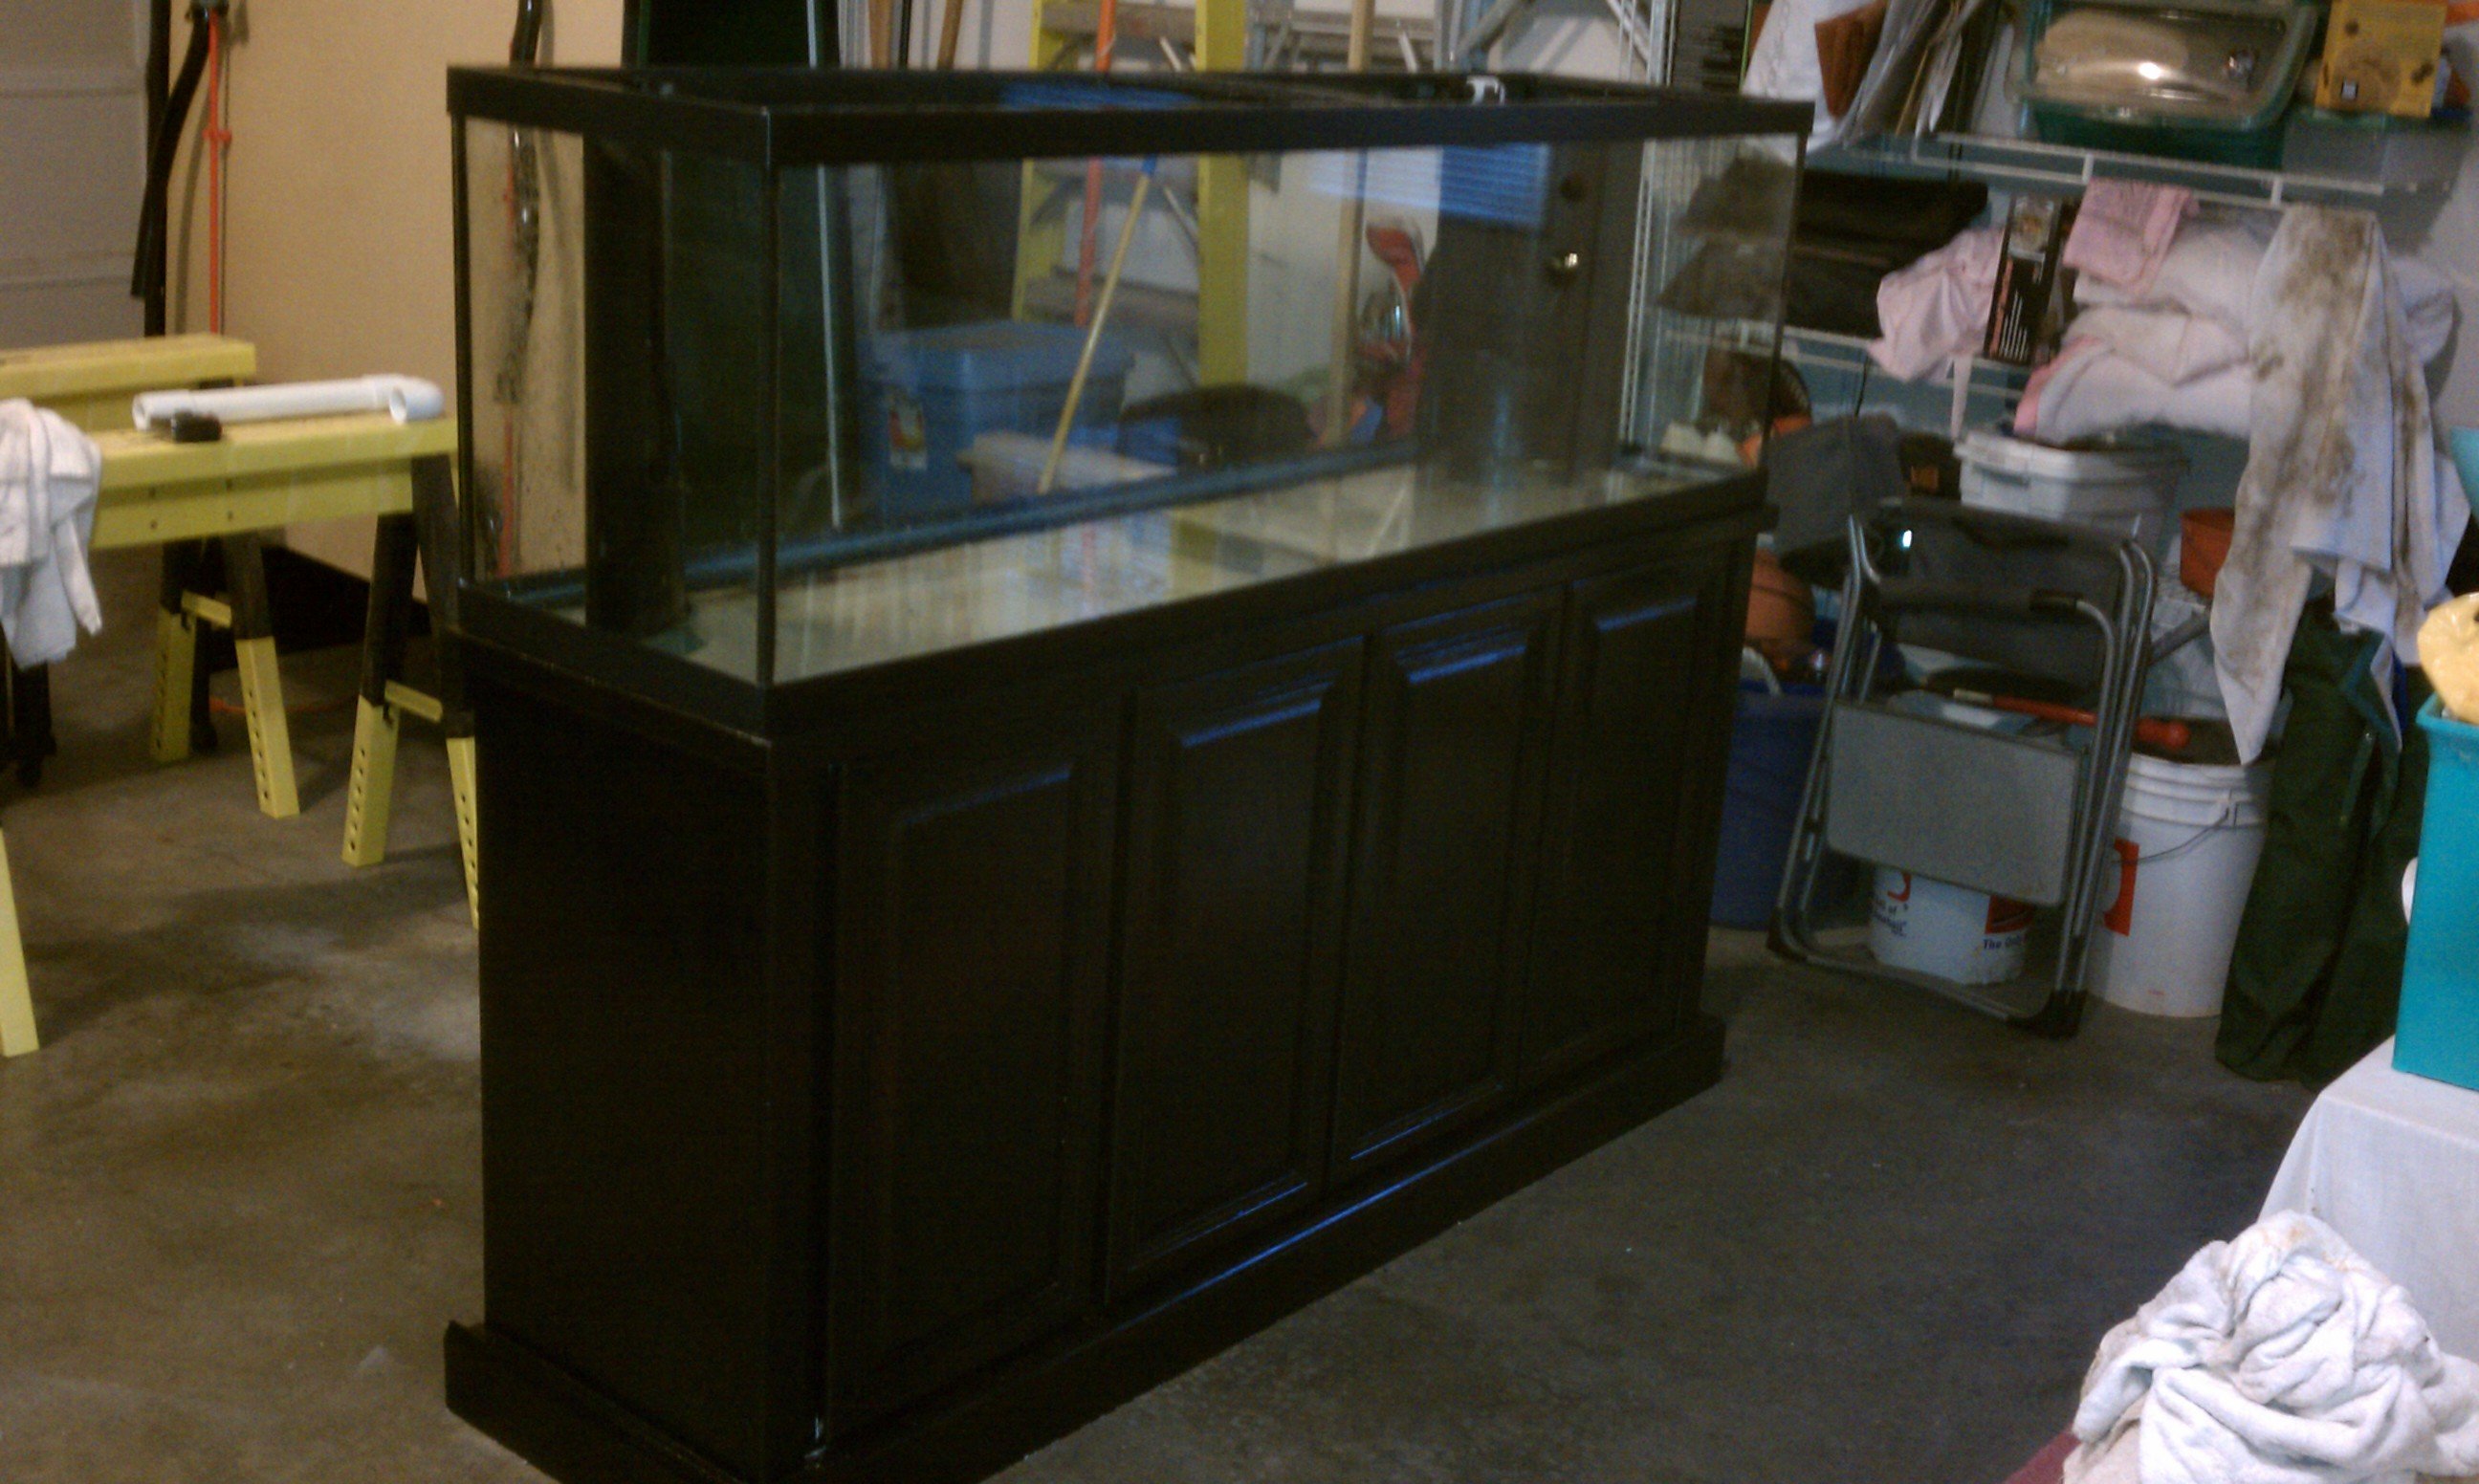
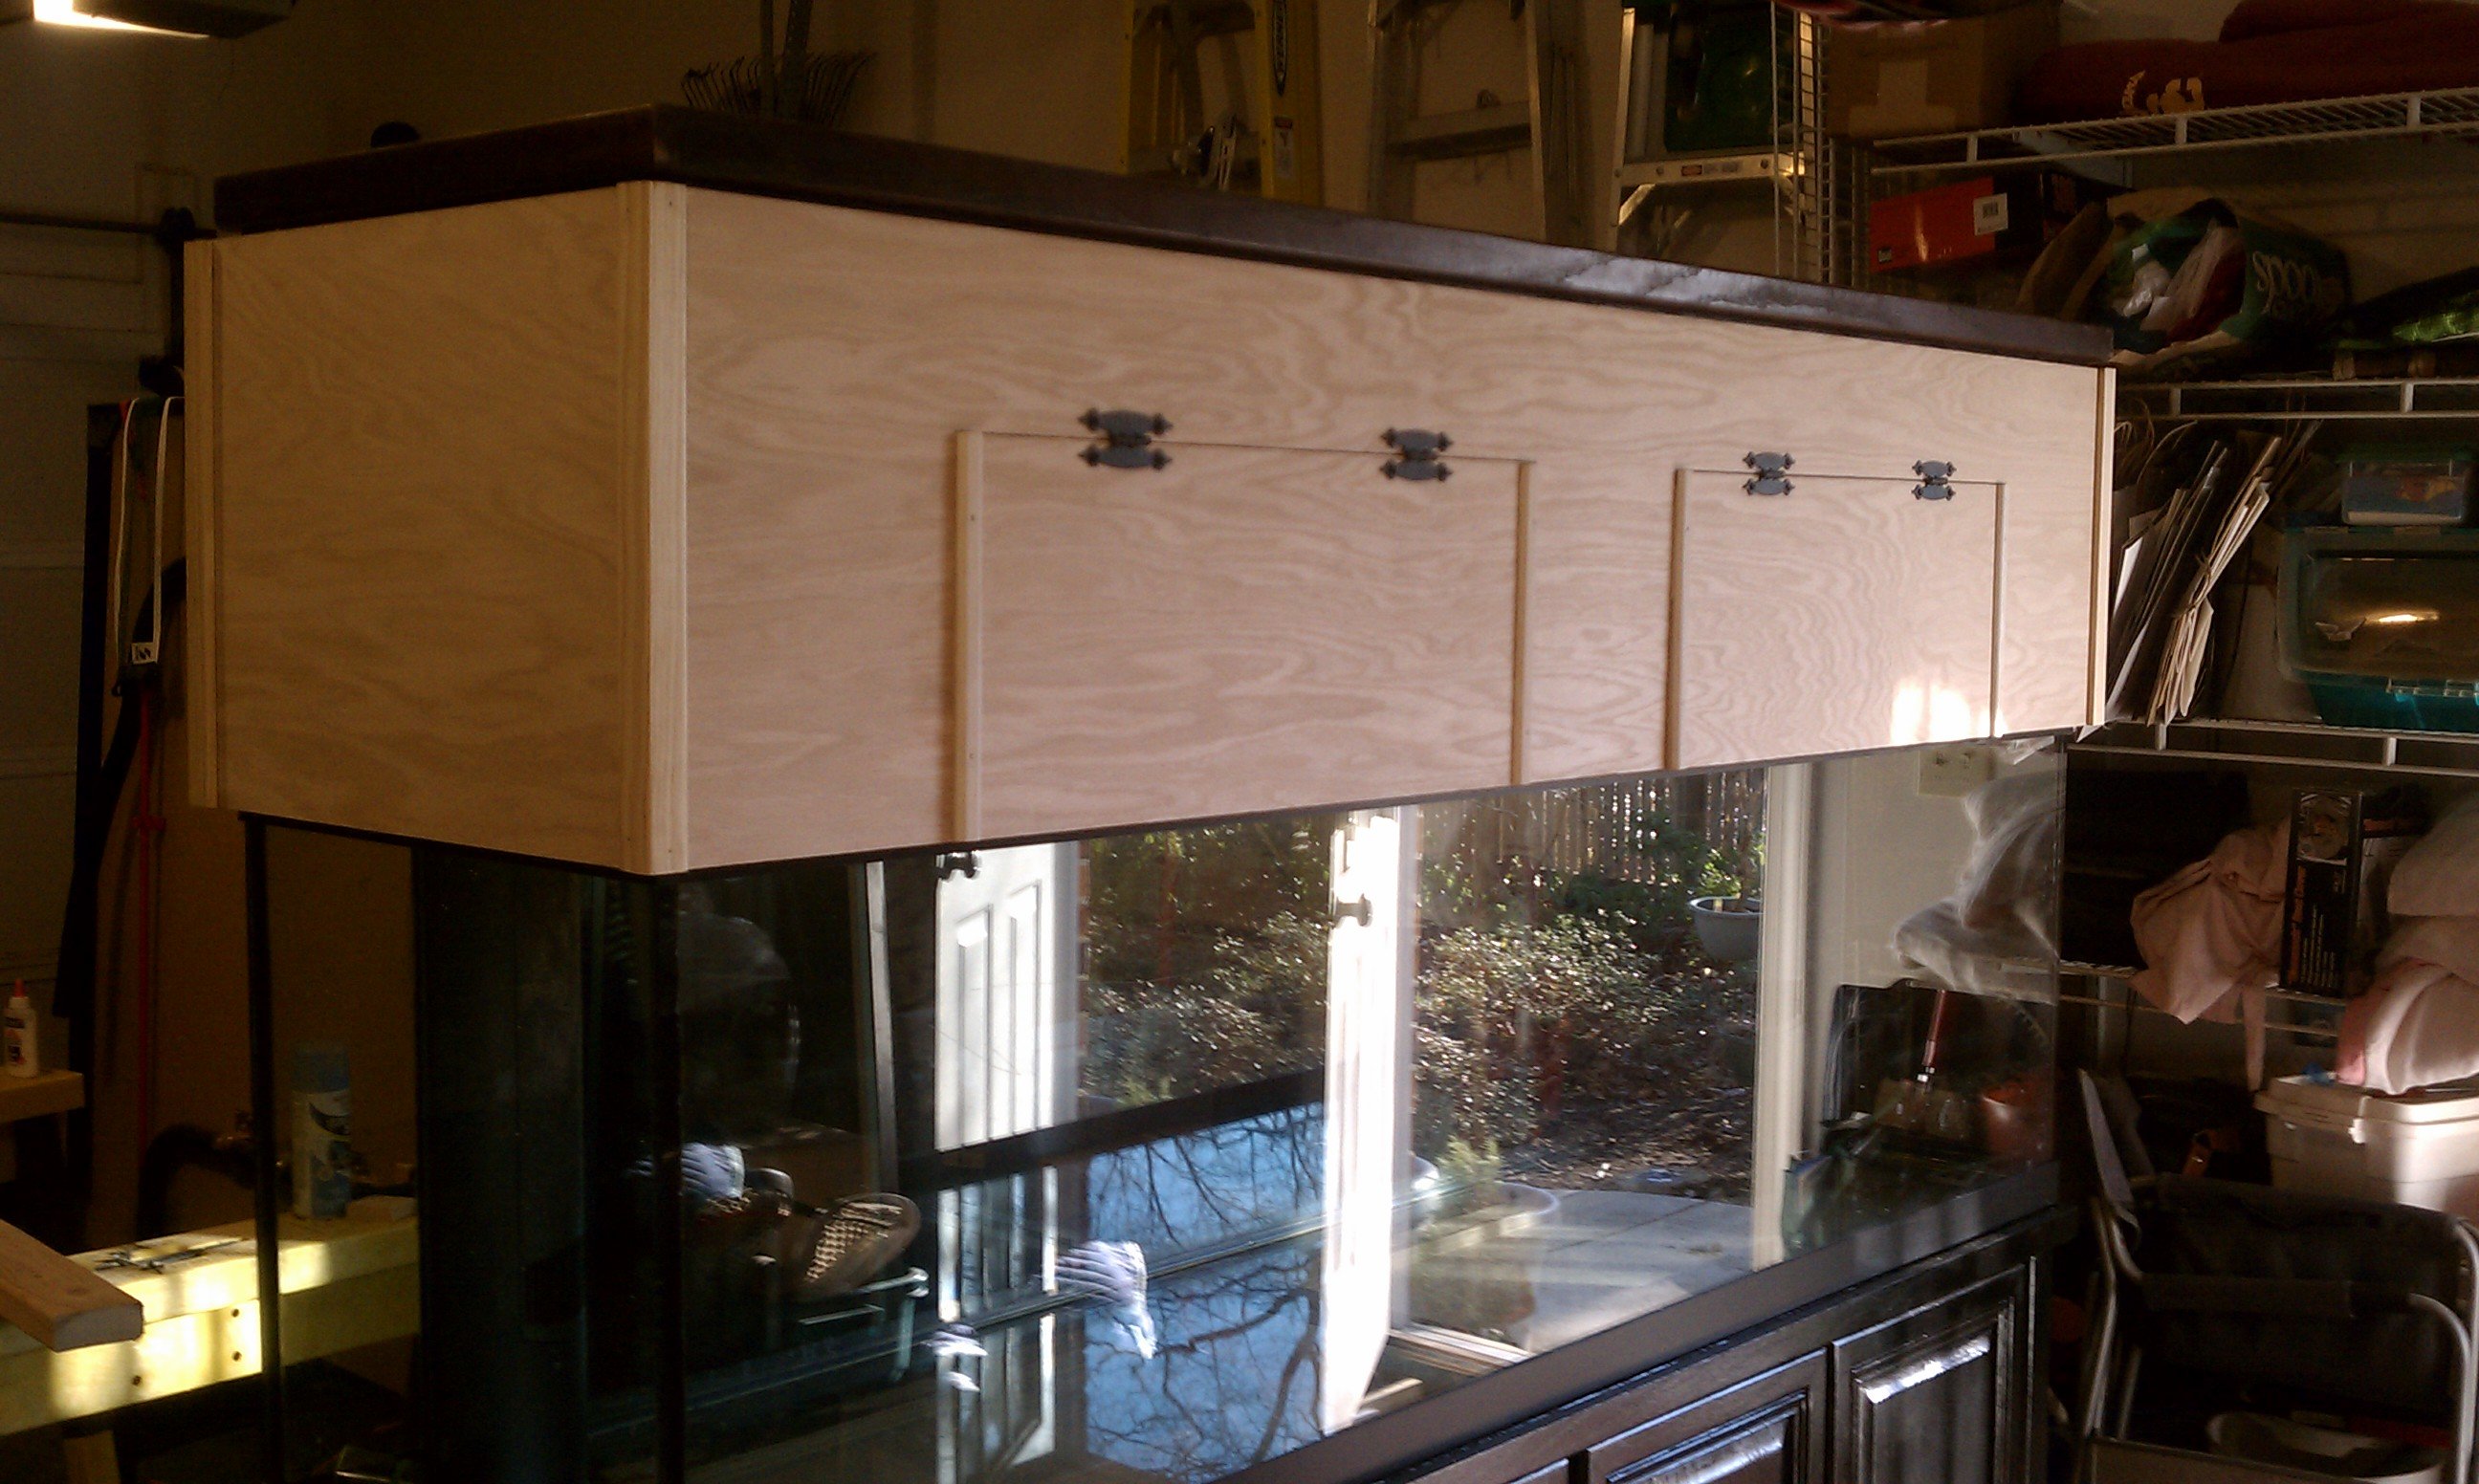
The tank is in pretty good shape. I circulated vinegar water in the tank which allowed me get it very clean before I complete the build. The stand needed some structural improvements as I have reinforced with some lumber and raised it 4 inches. It has 2 primer coats and 2 finish coats on it. The old canopy was pretty beat up and it was not quite tall enough for MH's. I did salvage the top of the canopy which I will refurbish and reinforce to mount my lights. This top will be hinged so it can be opened for maintenance on the lights. I made it tall enough so I can mount my lights a few inches lower and have some airspace behind my reflector to allow air to circulate all around my lights. In addition, I cut two doors in the front for excess for feeding etc. I put magnet closures behind the doors to keep the doors closed tight against the canopy. I am pretty pleased with the results. I now have to prime and paint it. If you notice, I found black hinges so they would not show as much when the canopy was painted black.
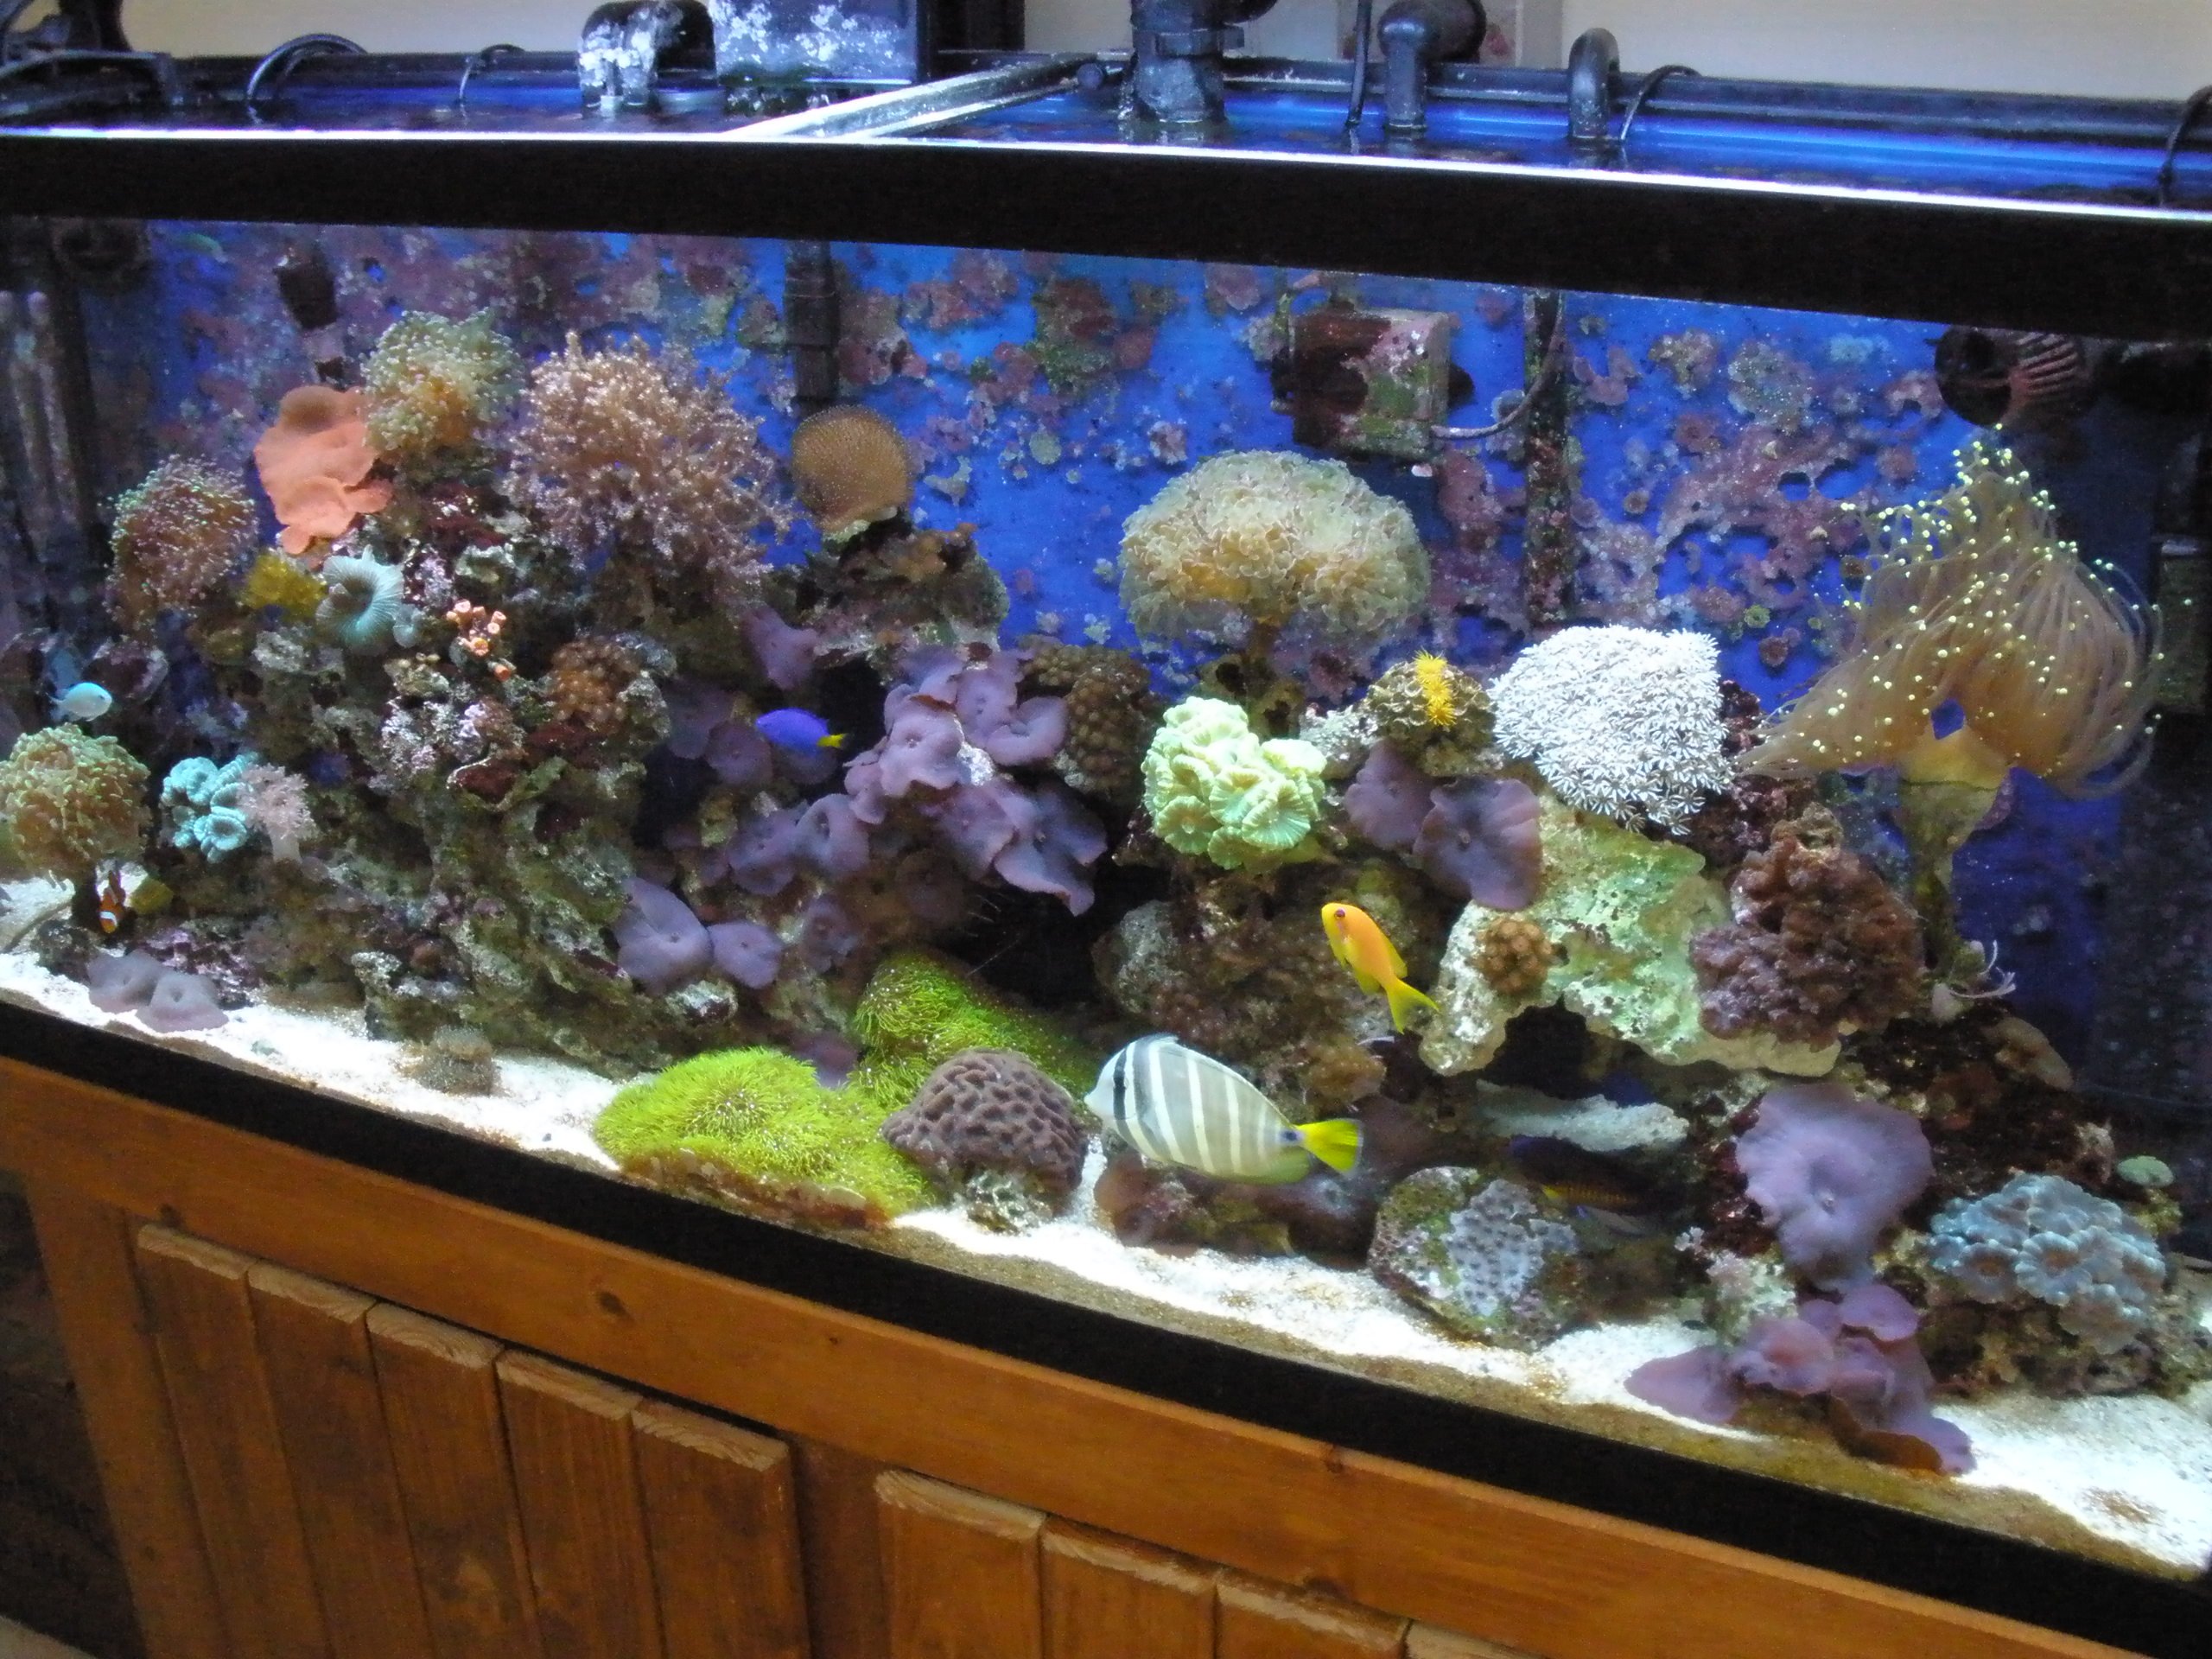
My 55 reef tank in its better days:
New arrival:
Tank being prepared for fianl cleaning:
Stand being primed:
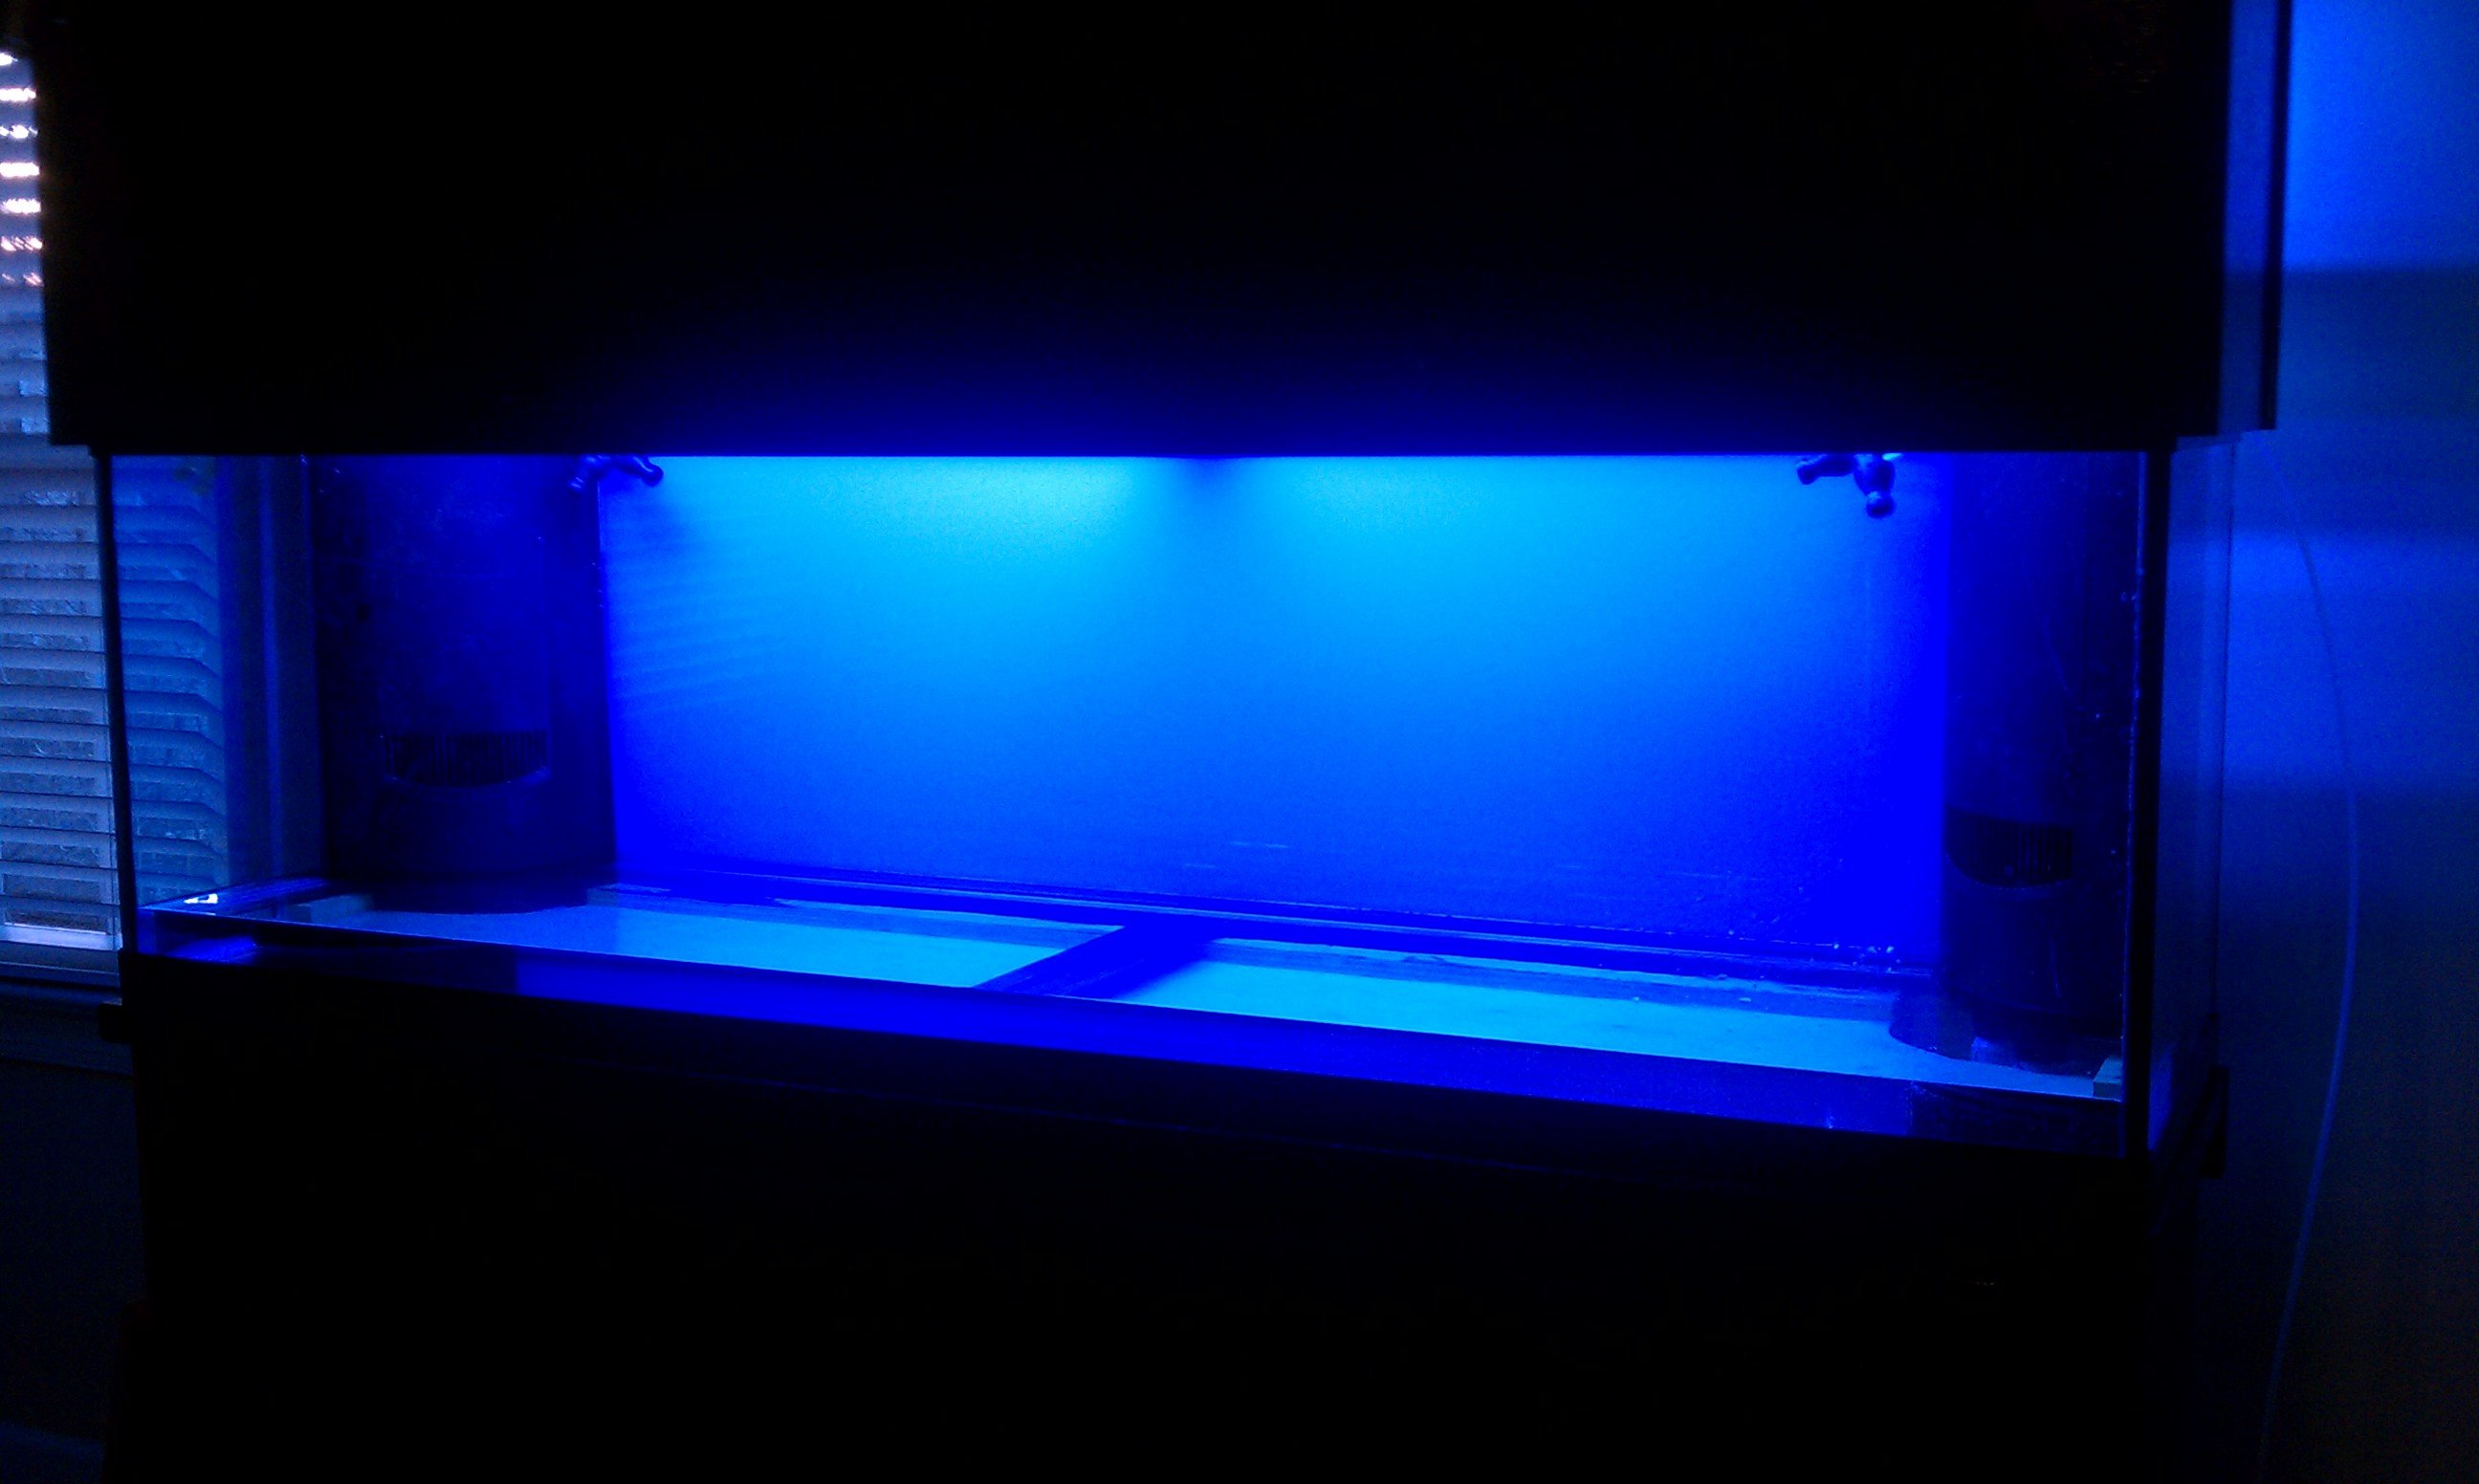
Stand finished with clean tank:
Canopy after being built:
 

tferrante

Member
I am slowly making progress. The canopy is primed and painted. I think I may mount my ballasts on top near the back or on the back of the canopy. I am open to suggestions. I do not want to put them in my stand to keep them out of that environment and keep the heat down.
I have started my plumbing and have completed my layout. I need to glue it all together now and hope I have no leaks. I am going to leave my fittings right below the bulkheads unglued until i move the tank into its permanent location in the house. I will wrap with teflon tape to make them tight so i can test the system. Here are some pics.
Canopy complete

Back of canopy

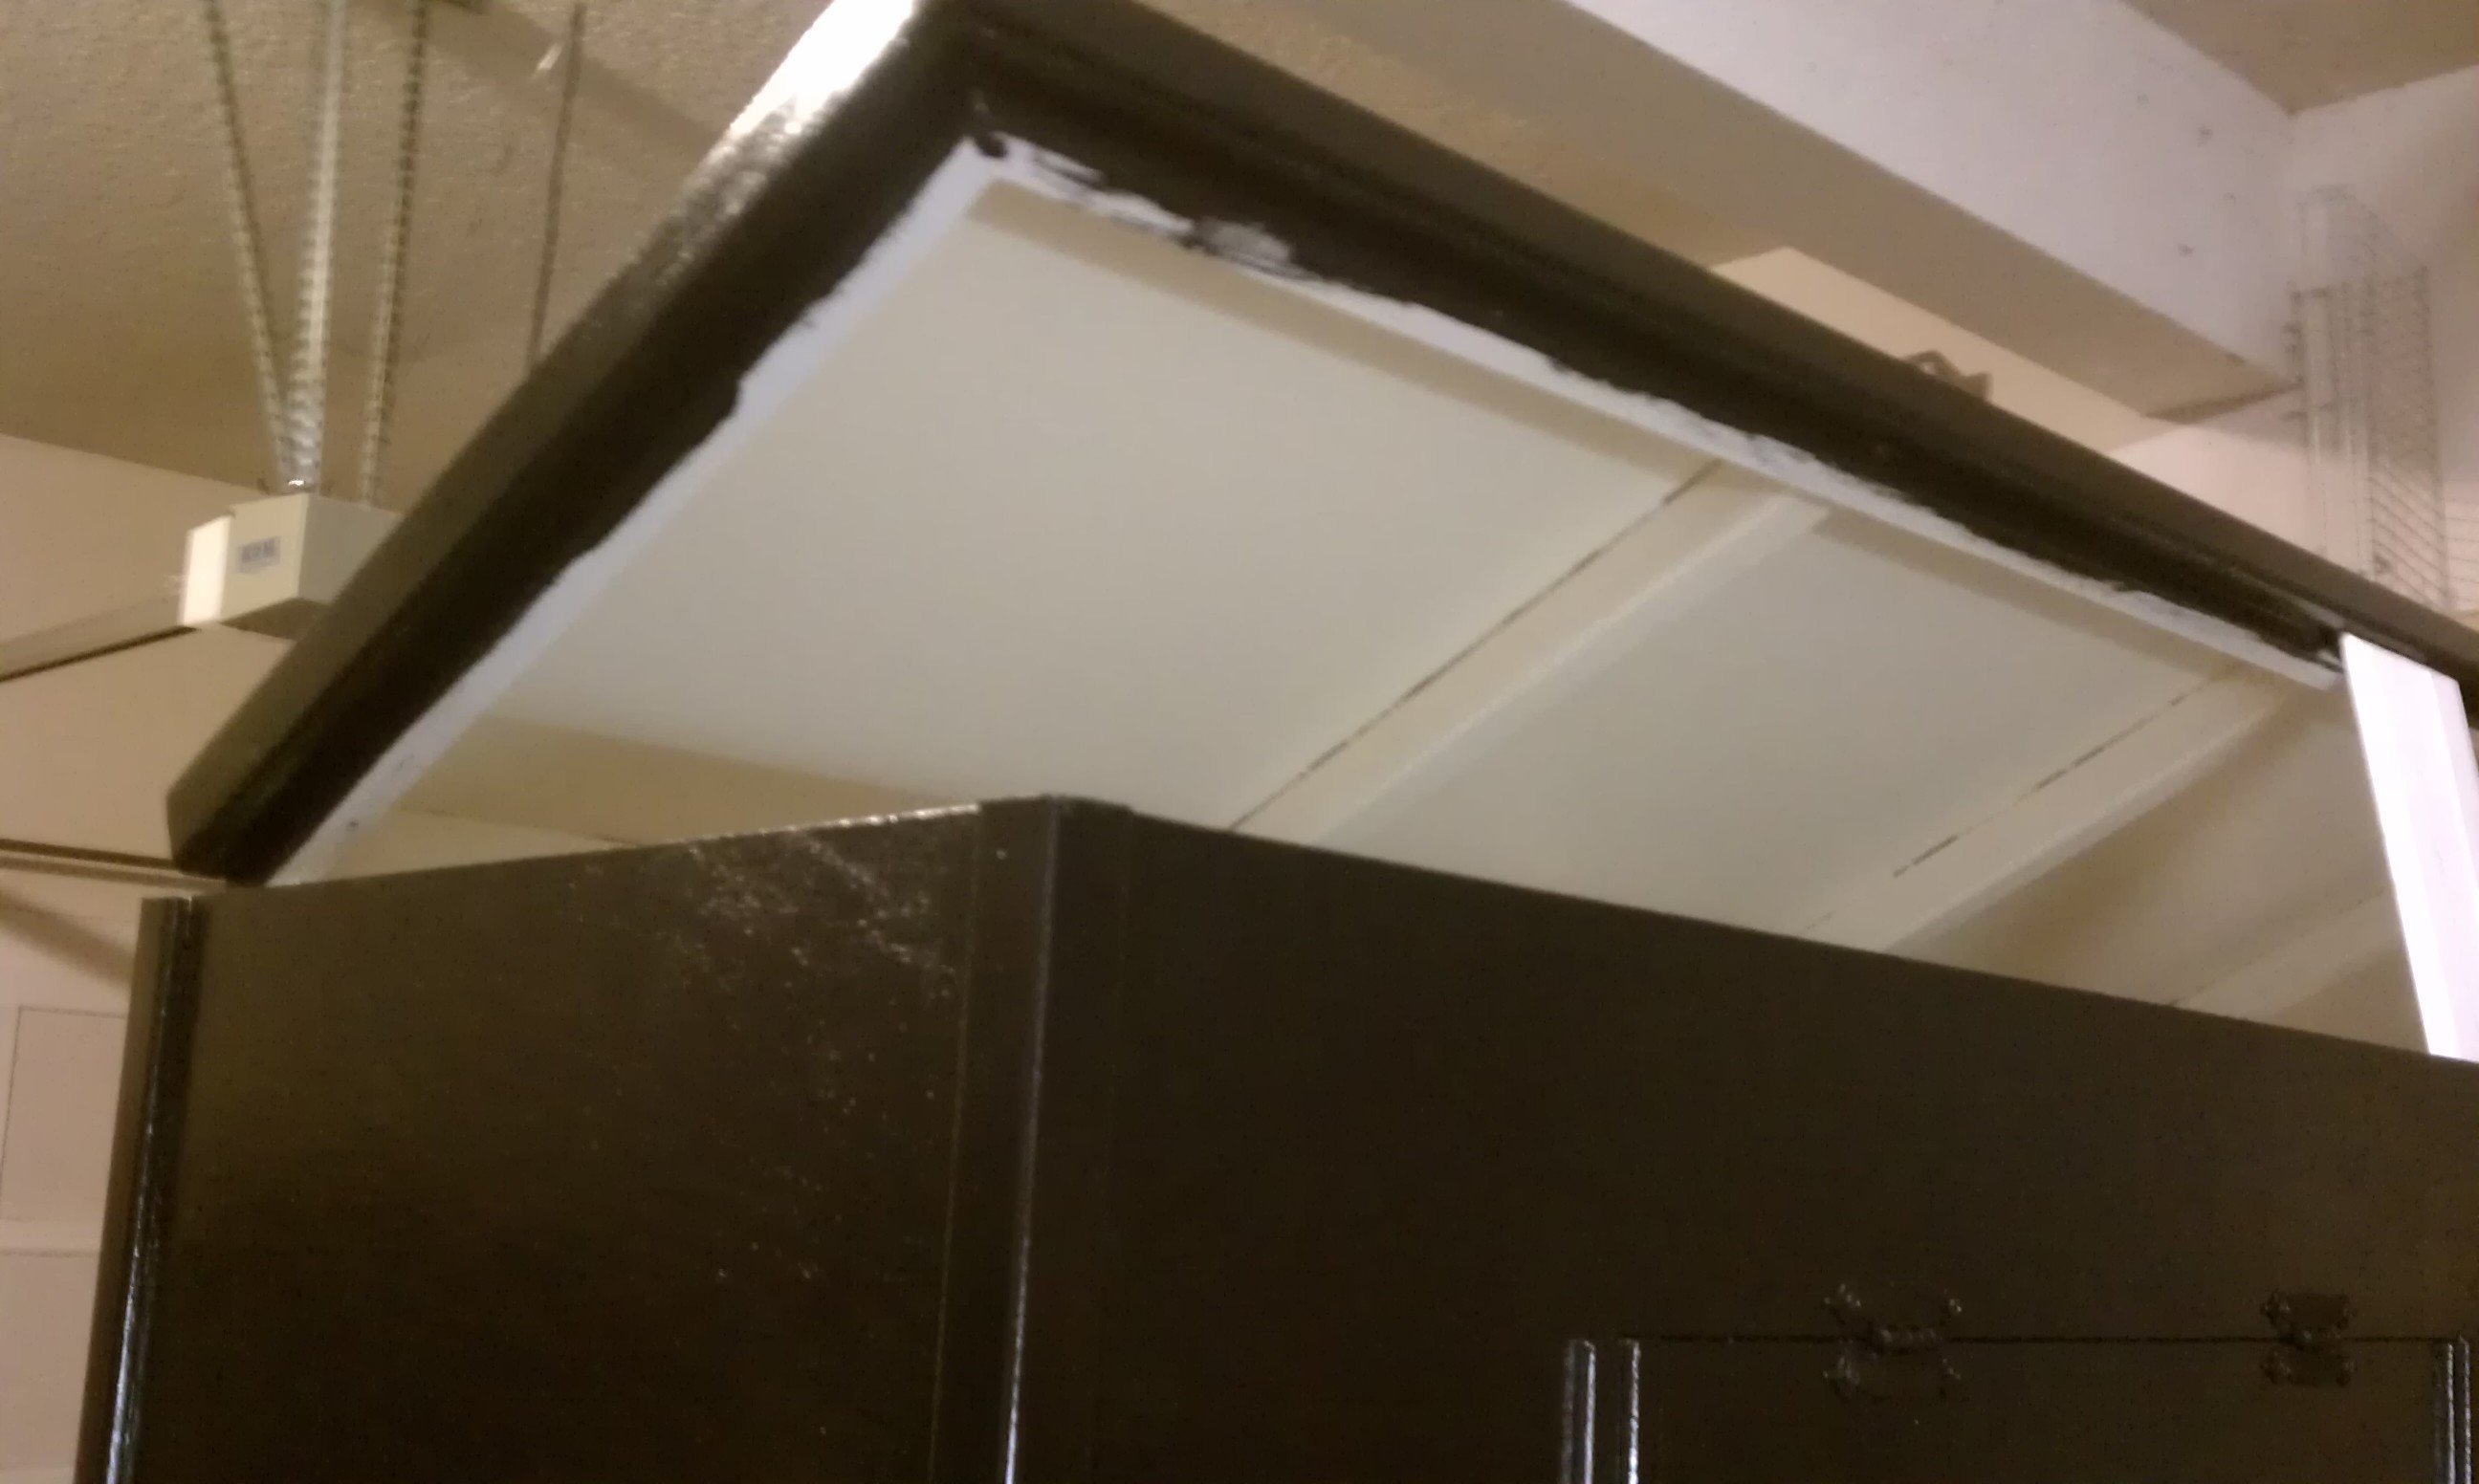
Top hinges open in addition to doors on front for easy access to lights

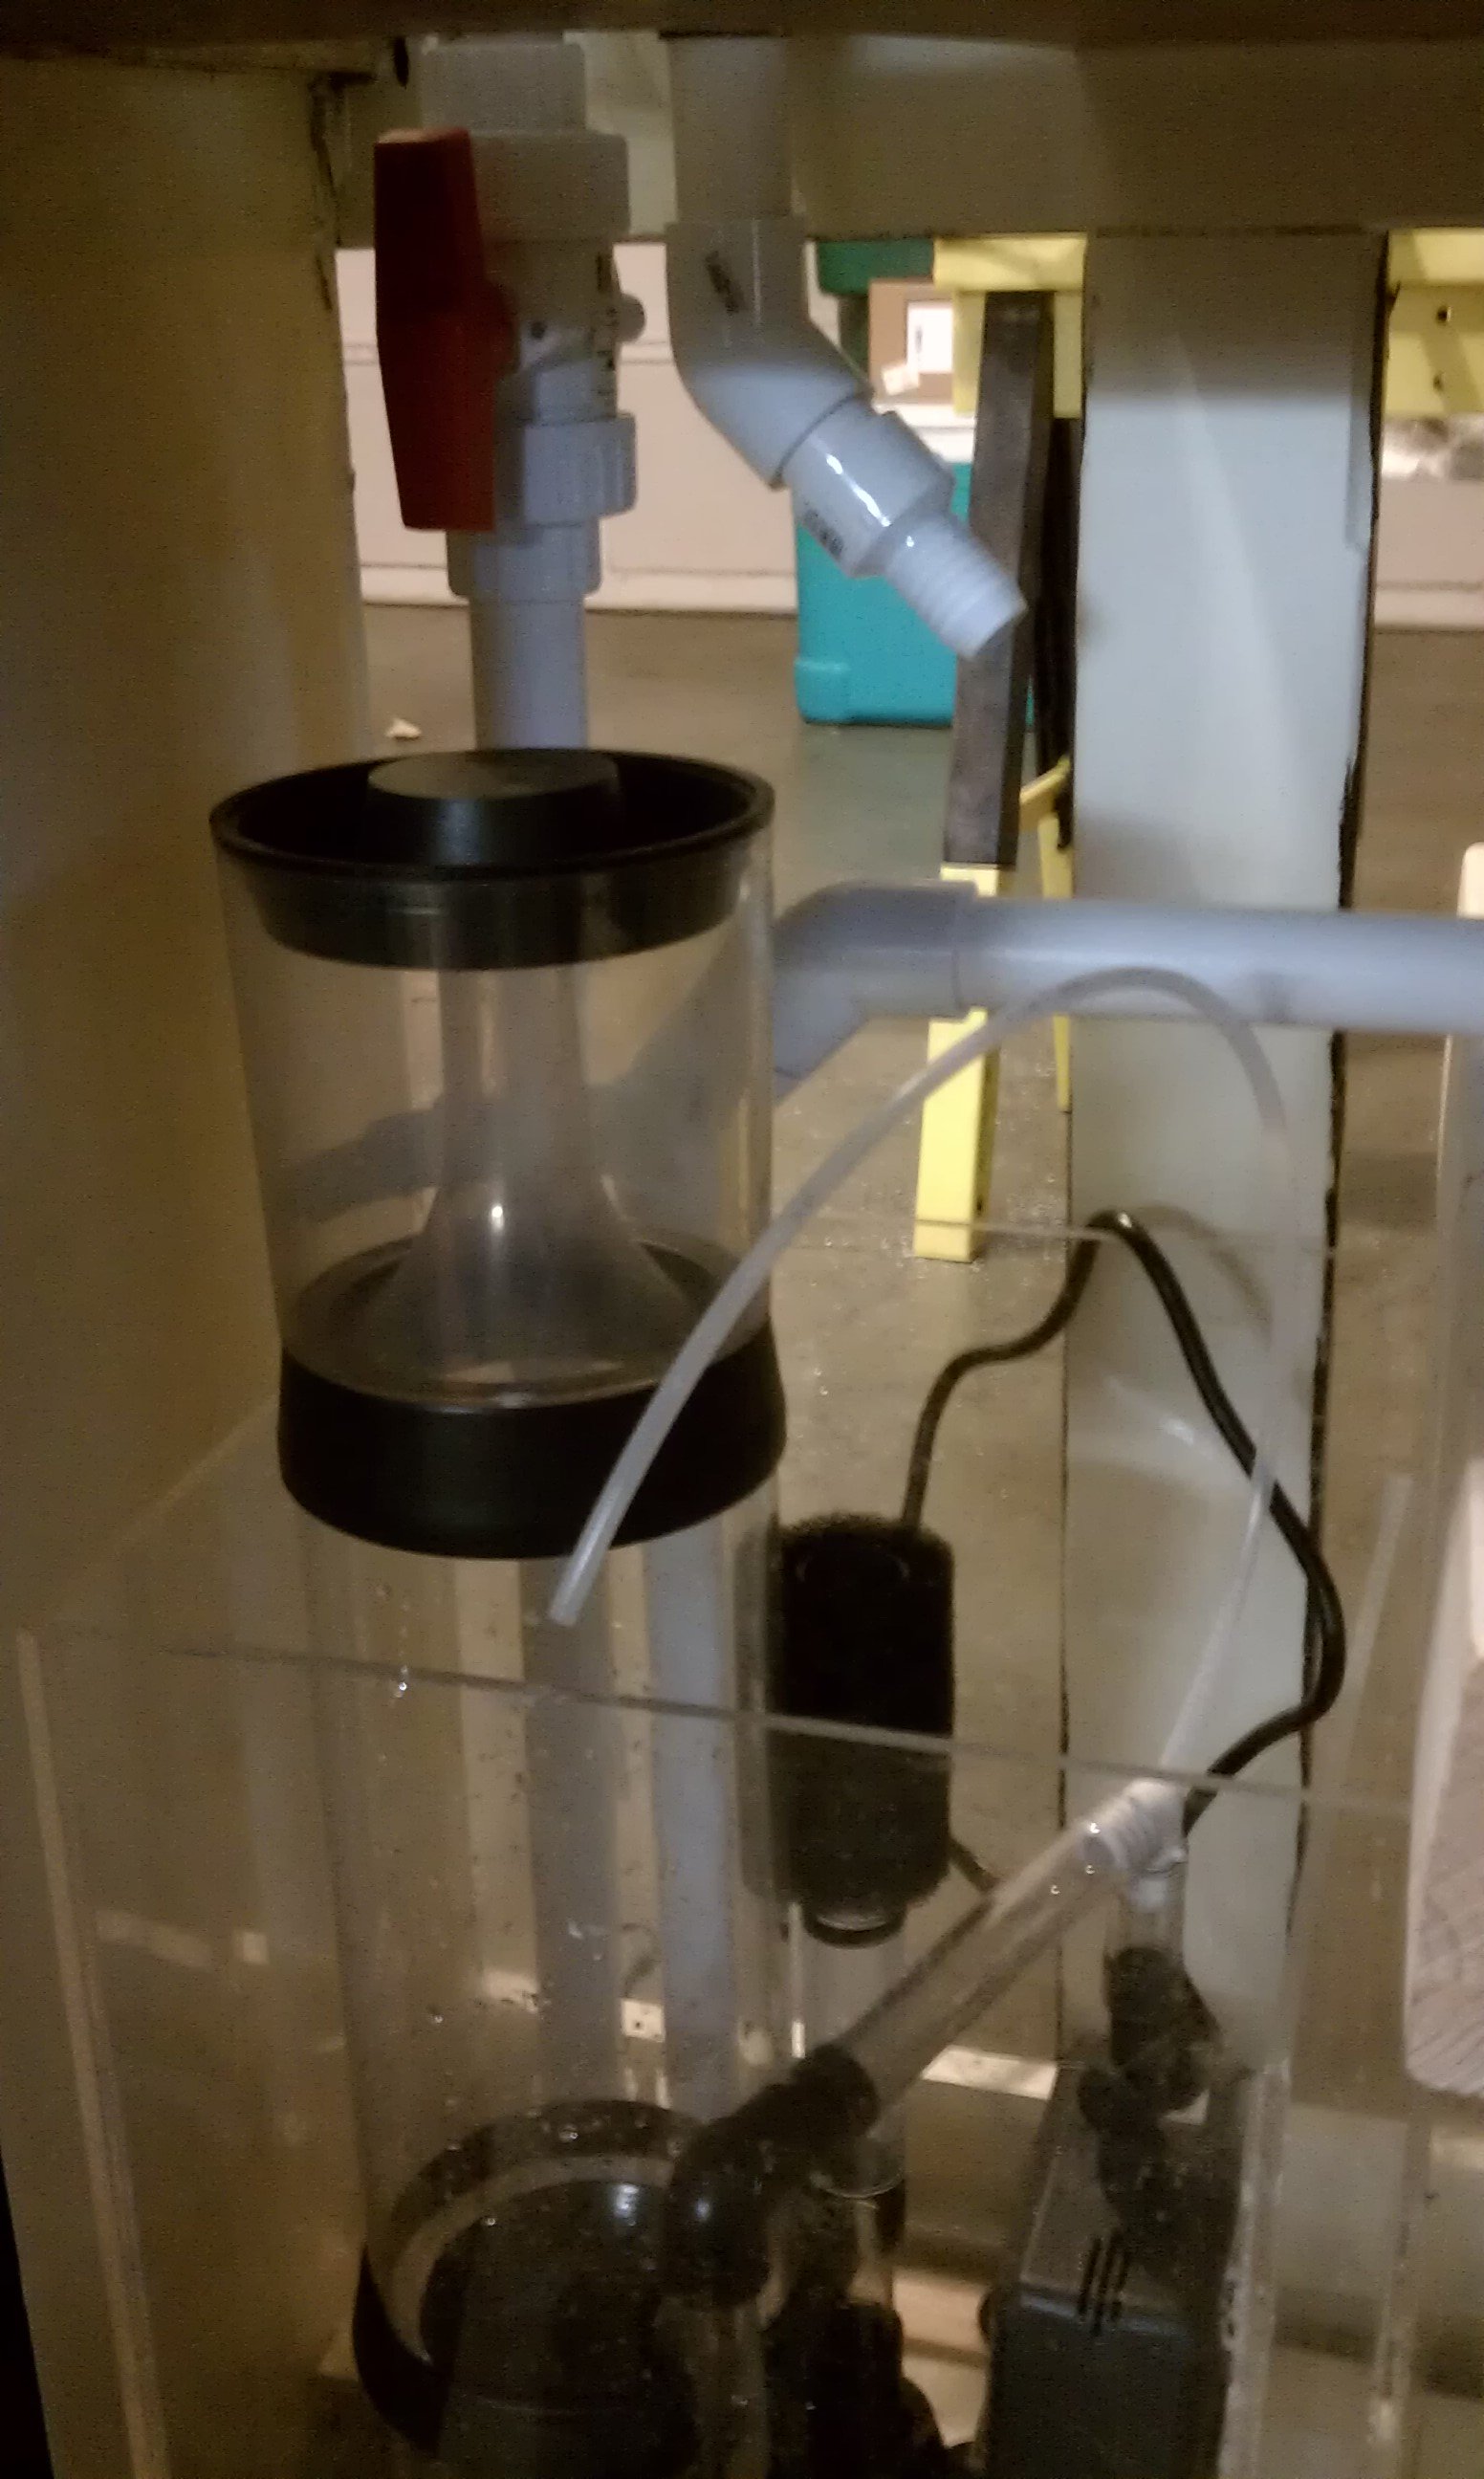
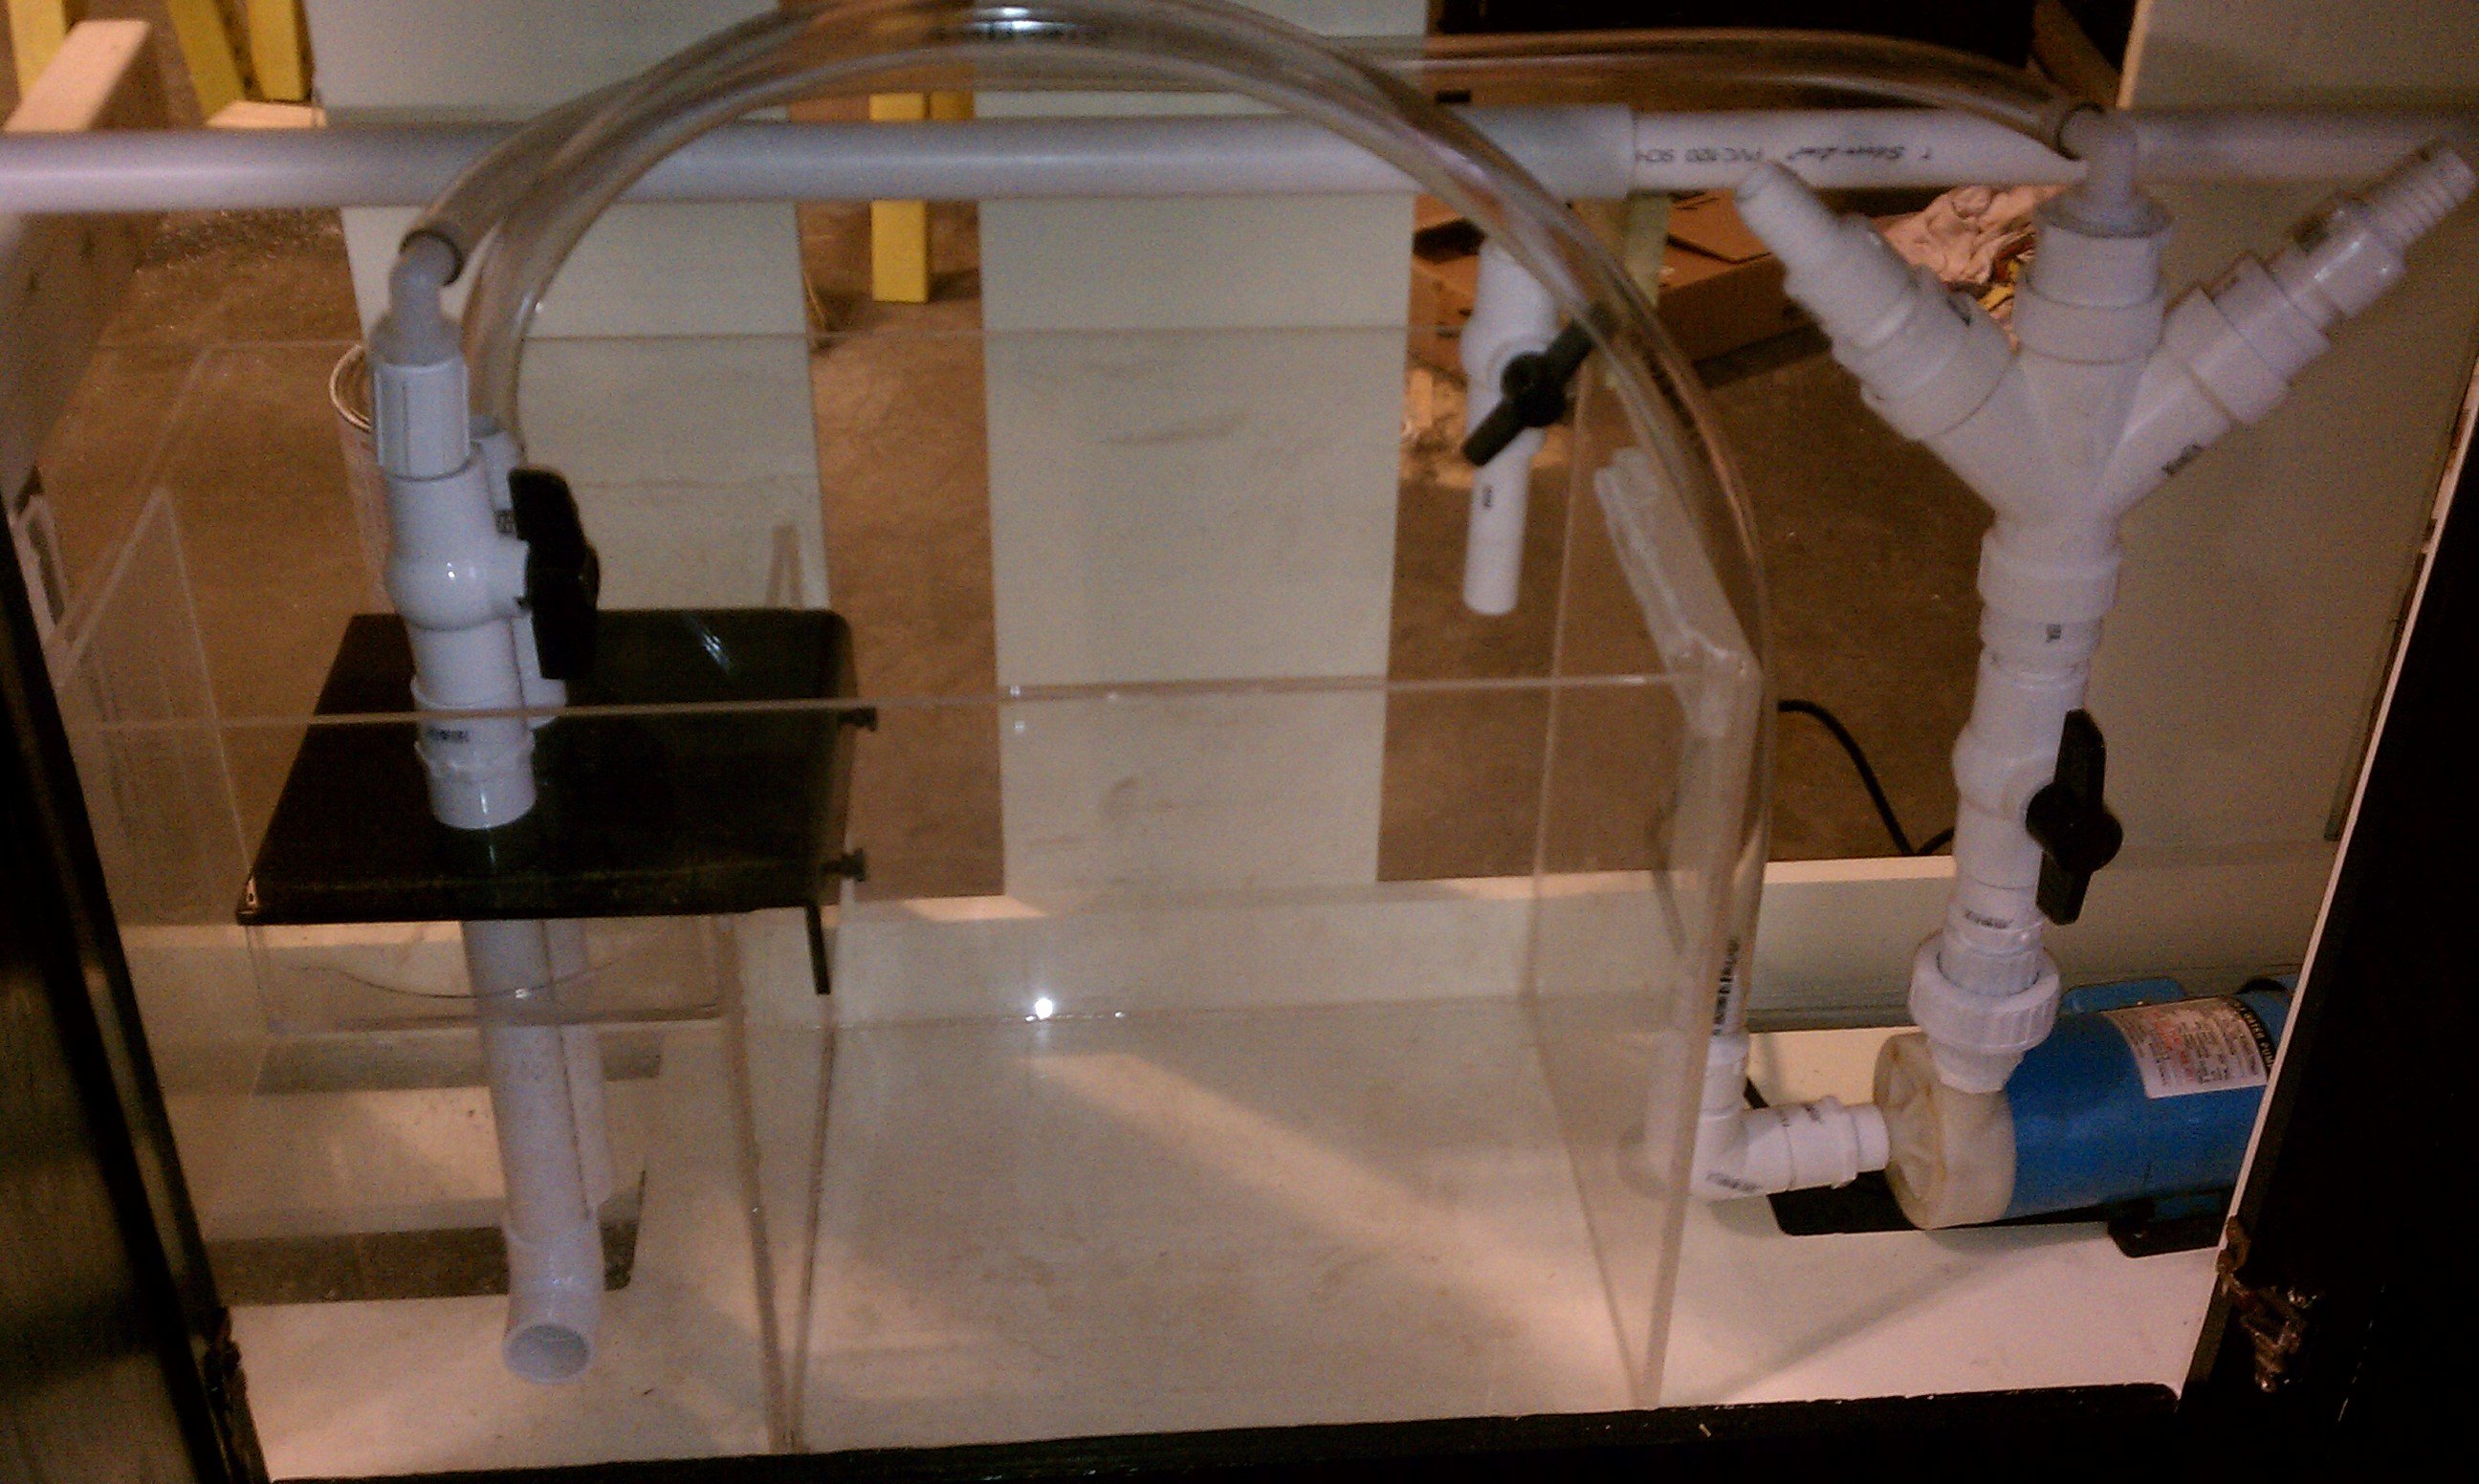
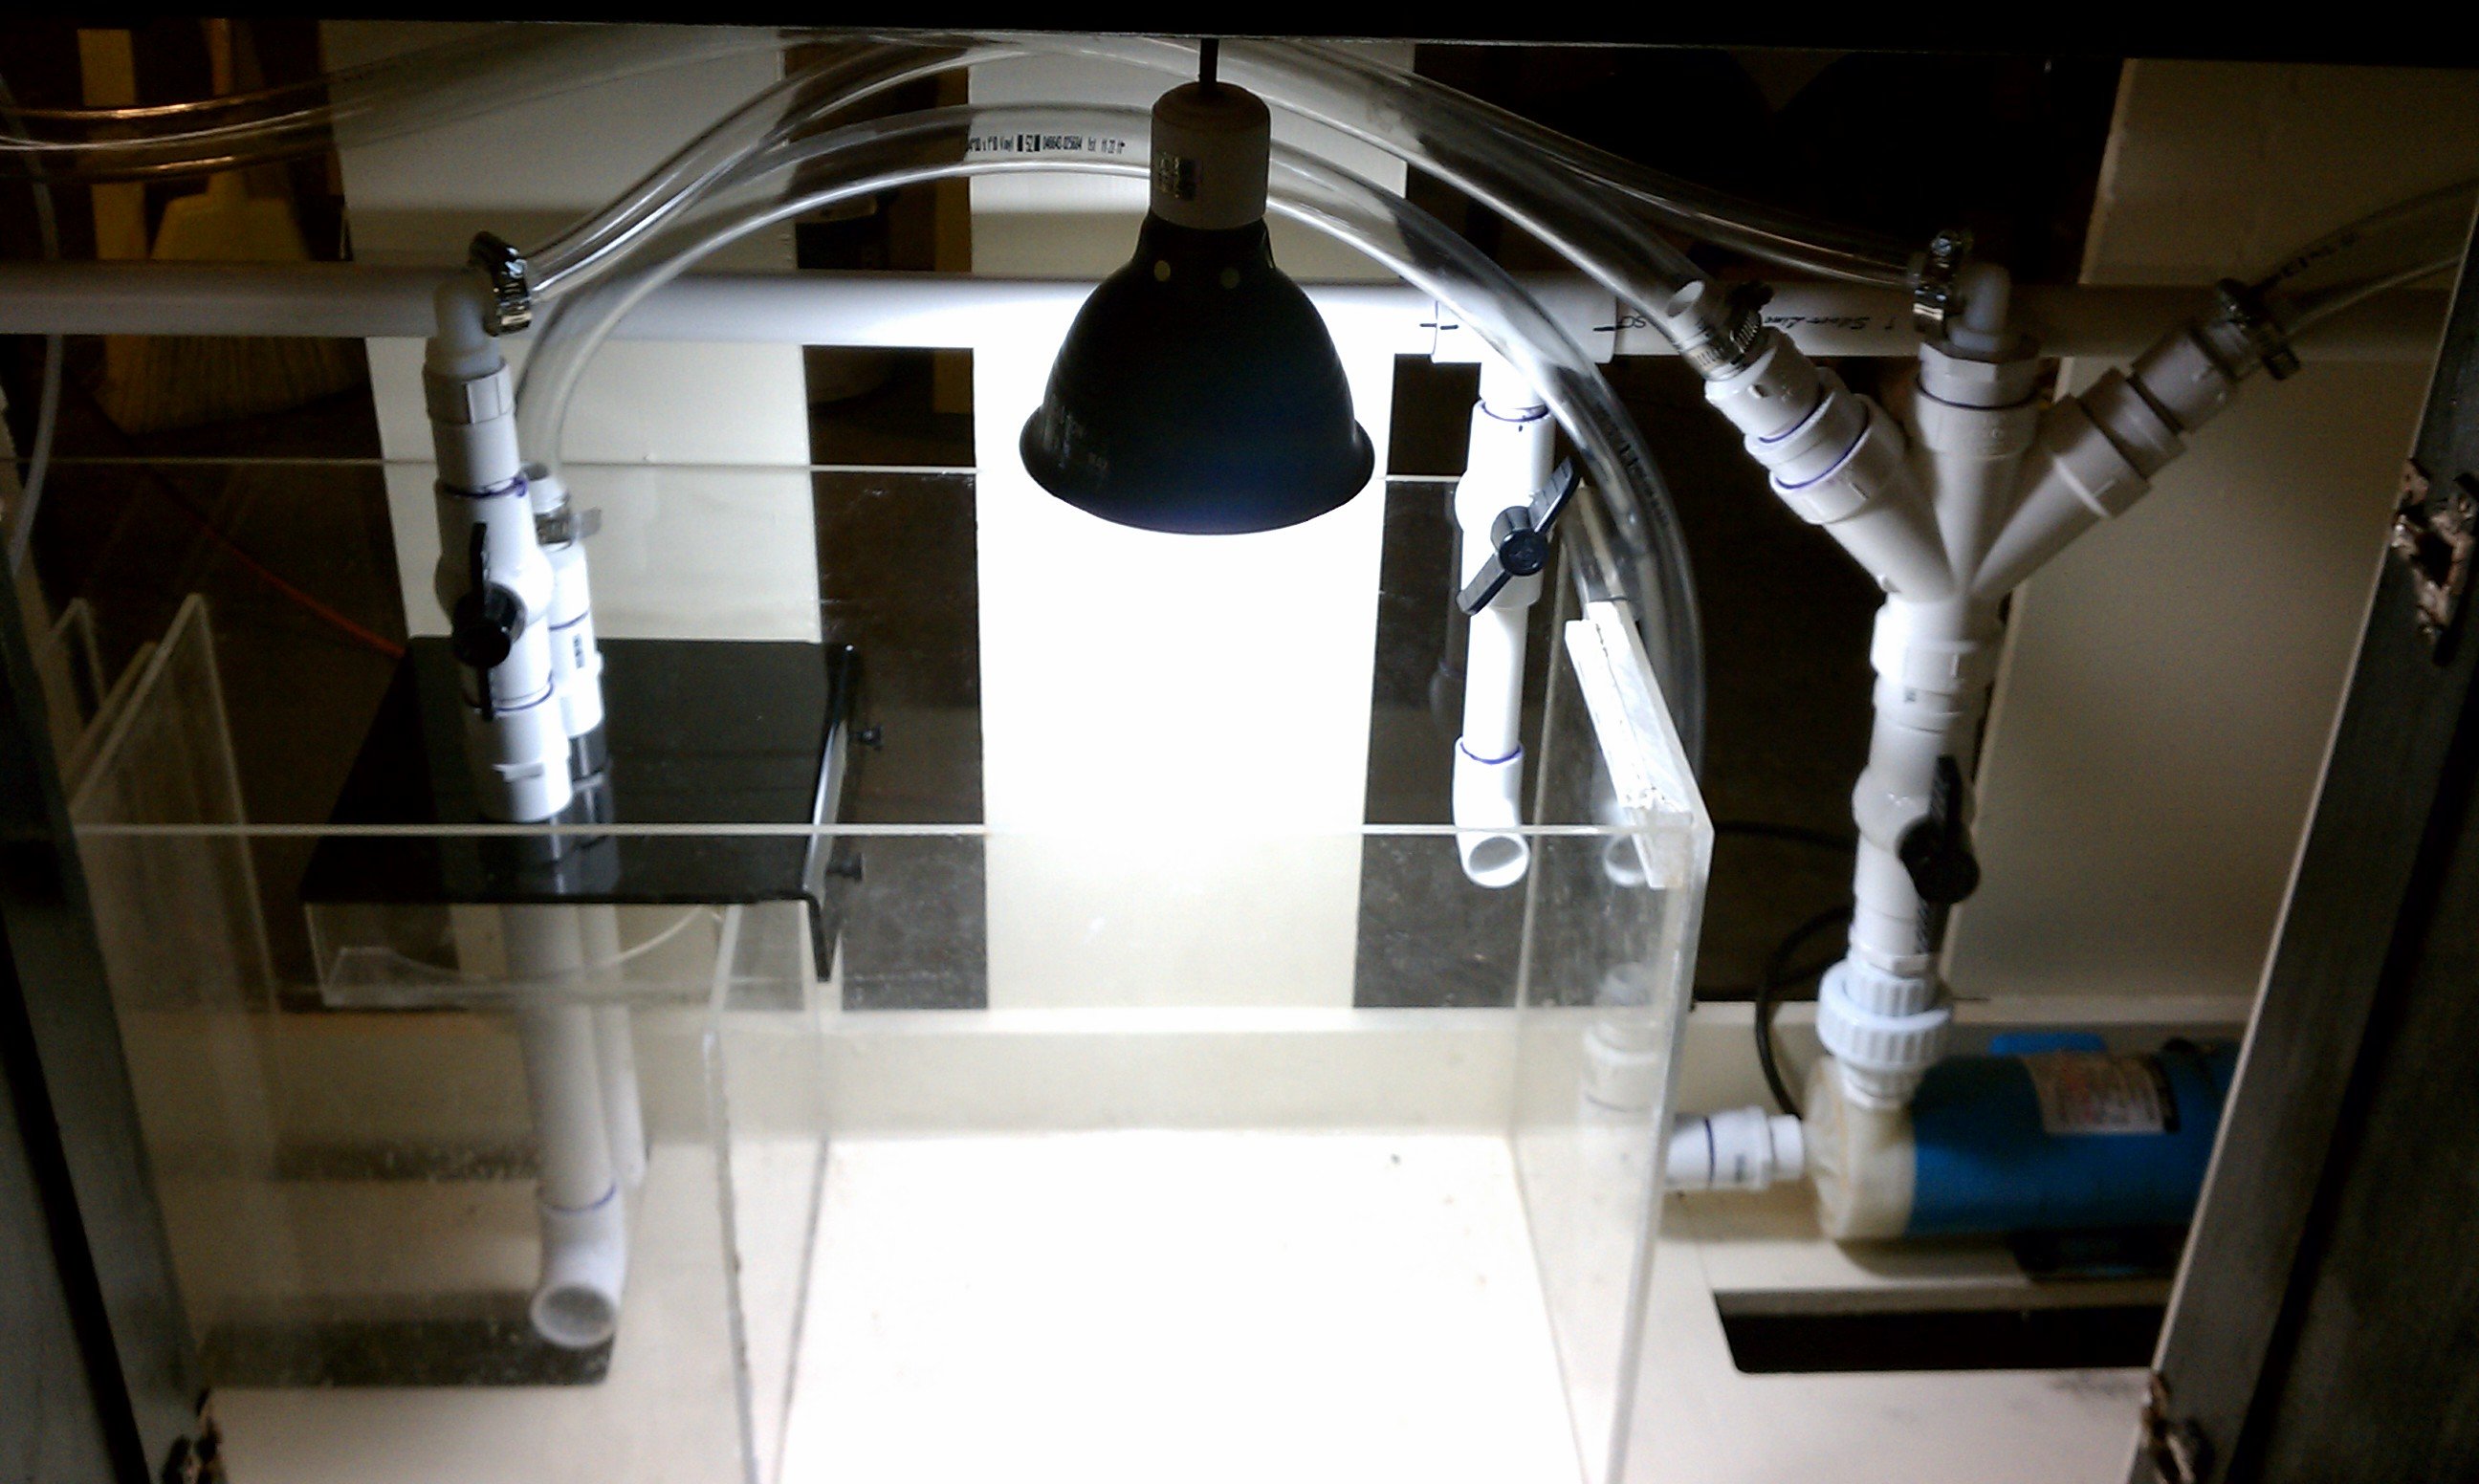
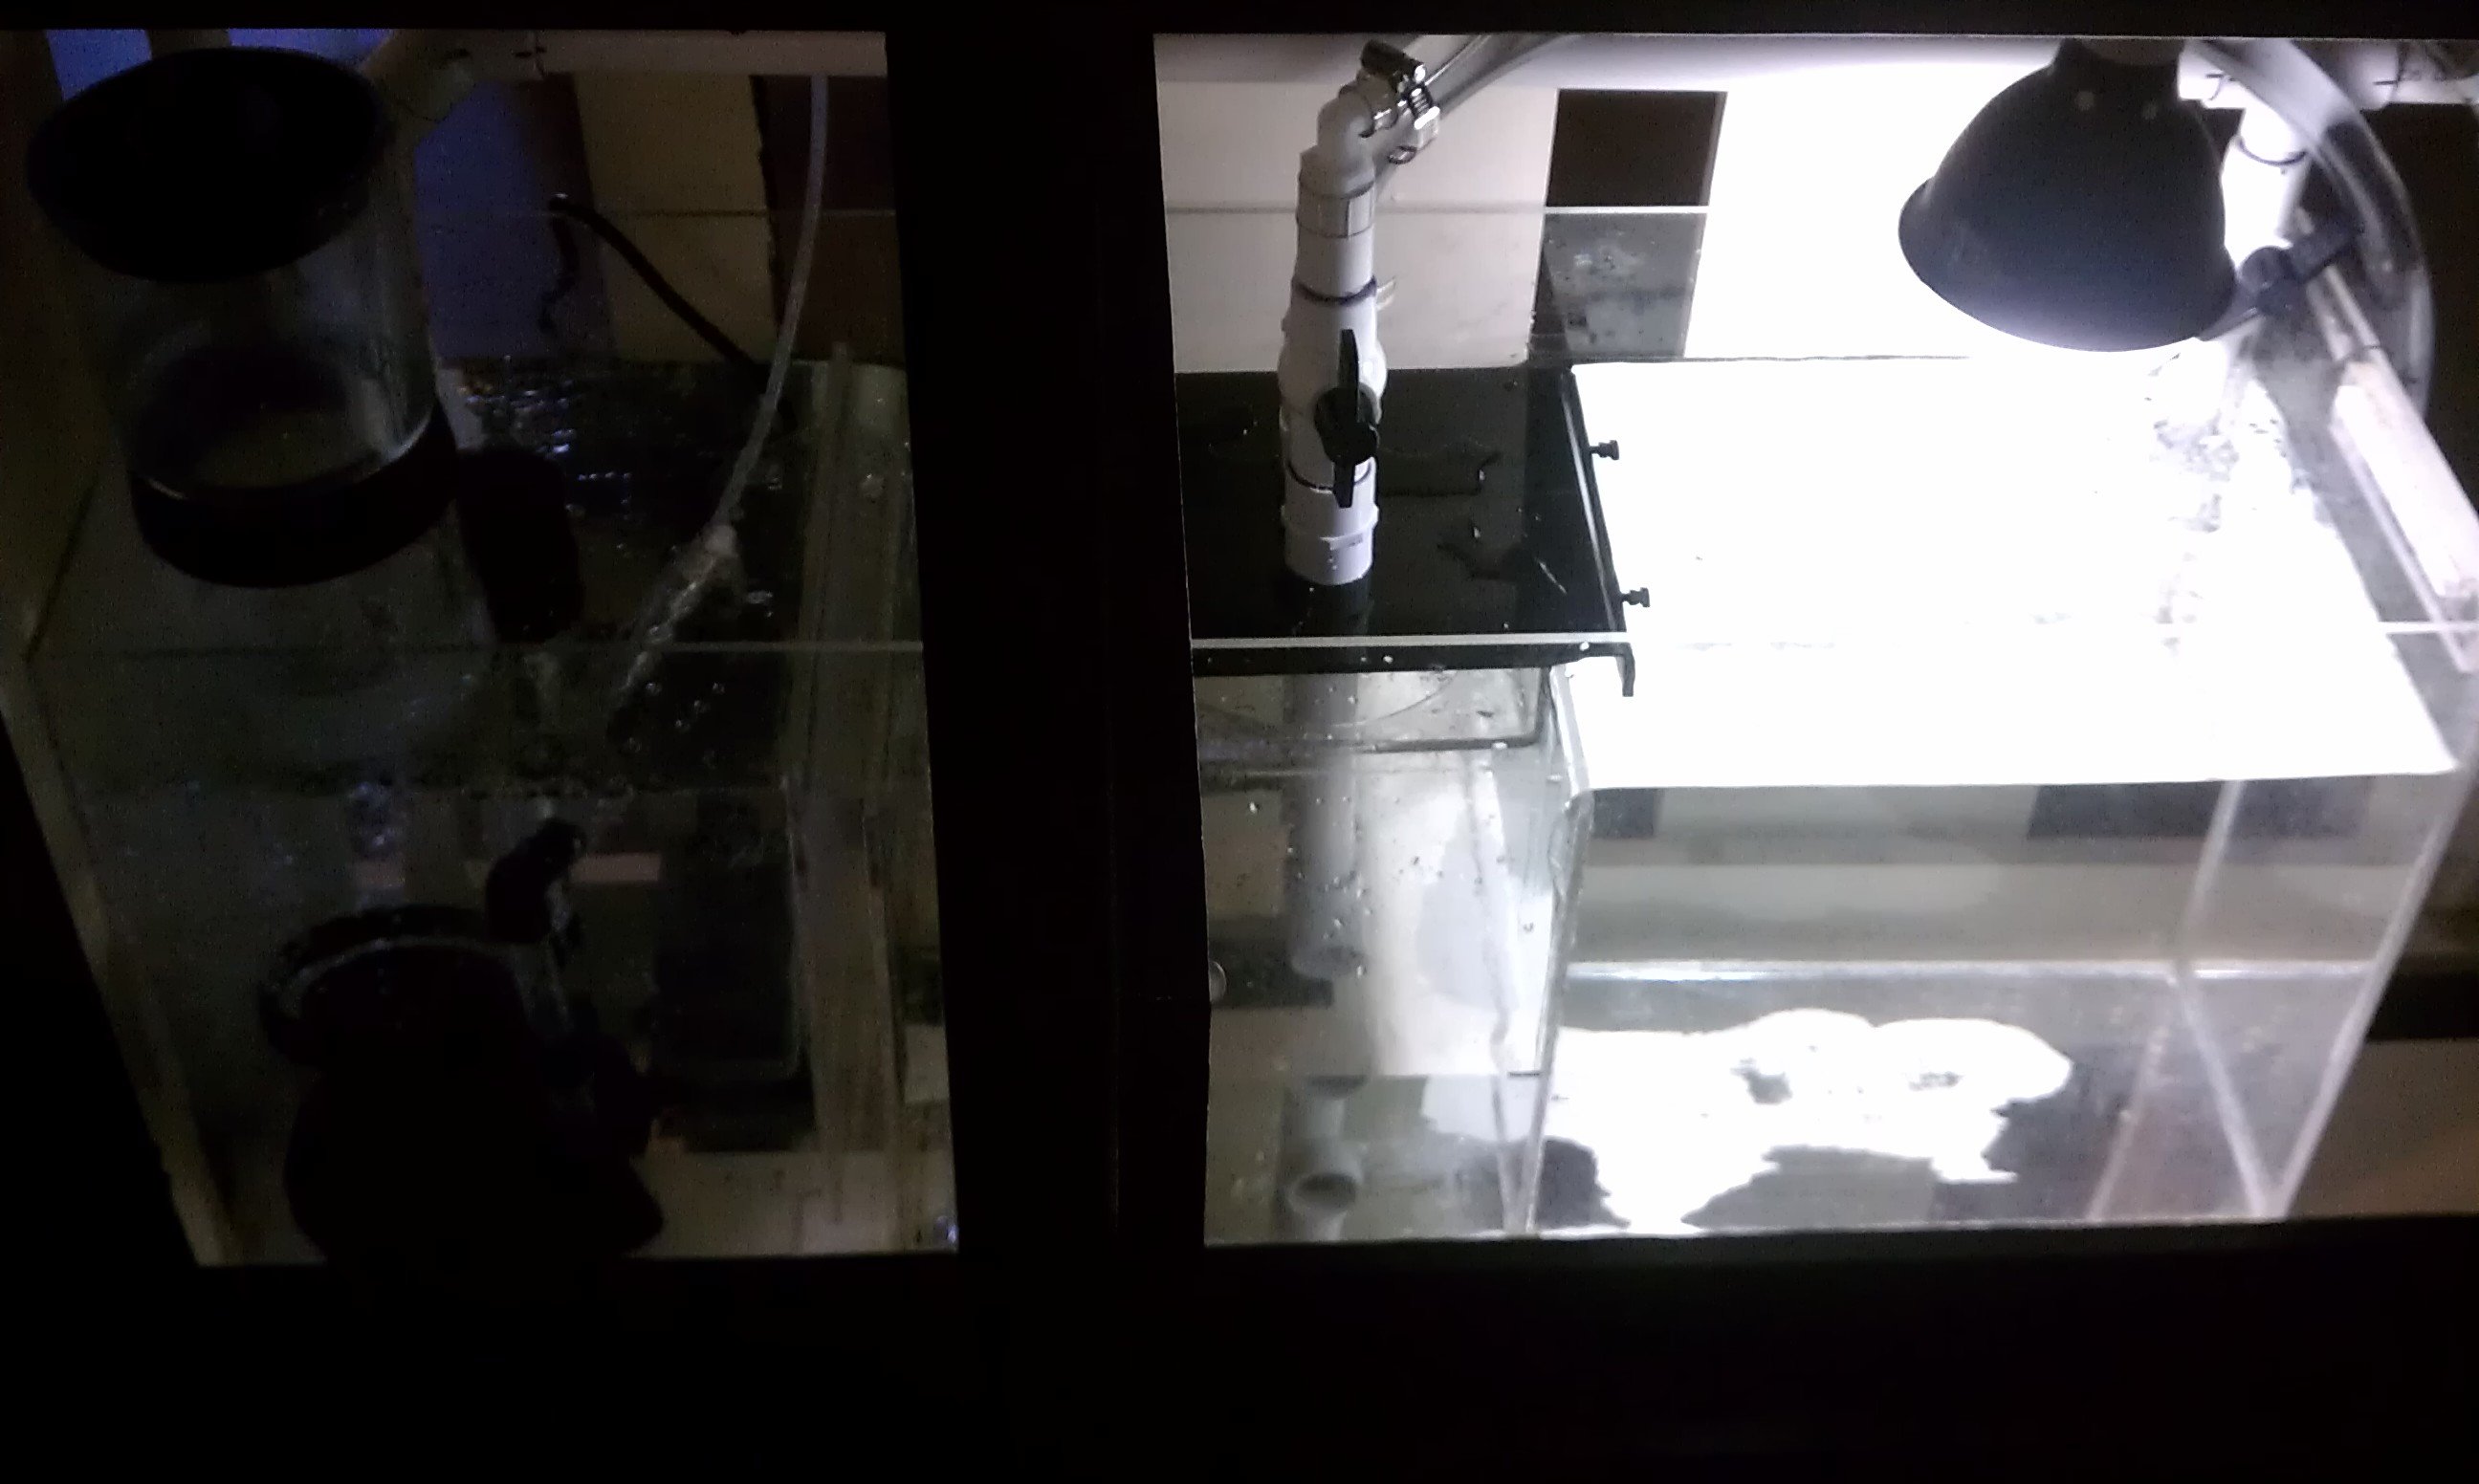
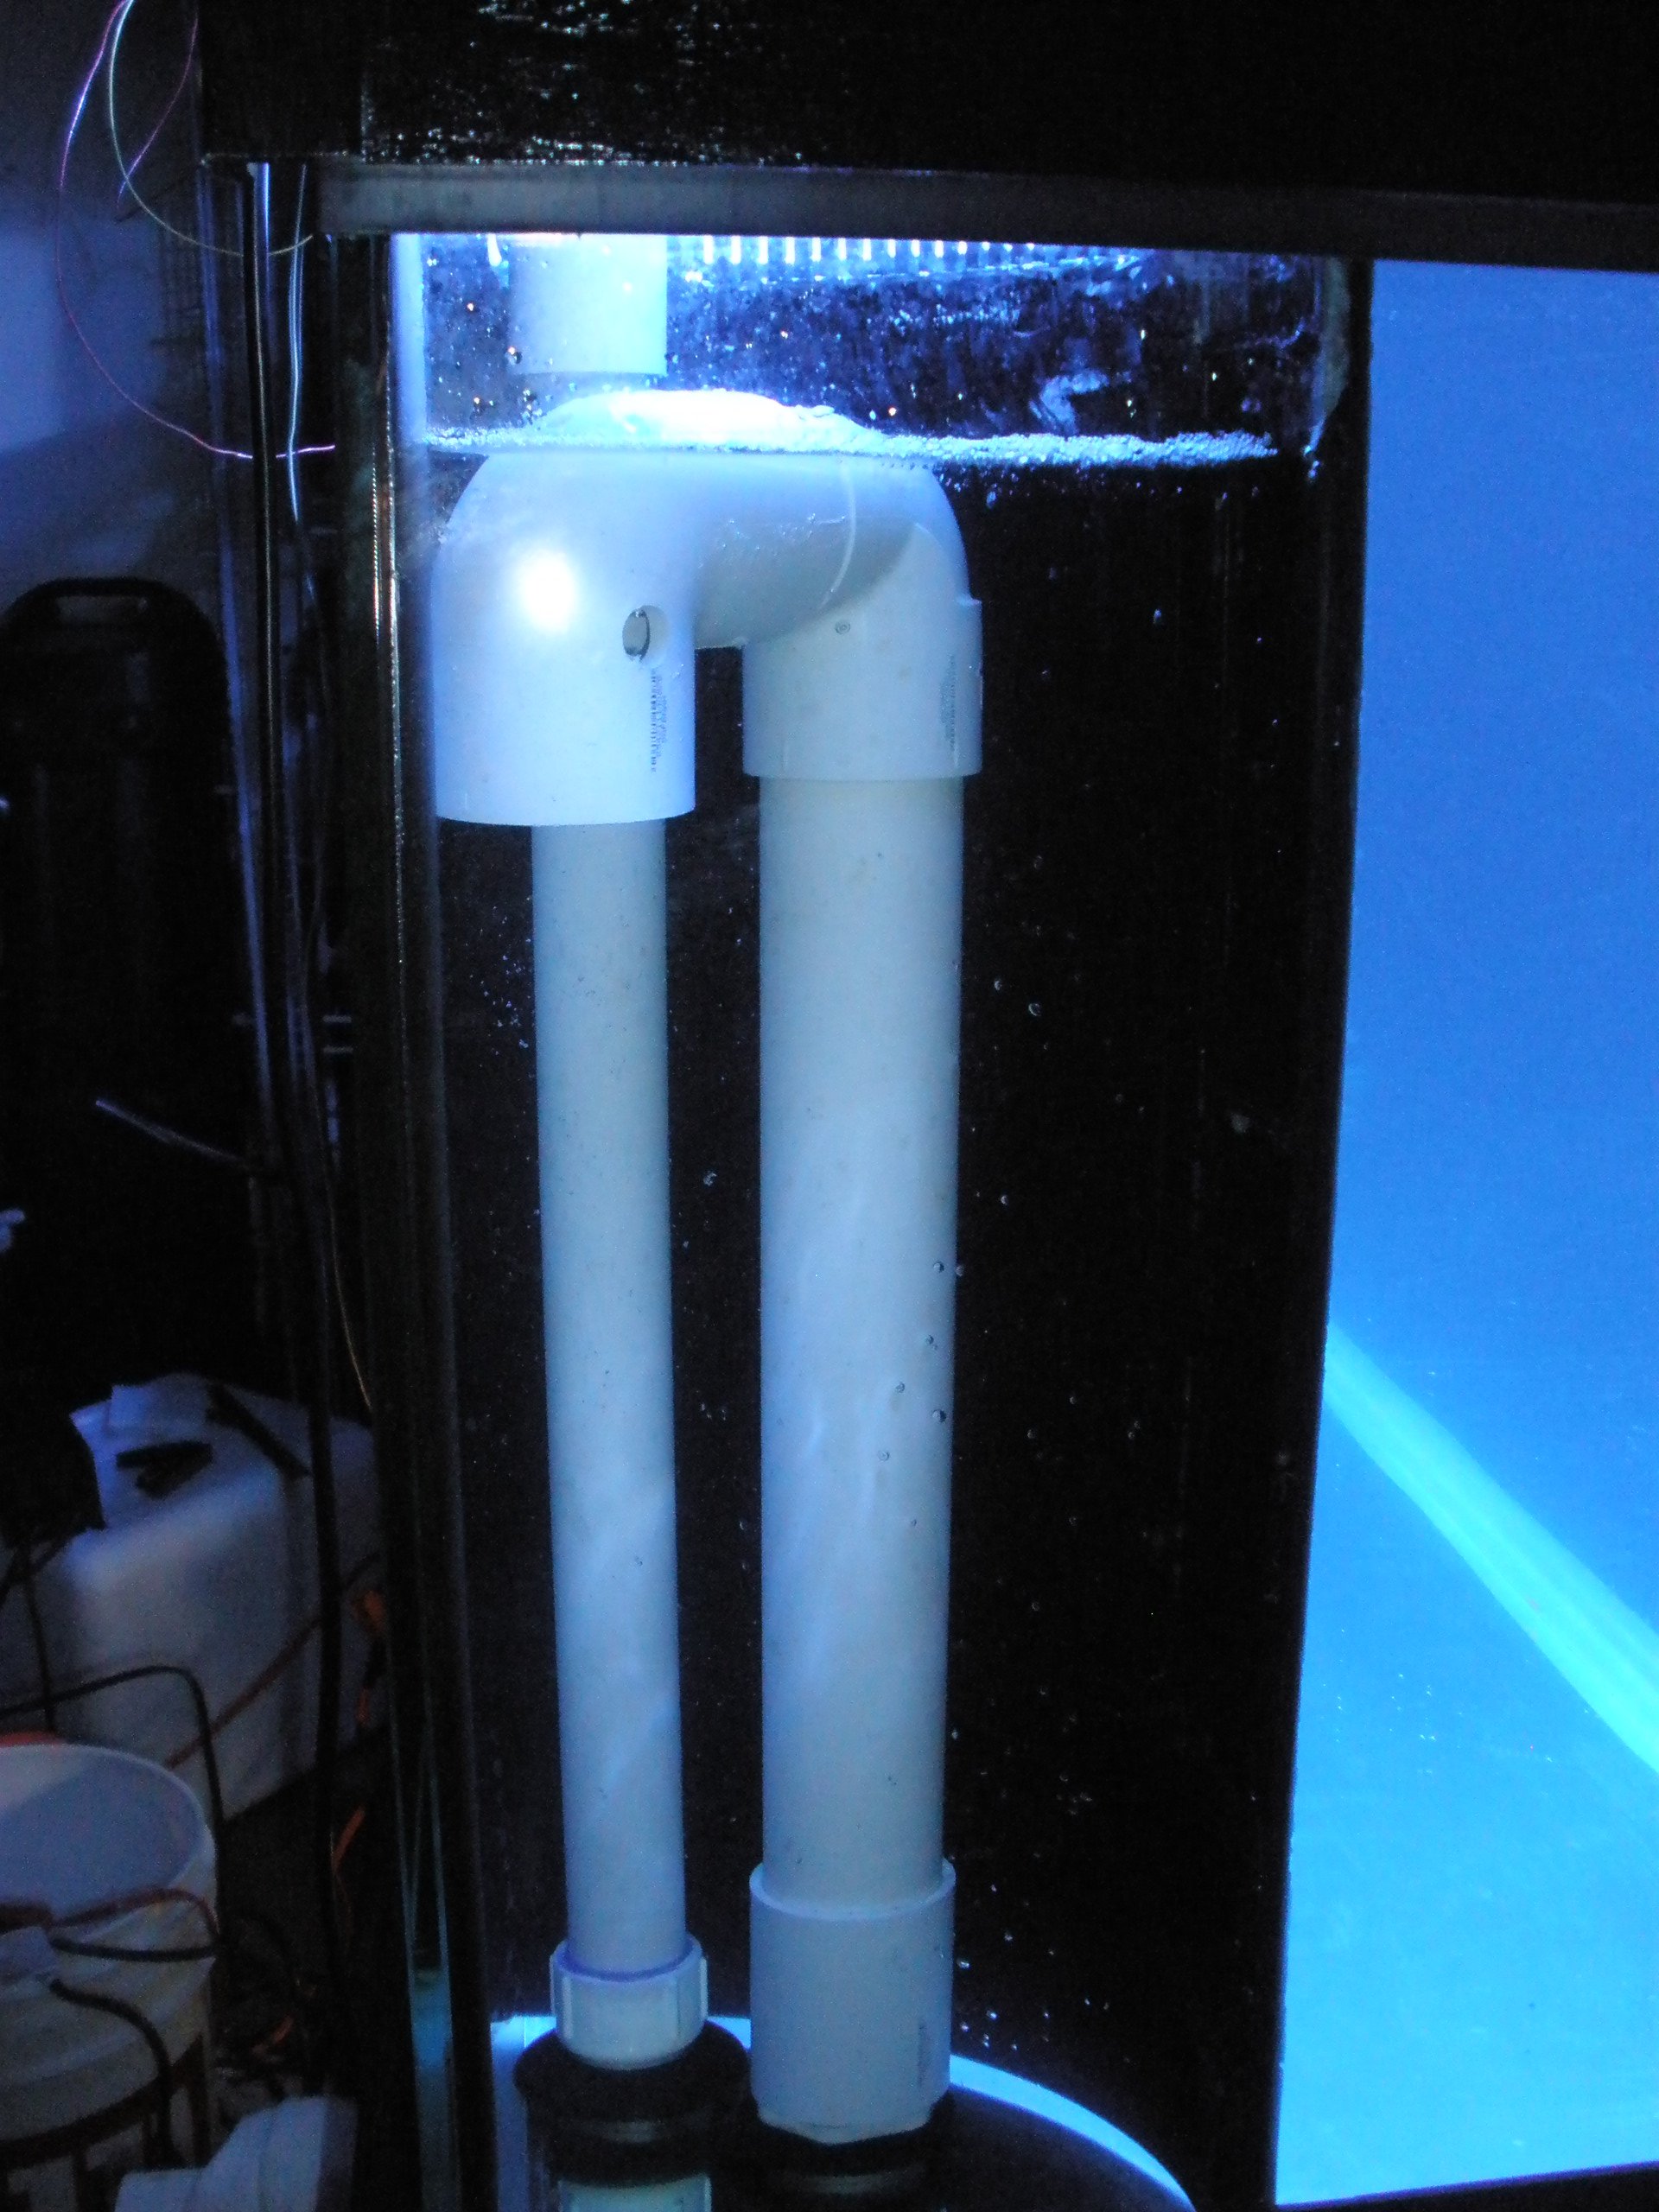
Piping for the sump (starting on the left). I piped both overflows into the corner of the first section leaving room for my skimmer. I used a ball valve/ union combination for my over flow and I will be using 1" hose to my return line. You can see my barb for my return line to the left side of my tank.

The center section will be my return area. I used a sock holder to position my intake line for my pump and an auxillary feedline from my return line in for system flow adjustment. I would rather do this than throttle back directly against the pump. I did not want to drill this sump so I am taking the water up and over. I will just need to prime on start up. I am going to test this quite a bit before I move the tank to make sure I understand what is going to happen in case I lose power. I do have a bulkhead that I will take out the back if I have any issues with it. The section on the right will be my refugium. I have a "T" off my overflow line with a valve to allow for low flow directly into the fuge. This will keep the water level up in the fuge and it will over flow naturally into the center return section. I have a 5100 K light that I plan on hanging over that section to grow cheato. I also plan on putting a nano Koralia to assist with water movement.

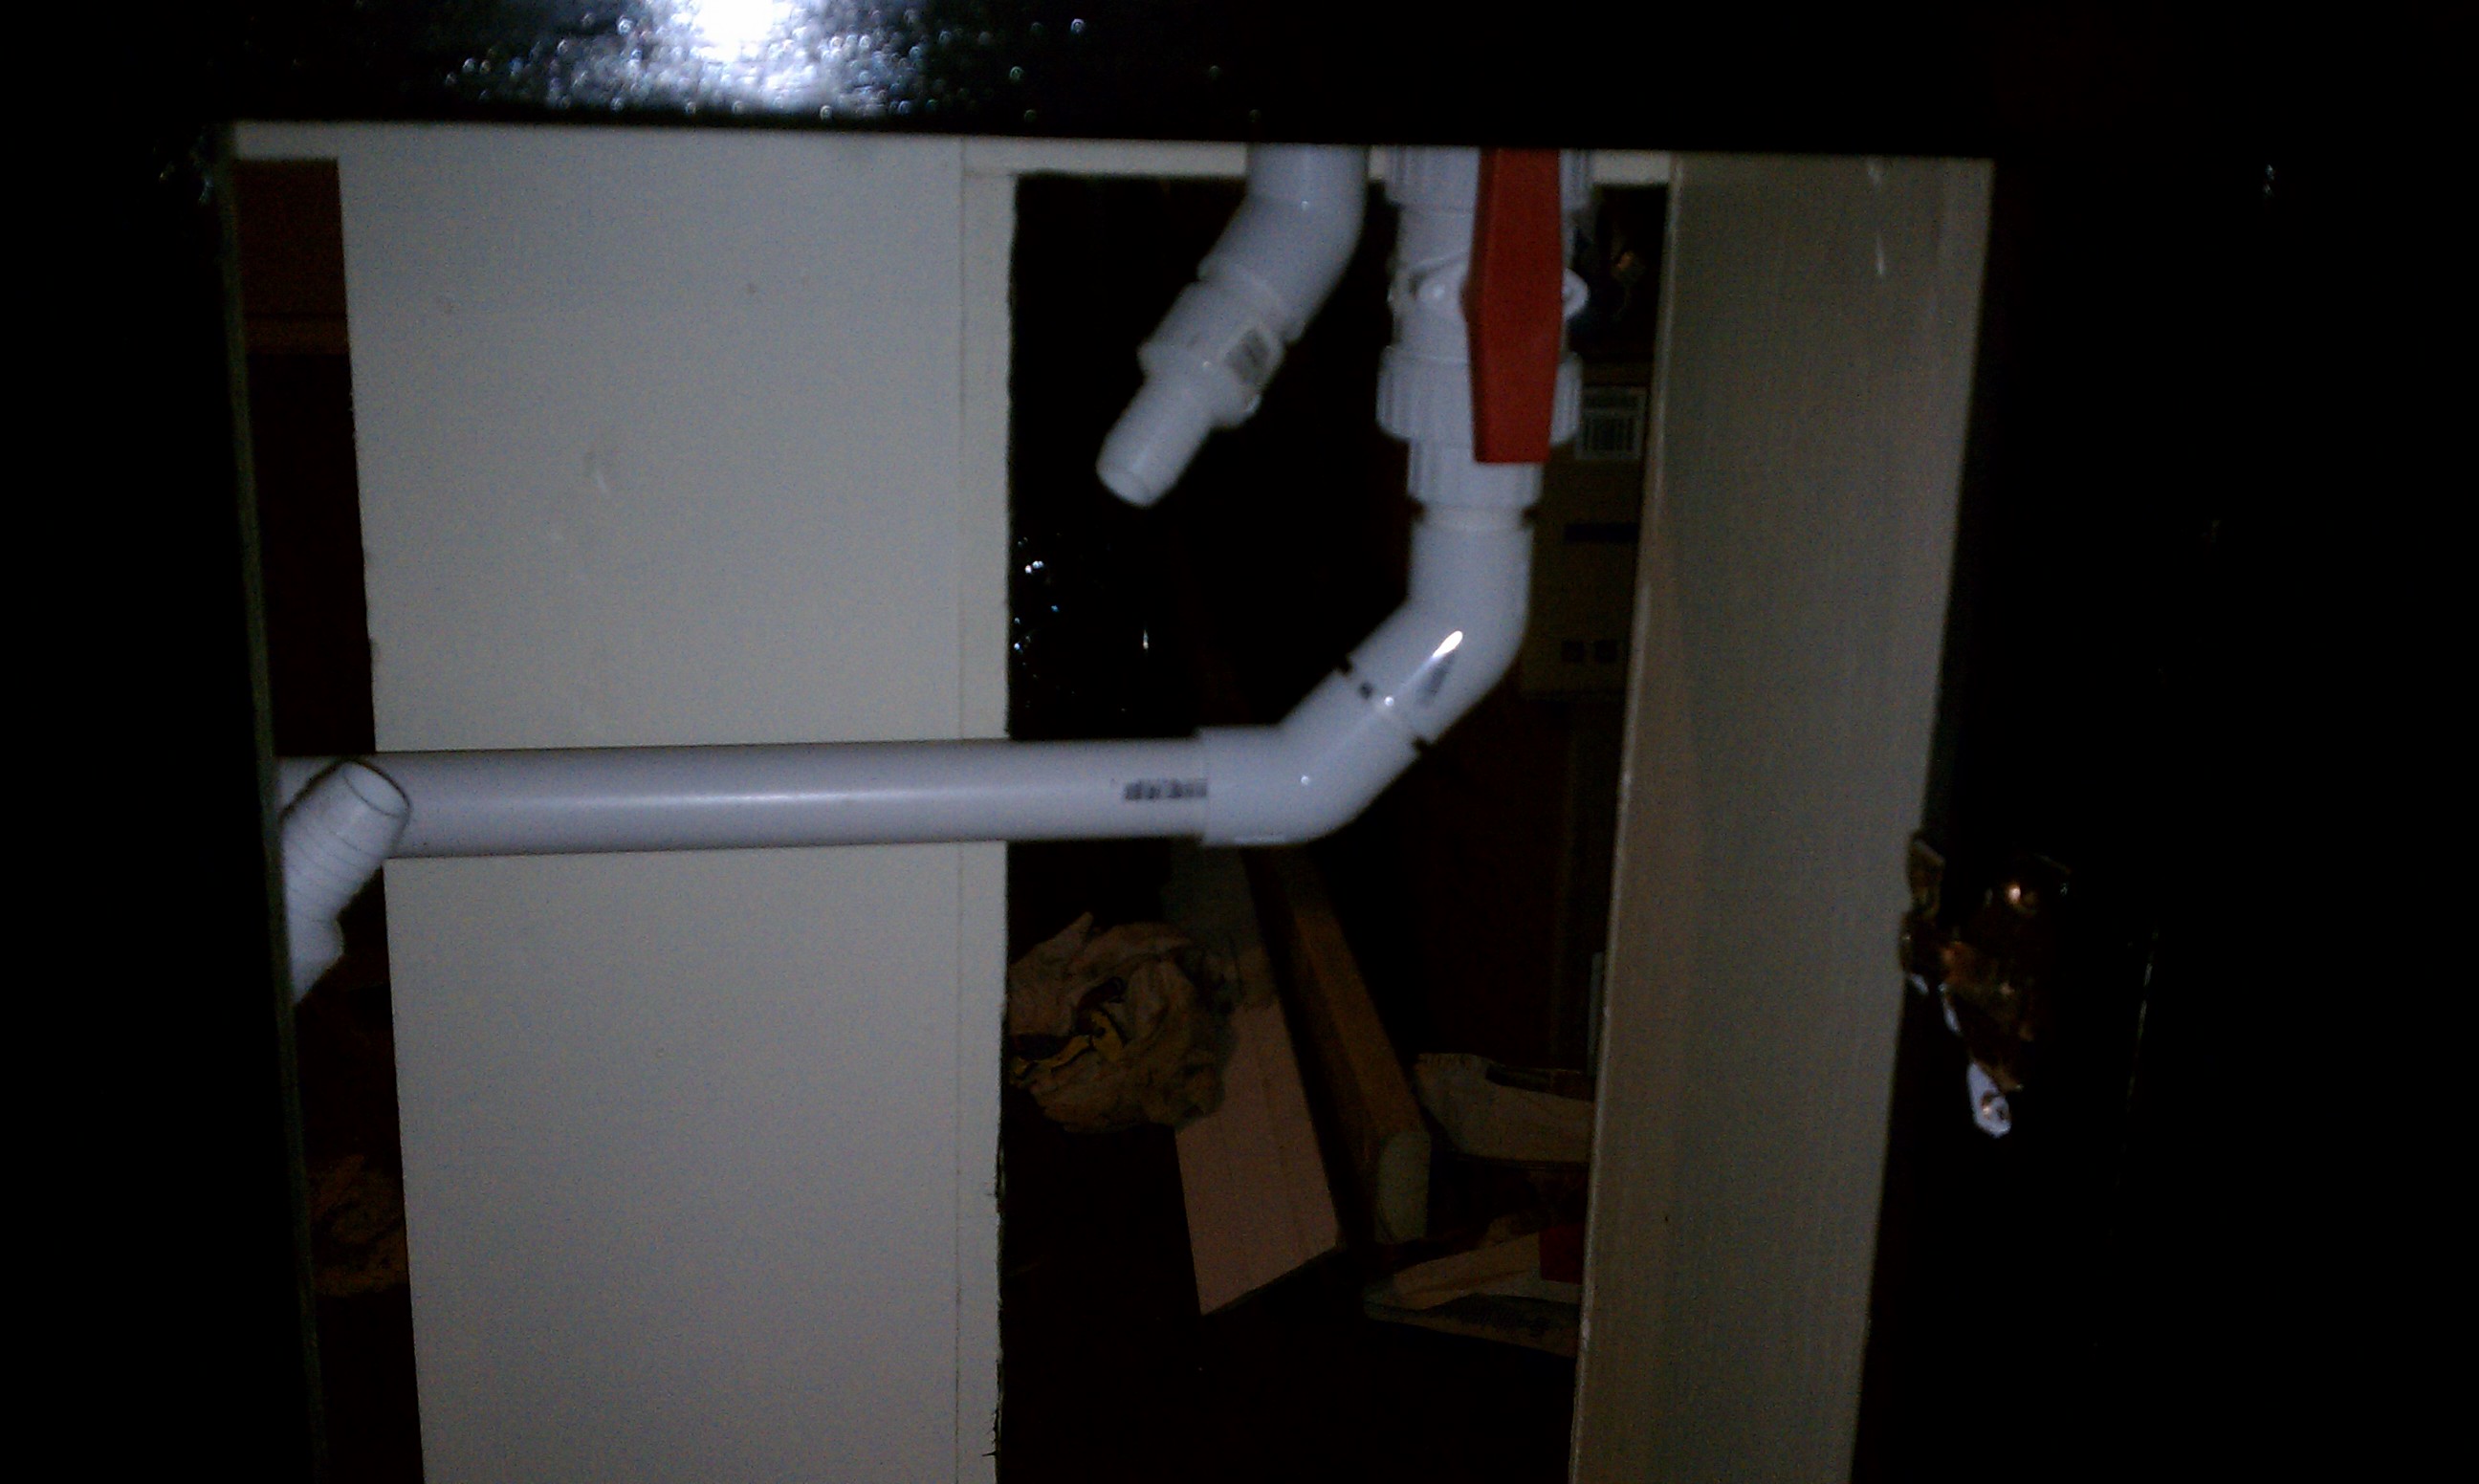
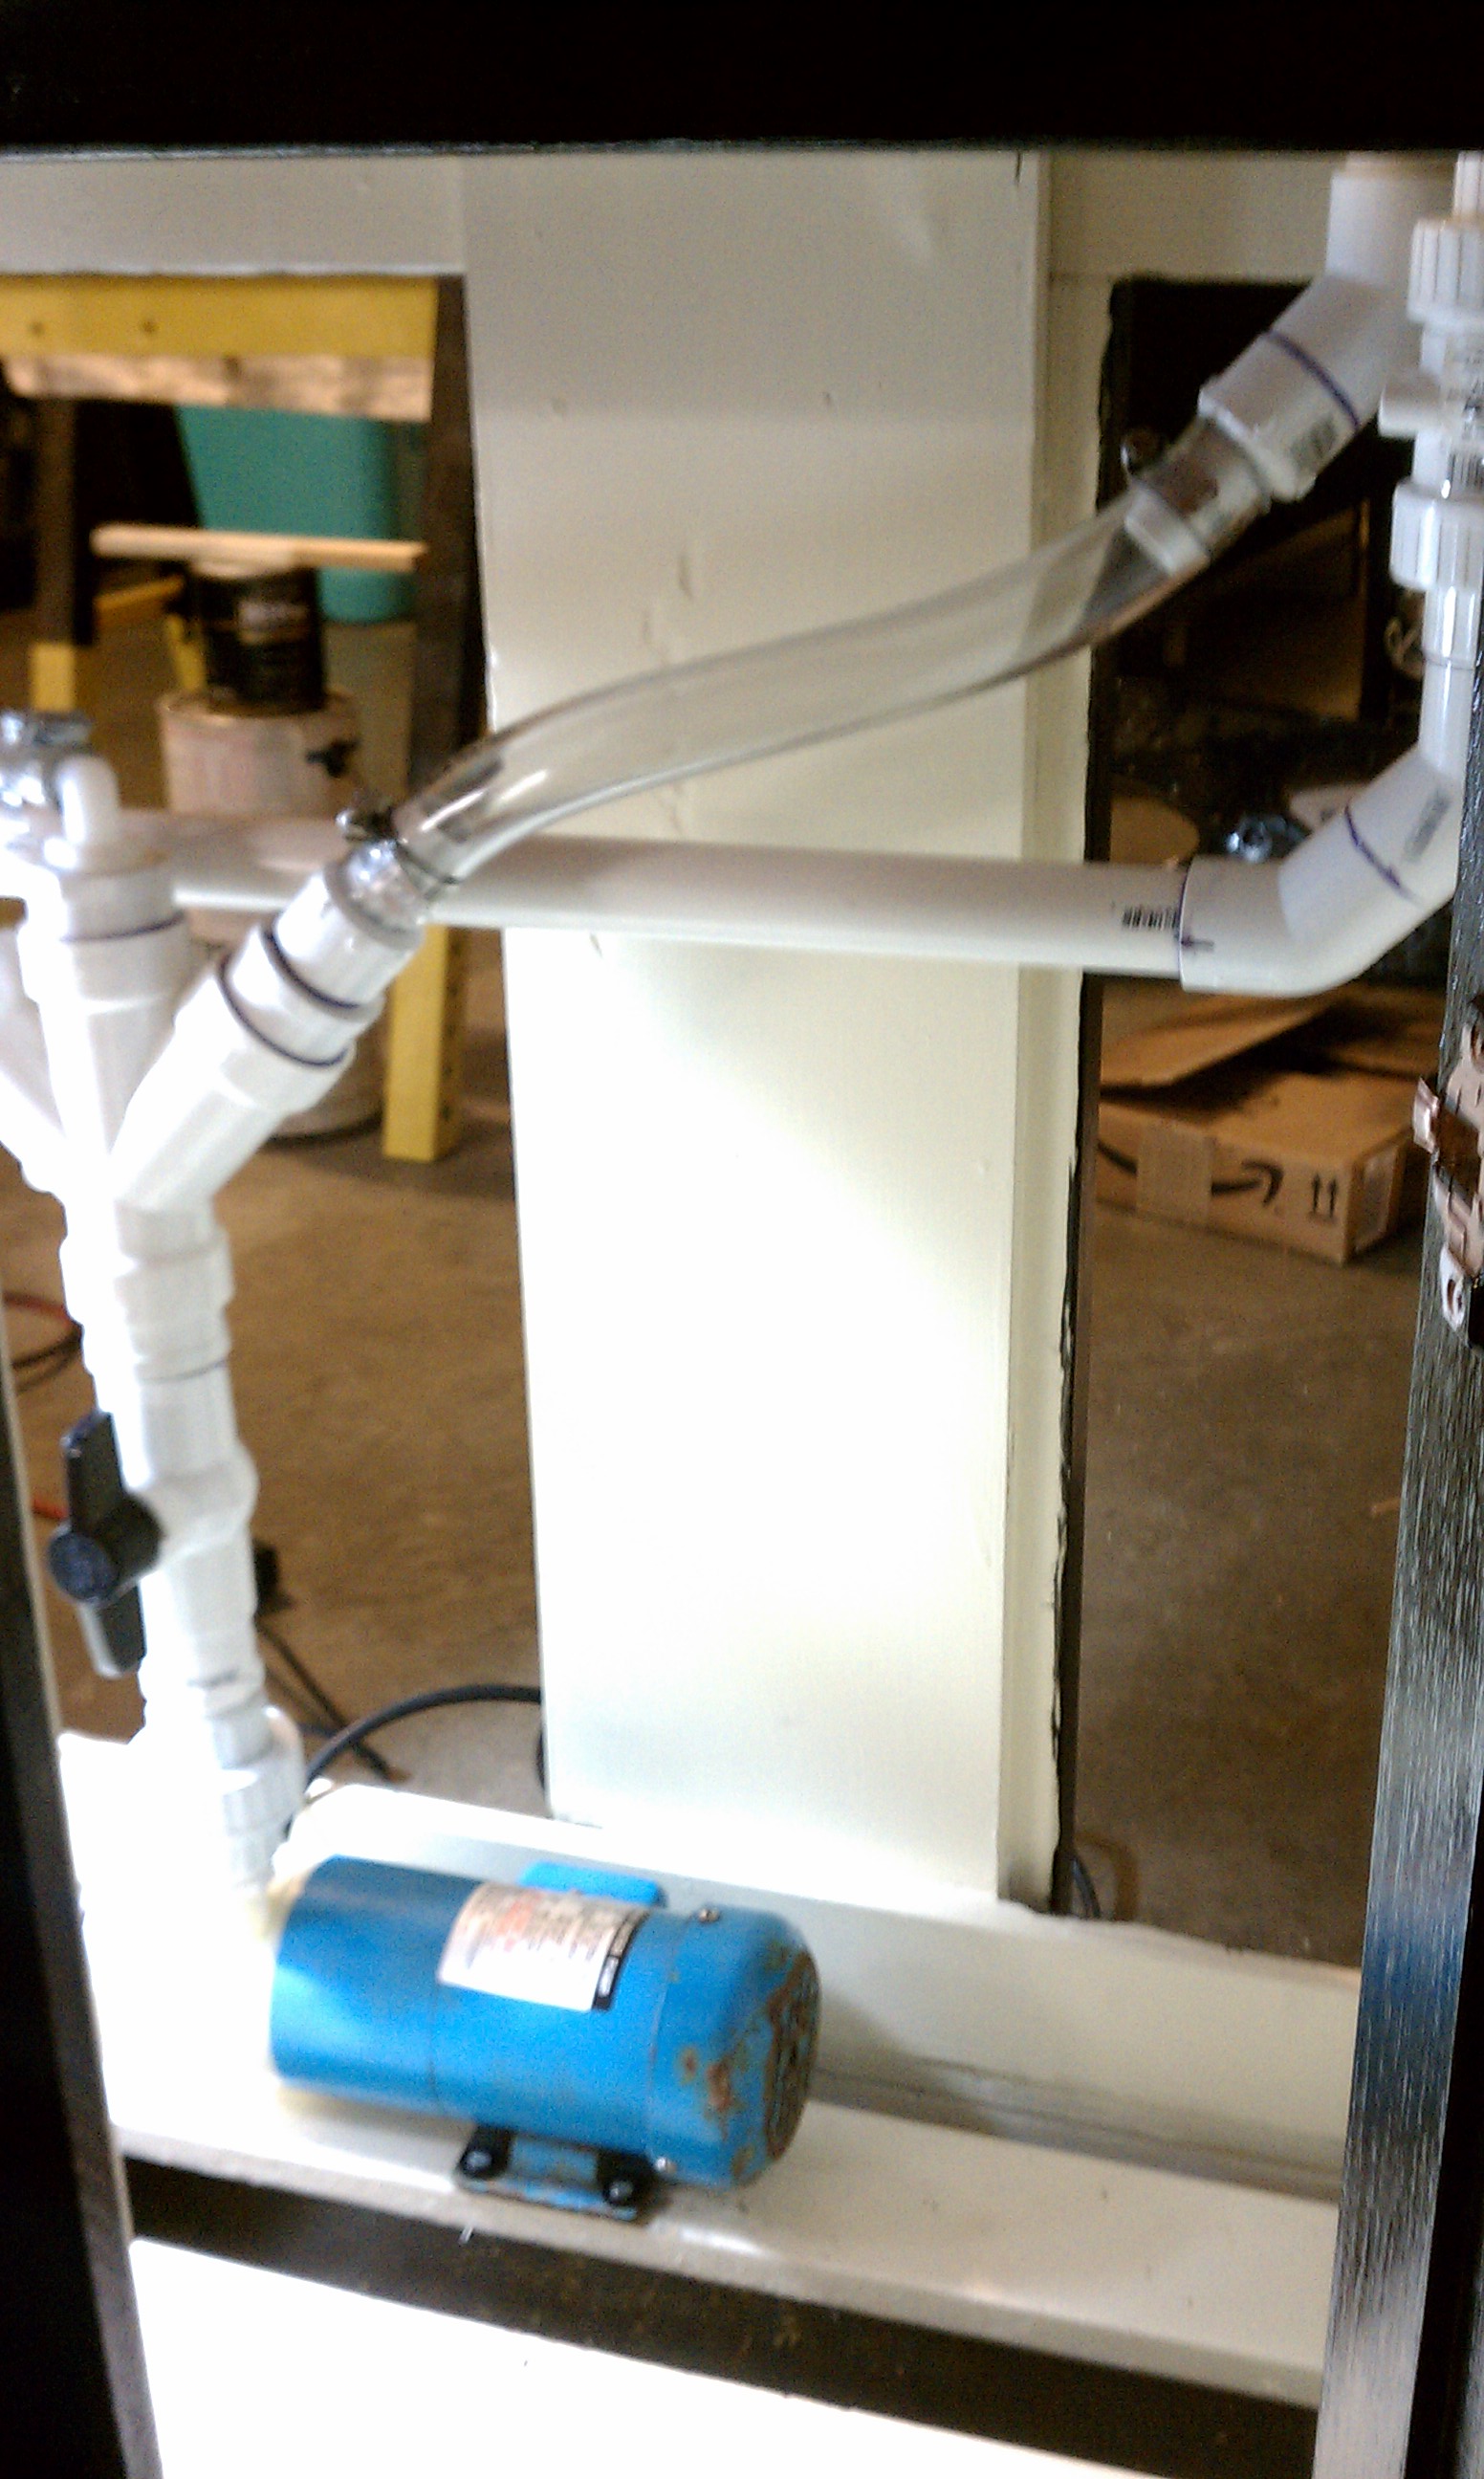
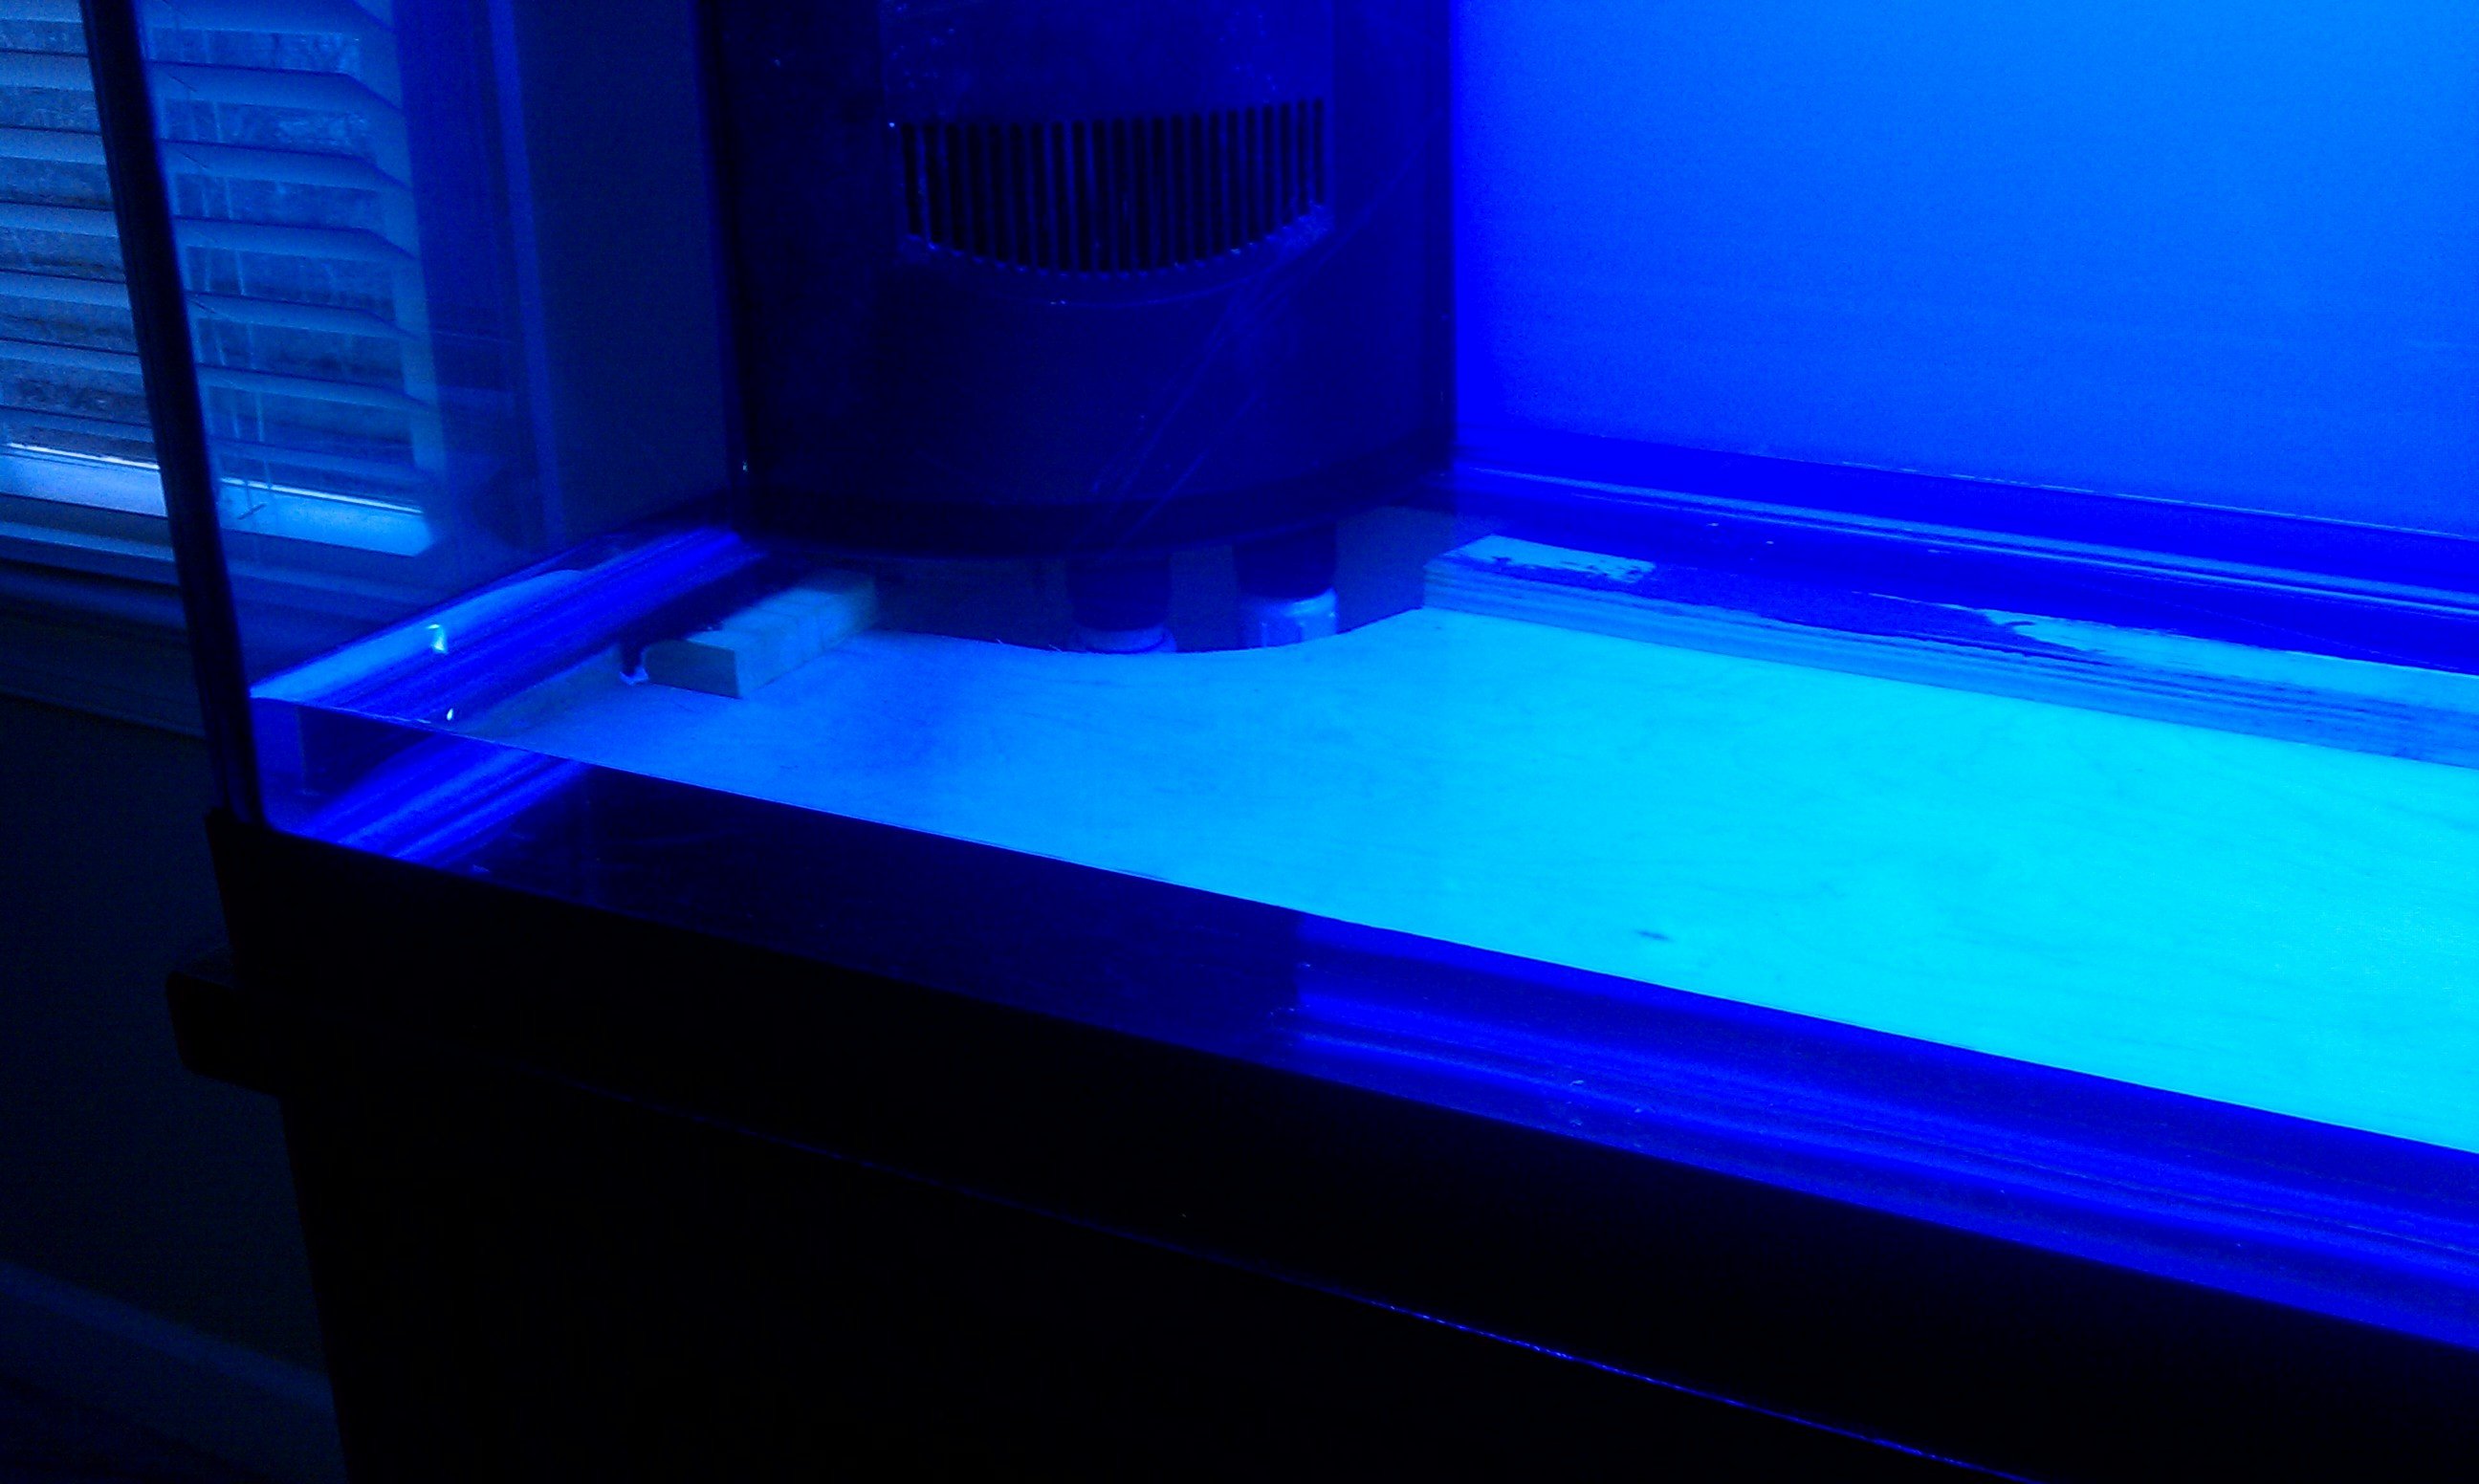
Right side showing overflow line going to the left side and right side return line with barb. I need to attach the tubing once my piping is cemented. I did manage to leave some room in the cabinet for a little storage, power and such.
 

tferrante

Member
plumbing is complete. Hopefully I will begin testing tomorrow with freshwater and all will go well. Once I finish testing, I will begin mounting my lights in the canopy.


tferrante

Member
I love it when a plan comes together. I successfully tested the sytem today. I was a little nervous as I didnt know what to expect, but it worked out. I do have one minor issue with one of the bulkheads leaking which I will fix tomorrow, but the system worked well. All valves are fully open and the water level remains stable while it is running. I had to make some small adjustments to my durso's as the water level was not remaining stable in the overflows....all fixed. When I pull power, the system drains nicely into the sump and still maintains the prime on the pump. Power back on, the system pulls all the water back into the lines and stabilizes quickly.
There were quite of few bubbles in the overflow area but none carried over to the return area. I will have to see how this works out with saltwater as the bubbles do behave differently. The fuge works perfectly as I open the valve about half way to create a low flow through that section.
 

tferrante

Member
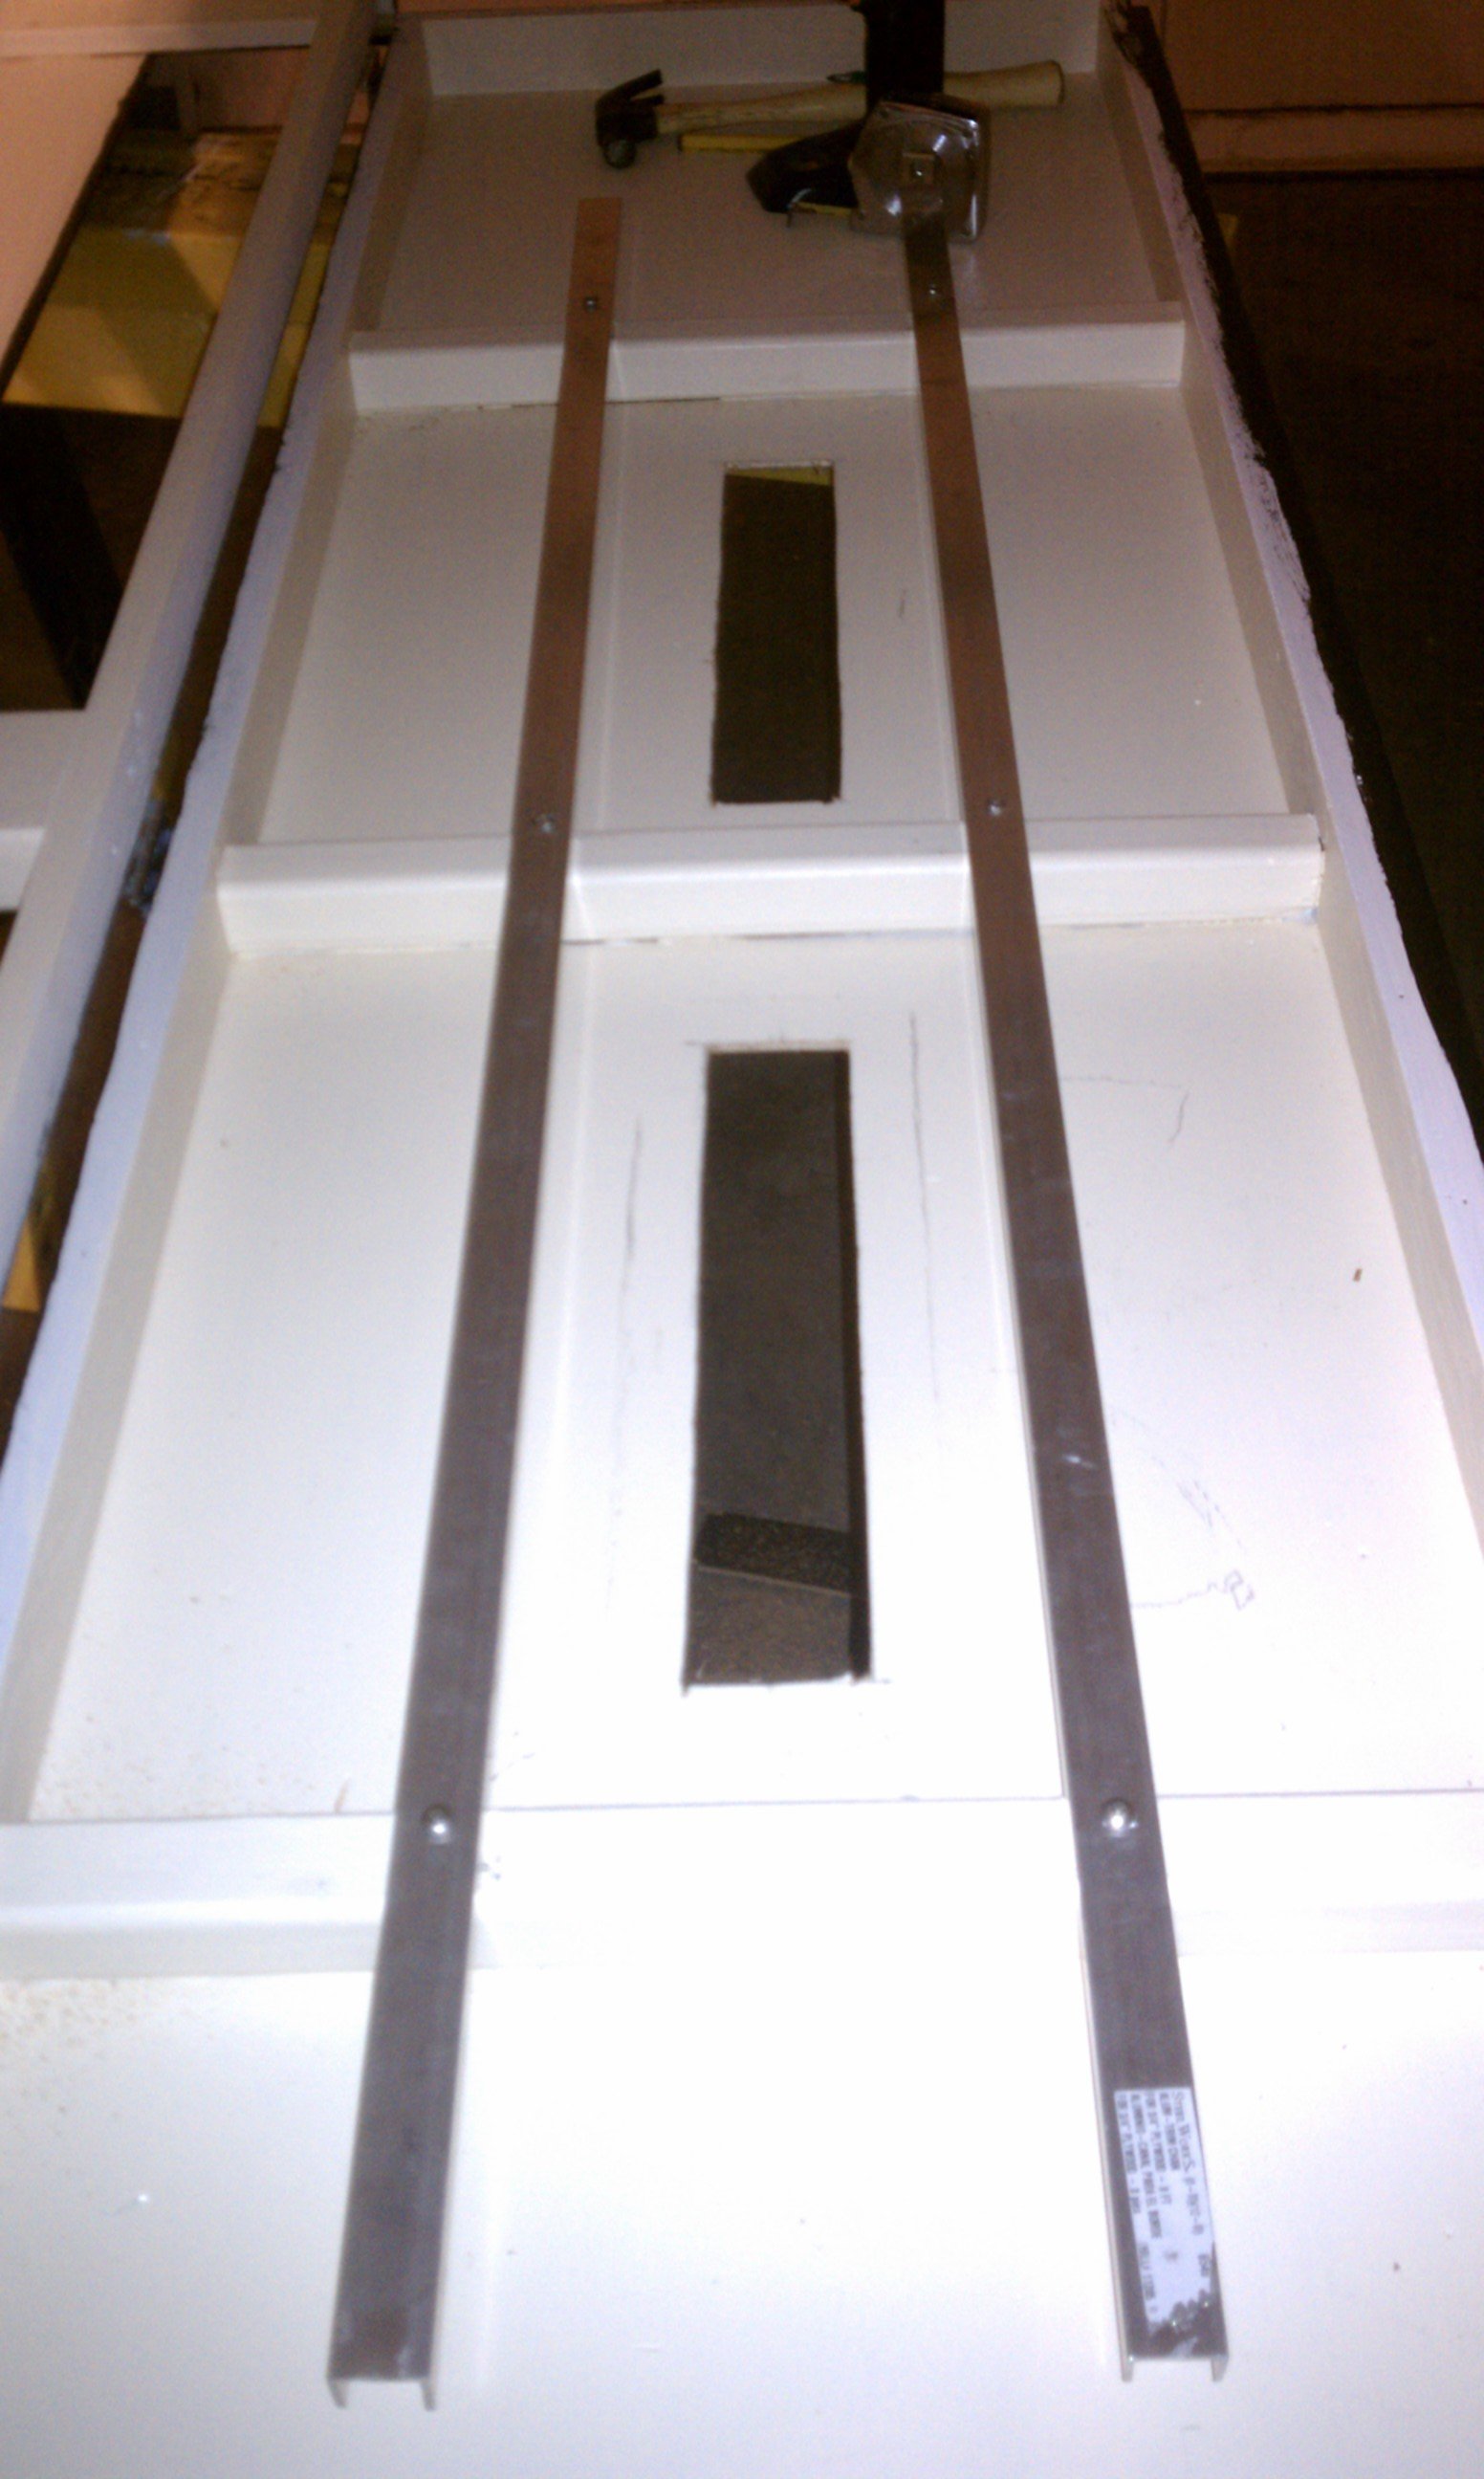
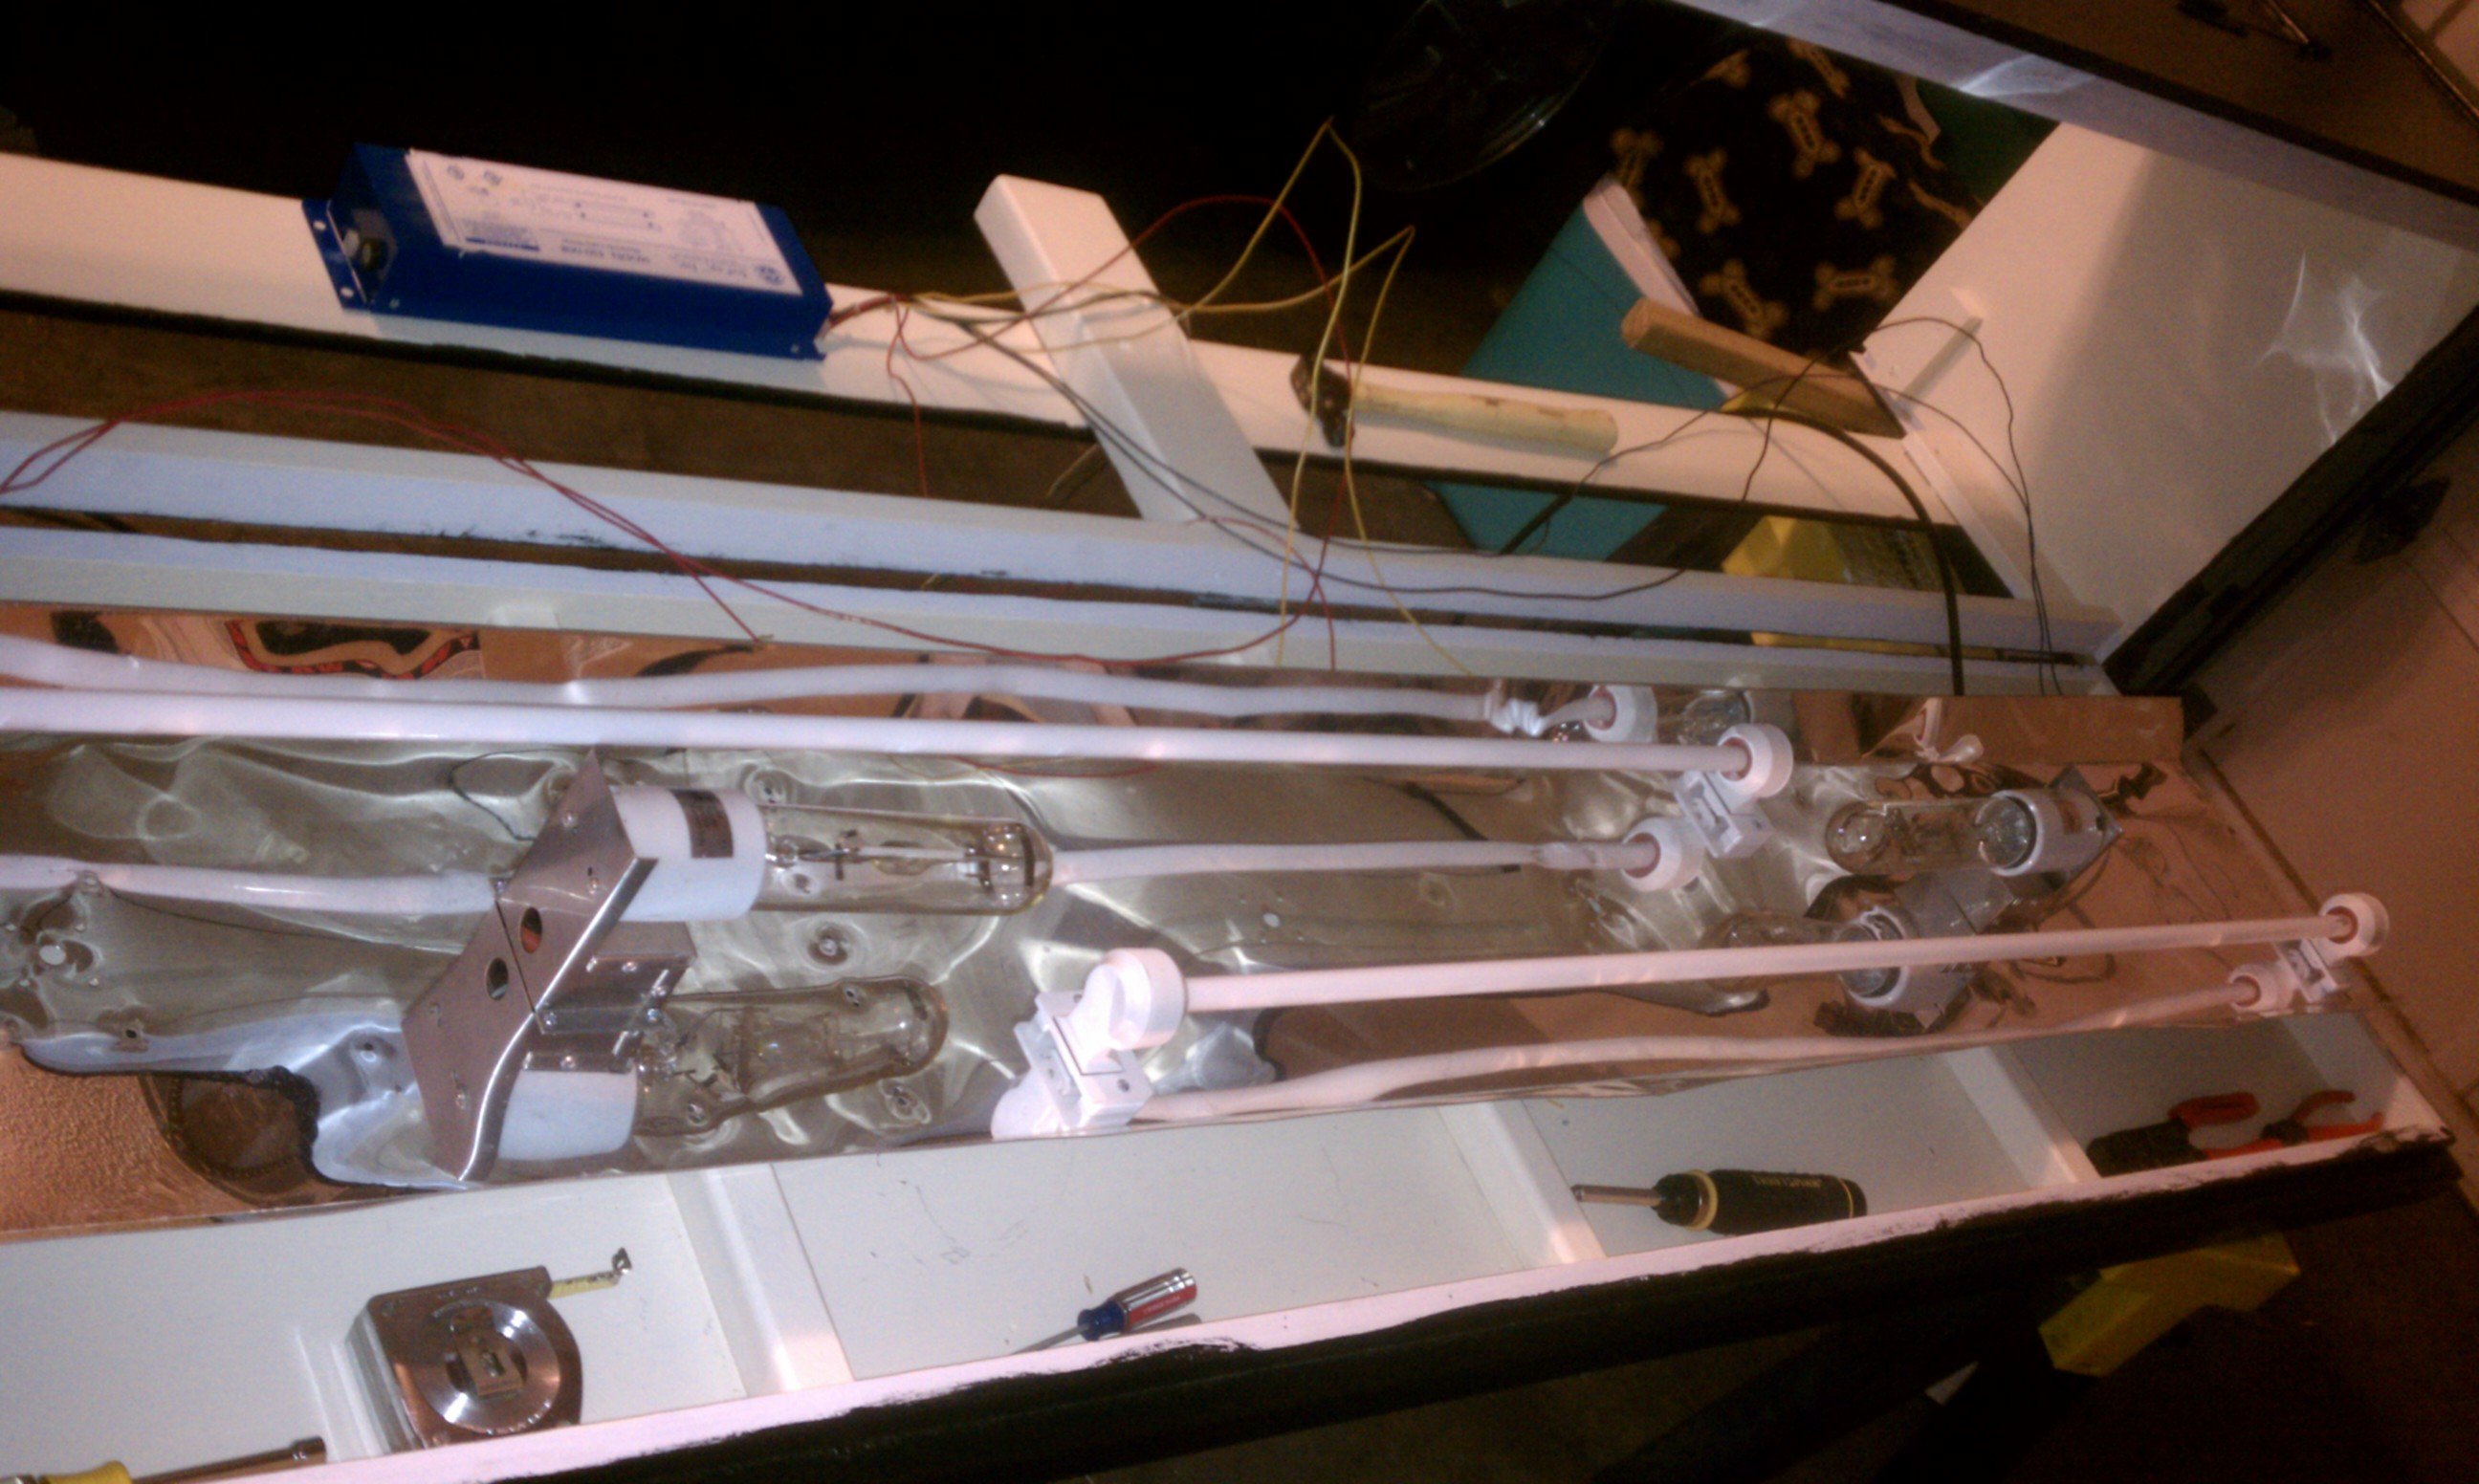
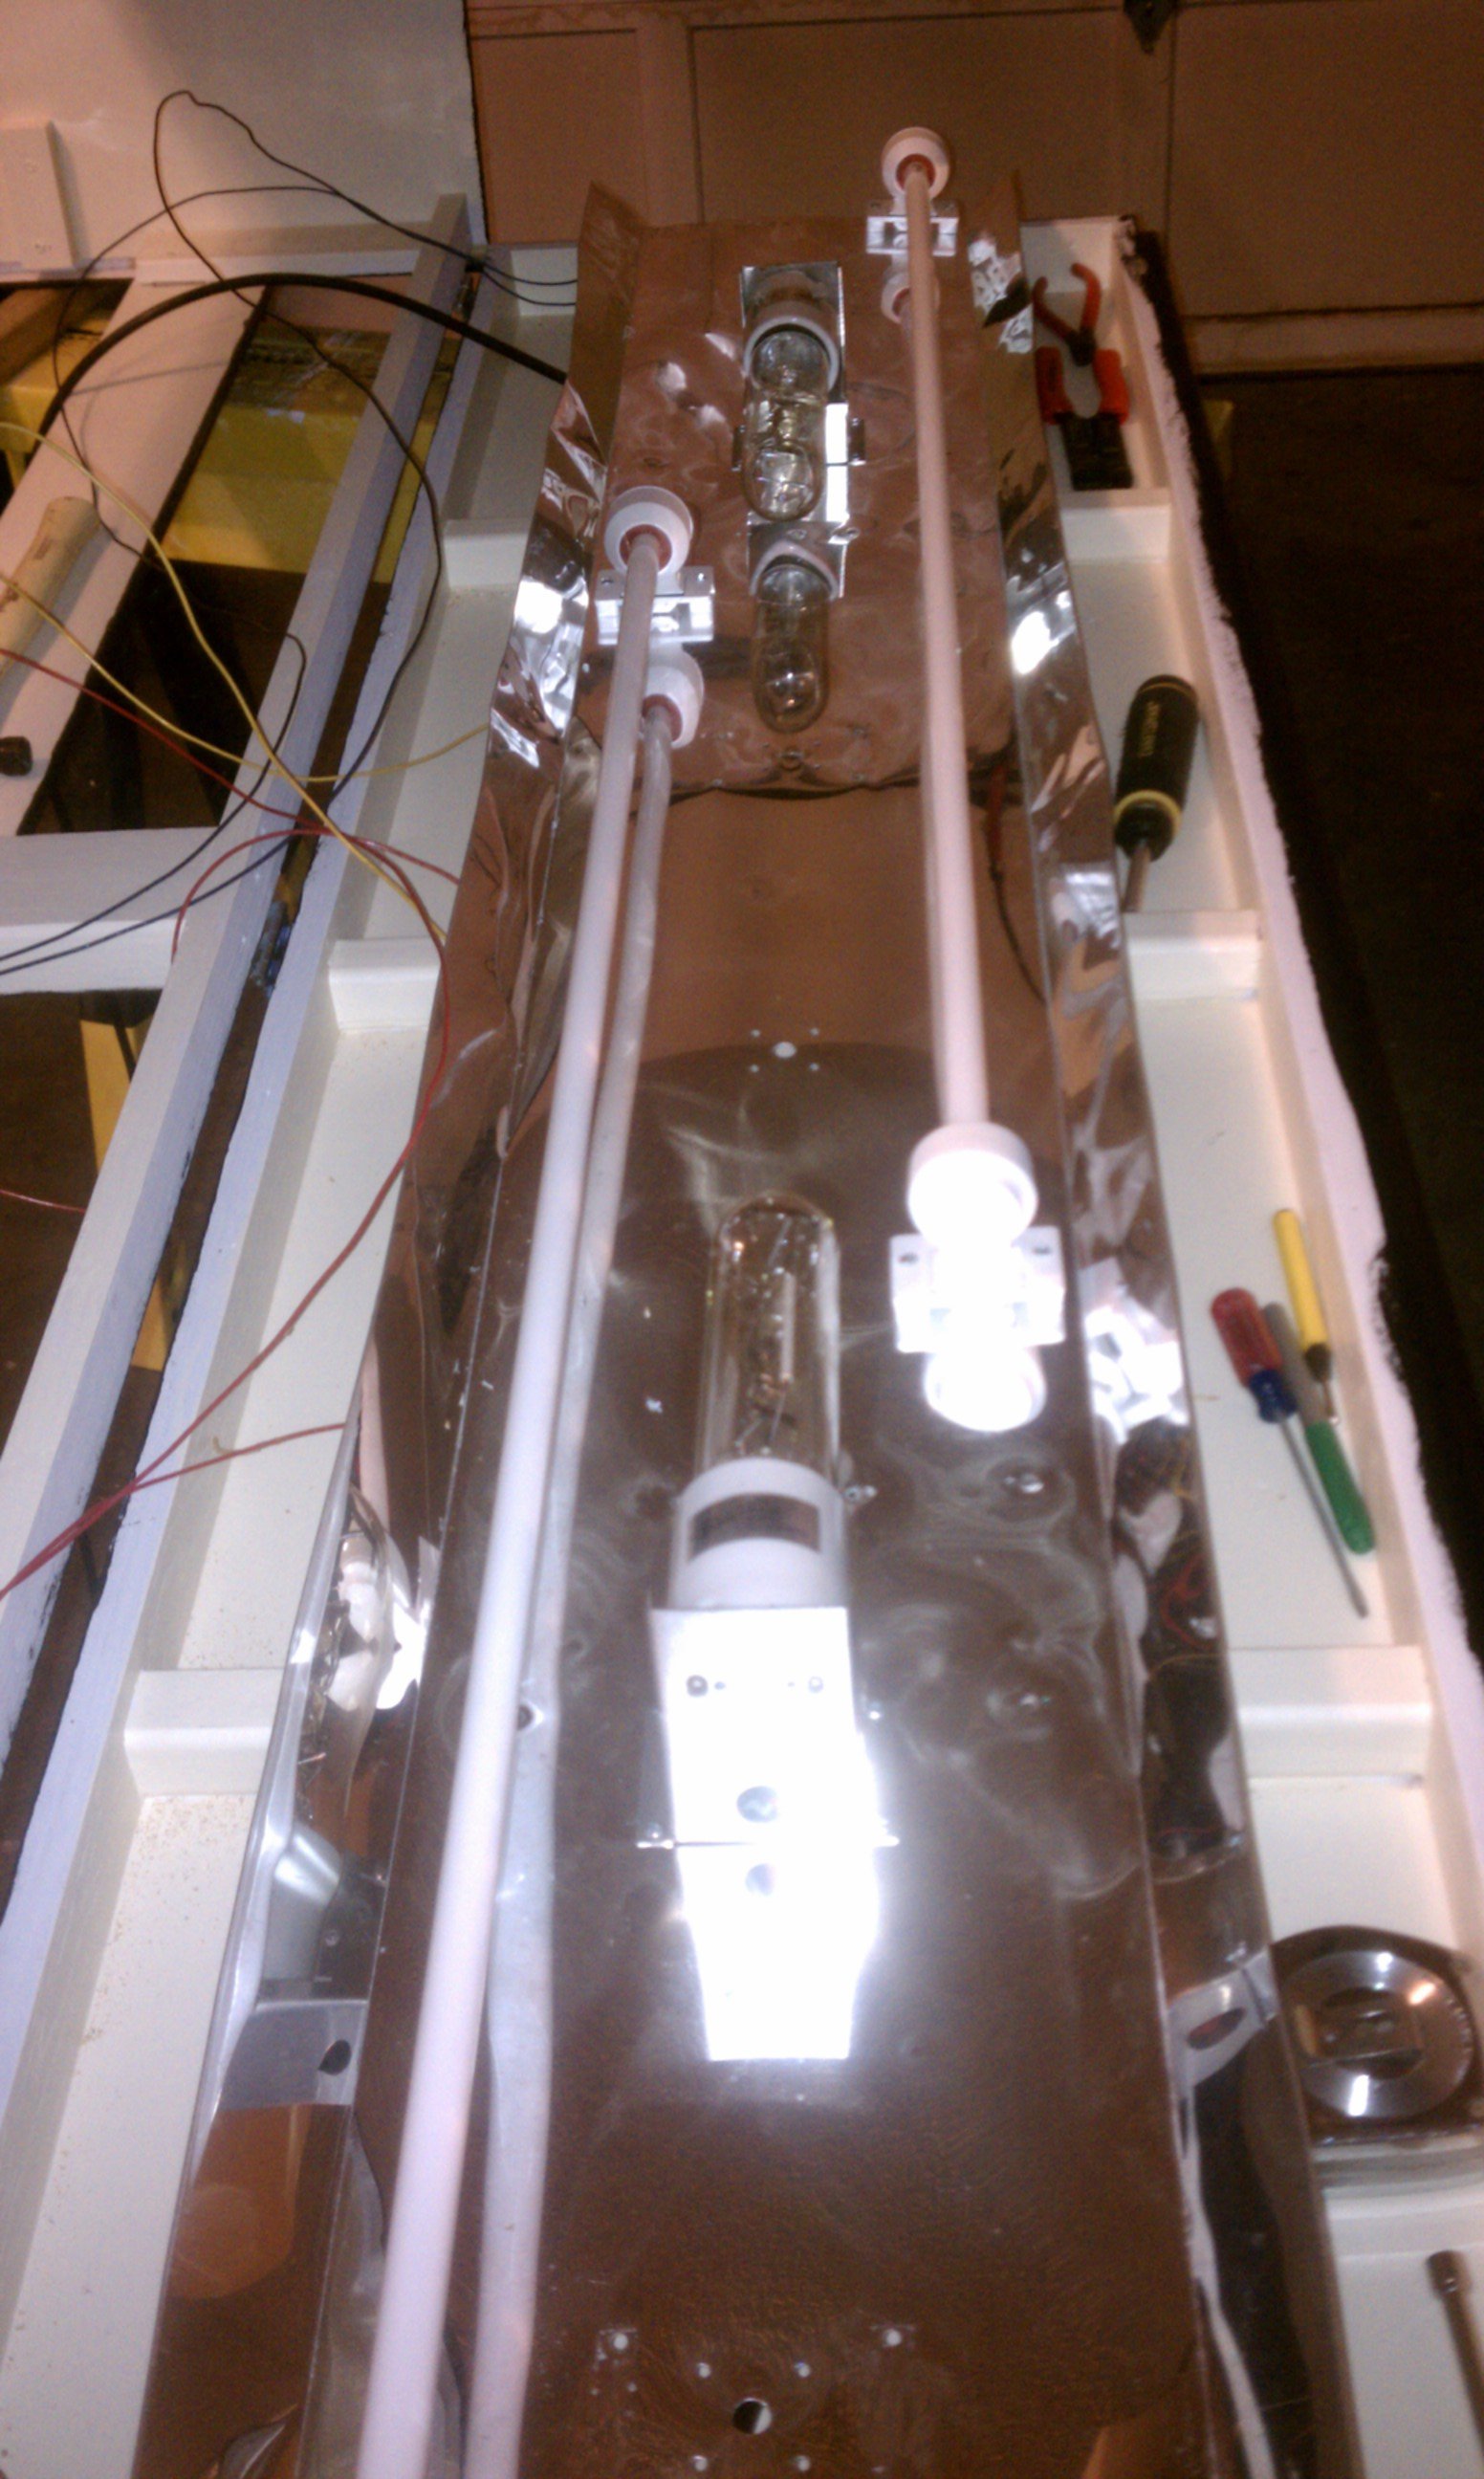
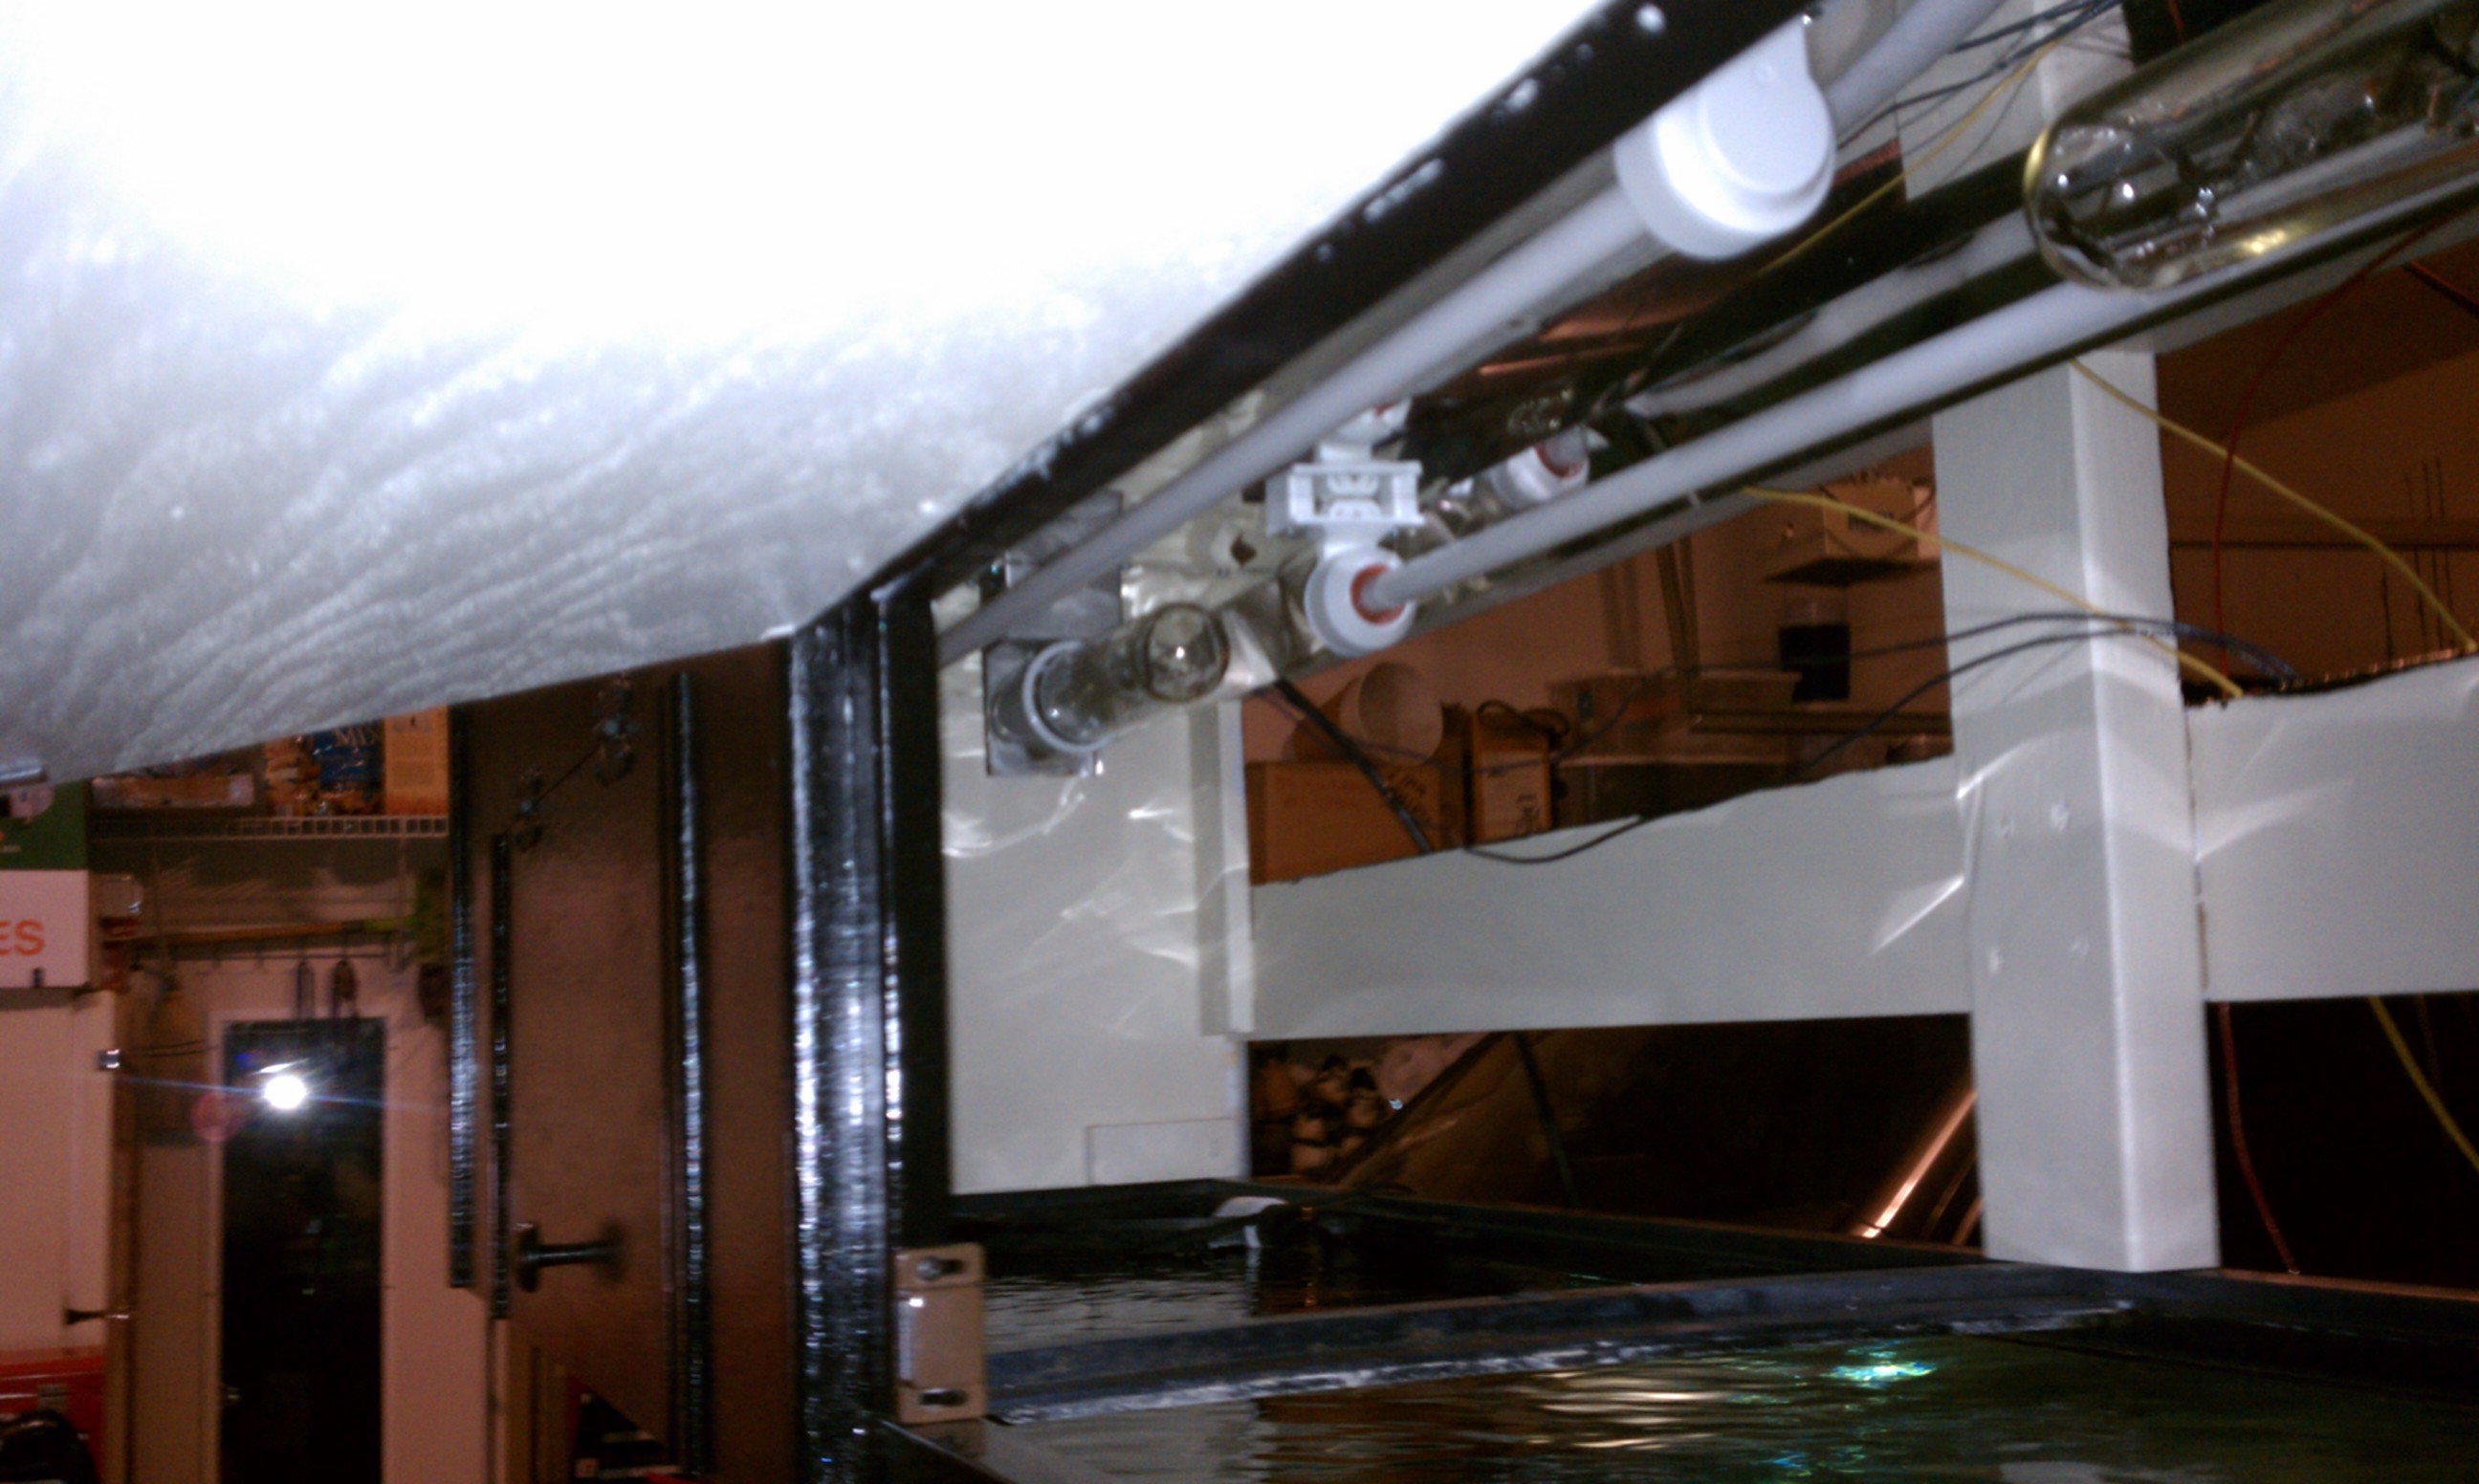
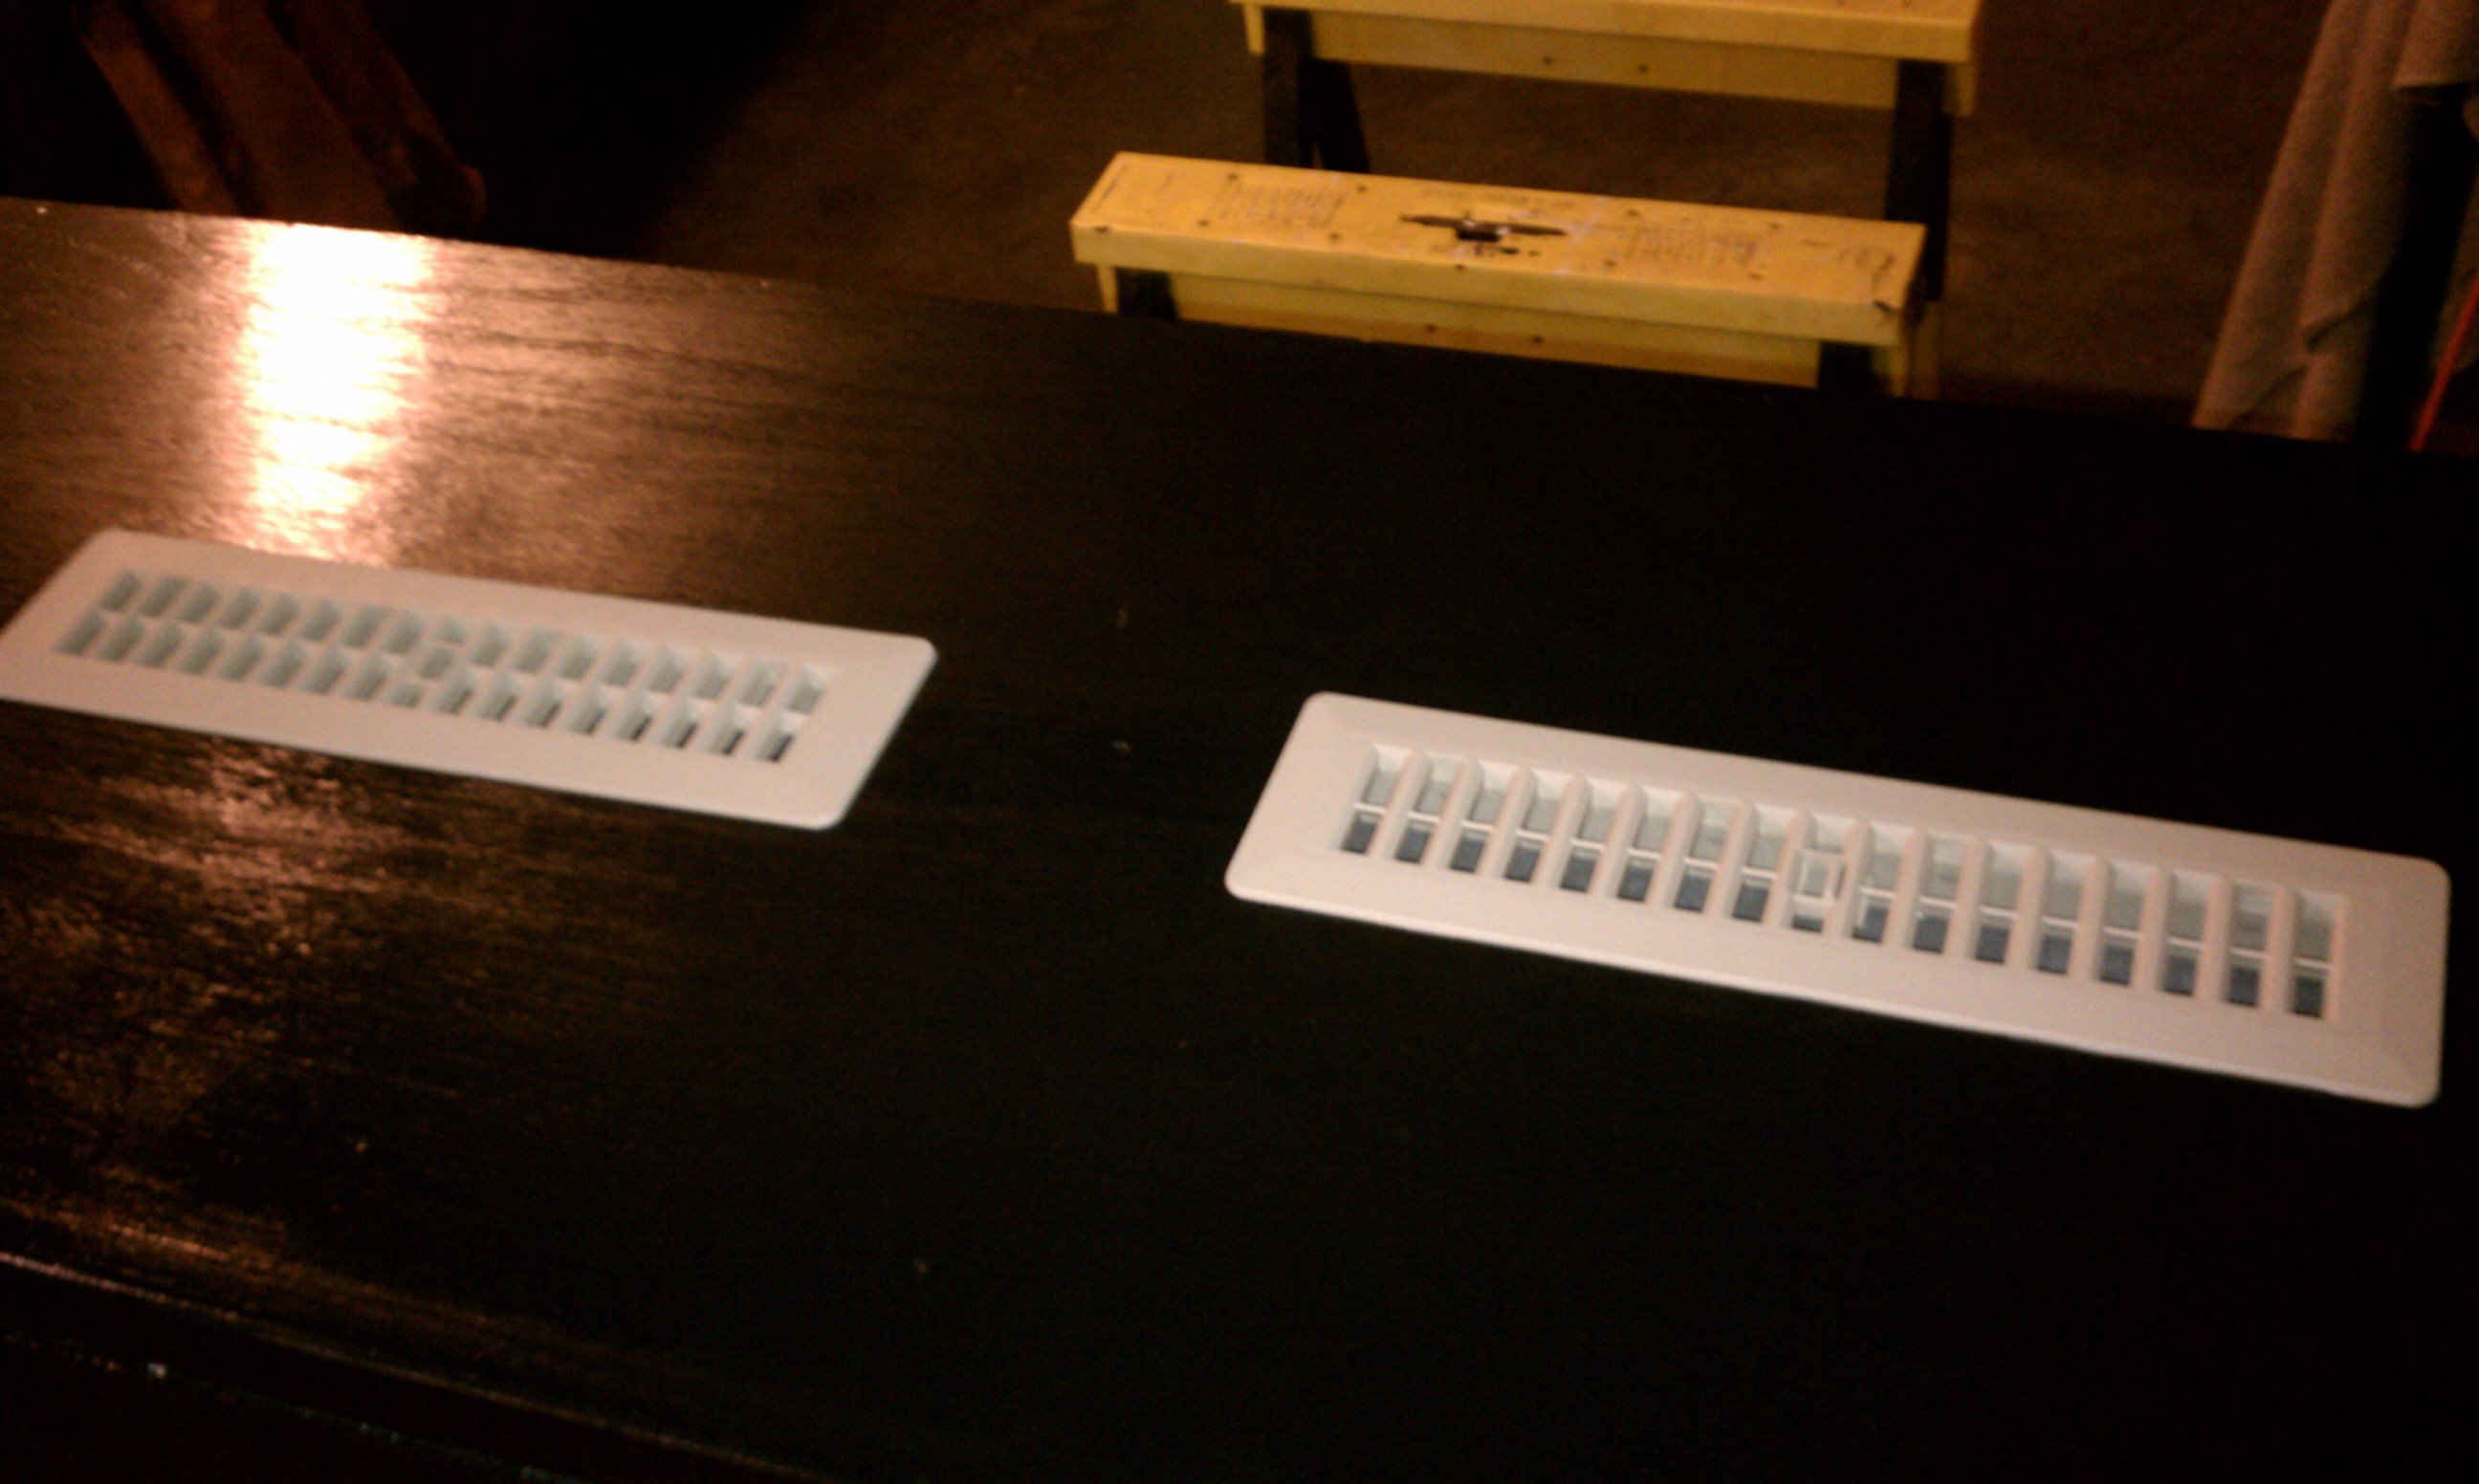
Worked on my canopy over the week-end. I cut two holes and put 2"x 12" plastic floor vents in the top to allow for some natural air movement as the hot air in canopy should rise and escape through these two vents. I polished my 70" reflector and mounted it on to small aluminum rails mounted across the ribs of my top. This gave me about 2" of clearance behind my reflector for air movement. I mounted my lights as seen in pictures below. The MH are about 10" from the surface of the water. They are only 175 watts and do not heat the canopy up much at all. I am not sure what type of bulbs they are, but appear to be 20K bulbs (check out last pic). I need to bundle the wiring and tie it down and mount my ballasts. Most everything is complete on the build and it will soon be time to move it into the house.
Early in the light install (aluminum rails and holes for vents)

Reflector with lights installed

Another shot of lights installed

Shot of inside canopy over top aquarium

Vents on top

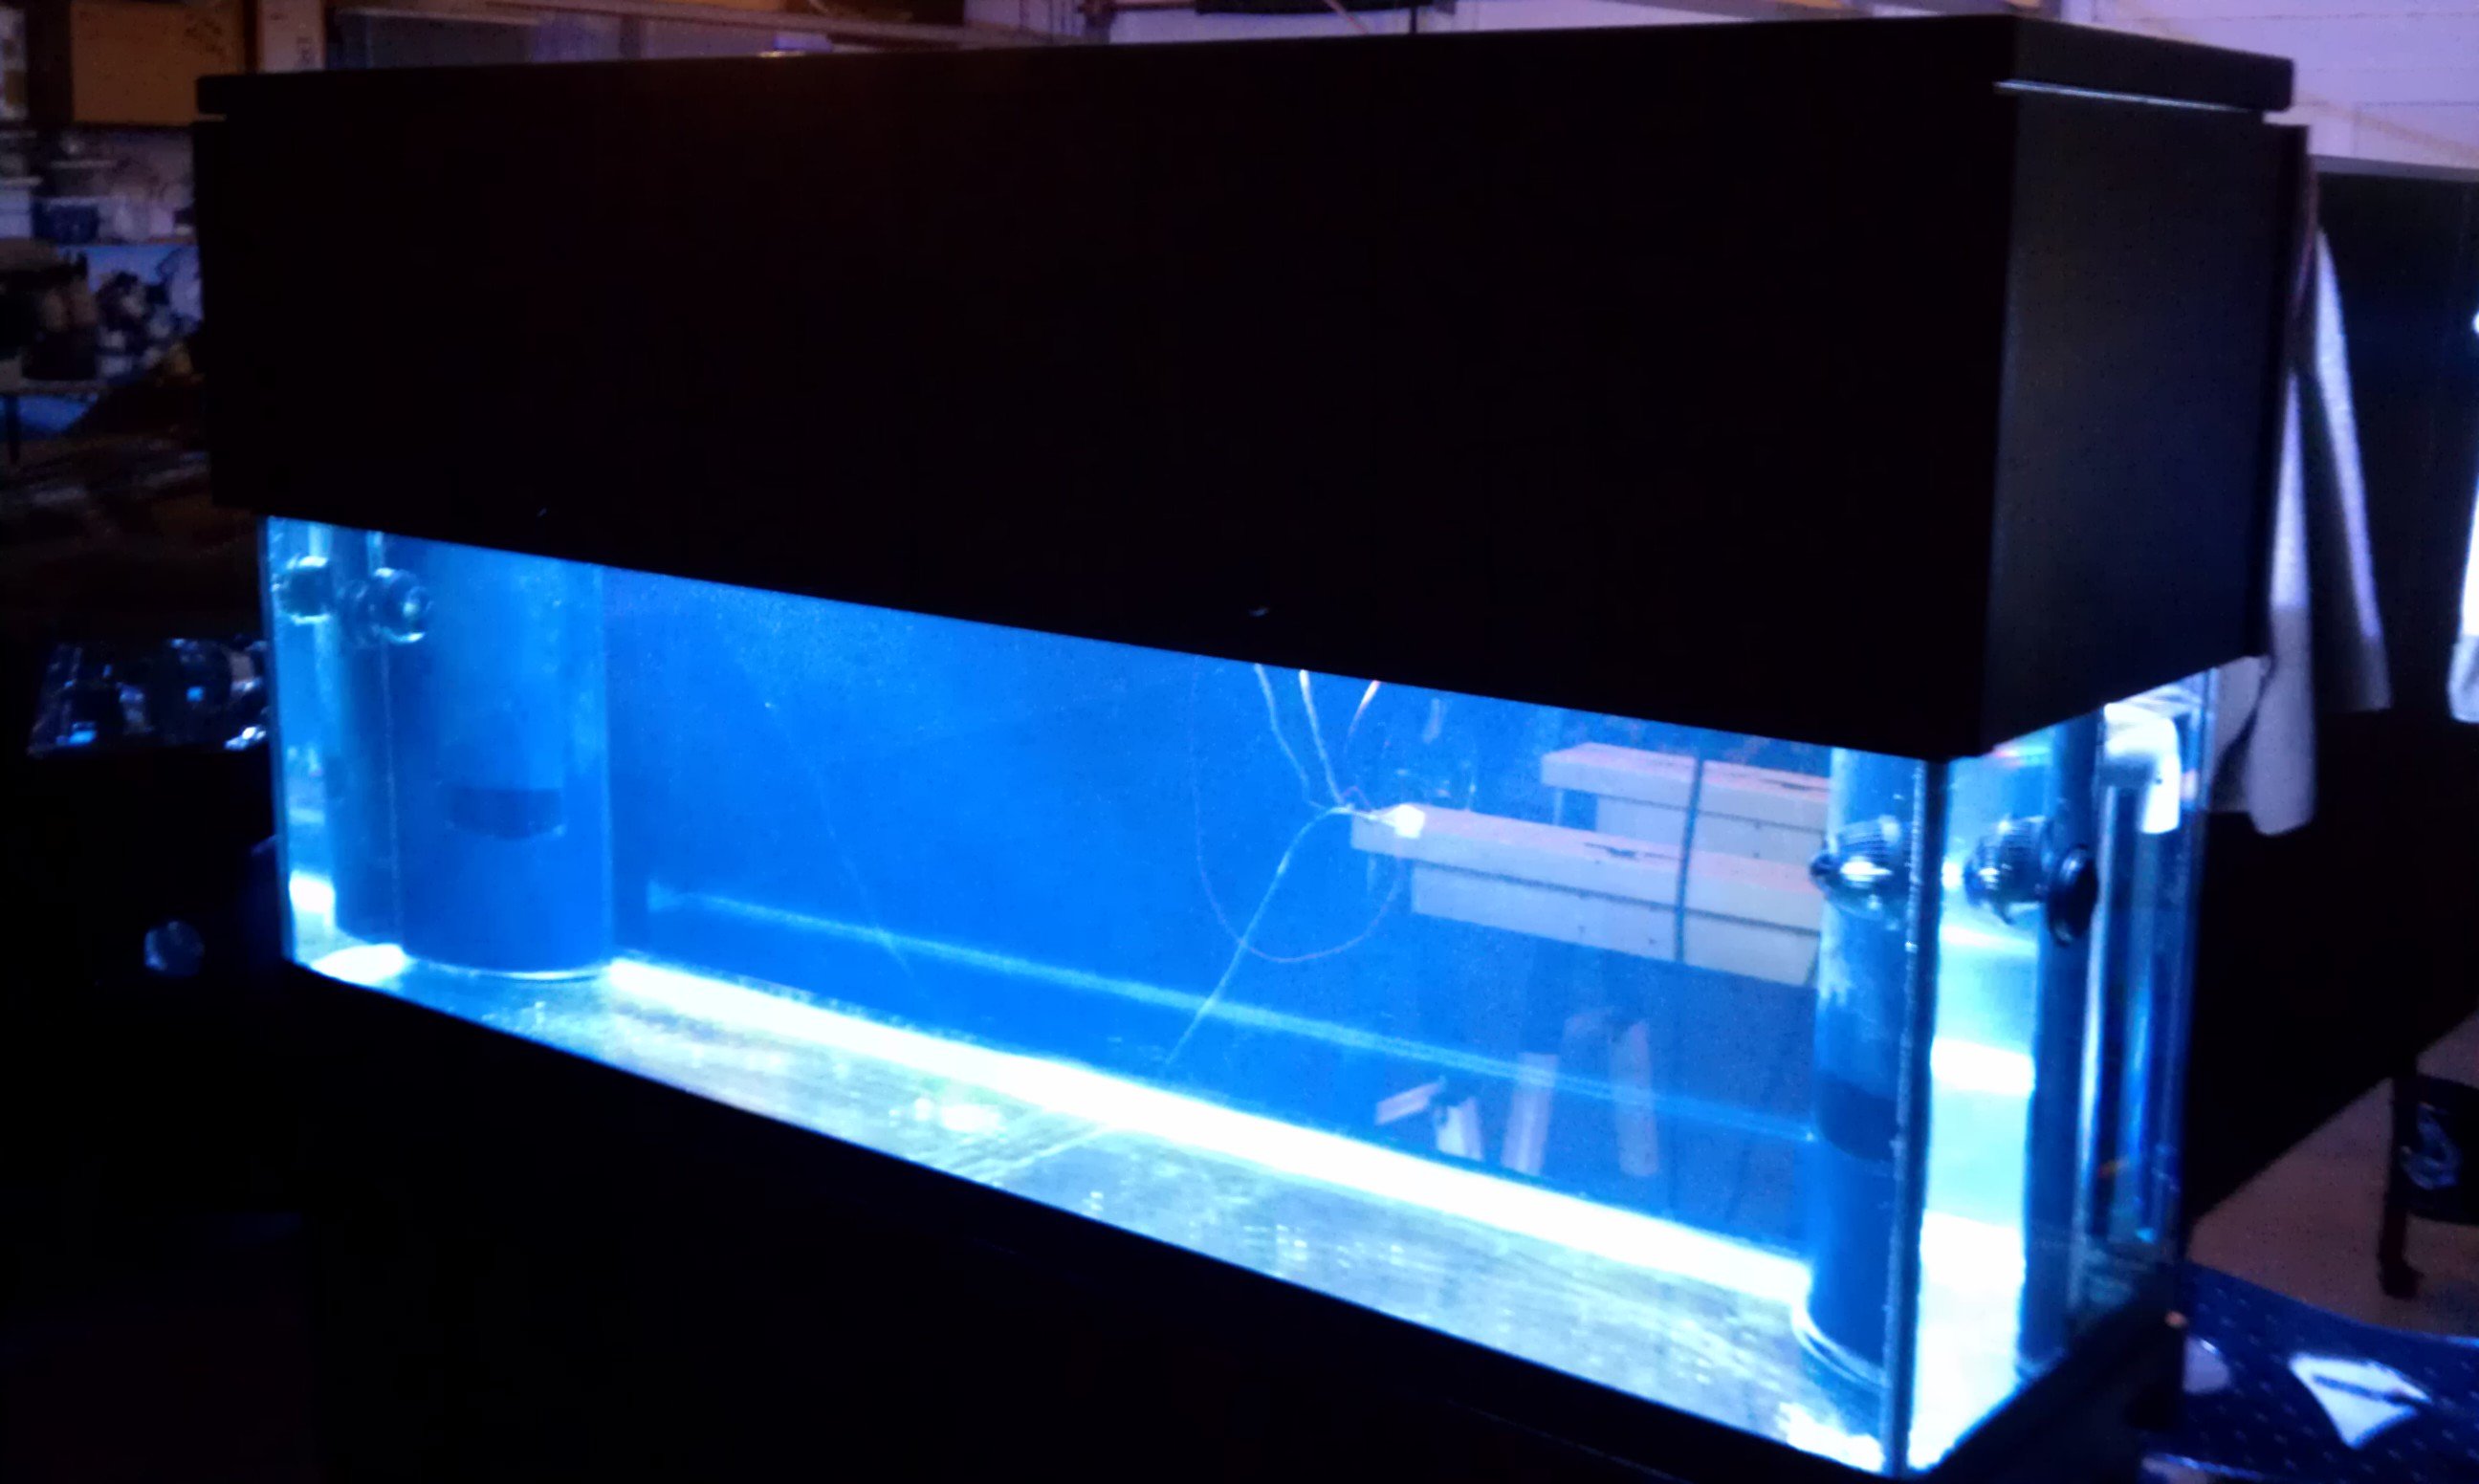
Picture with just MH turned on (notice how blue?...have to be 20K)
 
S

smallreef

Guest
Looks good!
are they brand new bulbs? might not have the true color for a while so while they could be 20k....
The canopy looks really good and hopefully the reflector will not stop the heat from rising...
 

tferrante

Member
No, the bulbs are used. they came with the tanks so I have no idea how old they are. They look to be in good shape, but I have no idea. I will get the tank running and established. I may buy 14K bulbs in the near future and true actinics on my t5's.
 

tferrante

Member
I am looking for some advice, opinions etc on moving things from established tanks to a new tank. I have a 55 gallon and 37 gallon that I would like to move the live rock and its inhabitants into my new 125. I am getting ready to move the aquarium into its spot in the house and begin running RO/DI into the tank. This will take a few days to fill. I will be adding salt at some point and new substrate (may add some of the old after a good rinsing). before the tank is full, I would like to add my rock so I can start the system circulating with the rock. I would like to move my rock into my big tank but am concerned about having no rock left in my tanks for the fish to hide. Do you think they will get too stressed?
I also some some hair algae that I need to clean off these rocks, I plan on scrubbing and perhaps giving them a quick power wash before I put them into the tank. Any thoughts?
Then after all this is complete, will this tank need to cycle like a brand new tank? Should I add all the fish at once, a few at a time over a couple of days? The fish that I will be moving are as follows:
yellow tang
lemon butterfly (millet)
flame angel
yellow watchman
cleaner wrasse
pair of black clowns
fire shrimp
saddleback tang
starry blenny
assorted hermits from both tanks
decorator urchin
I am going to sell my maroon clown and pseudochromis. Any advice would be welcome.
 

tferrante

Member
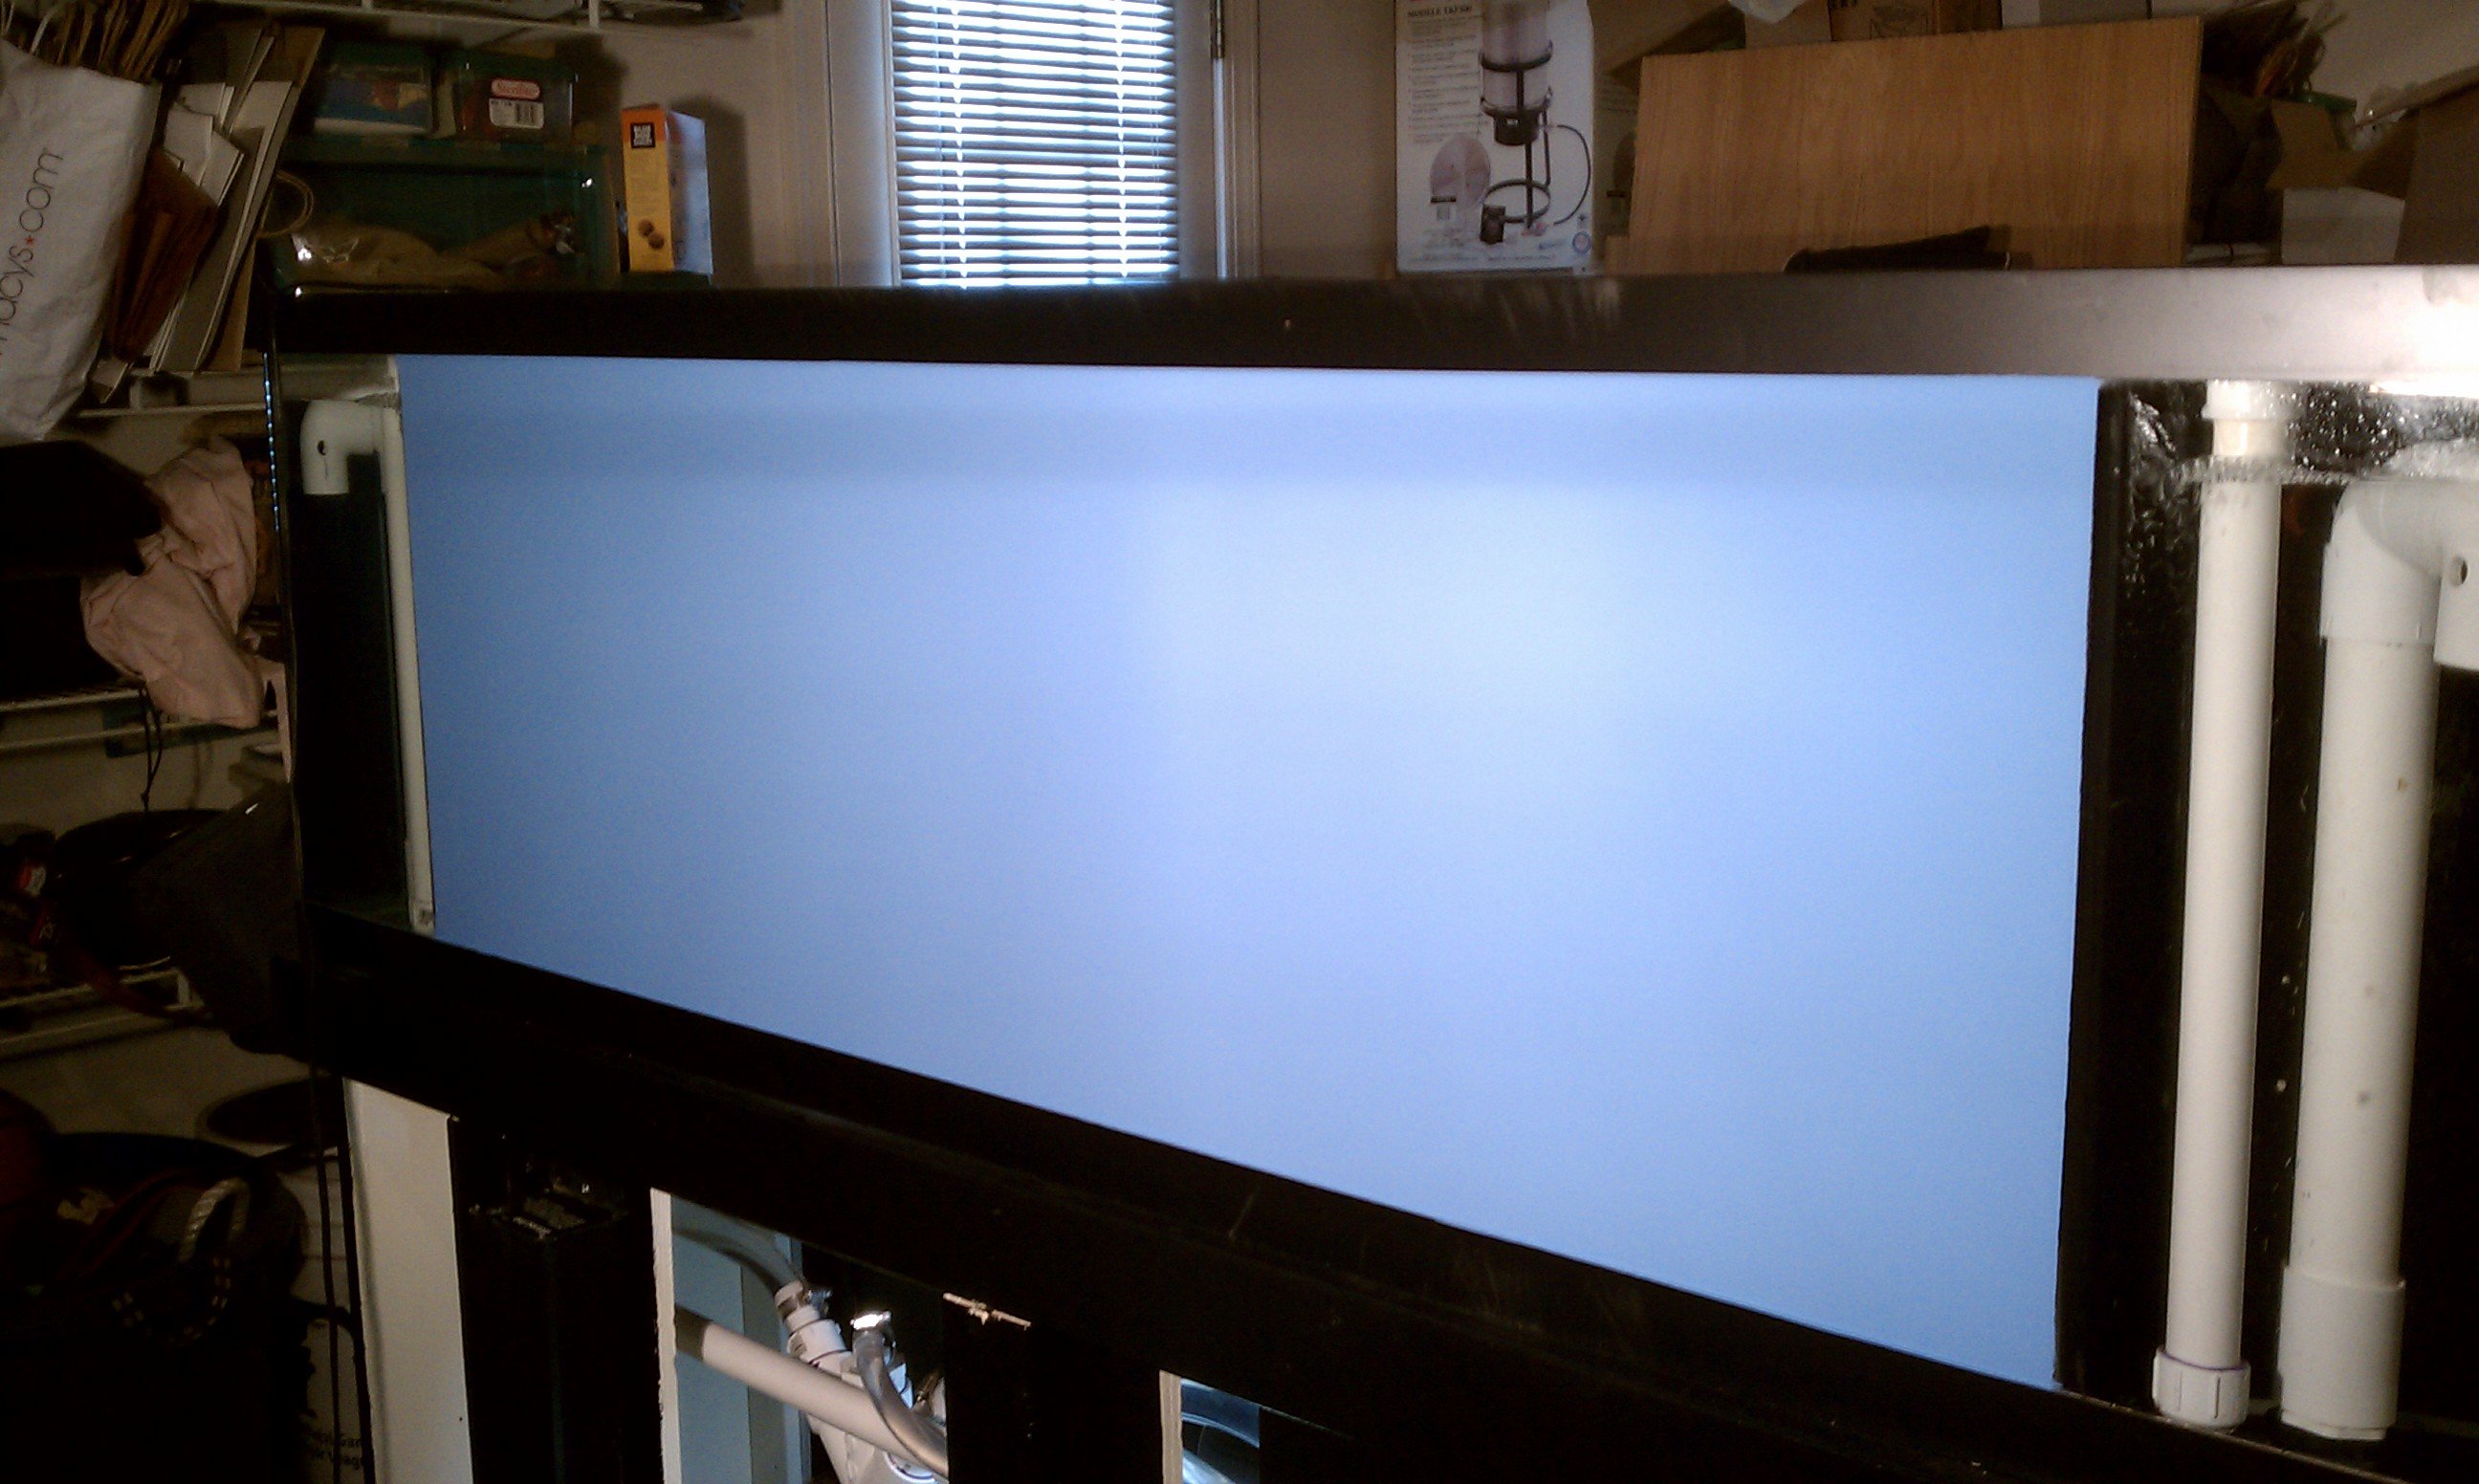
Things are winding down on my build and it will be time to break it down and move it ti its place on the 2nd floor of my house. I have been running the system with freshwater in the garage to make sure all is well. I added a pre-filter sock and it really helped with the turbulence in my sump so I am going to keep a sock in the system for now. I buttoned up all my wiring on my canopy. I also painted the back of my tank a very nice blue. Here are a few pics of the few final items that I finished over the weekend.
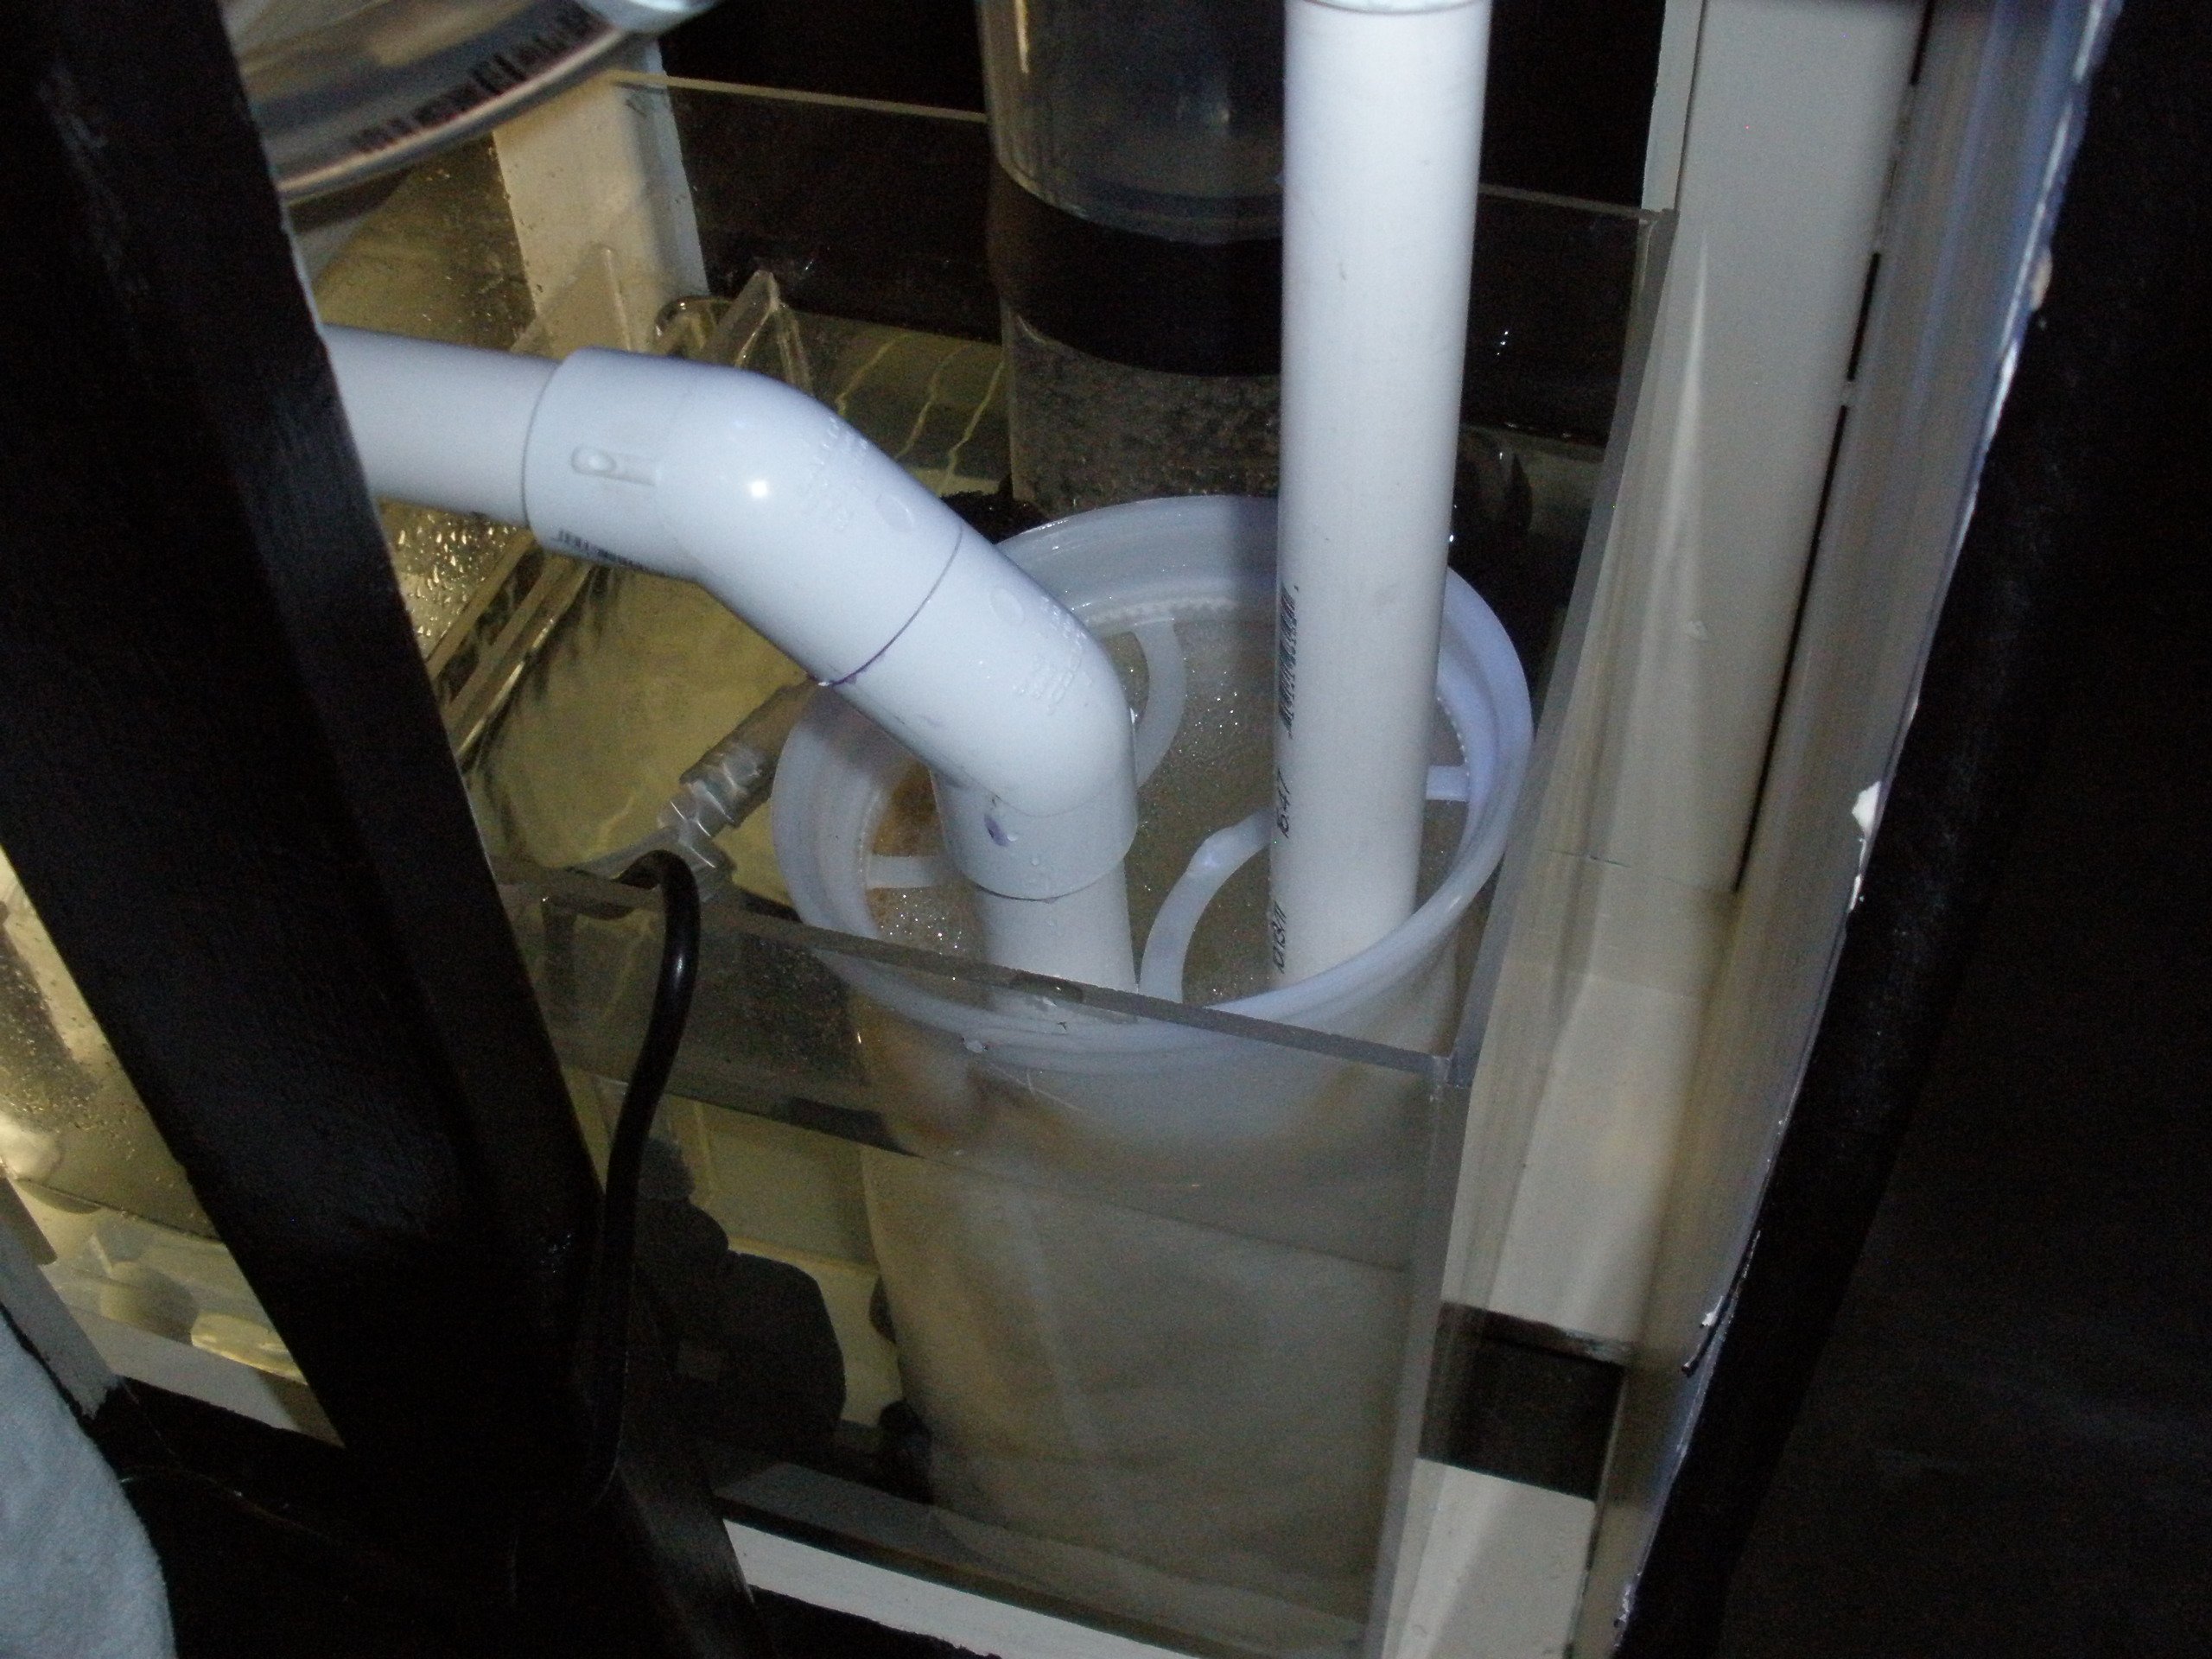
Sock added

Front of sump with sock added (notice little to no turbulence in that section)

Dursos working smoothly

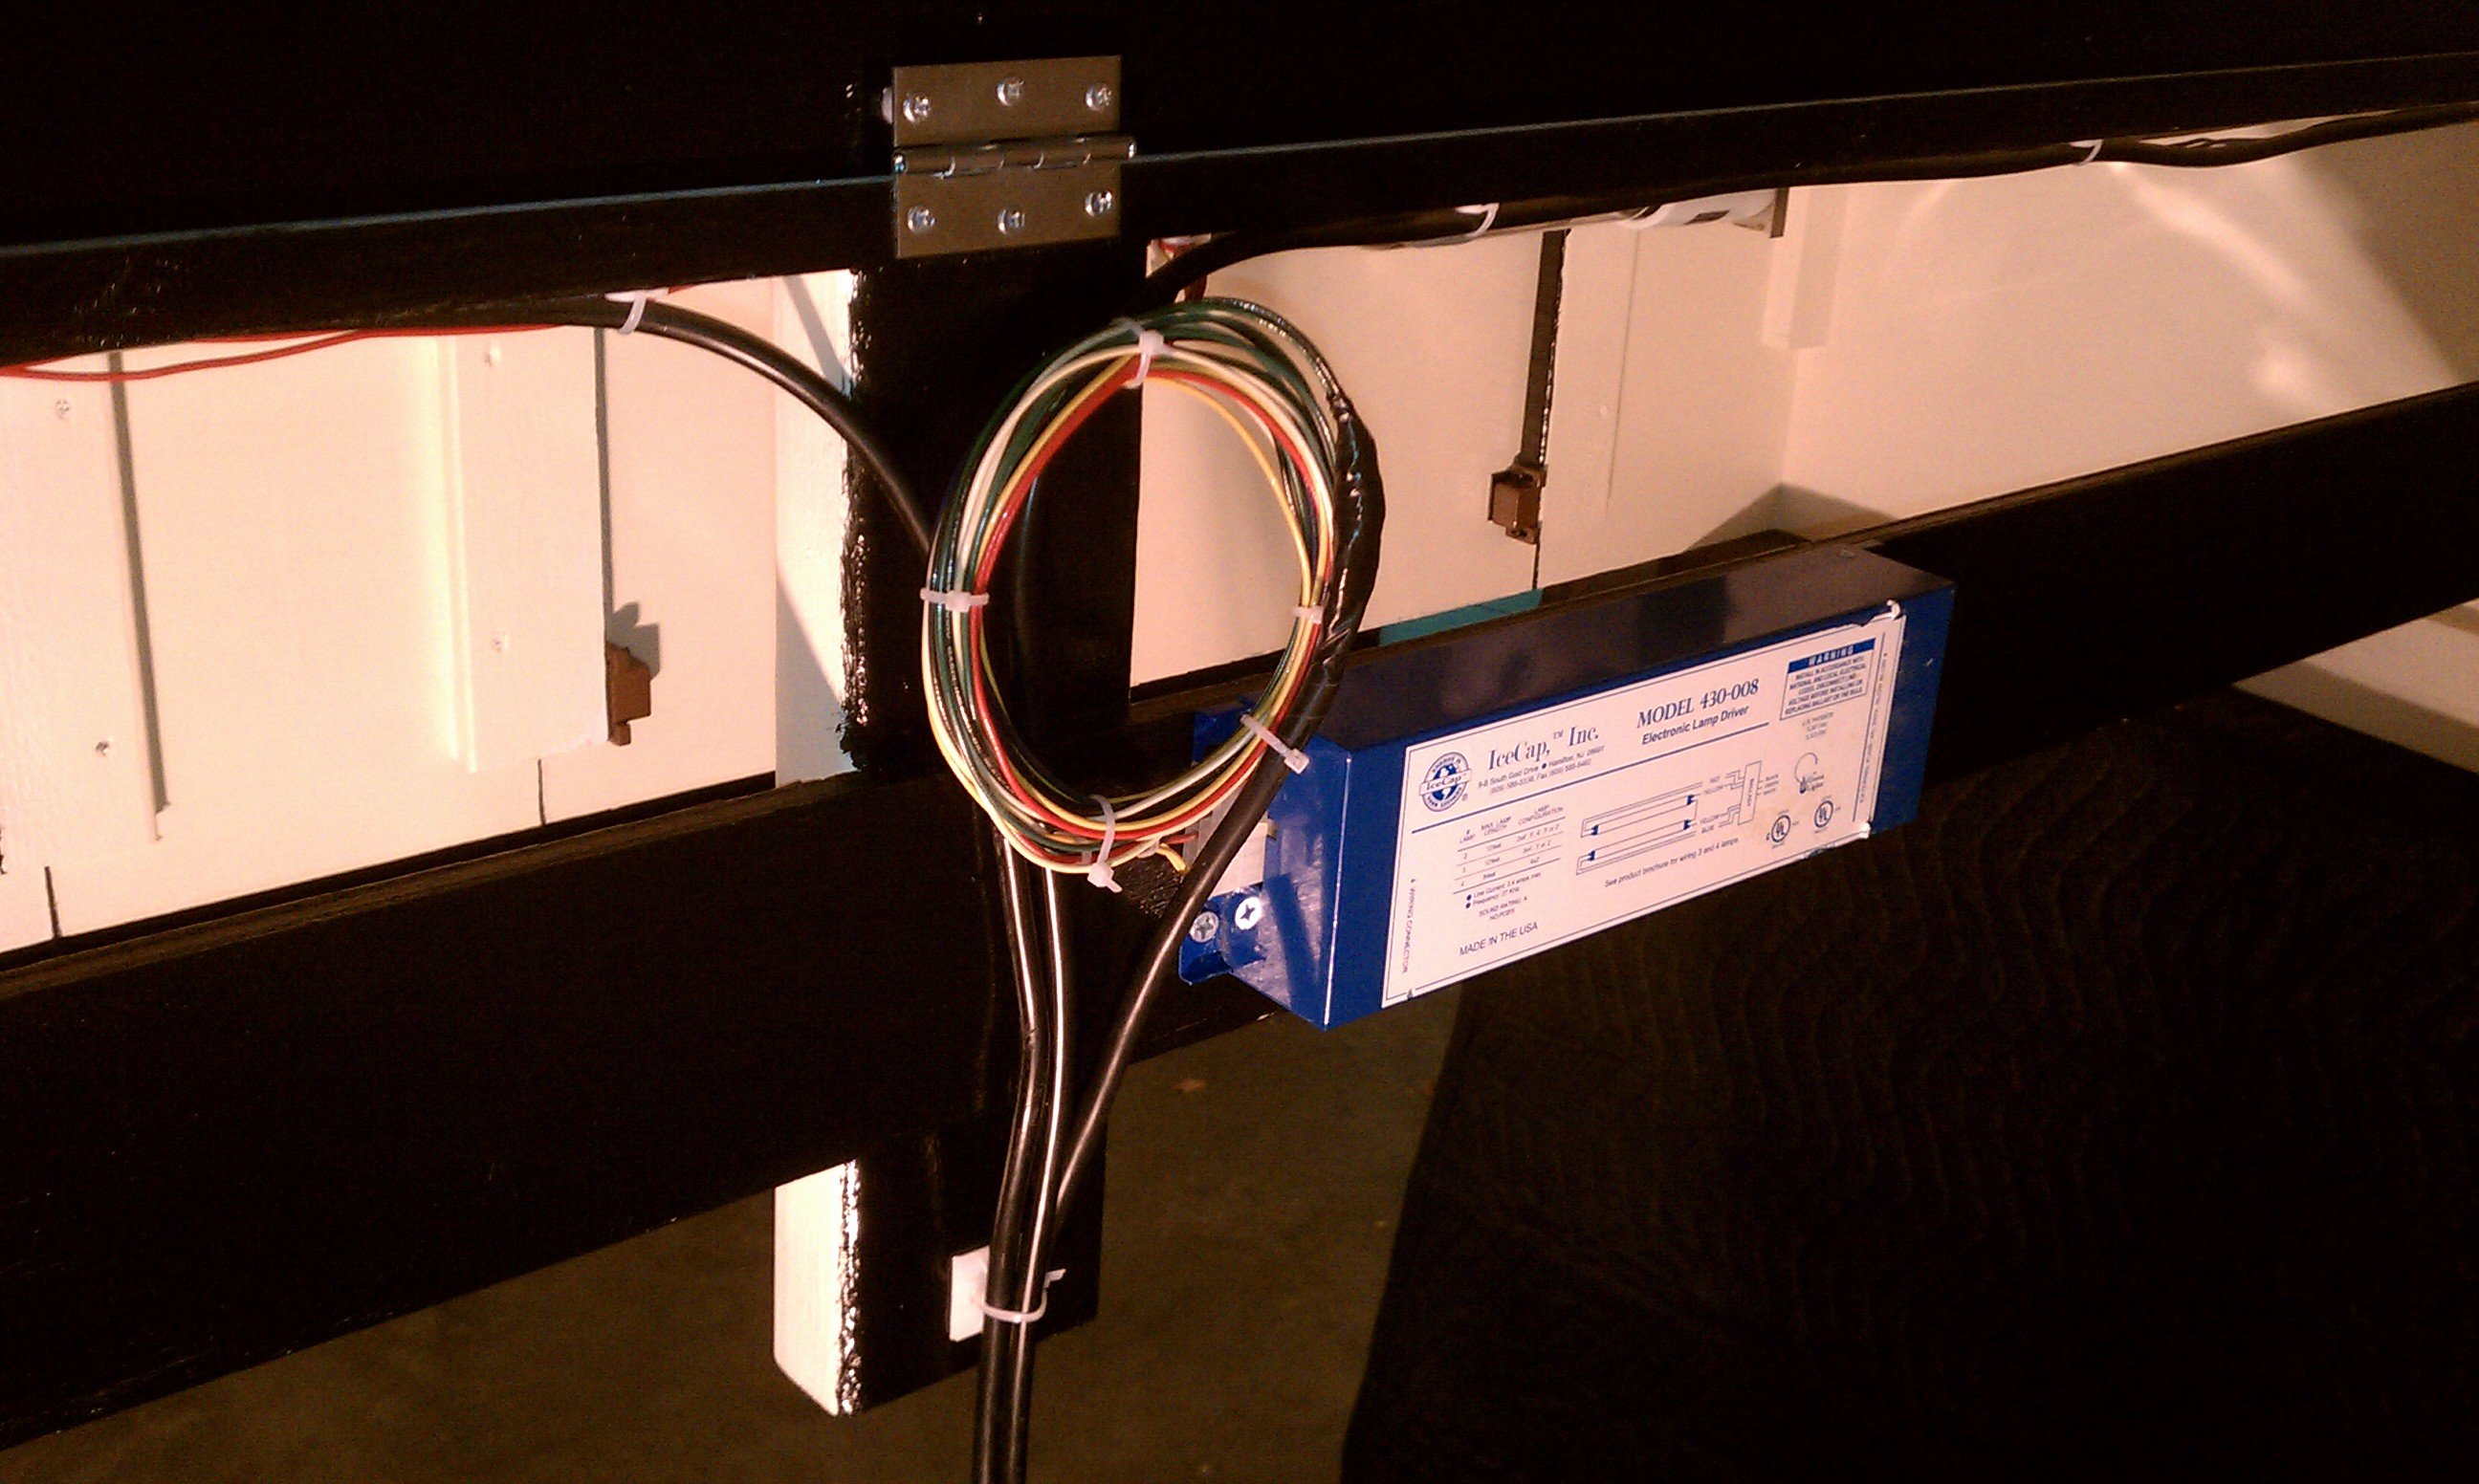
Wiring complete (icecap ballast for T5 on canopy, MH ballast on back of stand)

Wires neatly mounted in back allowing hood to open and close with no issues

Back painted

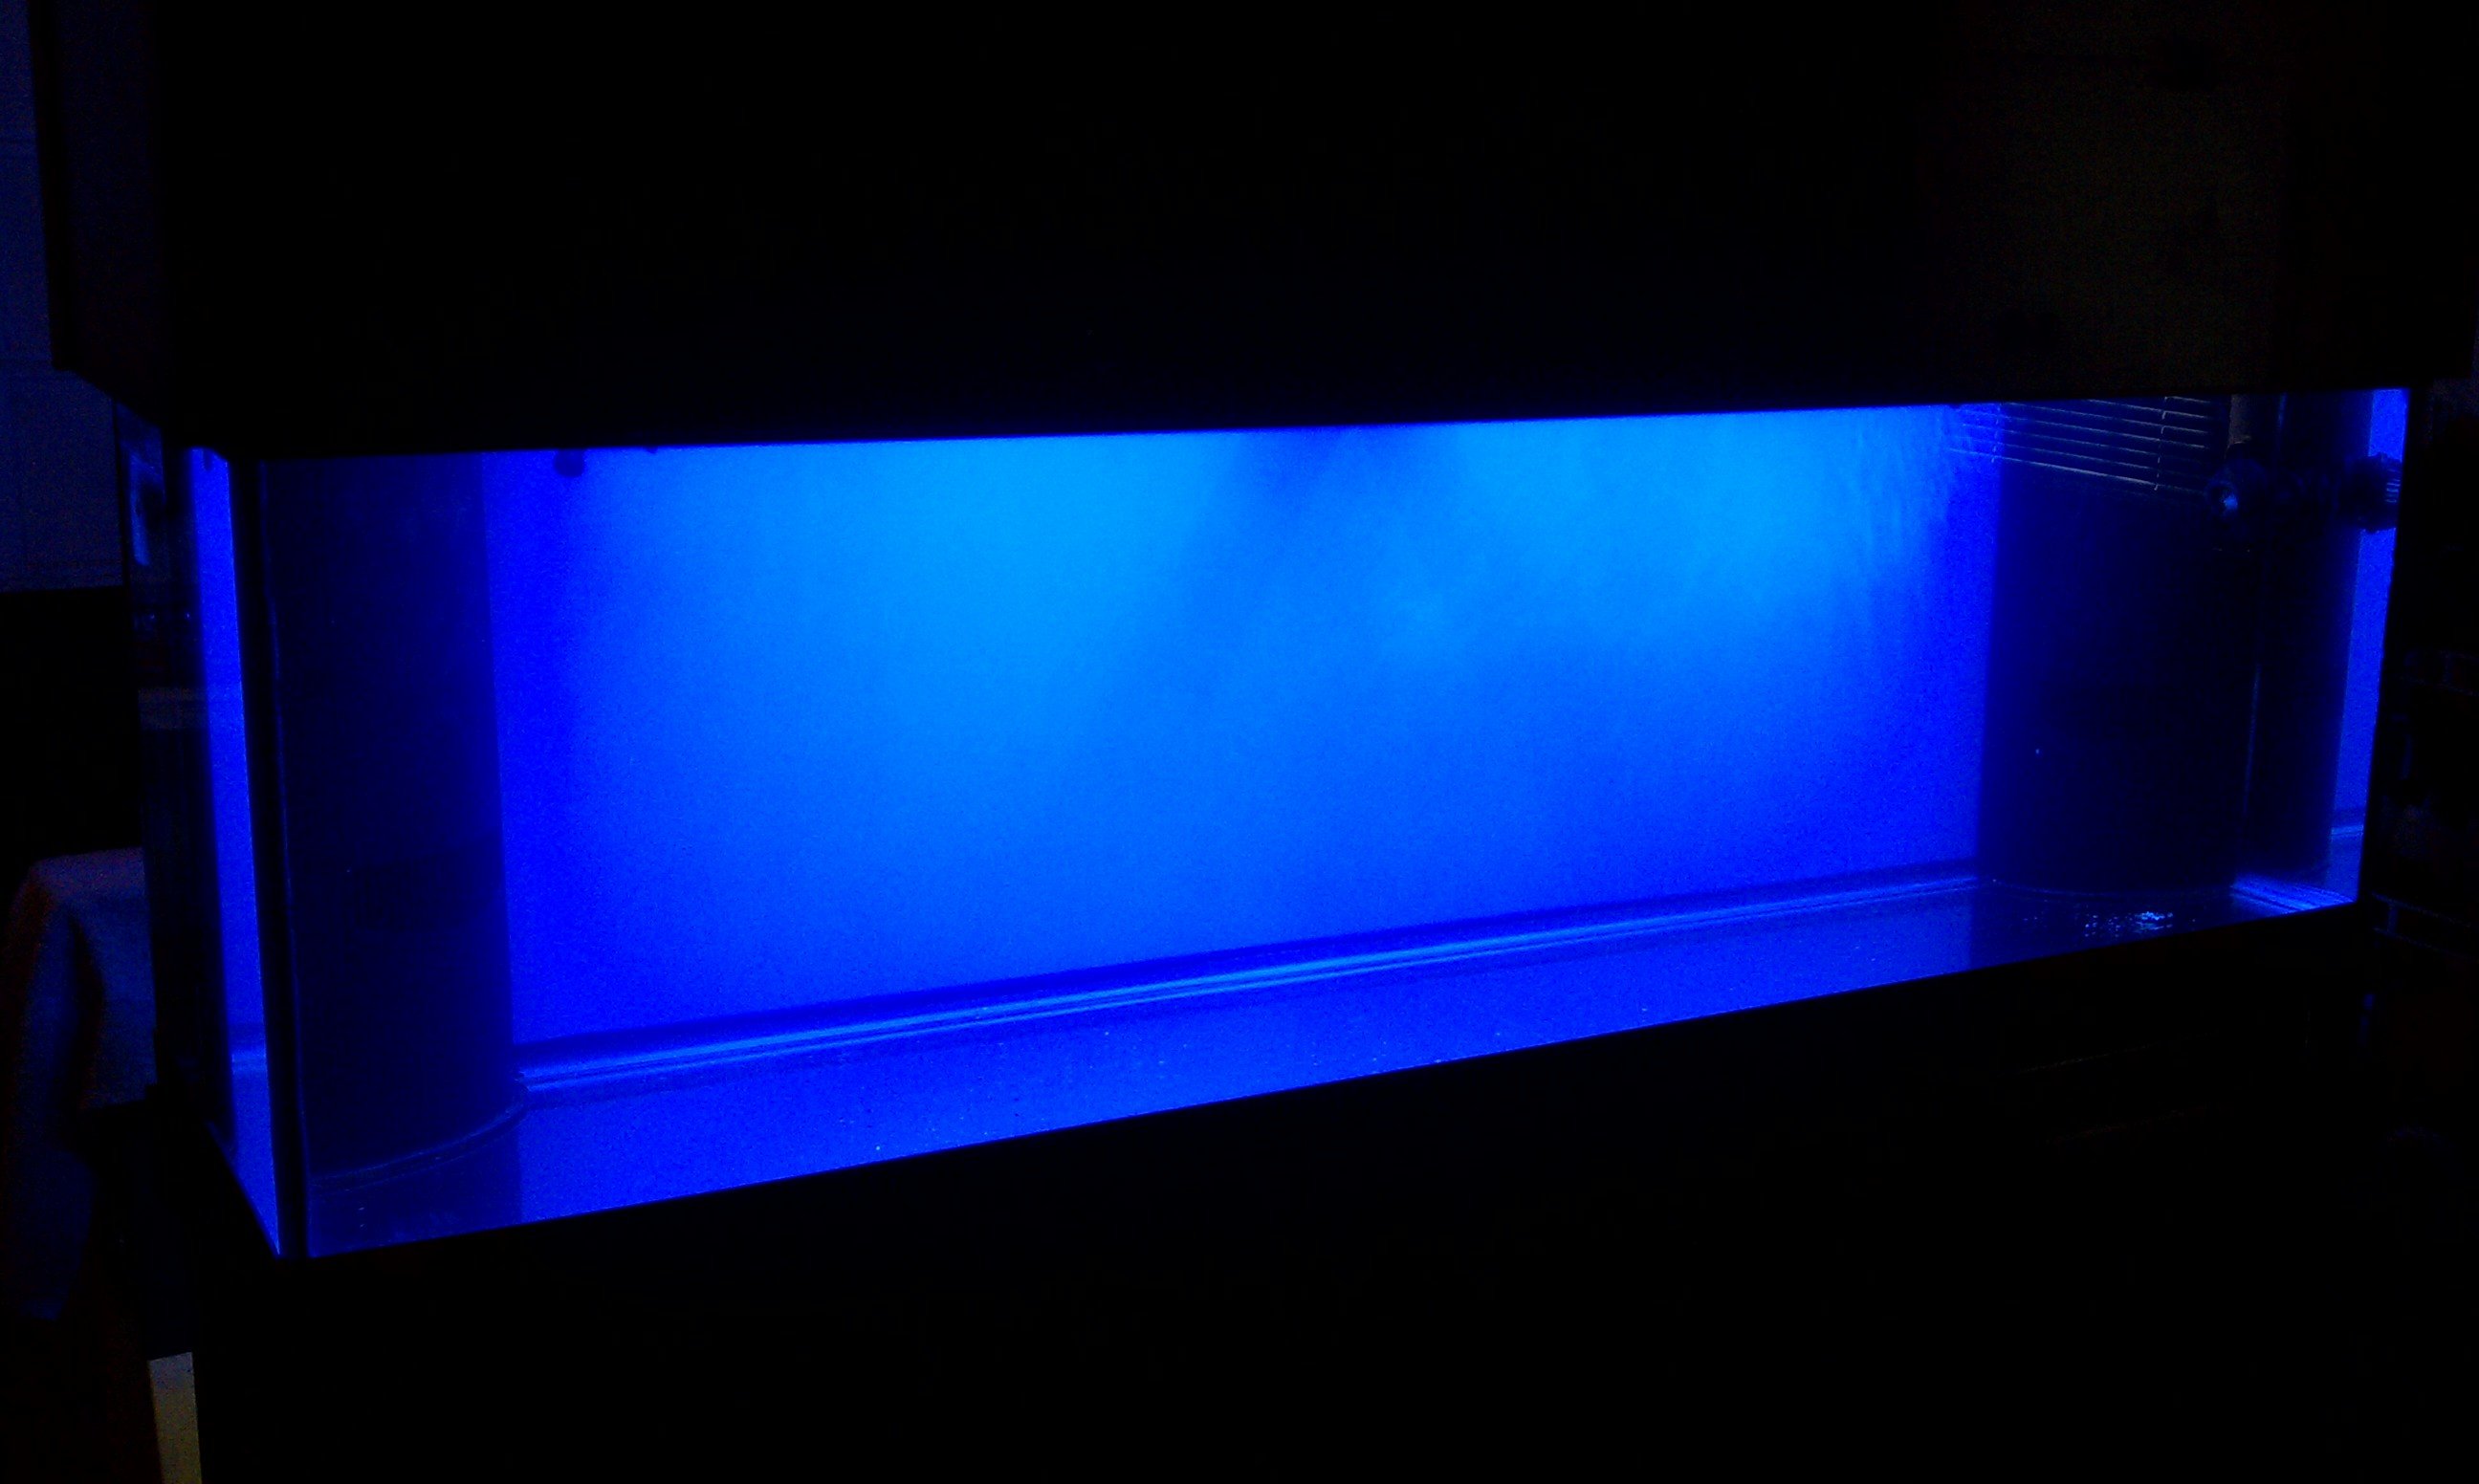
Lights on with back painted (hard to get color correct with camera, but it looks great)
 
E

eric b 125

Guest
Things are looking good! You say this is going on the second floor? I hope that the floor joists run perpendicular to the tank.
 

tferrante

Member
Thanks for following Nova, I have not been in a hurry and have enjoyed learning along the way.
Thanks eric, I did check out my joist arrangement. I actually had to change walls for that very reason. I am putting on an outside walls with the joist running perpendicular to the stand to carry the load over several joists close to the wall.
 

tferrante

Member
I had a surprise this week. A little background....my interest in aquariums started many, many years ago due to the fact that my dad had aquariums when I was younger. I can remember at one point my dad having a 55 gallon aquarium when those were considered big tanks. I can remember him playing with saltwater. That was in the day when you used a diatomaceous earth filter and undergravel filtration. I figured that his first saltwater aquariums were running in 1970. I can remember him having a yellow tang and believe it or not a copperbanded butterfly. He had a 30 gallon tank with clowns and anenomes....They really didnt have many live corals available as I can remember nor did they use live rock.
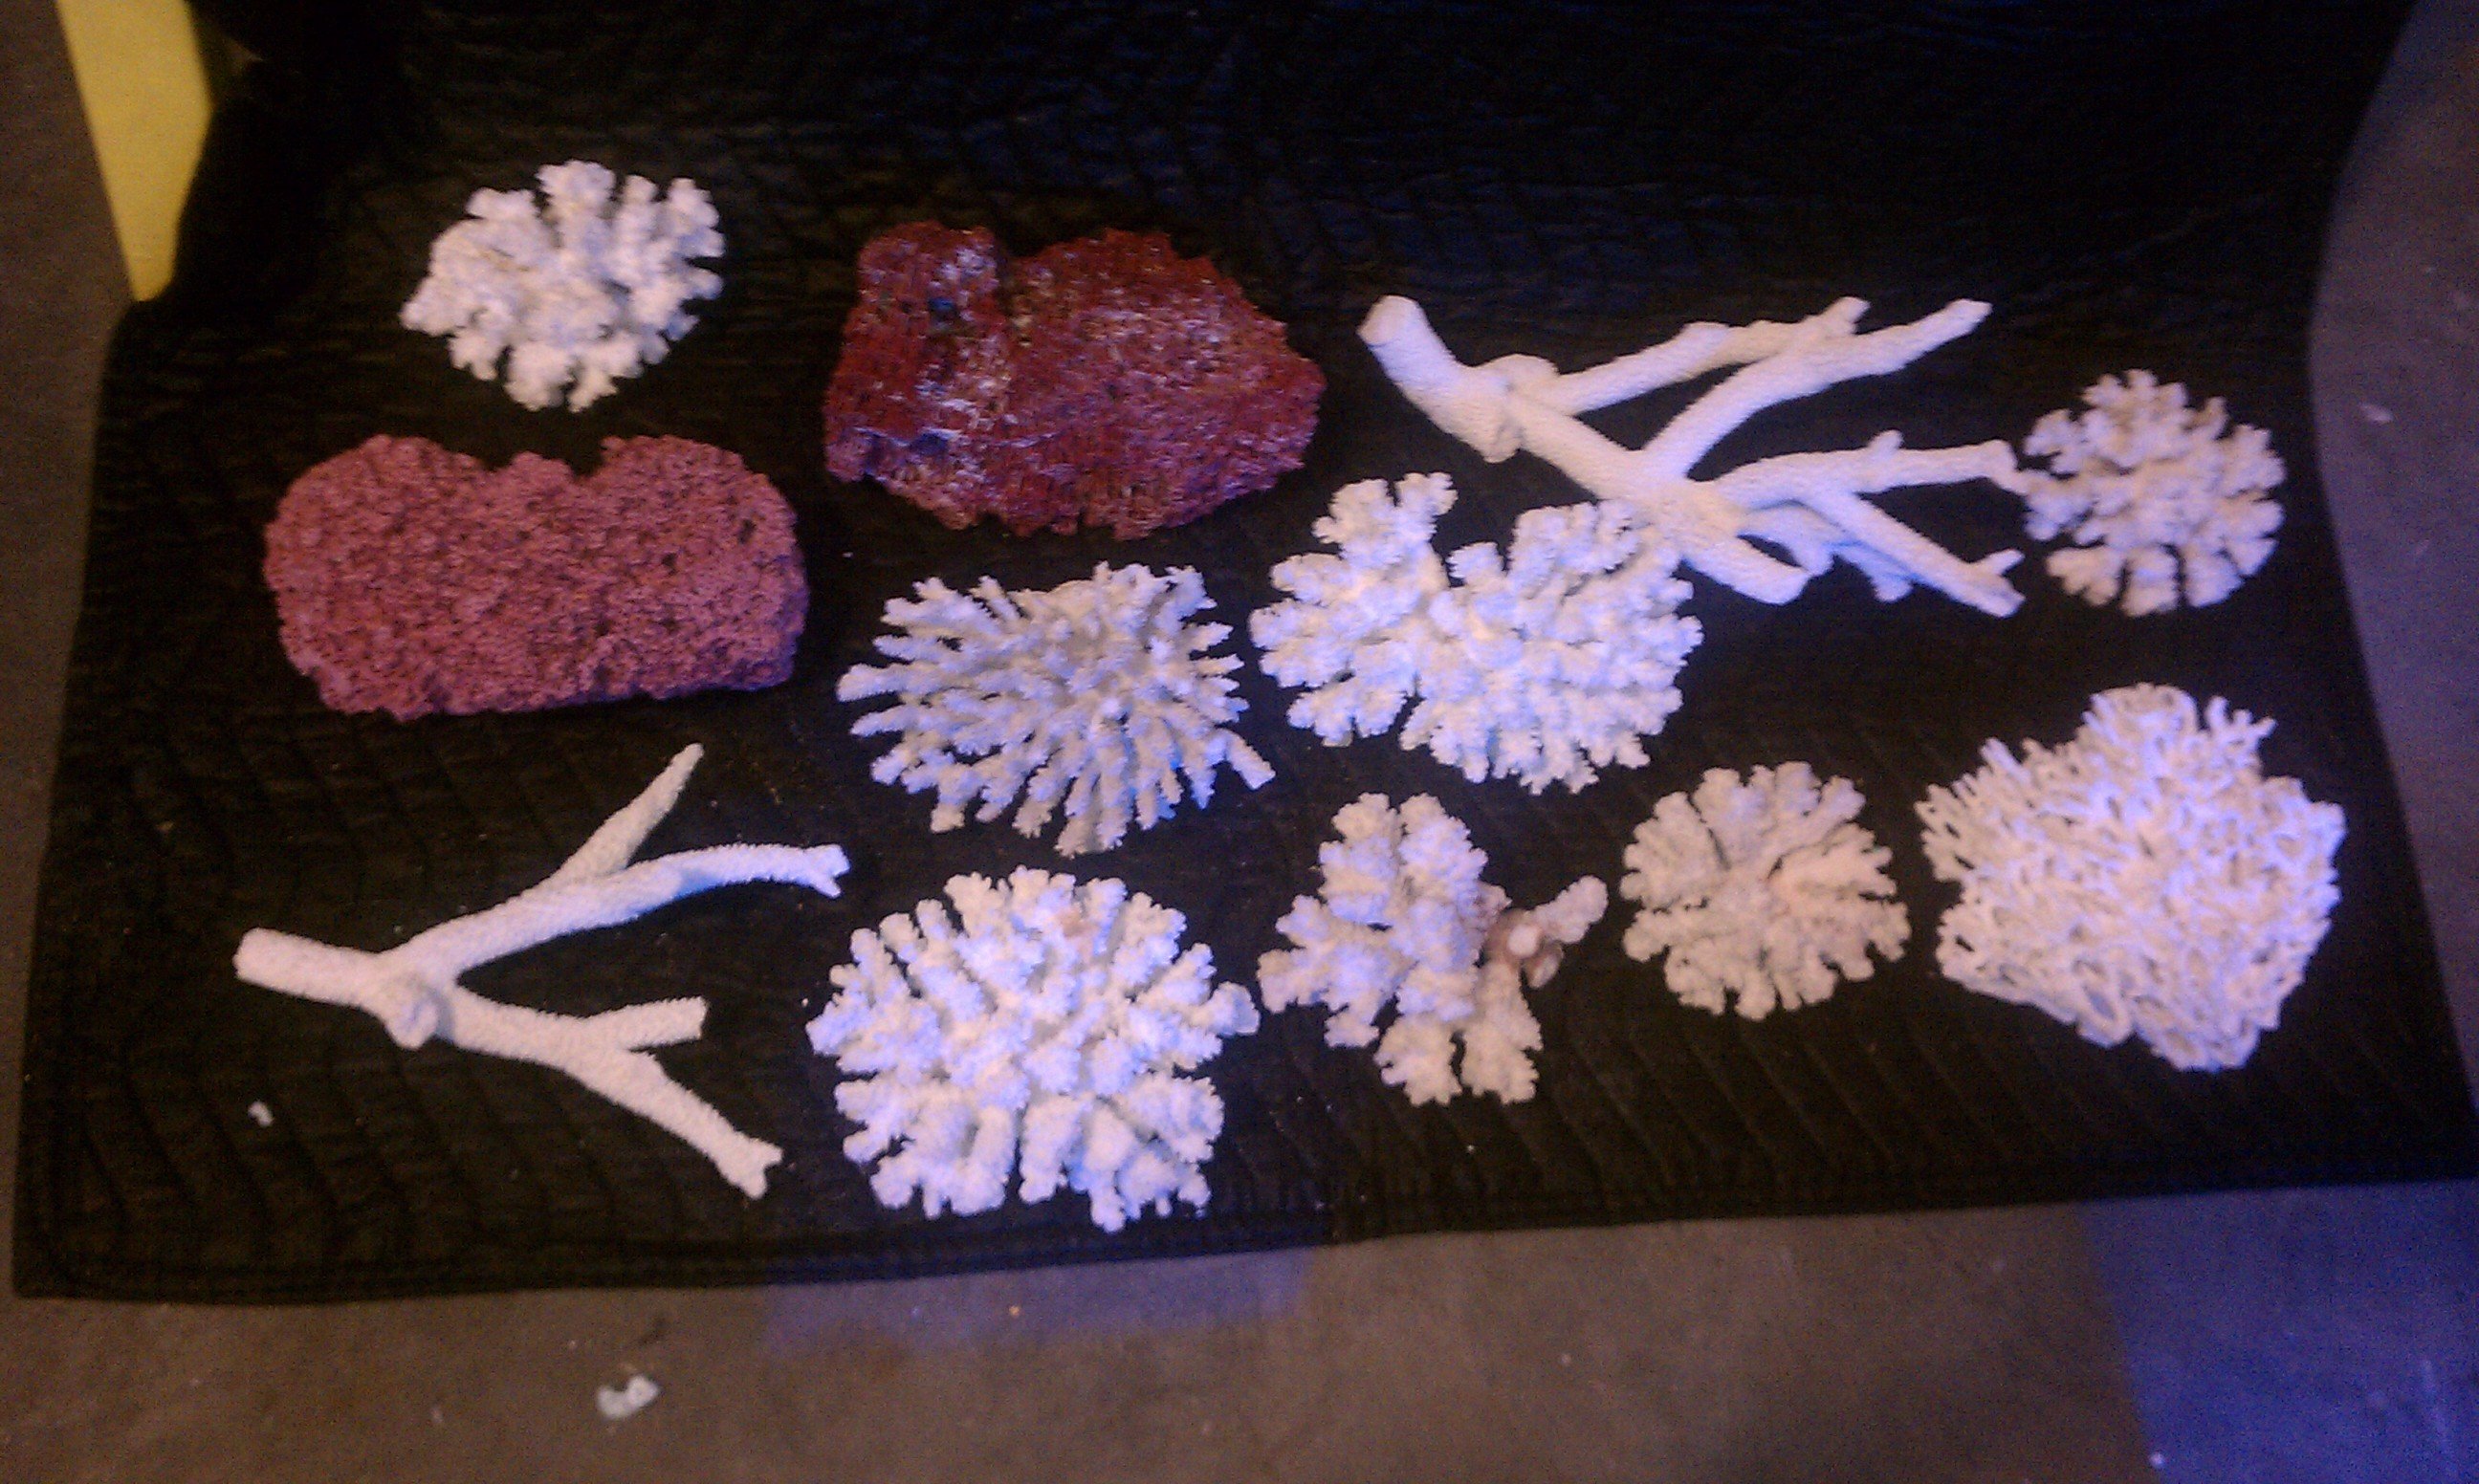
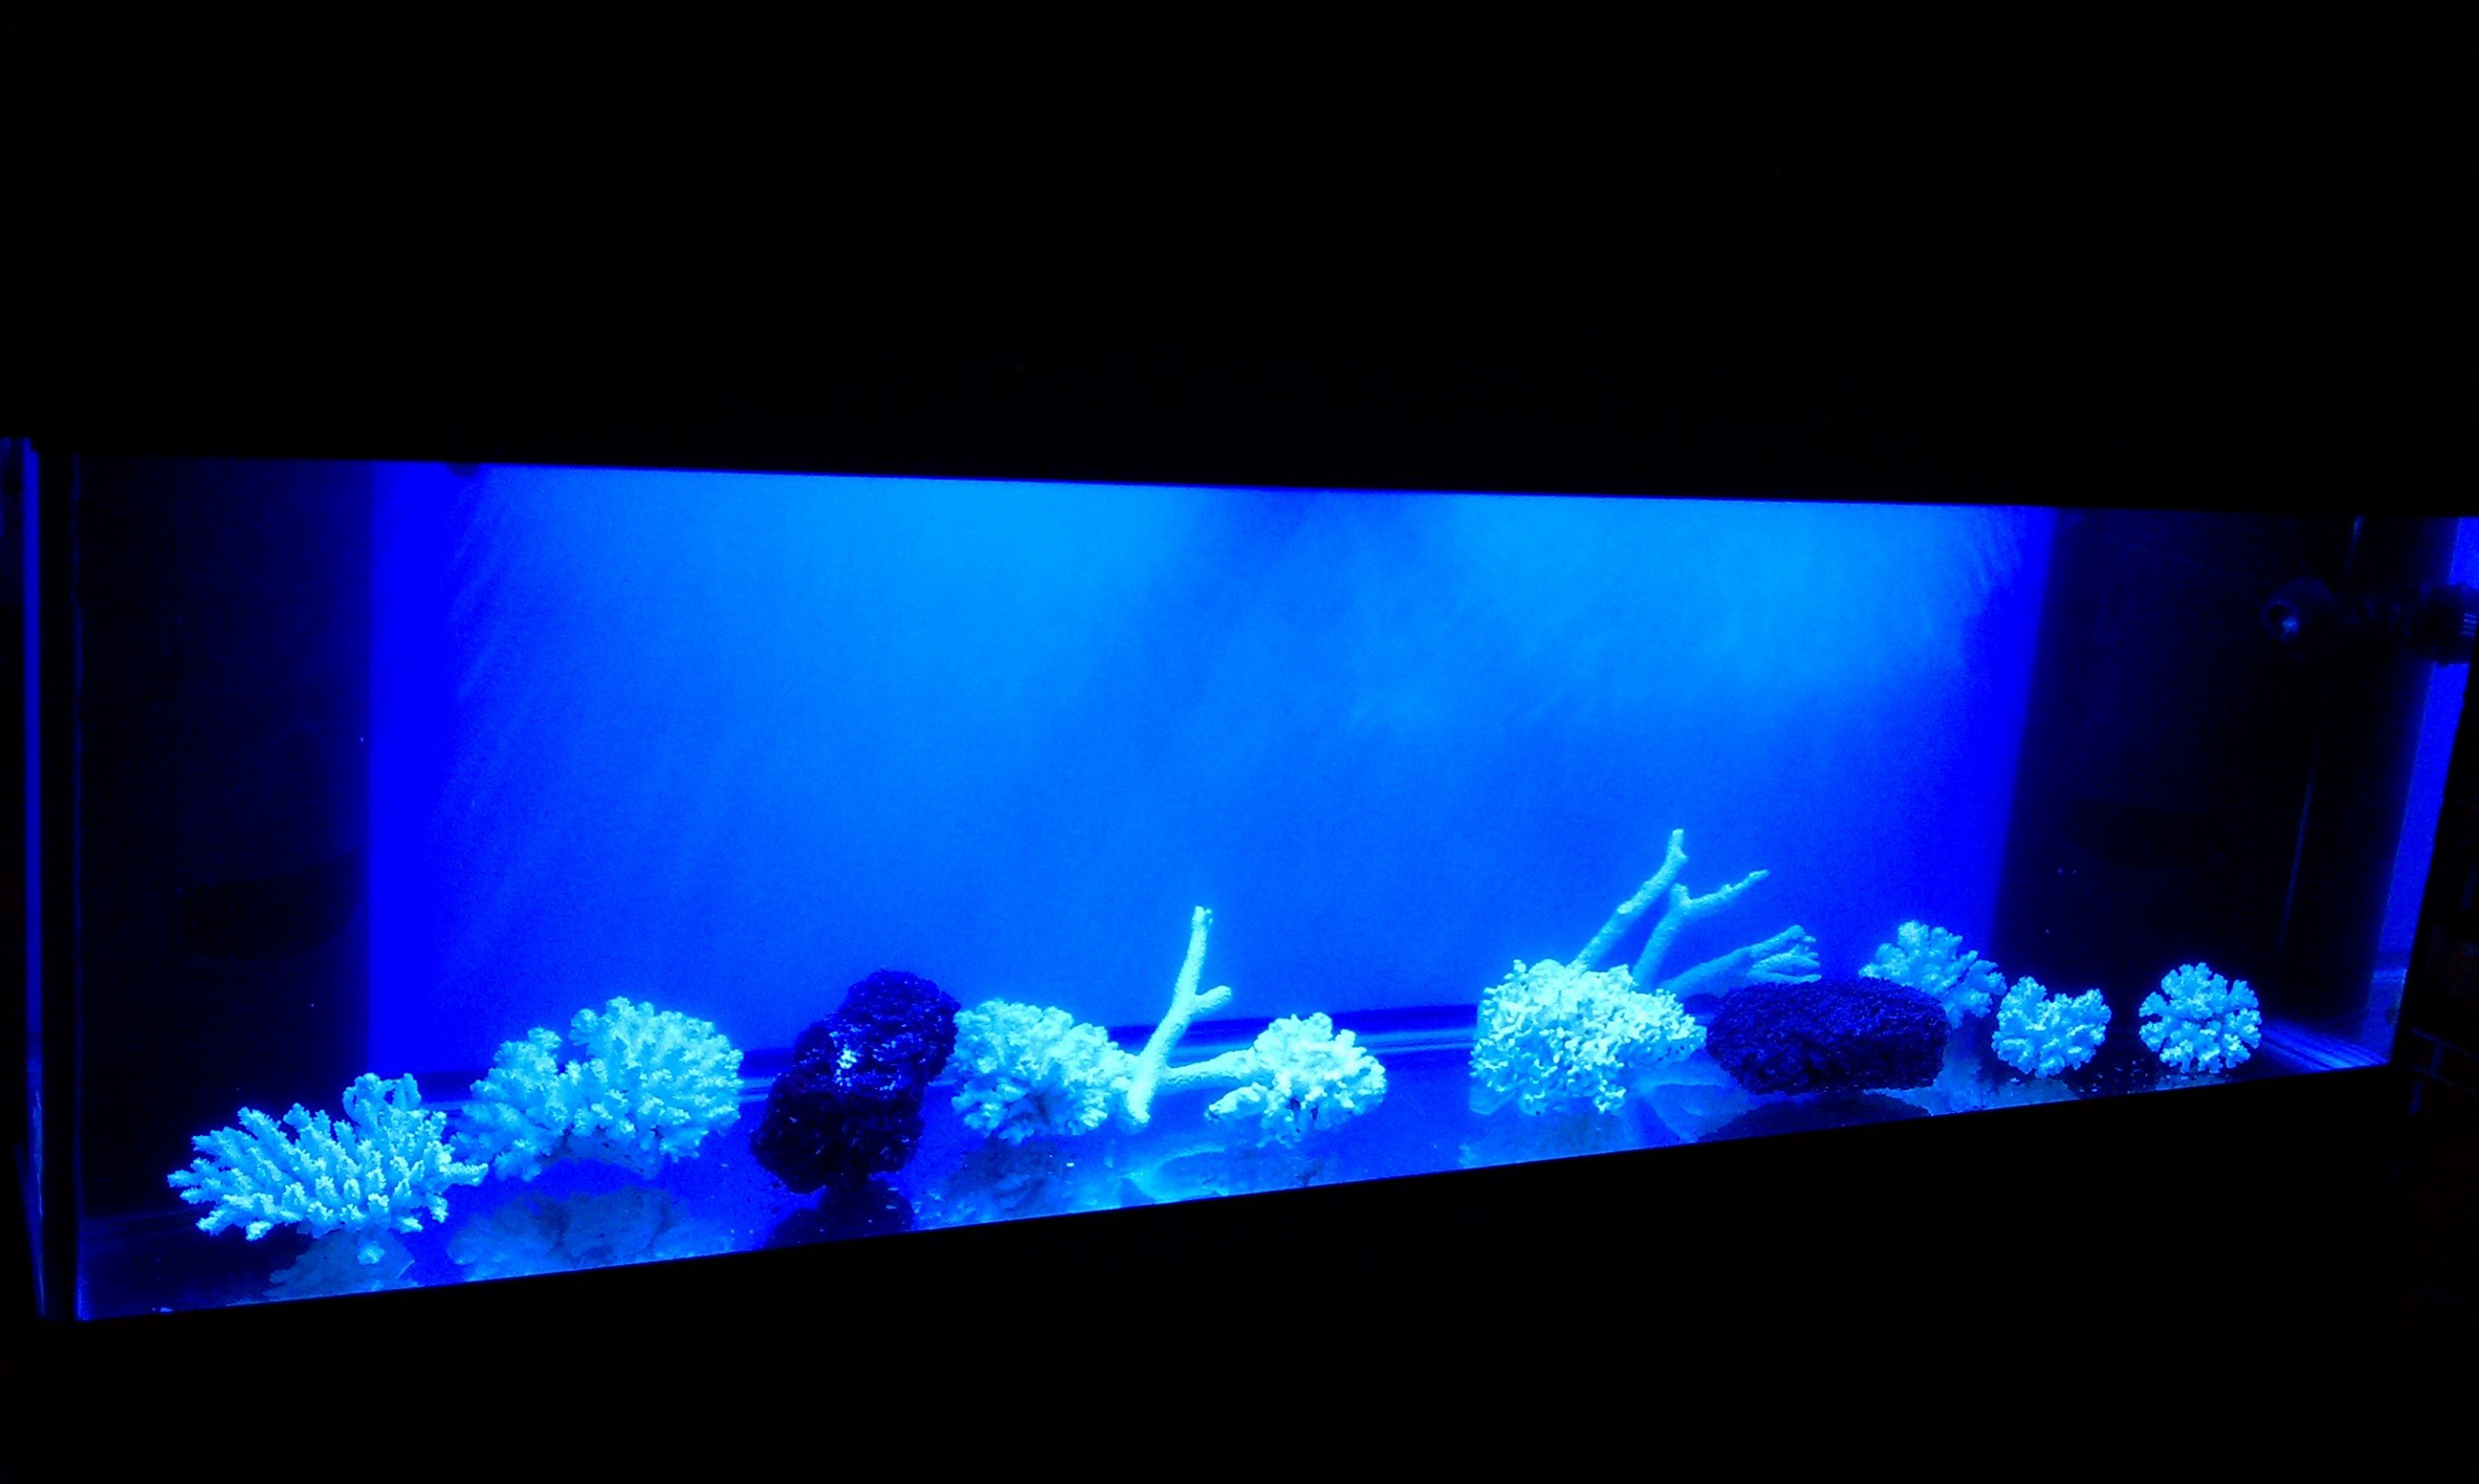
This brings me to my surprise. My dad shipped to me a box of dead coral pieces that he had used over the years. They have been stored in his attic for quite some time and most of these pieces are over 40 years old. He used these in the tanks of FOWLR aquariums instead of live rock. It is pretty awesome to see these pieces again after all these years. The smallest piece is about the size of a softball. He sent them for me to use in my 125 gallon setup. Below are some pics of the pieces. I just put them in the fresh water in my tank with a little Prime to rinse and soak them before putting them in any saltwater. They are much brighter under the light than my picture is showing. I think some of them will add some character to my rock work. I may not use them all but I will determine that as I set the tank up. Any thoughts about adding these coral skeltons to my tank?


muse1

Member
That is a nice looking tank. and a nice surprise from your dad, that will add some great memories to your tank.
 

tferrante

Member
It is going to be at least 2-3 weeks before I can physically move my new tank upstairs. I decided to take all the the new coral pieces and try to cure them. I took a piece of live rock out of one of my tanks as a seed and piled all the skeletons in a small tank with some fresh saltwater on top of it. I am using an old HOB filter to circulate the water through these skeletons. I will check the parameters in a few days to see if I am cycling this rock. I just think it will make it easier when I place these pieces with my existing rock into my new 125.
 

tferrante

Member
I got the tank moved upstairs yesterday. Wow, that stand and tank are heavy! I got it set in place and began running RO/DI water in it this morning. It is going to take forever to fill this tank, but I am a patient man. Everything is coming to gether nicely. once I get enough water in the tank, I will add the salt and a powerhead to begin mixing. Below are some pics of the tank in its new spot and some pics of the fish i will be mving into the tank. More updates soon.

At this rate it will take me all week to fill it...

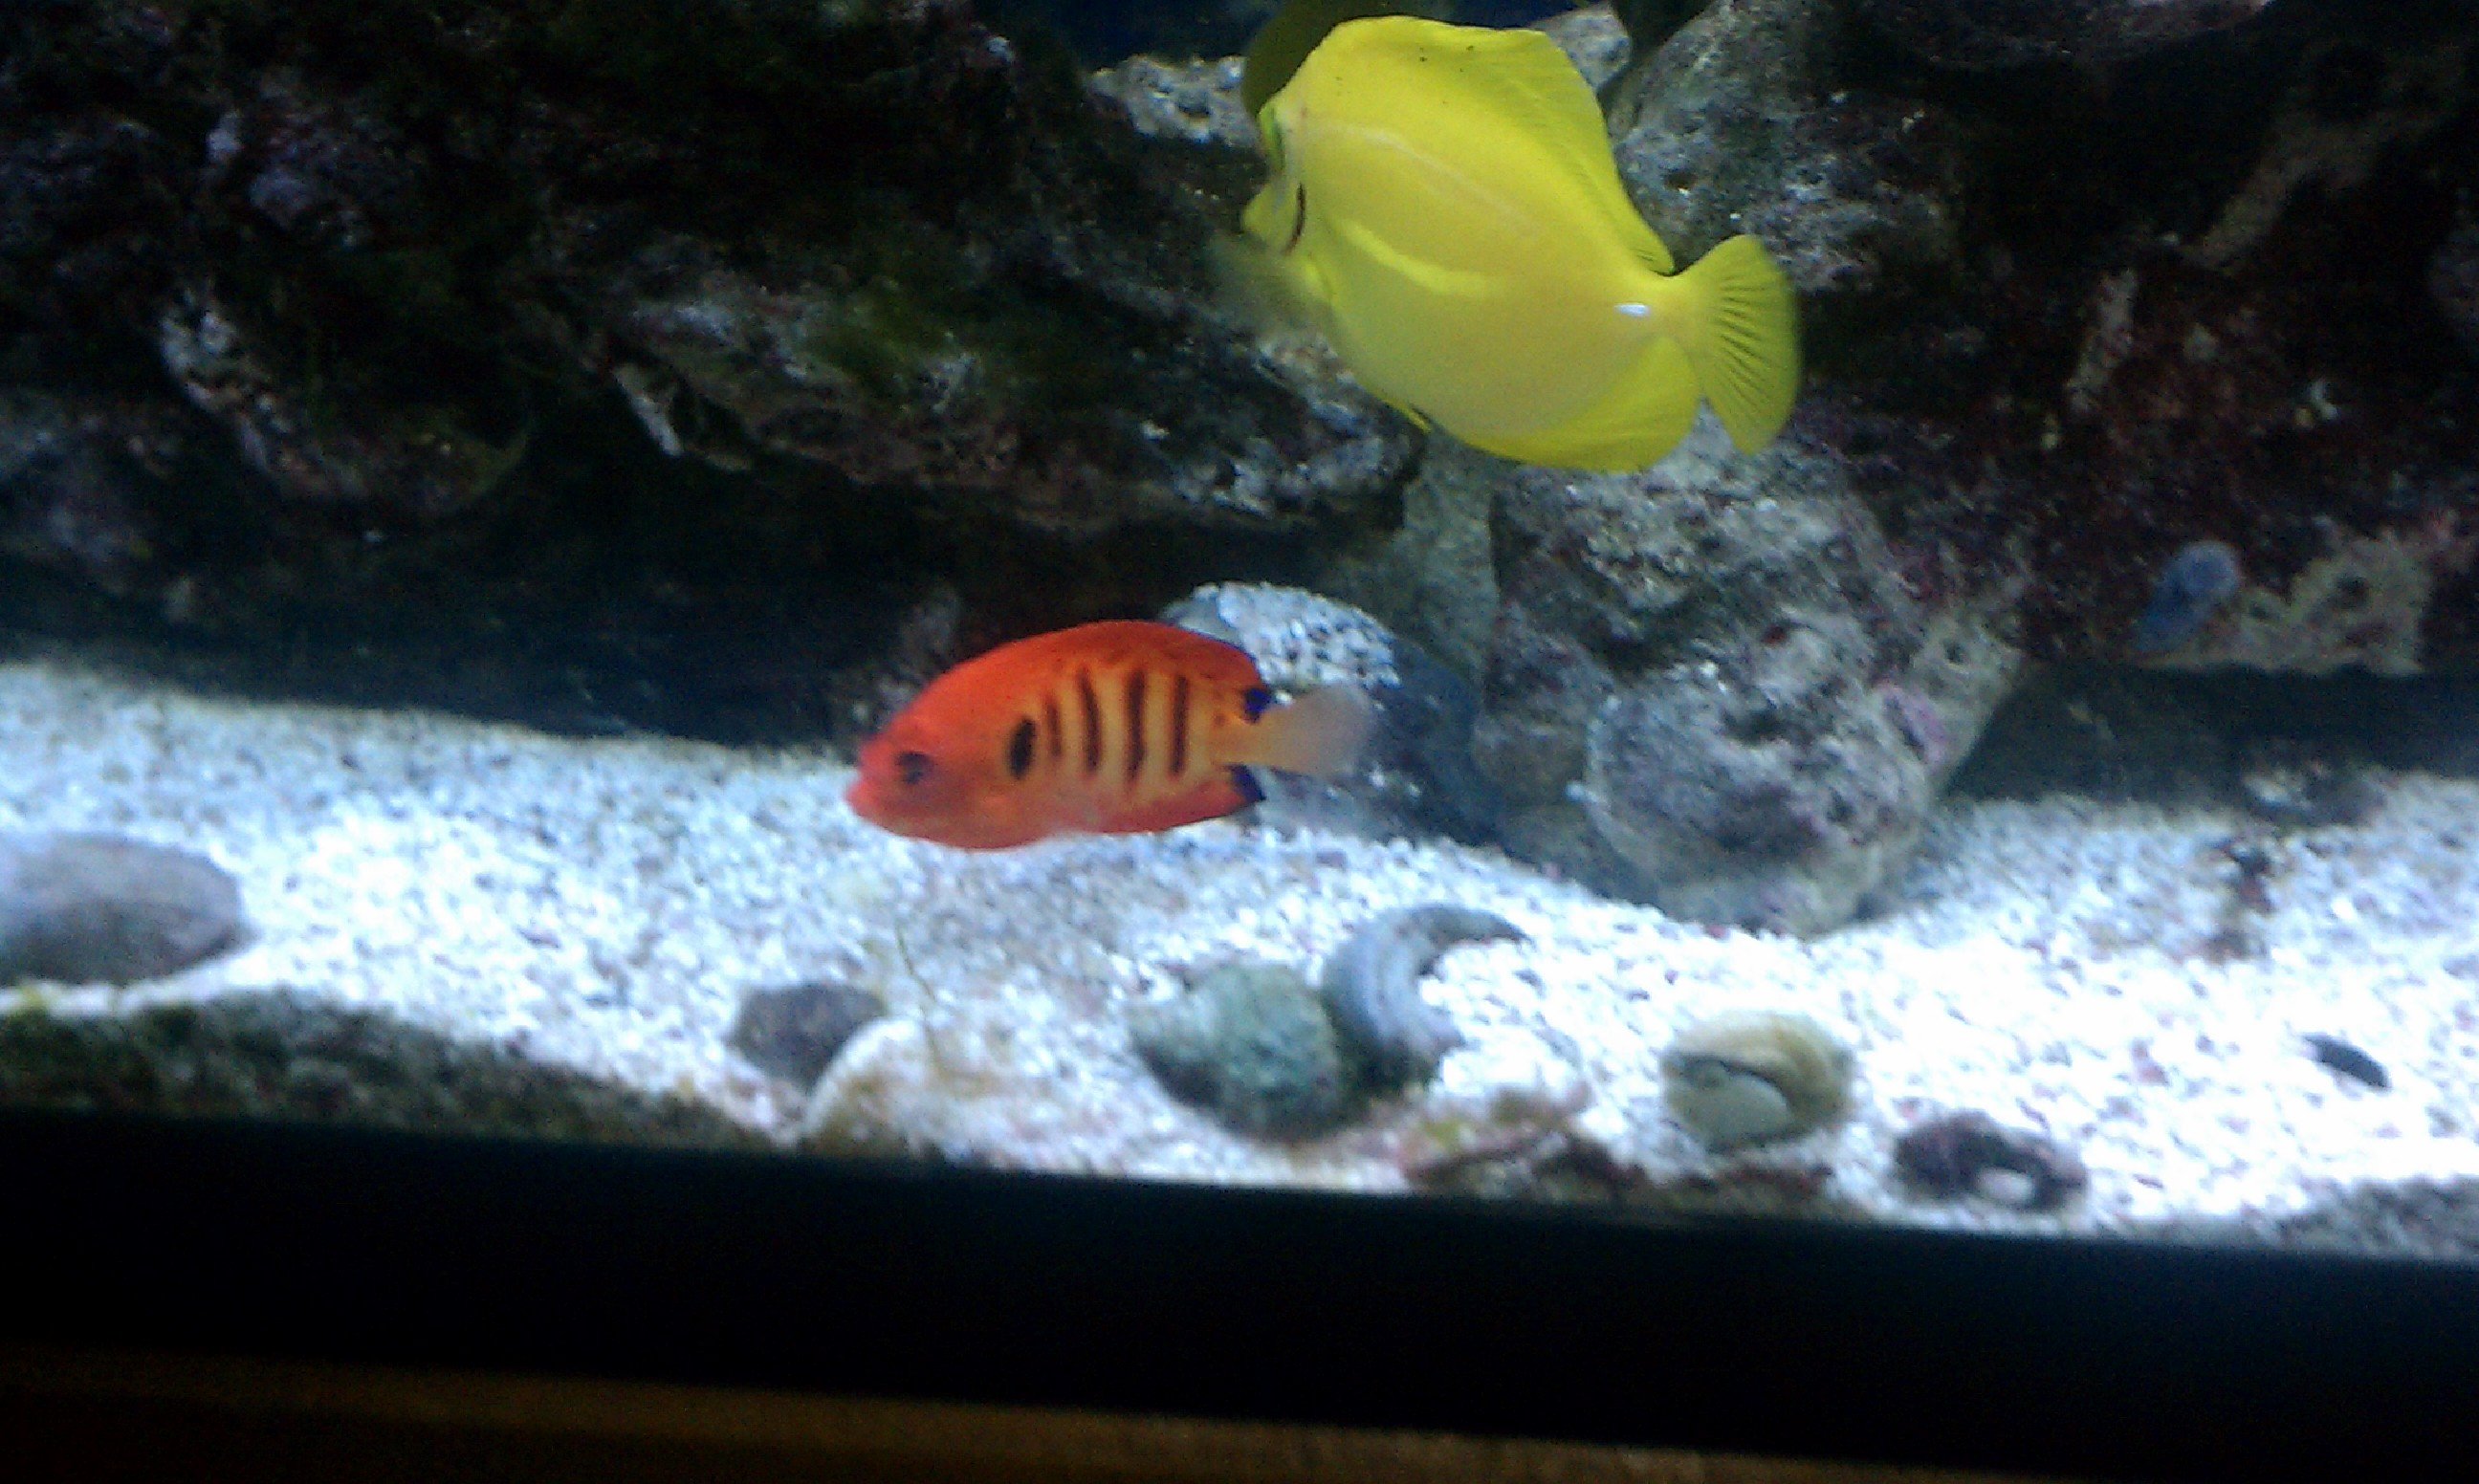
Flame Angel and Yellow Tang

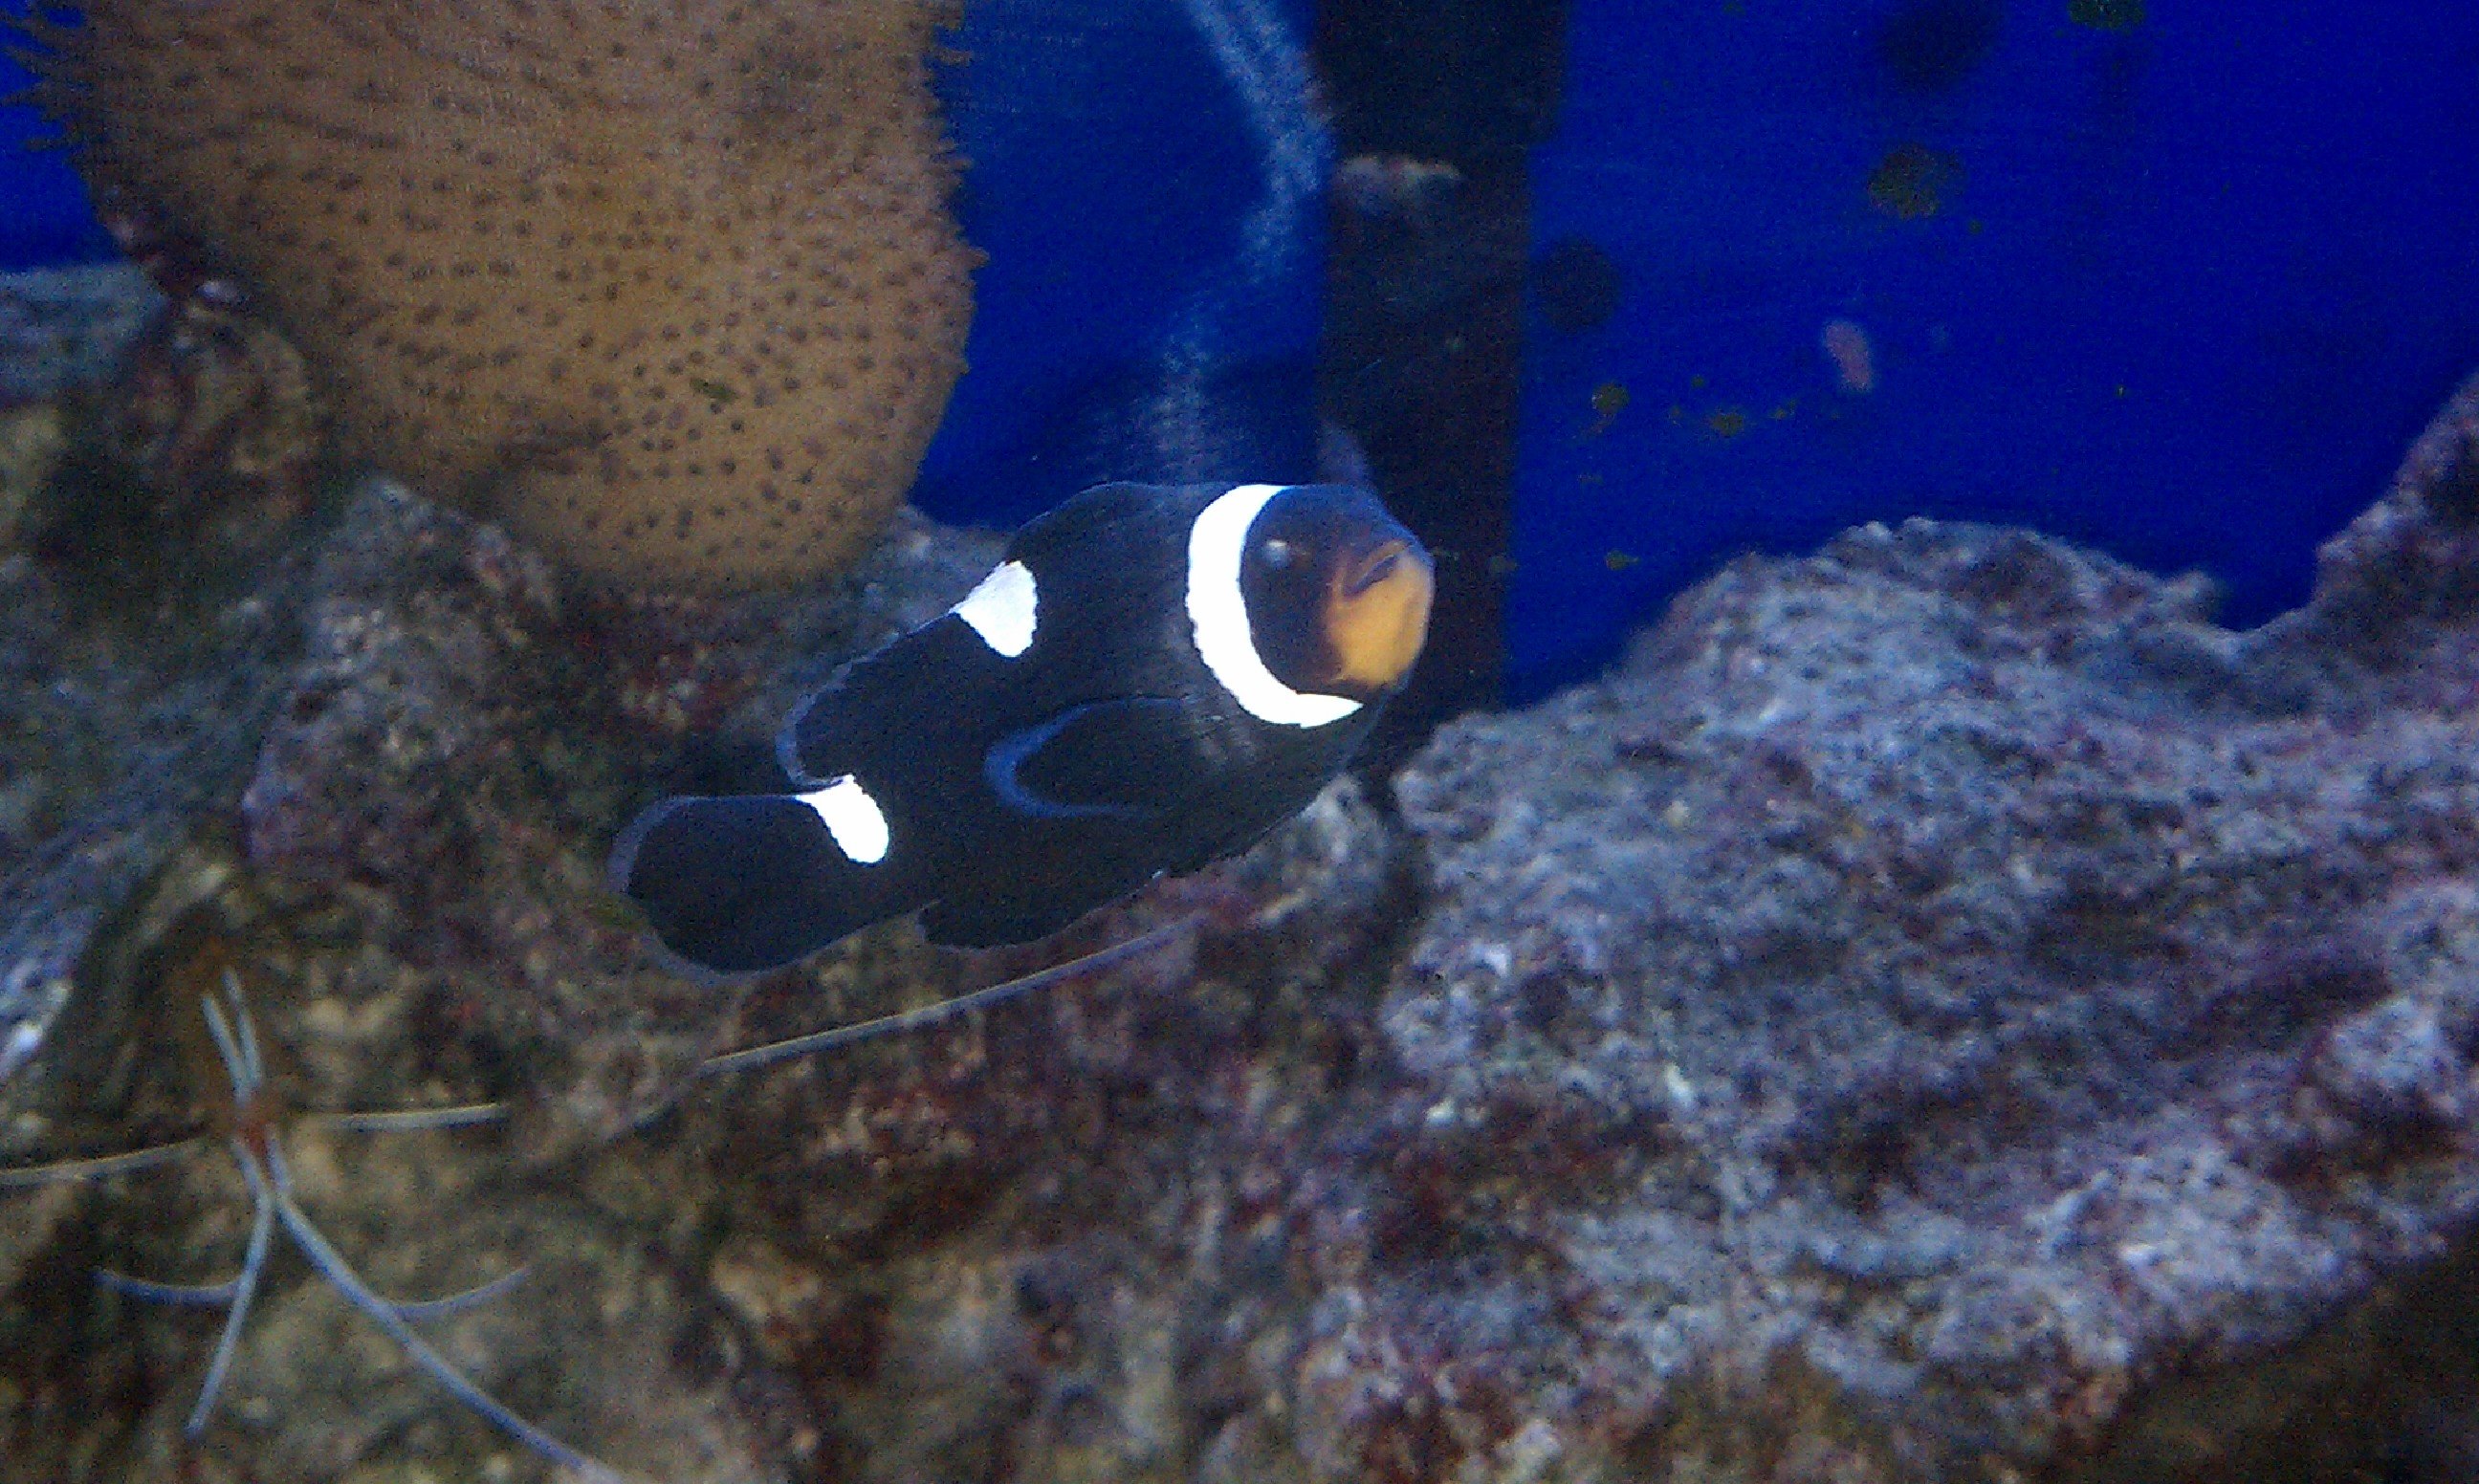
Black Clown (male)

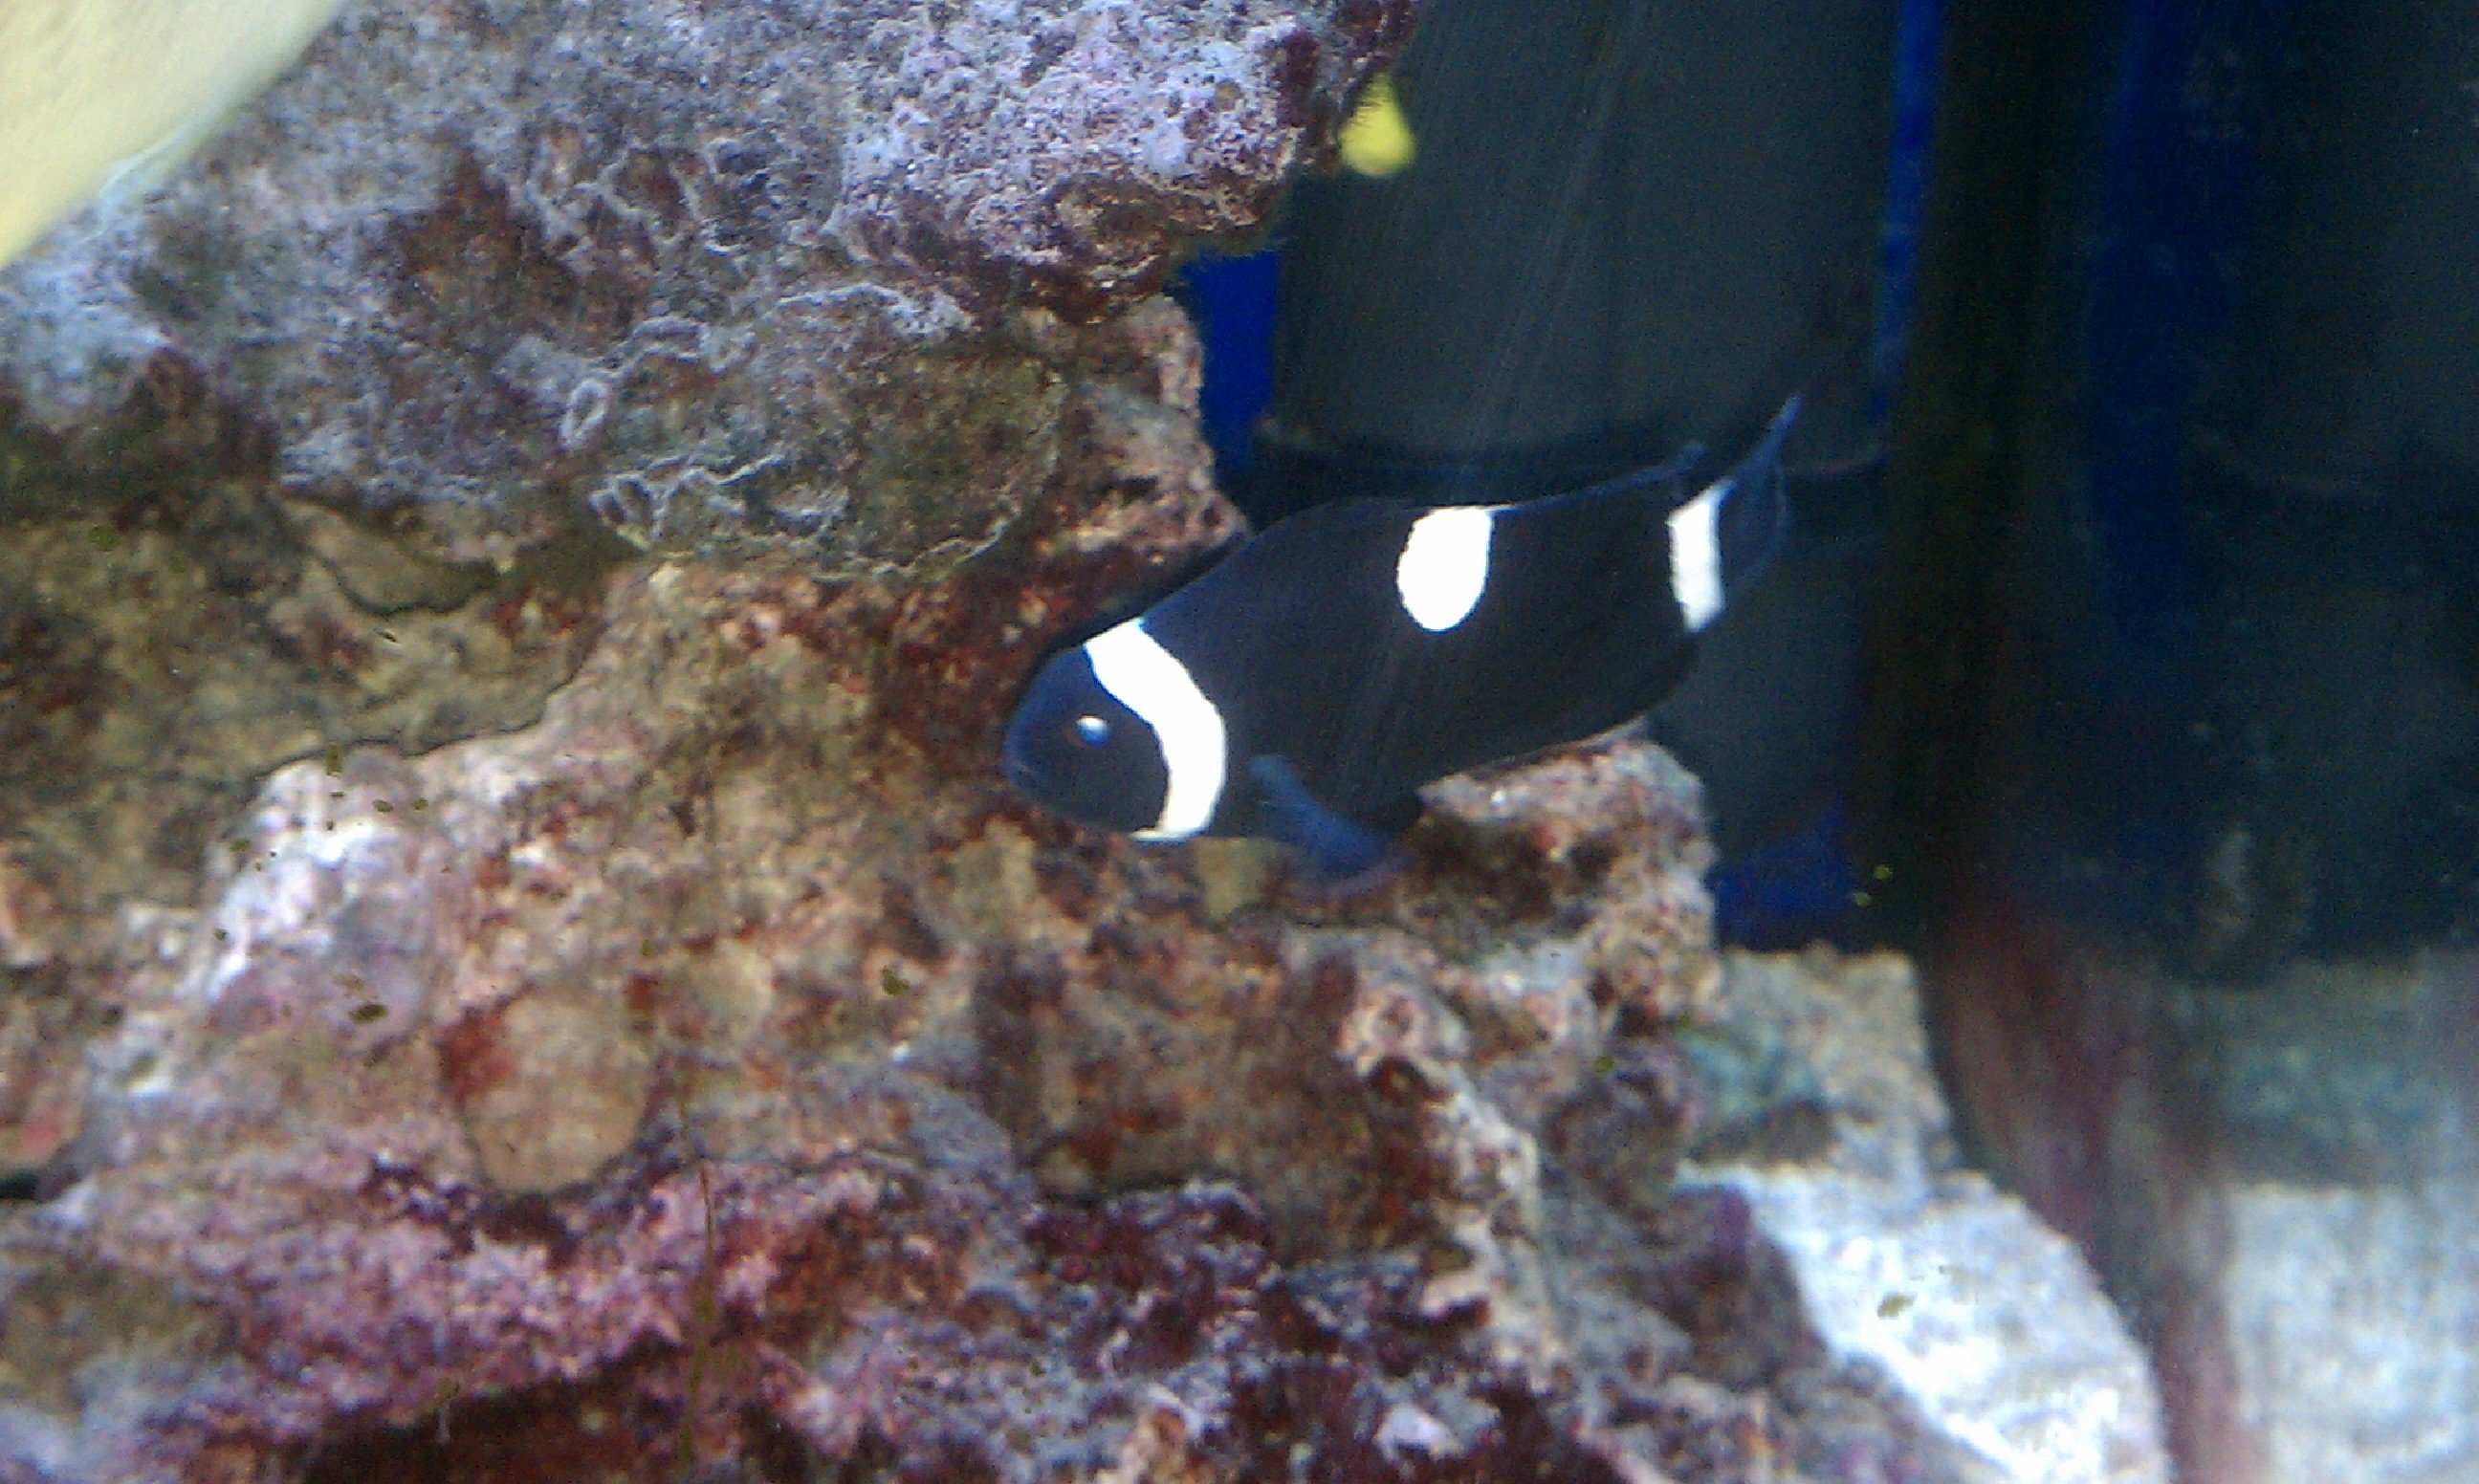
Black Clown (female)

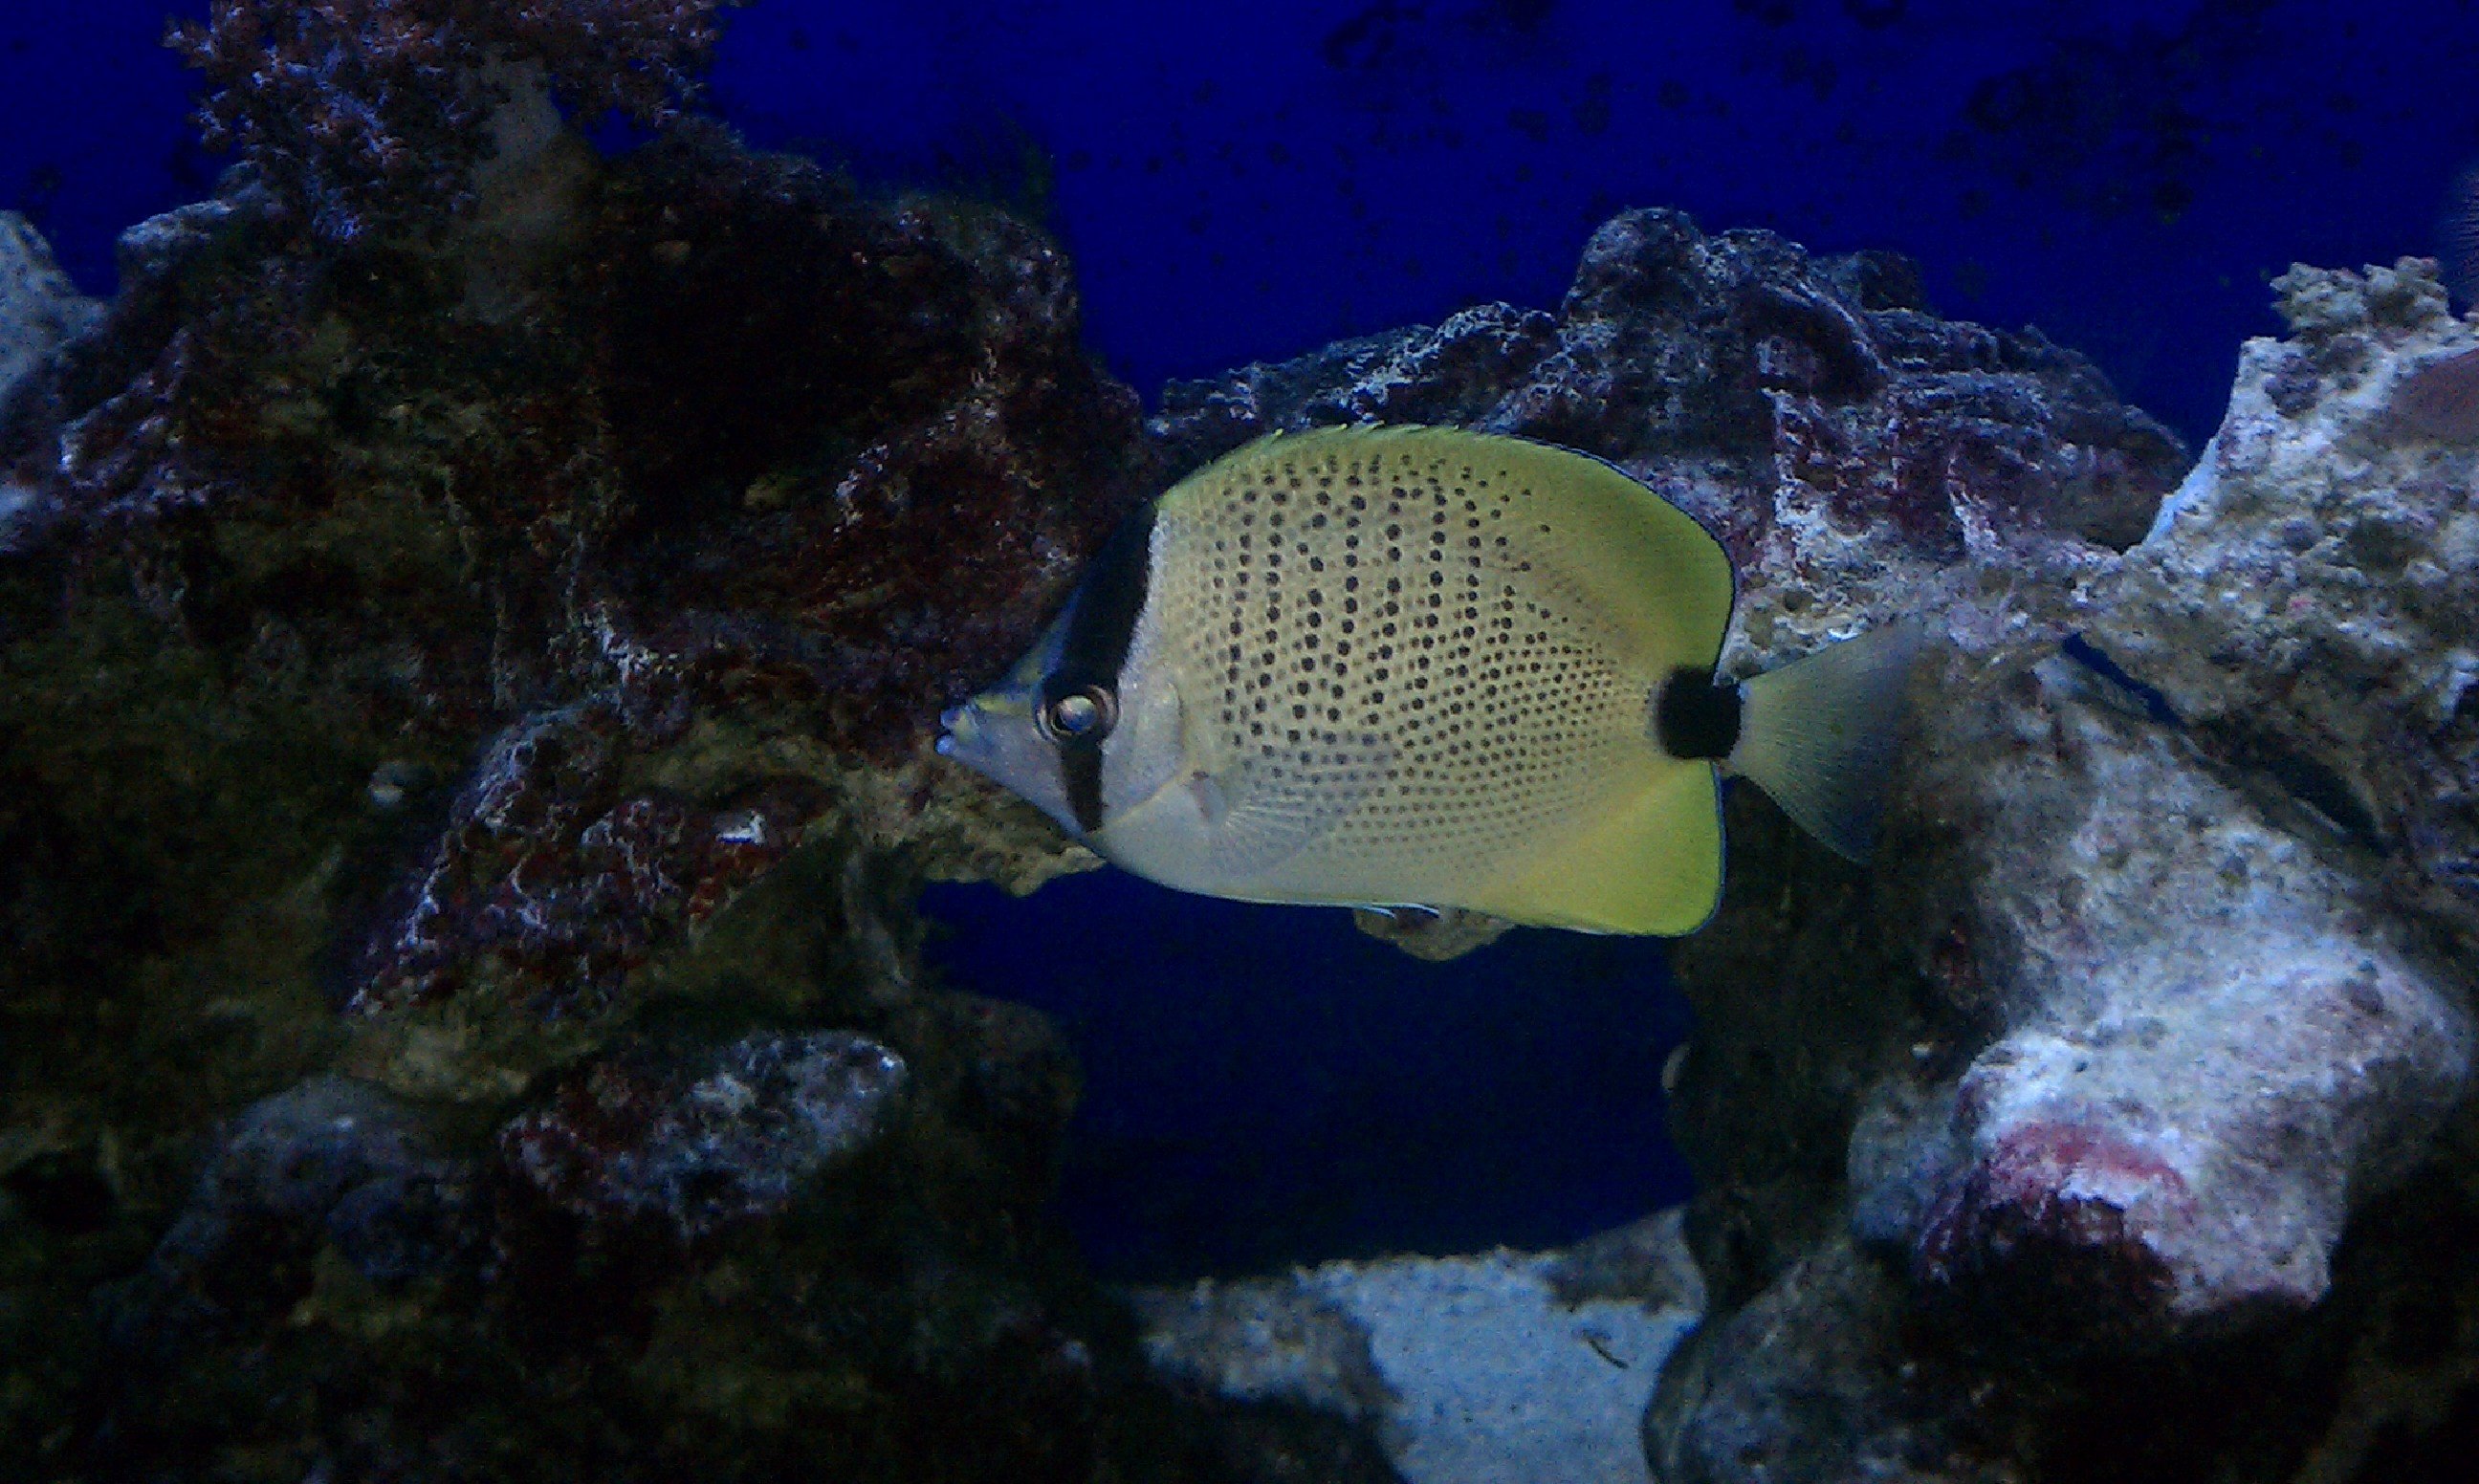
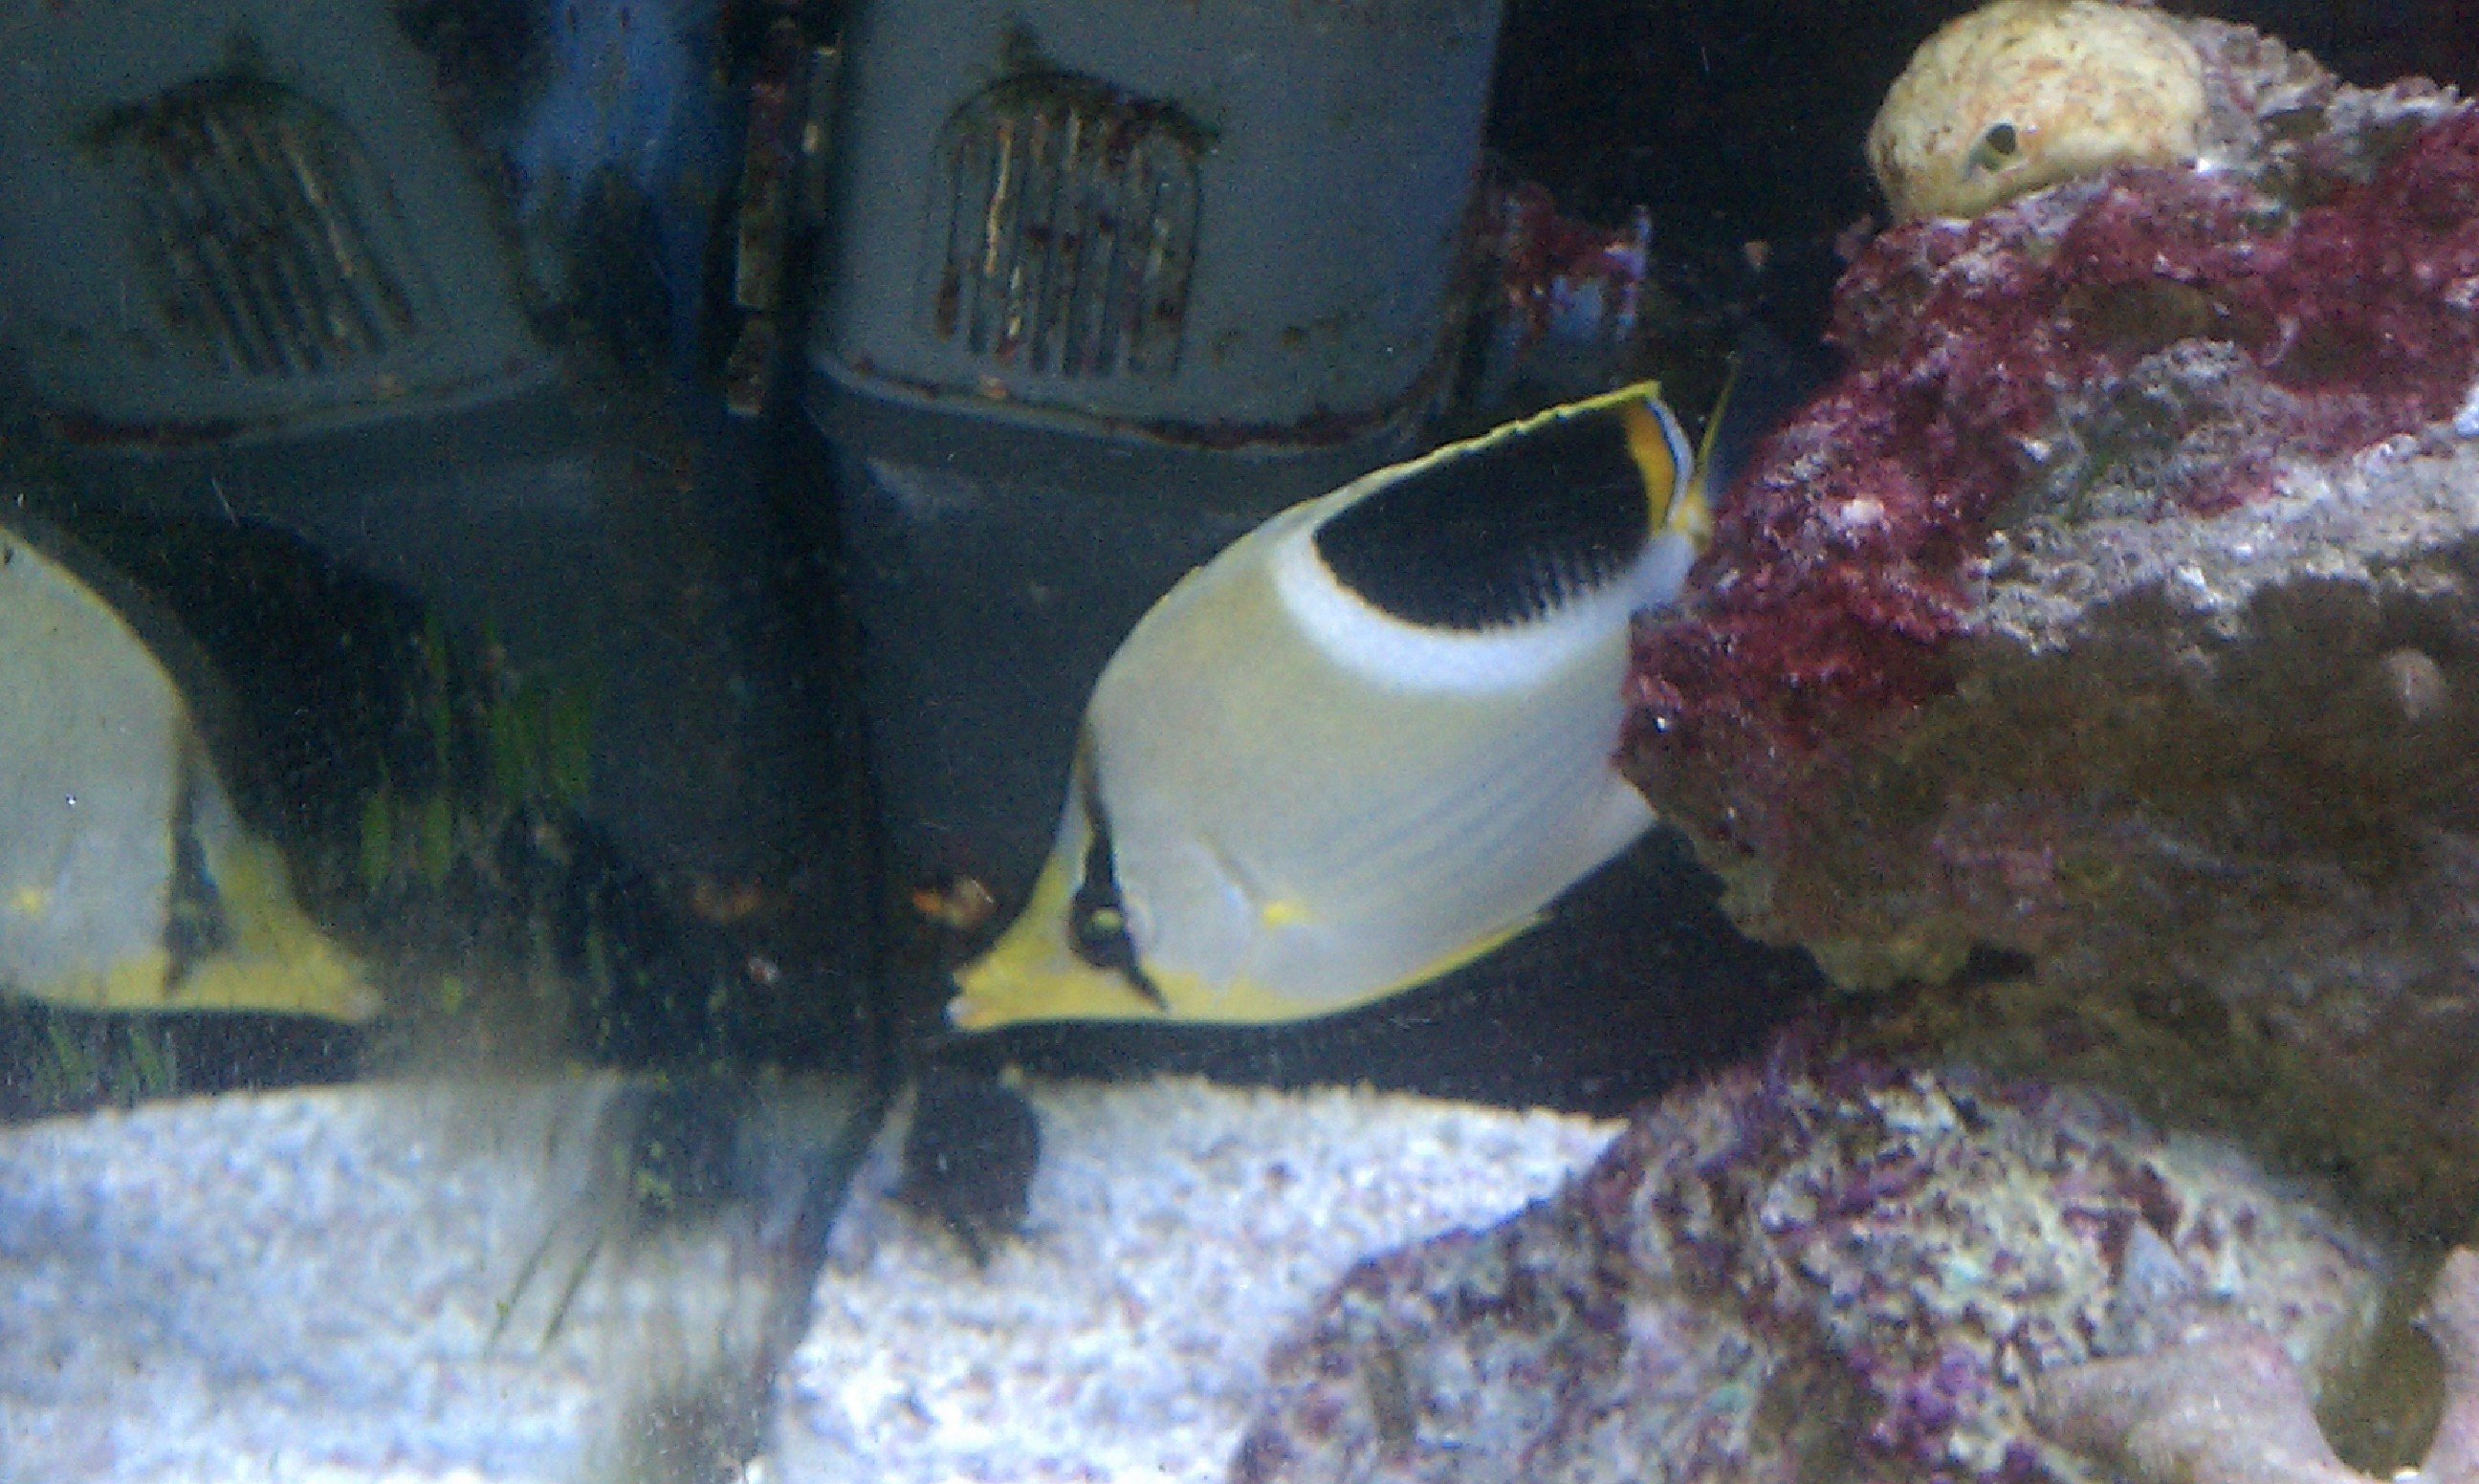
Lemon Butterfly

Saddleback Butterfly

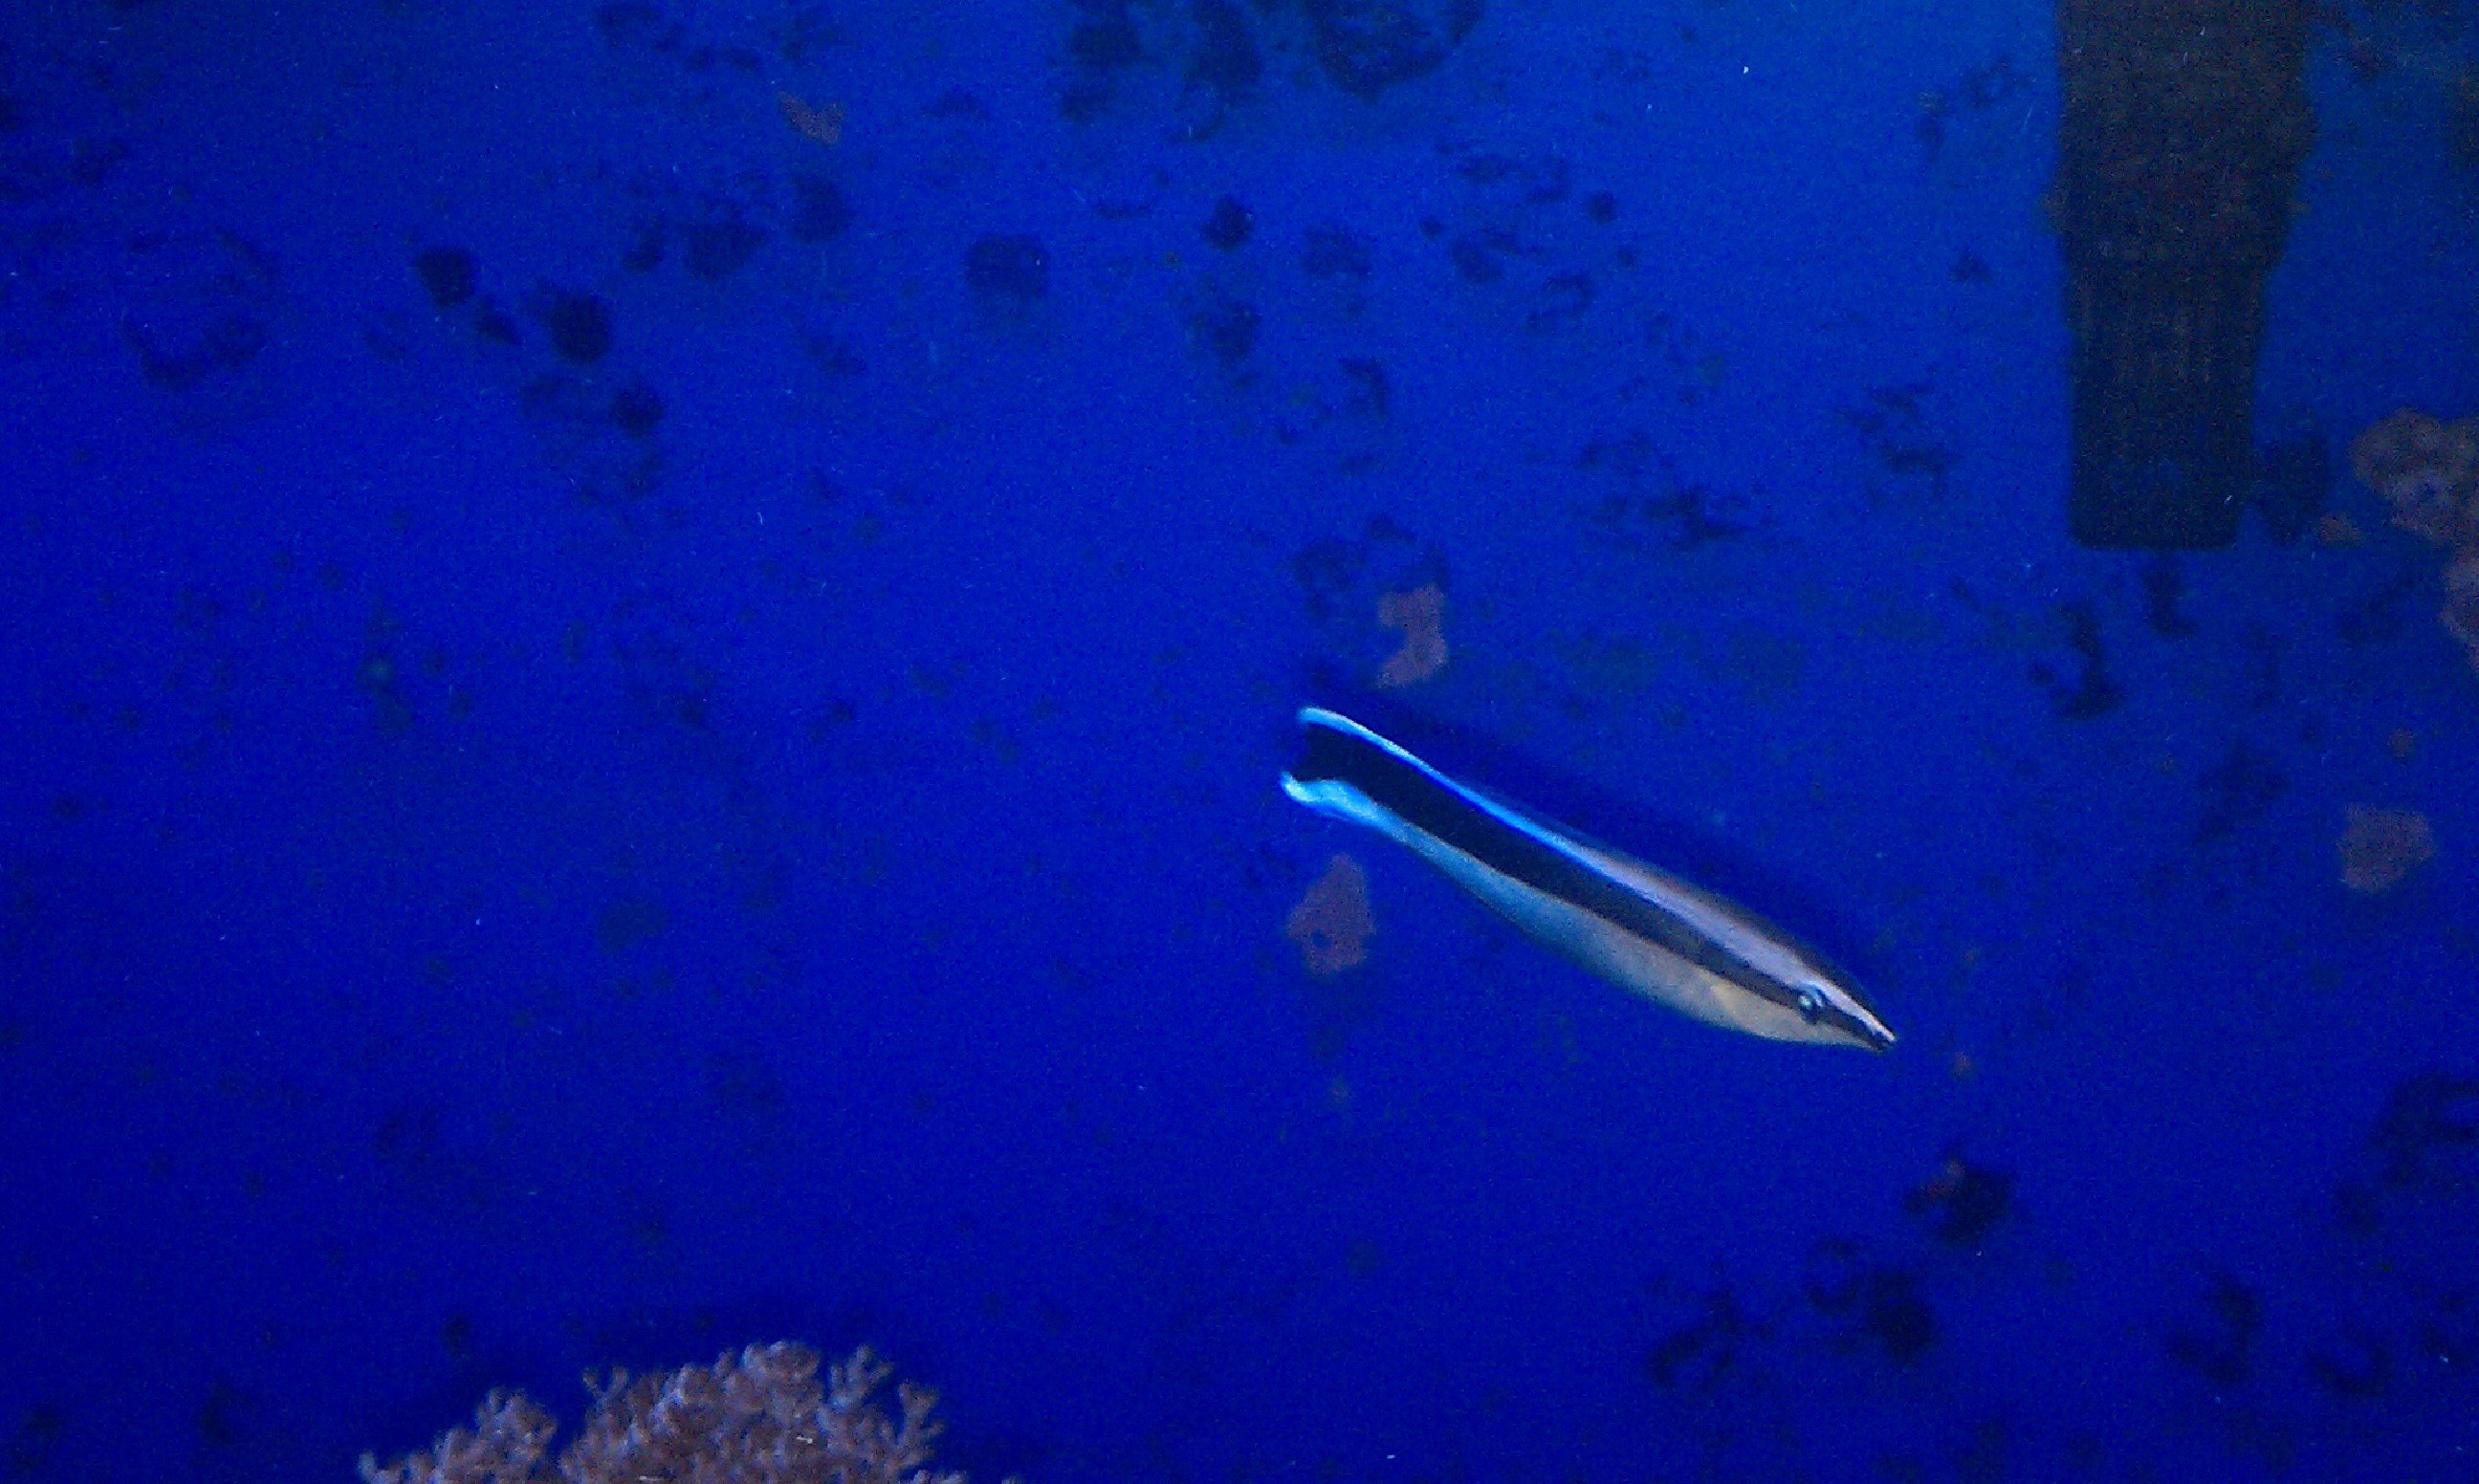
Cleaner Wrasse (my fav)

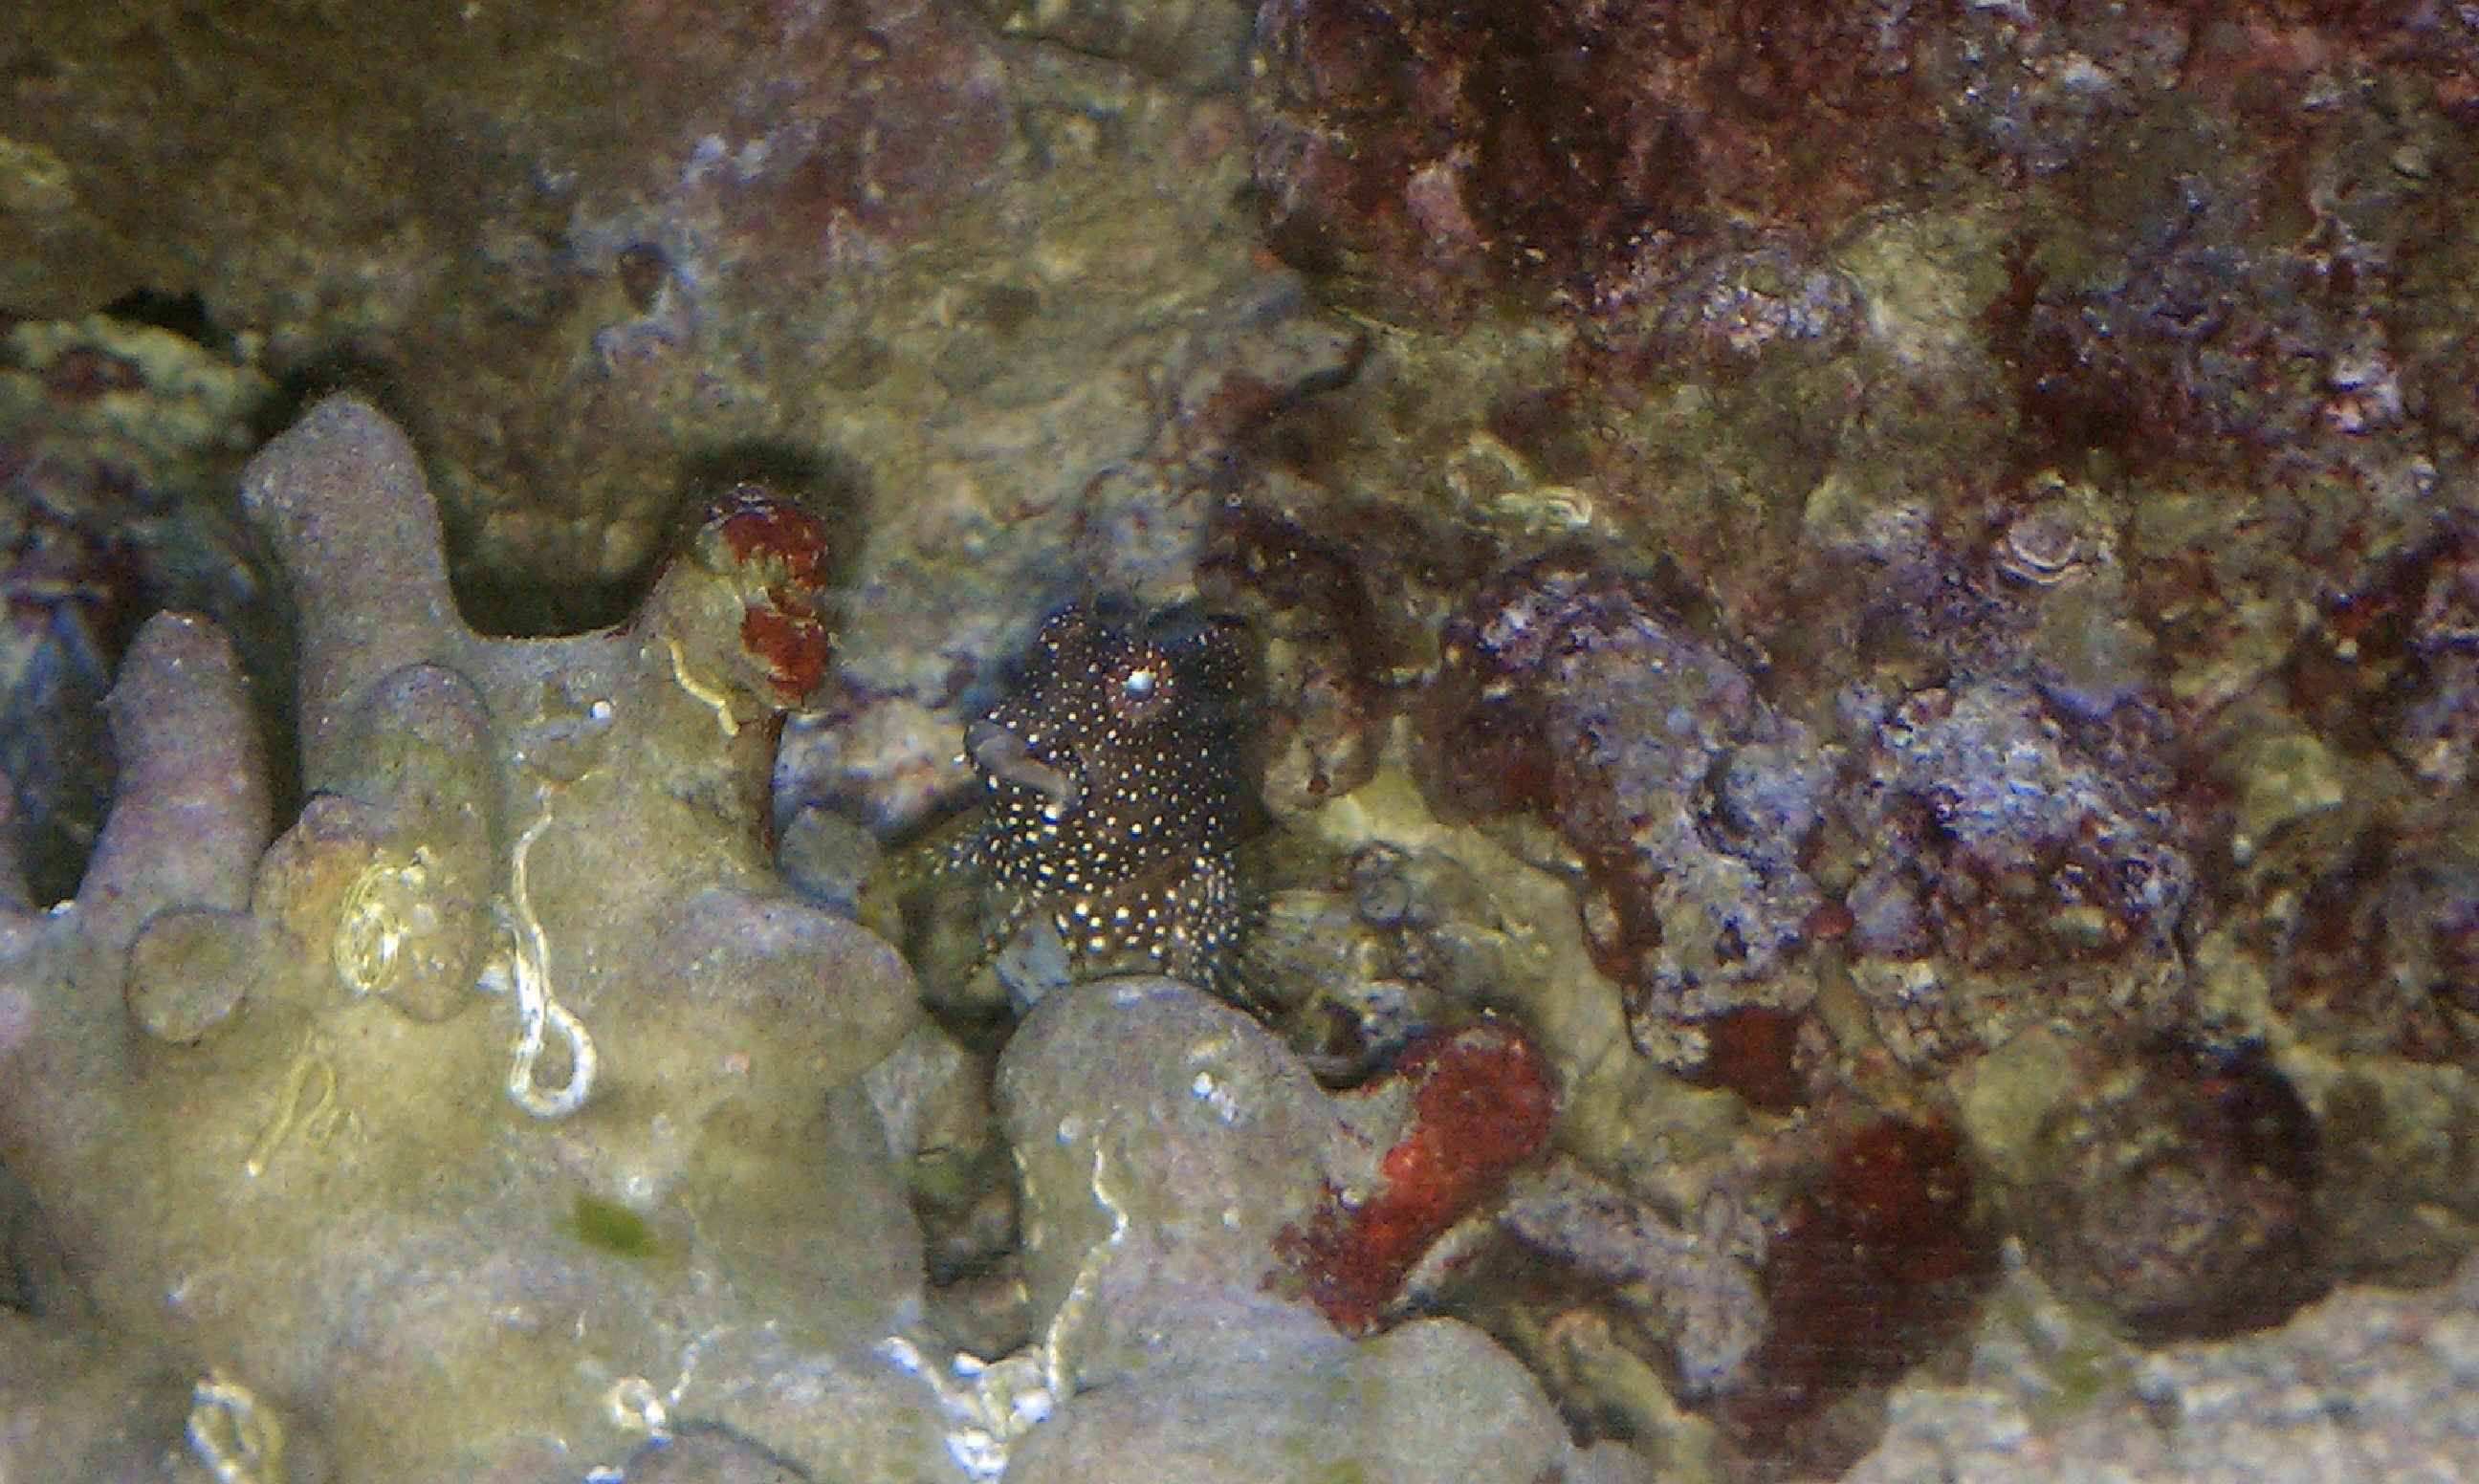
Starry Blenny (you have to look closely)

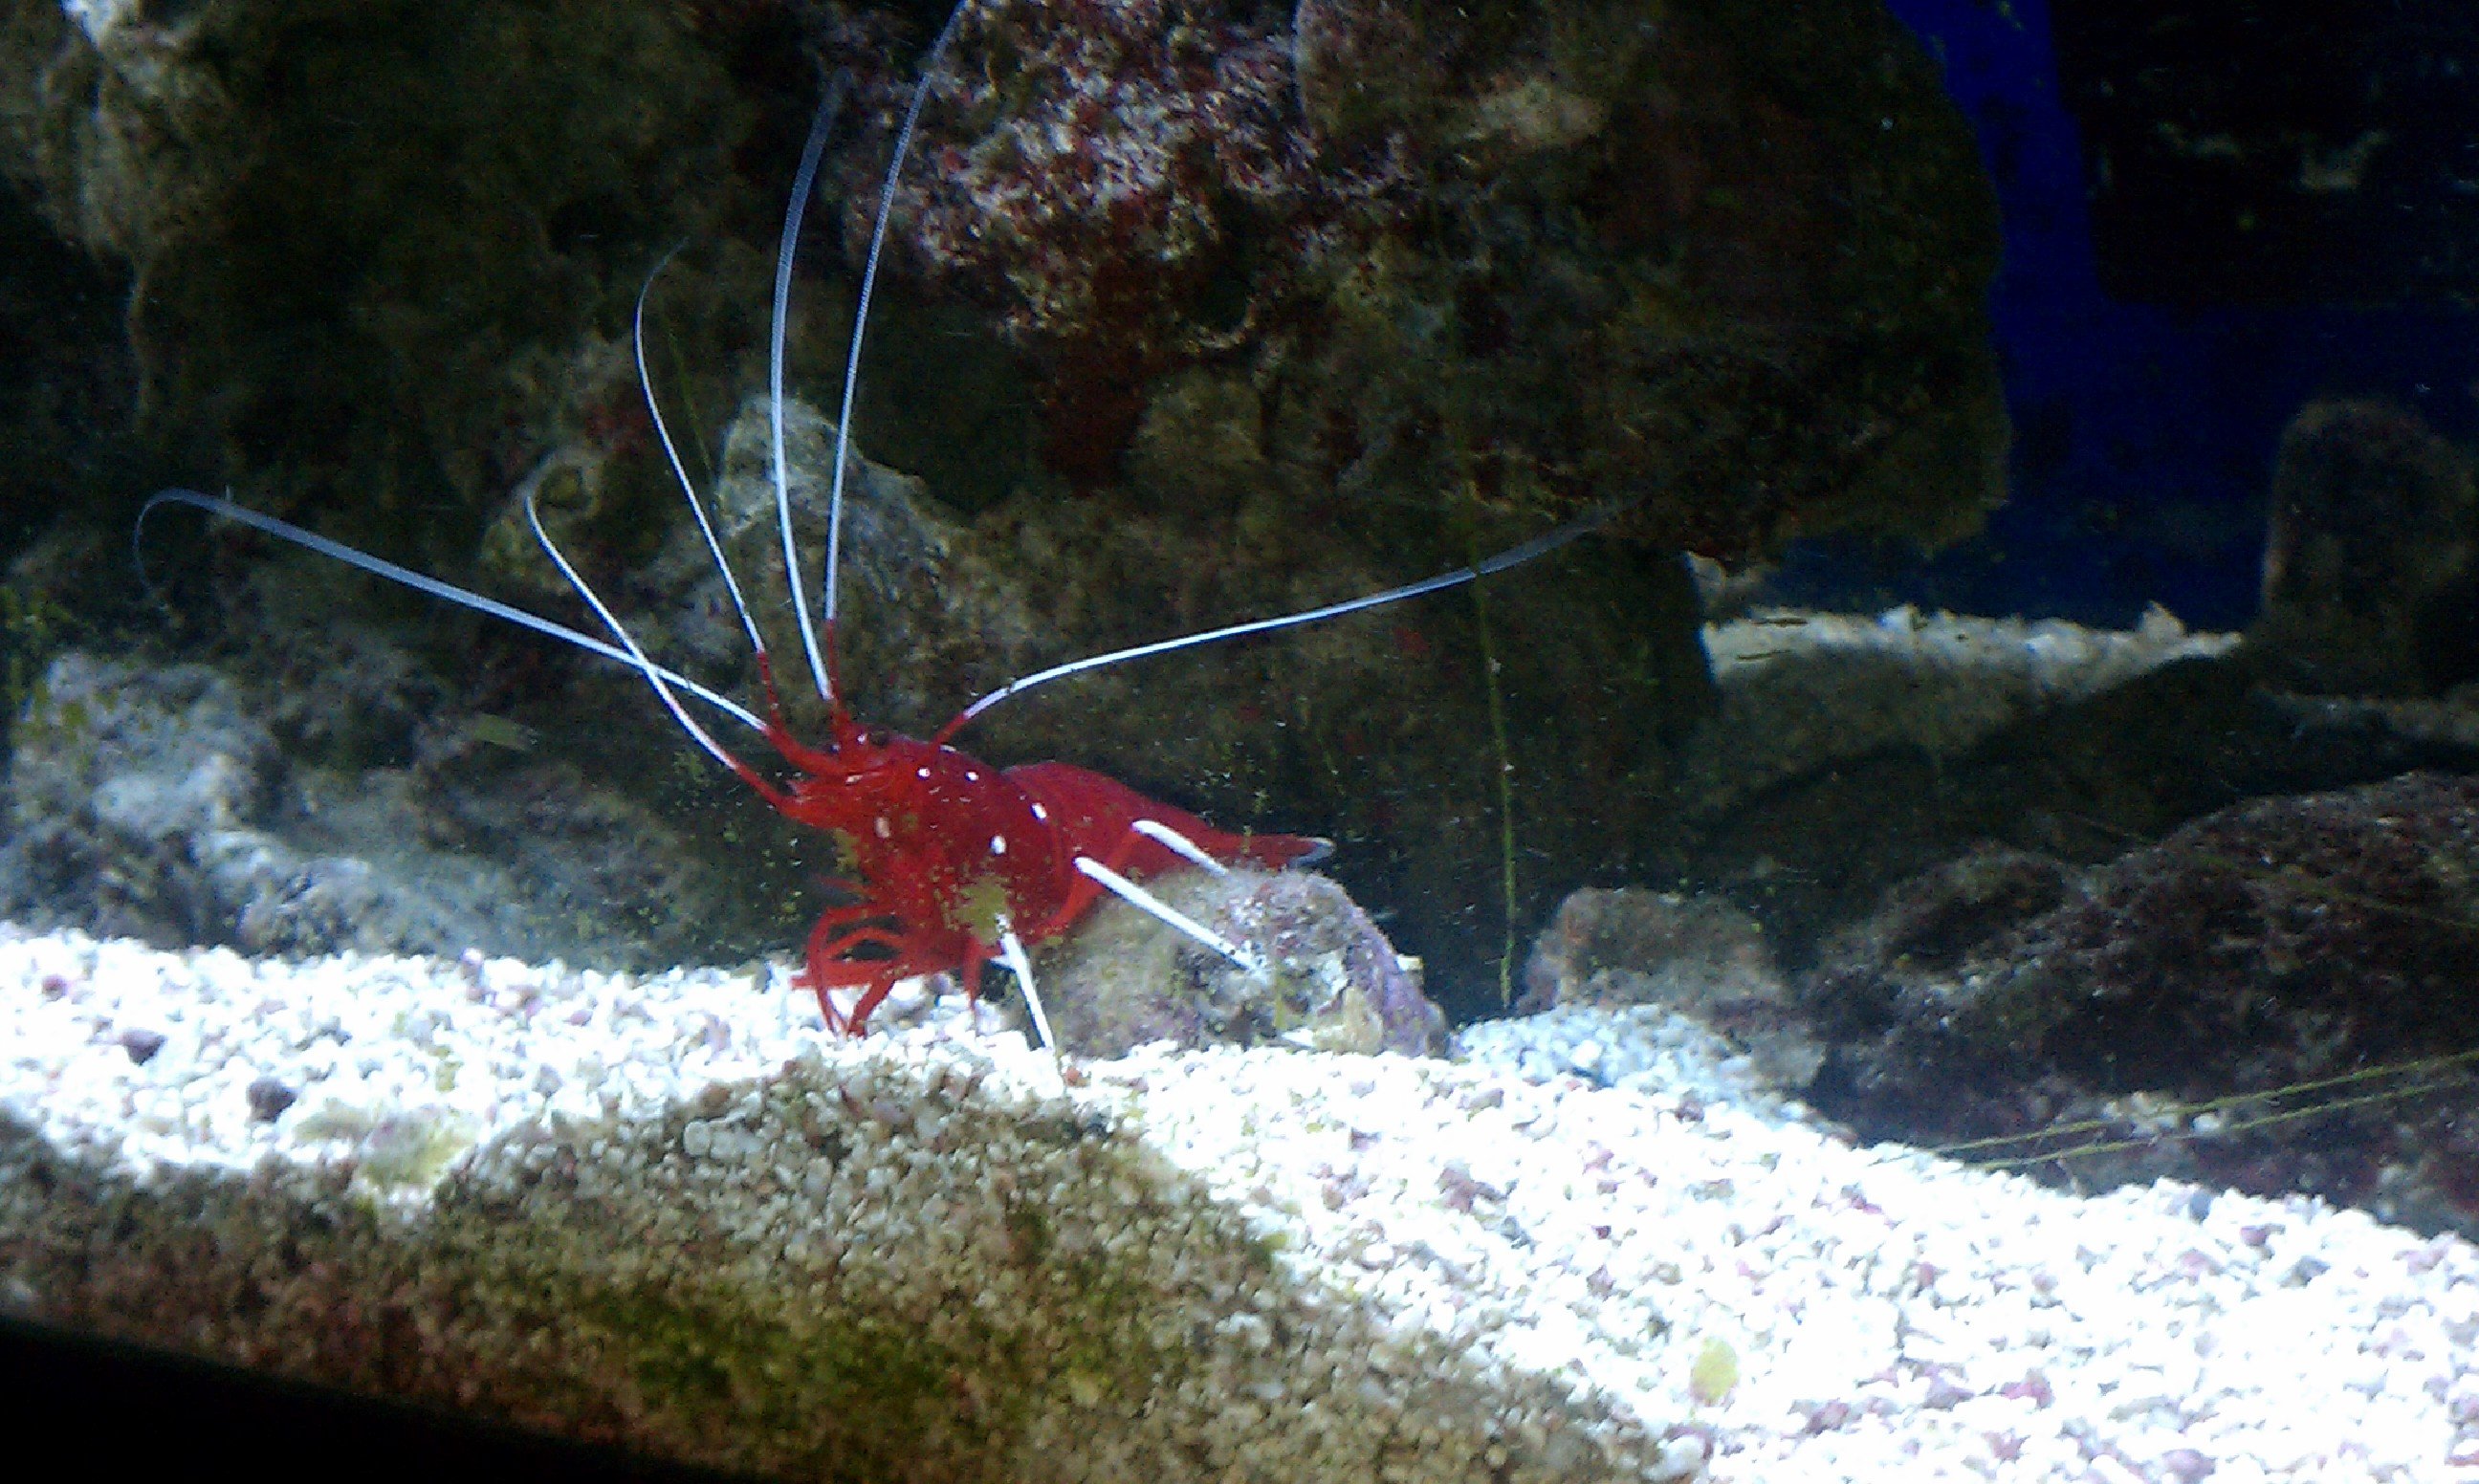
Fire Shrimp (I have had this shrimp for the past 3 years and he is huge)
 

tferrante

Member
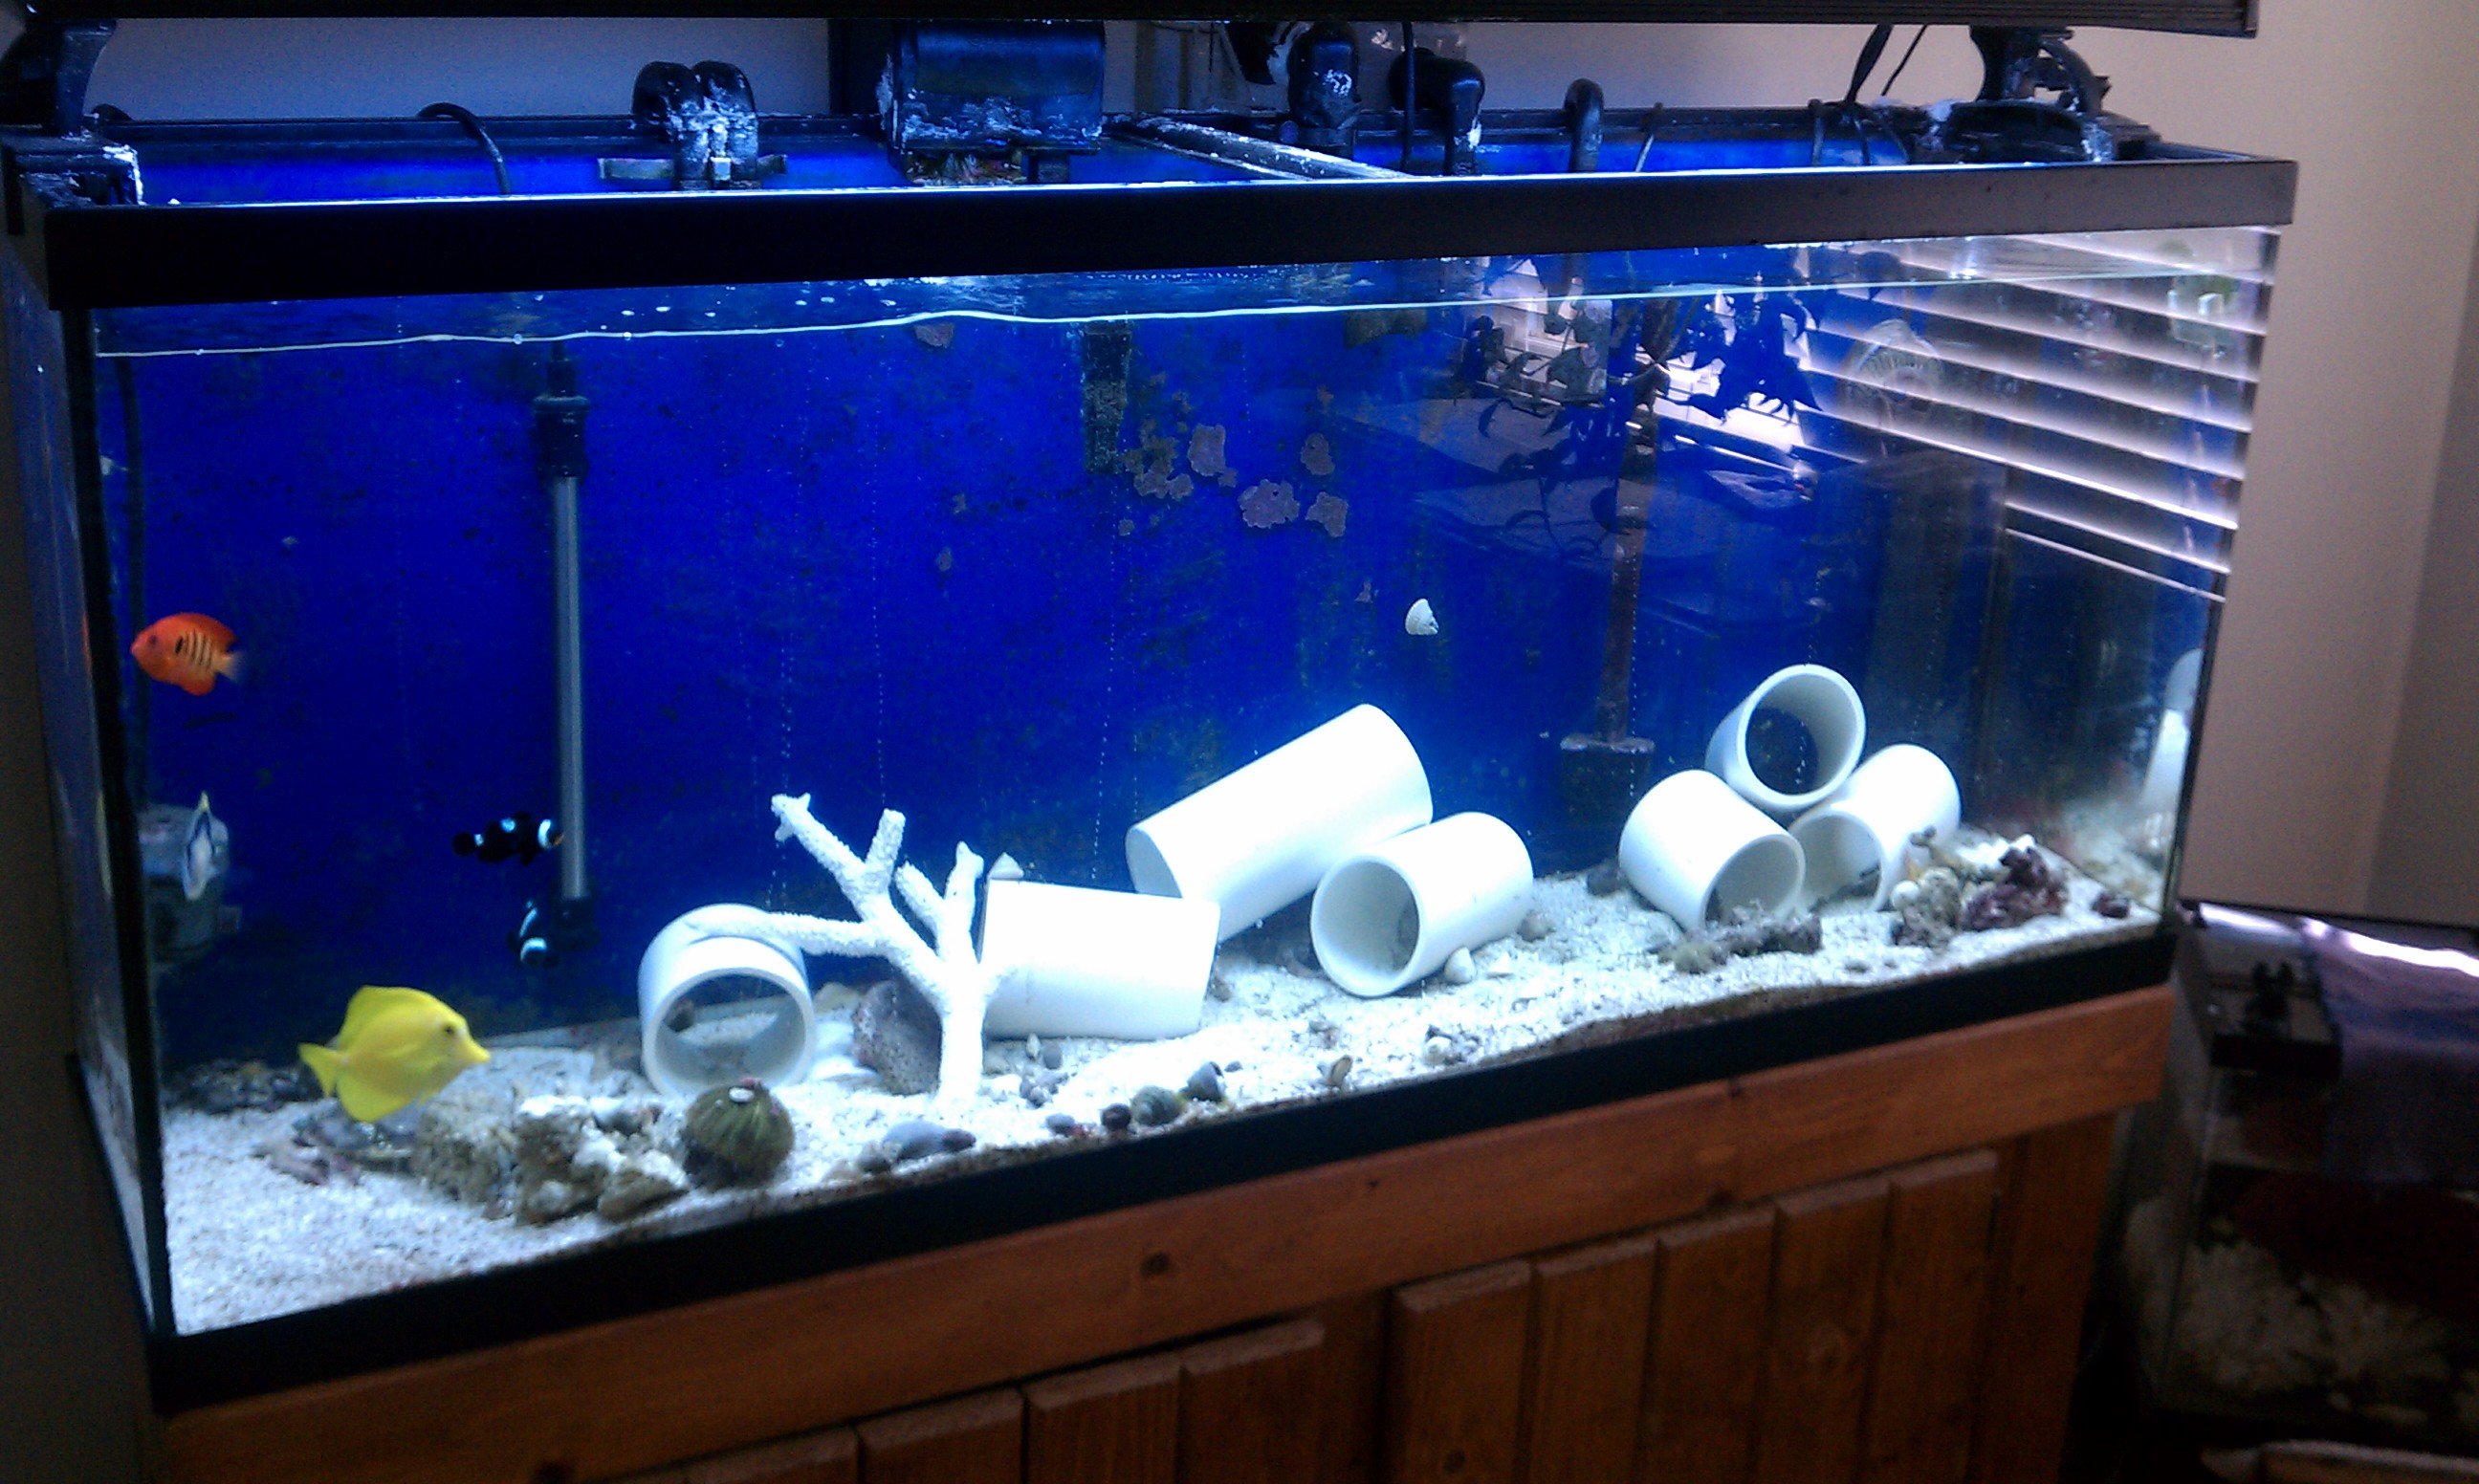
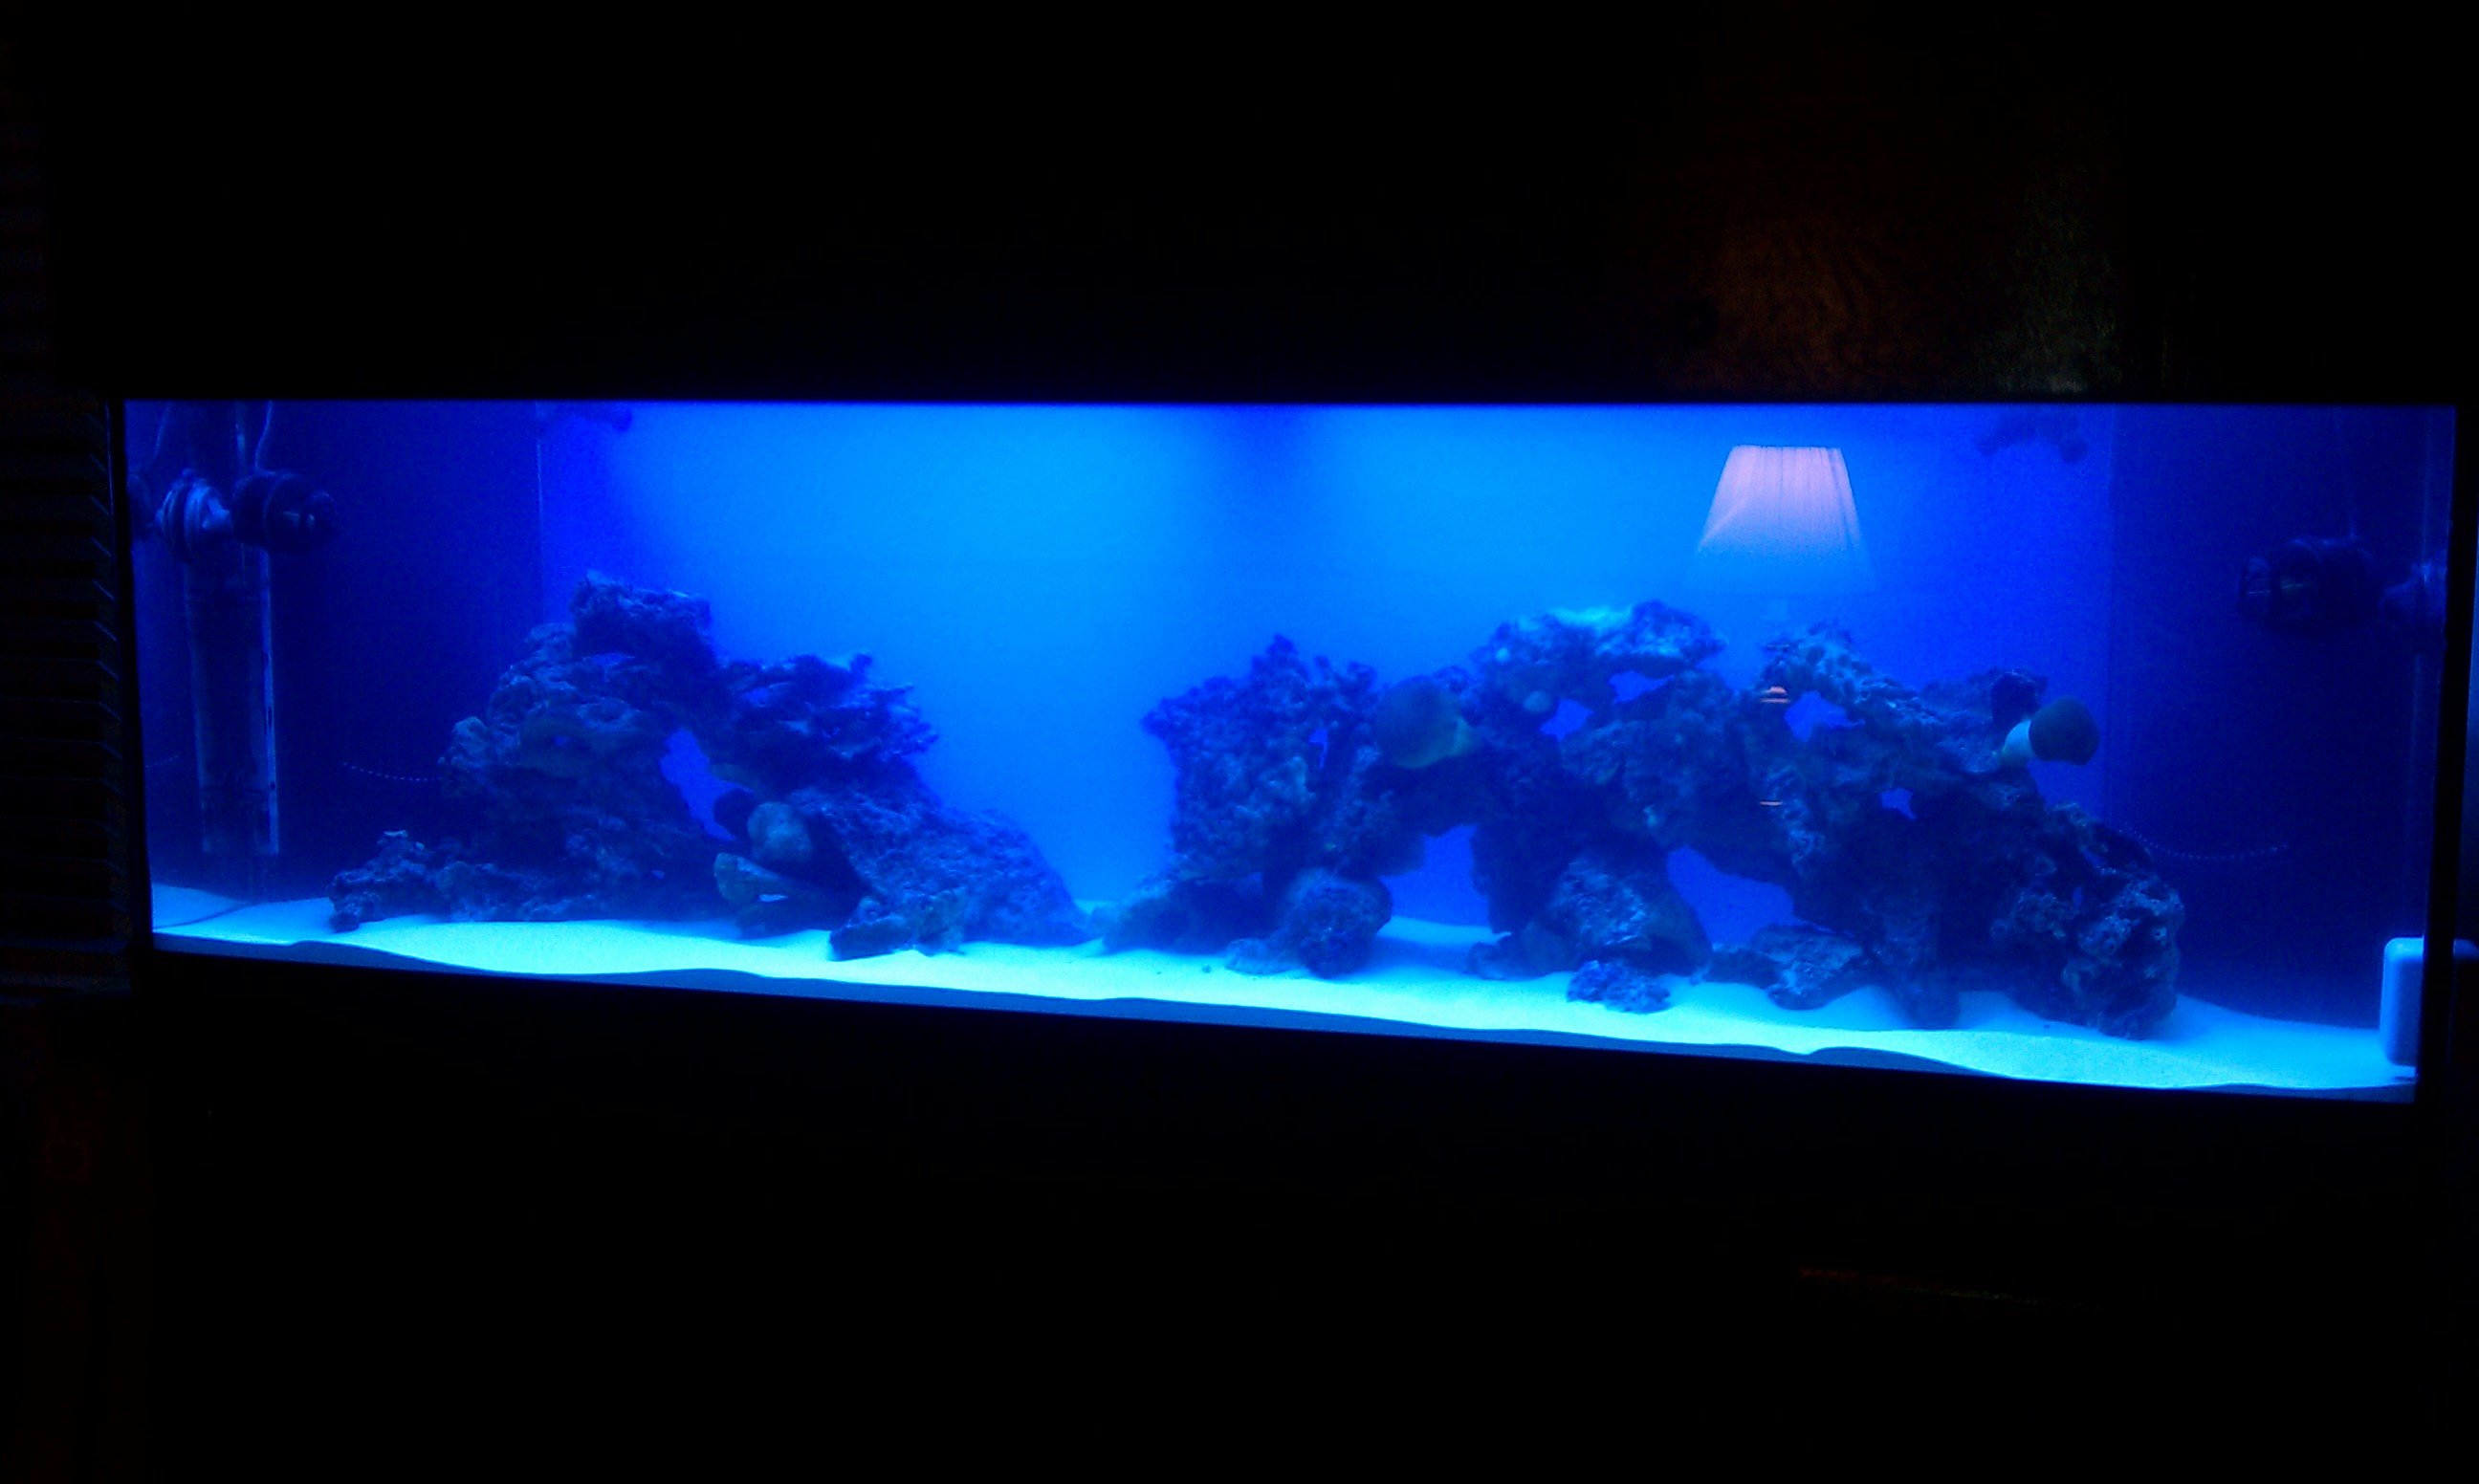
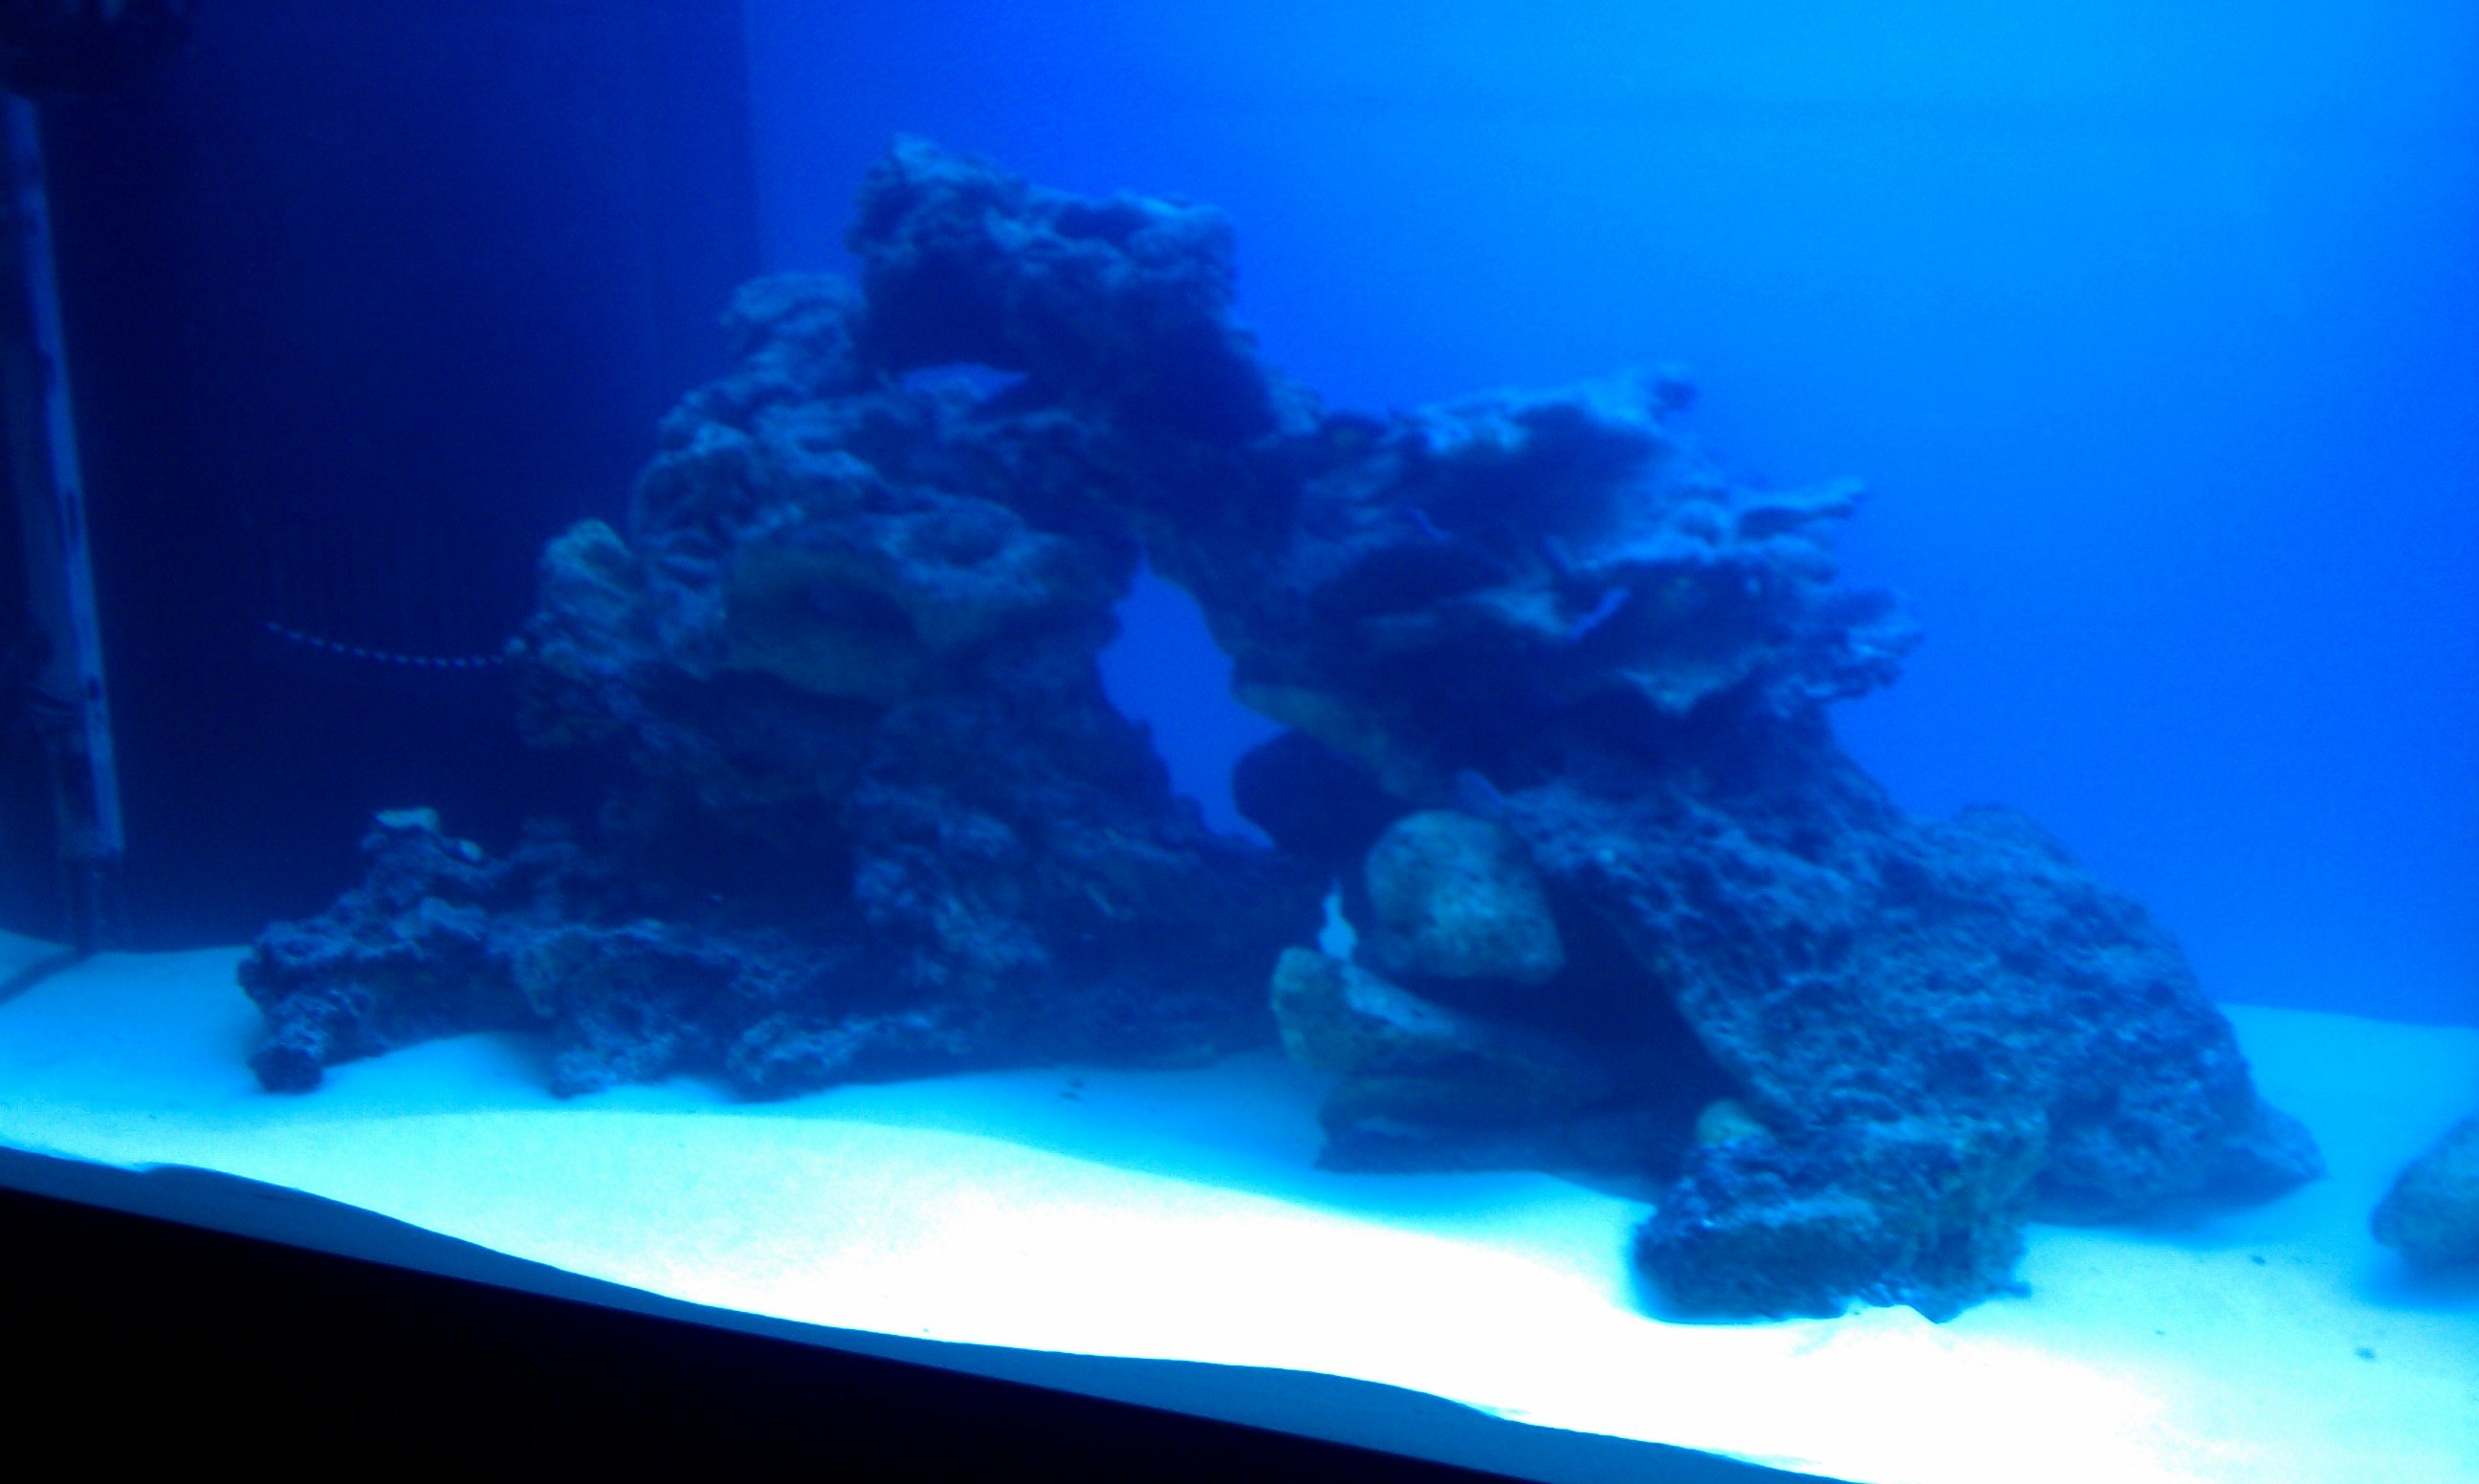
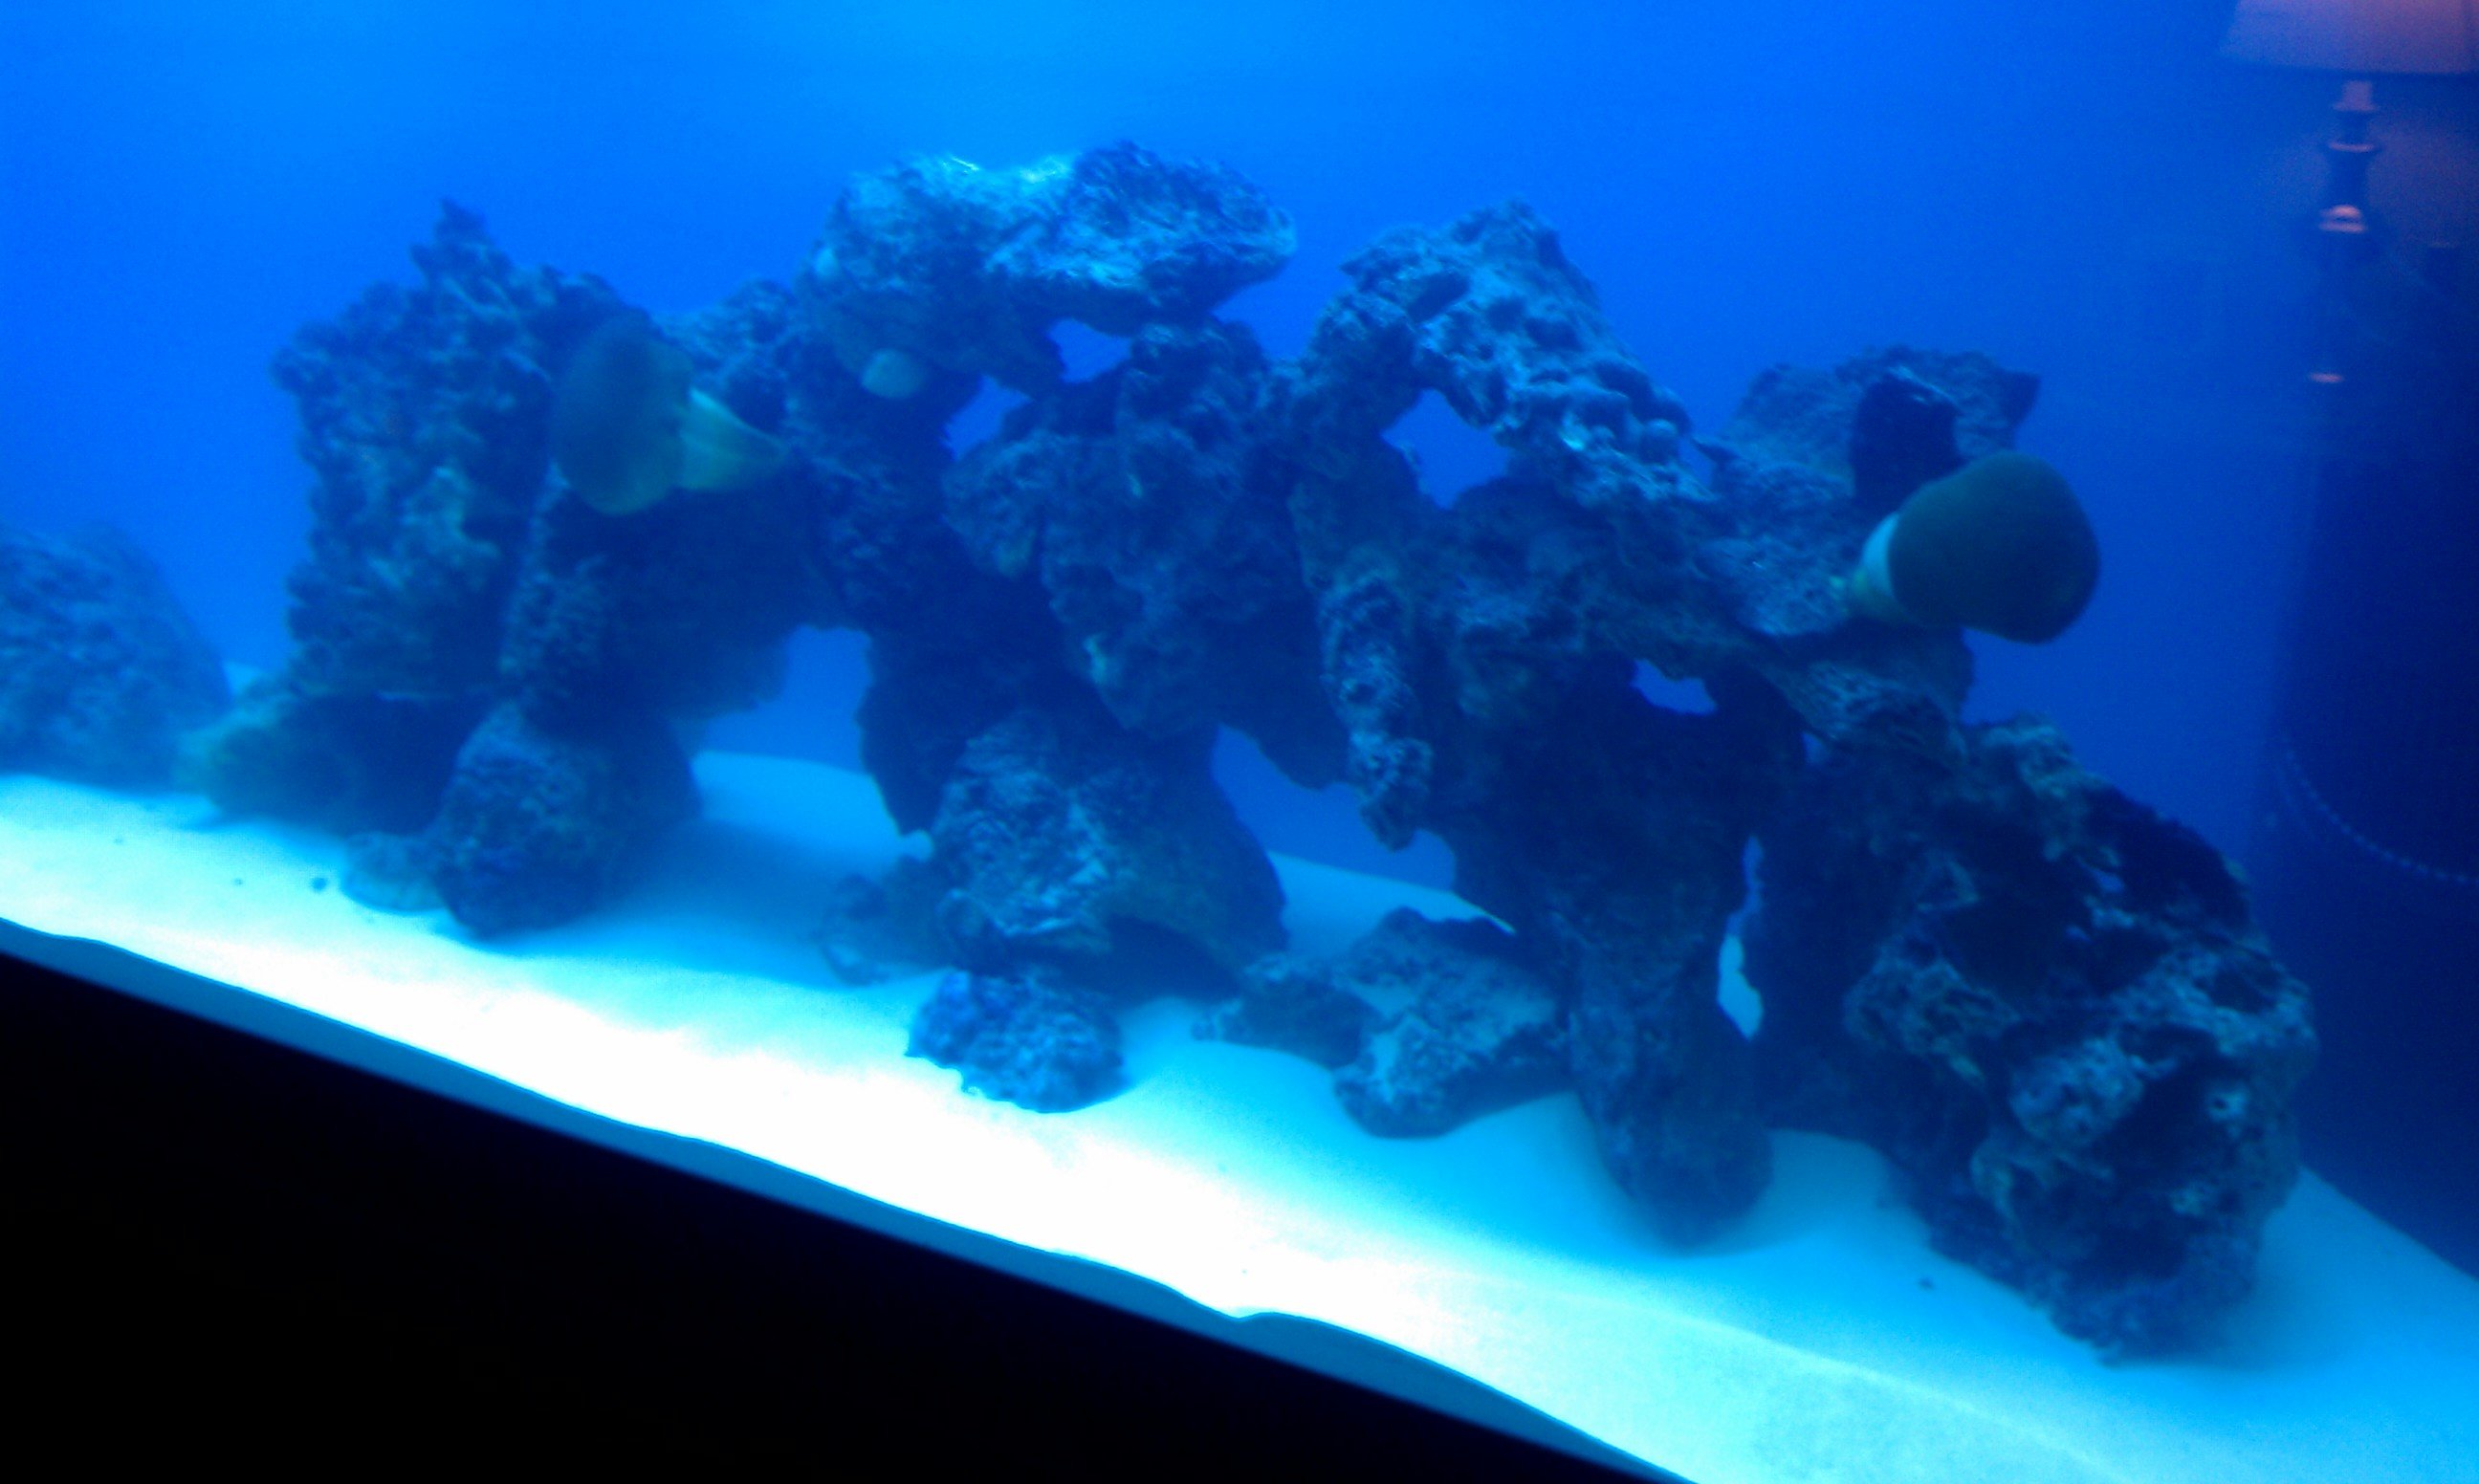
Woohoo! up and running! I cleaned and moved rock today into my new tank, then finished filling it and the sump. It is still fairly cloudy, but it should clear up in a day or so. My fish did not like losing their live rock, but I replaced it with pieces of PVC pipe (pictures posted). It was hard to set the rock up with such cloudy water, but now that the system is running the water is starting to clear. I am pleased with the results. I will let it run for a few days to check parameters before I begin adding my fish. I just did a nice water change so my old tanks should be ok for a week or so. I am adding some fresh saltwater tomorrow to make up for the loss volume from the live rock. The new system is a bit noisier than my old ones, but I am already looking for ways to quiet it down. Most of the noise is coming from my external pump which is a huge change from canisters. check out the pics:
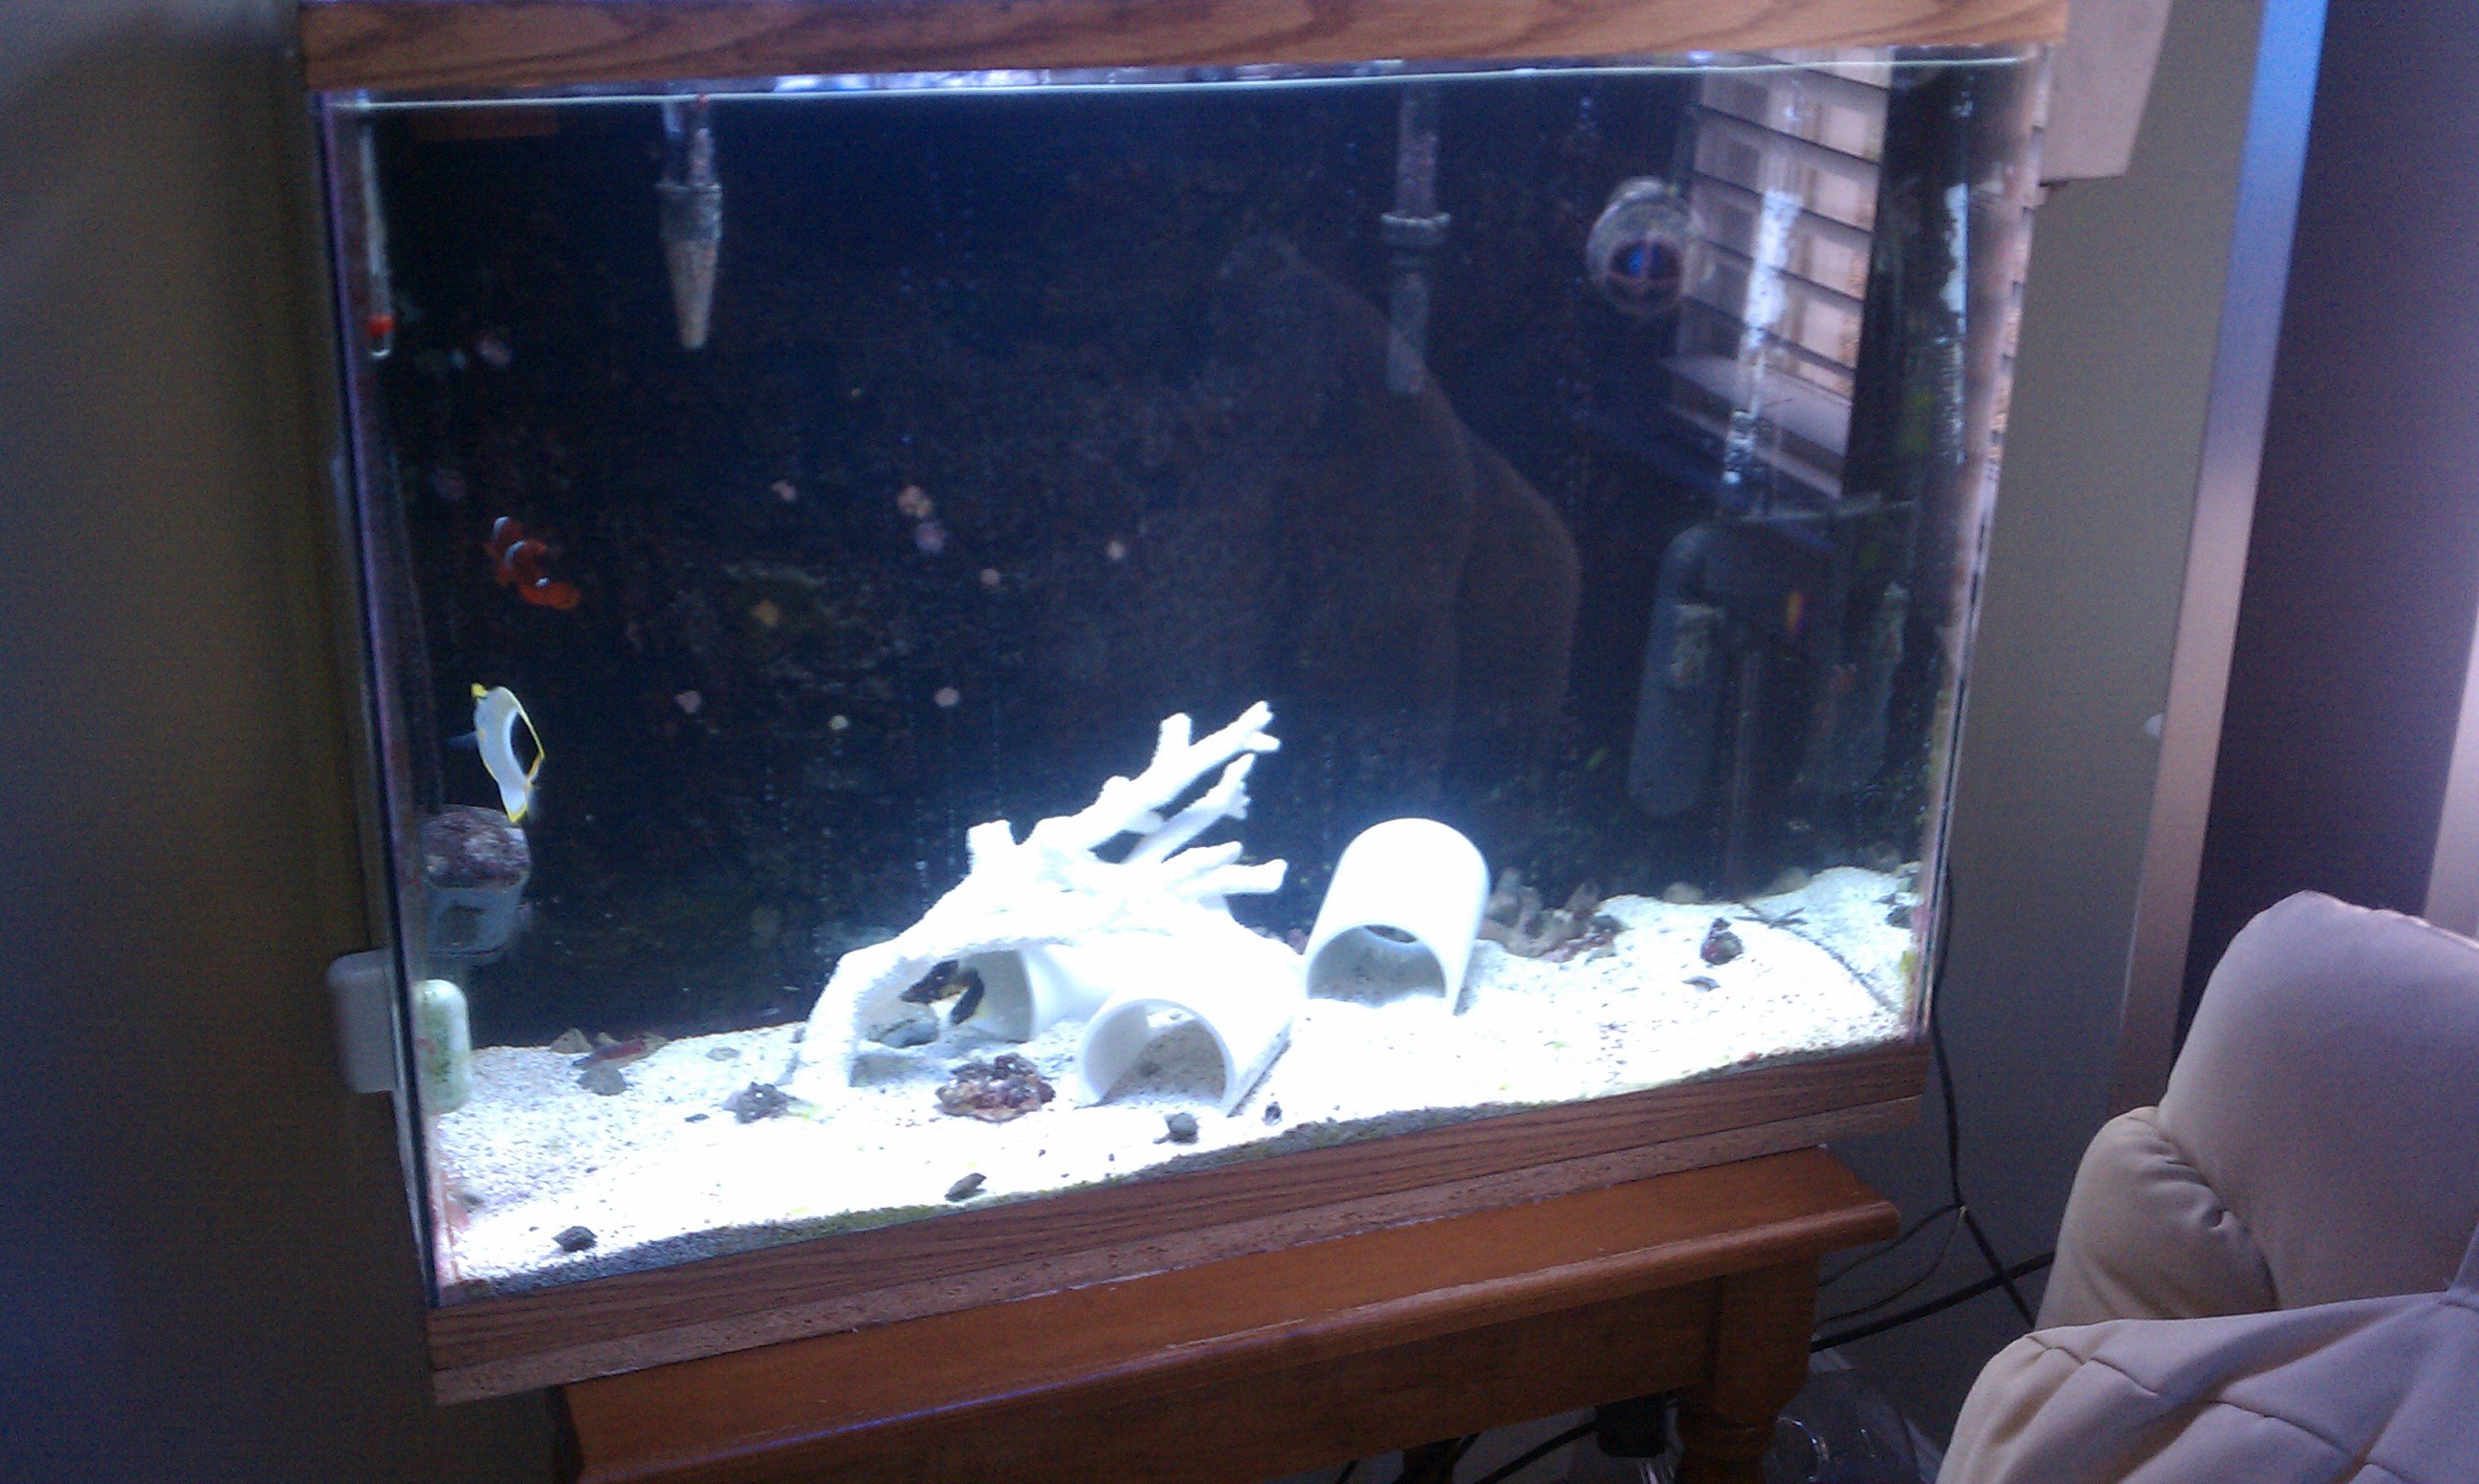
55 gallon after removing LR; I am going to move the rubble into my sump

37 gallon after removing LR

new tank with rock

rock structure on left side

rock structure on right side
 
Top