New 300 gallon In-Wall tank build

edat

Member
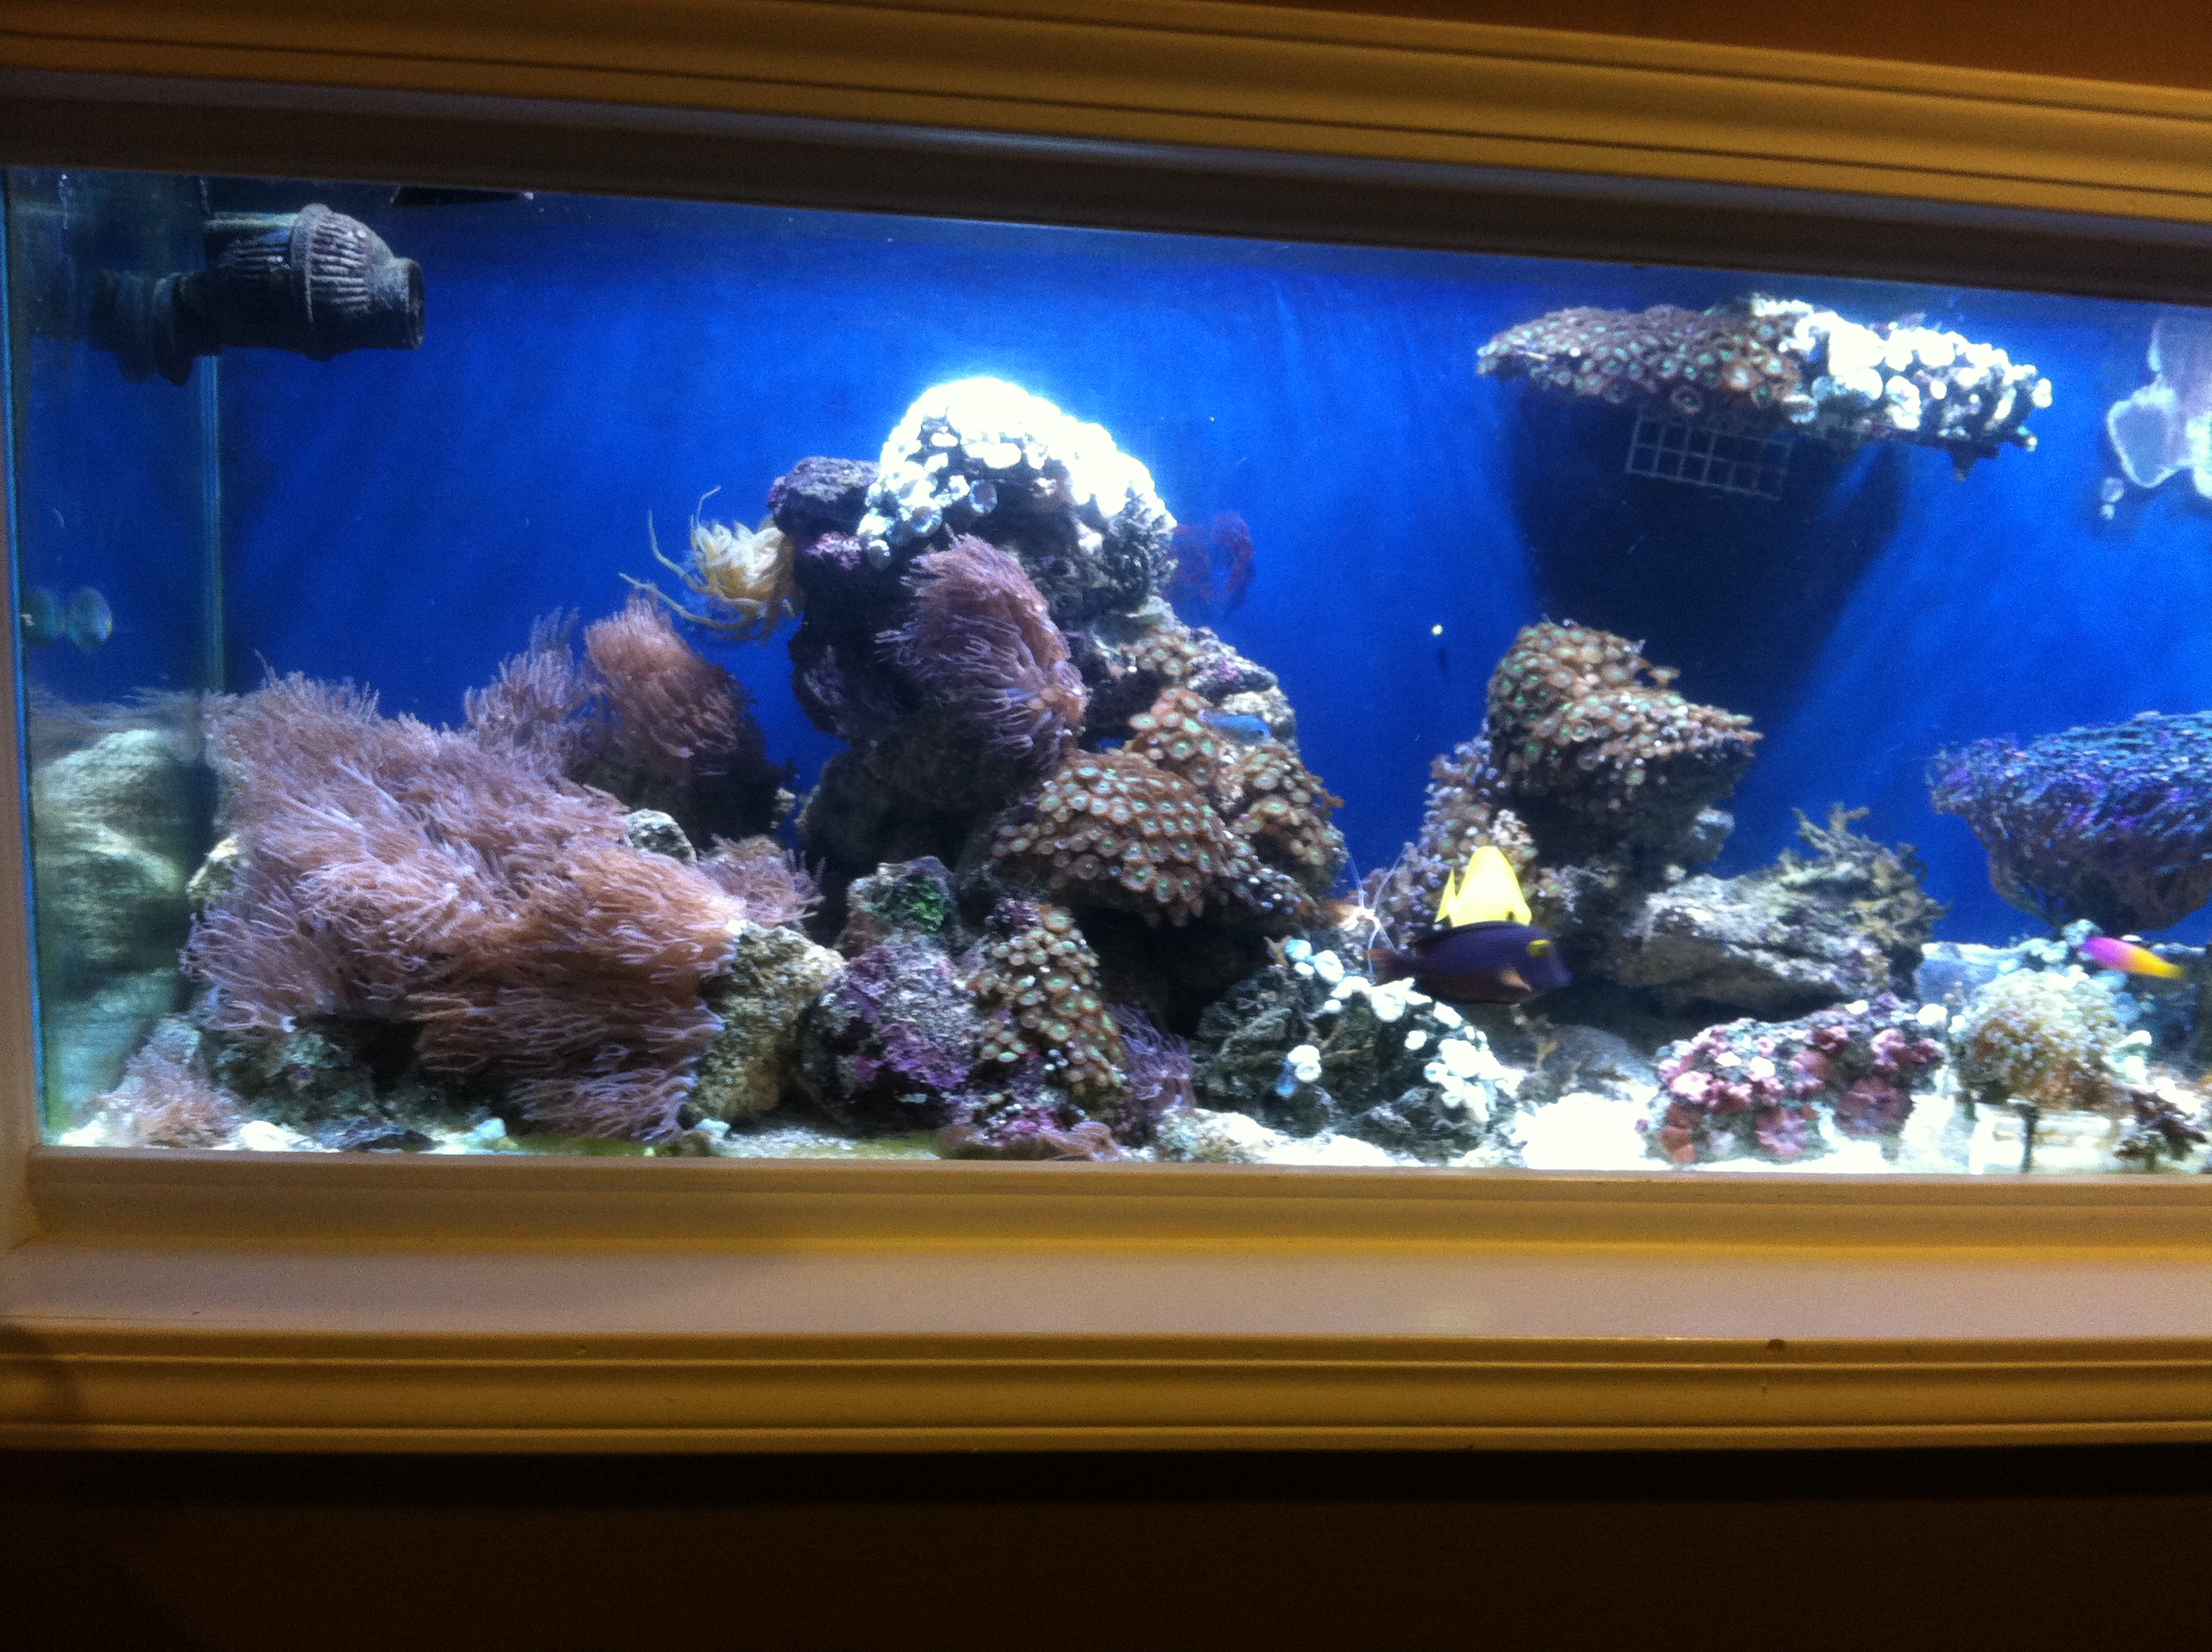
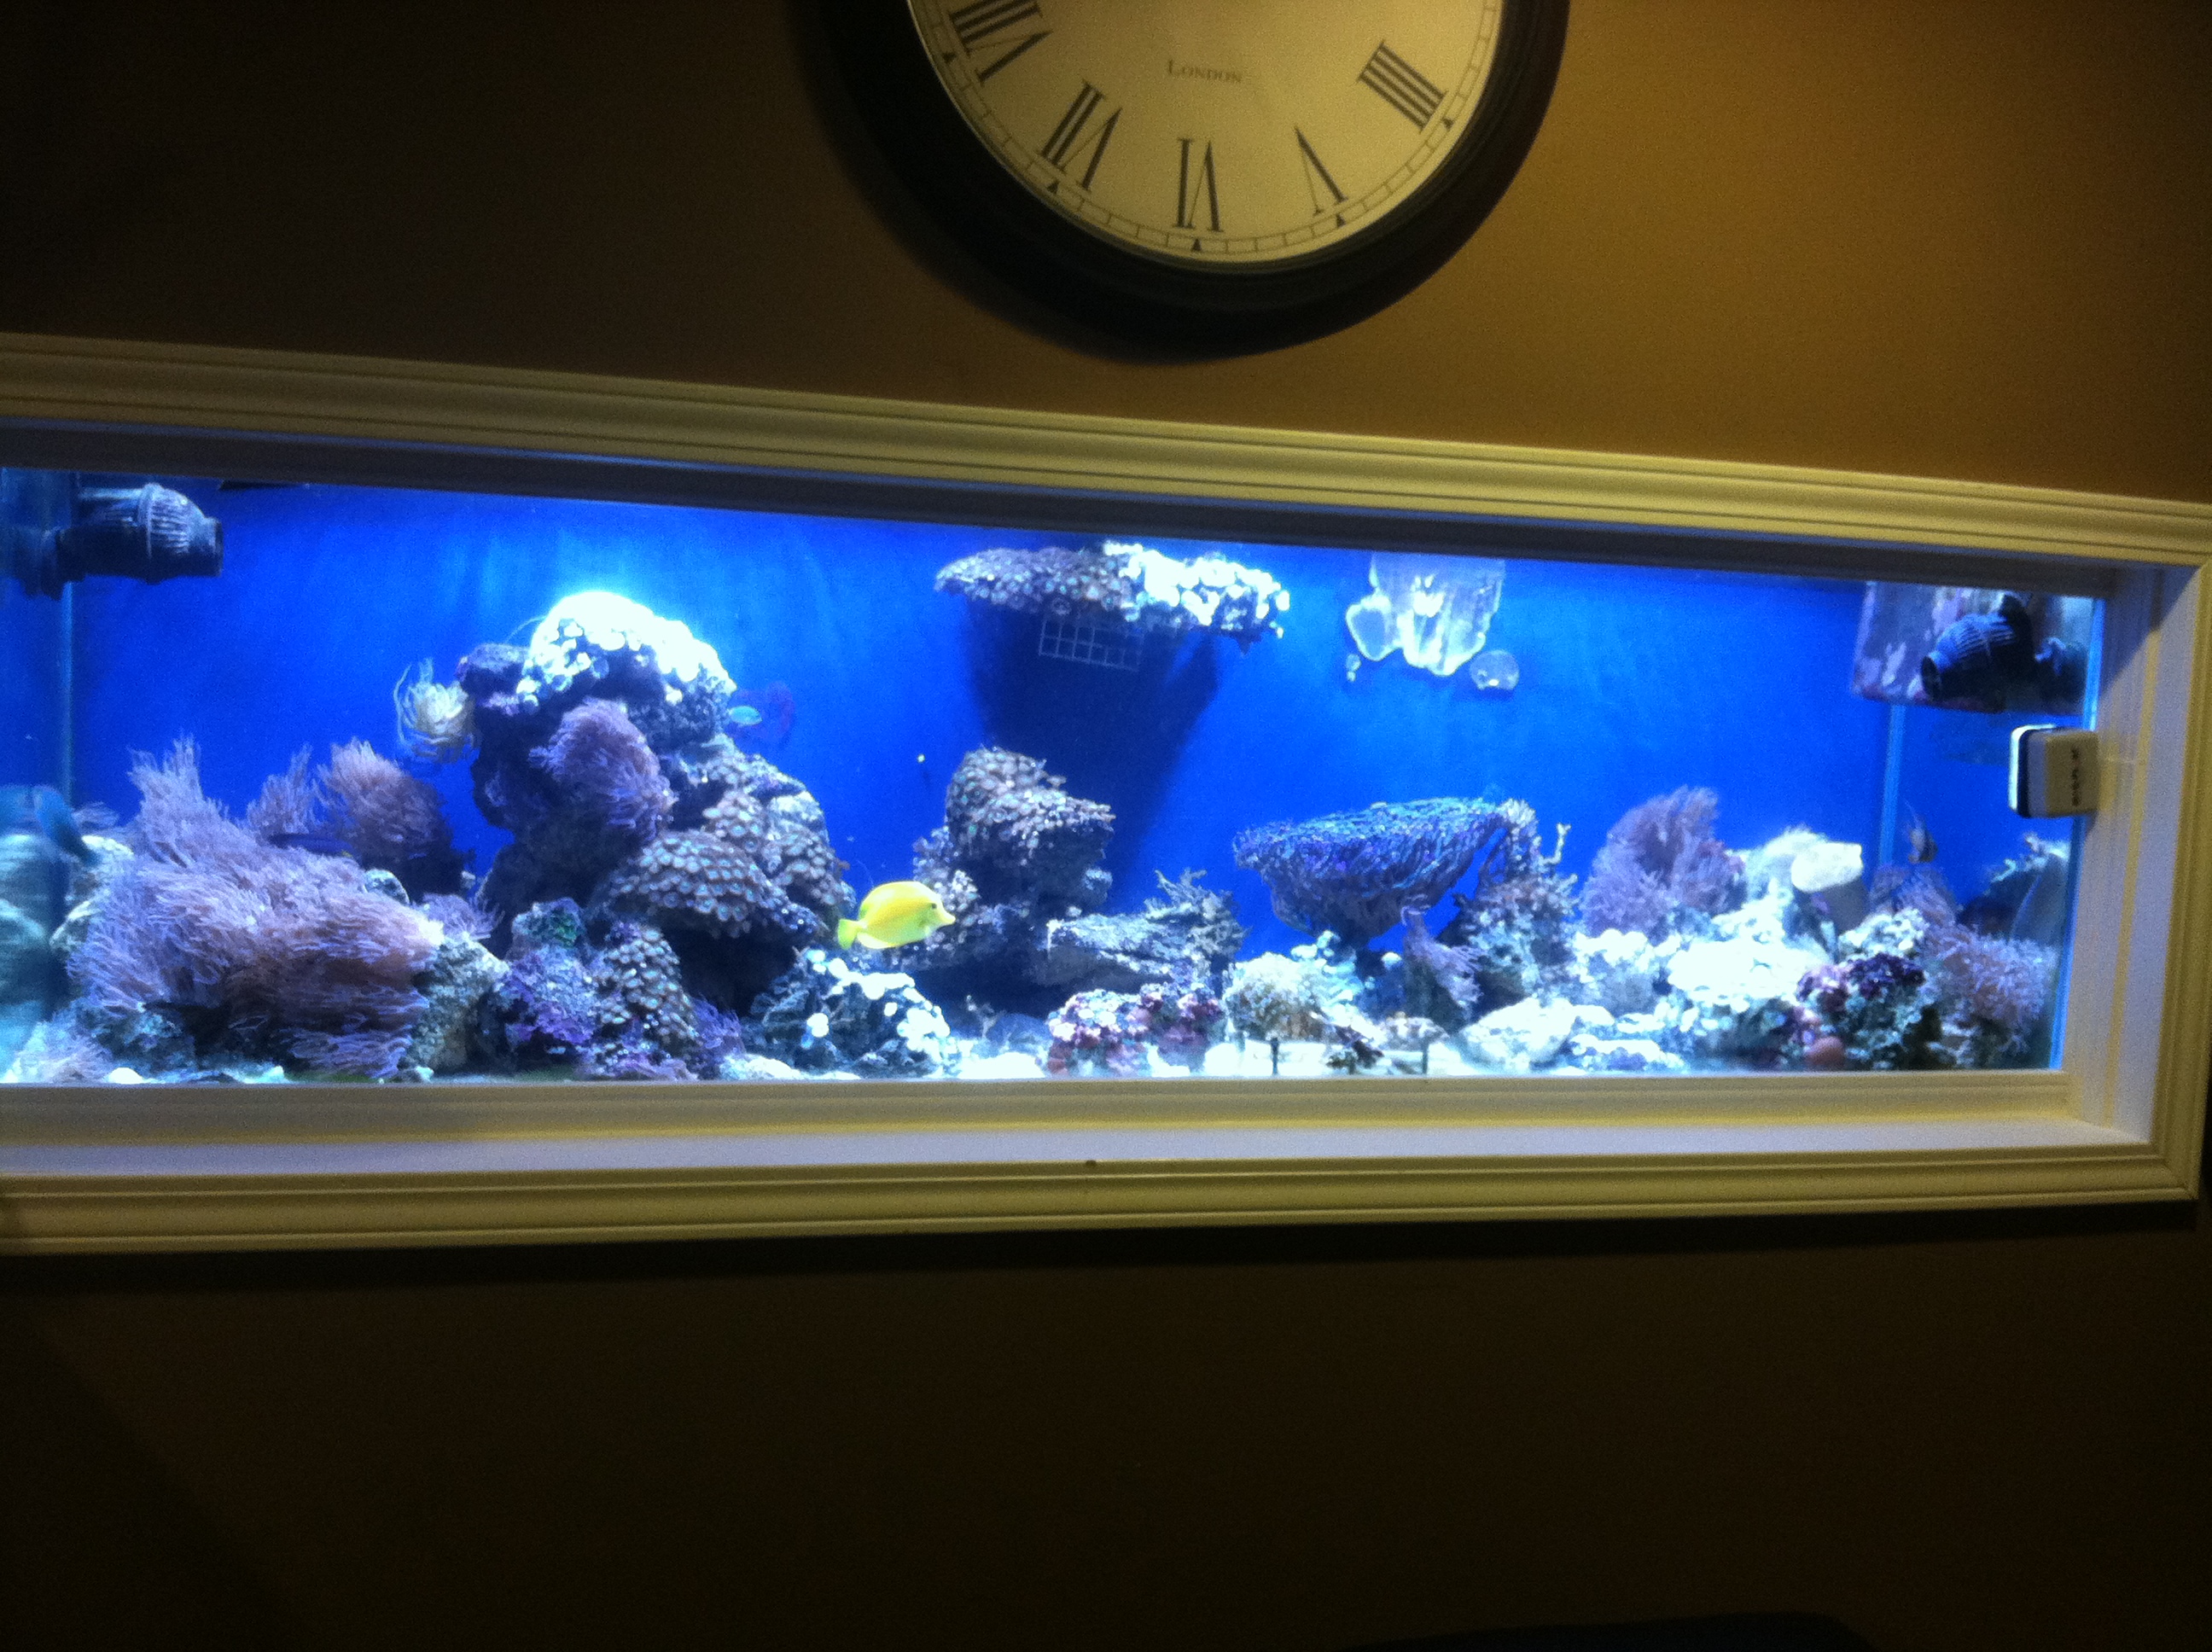
So I finally ordered the new tank yesterday. 300 gallon 96x30x24 with dual overflows and starphire front.
It will be delivered on the 25Th of this month.

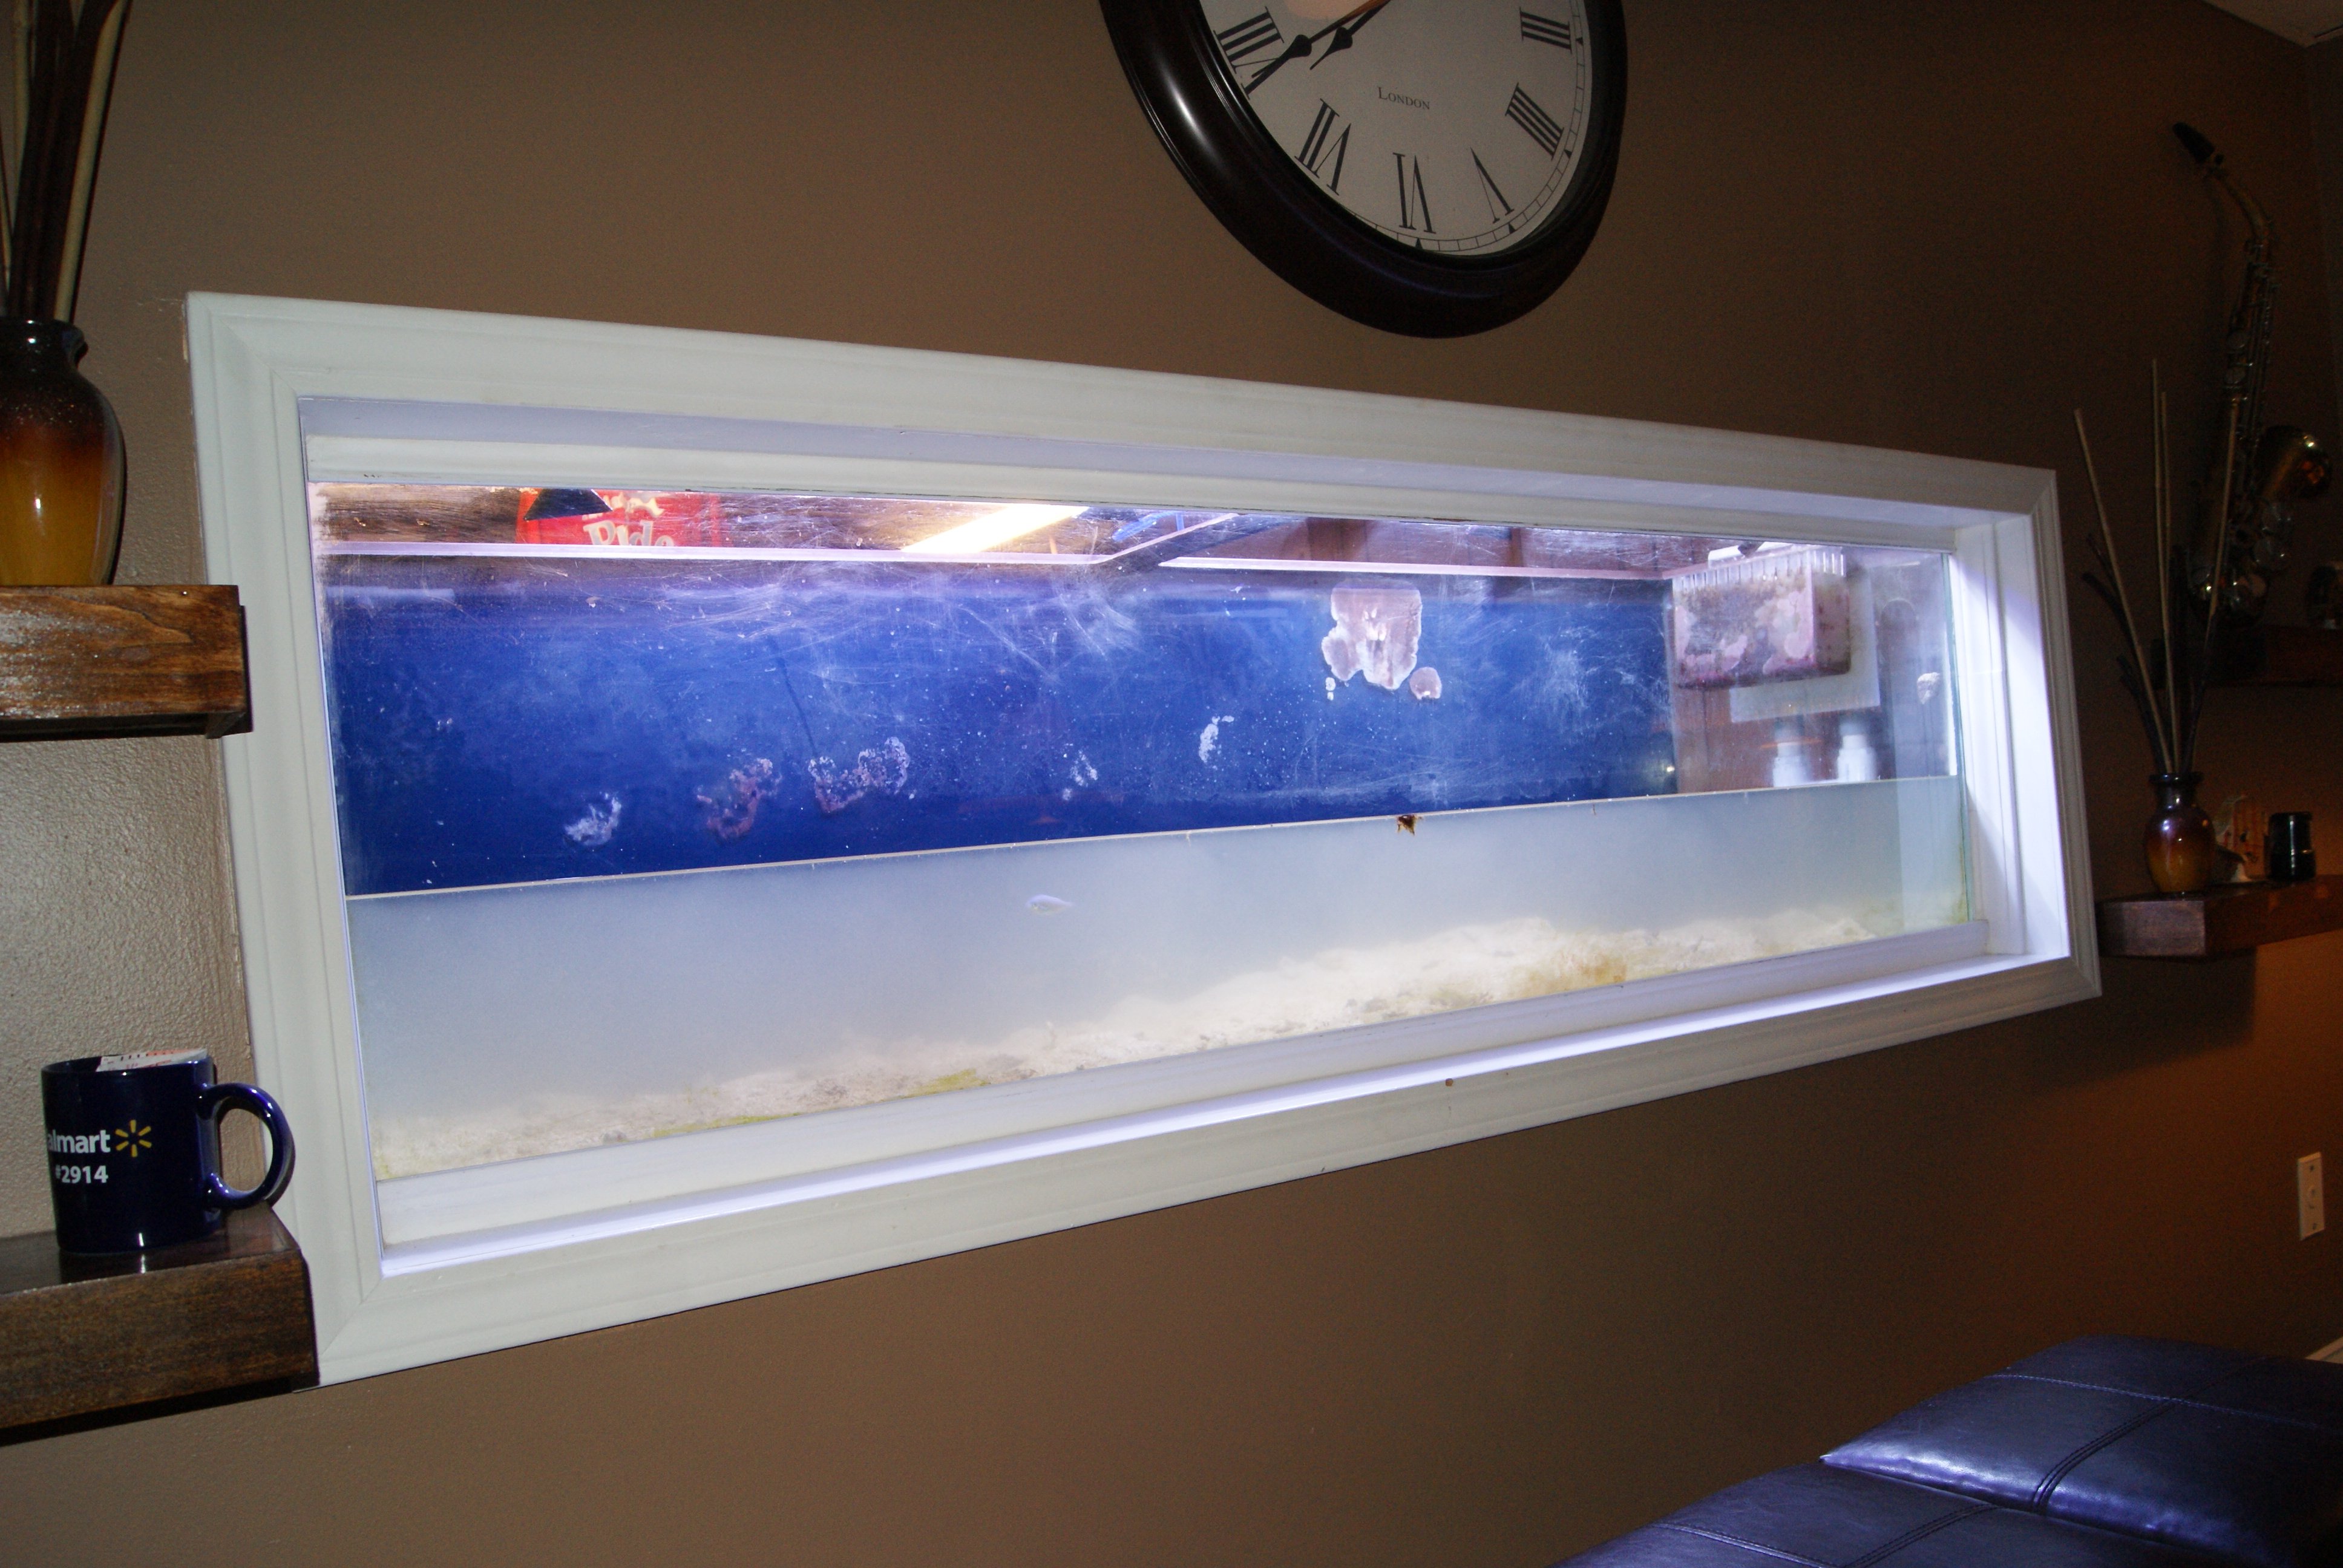
Lots of work to be before it arrives.... Tear down and move the existing 125, build a stand for the new 300, relocate a water heater and washer/dryer to make room for new QT & frag tank...... and tear out a wall in a 1/2 bath so that the new tank can be carried down to the basement.
I have already purchased a new skimmer, Super Reef Octopus 5000SSS and lights 2 250watt Galaxy Dual ballasts. I am currently using the skimmer and one ballast on the 125 but am thinking about using LED on the300.
Two brands seem to come up in every conversation. Eco Tech Marine Radion gen.1&2 and AI Sol and Vega.....
I am looking for input, pros/cons on both brands and even suggestions on other good LED lights.
Thanks!!
 

mr. limpid

Active Member
Are you planning on having SPS coral in this tank? There are 2 other manufactures you should take a look at, Apollo Reef and Reefbreeders (sweatervest13 just got these).
Can't wait to see this build. Throw in your remodel pictures as well.
 

novahobbies

Well-Known Member
New Tank Build!!!!
I'm following along! I agree with Mr. Limpid.....show us your demo/reconstruction pics!! That's half the fun....ask Rlaban!
 

edat

Member
So not too much going on so far because of my work schedule but I will be picking up the supplies in the morning to build the stand and move the water heater.
Still trying to thin out the tank a little before tearing it down and moving it. I will need to pick up another Brute trash can to hold more of the live rock.
Anybody ever reuse live sand? I was thinking about rinsing it in tank water an putting it into the new tank later or should I just get rid of it?
I am almost 99.9999% sure that I will be getting 4 Aqua Illumination Vegas. After speaking with AI this should be enough light for the new tank.
At first I thought that I would need 6-8 units..... guess ill wait and see what it looks like. I just don't want to have any dark areas in the tank.
 

snakeblitz33

Well-Known Member
Yeah, it's kinda hard to avoid a disco effect sometimes with compact LED units. Keep us posted and keep posting pics!
 

acrylic51

Active Member
There correct.....All the units out there will cover a 2'x2' area with the exception of the GHL Mitras which will cover a 3'x3' area, so 4 should cover the 8' tank.....As far as disco....Shouldn't have any problems.....That "discoing" affect is more prominant with DIY and that has to do with how close the LEDs are spaced an or optics used.....Has to do with the colors mixing effectively or not.....Eco's are just to salty IMHO for the coverage.....Great if you have a tank depth of 30", but other than that I don't see any real pluses to them vs the Mitras.....The only thing I don't like with AI at the moment is their color options or lacking of compared to the 2 I mentioned.....I do however love on there site, where you can go in and design your puck layout and change the configuration and have a good idea of what your lighting will look like....That is actually pretty neat IMO.......To bad it's not available to be bought yet.
 

edat

Member
This has got to be the slowest build thread ever....

Still not a lot going on. I moved more of the the live rock into another trashcan and found this guy in the process.
 

edat

Member
Tomorrow I will take the last of the rock out, put the fish into the new quarantine tank where they will stay until they go into the 300 and move the corals that I plan to keep into a separate tank.
I will also start building the new stand... nothing pretty just something for the tank to sit on.
The 125 is looking a little bare...


edat

Member

Starting to build the stand but its too cold in the garage so the girls playroom has become the workshop while they are in school.
 

edat

Member

Everything is cut to size.
Whats the deal with my pics not showing up?
All I see is the outline of a box with a red x in the corner....
 

edat

Member
Stand is 99% complete. Just have to get plywood on the base and cut holes for the overflows.


acrylic51

Active Member
Looks good!!!!! Only advise is to possibly seal the top of that stand......Water drippage or leakage will cause that top to swell......
 

edat

Member
Never thought about sealing the top but it is a good point.
What should I use? Is there some type of paint that can be used? There is also going to be a piece of 1/2 inch foam insulation on the top
My youngest don't seem to mind the stand sitting in the middle of their playroom..... Its going to have to say there until I get around to moving the 125.....hopefully in the next couple of days.
 

acrylic51

Active Member
Why would they mind......That's a good seat in the house........
Polyurethane comes to my mind as far as sealing it......Probably better would be an epoxy coating......
 

edat

Member
So its 4:30 in the morning and I finally have everything hooked back up.
This is after I clogged up the utility sink and even after running a 25 foot snake down the drain its still clogged......
Blowing a fuse and even though I know what breaker is tripped it still will not work no matter how many times I flip it...... Lowes closed at 9PM......
Thought that I had enough PVC to plumb everything the way I planned...... Lowes closed at 9PM.....
And finally after putting the new stand in place I realize that the floor is not even. NOT EVEN CLOSE!!! Looks like the concrete floor was busted up at one point to run the drain to the sump pump. I never noticed before because the 125 was not as wide or long.
Anyway here are a few pics.... Excuse the Appalachian engineering on the tanks. The 29 will be used as a QT, The 20 will go away and a frag tank will go in its place that will be plumed into the sump. The 40L will continue to be used as the sump for the 300 until I decide on a final layout/size for a new one.


acrylic51

Active Member
Quote:
Originally Posted by edat http:///t/394784/new-300-gallon-in-wall-tank-build#post_3515667
So its 4:30 in the morning and I finally have everything hooked back up.
This is after I clogged up the utility sink and even after running a 25 foot snake down the drain its still clogged...... I feel your pain....My sink in the garage is the same way.....I think I'm going to have to cut the drain apart and find the blockage....I've tried the snake, Draino....still no luck
Blowing a fuse and even though I know what breaker is tripped it still will not work no matter how many times I flip it...... Lowes closed at 9PM......What was tripping the breaker.....You have to love Lowes closing at 9.....It was better when it was 10, but I'd love to see them open 24/7
Thought that I had enough PVC to plumb everything the way I planned...... Lowes closed at 9PM.....

And finally after putting the new stand in place I realize that the floor is not even. NOT EVEN CLOSE!!! Looks like the concrete floor was busted up at one point to run the drain to the sump pump. I never noticed before because the 125 was not as wide or long.
Anyway here are a few pics.... Excuse the Appalachian engineering on the tanks. The 29 will be used as a QT, The 20 will go away and a frag tank will go in its place that will be plumed into the sump. The 40L will continue to be used as the sump for the 300 until I decide on a final layout/size for a new one. You might want to look at leg levelers to use on the stand....They can be adjusted independently to level out the stand. How far out is the stand....


Looks good!!!!!! Love the skimmer what are you running.....
 
Top