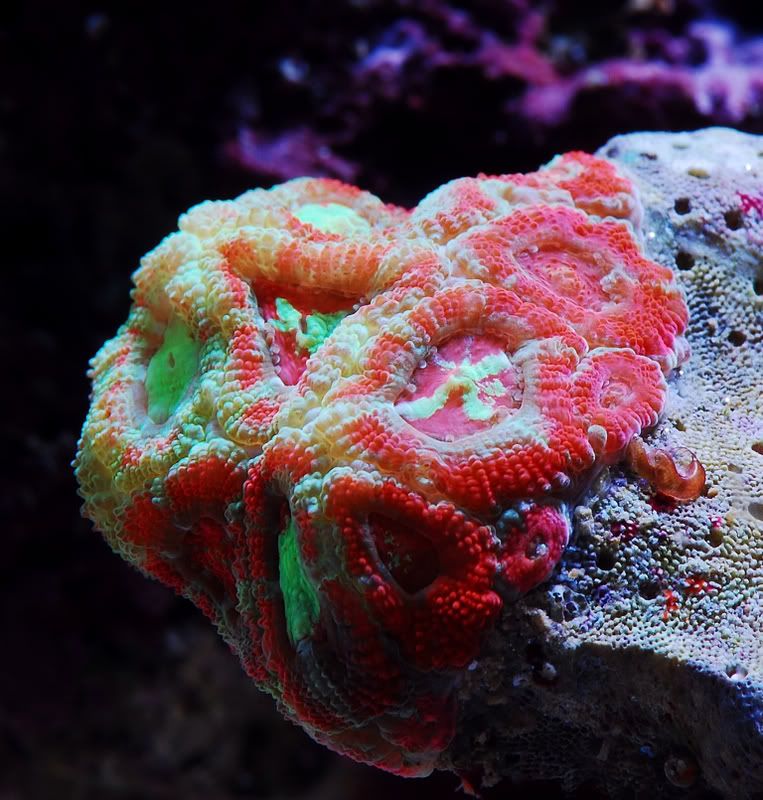
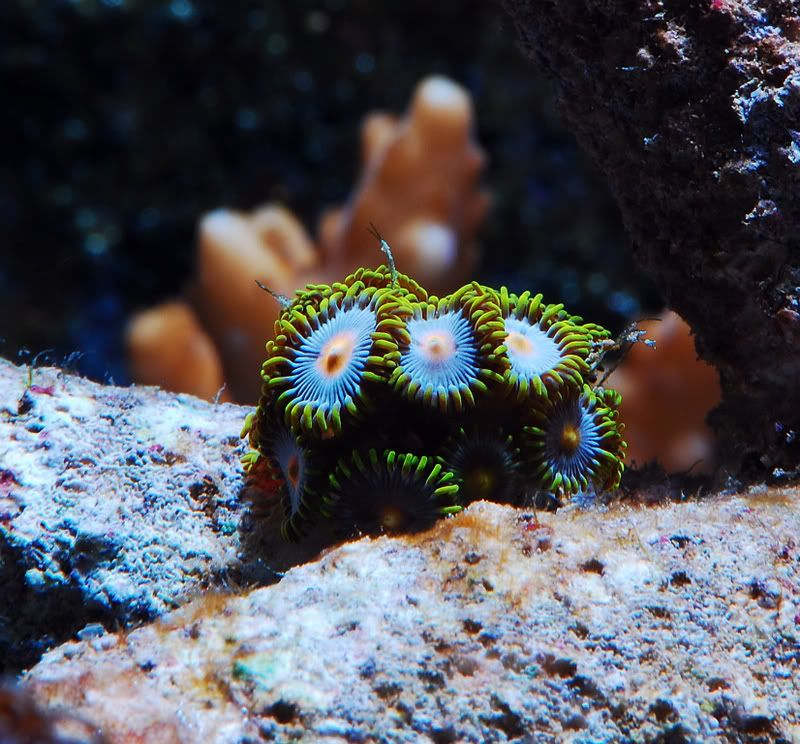
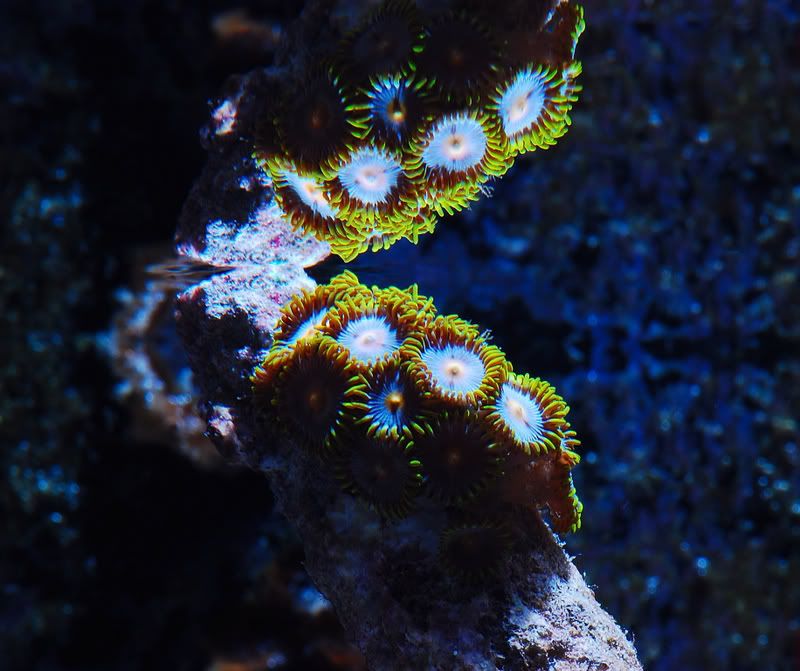
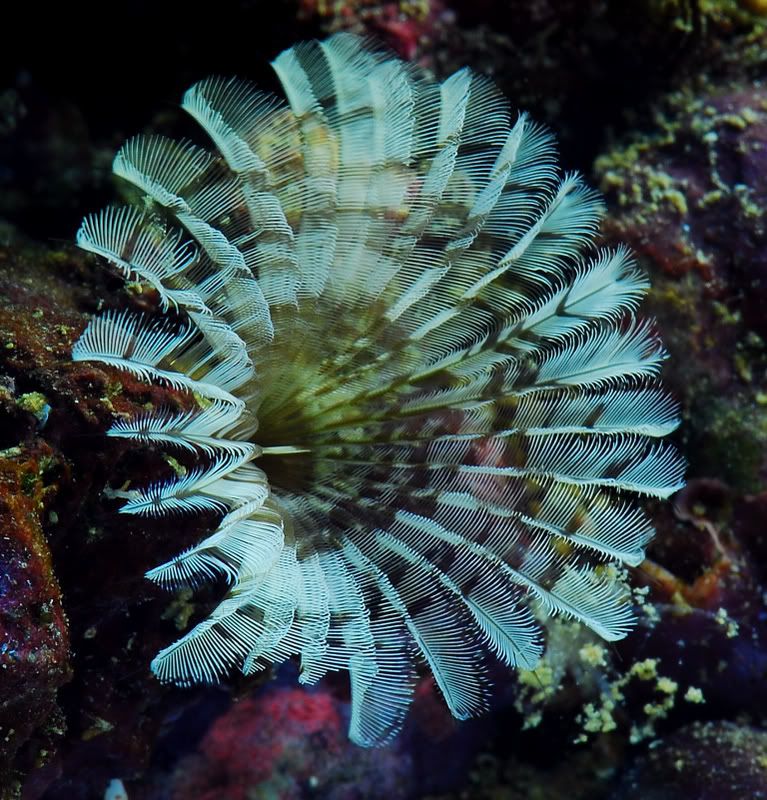
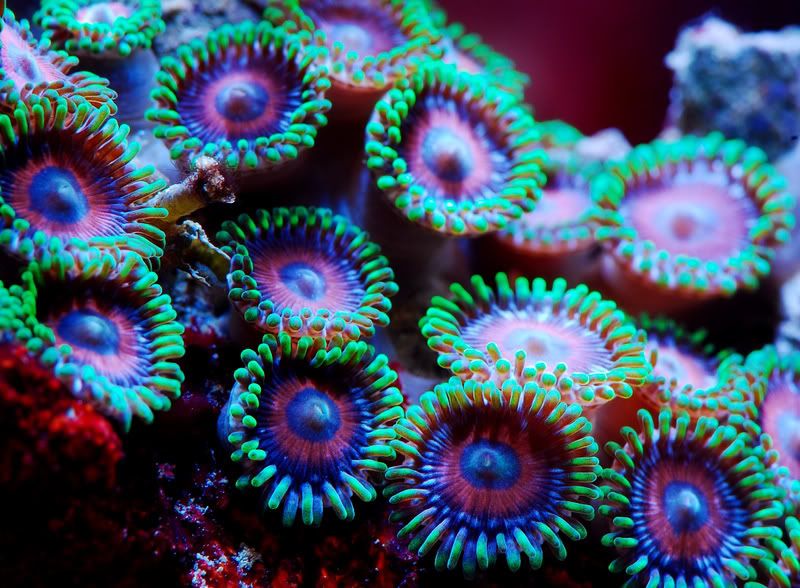
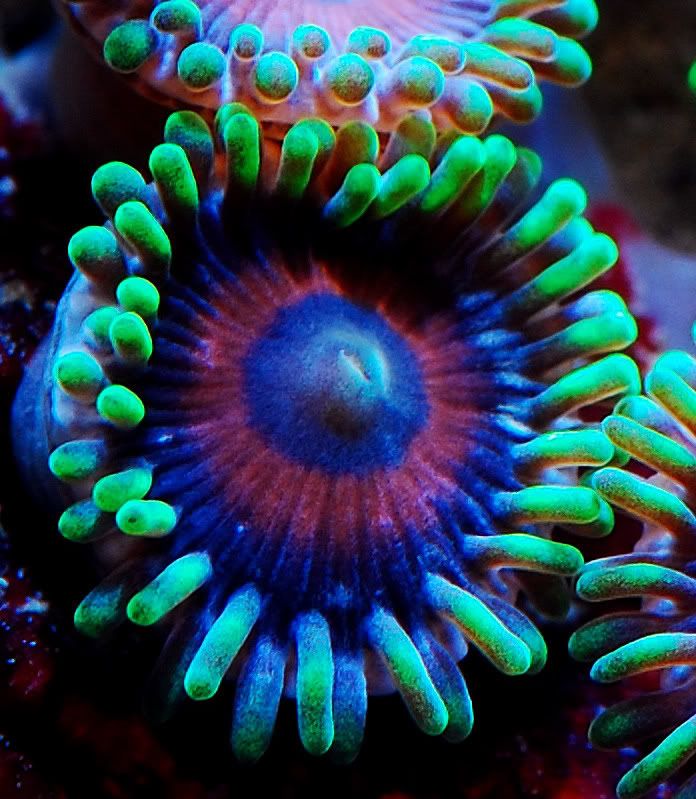
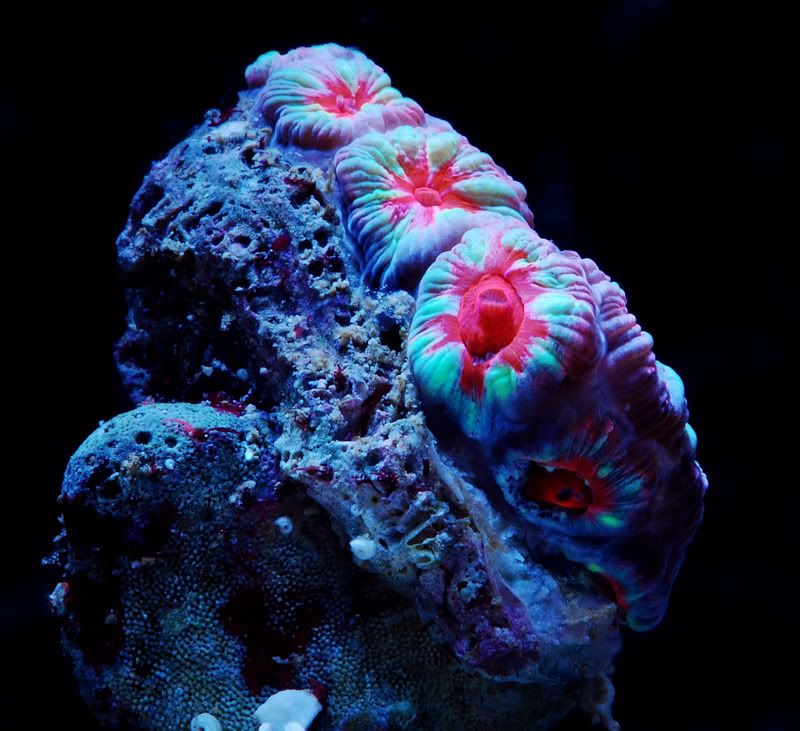
Took me while to figure out the settings as I thought that I could just point and shoot, farthest thing from the truth......macro mode on the camera is OK, but you'll never capture good images.Best thing to do is go to "A" mode, use MANUAL focus as the autofocus is junk for aquarium photography
My simple rules that I use are:
1) Use a tripod < this is an absolute MUST
2) Use a remote control for the shutter or use the timer button. this is critical for good quality macro images, sounds kinda trivial, but just the slightest vibration of your finger pressing the shutter release will cause quality issues... I can't stress this enough
3) Clean the aquarium glass on the INSIDE of the tank prior to taking pics, even though you can't see it, there is an invisible film of algae on the inside of the tank that will cause focus problem, then clean the outside of the glass. I actually clean the glass several times during shots.
4) Use MANUAL focus! if the images still are not crisp, consider having yours eyes checked, the lens will compensate for vision issues and the images will be fuzzy. I have my vision checked about every 6 months and I can tell when I need an new RX when the images just don't come out crisp
5) Use "A" Mode not macro!
6) Press the bottom left hand button once (looks like a nagnifying glass) and it will bring up a screen, then use the thumb dial to change the fstop up or down. The higher the fstop the more depth of field you will have, the lower the fstop (9 or 10) the more focused the the center image will be, but background will be fuzzy. Now, here is where it gets complicated, the higer the fstop, the smaller the shutter opening ( better depth of field) the longer the camera shutter will be open so this is where the tripod and remote shutter come into play as the camera takes much longer to take the photo, just the slightest vibration will cause focus issues.
7) Turn all the pumps and fans off as just the slighest amount of water movement will cause the polyps to move around and when your camera is taking a while to take the image just a slight movement will cause the image to be out of focus
The 18-55mm lens is OK to use, you'll have decent images but not the best as the optics on the lens are not the best that's why it's called a cheap lens and why the cost of the D40 kit is around $500. When you upgrade your lens you'll find that the Macro lens cost more than the camer body. I use the 105mm Nacro VR lens for 95% of my shots (cost about $700)
Best thing to do is focus the camer on a single polyp that is in focus, then dial the fstop down to the 4 range, take a pic, then DON"T CHANGE ANYTHING OR MOVE THE CAMERA. Then press the bottom right buttom and dial the fstop up 1 step, take a pic, then repeat the process untill you at f40 or so. Then download all the pics and pay attention to what each fstop change made in respect to the image. you'll see changes in depth of field focus, the brightness of the image, shifts in color and from there you'll develope a sense of what settings will work with your setup. I hope this helps
