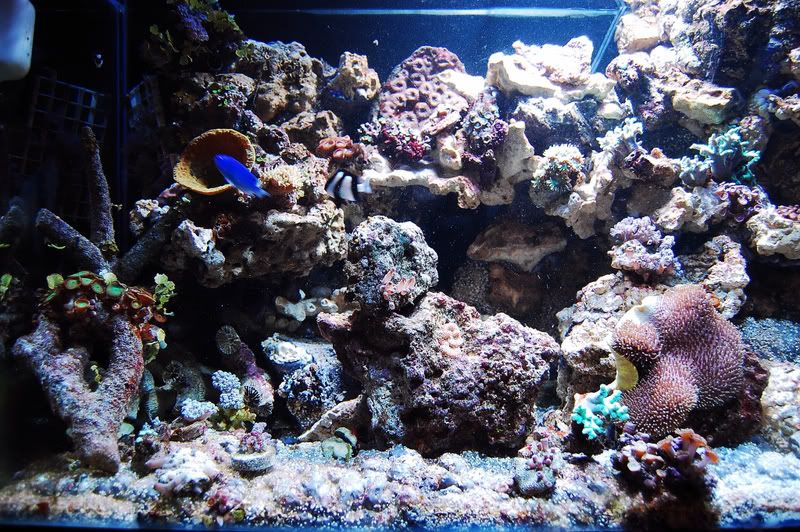
Nikon camera settings and detailed user guide

maxalmon

Active Member
I'm going to create a user guide for Nikon DSLR camera people, It'll get a little detailed as I'm going to share a lot of the little tricks of the trade to capture good quality images. Even if you don't have a DSLR, you can still use a lot of the information to capture good images.
For those of you who have Nikon's, which model do you have?
What Lens are you using?
 

maxalmon

Active Member
I'm going to break this thread down into several sections and post "Before" images, then I'll make corrections to the how the photo was taken and post an "after" image. This will make it much easier to understand how something will affect image quality.
Some parts of this thread will be image intensive as I try and show how the fstop changes the depth of field and I'll need to post 10 photos of the same image to show the gradual change.
I am by no means a pro and I'm still learning, so feel free to correct me if I make an incorrect statement

I'm going to cover the below listed topics, it looks like a lot, but it's very simple to understand, in the end it will all come together in an easy to understand package.
When I first got my camera, I had a fellow reefer come over and show all the the below to me in a single day and it made an incredible difference in how my images look, yet it's very logical and easy to understand
Cleaning the tank glass and camera lens
Using a tripod and various types
Using a remote shutter release -> why it's critical
Using the correct lens and how to use an incorrect lens to capture images
Prepping the tank
Reflection reduction and visual image reduction
Creating a background stage
Staging the tank
Lighting for the shot
Positioning the coral
Pump flow and how it affects image quality
Camera image angle relative to tank glass -> why it's critical
fstop settings
white balance
Exposure compensation
Shooting in "A" mode
Manual vs autofocus
ISO settings
Printing
Not exactly in this order, but very close and I'll probably add some topics as we go along
 

maxalmon

Active Member
Lets start with the basics
Cleaning the tank glass and camera lens

Clean the tank glass on the outside and the INSIDE, I can't stress this enough.
There is a very thin, almost invisible film of algae on the tank walls, even though it's not very visible, it's enough to cause minor focus issues with most autofocus systems, instead of the focus ending on the subject, it ends up focusing on the tank wall. Even if your like me and shoot in manual focus, if you don't clean the glass on the inside it may still cause some visual noise and the images may lack crispness and details.
Right before I take a series of photos, I clean the glass with a mag float and I will continue to clean the glass on the inside of the tank every 15 minutes or so.

You also need to clean the camera lens!!!...Even PAS cameras need the lens cleaned, again this is critical if you want clean, crisp images.

Be very carefull when cleaning lens, most have a anti-reflective coating that can be easily damaged and the lens is ruined if you damage this coating.
Most manufactures make a liquid cleaner. I use the one from Nikon and have very little to no streaking, you also need a CLEAN micro-fiber cloth and some swabs for wiping the lens.
 

spanko

Active Member
I have a new Canon Powershot SD870 IS and want to tag along just to get some tips that may help me. Already got one about cleaning the glass.
 

maxalmon

Active Member
There's a lot of info, most of it can be applied to any type of camera.
When anyone see's reads something that they think may make a difference in their photo's, you should take a pic, then apply the changes you read about and take another pic of the exact same subject and post before/after images.
 

maxalmon

Active Member
Tripods and Remote shutter release
The use of a tripod is critical for any type of macro photography, there is simply no way you can hold your hand steady enough to capture macro details. I would guess that 99% off all my images, even the ones that are not macro are taken with the use of a tripod.
Most people think that all you have to do is open the tripod and slap a camera on top of it, party true, but there are minor issues that can cause the tripod to move or vibrate, this will equate to visual noise or image blur.
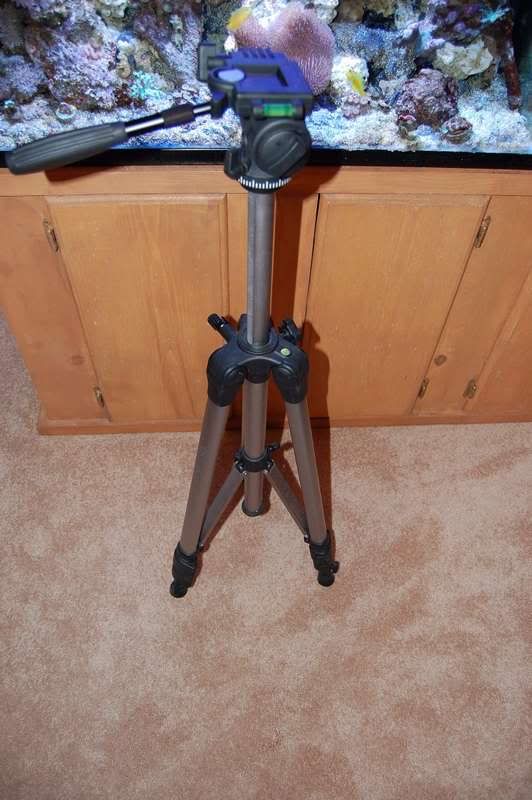
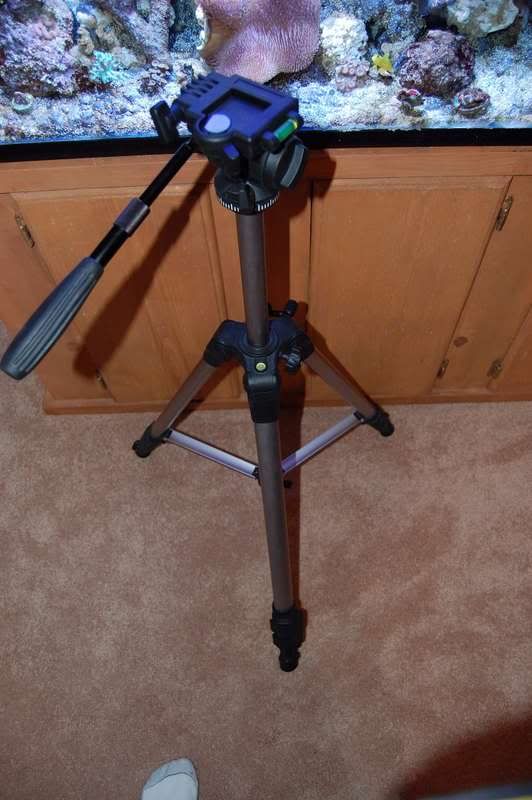
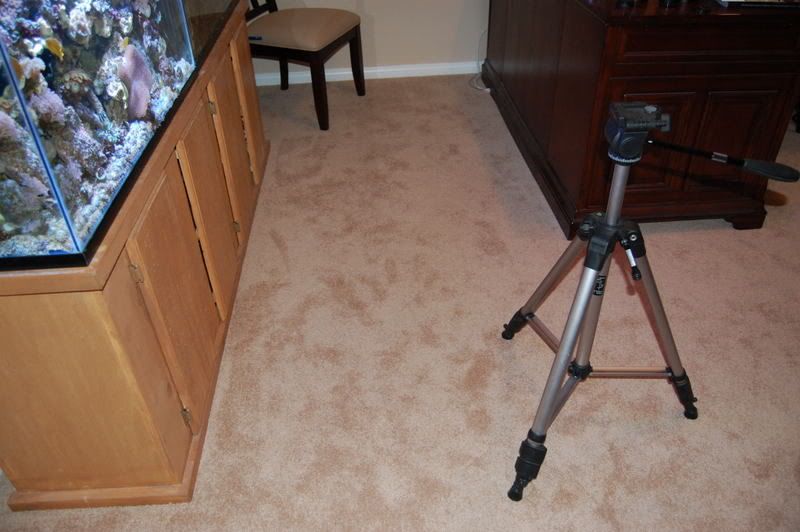
Open the tripod legs so that they are completely open
Bad way to setup the tripod

Good way to setup the tripod

For really exceptional detail, you can also use a "macro slider" (see image) this attaches to your camera and then you attach the assembly to your tripod, it allows you to move the camera horizontal and lateral in ultra fine increments without having to move the tripod. They can usually be found online for around $30.
This is going to sound really weird, but if your tripod is sitting on carpet, don't stand near the tripod when you release the shutter, as your body weight will cause minor movement of the carpet and padding, you can see this if you setup your tripod, stand with your feet close to the legs and shift your weight from one foot to the other, you see your tripod move left and right, even though it's minor, ANY movement while the shutter is open will cause visual noise and image blurr. When I have an image staged and ready to capture, I step about 3 feet away from the tripod and release the shutter.
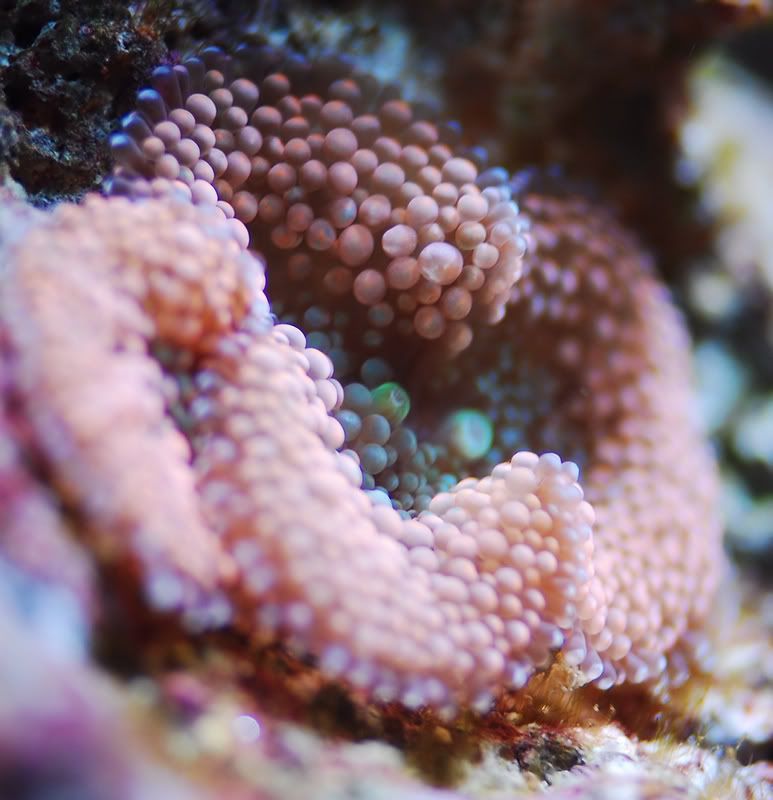
Settings for these 2 ric pics. I'm shooting in "P" mode. Later on you'll see how switching over to "A" mode will allow you to control the depth of field for better detail over the entire image.
JPEG (8-bit) Fine
Image Size: 2155 x 1874
Color
Lens: VR 105mm F/2.8 G
Focal Length: 105mm
Exposure Mode: Programmed Auto*
Metering Mode: Multi-Pattern
1/15 sec - F/3.8
Exposure Comp.: 0 EV
Note the < exposure compensation is at "0" we will come back to this later and it's a small and easy way to improve images with a minor camera adjustment
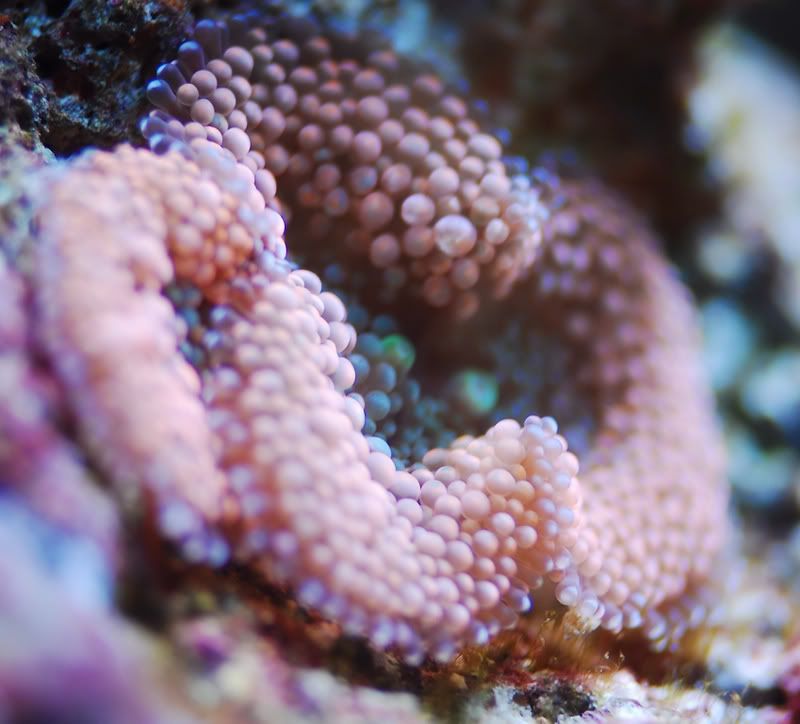
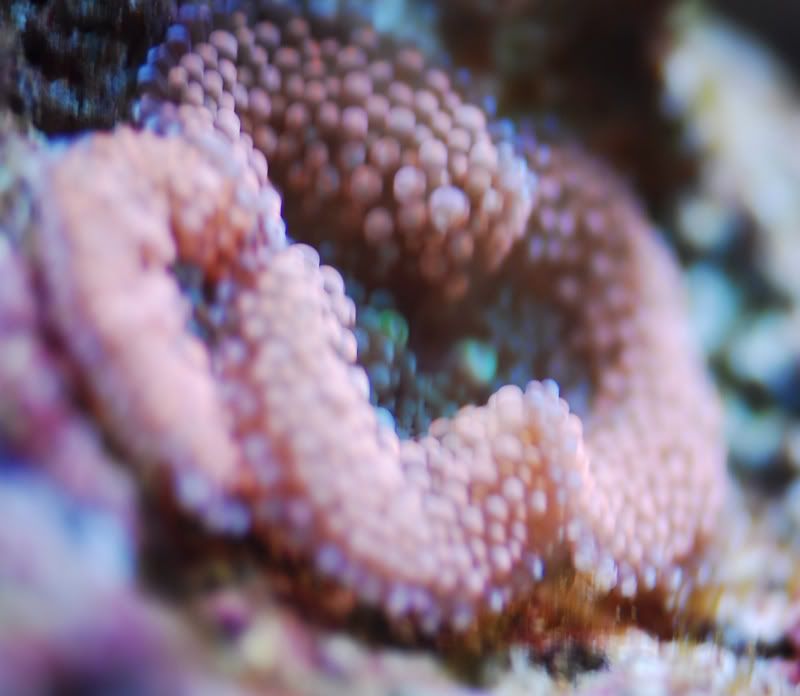
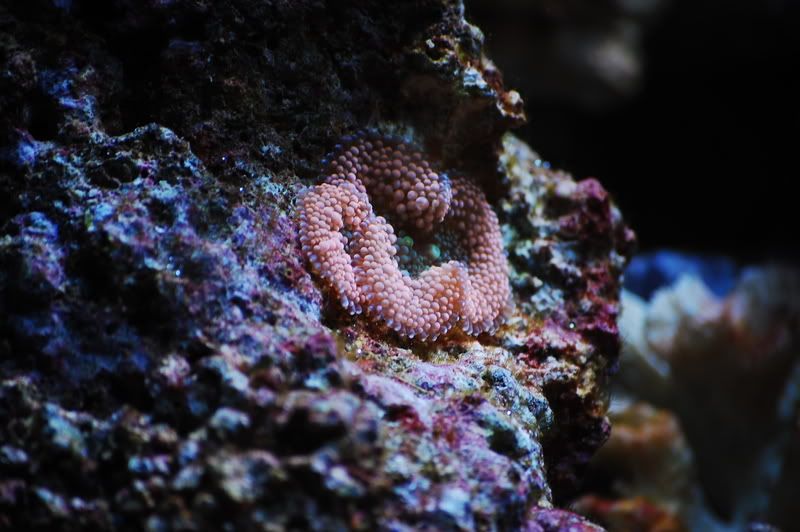
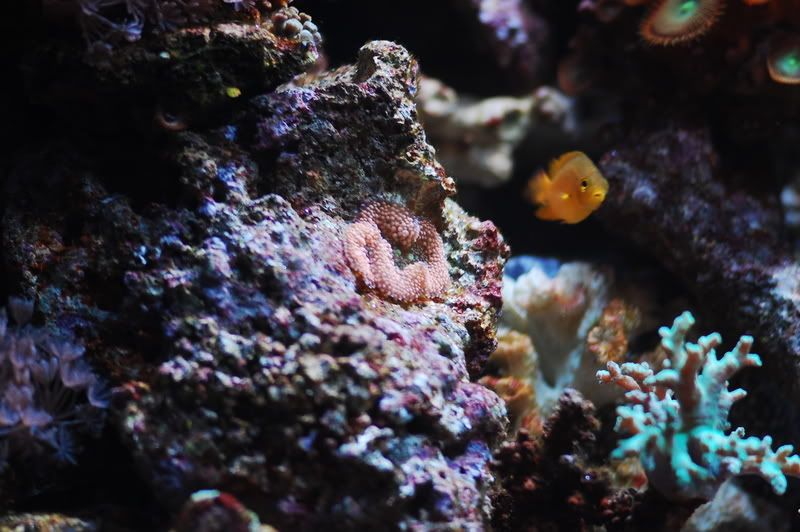
Here are 2 images using the exact settings, lighting, lens etc.. This is not a great image and not up to my standards, I will be using this exact same ric thru this entire series to demonstrate everything...In reality, the rock needs to be shifted to the left, tilted up and centered under the light for the best image. You'll be able to track the quality of this image as I progress with each stage.
This image was captured using the tripod, notice the details in the bottom right of the ric

Here is the same ric, 3 seconds later, but i'm holding the camera, no tripod, notice the minor degradation of details, notice the algae under the ric is now blurry.... This is how the simple use of a tripod makes a major difference in image quality....


maxalmon

Active Member
The last image is the macro slider, you can see the thumb dials to adjust the camera. I'm not using one in this series, as I want to show how the average person can use common equipment to increase the quality of their images.
Tripod setup, normal tripods that come with kits are rather wobbly when you have the neck extended like the one in my image, normally you would want to extend the legs as much as possible to get the camera to the heigth you want and not use the neck up/down adjustment, just makes for a more stable image
The tripod i'm using is heavy duty and I don't have to worry about "neck wobble", but if your using a $20 tripod, i'd extend the legs and not the neck.
I have 4 tripods, the QSX in the above images I use 99% of the time, it's a beast to carry around as it's heavy and large, then I have my smaller, mobile tripod for outdoor work or for when I'l be doing a lot of walking.
 

maxalmon

Active Member
Remote Shutter Release
The only time I manually press the shutter release is if I'm hand holding the camera. Whenever you press the shutter button, no matter how gently you try and press, you will
cause camera vibration or movement. Granted, most people will not notice this in their images, but when your doing highly detailed macro work, you start to notice very small things. The goal is to eliminate all the area's that can cause image problems.
If you don't have a remote control shutter release, just use the timer thats built into the camera. For all these images I will be using the built in timer.
With these images, most people will not notice the differences until it's pointed out.
The 1st image was taken by using the built in timer.
You can see it's just a little bit crisper than the second image, still not a good image, but you do see an improvement in details, all from using the timer thats built into the camera
The 2nd image was taken by manually pressing the shutter release button.
Notice the white part of the center mouth of the ric is just a little bit blurry, same with the lines radiating away from the mouth.

not as crisp, you'll have to look hard to spot the details
 

maxalmon

Active Member
Oh yeah.
I will not be using anytype of photo editing program to improve image quality, I use PictureProject software that came with my nikon, all I do is crop the photos...
 

maxalmon

Active Member
Using a real macro lens and using a lens thats not designed for macro
The great debate, macro lens or no macro lens. If your really, really serious about macro photography you really have no choice but to go with a dedicated macro lens. I'm using a Nikon 105mm VR Macro lens, the lens cost $750 or about $350 more than the camera body. The quality of the optics makes the lens well worth it, but, this is not to say that you can't use the inexpensive 18-55mm lens that comes with most Nikon kits.
The 18-55mm lens is a decent lens, it's a general use lens, optics are ok.
I used this lens for about 3 weeks and was able to capture some really nice images, but looking back, there is a very clear difference in image quality
When I first got my camera, I made the mistake of thinking the Nikon VR 55mm-200mm lens would solve my problems that I was having with the 18-55 lens, so I ordered it only to find out that yeah, the optics were better, I just had to stand 5 feet away from the tank in order to get the blasted thing to focus and then I had to zoom in.....But I made the 55-200mm lens work for a few weeks and even though I had to squeeze inbetween my washer and dryer because my frag tank was in the laundry room and I had to be about 4 feet away....Point is, you can make just about any lens work, even if you do have to eventually go to the extreme of one day waking up and deciding that your going to drag the washing machine out into the garage because you really need some space to setup a tripod....Totally serious.
So I went from a 18-55mm lens that came with my camera kit
Then got a 55-200mm VR lens thinking that because somebody had told me I needed to get a 105mm macro lens, my thinking was hum, 55----105---200 so the lens would work...LOL
All the below images were taken from the same distance, 48" from the tank.
I had to remove the camera inorder to take the pic...

The 18-55 and 55-200 were zoomed in all the way...105mm has no zoom, as it's a fixed focal.
18-55mm lens at a distance of 48" it's an ok image, not much you can do with it.

55-200mm VR lens at a distance of 48", not a bad image, good details and with a little tweaking and editing, it would be a nice image.

105mm VR Macro at a distance of 48". Notice that the image quality is not that good, even though this is a killer lens, reason is that the 105mm lens is too far away from the subject
 

maxalmon

Active Member
Camera image angle relative to tank glass -> why it's critical
For those of you with big acrylic tanks, your going to have a very difficult time doing macro work, due to the thickness and optics of acrylic, it's just the way it is, I may be wrong.
My 215 starphire tank is really hard to capture images due to the thickness of the glass, I tried and tried. Anyone have any ideas?
The best images so far for me have been taken thru thin glassed, cheap aquariums, like the 40g I'm using for this project.
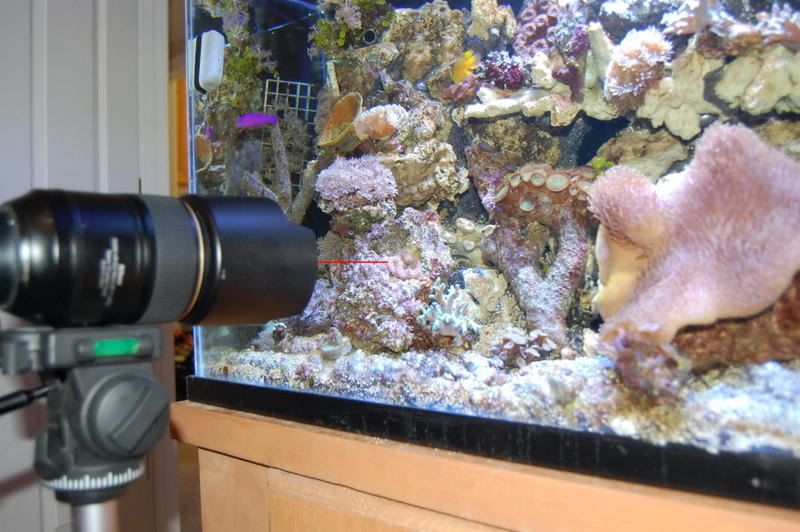
One of the biggest mistakes people make is trying to shoot down or at an angle inside of a tank, due to the thickness of the tank glass, this downward angle will cause focus issues, think of it like a prizm as show by "A" in the below images
"B" is the correct way to shoot thru glass when doing macro tank work, less distortion and aberration. You'll notice that all my images look like they are at "eye level" thats because I shoot directly at the image, not down or up.
This makes a huge difference in image quality

This image show how my lens is level with the subject (this one is a little crooked as I had to lay the lens ontop of the tripod, but you get the idea)


maxalmon

Active Member
Reflection reduction and visual image reduction

Turn your flash off! causes more glare and color washout than can be fixed.
Close any blinds or block off any windows that are in front of the tank, reflections of sunlight on the tank cause visual noise and are distracting.
Sometimes I'll setup 2 chairs directly behind my tripod and drape a dark sheet across it, this eliminates almost 100% of any images appearing on the glass. Think of it like this, how many times have you seen images of somebodys tank, only to see a image of the person holding a camera reflected off the tank glass
Use a UV or daylight filter on your lens! You should have some type of filter over your lens to begin with, it's partly to eliminate something scratching your lens, rather waste a $40 filter than replace a $750 lens
 

maxalmon

Active Member
Pump flow and how it affects image quality
I have all my pumps on a power strip so that I can turn just the pumps off. It's important that the water has no movement when shooting soft, fleshy type corals as just the slightest movement will cause image blur.
Before I do a series of images, I plan ahead for what images I want to capture so that I can do the photography in a short period of time and get the pumps turned back on. Most of the time I spend about half an hour with the pumps off
 

maxalmon

Active Member
Staging the tank
This is a fairly simple procedure, I keep what I call the "sweet spot" in my tank free of any background items, back wall is clean of coraline algae, rock outcrops, misc algae etc... I just want a clean, black background so that the coral colors pop, this area is not very big, maybe 4" around and I've arranged the LR so that I have a flat area to place the corals. I also have another area that has a live rock background, I do this so that I have a choice of backgrounds depending on the corals and what will make the image look the best
This area is also almost directly under the MH's and slightly to the left, it's about mid water level and about 14" away from the lights, any closer and the lighting is just too bright and tends to washout the colors.
Sometimes I stage the corals the night before as they tend to close up and it takes them to expand. Sometimes it will take half a day to arrange a shot, fish, crabs etc will sometimes knock things over and then you have to start the waiting game again.
I also will move my light fixture back and forth to change the light pattern on the corals, this can make a huge difference. Usually the best lighting is when the light footprint is infront of the coral.
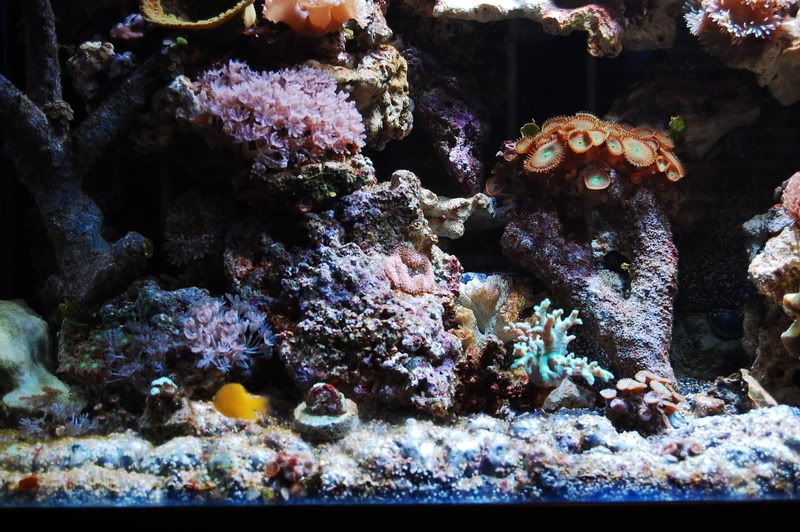
This is the staging area, right now there is a piece of tonga branch with some
paly's. I posted images of this photo shoot in my "New Macro's thread, so you can see the black area is really small

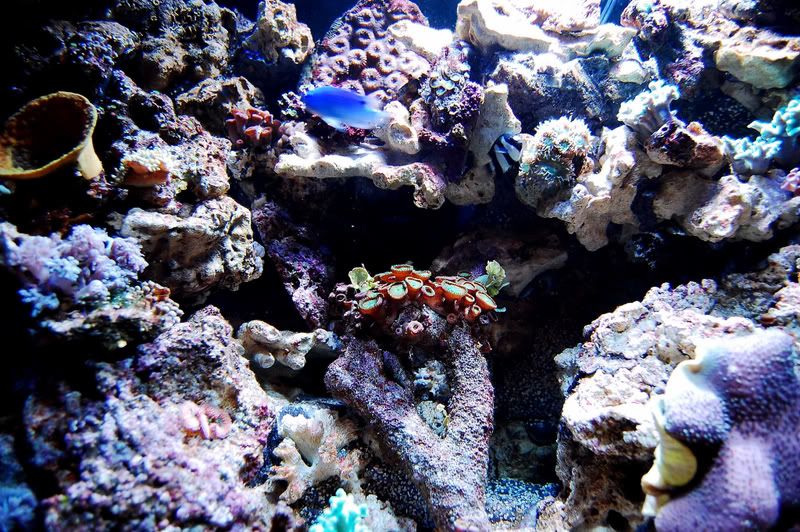
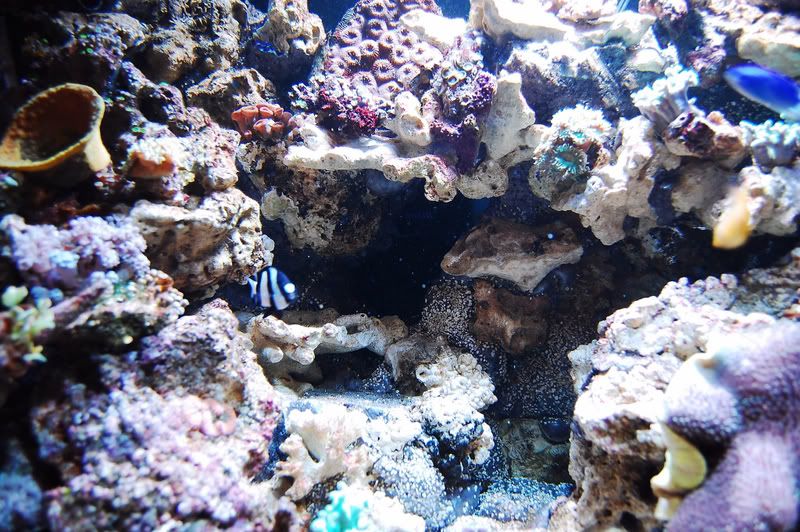
Now it's time to rearrange the area, clean all the props rocks and get it ready for the next shot's. The tonga is gone and you can see the flat area.

Sometimes I have to use a small rounded rock on the flat area inorder to create the right "look" or to cover a blank area. There are also several corals in this image that I'll be moving to other areas. The ORA Duncans in the upper right side, will be moved to the left upper side so that they are farther away from the lights, I tried to shoot them on the right side, but the lighting was too bright.
You can also see in the bottom left side, the large rock that has the ric, I've been using in this series, part of the problem of where it's at is that the ric is tilted away from me at a 45 degree angle, this creates depth of field problems, so i'll have to postition the rock so that the rick is flat, facing me.

Now I've got the rock in just about the correct spot, I'll have to do a series of test shots to see if the depth of field is good and make adjustment accordingly.

Once I got the rick rock positioned, I noticed that there was a nice, flat shelf on top of the rock and decided to place another rock on top that has some awesome green and orange cloves....LOL then I found that, that rock had an nice area for some zoa's on top of it, so now I've got 3 rocks stacked on top of each other...

Now I've got the ORA Duncans, moved over and will have to wait for them to open up, they are usually really slow...
 

maxalmon

Active Member
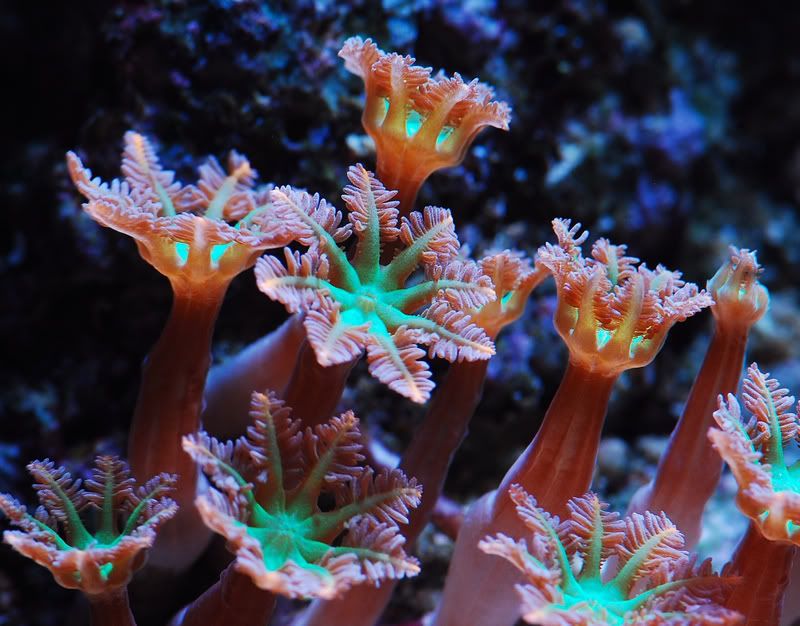
Here's a little teaser photo of what you can accomplish, these are the hardest corals I have ever tried to photograph, the green is neon and the orange is a bright, almost metalic orange...Because the grow in all different directions, it's really hard to capture details on all the polyps due to depth of field issues...A longer exposure will give better depth, but the longer the shutter is open the more things move around and then you get image blurr.
No photoshoping, just cropped...
 

maxalmon

Active Member
Today I'm going to go over basic camera settings and how to "Bracket Shoot" to demonstrate fstop and depth of field....Sorry if it's a little detailed, but I get questions on how I stag my shots all the time and it's not a simple answer.
 

maxalmon

Active Member
Seriously, I will try and cover the basics of fstop and shutter speeds today, then I hope to post several series of photo shots where I'll start will a subject, then explain how or why i'm moving it in my tank and then snap a few pics and then explain the adjustments I'm making to the camera and post the results.
I'm hoping this is helpfull to everyone, this is how macro photography was shown to me and it made very logical sense to me....
 
Top