novahobbies
Well-Known Member
I've been threatening to do it for months now. I've posted little hints and drawings. This weekend the re-build project has finally started!
...and it's gonna be a long, slow build, because limited funds are being used for so many house projects!
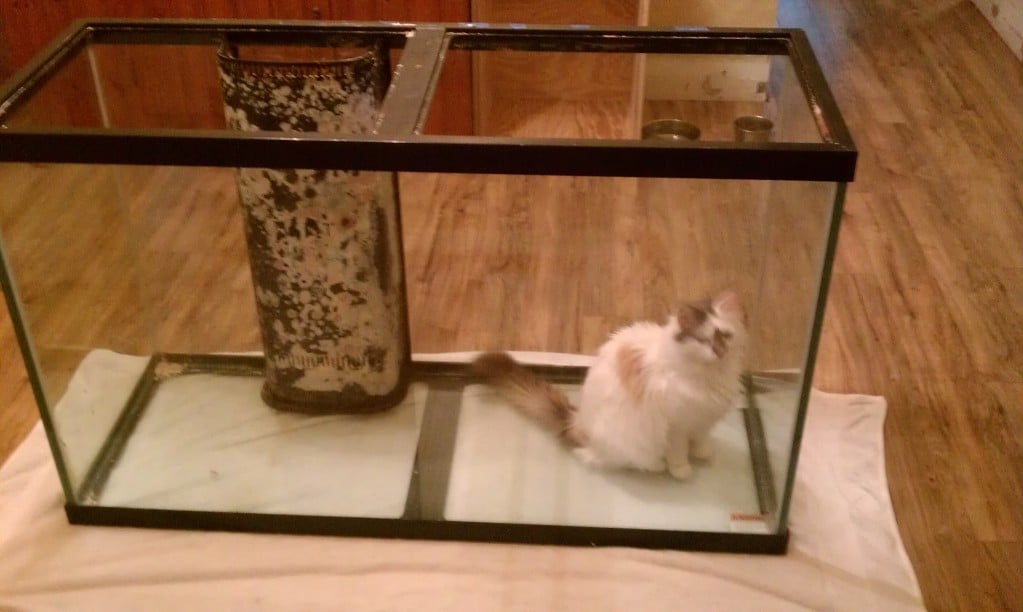
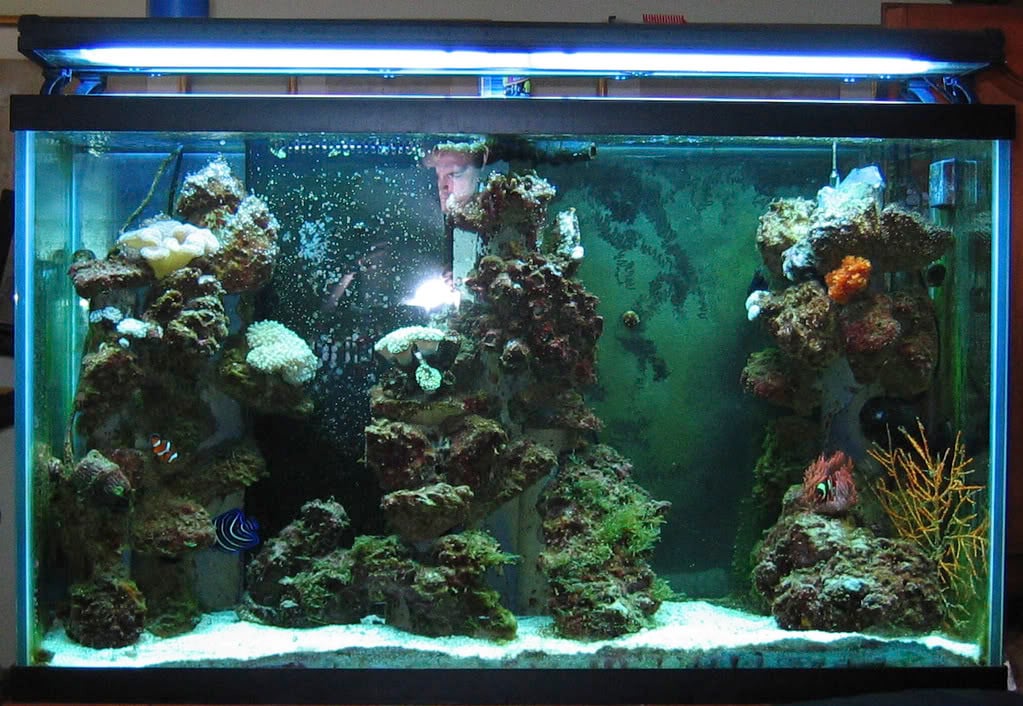
First, a little backstory. This is the second time this tank will be running. We broke it down and sold all the livestock in early 2011 because we had NO idea where we were ending up and even if we could keep a tank this size. Here's an old pic from sometime in 2009 or 2010:
Fastforward to September 2011, when we finally got into the new house. Plans were formed and abandoned, fights were started and resolved, and an agreement was reached - the 110g tank was greenlighted for re-assembly! As soon as I'd finished the wood floors in the house.
Meanwhile, I started sketching out the ideas for the tank. I don't have a lot of room under the stand for anything more than the sump, so I wanted to make something that had extra enclosed storage space next to the stand so I could plumb an ATO or other items between them. I also wanted to add some more bookshelf space to hide some of the tank sides (the areas where the powerheads are hidden) and...well, 'cause I have a lotta books.
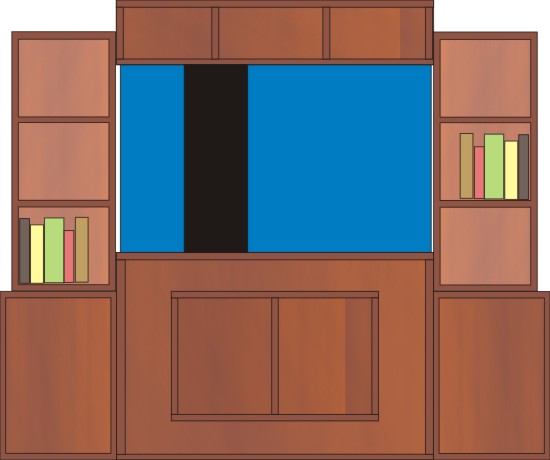
The base stand is a normal 48x18x32" unit. The side cabinets are each 18"wide, 26" tall, and 16" deep. The bookshelves will sit on top of the cabinets and have space for 12x12 inch book cubbys. They are 14 inches deep, but since they go all the way against the wall (the tank doesn't) they will only cover 10 inches of the tank sides...just enough to hide powerheads, but still leave viewing room on the side.
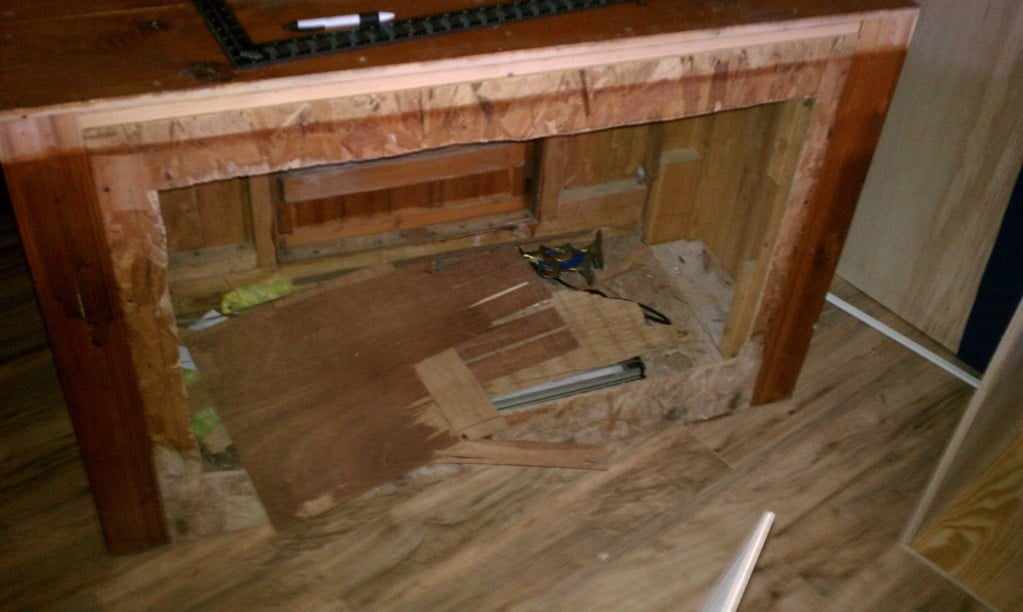
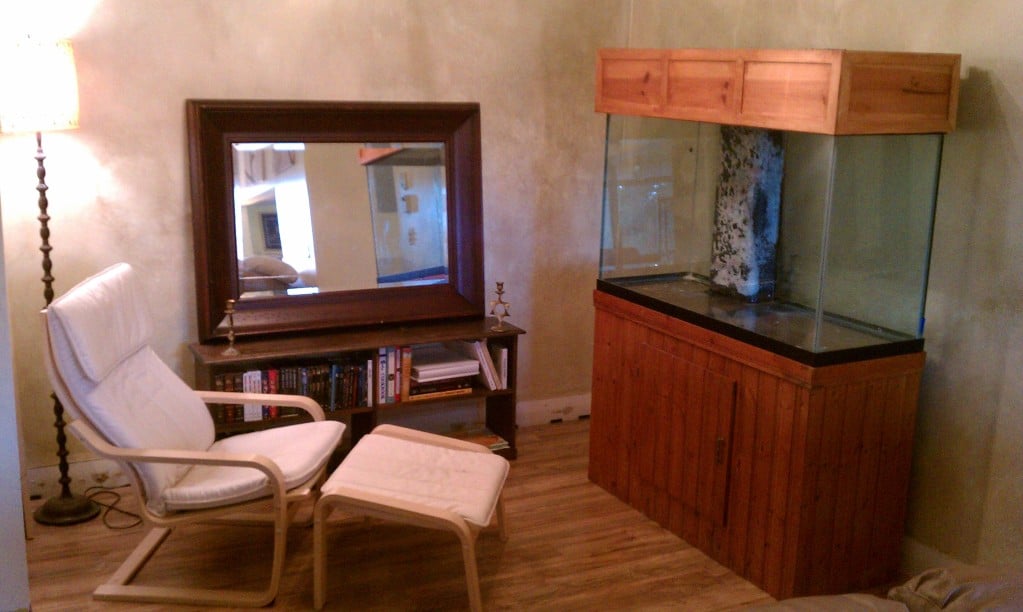
The flooring has been done, and the room has been looking like this for the past couple months:
Up until now, this has just been a lot of talk and computer planning. I finally got started on the actual build today. 1 sheet of cabinet-grade birch 3/4 inch plywood, one sheet of standard framing plywood for the cabinet bases and backs, and a few hours later I wound up here:
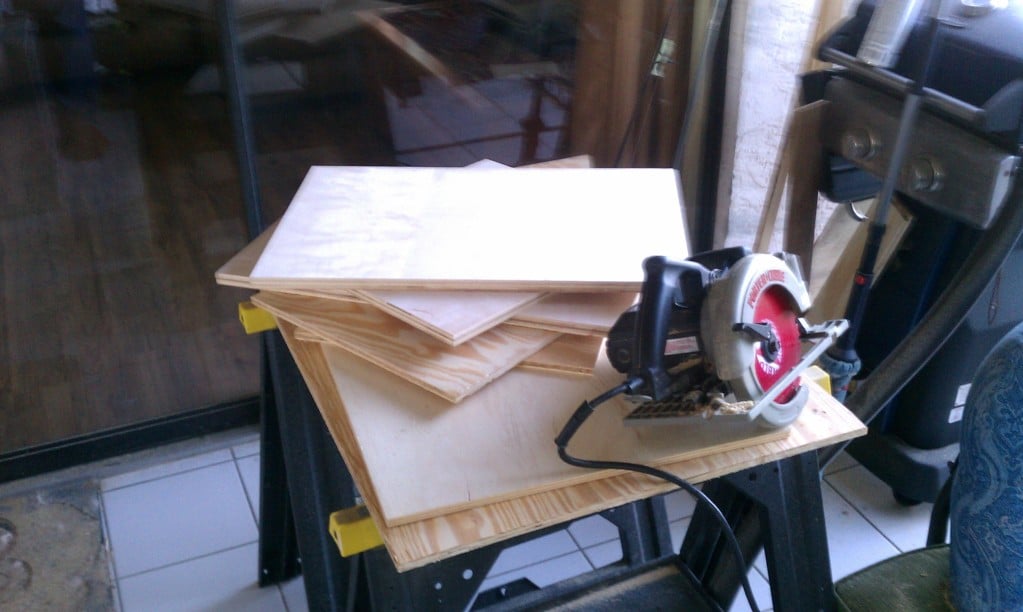
Well, OK, that's obviously not all the lumber..that's just the pieces stacked for one of the two base cabinets. But you get the idea. Besides the cabinets, the base plate that everything will sit on was cut from the framing plywood sheet. That's a hair over 7 feet long by 2 feet deep, and I decided to put this all on a long base plate like this because I live on the second floor and this will help spread the weight of the tank. Yes, I am putting the tank perpendicular to the floor joists. This is just an extra safety measure.
First cabinet box done.....

....followed by an immediate examination from the cat. You can see in this picture the cheaper framing plywood I used for the bottom and back. The cabinet insides are getting sealed with white paint, so I didn't need to worry about these pieces. All the outside will be stained in the Bombay Mahogany...you can see a sample of it in the picture above.
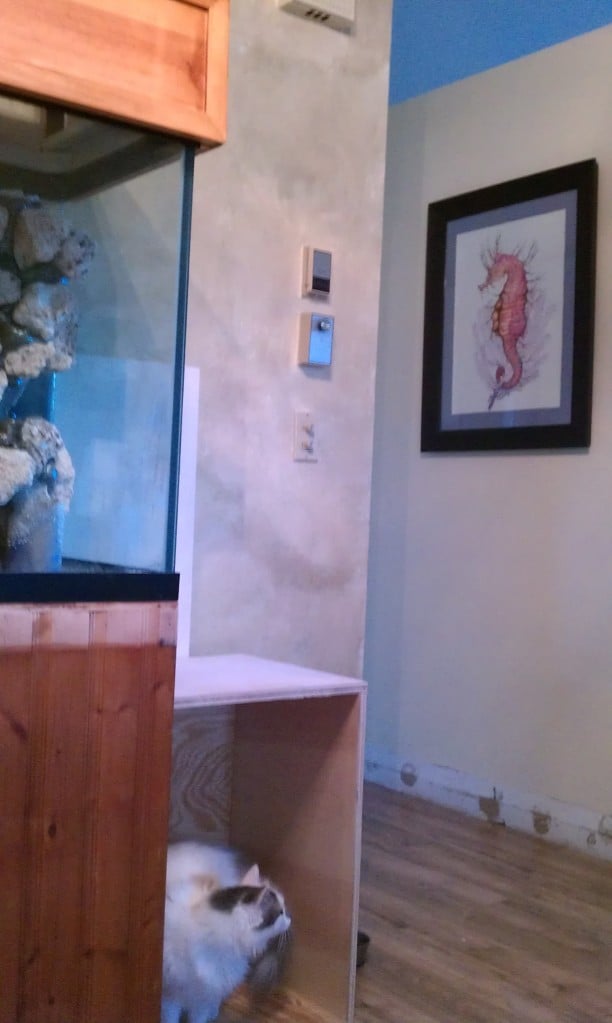
You can also see where I moved the seahorse painting. This is part of the view from my chair here, so it's not that bad a location.
Second cabinet box done:
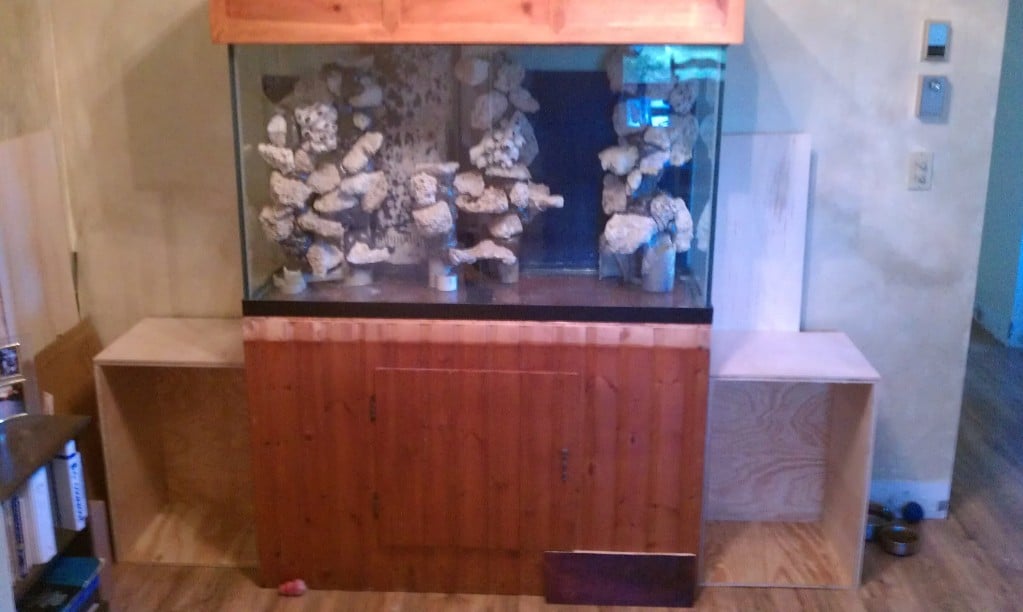
And that's pretty much it for this weekend. I already removed the molding strips from the existing stand, and I will get started re-skinning it sometime this week or coming weekend. Obviously the doors will be added to the cabinets as well, and I need to decide what kind of molding to use for the stand so I can match it in the cabinets. I'm thinking something simple and plain....nothing to draw the eye too far from the tank itself.
Here's the aquarium nook as it stands tonight (notice the mirror finally got hung!):
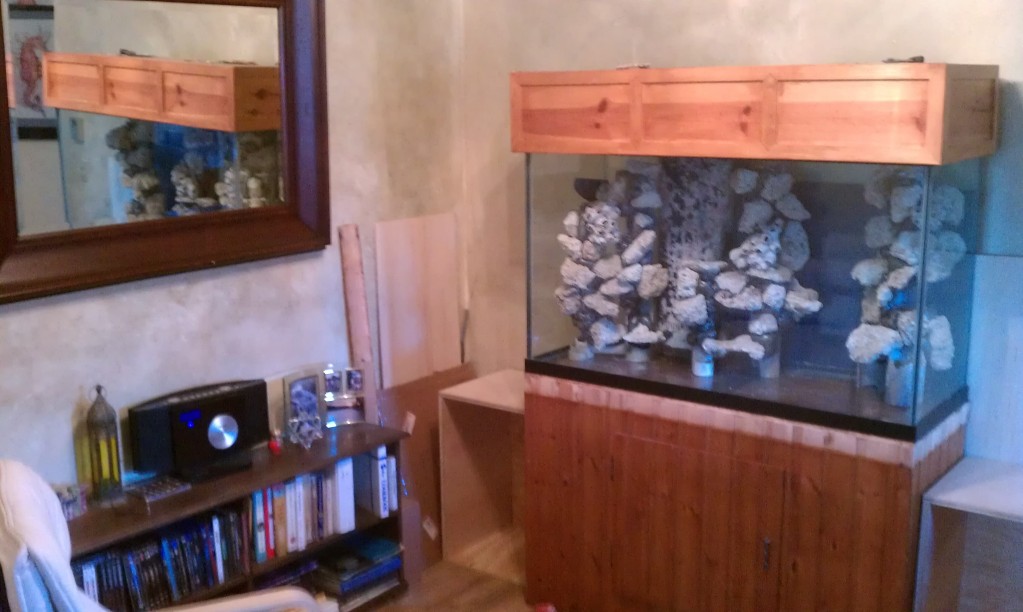
Now, can I ask if anyone here has had experience staining over an existing finish?? I don't want to re-build my canopy, but it's already stained as you can see. If I have to strip it, is there a stain stripper that anyone can recommend? The deep mahogany of the test piece was achieved using 2 coats..I was HOPING to get away with just applying one coat of stain to the canopy and seeing if the two would match that way, but I don't know if I'm going to get that lucky. I could definitely use some advice there!
...and it's gonna be a long, slow build, because limited funds are being used for so many house projects!
First, a little backstory. This is the second time this tank will be running. We broke it down and sold all the livestock in early 2011 because we had NO idea where we were ending up and even if we could keep a tank this size. Here's an old pic from sometime in 2009 or 2010:

Fastforward to September 2011, when we finally got into the new house. Plans were formed and abandoned, fights were started and resolved, and an agreement was reached - the 110g tank was greenlighted for re-assembly! As soon as I'd finished the wood floors in the house.
Meanwhile, I started sketching out the ideas for the tank. I don't have a lot of room under the stand for anything more than the sump, so I wanted to make something that had extra enclosed storage space next to the stand so I could plumb an ATO or other items between them. I also wanted to add some more bookshelf space to hide some of the tank sides (the areas where the powerheads are hidden) and...well, 'cause I have a lotta books.

The base stand is a normal 48x18x32" unit. The side cabinets are each 18"wide, 26" tall, and 16" deep. The bookshelves will sit on top of the cabinets and have space for 12x12 inch book cubbys. They are 14 inches deep, but since they go all the way against the wall (the tank doesn't) they will only cover 10 inches of the tank sides...just enough to hide powerheads, but still leave viewing room on the side.
The flooring has been done, and the room has been looking like this for the past couple months:

Up until now, this has just been a lot of talk and computer planning. I finally got started on the actual build today. 1 sheet of cabinet-grade birch 3/4 inch plywood, one sheet of standard framing plywood for the cabinet bases and backs, and a few hours later I wound up here:

Well, OK, that's obviously not all the lumber..that's just the pieces stacked for one of the two base cabinets. But you get the idea. Besides the cabinets, the base plate that everything will sit on was cut from the framing plywood sheet. That's a hair over 7 feet long by 2 feet deep, and I decided to put this all on a long base plate like this because I live on the second floor and this will help spread the weight of the tank. Yes, I am putting the tank perpendicular to the floor joists. This is just an extra safety measure.
First cabinet box done.....

....followed by an immediate examination from the cat. You can see in this picture the cheaper framing plywood I used for the bottom and back. The cabinet insides are getting sealed with white paint, so I didn't need to worry about these pieces. All the outside will be stained in the Bombay Mahogany...you can see a sample of it in the picture above.

You can also see where I moved the seahorse painting. This is part of the view from my chair here, so it's not that bad a location.
Second cabinet box done:

And that's pretty much it for this weekend. I already removed the molding strips from the existing stand, and I will get started re-skinning it sometime this week or coming weekend. Obviously the doors will be added to the cabinets as well, and I need to decide what kind of molding to use for the stand so I can match it in the cabinets. I'm thinking something simple and plain....nothing to draw the eye too far from the tank itself.
Here's the aquarium nook as it stands tonight (notice the mirror finally got hung!):

Now, can I ask if anyone here has had experience staining over an existing finish?? I don't want to re-build my canopy, but it's already stained as you can see. If I have to strip it, is there a stain stripper that anyone can recommend? The deep mahogany of the test piece was achieved using 2 coats..I was HOPING to get away with just applying one coat of stain to the canopy and seeing if the two would match that way, but I don't know if I'm going to get that lucky. I could definitely use some advice there!

