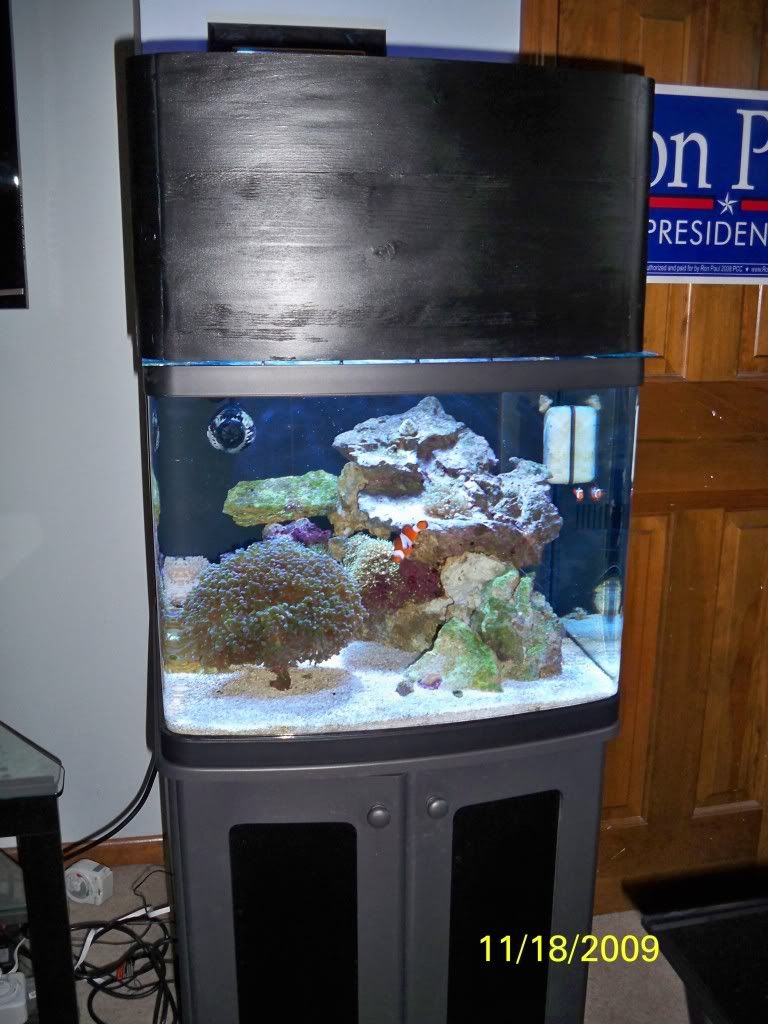
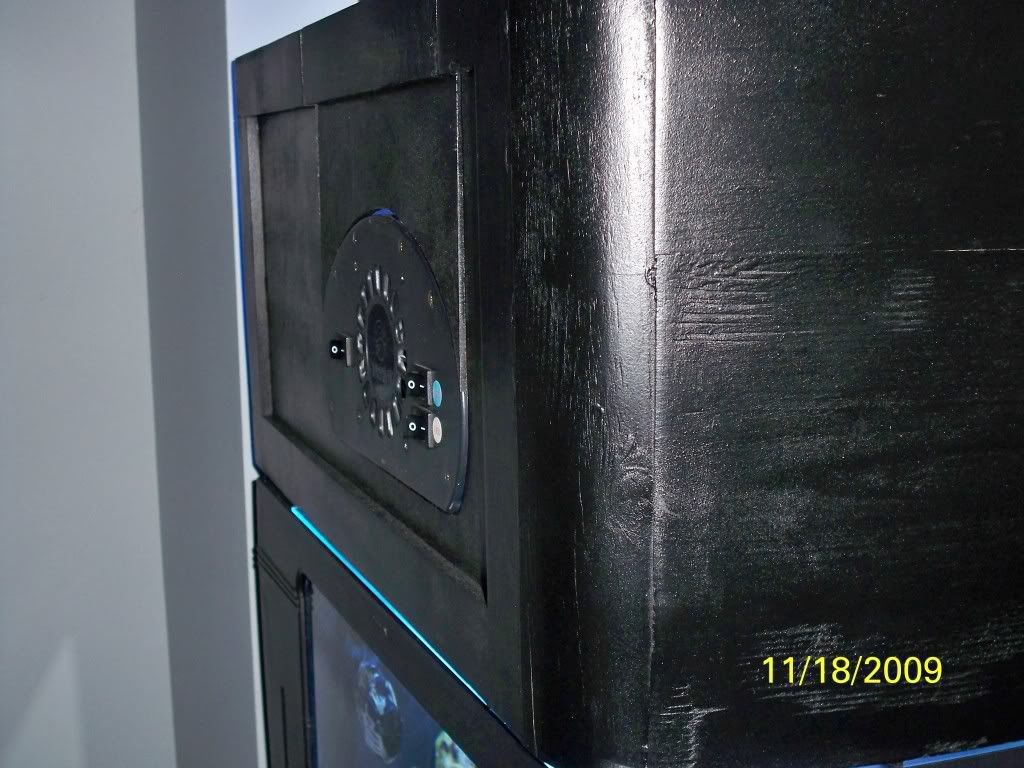
WIP: Custom 29g Biocube canopy

cocoacf

Member
I upgraded to HQI lighting, and don't like the unclean look of having lights exposed from no canopy. So I decided to create a pine canopy in woodshop.

Because I have the 29g BC stand, and the top of it doesn't come over the bottom edge of the tank, I'm going to make the canopy sit on top and flush with black rim rather than over it. The canopy is going to be topless, doorless, and back less. Hopefully the toplessbackless design will help solve heat issues. Also, the 150 watt sunpod is just going to slide down into the canopy and sit on the sides of the canopy, with tops that slide over the top of the light.. Hard to explain but you guys will know what I'm talking about once it's finished.
Here are a few pictures :
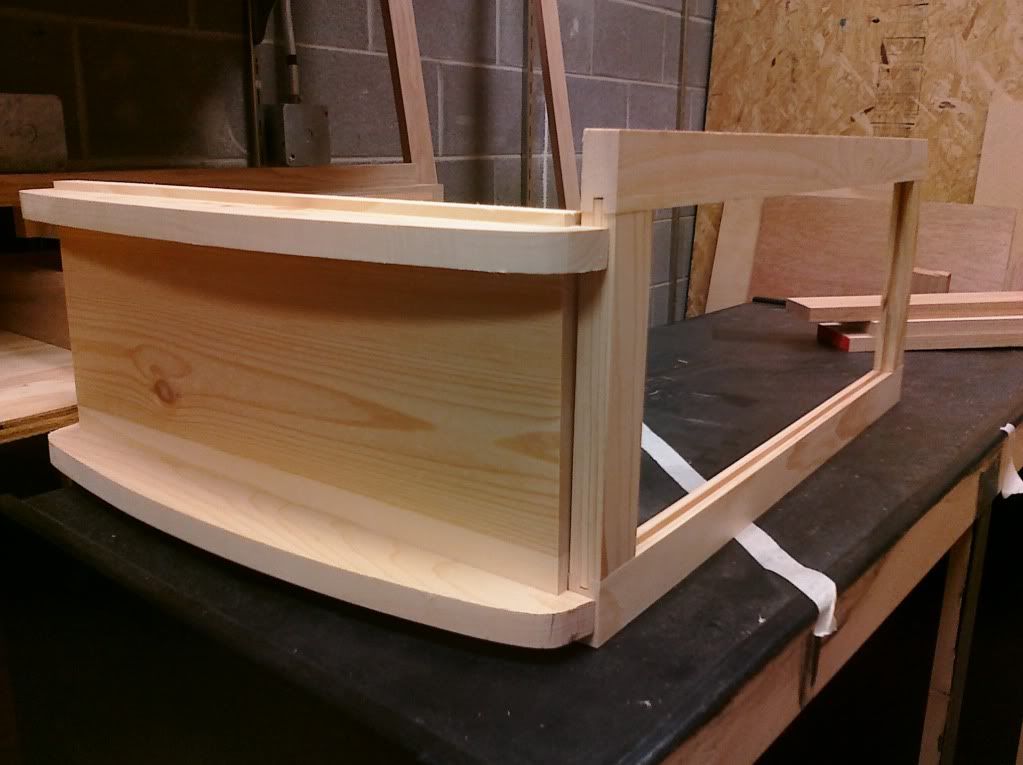
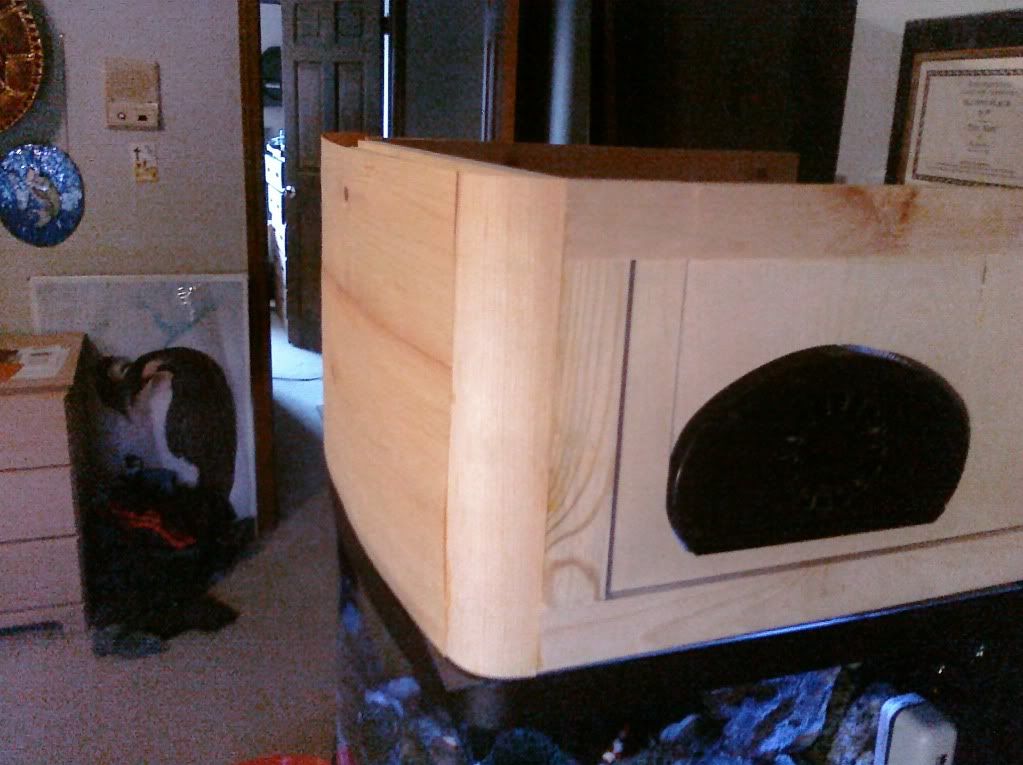
This is the front support, I'm either going to attach plywood or veneers over the curve supports to give it the curve of the BC.
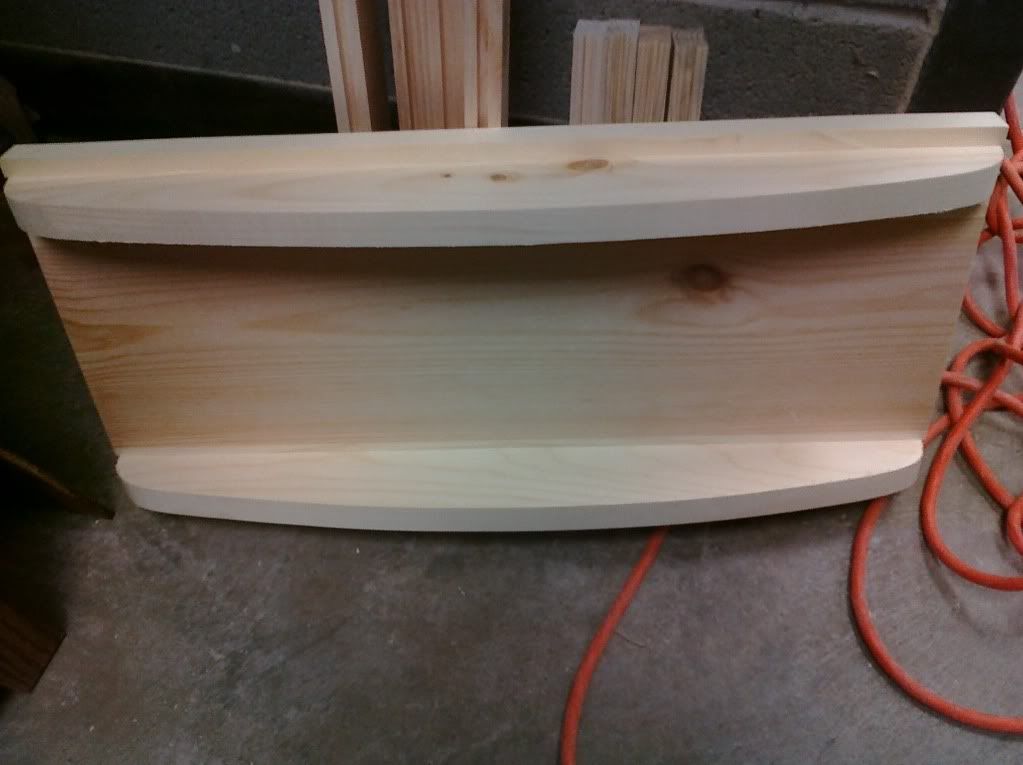
Here are the start to the rails that will make [board and panel] sides.
 

cocoacf

Member
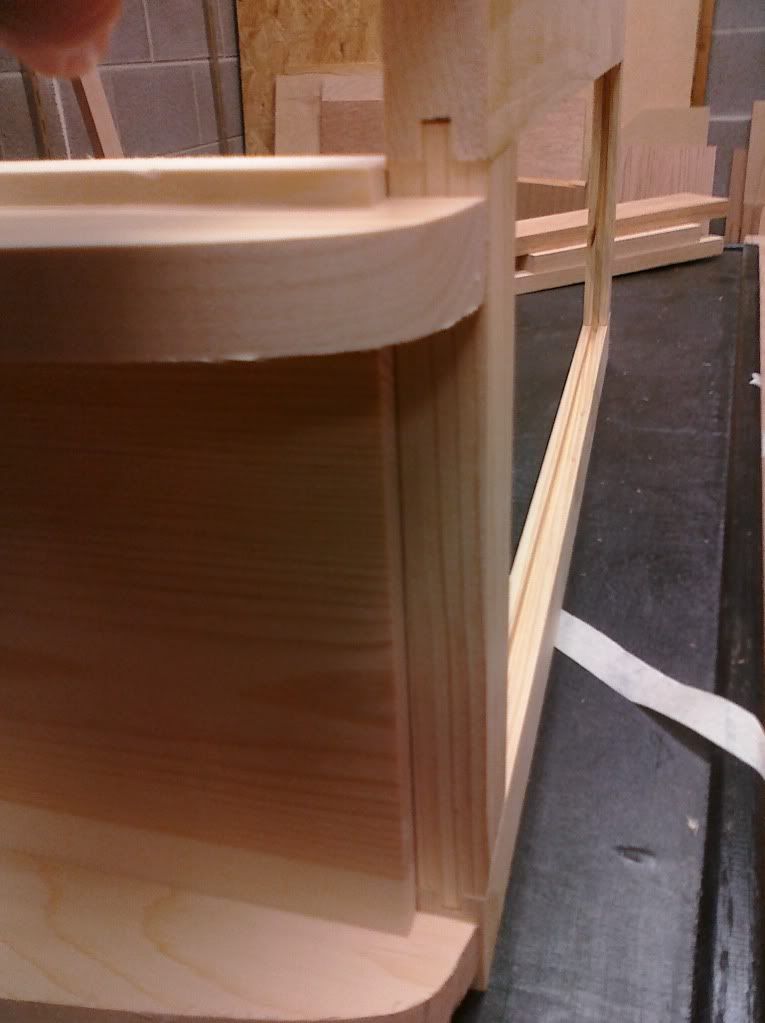
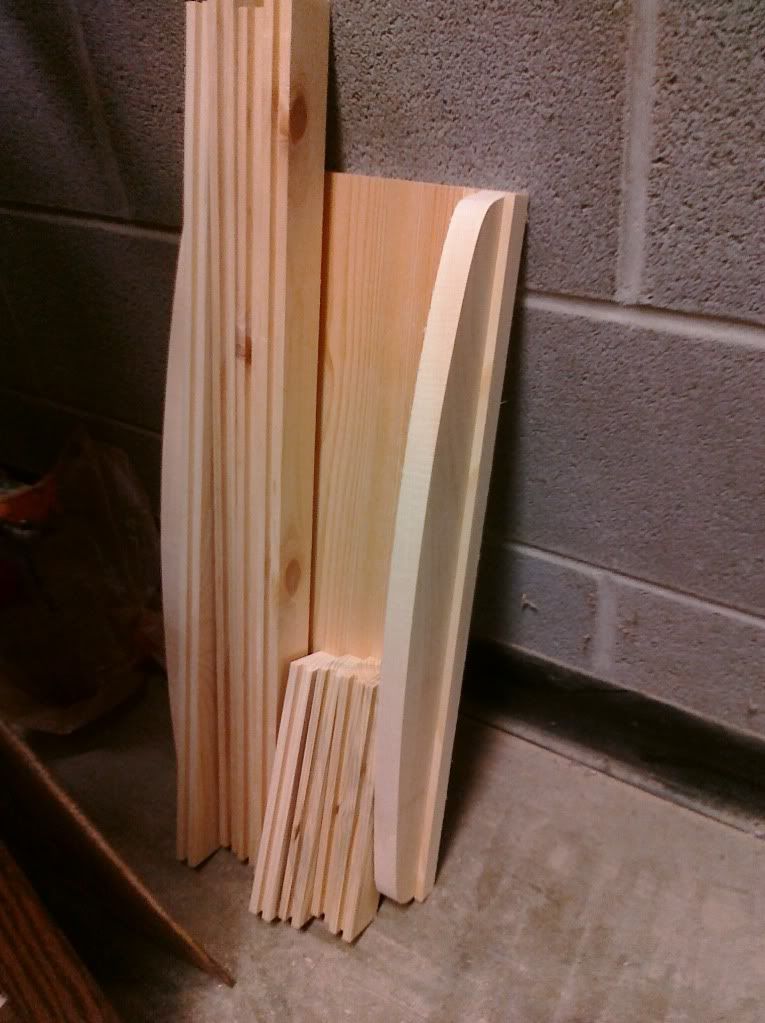
The side is obviously too long in this picture, but I just assembled them without plywood for the picture, and to make sure the mortisetenons fit together. I will cut the size to length tomorrow probably.

Here you can see I cut the front brace 34" short on each side so the sides will match up with it, and the curve supports for the front will be a little under flush with the sides. Then I plan to put veneer over the curve supports that will be flush with the sides..
 

posiden

Active Member
So, those are haunched mortise joints, yes?
It looks really good so far. Keep up the nice work.
 

cocoacf

Member
Originally Posted by Posiden
http:///forum/post/3177176
So, those are haunched mortise joints, yes?
It looks really good so far. Keep up the nice work.

Yup. There's gonna be plywood in the middle of the sides so I cut the 14" mortise grove all the way through the inside of the side rails.
For the front brace and curve supports, I made two 34" dado cuts through the front brace, and will glue/clamp the curve supports into each grove.
 
E

eric b 125

Guest
very nice. you got some skill. cant wait to see what this looks like on top of the tank!!!
 

posiden

Active Member
Originally Posted by Cocoacf
http:///forum/post/3177211
Yup. There's gonna be plywood in the middle of the sides so I cut the 14" mortise grove all the way through the inside of the side rails.
For the front brace and curve supports, I made two 34" dado cuts through the front brace, and will glue/clamp the curve supports into each grove.

Nice. It should look really sharp when you get it done.
Will you be staining it or painting it black to match the stand?
What glue are you using? Polyurethane glue like Gorilla or a polymer, something like TightBond II or III.
 

cocoacf

Member
Originally Posted by Posiden
http:///forum/post/3177308
Nice. It should look really sharp when you get it done.
Will you be staining it or painting it black to match the stand?
What glue are you using? Polyurethane glue like Gorilla or a polymer, something like TightBond II or III.
I'm using titebond wood glue, I believe it's titebond II. I find it works best if you clamp the pieces together and let it dry overnight.
The grain looks really good on the wood, I wish I could stain it and let it show through but it wouldn't match the stand so I'm gonna have to paint it black. Does anybody know of some good black stain or paint?
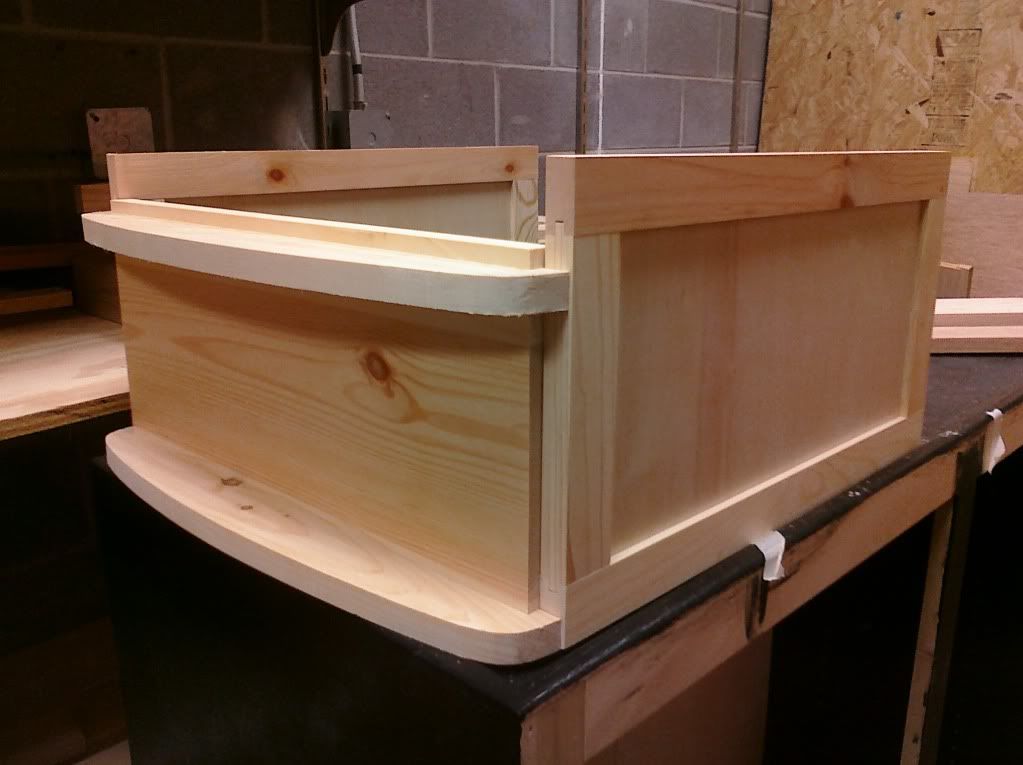
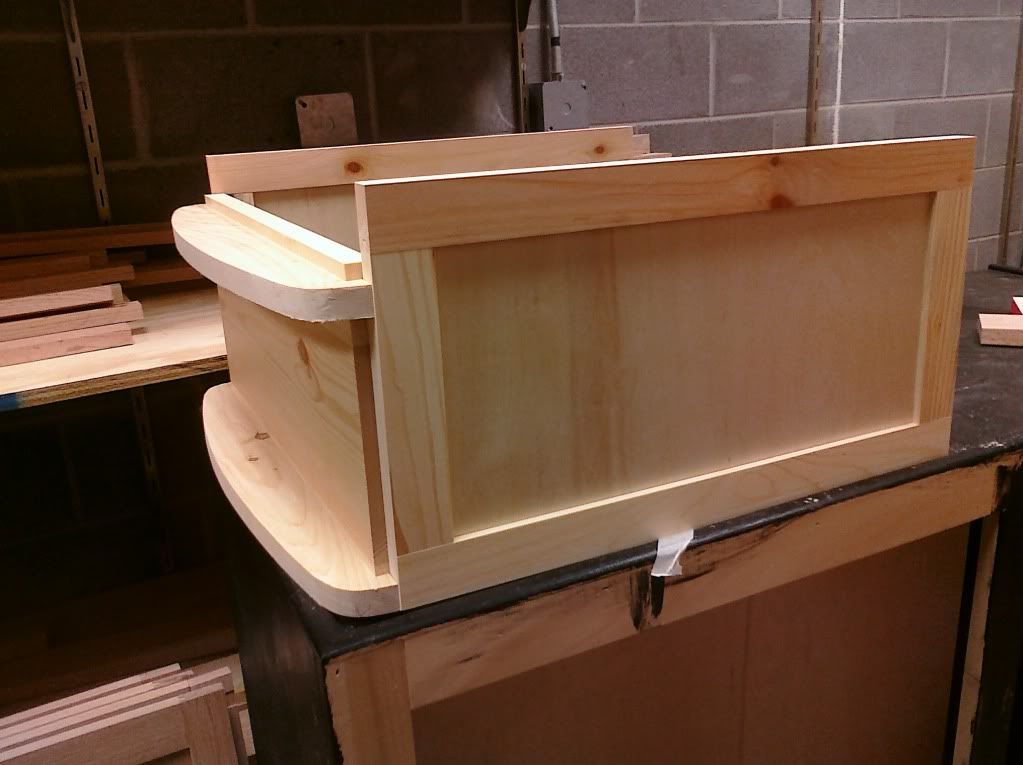
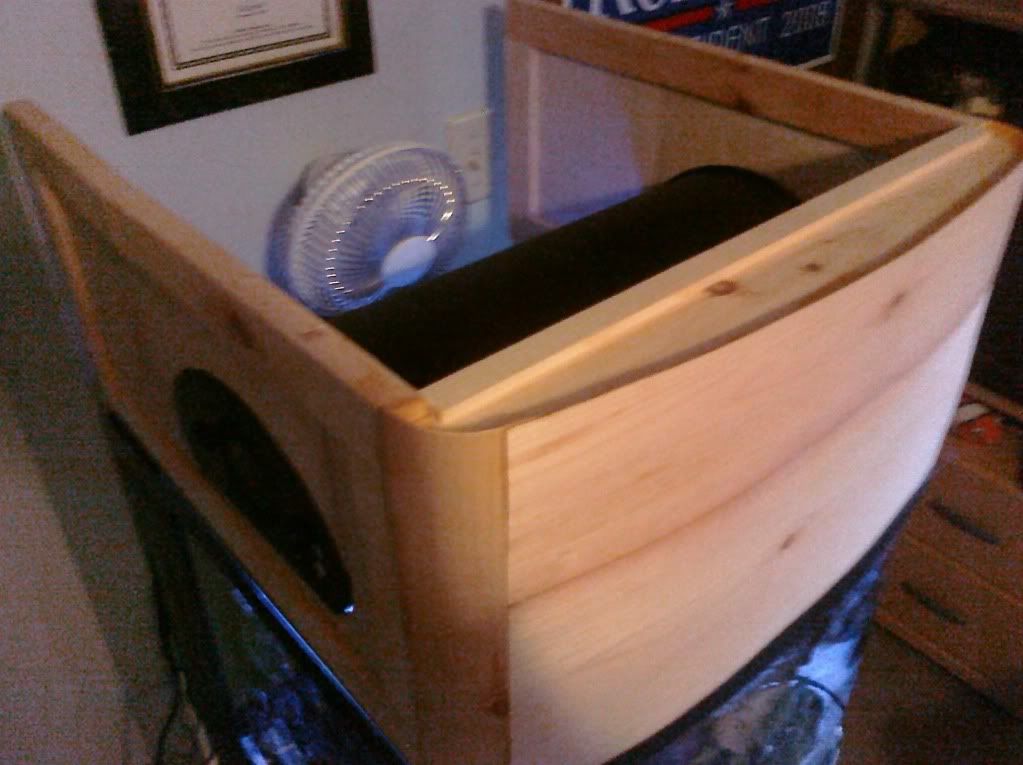
Here are some more pics:


We have actually been looking at it upside down in my pictures. Once I get it glued together ( I've just been doing dry runs right now) I will flip it over so the bottom curve support is actually flush with the top.
 

cocoacf

Member
Originally Posted by Posiden
http:///forum/post/3183815
Any new progress?
Hey, sorry.. nobody was posting so I didn't bother with an update..
I've been having a lot of breaks off from school, so I haven't been able to work on the canopy much seeing as the wood shop is at school. But I'm hoping to have it done by the end of this week!
Stay tuned...
 

cocoacf

Member
I've almost got the canopy completed! The only thing left to do is sand the joints of the veneers together, and paint it!
I must say the project was fairly easy until I got to the veneering. Anyone who would like to make a canopy like this, I suggest you make a lot more dado cuts in the front, so you can hold multiple curve supports. Only having two like I had made it very tricky to glue because I couldn't find veneer wide enough to do it in one piece like I wanted..... for under $60 a roll....
So what I did was buy a pack of 6.5 inch wide veneers, and did the curve once with the veneer sheets going vertically. Then I went back over the front and did two sheets horizontal, to make it look cleaner. Also, I put glue over the whole back of every sheet so that it would strengthen the veneers once it it dried.
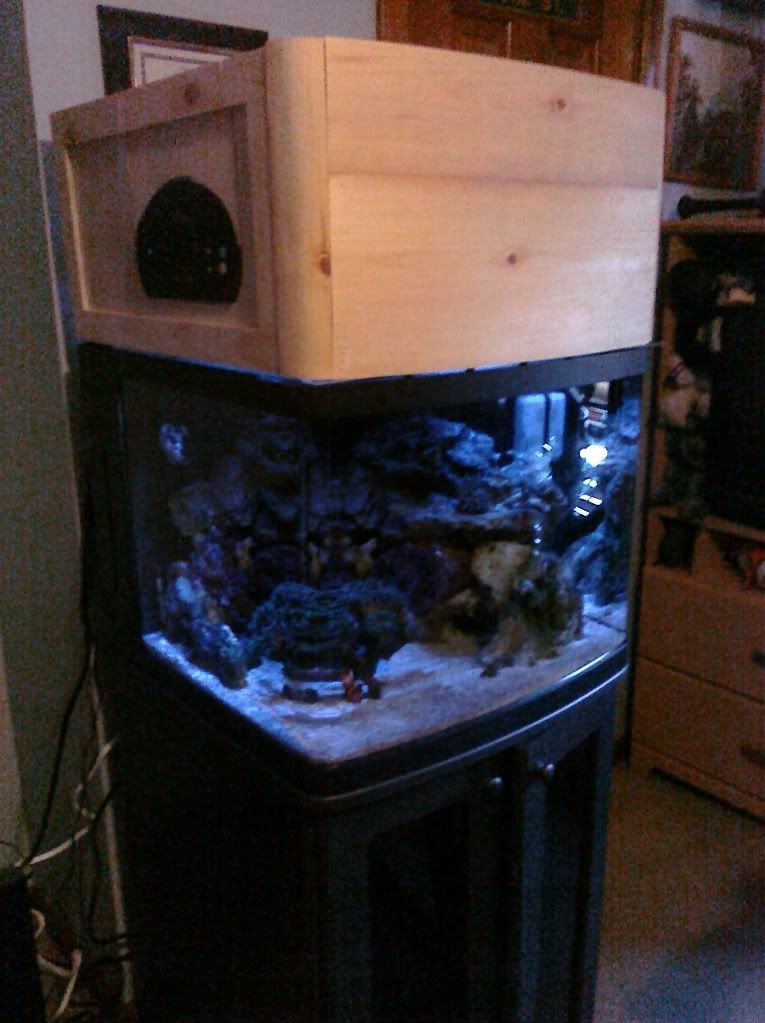
Here are pics on the tank!!


The gap you see between the tank and canopy is because I've got a sheet of glass sitting on top. I'm having a glass cutting company saw the glass to fit on the top of the inside soon, so the gap won't be there any more.
 

bmkj02

Member
Nice build. Why dont you just close up the back and due away with the glass? Glass wont be needed if canopy is there to keep the fish from jumping out.
 

cocoacf

Member
Originally Posted by bmkj02
http:///forum/post/3190745
Nice build. Why dont you just close up the back and due away with the glass? Glass wont be needed if canopy is there to keep the fish from jumping out.
Thanks. :)
However, if I put a back on it I would have to deal with the cords and fan beinging in the way. The fan is wedged between my tank and wall, so it'd be a hassle. And I've only got the glass on top to keep cat hair and dust out from the tank. I don't think my fish could jump out because of the new gaurds on the 29g Biocube.
Also, I like the glass because evaporation gathers on the top of the glass and water droplets fall back down to the tank, so it helps with not needing to top off as much.
 

cocoacf

Member
Happy birthday to me!

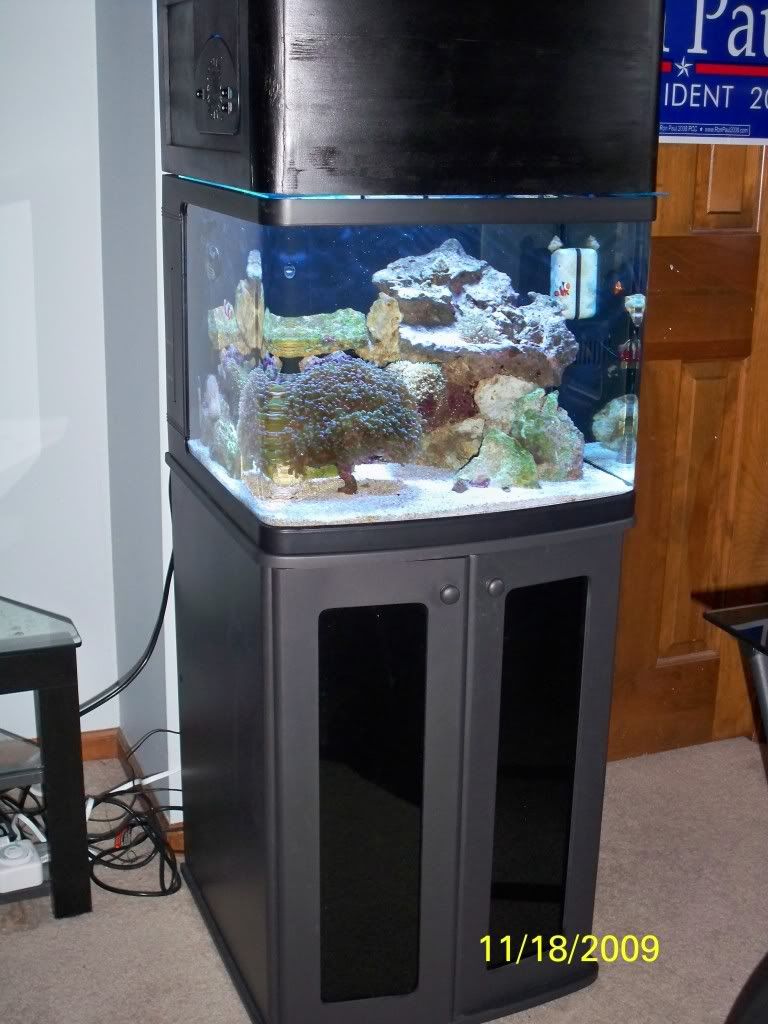
Here's the finished canopy on the tank! Still have to get the glass cut to fit inside the top to get rid of the gap you see...


Top