110 Gallon FOWLR (updated 9/2/11) ITS UP!

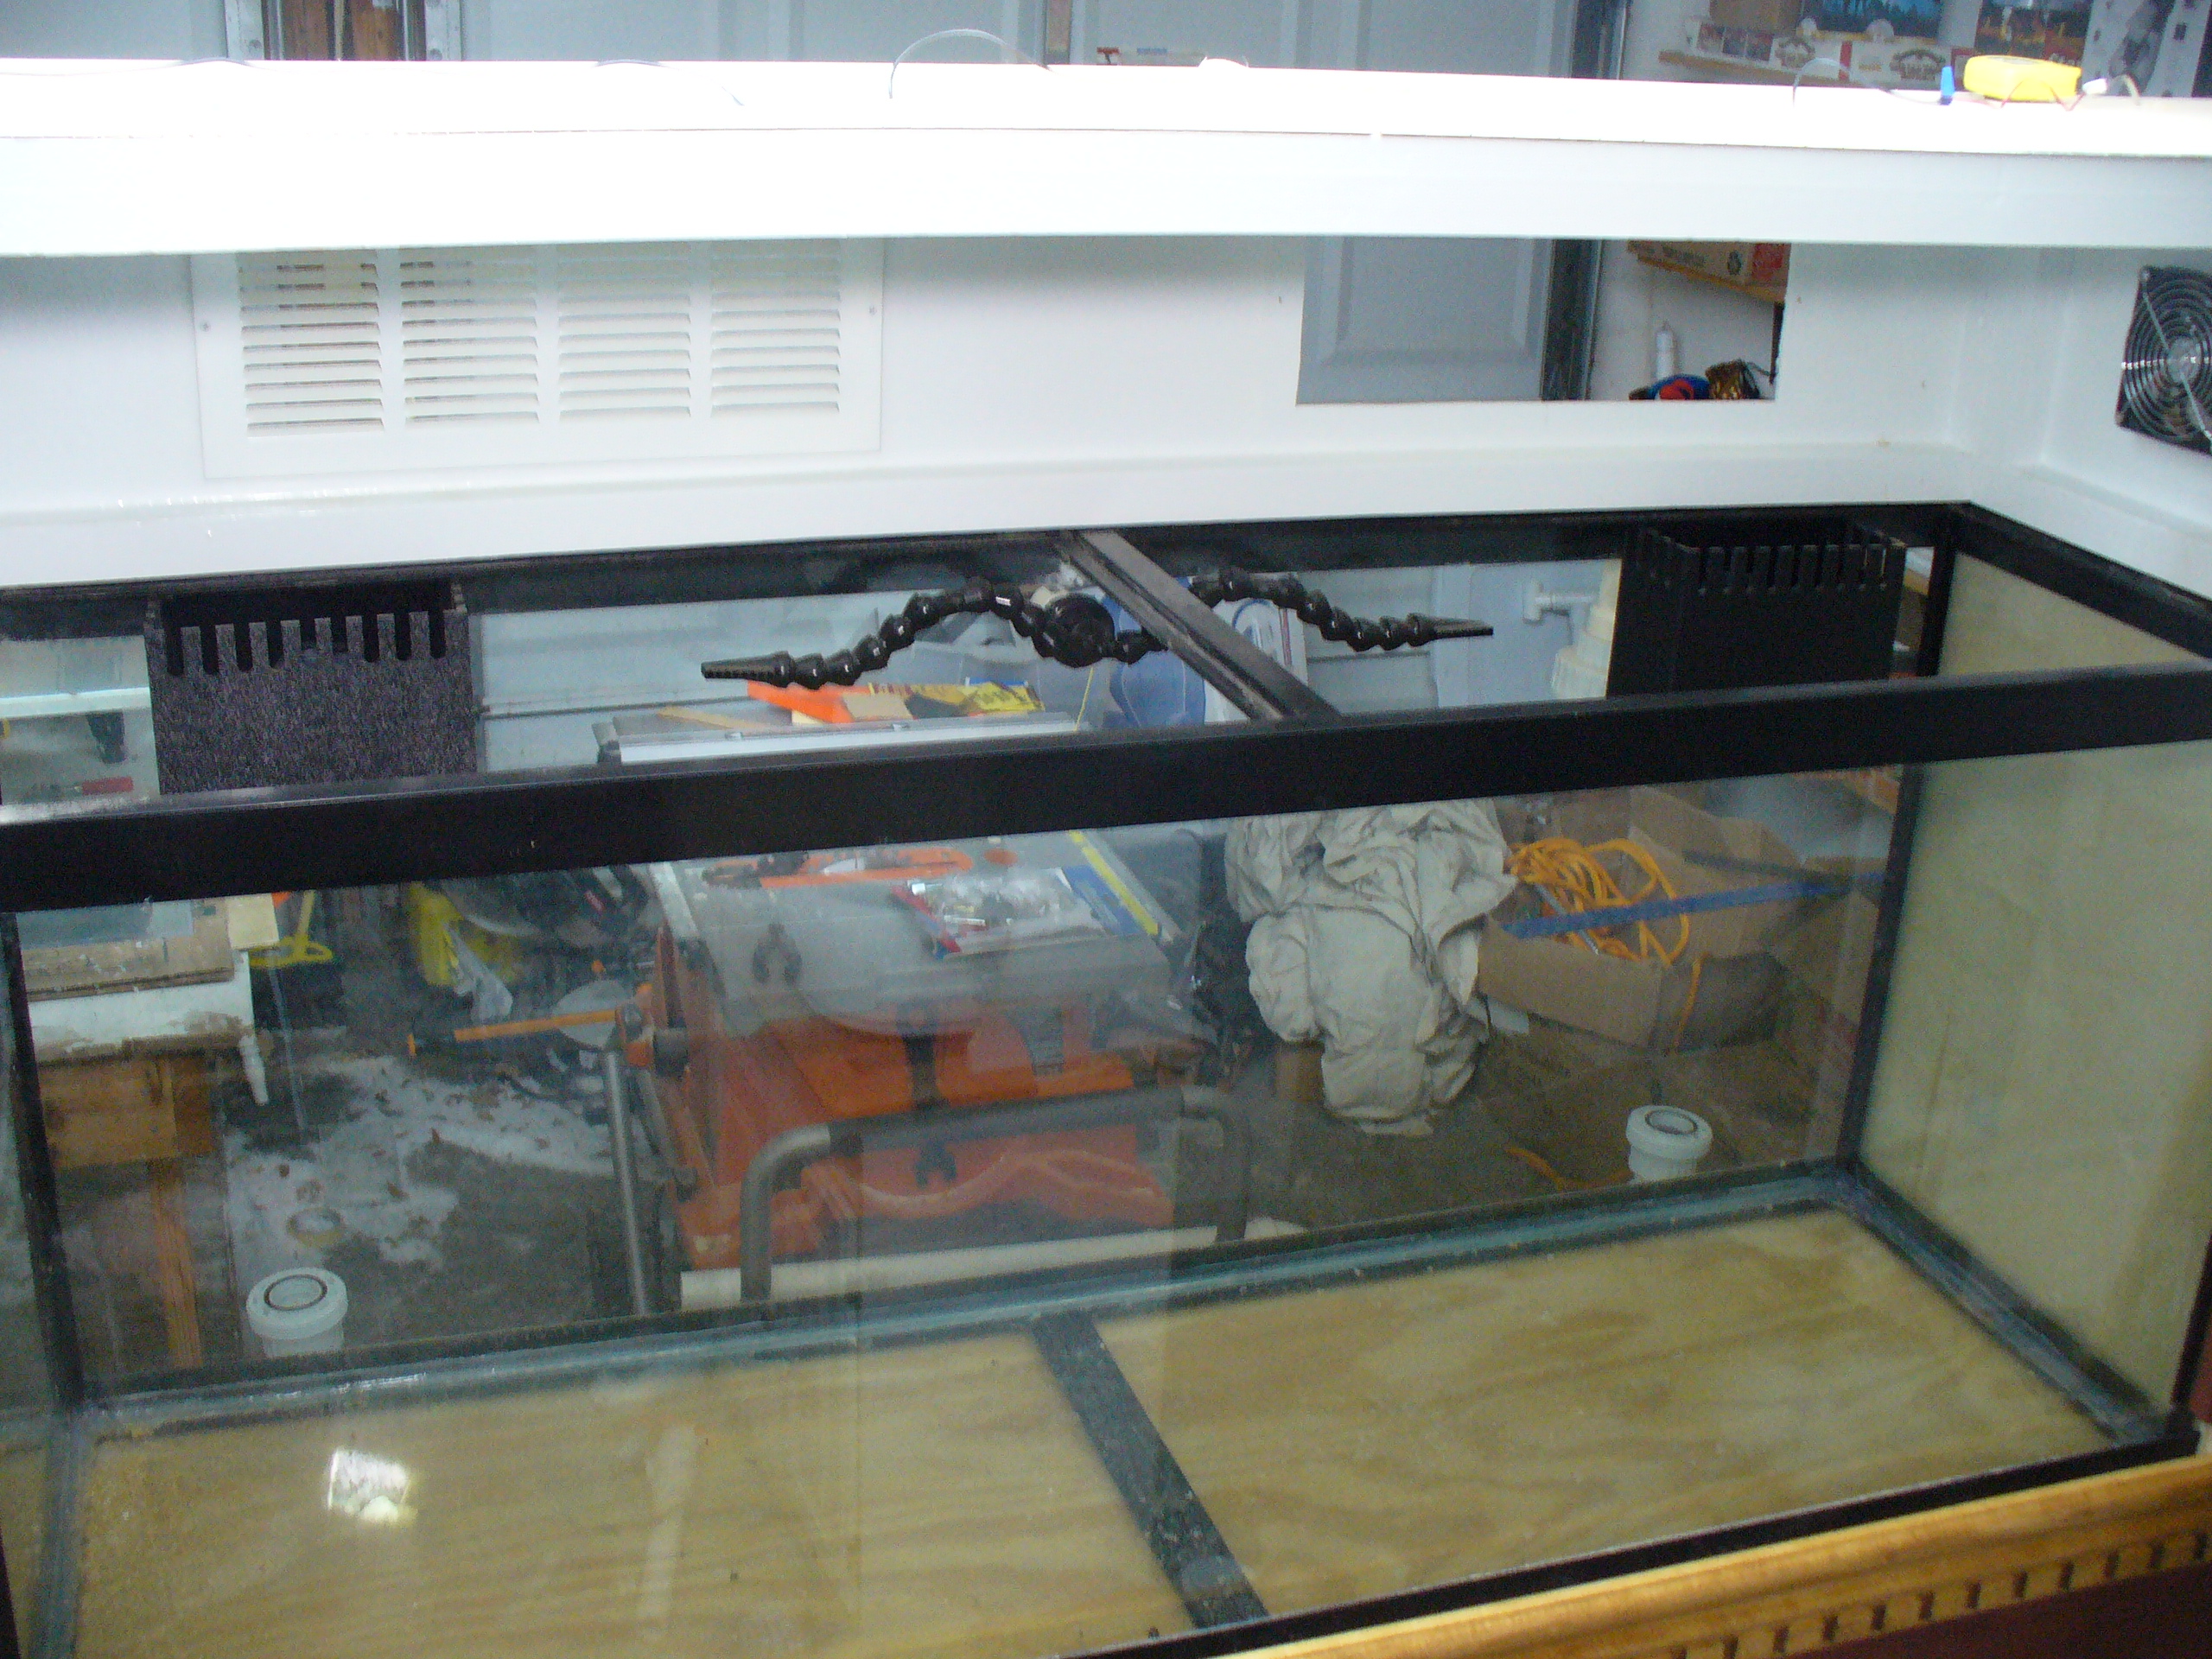
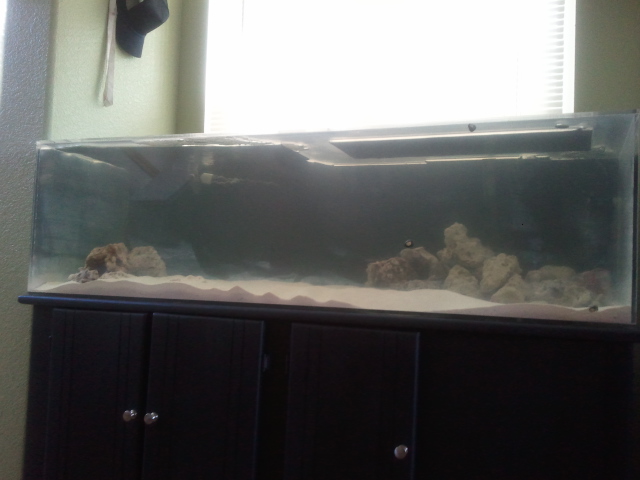
Ok so here are some pictures. Its a 100 gallon acrylic tank with stand that I got for $100 on cl! I think I got a pretty good deal
It had some scratches so Im in the process of re-surfacing it. So far its coming out great!
fts

Back of the tank. The 2 on the far end are the ones that Im not sure of. The two next to those are the overflows and the one in the middle is the return.

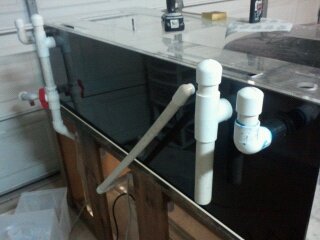
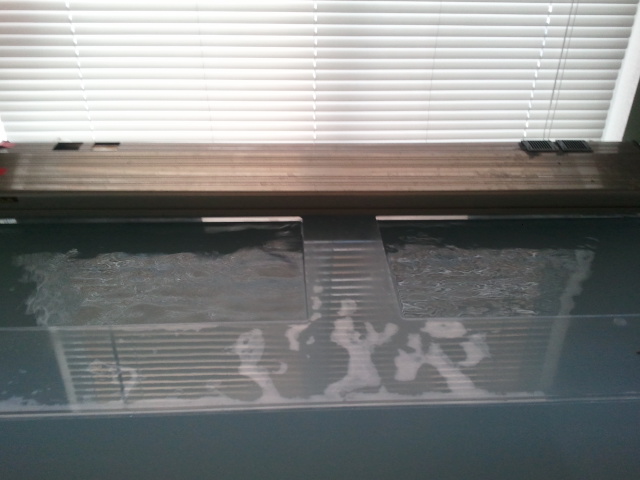
This is the weird box inside the tank that goes to a valve on the back side. The only thing I can think of is its a way to drain the tank without draining the sand.....


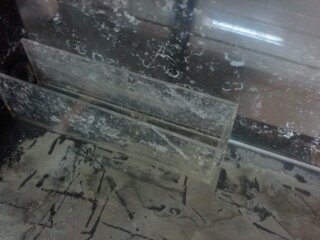
And the valve for it on the back side

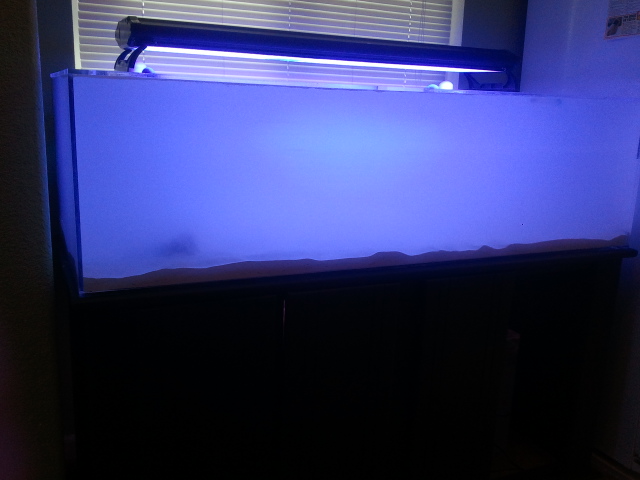
Front of the tank after the first sand and polish. Going to go over it again to get some spots perfect. It was so bad before that you could barely see into the tank, and there was sharpie all over it. Wish I took a before!

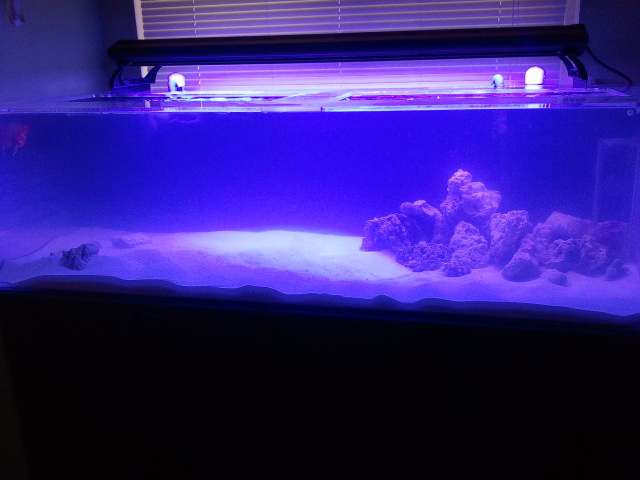
Most recent pic. Checking it out with water in it after the first go at re-surfacing it. It was alot easier and turned out better than I expected. I also mounted my lights in my stand for my fuge.
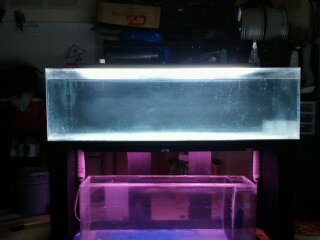
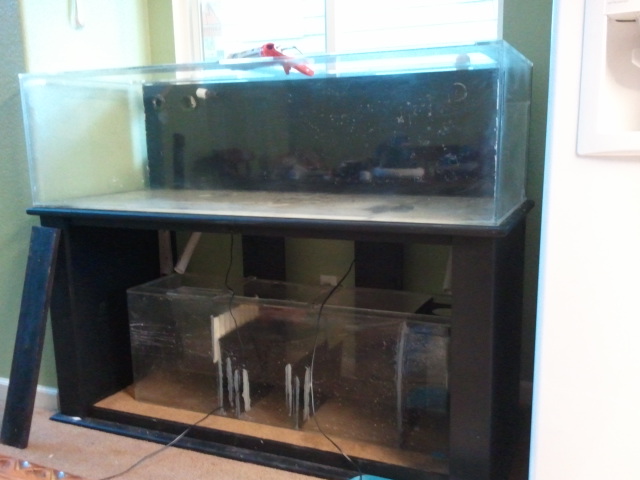
My current 75.

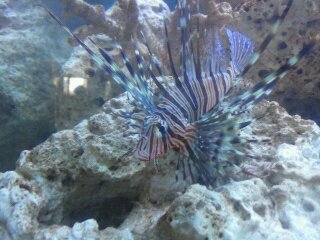
And my Lion awaiting its new tank!

Ill be in Monterey all next week checking out the aquarium and visiting family
So I might not update for a couple weeks.
 

florida joe

Well-Known Member
Quote:
Originally Posted by sviellvoicae http:///t/387552/sump-design-on-my-fowlr-tank-100-gallon-tank-diary#post_3411144
Ok what? Sorry ya lost me. This sounds important. What does this mean?
I will take the liberty to explain hope snake does not mind. Most people run a locline return line. They position this line so the water entering the tank is below the overflow level deeper into their tank. To prevent too much water siphoning back into the sump and overflowing it they drill a small hole in the locline at the water level when the tank is running. Now when you shut down the system the water drops to the hole you drilled and breaks the syphon. It is a good idea when drilling this hole to drill it a 90 degrees and not at the top of the locline this prevents water from shooting up out of the hole at startup and potentially wetting your floor or worse your lighting
 
Ok it kind of makes sense. Now considering my return is higher than my over flows everything is ok right? I should not have to do this?
 

2quills

Well-Known Member
Quote:
Originally Posted by florida joe http:///t/387552/sump-design-on-my-fowlr-tank-100-gallon-tank-diary/20#post_3411448
this setup is going to have the return water splashing back into your tank
Yeah you want to try and avoid any splashing. Typically even a tiny amount of splashing can creat a lot of salt creep/build up around the tank over time. When adjusting your outputs to the proper level I'd try to find the happy medium with having your outputs just far enough under water that you don't get splashing but at the same time don't overflow your sump when the power to the pump is cut.
It looks like your tank is drilled on the back. Here's an idea that I'm going with that I've tried and tested out and works good as a siphon break. Allows me to adjust my outputs which ever way I like but still have a siphon break. You'll see in the middle of each branch of the return that there are side flow nozzles. Those nozzles are set just a hair below the surface so that when power to the pump is cut, they suck in air and break the siphon and thus limiting the amount of water that back flows into the sump. It actually works really good. The siphon is broken virtually instantaneously. Just have to keep an eye on them every once in a while to make sure they don't get blocked with debri. But that goes for any return that is utilizing a small hole or two for a siphon break.


Here's a HOB (hang on the back) style that I made for a friend here.
 
Ok. It all makes sense now. I actually have one of the dual inlets like that on the way. Ill make sure they have that hole on them. Thanks for the info Joe. Sorry I had no clue what you were talking about, but it all makes sense now. I didnt even think of the splash it creates, and it does for sure. Well the tank is 100% re-finished and looks great. Im leaving for vaca tomorrow so depending on how much $$$ I waste will determine when this thing goes up!. Thanks again guys!
 
So I got the tank up yesterday. A lot of work but I had many friends helping me out. The tank was sold to me as a 150 gallon but the foot print I looked up shows it to be a 110. Its 5ftL x 18"H x 24"W. Anywho Im using a 55 gallon sump that I dyi'd and so far its working great. Ok on to the meat and taters.
In place, level, and ready to rock!

Got my sand in. 120lbs with 40 of it live to seed the rest I guess. Ive heard so many back and forth's on sand so I went with what I liked. I only have about 30-40lbs of LR right now cause the rest is coming from my 75gal. Also sump all plumed and ready to rally! Fuge left- skimmer will be right. No need for a skimmer when the tank is this new correct?

AND THE MONEY SHOT!

Well kind of. Sorry its still cloudy. I just tossed one of my old fluval's on there with some carbon and poly to clear it up. Will update as soon as she clears up!
 

snakeblitz33

Well-Known Member
lots of room for fish to swim around! Looking good so far! Are you going to be adding a canopy and more lights?
 

florida joe

Well-Known Member
Something else I just noticed along with the lighting. I wish you would have cut out the top so you would have more access room for maintenance (cleaning the inside tank acrylic EST.)
 
As of right now yes that's the lighting. Is 4xt5 ho's 48" with reflectors. Its a fowlr but going to add corals shortly and currently building a canopy as well so will be upgrading lighting very shortly. Still debating on mh or led. Also joe I was thinking about removing the center section but feared it would add too much stress to the front of the tank. I had a tank like that before that split so I would have a hard time owning another without it. I have a lot of room with it though. Ill take a picture and show you. Its almost 100% clear today woohoo! Ill try to get some shots up
 

florida joe

Well-Known Member
Waiting for the pics. A canopy is nice for aesthetics but you will have to deal with the heat issue if you go with MH
 
Cleared up

Quick question. Which side of the sump should my cheato go on? On the left I have an overflow going into my 55 gallon sump that has sand and lr. I was going to put my cheato in there but someone told me it should go on the other side that is housing my skimmer. Which side. My sump is currently set up with one side sand and lr and the other open with skimmer. Thanks for all the help. And Joe I think I will stick with t5 for a while until I can afford led's. I have another 48" 4xt5 HO fixture i am going to run with this one. Should be enough light. I am going to build a canopy based off of 2quils set up with the vents and fans. I really like that design. Im loving this tank so far the foot print is awesome. Could anyone tell me the actual size? I have looked it up and could only find roughly 110 gallons but it seems to be bigger. Its a 5ftx2ftx18"H. Thanks again guys!
 
Here is a picture of the top where you can see the openings and top water agitation. The CF light is just sitting on the tank in this picture. I am not using it for it.
 

florida joe

Well-Known Member
When you place your cheato in your tank you take into consideration food source and ability to have it tumble. Remember the reason most people include cheato into their system is to combat nitrates and or phosphates. If you are not dealing with any to those issues you really need not include cheato. If you are having an issue you should IMO place the cheato in an area where it comes in contact with a good flow of nutrient rich water and can tumble. Cheato grows like a birds nest and assimilates nutrients so you try to expose as much of it as you can to the nutrients hence the tumbling
 
Just a little update.I also added some chaeto because it was free but ended up removing it because it was a mess! I finished my aquascapem, got a new skimmer, wave makers, and added a new invert! So here are some pictures.

My lions hang out area. He loves the caves and covered area.

My snowflakes pvc tube. Goes from one end of the tank to the other, and I have never seen him use it!


My new skimmer! Its a coralife superskimmer 220. I replaced a cpr dual backpack with this and love it!

And last but not least my newest addition..........

I love him! He hangs out in my sump area, about 30 gallons all to himself. I feed him a silver side every other day.
 
Top