gotpancit
Member
Alright, here we go! I just picked up the 140g last night and now have a long battle to get this baby going. I'm going to try and do this with the lowest budget possible using various parts sourced from clist and other forsale sites, oh and of course swf.com.
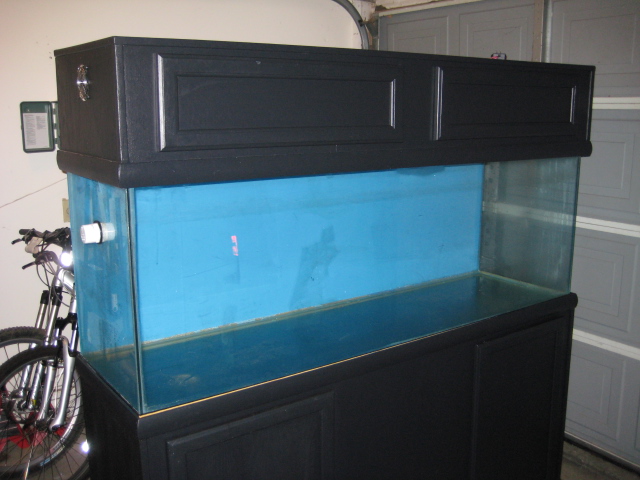
I'm starting off with a 140g all glass tank with canopy and stand. The canopy is lightless and is prewired for fans.
Hopefully you guys can help me out with the build because I've never had anything this big before. the 65g I had before was fairly easy to maintain, so I'm hoping to make this 140g just as maintainable.
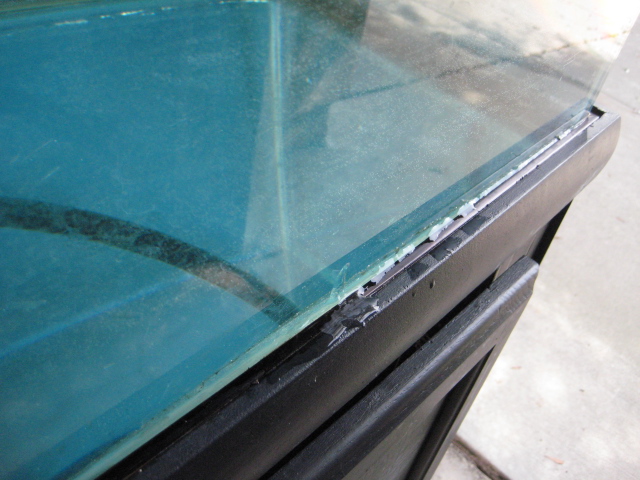
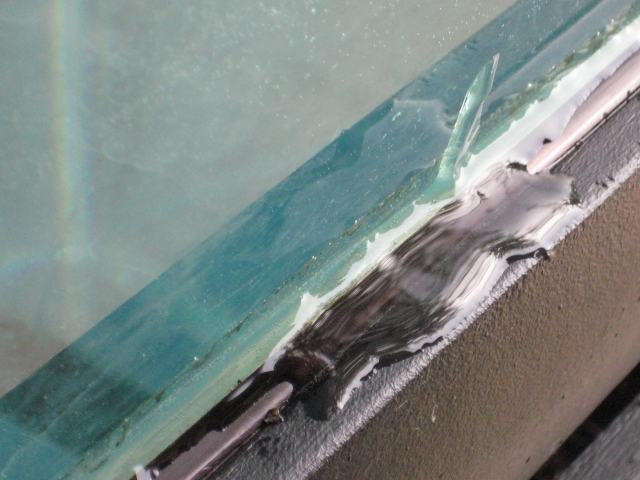
First off, what should I do with that bulkhead in the side? It's a 1-1/4". It looks too low for an overflow, but a fairly good place for a return. If I do use that for a return, then I'm planning on drilling for a 1.5" bulkhead return on the opposite side. I'm hoping to get all my flow from my pump...which by the way I'm looking at a quiet one 5000 (1330gph @ 0') or 6000 (1506gph @ 0').
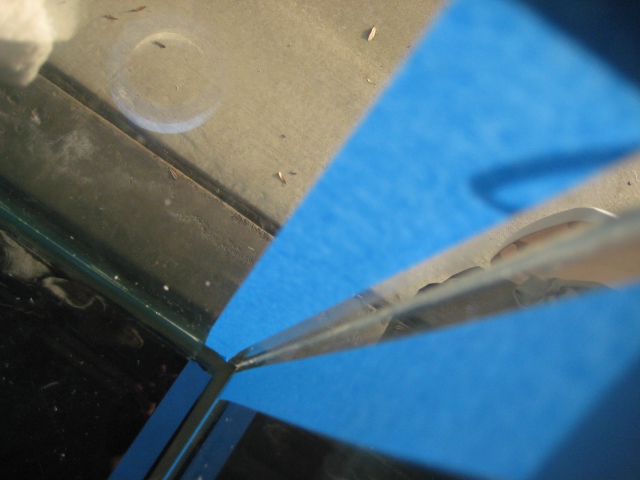
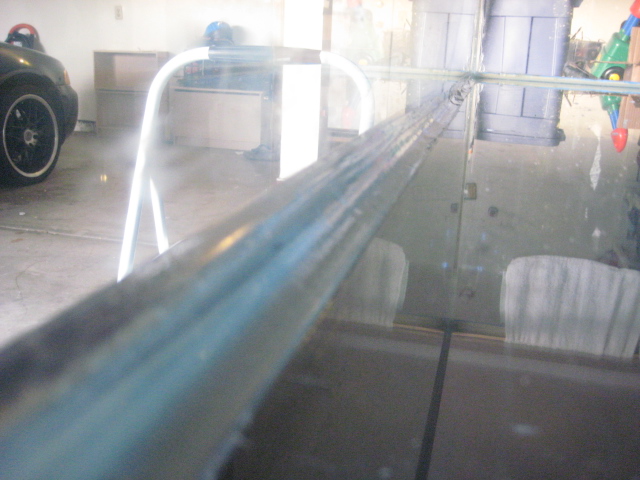
here we go...

*oh yeah I'm also going to try and model everything in either sketchup or solidworks or pro/e depending on whats at my fingertips at the moment.")

I'm starting off with a 140g all glass tank with canopy and stand. The canopy is lightless and is prewired for fans.
Hopefully you guys can help me out with the build because I've never had anything this big before. the 65g I had before was fairly easy to maintain, so I'm hoping to make this 140g just as maintainable.
First off, what should I do with that bulkhead in the side? It's a 1-1/4". It looks too low for an overflow, but a fairly good place for a return. If I do use that for a return, then I'm planning on drilling for a 1.5" bulkhead return on the opposite side. I'm hoping to get all my flow from my pump...which by the way I'm looking at a quiet one 5000 (1330gph @ 0') or 6000 (1506gph @ 0').
here we go...
*oh yeah I'm also going to try and model everything in either sketchup or solidworks or pro/e depending on whats at my fingertips at the moment.