29 Gallon to 120 Gallon Upgrade Build

marvelfan

Member
I recently moved out of my fathers place and bought a place with my fiancee. I have a successful 29 gallon reef aquarium currently up and running over at his place. I was thinking about the logistics involved in moving it and decided it was time to upgrade them all to a new home.
Here is my current tank:

The place I bought has an unfinished basement. I've started the process of finishing the basement myself and decided to reserve a spot in what will be a rec room for a a new tank build. While browsing Craigslist last week I found local who was selling his 120 Gallon Aquarium with an Oak Stand and Canopy for $350. I was able to barter him down to $325. I feel like I got a pretty good deal!

As of right now the tank sits up against an unfinished wall. On the other side of the wall is the storage area under the basement stairs. My plan is to open up this wall to have unrestricted access to the back of the tank from under the stairs and to be able to push the stand and aquarium right up against the wall (no gaps).
Here is a current view from the back. I ran some electrical outlets in under the stairs for easy access.

This is all still in the works and will be a slow build (due to budgeting for a wedding as well), but I did make my first purchases to start the plumbing. Picked up a 2400 GPH internal overflow. I wanted try a coast-to-coast set up, but I feel that placing the 18" long overflow in the middle top of the tank and then running a return from the sump up to each side will work out nicely. (Any opinions?). I picked up 5 1" ABS Bulkheads and a 45mm diamond-coated glass hole bit.
I plan to install a beananimal overflow (3 holes) in the middle and then have the return branch off in 3 directions. one return in the top right corner and one return in the top left corner. I'll leave another return with a ball-valve back to the sump for flow control purposes.
Wish me luck! The fun is about to start!
I fully plan to post my step by step process as I do the build (last time I got caught up in the build and forgot to record my work)
I'm open to all comments and suggestions!
 

sweatervest13

Active Member
Looks like you have the makings of a little "fish room". It would allow you a lot more room then under the tank for a sump and all the extras that usually go under the stand. Just a thought.
I personally do not like tanks flush against walls. I always want to be able to get behind it if needed for maintenance.
Nice deal on the tank BTW.
 

marvelfan

Member
I agree. You must maintain full access to the tank. My idea was actually to cut a hole in the wall. The hole would be slighlty smaller then the complete aquarium and stand set up. This way the tank and plumbing would technically be on the other side of the wall (completely exposed and accessible) under the stair case. I'll try to get a better picture up of what I'm planning.
I've spend the last couple days planning out my plumbing. I used SketchUp to lay out a design to scale.
I plan to use the 29 gallon as my sump eventually.
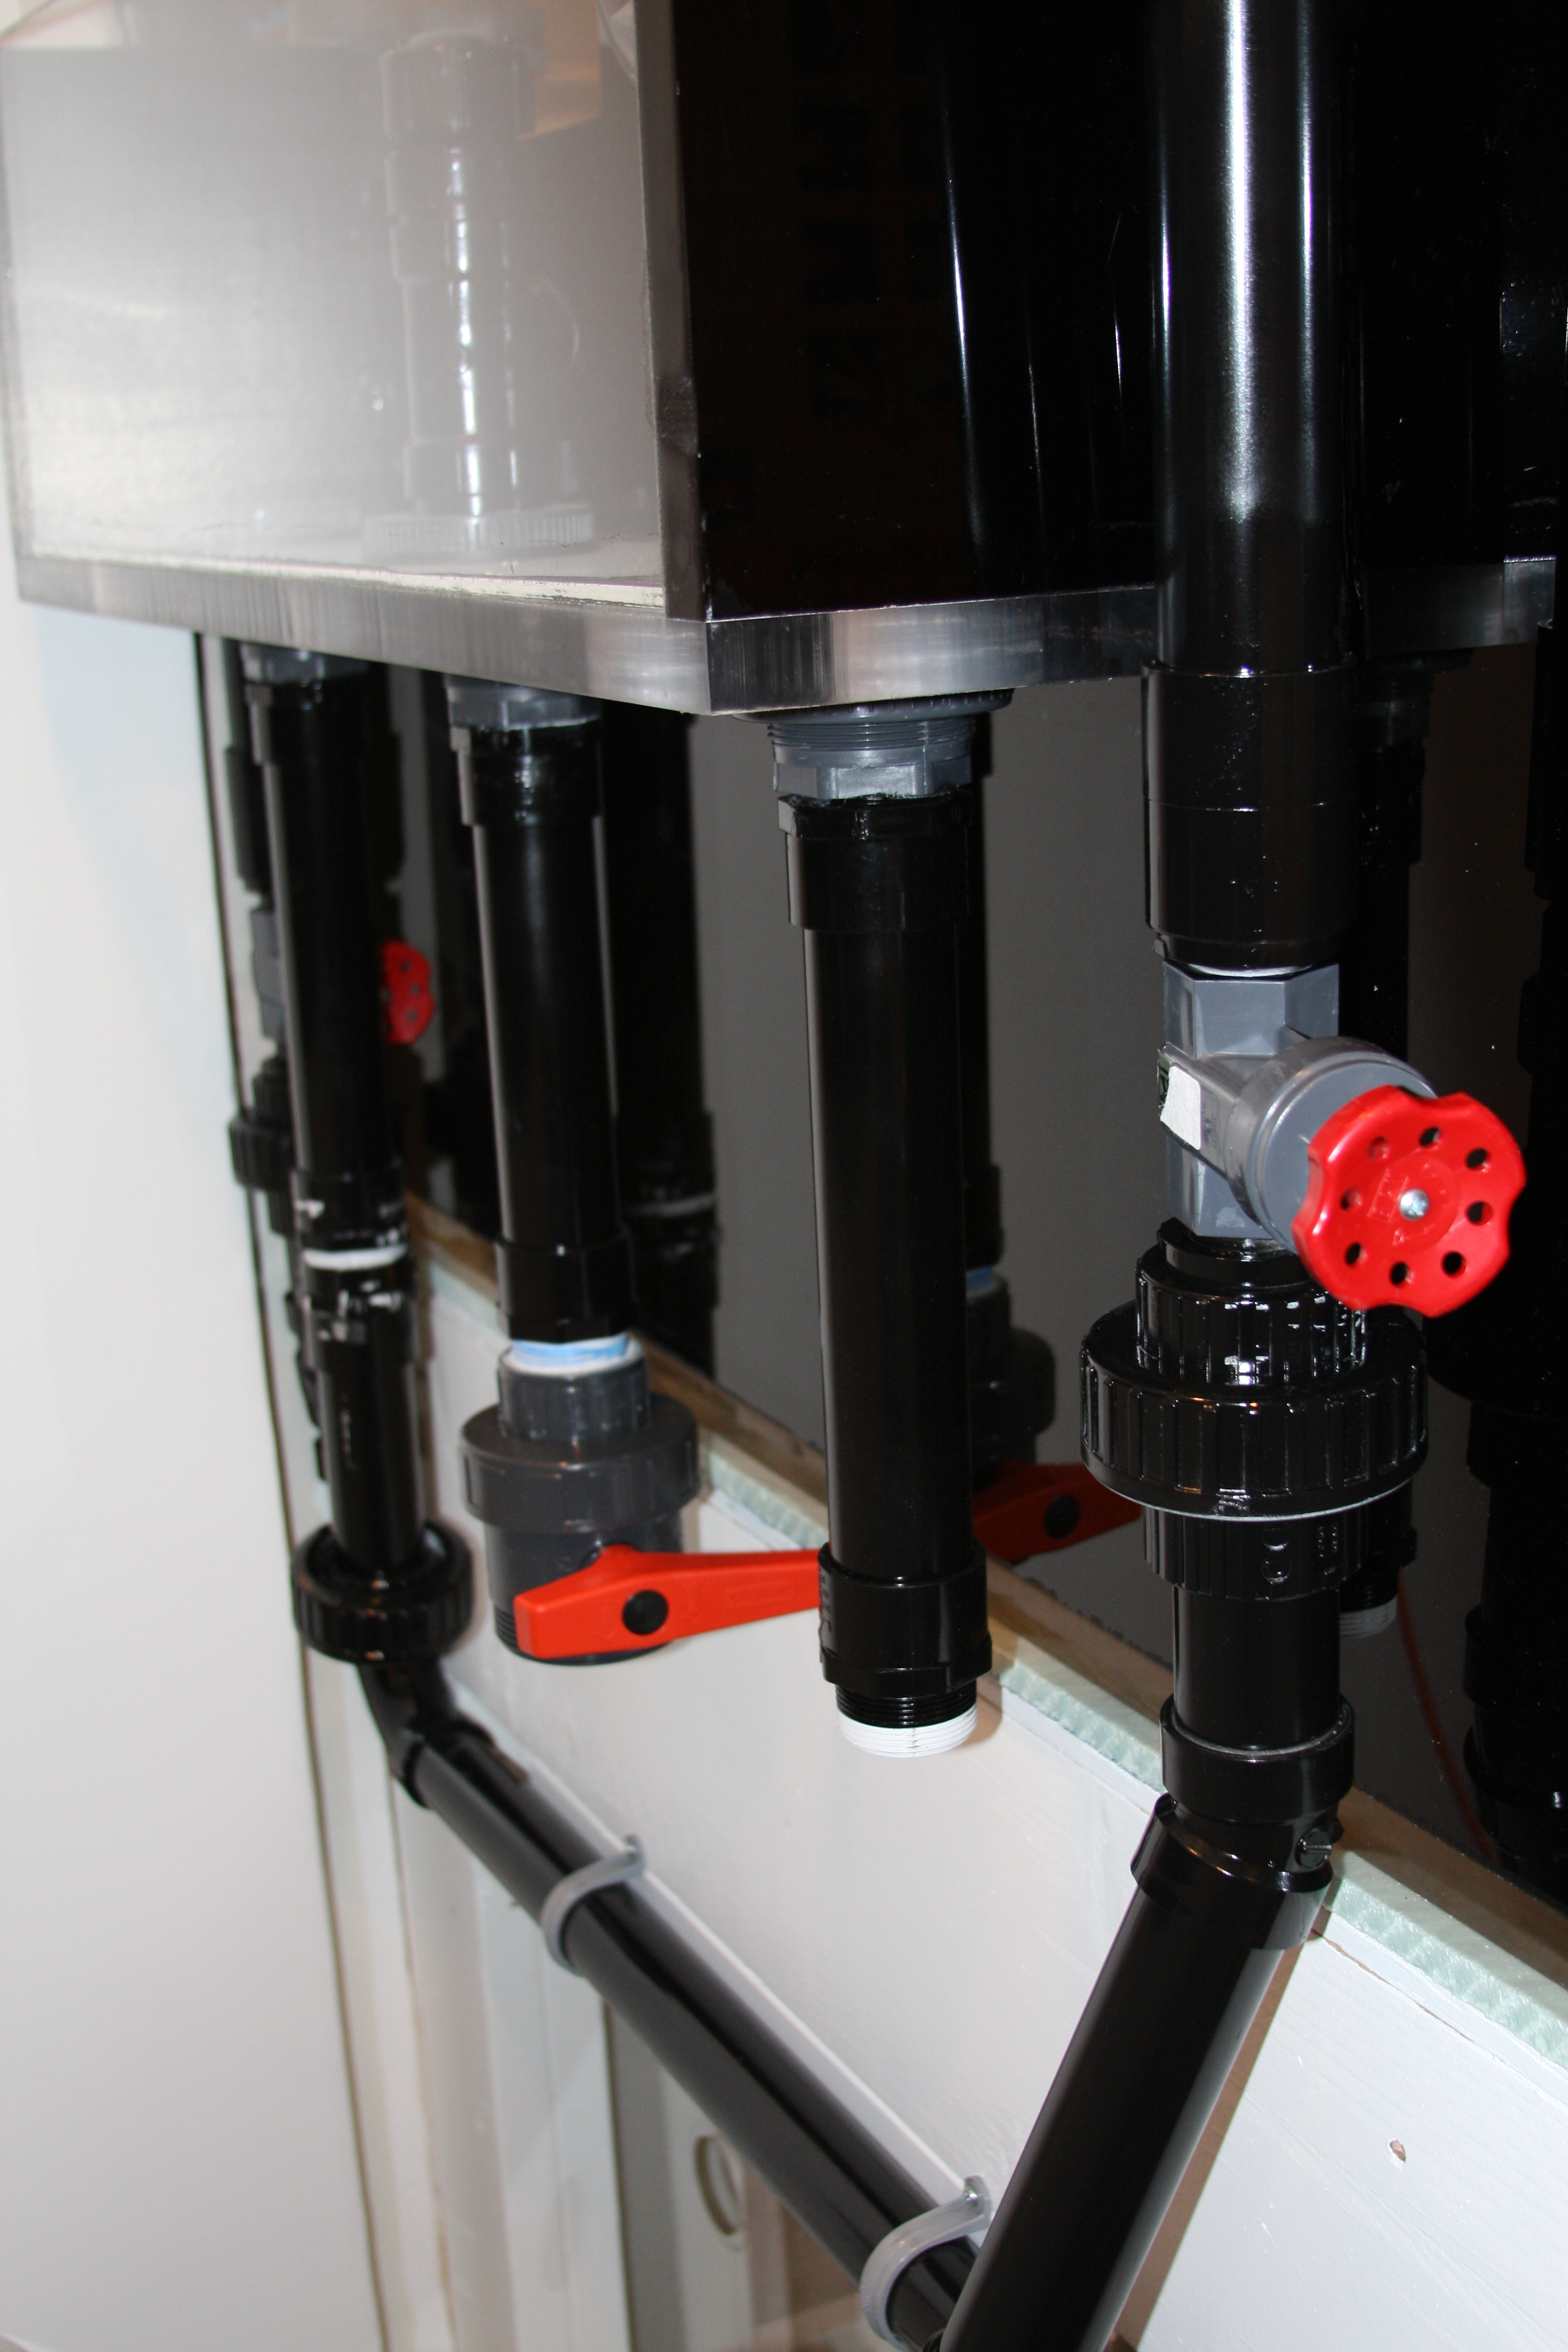
Here is a back view of all the lines. 3 drops and 2 returns. Ball valves in all the places that allow me to adjust flow between each return (including the sump return).

Here is a Front view:

Side View:

Top View with Overflow blown out (for easier viewing):

I was thinking of drilling the tank this weekend. The bulkheads and overflow showed up today.
Anyone see any potential problems with my game plan?
1.5 inch drops, 3/4 inch returns (but opens up to a 1" bulk head)
 

marvelfan

Member
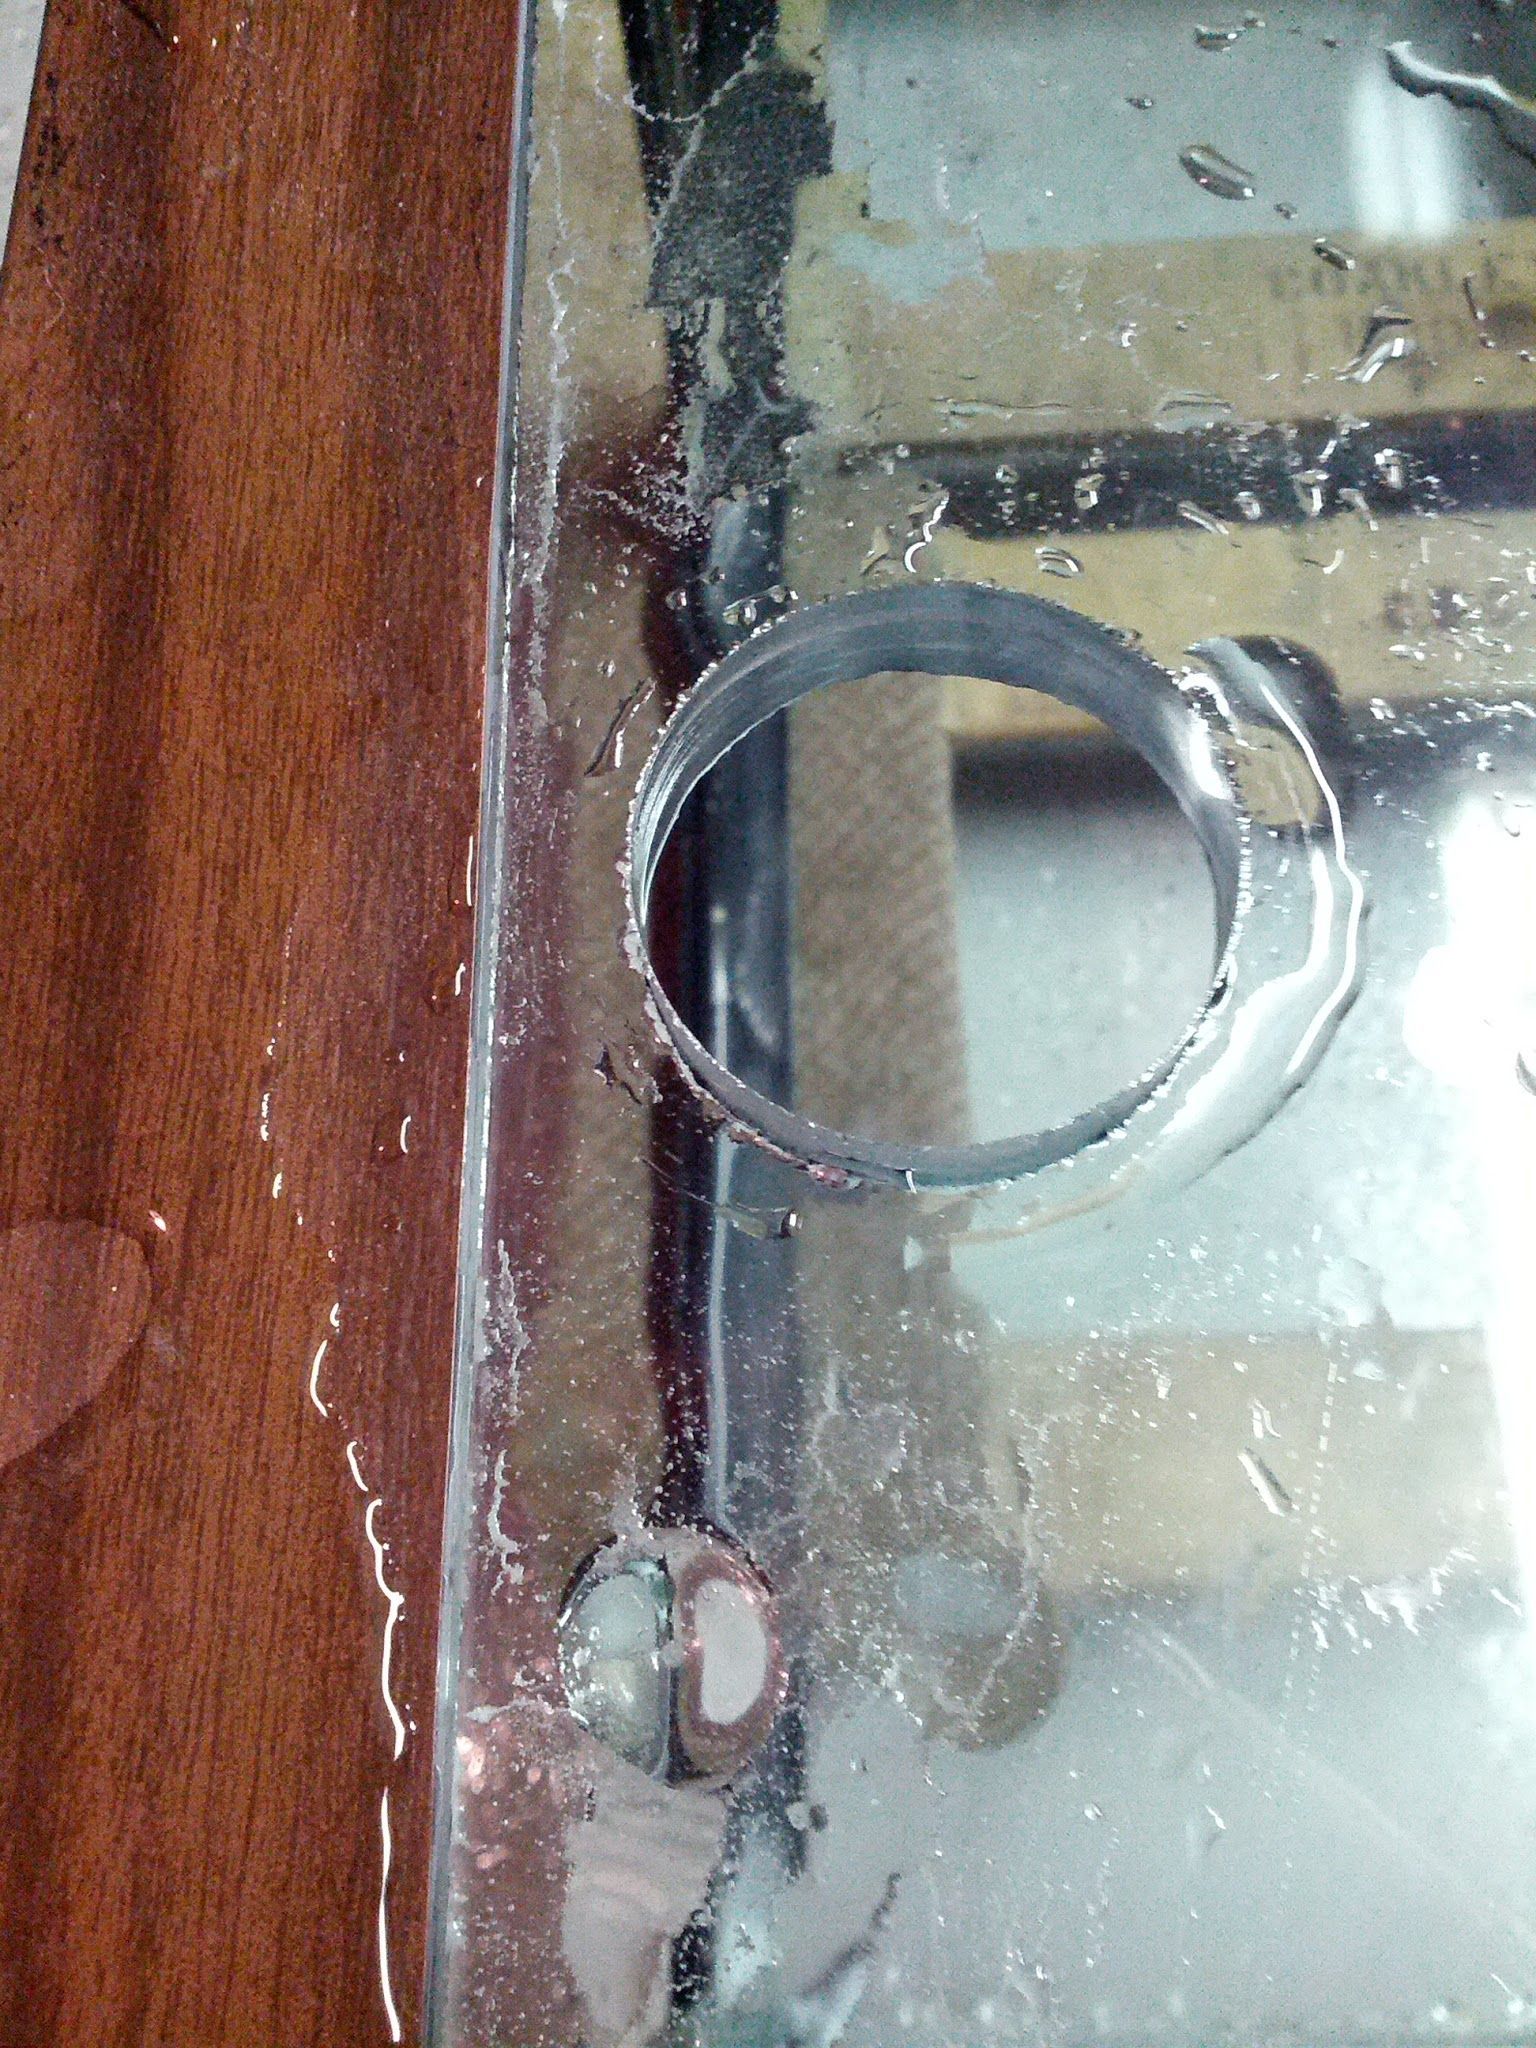
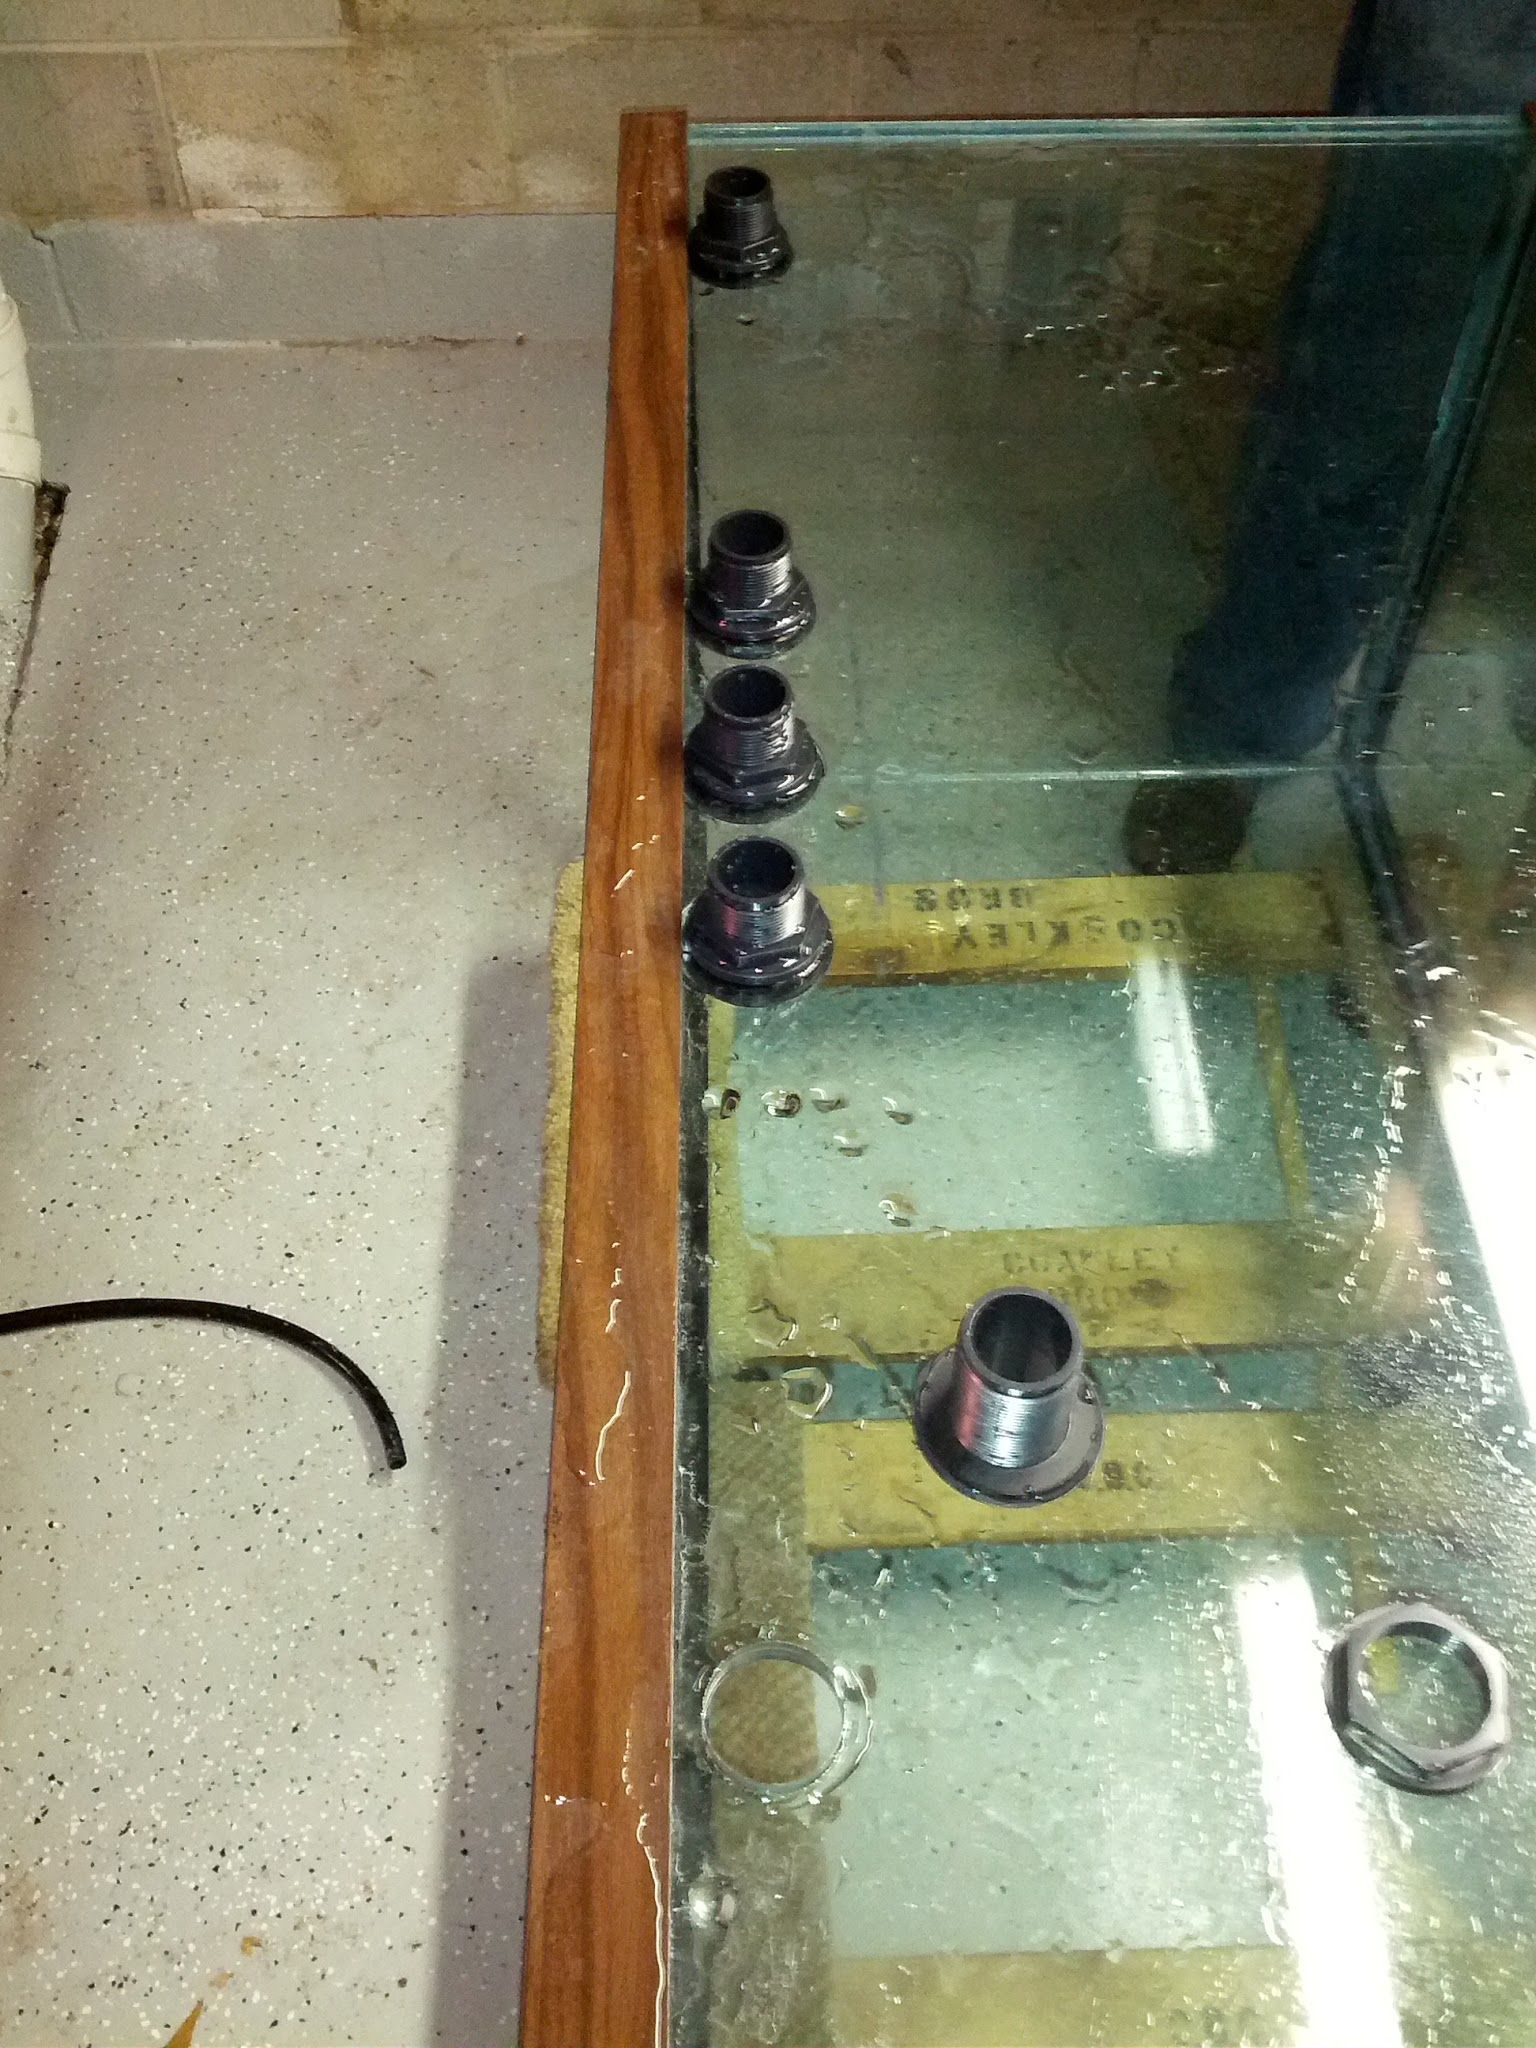
I completed the glass cutting yesterday afternoon. It was a little nerve-racking doing it for the first time, but after the first couple holes were done it was actually really easy! It took about 10-15 min per hole for 1/2 inch glass. (First hole took me 30 minutes due to being very very cautious and running slowly with low RPM's and too little pressure)
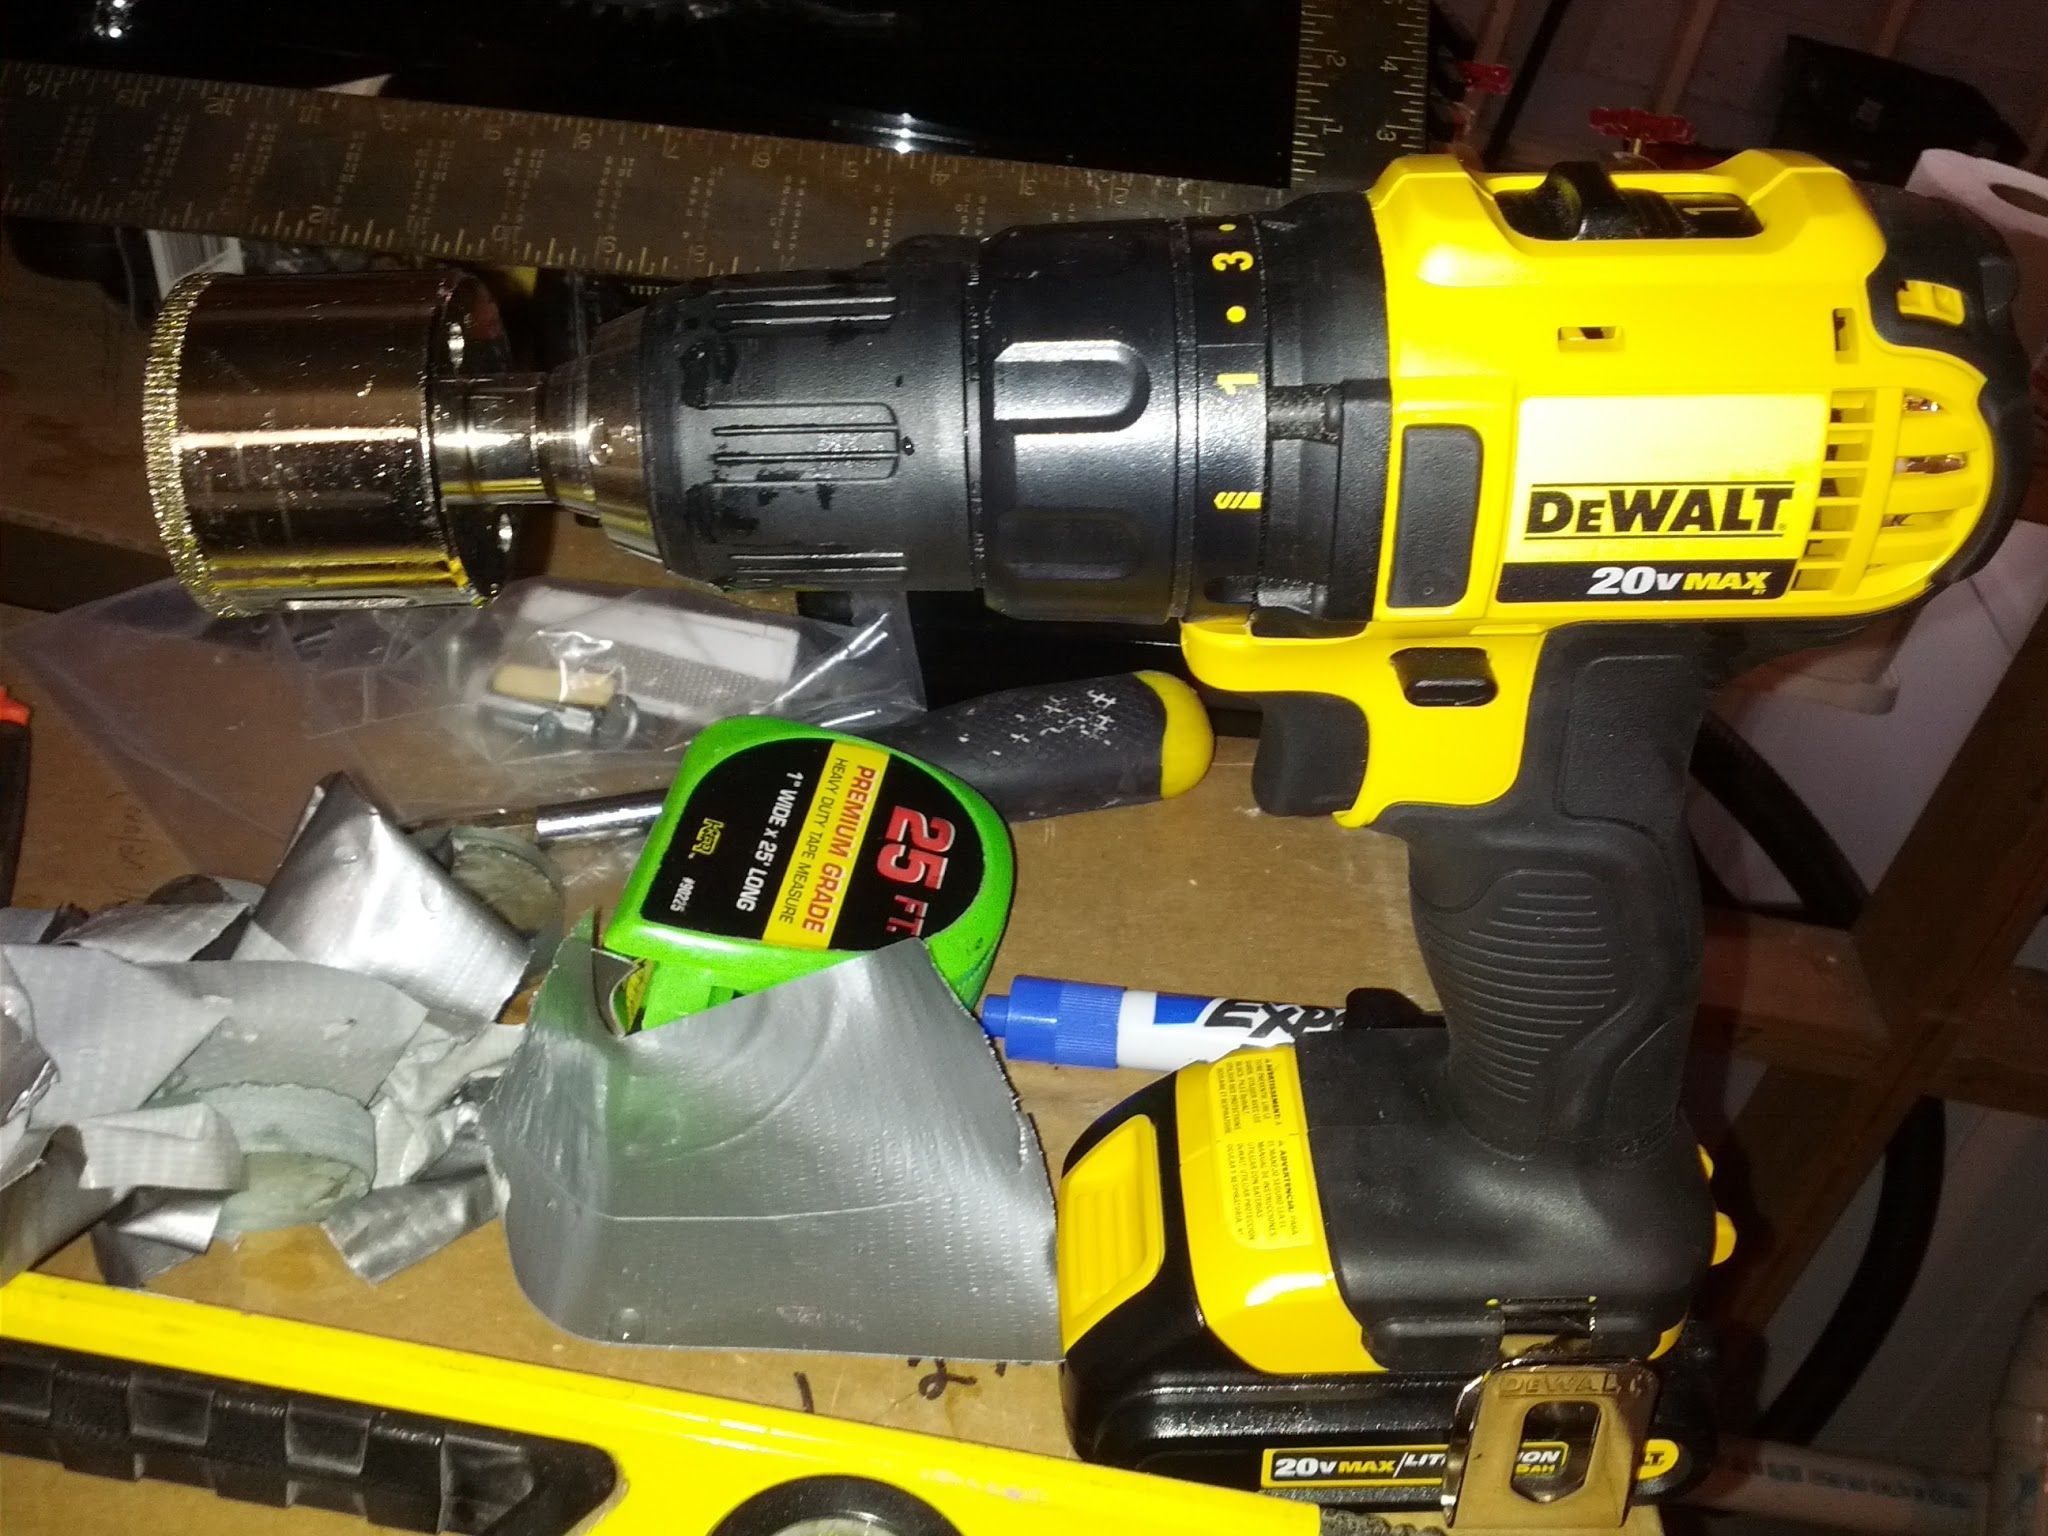
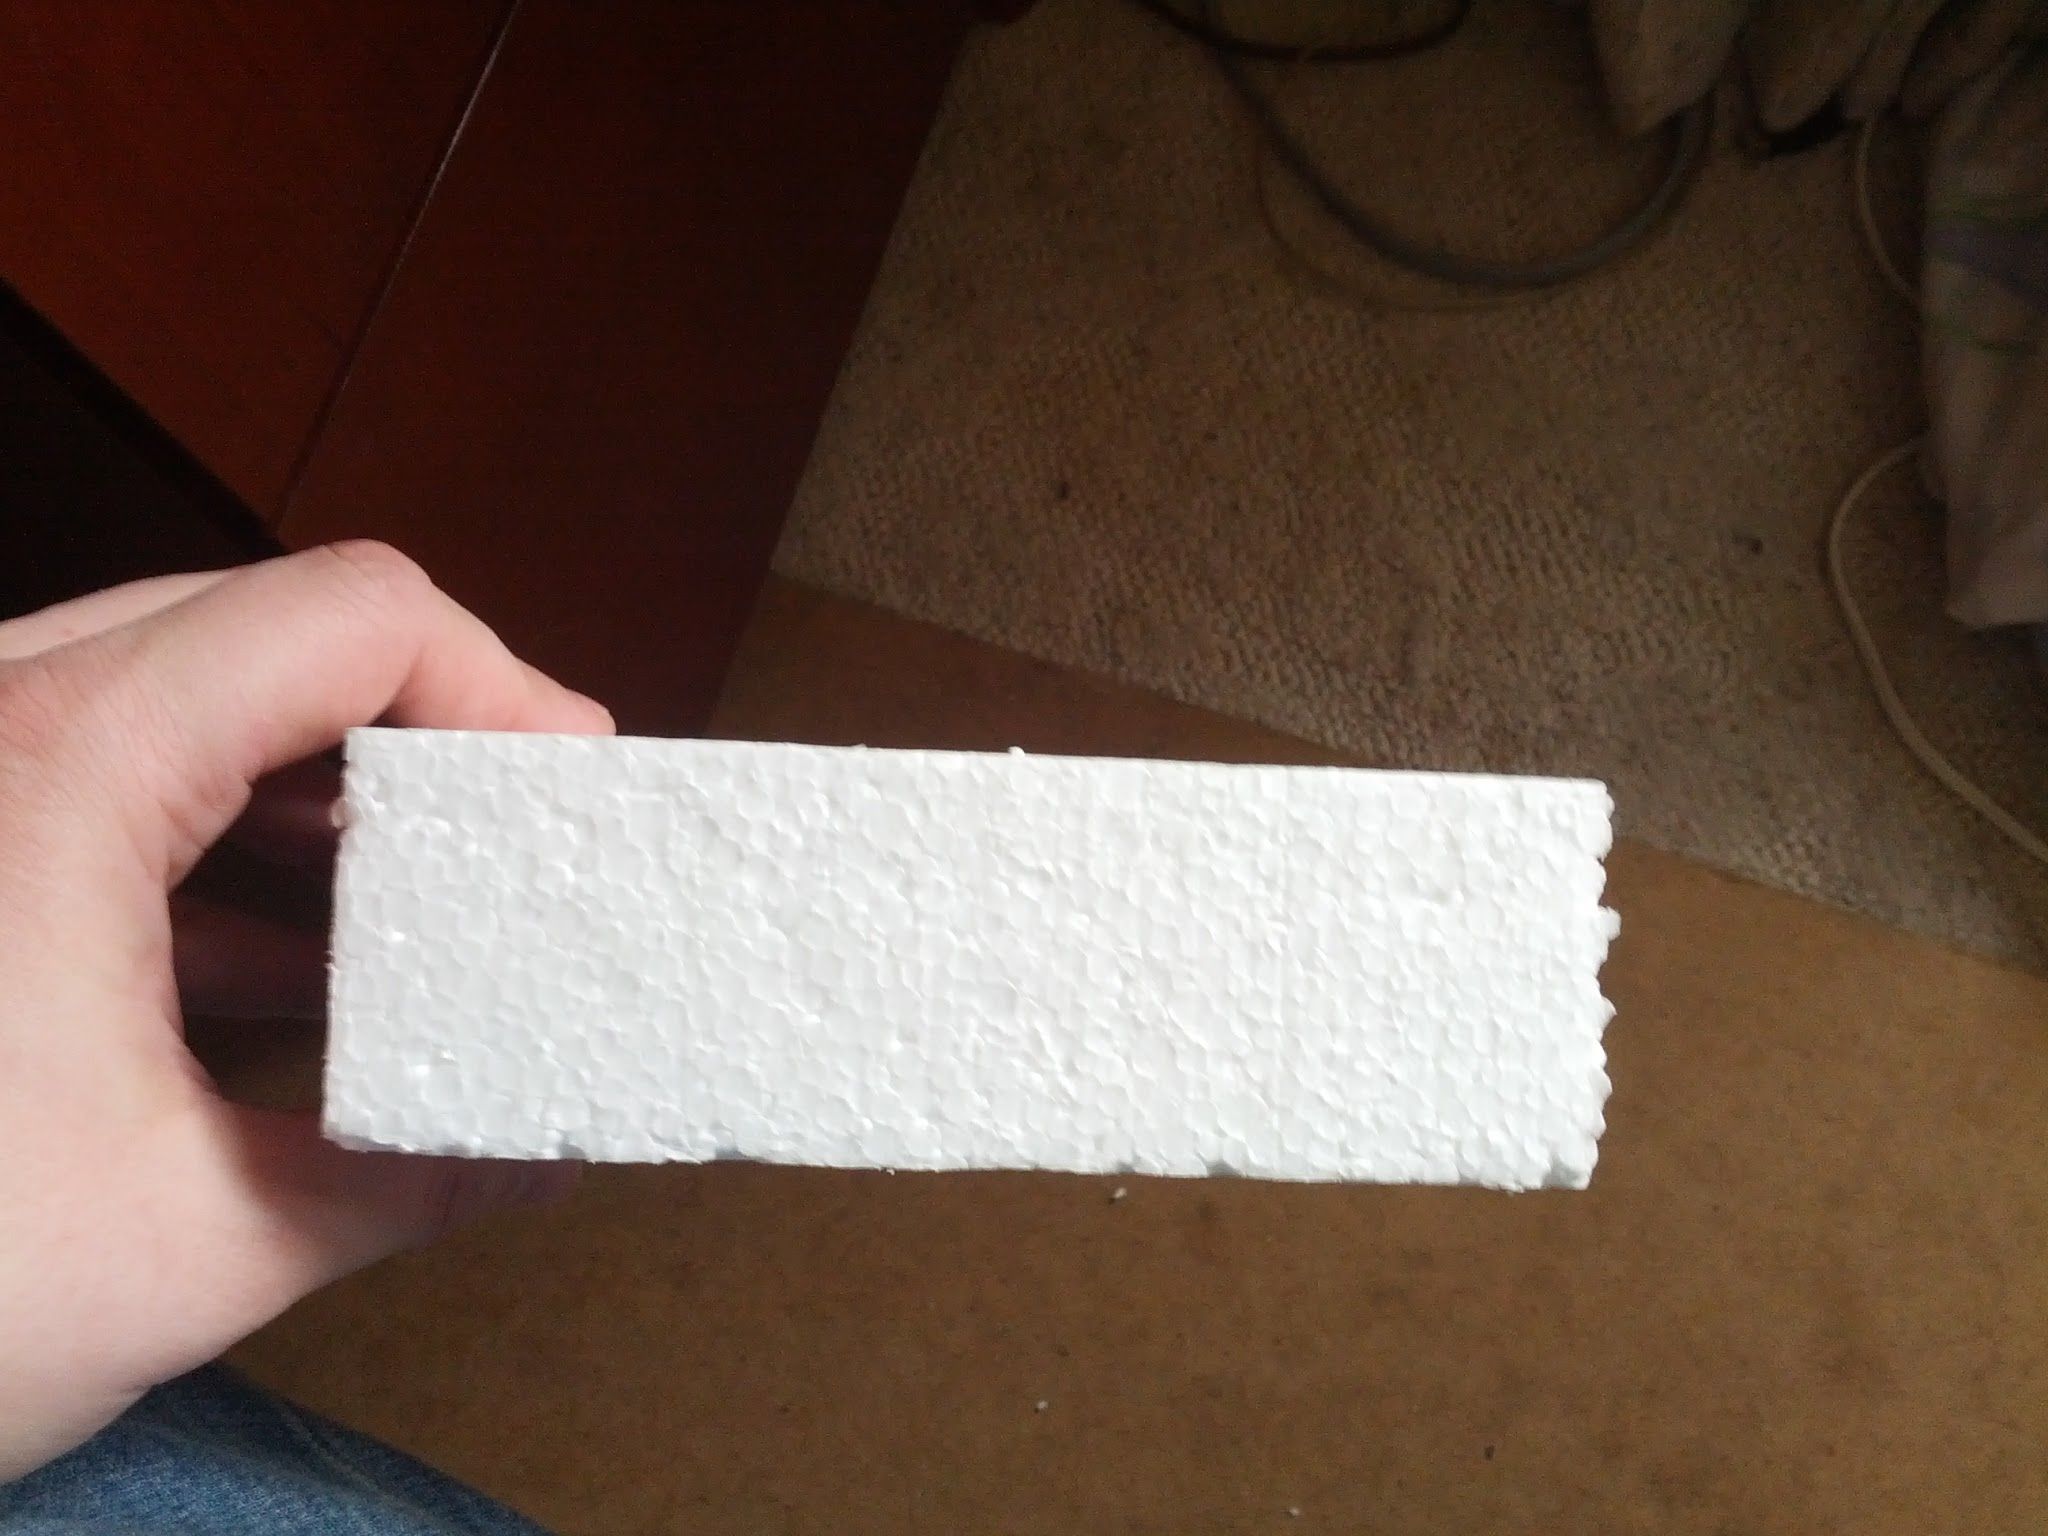
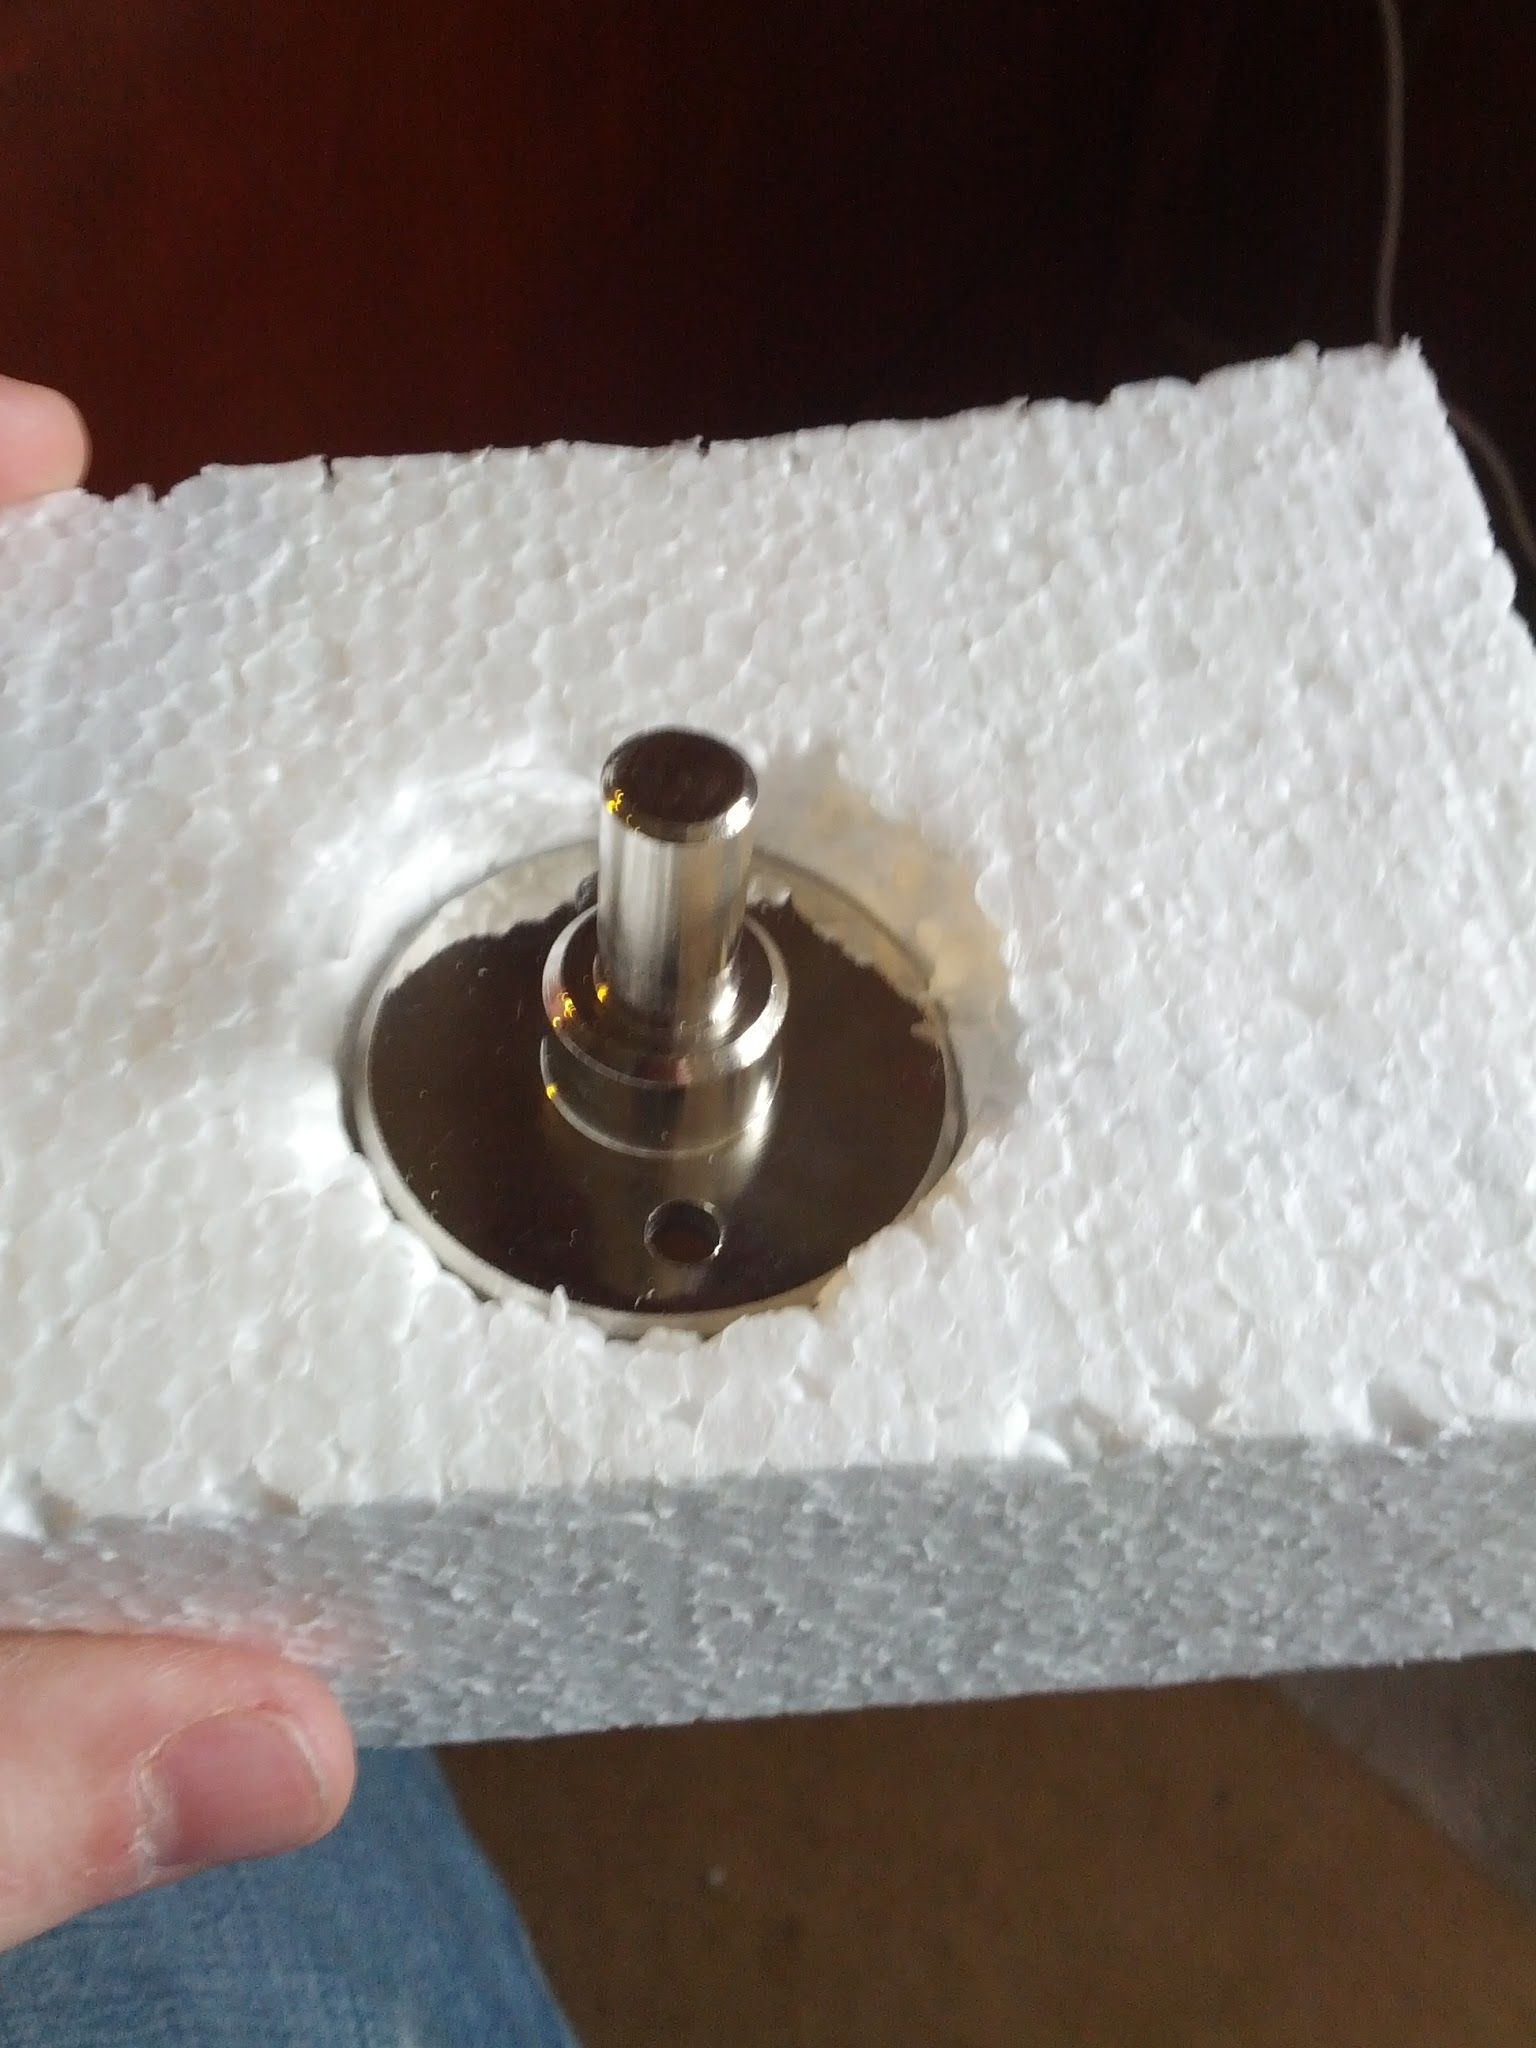
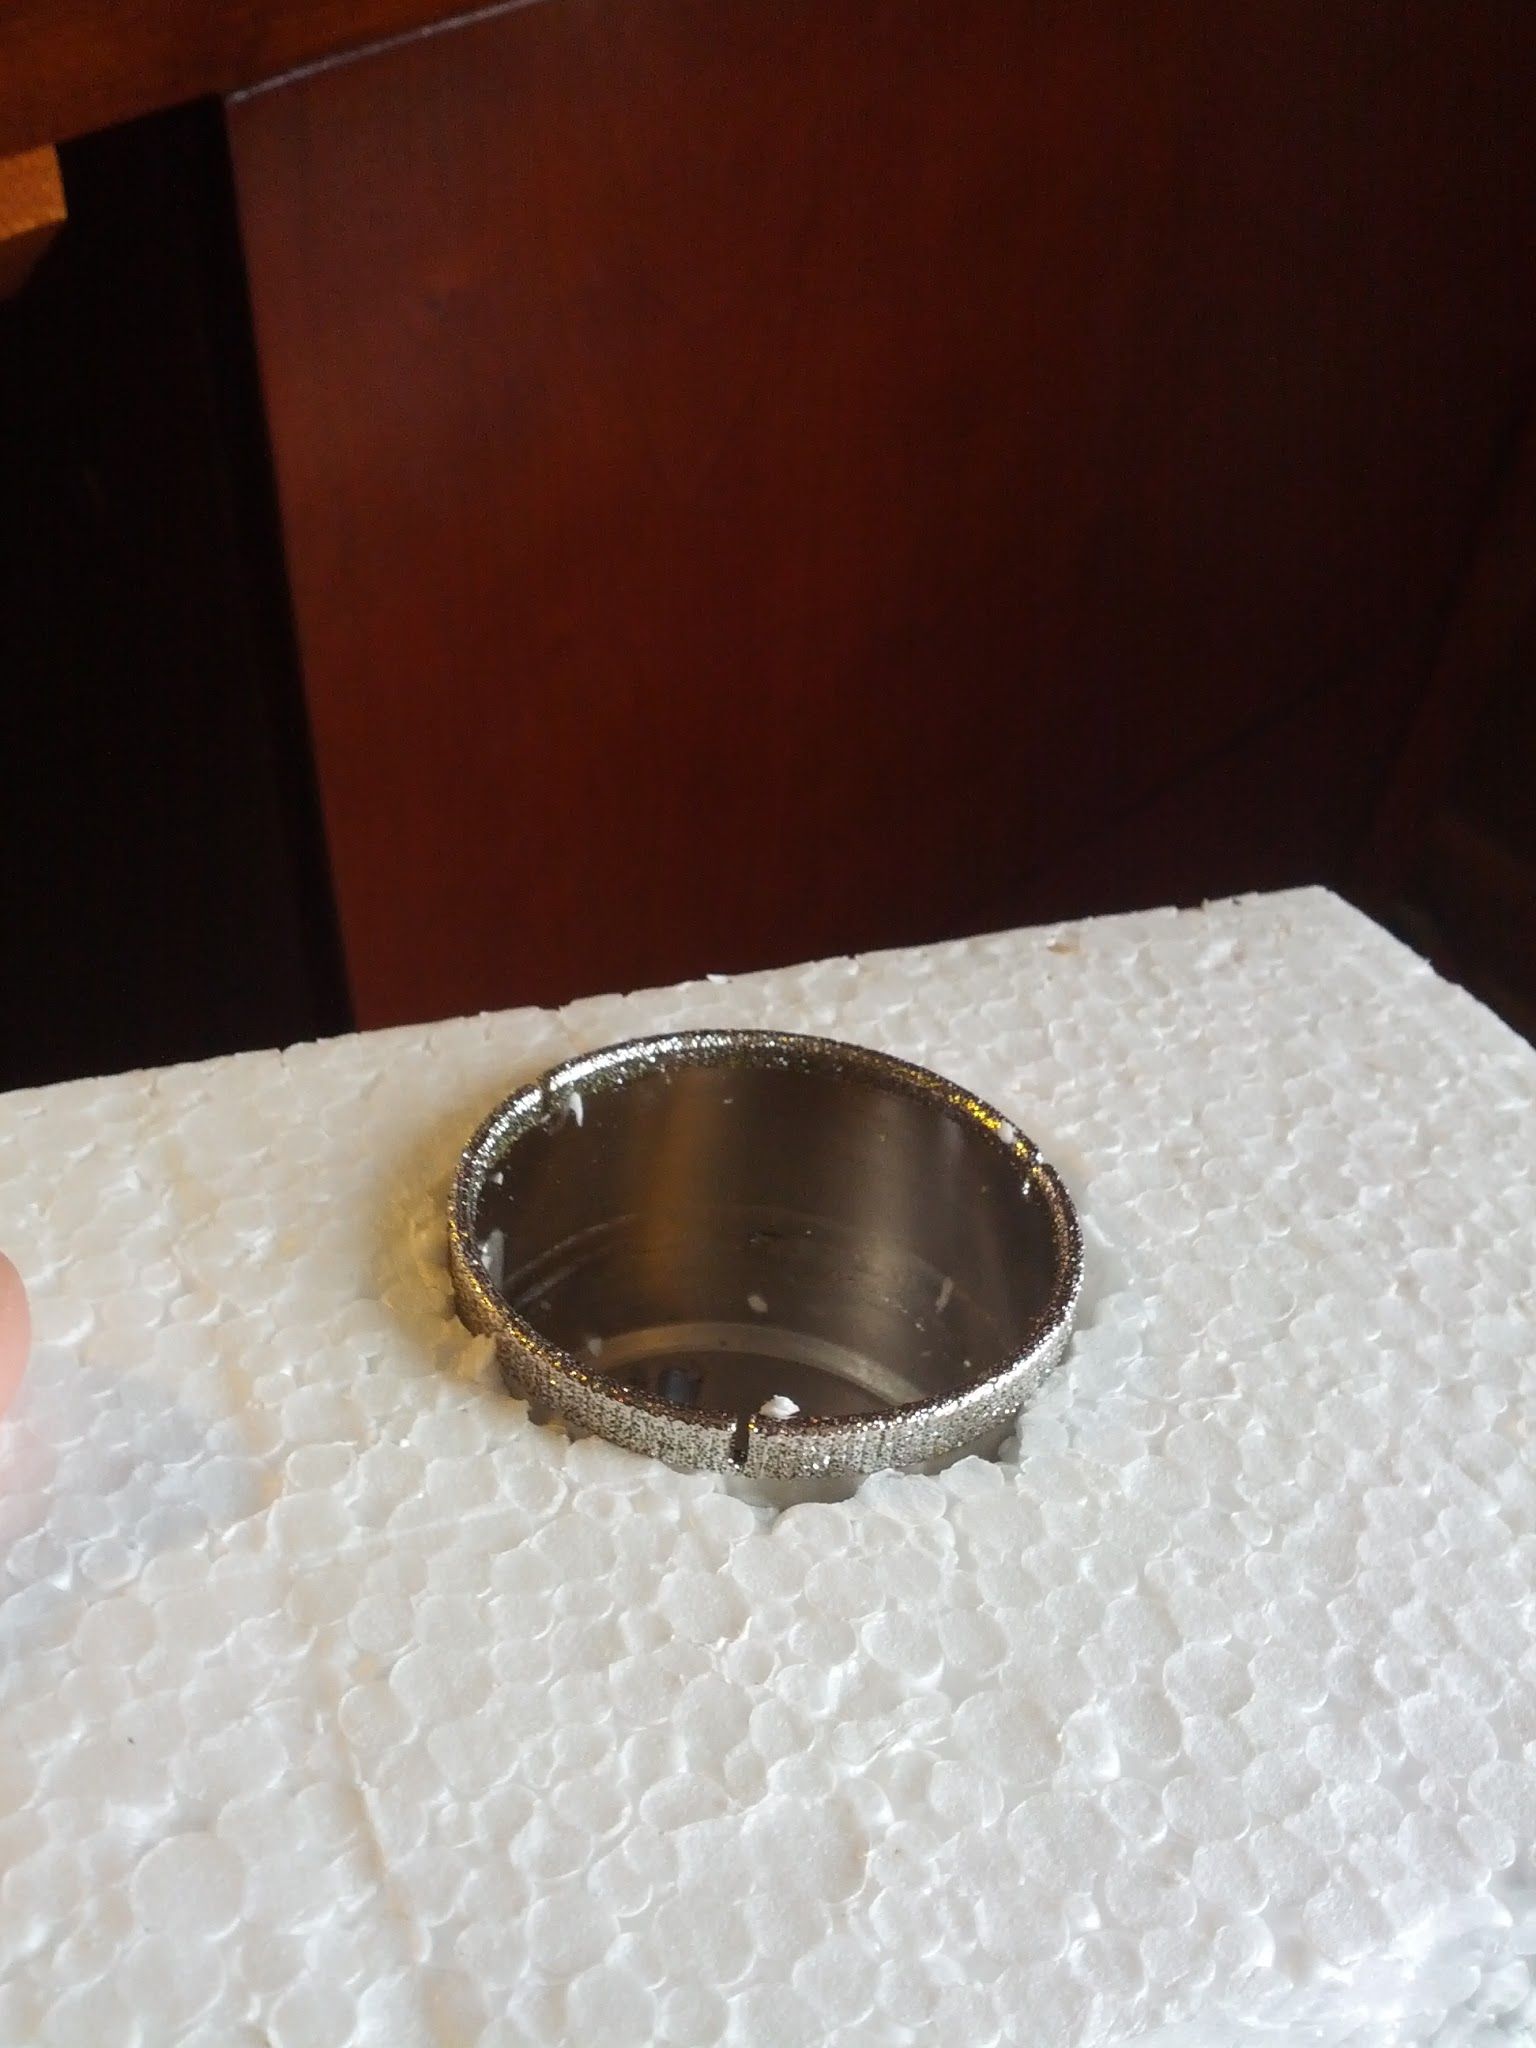
I started with a 45 mm diamond coated drill bit and my dewalt 20V cordless drill. I was going to drop $40 on a drill press attachment to keep the bit from walking around and scrapping the glass but I came up with a solution that cost me nothing but about 5 minutes of my time. I took a 2-3 inch thick pieces of packaging styrofoam and used the bit to create a 45 mm hole. I used a letter opener to cut the hole out.


This solution worked AWESOME! I was able to press down on the styrofoam and fill the hole with water to start my cut. I cut for about 1 min using the template, I was then able to remove the template and use the groove to complete the cut.

Overall all I was very happy with the results!
 

sweatervest13

Active Member
Quote:
Originally Posted by MarvelFan http:///t/393629/29-gallon-to-120-gallon-upgrade-build#post_3502858
I completed the glass cutting yesterday afternoon. It was a little nerve-racking doing it for the first time, but after the first couple holes were done it was actually really easy! It took about 10-15 min per hole for 1/2 inch glass. (First hole took me 30 minutes due to being very very cautious and running slowly with low RPM's and too little pressure)
I started with a 45 mm diamond coated drill bit and my dewalt 20V cordless drill. I was going to drop $40 on a drill press attachment to keep the bit from walking around and scrapping the glass but I came up with a solution that cost me nothing but about 5 minutes of my time. I took a 2-3 inch thick pieces of packaging styrofoam and used the bit to create a 45 mm hole. I used a letter opener to cut the hole out.


This solution worked AWESOME! I was able to press down on the styrofoam and fill the hole with water to start my cut. I cut for about 1 min using the template, I was then able to remove the template and use the groove to complete the cut.

Overall all I was very happy with the results!

Nice work!!!
Good job working smarter not harder. I have seen the styrofoam jig on a youtube video before. You can also start at a 45 degree angle and slowly work up to right on top of the drill going straight down. The trick is getting the groove in the glass.
I really like the sketchup of the build. Looks like you put a lot of time into the design of the system. I think you are going to find having the back of the tank fully accessible a major plus. Basically you will have a fish room to get all of your maintenance done out of the way.
 

acrylic51

Active Member
Looks good, but don't see any purpose for 3/4" pipe leading to 1" bulkheads.....A simple waste of bulkheads IMHO....3/4" is restrictive, let the pump breath and run 1" straight of your pump......As far as the BeanAnimal overflow you only need 1 valve on the pipe......Hopefully you read the complete thread and seen 2 of the valves were eliminated.....As far as your return plumbing I would spend the extra cash and get gate valves vs ball valves....Gate valves makes fine tuning more precise and easier.....
 

marvelfan

Member
acrylic, I'll think I'll run 1" return pipe.
I bought some loc lines to help with circulation. I'll be reducing the 1" bulk head returns on the inner side of the tank with a loc line Y adapter that reduces from 3/4 to two 1/2" loc lines that end with 2 1/4 inch loc line flare heads. My thinking was that I would maintain more pressure for circulation purposes. This way I would either not have to run any power heads or at least reduce the number of power heads in the aquarium. I'll be running a Eheim +Compact 5000 pump, return power should not be a problem. You think 1" would maintain enough pressure for the return system I have in mind. The loc line branches will be about 11" long each. 44" of loc line total.
I just got done attaching the the overflow box to the inner wall of the tank with silicon. Placed the order everything else I need to get this project cycling.
100 lbs of Dry rock (Currently have 44 lbs of live rock)
Eheim pump and 300W heater
I've been using a TaoTronic LED light for my 29 gallon with really good results, so I ordered a second one to hang over the other half of the 120 gallon. Hopefully it will be enough light. I may have to get a 3rd, but we will see.
Gonna try the Red Sea Pro salt mix
Also picked up a carbon and GFO reactor for down the road.
My current skimmer is only rated for 60 gallons, so I'll have to upgrade that eventually, but it will be better then nothing.
 

marvelfan

Member
Quote:
Originally Posted by acrylic51 http:///t/393629/29-gallon-to-120-gallon-upgrade-build#post_3503400
Hopefully you read the complete thread and seen 2 of the valves were eliminated...
Actually I haven't seen this. I went back and I"m trying to find where this was mentioned. I have only seen it implemented with all 3 valves. From what I have read is it same to assume the valve only goes on the fully closed stand pipe, but the emergence and secondary (open to the air) don't need the valves?
That is the only way that would make sense to me if you had to remove 2 of them.
 

acrylic51

Active Member
Quote:
Originally Posted by MarvelFan http:///t/393629/29-gallon-to-120-gallon-upgrade-build#post_3503499
Actually I haven't seen this. I went back and I"m trying to find where this was mentioned. I have only seen it implemented with all 3 valves. From what I have read is it same to assume the valve only goes on the fully closed stand pipe, but the emergence and secondary (open to the air) don't need the valves?
That is the only way that would make sense to me if you had to remove 2 of them.
It's in there....If you go back to the very first page of the thread, and the thread is split, and you have to go the the very beginning of the thread, and it might be a few pages from the very front about when guys started running and tweaking the design, that it was found it wasn't needed....Actually if you check out my build thread, and I actually run the design already, you will see that it isn't needed at all.....Trust me I have way to much water flowing to hapharzadly skimp on valves.....I have no issue spending money on plumbing, but if it's not totally needed why spend the money, plus I don't use sched 40 or cheap valves only sched 80 so quite expensive in the larger sizes.......Check out my build thread and you'll see. Once you fine tune the system it's scary......Unplug it all day long and fire it back up and resets itself like clock work......

The valve in the middle is all you need for the BeanAnimal design.....The gate valves on either side of the overflow box are for my return lines going back into the tank.....Again browse my build thread at the pics it might give you some other ideas, and plenty of pics on a CL which might be advantageous to you since you don't want PH's in the DT......
Quote:
Originally Posted by MarvelFan
http:///t/393629/29-gallon-to-120-gallon-upgrade-build#post_3503495
acrylic, I'll think I'll run 1" return pipe.
I bought some loc lines to help with circulation. I'll be reducing the 1" bulk head returns on the inner side of the tank with a loc line Y adapter that reduces from 3/4 to two 1/2" loc lines that end with 2 1/4 inch loc line flare heads. My thinking was that I would maintain more pressure for circulation purposes. This way I would either not have to run any power heads or at least reduce the number of power heads in the aquarium. I'll be running a Eheim +Compact 5000 pump, return power should not be a problem. You think 1" would maintain enough pressure for the return system I have in mind. The loc line branches will be about 11" long each. 44" of loc line total.
I just got done attaching the the overflow box to the inner wall of the tank with silicon. Placed the order everything else I need to get this project cycling.
100 lbs of Dry rock (Currently have 44 lbs of live rock)
Eheim pump and 300W heater
I've been using a TaoTronic LED light for my 29 gallon with really good results, so I ordered a second one to hang over the other half of the 120 gallon. Hopefully it will be enough light. I may have to get a 3rd, but we will see.
Gonna try the Red Sea Pro salt mix
Also picked up a carbon and GFO reactor for down the road.
My current skimmer is only rated for 60 gallons, so I'll have to upgrade that eventually, but it will be better then nothing.
Looking at your return pump, but your trying to create pressure and doesn't need to be created......You will get no real benefit by what your trying to do......You could do the same thing with a "Penducator" or "Educator"....These are special designed nozzles for increase pressure/flow inside the tank......You throttling it down or back like that is something similar to creating a venturi......I don't even understand the idea of dropping the bulkhead from 1" reducing to 3/4"-1/2" then down to 1/4"......Your flow will be horrible......I wouldn't see a real issue with running 3/4" and then reducing to 3/4" off the bulkhead, but worse case scenario reduce it to 1/2", but no way would I drop it 1/4".....Honestly I wouldn't even drop it to 1/2".....You will see no pressure gain IMO........
If you want to run pressure why not bump up to a bigger pump.....I haven't check prices on your pump, but I know there's probably a few better options, and nothing wrong with Eheim, but WB pumps would give you more flow, and now I think about it, your trying to make a flow pump a pressure pump, and that's not happening.....If you want to blow water why not look into a pressure rated pump, but then again still wouldn't reduce it as your planning......Tons of ways to skin a cat, but I think your overly complicating something that doesn't need to be done.
After reading your post here again I understand what your trying to do and the answer is NO.....Your trying to eliminate running PH's or such, and your trying to get all your flow through your return pump.....It's not effective by any means, and you'll see trying to run everything through your return pump and sump will create issue with your skimmer, and possible create mad micro bubbles in the DT from pushing mad flow through the sump......I think I recall you saying about using a 29 gallon for a sump.....Definitely not going to push mad flow like your planning through it, so I state again your plan of using the return pump to accomplish all your flow needs just won't happen......
 

acrylic51

Active Member
Quote:
Originally Posted by MarvelFan http:///t/393629/29-gallon-to-120-gallon-upgrade-build#post_3503499
Actually I haven't seen this. I went back and I"m trying to find where this was mentioned. I have only seen it implemented with all 3 valves. From what I have read is it same to assume the valve only goes on the fully closed stand pipe, but the emergence and secondary (open to the air) don't need the valves?
That is the only way that would make sense to me if you had to remove 2 of them.
Correct....goes on the siphon line/bulkhead.....Your secondary has the little air line on the top of the standpipe....When you tune the system in your close the valve till you barely have a trickle running into the secondary.........It takes a bit to tune it (5-10) minutes and done....Would actually be easier to tune the system if you use gate valves vs ball valve.
 

marvelfan

Member
Quote:
Originally Posted by acrylic51 http:///t/393629/29-gallon-to-120-gallon-upgrade-build#post_3503514
These are special designed nozzles for increase pressure/flow inside the tank......You throttling it down or back like that is something similar to creating a venturi......I don't even understand the idea of dropping the bulkhead from 1" reducing to 3/4"-1/2" then down to 1/4"......Your flow will be horrible......I wouldn't see a real issue with running 3/4" and then reducing to 3/4" off the bulkhead, but worse case scenario reduce it to 1/2", but no way would I drop it 1/4".....Honestly I wouldn't even drop it to 1/2".....You will see no pressure gain IMO........
I can see what you mean. There was a misunderstanding. I will be having the 1" returns attached to a 3/4" loc-line Y adapter. The Y adapter branches into 2 1/2 loc-lines. on the end of the loc-lines i will have 2-1/4" flare heads. i'm not reducing to 1/4.
You'r probably right that I won't get the flow I thought I would, but I think it should be enough to at least to agitate the surface or maybe point it at a coral or two. I'm sure I'll have to run some power heads as well.
I'll look up your tank build. It looks really nice from the picture you posted. Thanks for the input. I'll keep you guys posted as I work.
Today I ended up constructing a false wall 14" off the existing all the tank is going up against. It turns out one of the studs on the existing wall was in the way of the overflow plumbing and I couldn't get the tank flush and centered on that wall that way it was. I'll post some pictures this week. Now I have a small area where I can place a sump and top off tanks, etc.
 

acrylic51

Active Member
Quote:
Originally Posted by MarvelFan http:///t/393629/29-gallon-to-120-gallon-upgrade-build#post_3503664
I can see what you mean. There was a misunderstanding. I will be having the 1" returns attached to a 3/4" loc-line Y adapter. The Y adapter branches into 2 1/2 loc-lines. on the end of the loc-lines i will have 2-1/4" flare heads. i'm not reducing to 1/4.
You'r probably right that I won't get the flow I thought I would, but I think it should be enough to at least to agitate the surface or maybe point it at a coral or two. I'm sure I'll have to run some power heads as well.
I'll look up your tank build. It looks really nice from the picture you posted. Thanks for the input. I'll keep you guys posted as I work.
Today I ended up constructing a false wall 14" off the existing all the tank is going up against. It turns out one of the studs on the existing wall was in the way of the overflow plumbing and I couldn't get the tank flush and centered on that wall that way it was. I'll post some pictures this week. Now I have a small area where I can place a sump and top off tanks, etc.
Very cool sorry about the misunderstanding.....I can't read!!!!! I still don't see the point in reducing to 1/2".....The key is not velocity its more about efficient flow.....You don't want to point your returns towards your corals and such, but use your tank and pump efficiently......Meaning, you could aim your returns towards your side panels of the tank and use the angles of the tank to move the water.....Gentle flow and doesn't need to be velocity......Another point I'd like to make is you should be using the returns to keep detrious suspended in the water column to push it towards your overflow.....This is the correct way to utilize your returns....A concept most don't know or don't fully understand.....There are some extensive threads pages, websites on this idea on trying to replicate what occurs in nature and how we can accomplish that in our tanks.....Even in my build thread I talk a bit about this idea and even have a good link to a very good site on this exact subject......
Wall studs in the way......Your kidding me!!!!!
That's why Lowes or HomeDepot sells Sawzalls........
 

marvelfan

Member
Quote:
Originally Posted by acrylic51 http:///t/393629/29-gallon-to-120-gallon-upgrade-build#post_3503676
Wall studs in the way......Your kidding me!!!!!
That's why Lowes or HomeDepot sells Sawzalls........
Thanks for the info Acrylic! I actually started ripping the existing wall out (I had the Sawzall out and ready), when I got to the set of studs/supports that were the ones actually in the way I realized they were load bearing supports for the staircase. After some contemplation I decided to build the new wall out from the old one. I think it turns out to be a good solution as I can use that extra space between the walls to store my sump and have easier access to all my equipment.
I've been reading over your build thread and I'm about half way through. I'll take a look at the flow pattern material. I've started to read some of it on the thread. Very cool! Thanks.
 

marvelfan

Member
Update time. Over the last two day I drywalled, and put up the first layer of mud on the "fish corner". I'll post some pictures later. First time working with drywall and mudding, but its not to bad. Little messy and I"m sure I'll have a lot of sanding to do since my knife skills are lacking, but i hope to get the primer up sometime by the end of the weekend.
I also placed an order for a Reefkeeper Elite Plus system today. Always wanted a controller, but never had the extra funds to justify it (still don't, but I found a good sale.. Early Christmas present for myself!!!). Pretty much have what I need to start my tank assembly once the construction is done.
Thanks for all the input so far. Appreciate all the help.
Acrylic, I returned all the 3/4" fittings for the return and up-sized to 1" fittings. I also returned the extra 2 valves for the overflow. Just running the one valve on the main siphon drop. Thanks for catching that.
 

acrylic51

Active Member
Quote:
Originally Posted by MarvelFan http:///t/393629/29-gallon-to-120-gallon-upgrade-build#post_3504040
Update time. Over the last two day I drywalled, and put up the first layer of mud on the "fish corner". I'll post some pictures later. First time working with drywall and mudding, but its not to bad. Little messy and I"m sure I'll have a lot of sanding to do since my knife skills are lacking, but i hope to get the primer up sometime by the end of the weekend.
I also placed an order for a Reefkeeper Elite Plus system today. Always wanted a controller, but never had the extra funds to justify it (still don't, but I found a good sale.. Early Christmas present for myself!!!). Pretty much have what I need to start my tank assembly once the construction is done.
Thanks for all the input so far. Appreciate all the help.
Acrylic, I returned all the 3/4" fittings for the return and up-sized to 1" fittings. I also returned the extra 2 valves for the overflow. Just running the one valve on the main siphon drop. Thanks for catching that.
Sounds super.....Drywall takes a little practice, but once you get the mudding down it's pretty simple.....I think a big key is hanging the drywall correctly which makes the mud process easier....I've done way to much drywall, mud work, and actually have gotten it down pretty good with just getting away with using a sponge and water as the sanding process....Less dust and mess as well.....
Which you would have actually held off on your controller purchase....Price might have been advantageous, but you'll find the ReefKeeper is lack luster and isn't keeping up with the changes......Hopefully you can cancel before they ship, but I'd still opt to return that piece as well, and go Apex....Way better controller for the money.......
 

marvelfan

Member
Just got the first coat of primer on the walls. Have some little touch ups to do with the mud it seems, but nothing major.

Their is a 14" pocket wall section for plumbing buckets and my refugium.(before priming)

I also completed my screen tops

Also decided to do a 2 chamber sump and a seperate refgium .. Got a 40 gallon breeder for $30 on CL and then bought some baffles.

Also started some rock work. Did this last night with some fiberglass rods. I kinda like the pillar looks. Looking foward to some more work later this week.
 

acrylic51

Active Member
Looks good!!!!!!
A good coat of primer on the walls will always reveal any flaws, but super easy to touch up though......Like the rock work.....Takes a little time, but the results can be amazing....
 

marvelfan

Member
Yeah... I'm looking forward to doing some more rock work. Just ordered a 3/8" masonry bit. The right tools make the job that much easier. I was trying to use a regular bit the other night. Just wasn't cutting it (literally).
One more coat of primer tonight. Picking out the paint tonight. Fiancee wants a seafoam blue/green. I'm hoping it complements the tank in the end.
 

reefr

Member
trick for you.
when sizing skimmers, add your sumps total volume and any other tanks plumbed into system into the theory.
ex. 120g tank+50g sump/fuge= 170g skimmer, NOT 120g skimmer.
 
Top