Brand New 90 Gal Build

clownsrcoo

Member
Well I will be glad to post pictures and give my thoughts on the rock when I get it but I won't have anything to offer as far as their cleaners go.
 

clownsrcoo

Member
Update:

So today I worked on cutting some egg crate for the lid of the tank and painting the back of the tank. Here are some poor pics of my progress. I planned on using Plasti-dip to paint the back of the tank and was VERY disappointed in that product. It came out mostly as a clear liquid with black specs of paint throughout. It was nothing like I have read it would be like. So I was searching the garage for anything else i could use and came across a can of Flex-seal. Its basically the same type of product (sprayable rubber paint) only this one is advertised as something that can be used to fix leaks in things like gutters, siding, or anything else where you dont want water leaking through. The texture of it when dry is almost like the spray on bed liner consistency. Feels very durable and sticks well but at the same time i know i can remove it with a razor blade if i chose too. If you want to use this stuff too my word of advise is to tape off your tank, spray this product on, and then immediately remove the tape. If you wait until this stuff has started to set you run the risk of peeling some of it off when removing the tape. IF you remove the tape when it is still wet you get nice clean lines and this product doesnt run at all. Its much too thick for that. Overall very pleased with the results.


?


Tomorrow i have help coming over and i should finish the formica on the stand and will be ready to put the tank up on it and start to plumb it in. Hopefully ill have some good pics of my system set up.

I picked up 40lbs of Caribsea live sand and 40lbs of aragonite.

My first 50lb shipment of florida base rock should be coming in Monday.
 

clownsrcoo

Member
Im not sure why the pics didnt post. Even when i try to go through photobucket it wont just show the pictures, it just shows the picture code and not the pic like it normally does.
 

silverado61

Well-Known Member
Just upload the photos from your computer to your profile. Then link them from there. That's what I do. Works great.
 

clownsrcoo

Member
Today I finished enough of the Formica to be able to put the tank on the stand. I decided to put some tap water in it to test the plumbing for leaks. I found that I cross threaded my coupling that I had screwed into the return bulkhead. I couldn't get it back off so I had to end up cutting the threads of the bulk head so I could pull that out from the tank. So I am going to order slip bulkheads and PVC glue the return line fitting instead of using the threaded ones.
I have a question for you l. I have never had a skimmer before and not sure how it's supposed to work. Do I need to do anything to get it started? Is there a priming process I have to do or anything? The reason I ask is because I had about 8" of water in my sump and plugged it in. It started making the bubbles at the bottom of the chamber and they rose up about 1/3 of the total length of the center chamber of the skimmer (the part that empties into the skim cup).
It wouldn't rise any further than that. Why is that? Maybey water level was too low? Any thoughts on that?
 

silverado61

Well-Known Member
Quote:
Originally Posted by clownsRcoo http:///t/396578/brand-new-90-gal-build/20#post_3533977
Today I finished enough of the Formica to be able to put the tank on the stand. I decided to put some tap water in it to test the plumbing for leaks. I found that I cross threaded my coupling that I had screwed into the return bulkhead. I couldn't get it back off so I had to end up cutting the threads of the bulk head so I could pull that out from the tank. So I am going to order slip bulkheads and PVC glue the return line fitting instead of using the threaded ones.
I have a question for you l. I have never had a skimmer before and not sure how it's supposed to work. Do I need to do anything to get it started? Is there a priming process I have to do or anything? The reason I ask is because I had about 8" of water in my sump and plugged it in. It started making the bubbles at the bottom of the chamber and they rose up about 1/3 of the total length of the center chamber of the skimmer (the part that empties into the skim cup).
It wouldn't rise any further than that. Why is that? Maybey water level was too low? Any thoughts on that?
I'm not too experienced with skimmers either but I do know that your tank needs to finish it's cycle and be stable for at least a month after the cycle finishes for the skimmer to do any good. A skimmer needs the "bad stuff" Nitrates and so on to cling to the bubbles. If there's nothing in the water to cling to the bubbles, they won't stay formed long enough to reach the top of the chamber and fall into the cup. If you really want to know answers about this, go to the "Special interests" forum, click on "Lighting, Equipment and DIY" and post the question there. You'll get a better explanation on how skimmers work. Or just go through the threads there and find your answers.

BTW: Tank and stand are looking awesome so far. I'm researching for a 75g build so I'll be following your progress.
 

clownsrcoo

Member
Yeh I know I don't need to run the skimmer yet but I wanted to plug it in and turn it on to get used to how it works before my return period on it is up.
 

clownsrcoo

Member
And thank you for the compliments. I appreciate it and have been going full blast on getting this tank set up by thanksgiving. It was disappointing not to have a full tank of water today to run through the system for a few days to verify no leaks. Guess that will have to wait until next weekend.
 

silverado61

Well-Known Member
But if theres nothing in the water to cling to the bubbles yet, you won't see any results in the collection cup. So until then, the bubbles won't reach the top of the chamber. So you won't see if the skimmers working correctly till there's something for it to collect.
 

clownsrcoo

Member
I just figured it would go a lot higher than that though. I didn't expect anything to spill over but it looked like it was barely doing much of anything.
 

clownsrcoo

Member
Oh and I almost forgot. I picked up my hardware today for the doors so here is what hey will look like. They will mount flush in the front so it should look very sleek and modern which is what I'm going for.


clownsrcoo

Member
When i was draining the overflow area so that i could remove the bulk heads i noticed i actually have a small leak. The silicone along the bottom edge of the left side of the overflow wall has a small leak that must be allowing water from the main portion of the tank to pass through and into the overflow via the silicone. So i ended up having to drain the main portion of the tank as well to stop the leak and went and got some silicone. I ran a thick bead all around the bottom seam of the overflow. I hope this will be a good enough fix. There wont be much water pressure trying to push that water through that seam so i dont think i needed anything that strong to fix it. I just dont like the fact that with a brand new tank i am starting out with a leak.
I did all of that on Monday so I have to wait until it fully cures by Wednesday night.
My rock came in yesterday though and i am very happy with it. I made a quick aquascape and will take pictures of it for you all to see. I ordered an epoxy stick and another 50lbs of the same rock today.
 

clownsrcoo

Member
So here are some pics of the base rock. It has some pretty interesting shape to it. My first attempt at some aquascaping.


clownsrcoo

Member
Hello everyone,
I finally have water in my tank. Here are some pics of the full tank and finished stand. I also picked up a 29gal biocube for a QT. That is set up and has shrimp floating in it now for the cycle.


clownsrcoo

Member
Hello everyone,
My tank has finished its cycle but I have a question about my rock. I have about 90lbs of base rock in the tank now. I had planned on adding some live rock in the tank as well to help seed the base rock. Once I got it all in my tank I don't see where I can add more rock which is why I never adding any live rock. Will my rock in the tank now become live? Do I have to have live rock in the tank to seed it or is it already seeded from the cycling process?
I have a 50/50 mix of live and aragonite sand as the substrate. Will this help as well?
Thanks
 

beaslbob

Well-Known Member
Quote:Originally Posted by clownsRcoo http:///t/396578/brand-new-90-gal-build/20#post_3535087
Hello everyone,
My tank has finished its cycle but I have a question about my rock. I have about 90lbs of base rock in the tank now. I had planned on adding some live rock in the tank as well to help seed the base rock. Once I got it all in my tank I don't see where I can add more rock which is why I never adding any live rock. Will my rock in the tank now become live? Do I have to have live rock in the tank to seed it or is it already seeded from the cycling process?
I have a 50/50 mix of live and aragonite sand as the substrate. Will this help as well?
Thanks

Your rock will eventually become live. Meanwhile there can be low to no spikes if you balance out the tank with macro algaes to consumer any ammonia being generated.
by adding chaeto for instance you can usually get lotsa pods in the process.
my .02
 

clownsrcoo

Member
So its been a while since my last posts but here are some updates on the tank and my progress so far.

My QT tank cycled in about 2 weeks which was a surprise to me. My DT took about 4 weeks to finish its cycle. My first fish i tried was a purple firefish and unfortunately I wasnt as prepared as i thought for it when i bought it. I ended up struggling with my acclimation technique and shocked that fish. It only lived about 3 days. I was pretty disappointed so i decided i was going to do lots of research before i tried again. I did the drip acclimation method for that fish and had problems from the start. I keep my water change station in the garage and the night before we had a really cold night and that dropped my water temp big time. My QT had just finished its cycle a few days before buying this fish and i still needed to do the 30% water change that i planned on when the cycle finished. I figured i could do that easily while i floated the fish. Well i failed to take into account that the water i would be putting back in the tank was like 20 degrees colder and it ended up dropping my tank temp 10 degrees. So while i dripped the fish i probably shocked it so bad it never recovered and eventually died.

So i read a lot about other peoples methods and decided on a new technique. I would keep my QT tank salinity low while nothing is in it; like 1.018. When I purchased my next fish (pair of ocellaris) I used a needle to poke a small hole in the bag below the water level so as not to allow oxygen and release of the CO2 in the bag. I got enough water out to test the salinity and found my LFS keeps theirs at 1.020. So I taped the hole closed and floated the bag and set my timer for 15 minutes. While they were floating I raised the salinity to match that of the bag and right at 15 minutes i opened the bag and netted them out and into the tank. This time it went very well and was very easy. I kept them there for a little over 3 weeks raising the salinity slowly over that time to match my DT (1.025). After that time I hadnt noticed any effects of the acclimation or parasites so i decided i was fine to move them over. They have been in the DT for about another 3 weeks now and they are loving it. They are very active and eating well.

I now have a pair of Picasso clowns in my QT that have been there for a week. I did a water change a day before getting these and changed the carbon on the filter media basket. The acclimation went fine and they seemed good. I tested the water the next day and noticed my ammonia went up to .25 and i figured that was from their stress from the acclimation. So i was a little worried about these guys starting off on a bad note. I did a 10 gal water change and that put the ammonia back to 0. I have added a heater to my storage tanks so that i wont have the same problem as my firefish. I was happy to see the 0 ammonia again. After that change 1 of the fish looked like he wasnt doing so well though and that scared me. Its been 5 days since then and they both are doing fine and eating well so i think all is going to be well with them.

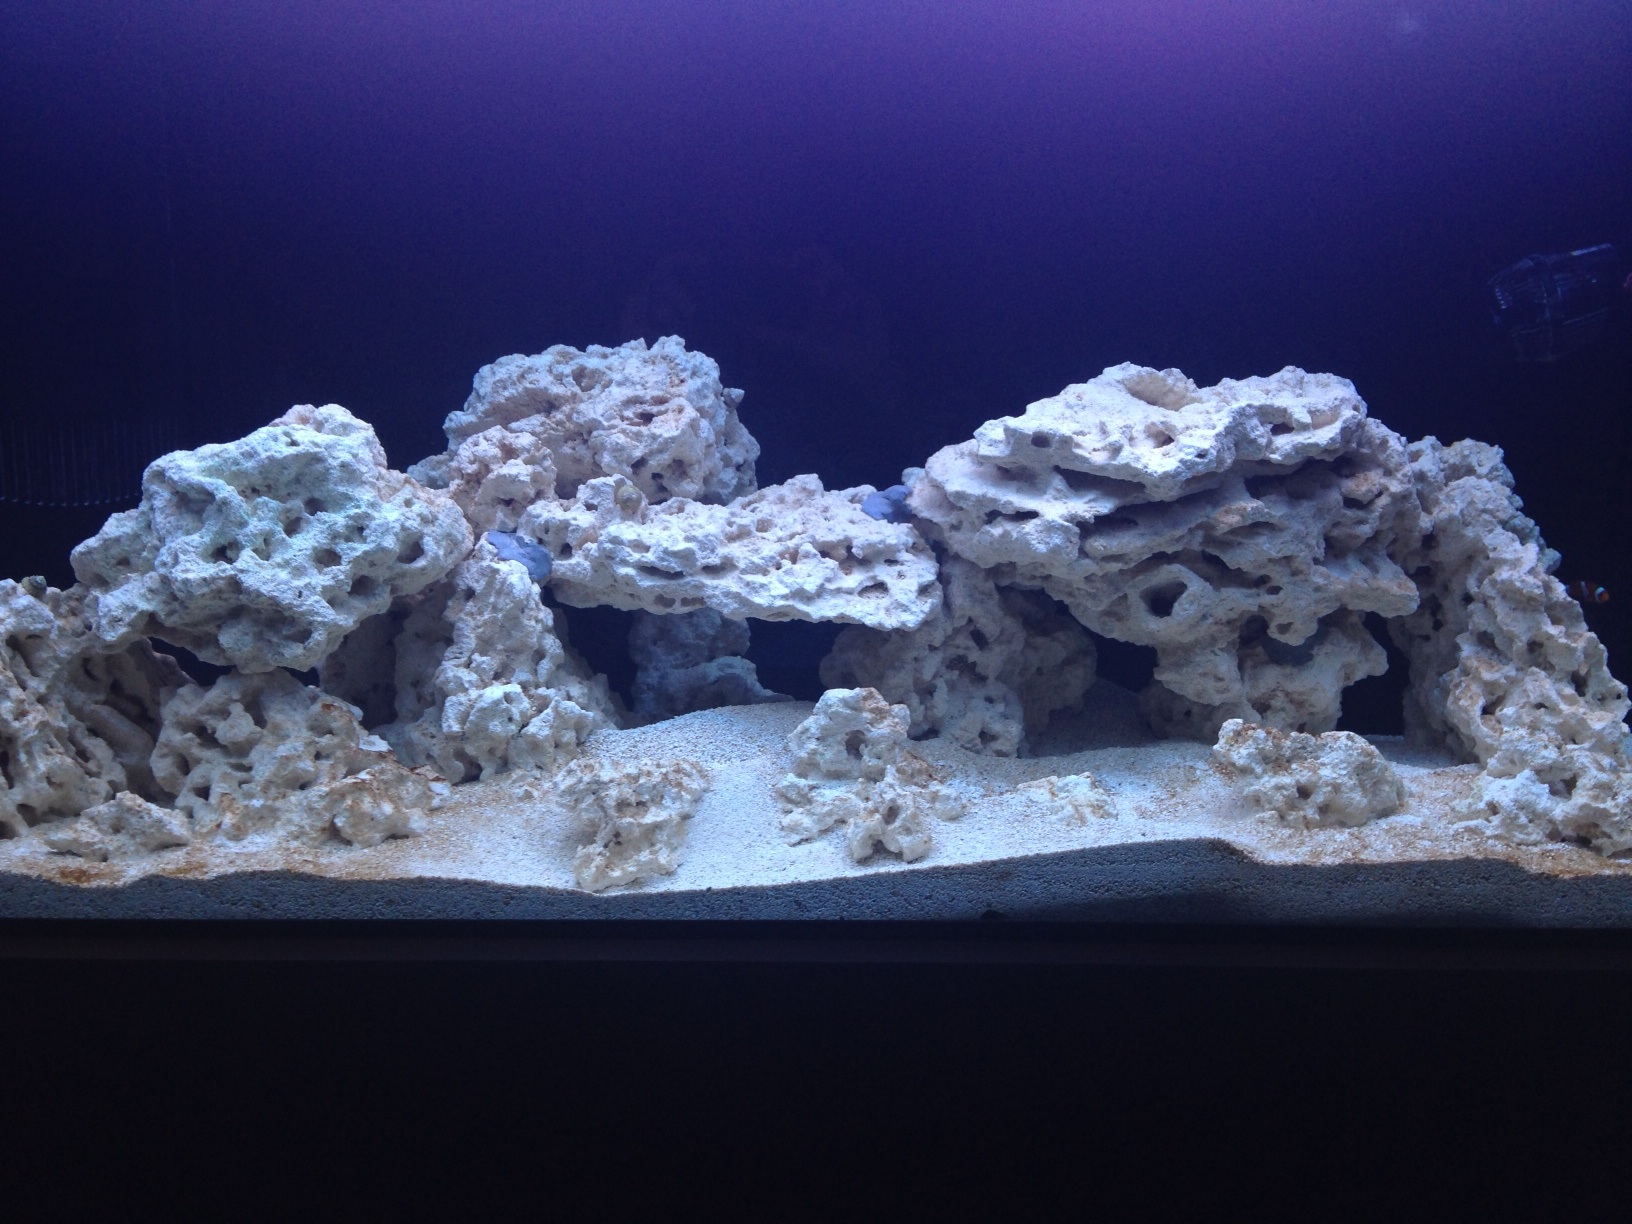
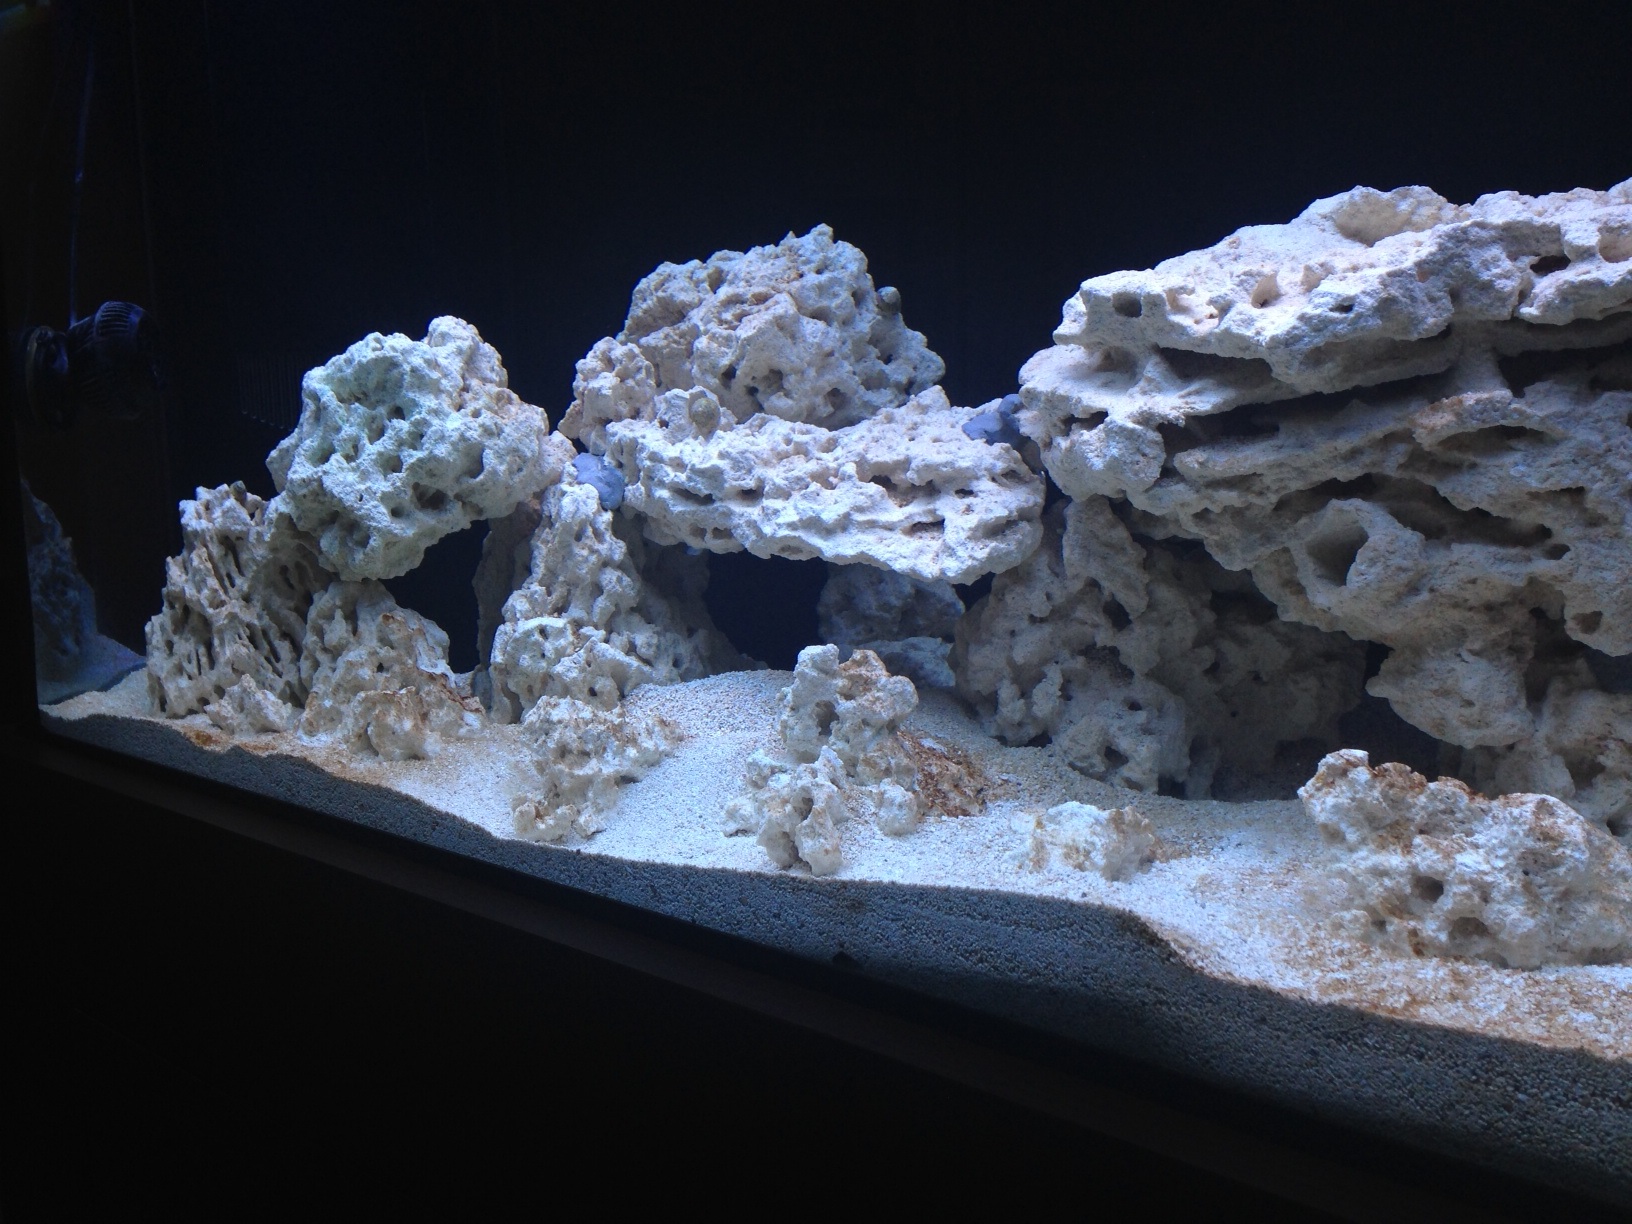
My phosphate levels are climbing in both tanks and im getting algae problems. It looks like Diatoms. Ive read this is normal for new tanks but have started my CC for each to combat this. Today i also purchased some Chaeto algae to help combat this in my DT. I hope this will help bring it back down from .09 in my DT to closer to 0.


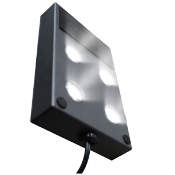
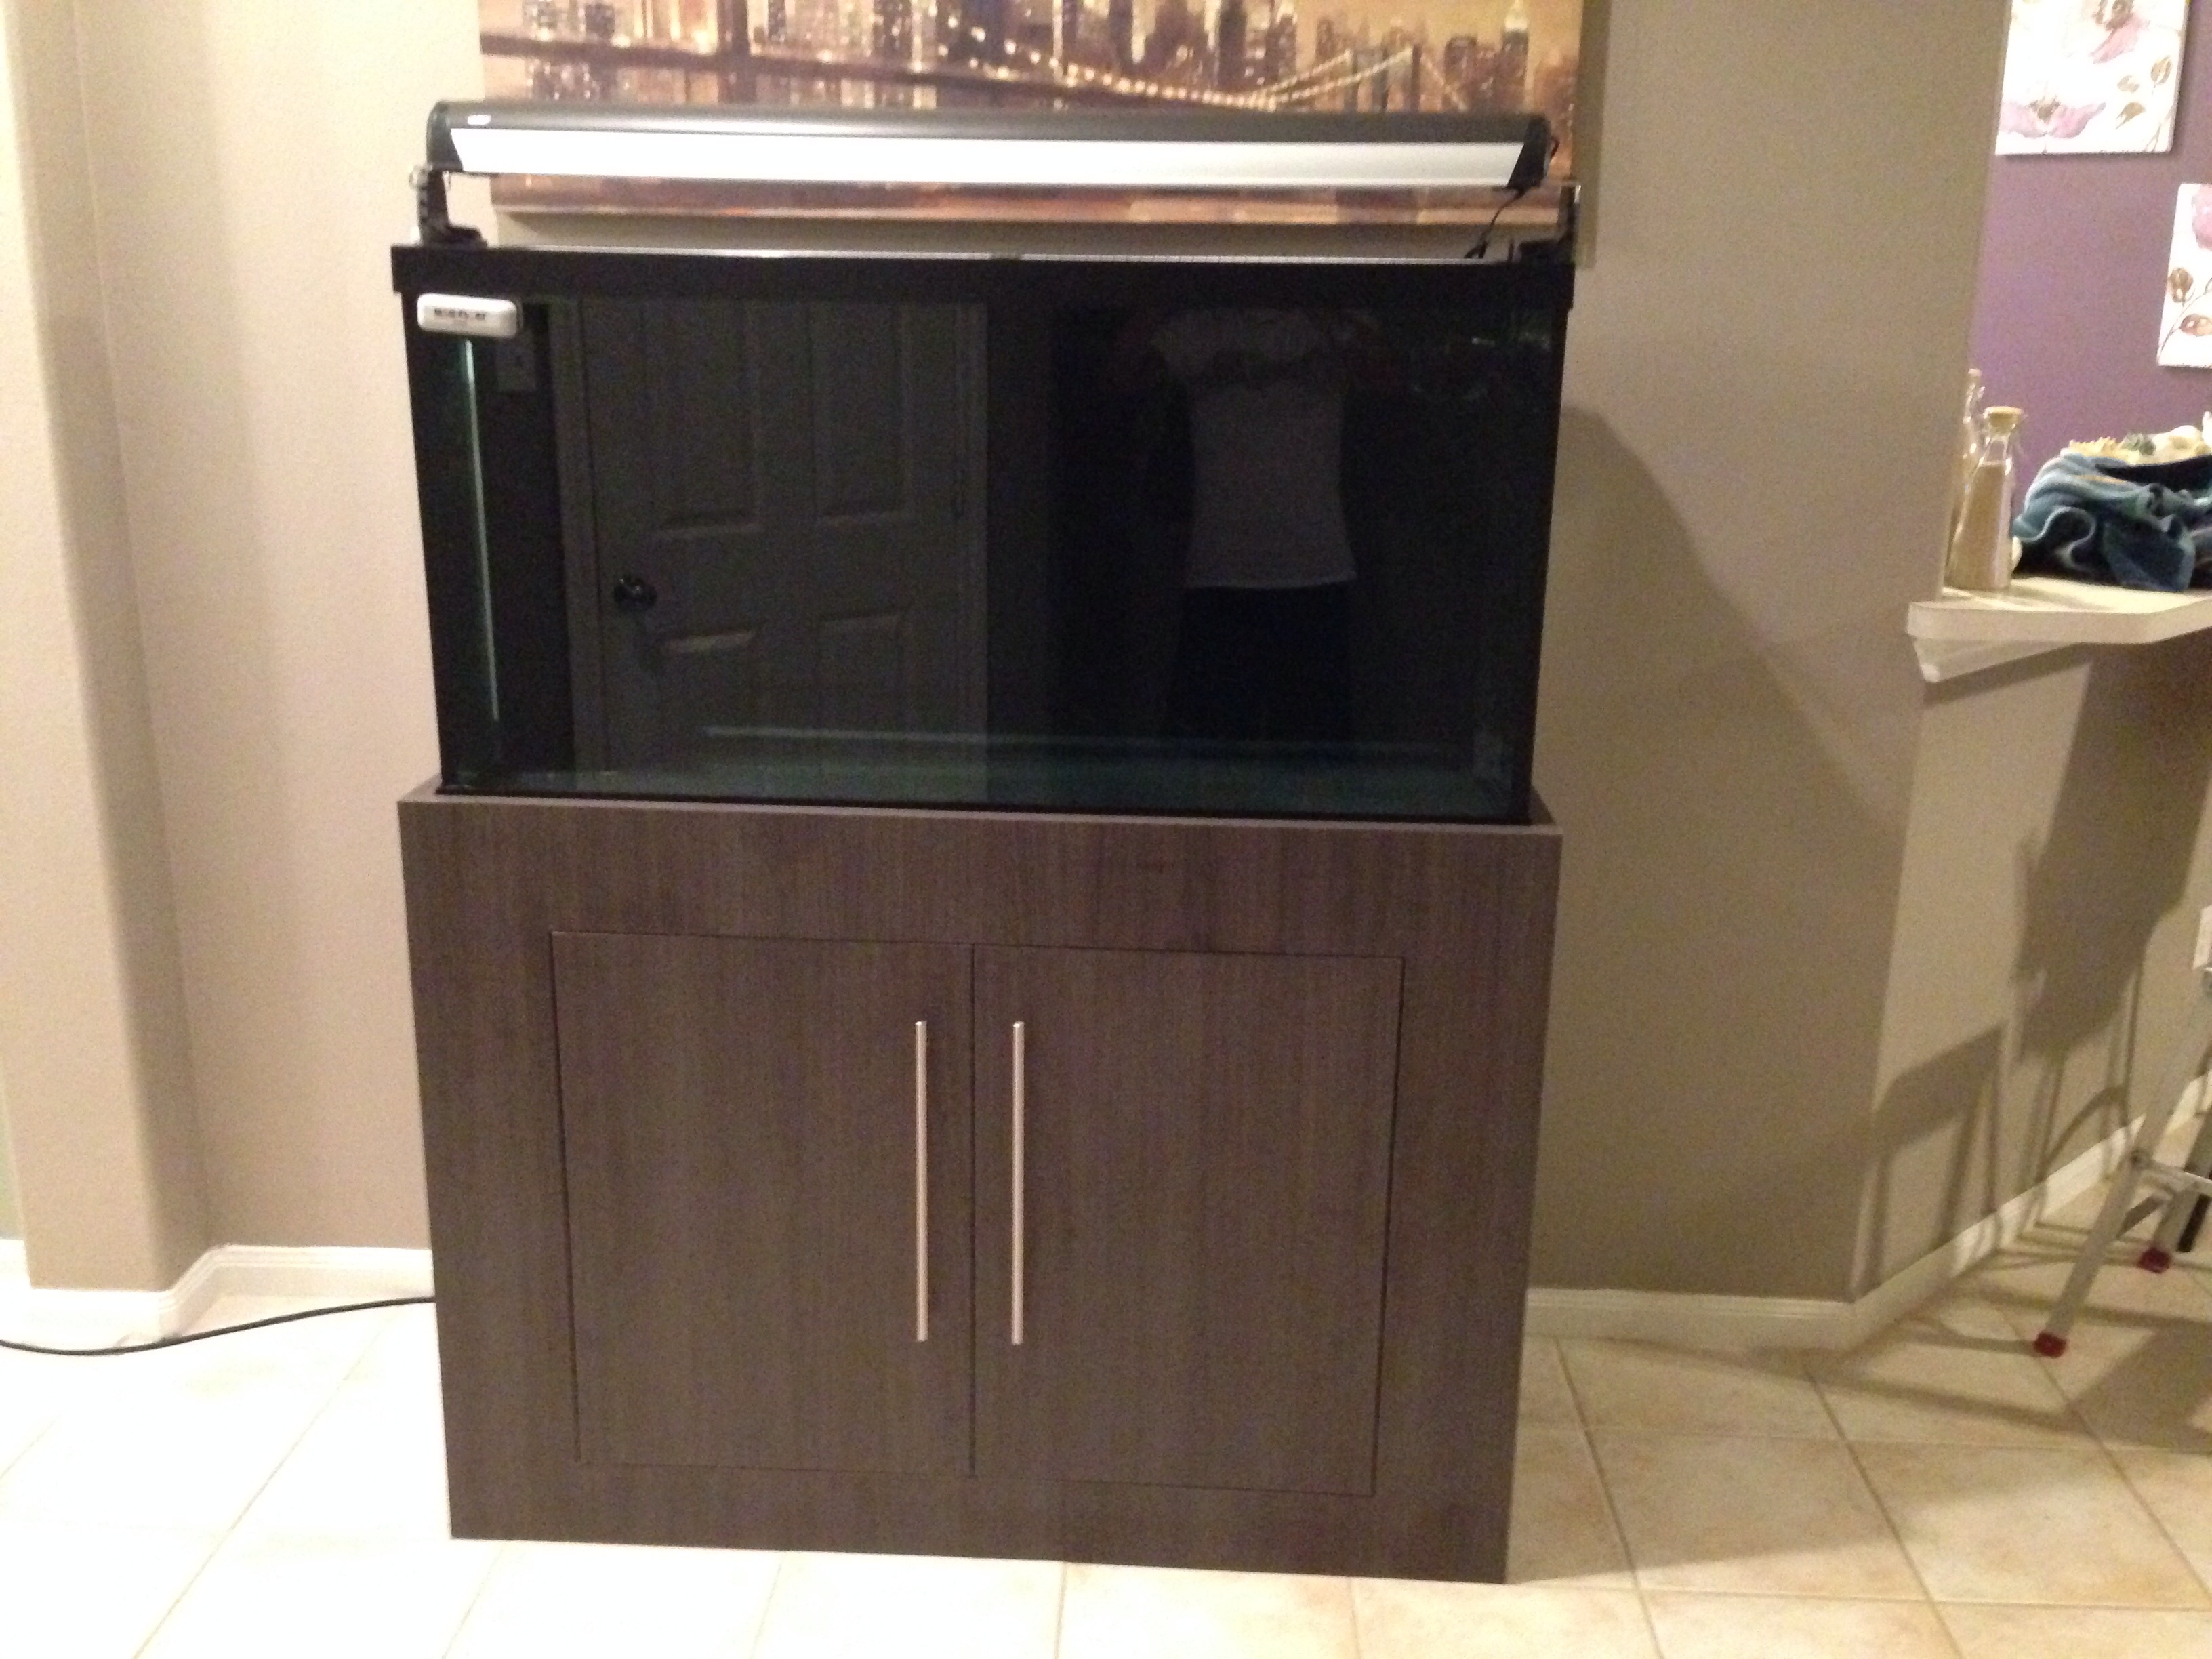
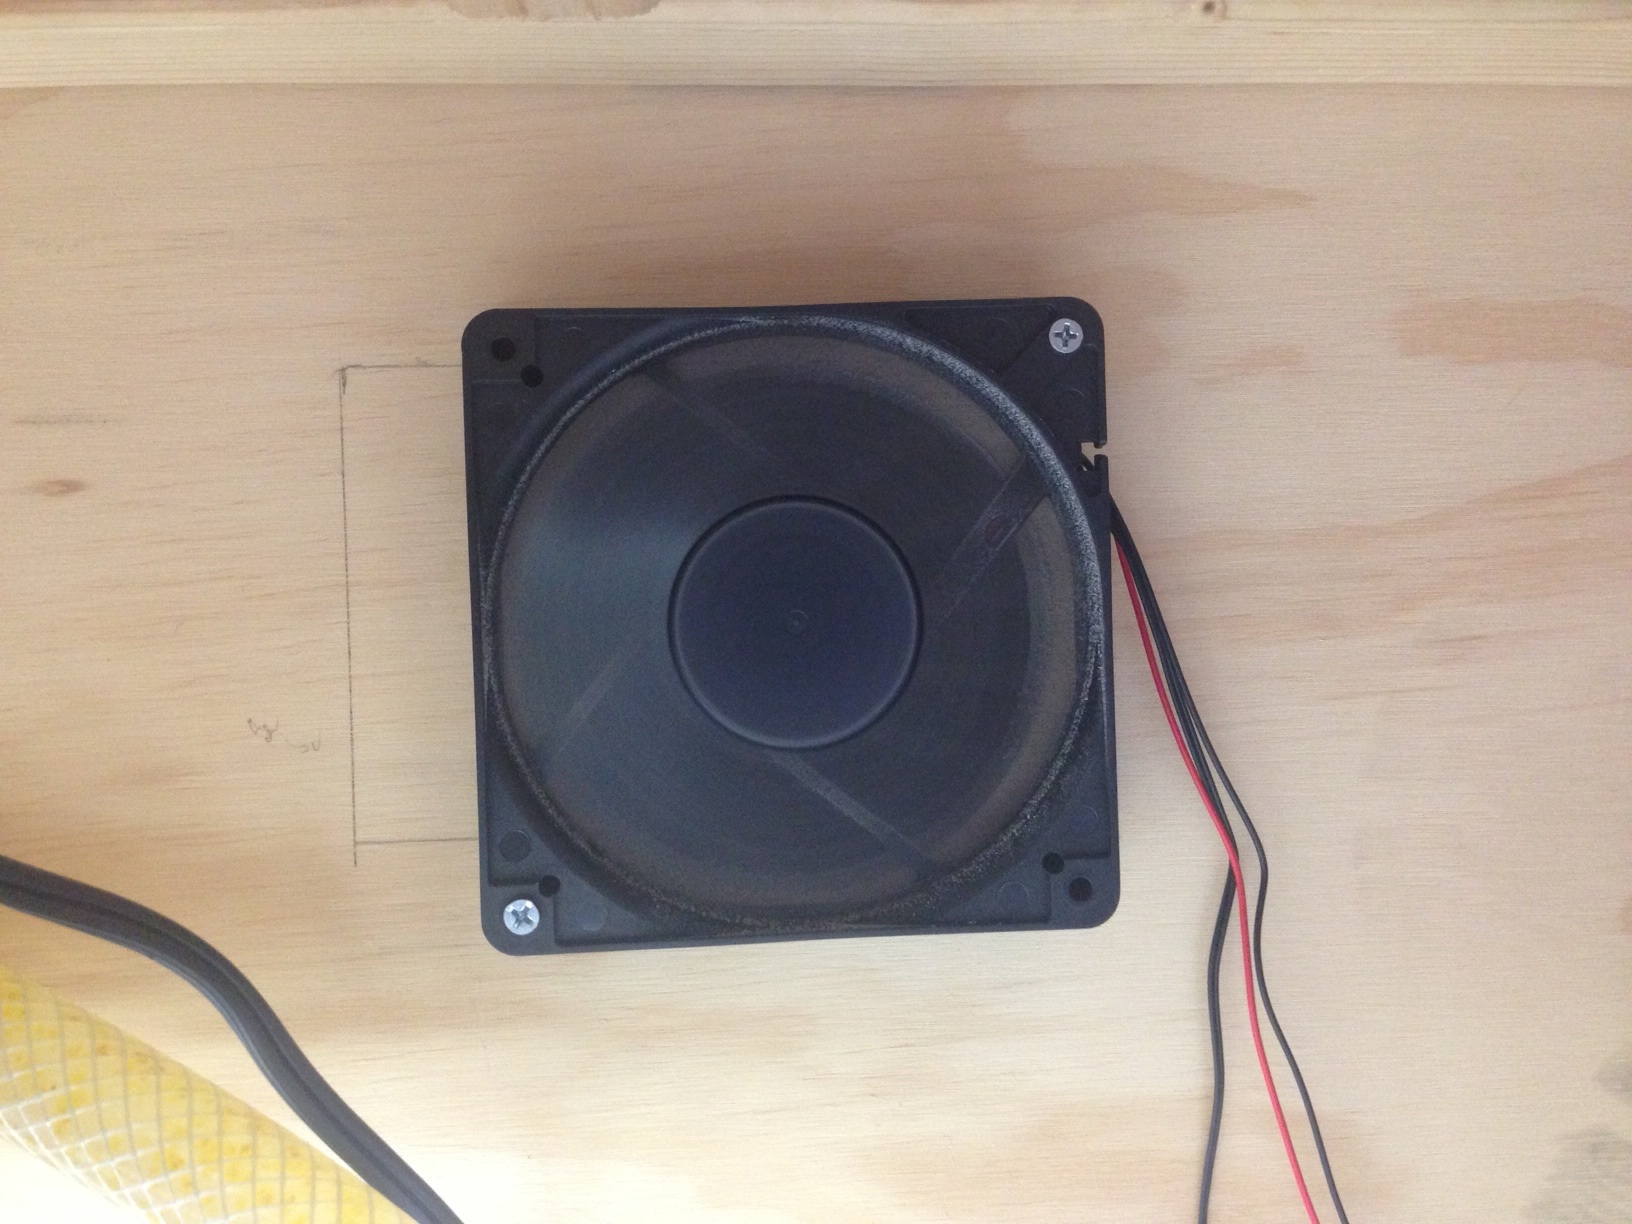
Some new additions i have made to my tank are a 5" variable speed fan to remove the humidity i was getting in my stand. Its has a thermostat and adjusts its speed according to the temp in the stand. I bought 2 and was going to have one sucking fresh air in and one pushing the air out but after mounting the one pulling the air out i saw that i didnt need the 2nd one. I will use it as a replacement down the line.


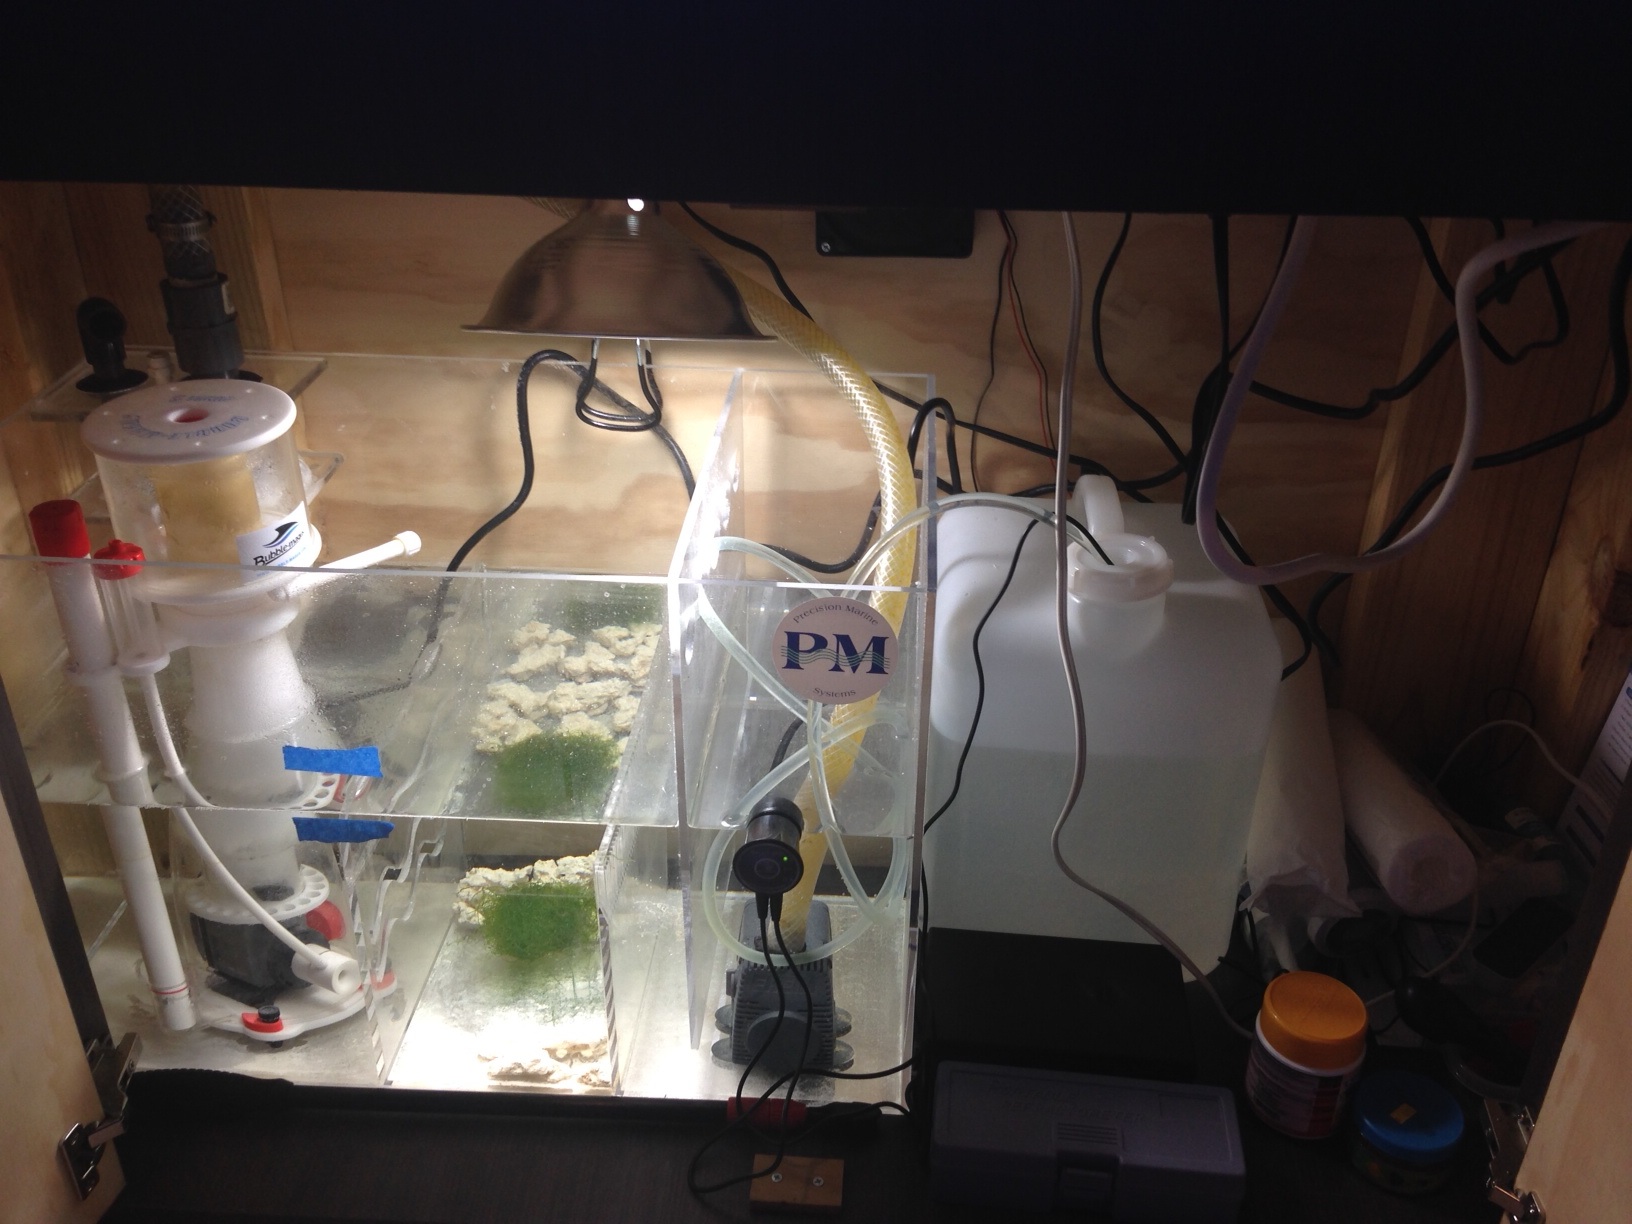
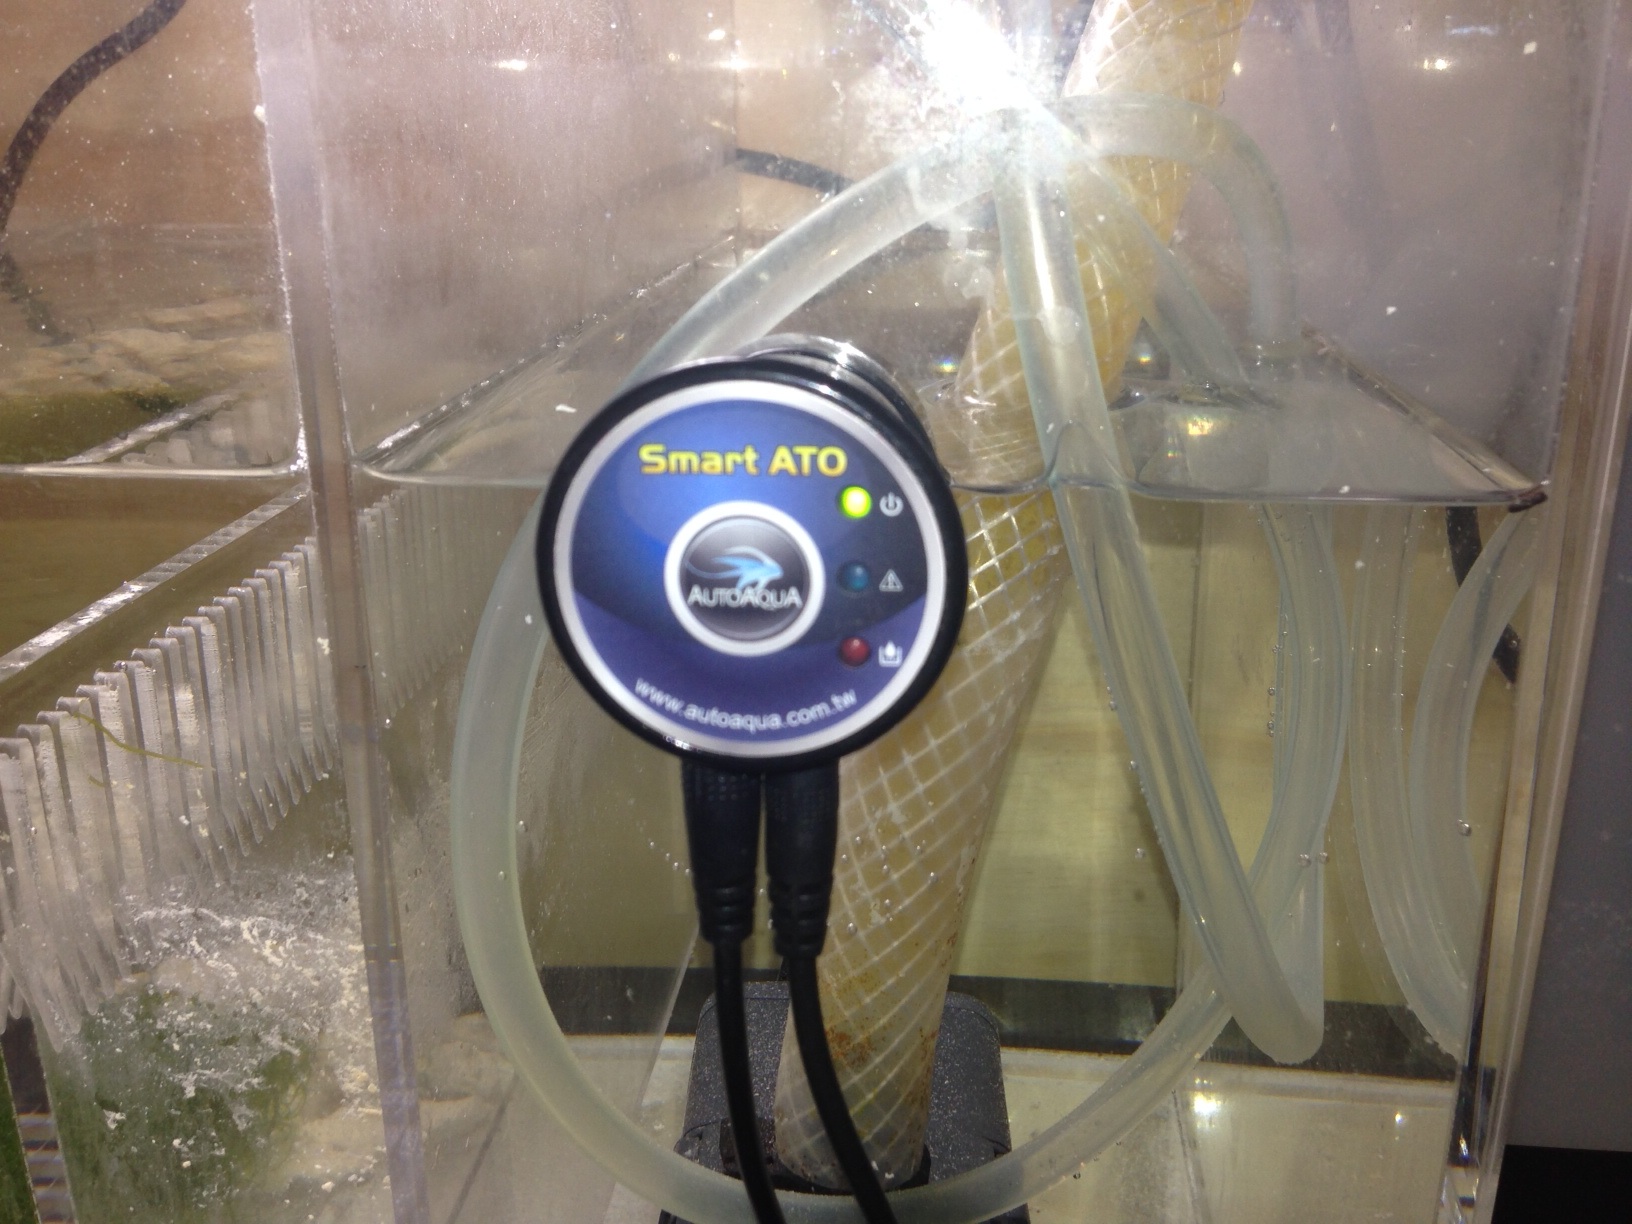
I purchased the AutoAqua Smart ATO system and LOVE IT! I also got a 5 gal water storage container for the reservoir. The pump is TINY and silent. It really moves some water too. The sensor is TINY as well and you can see pictures of it on the vendors website but i was still shocked just how small this thing is when i un-boxed it. No floats or any moving parts to fail. Its got an optical sensor as its way of monitoring the water level. It also has failsafes such as the fact that it will only allow the pump to run for so long at a time before it shuts it off and plays an audible alert. This way it wont overfill your sump. It wont allow the pump to run dry in case you fail to keep your reservoir full of water. It also re-initializes itself if the power is tripped and comes back on. Its a 2 minute start-up and the only time i had to refer to the instructions was to see what each light meant and the audible alerts.


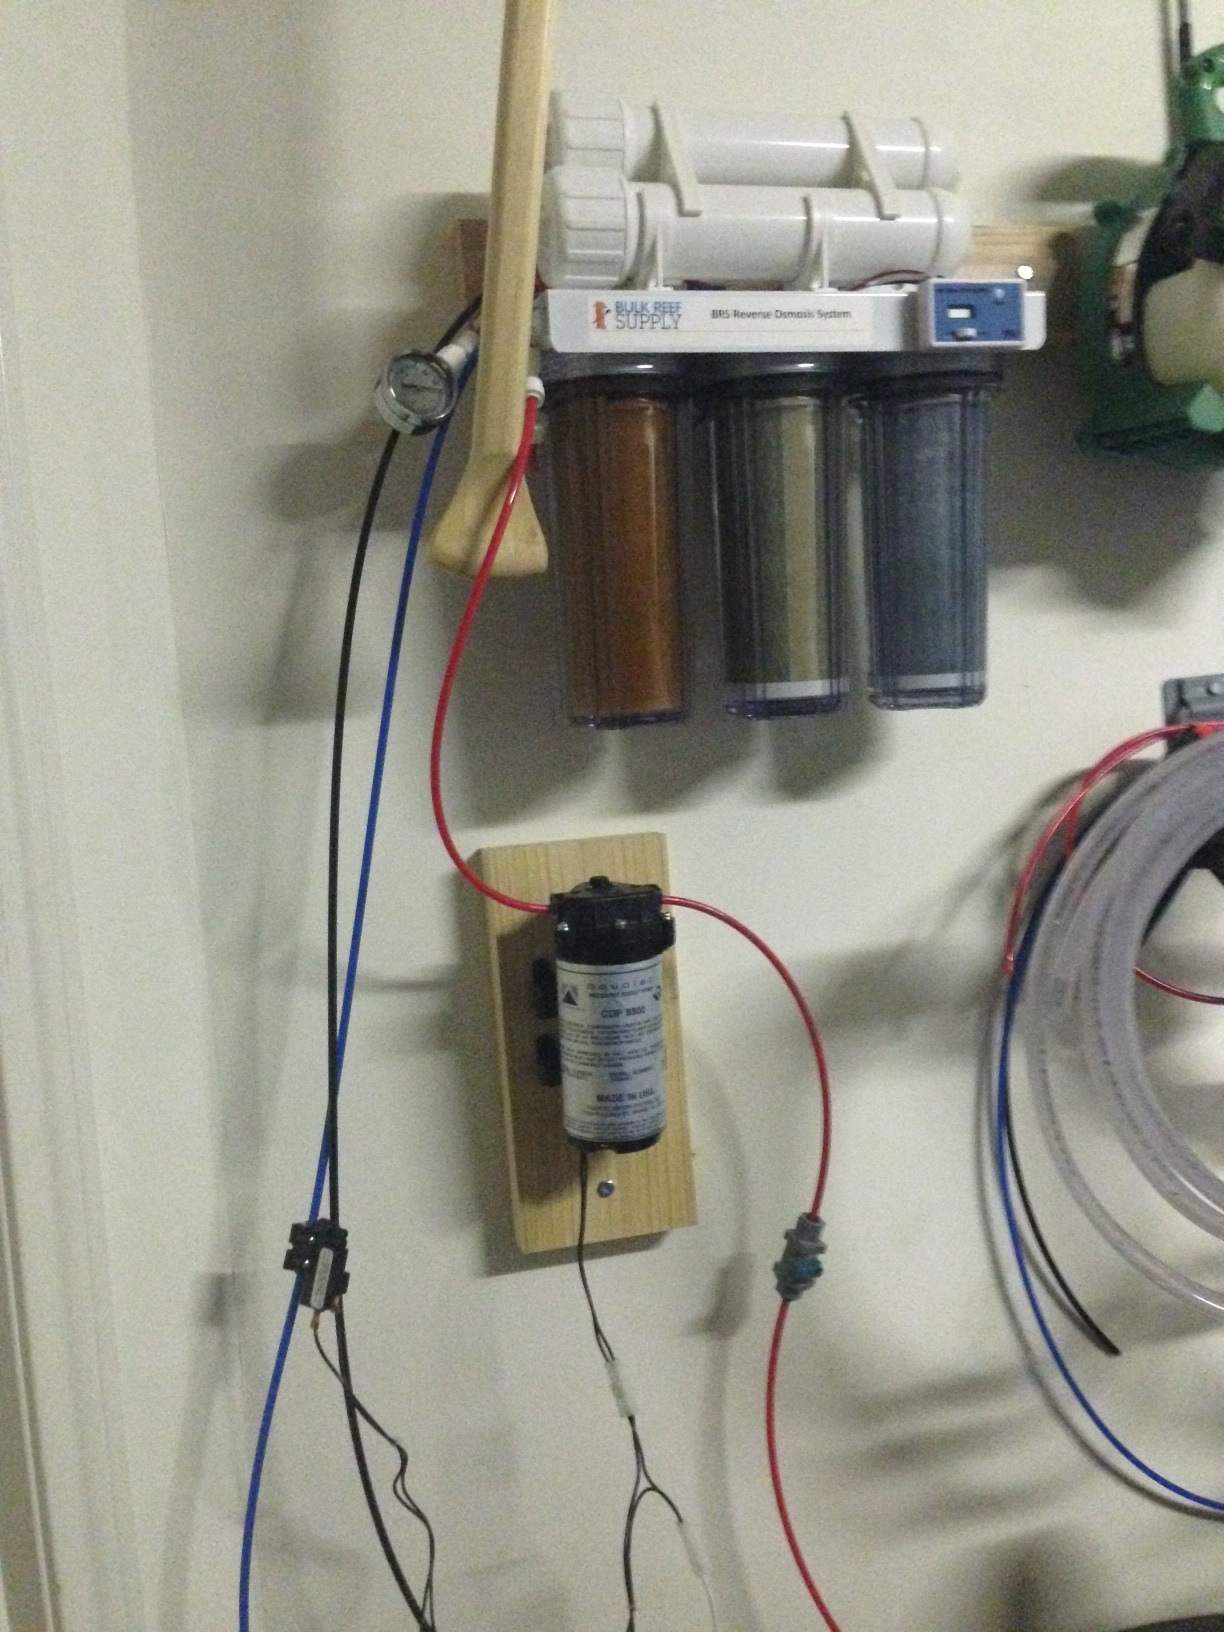
For my water change station i added a booster pump to the RO unit because my pressure was not high enough to be as efficient as the unit could be. Adding that i would say made my unit twice as efficient with the dual membranes.


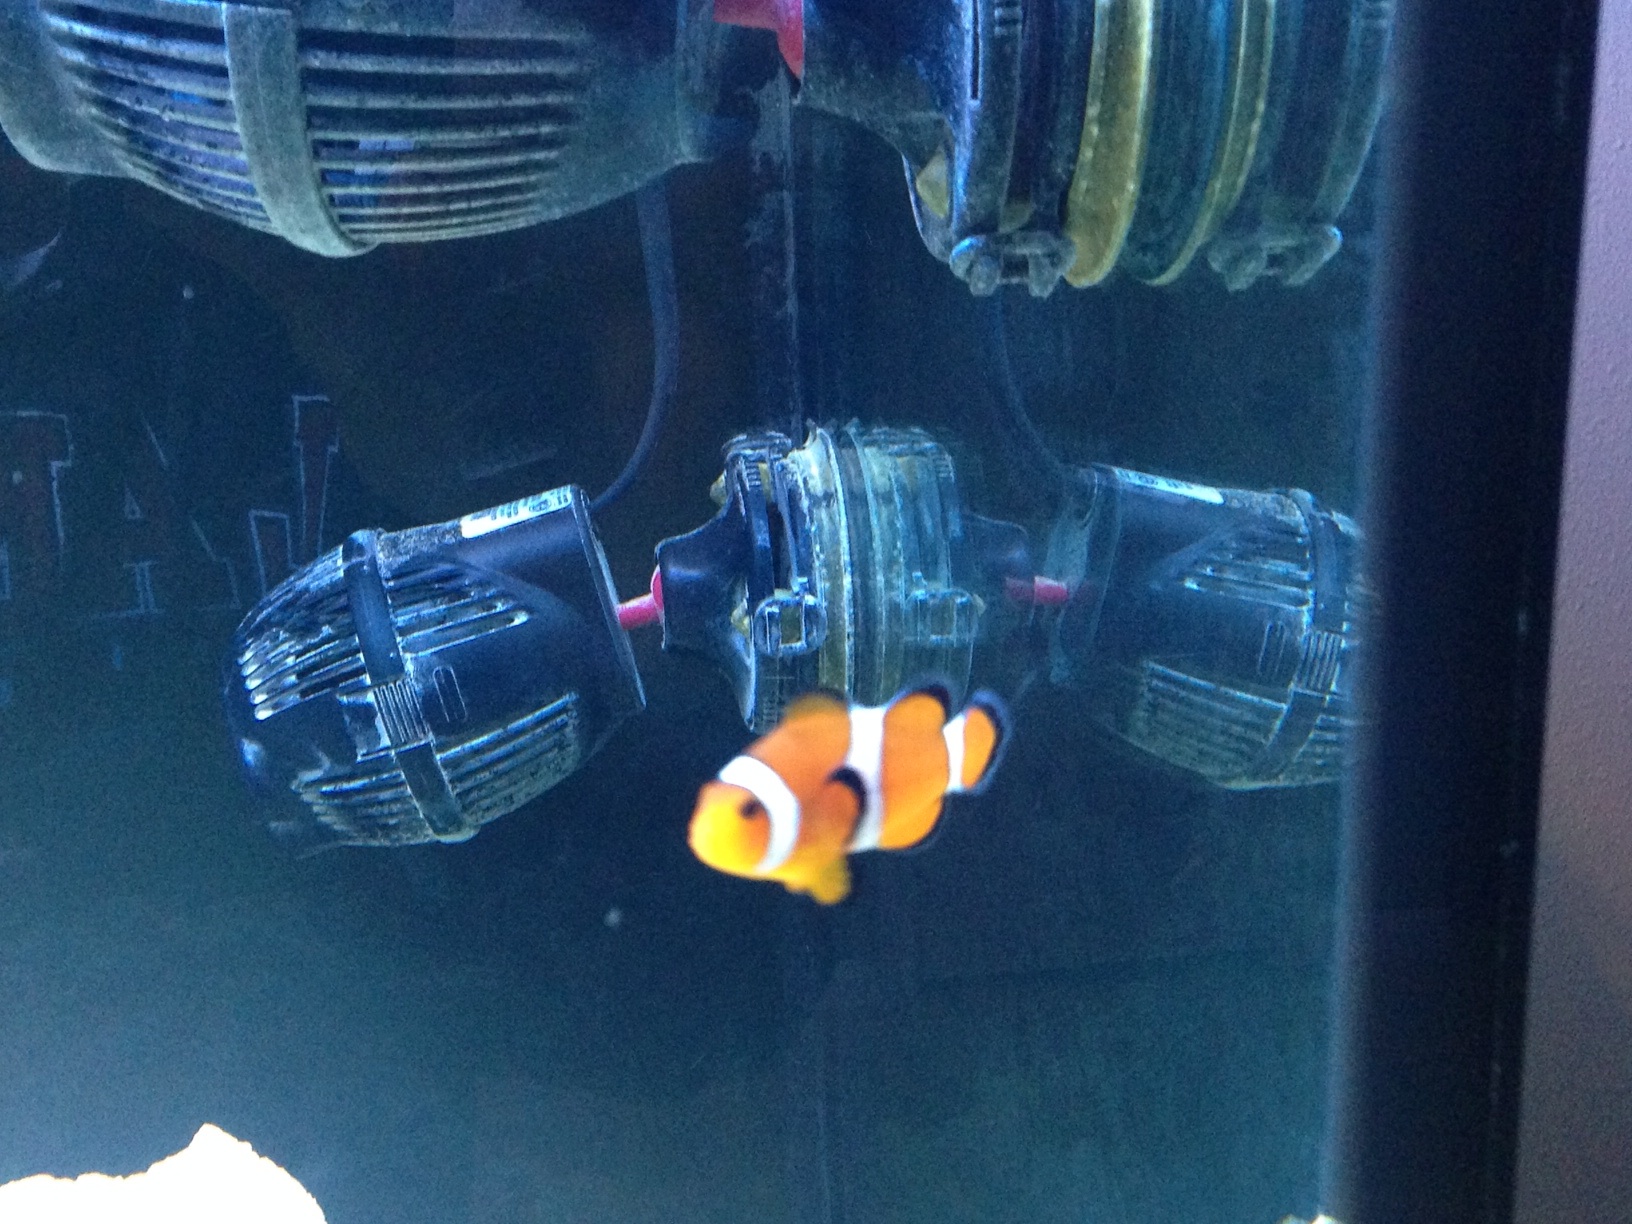
I added 2 Koralia 1400's to go along with the 1150 i originally bought because i wasnt happy with the flow at all. I still must say im regretting buying these at all. The flow really isnt that good and i think they are very optimistic on their flow rates. Even when all 3 of those there are a lot of dead spots in the tank. Its pretty disappointing. I will be replacing those with hopefully 2 MP40's in the future and using those in my water storage tanks in the garage.

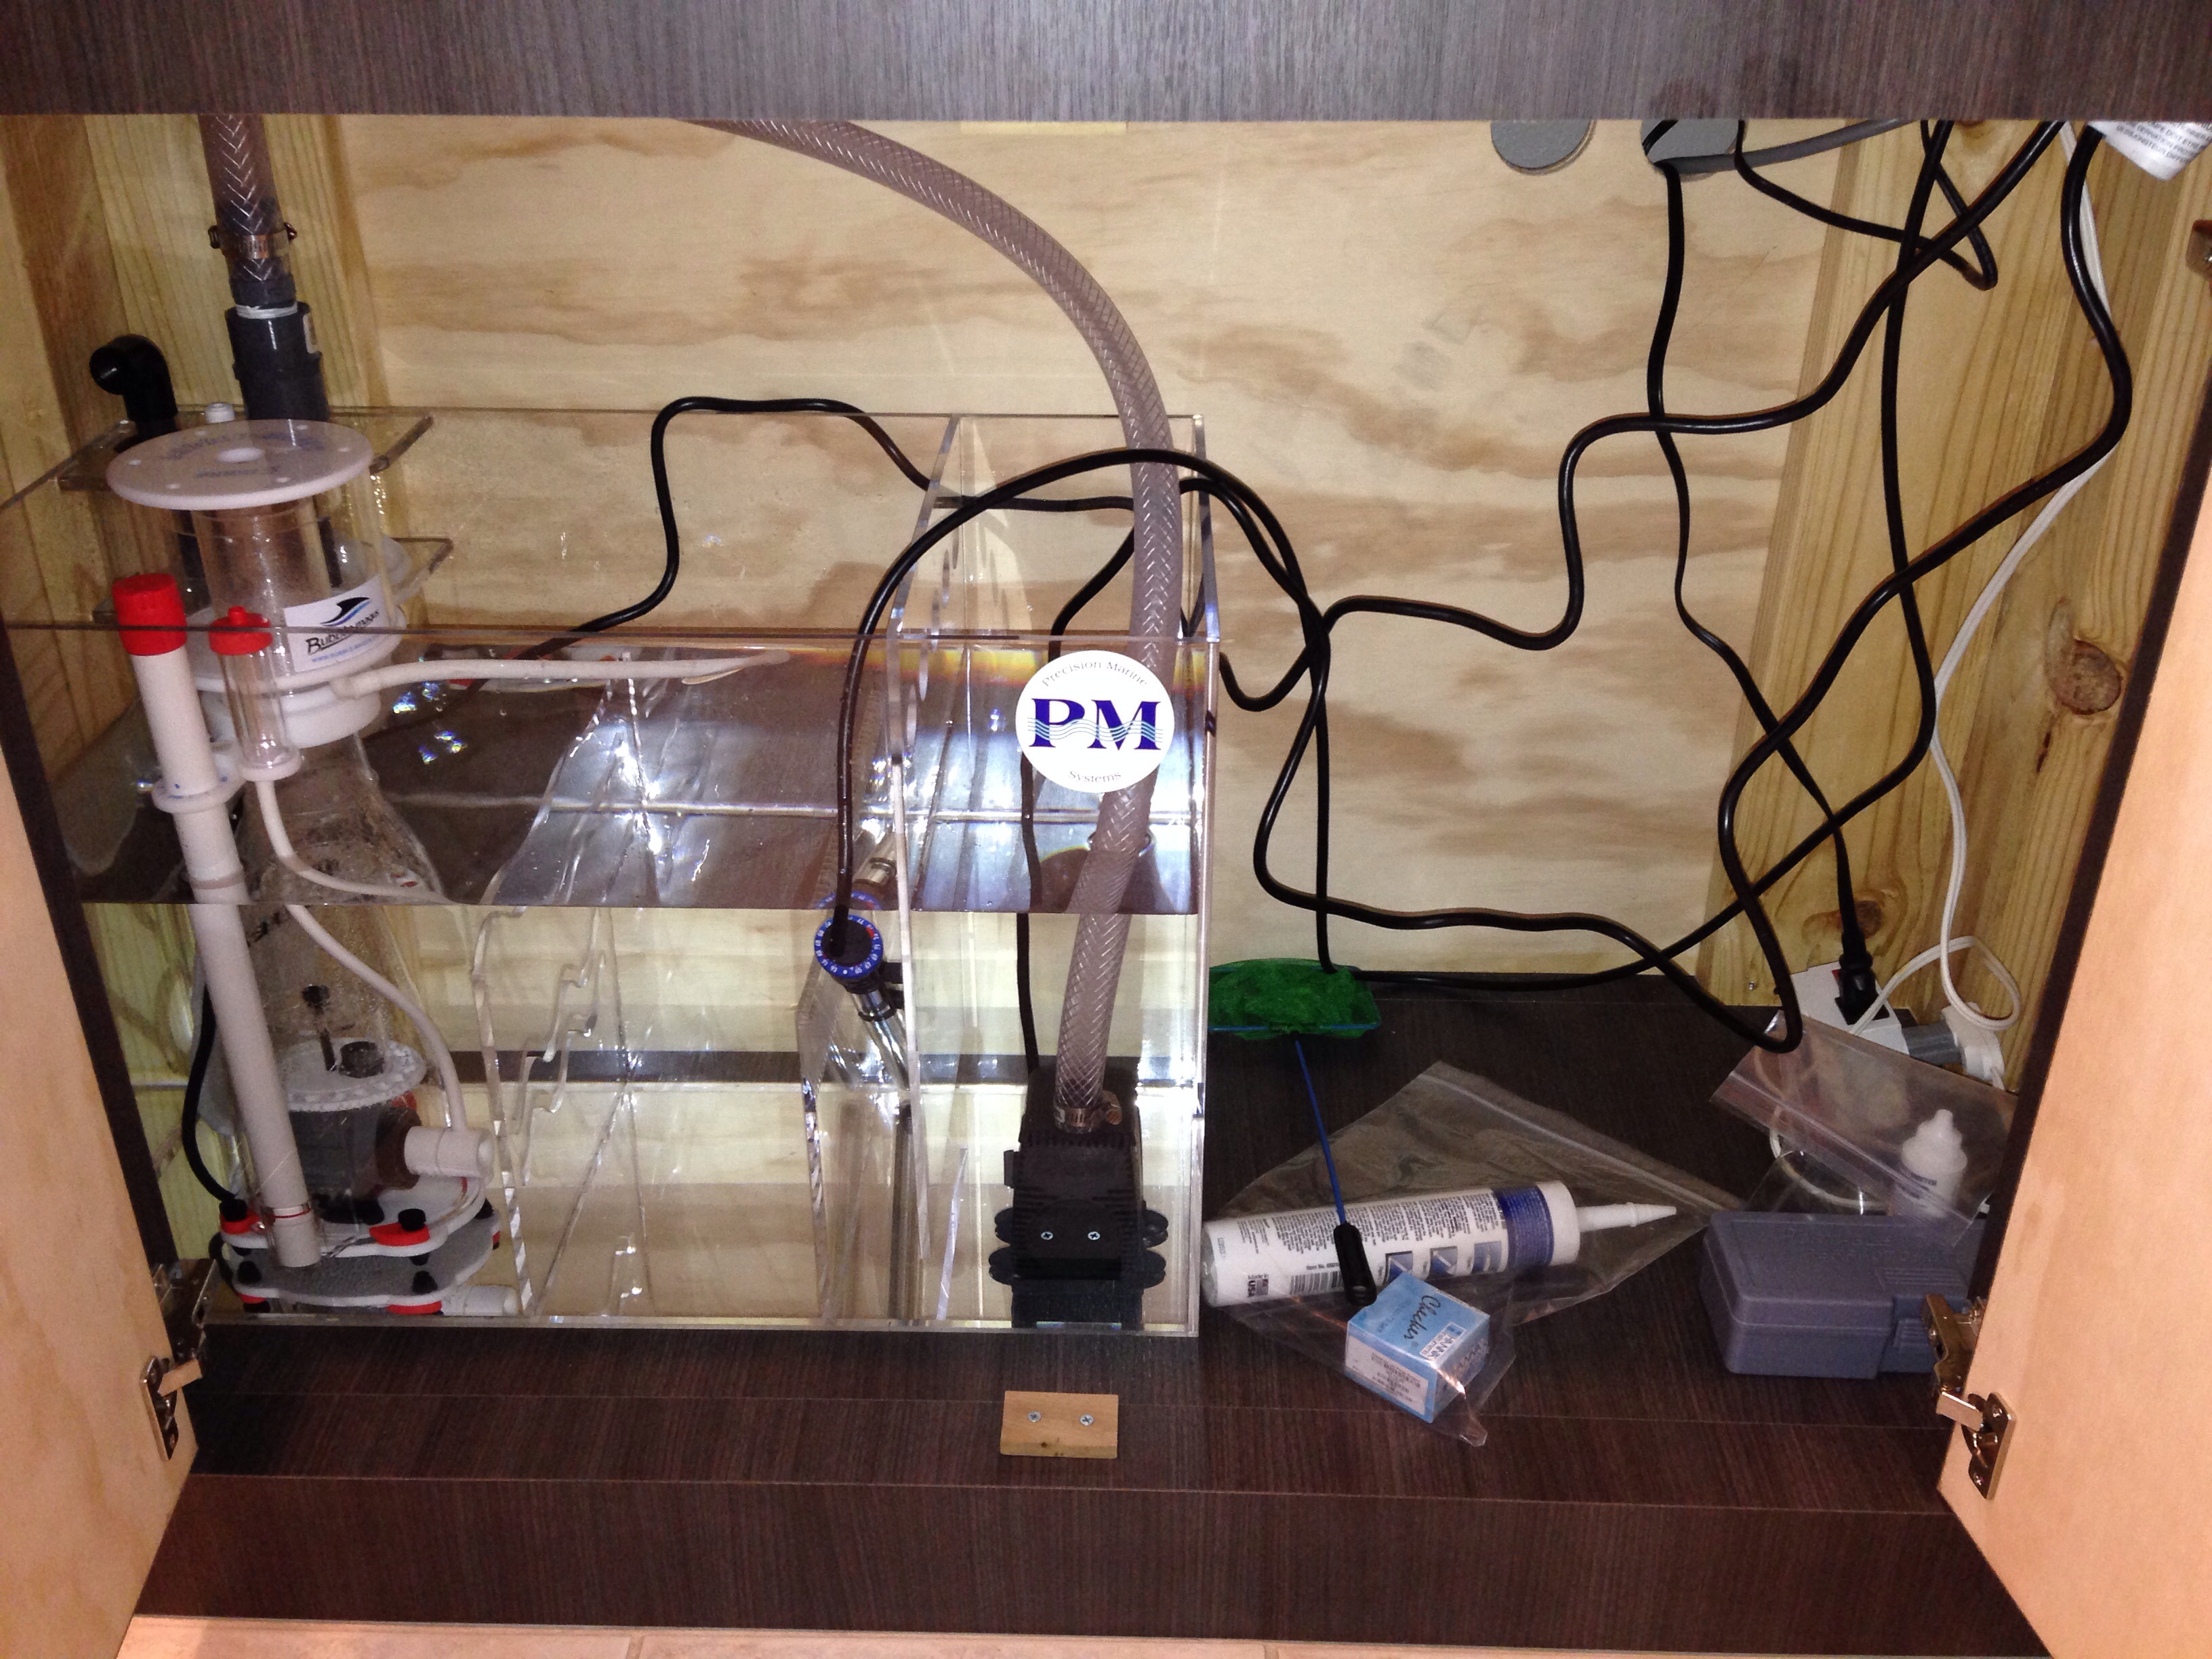
I am also not very happy with the Precision Marine sump. I dont know if there should really be any noticable flow in the sump but it seems like mine has NONE at all. My chaeto doesnt move at all and i know its better if it tumbles around. My skimmer requires 9.5-11" of water and that doesnt seem to be helping that issue at all. I also wish it had a bigger skimmer section. I have thought of switching skimmers but due to its size i am very limited as to what i can get.

Im not very happy with the bubble magus curve 5 either but this is probably mainly due to my inexperience with skimmers. I cant seem to get it adjusted right. it either makes a really wet skim or nothing at all. I want the really dark concentrated skimmate that i see others have and cant seem to get that myself. Hopefully its just because my bioload right now is very low.


My future upgrades that i am planning on getting are:

-Apex Controller
-2 Kessil A360WE LEDs
-2 MP40's (although i may be able be just fine with 1
-media reactors for GFO and Carbon

I have on order right now some additions for my Biocube QT. They are a better filter basket from mediabasket.com and a magnetic LED fuge light to be able to keep Chaeto in that as well.


clownsrcoo

Member
Here are some crappy pics of the tank and fish. Sorry i dont have a good camera and have to rely on phone pics.


Top