errattiq
Member
For all those wanting to tackle this sort of thing. The last few days I was bored so I decided to embark on making a 10 gallon reef ready aquarium since they are essentially not made and if custom made they cost an arm and a leg. So , I got myself a 3/4" bulkhead, a 1 1/2" diamond crusted aquarium holesaw off E-bay (they are literally marketed as aquarium saws), a 10 gal A.G.A from Wally World, a 2ft long 4" Inner Diameter PVC Pipe from Home Depot for the overflow, some black satin krylon fusion paint for the back of the tank and to paint the pvc, and a few feet of 1 1/2" I.D. flexible pool hose for the drain to the sump. I didnt go crazy with the pics but here are some for reference with the steps to complete this project.
1: Cut the 2ft PVC pipe to length to fit the tank. (about 11 5/8") I then cut the pipe in half with a band saw (scared the crap out of me lol, this is a very dangerous step so be sure you are familiar with those sort of power tools)

2: I took the 1 1/2" Hole saw and drilled the hole in the aquarium side for my bulkhead (center of hole is about 2 1/4" down from the top right side of the tank if you're looking from the front) I didnt post pics of this because you should really see it done dirst. If you are uneasy about this step, search drilling aquariums on you-tube, there are plenty of step by step tutorials on how to do this there.
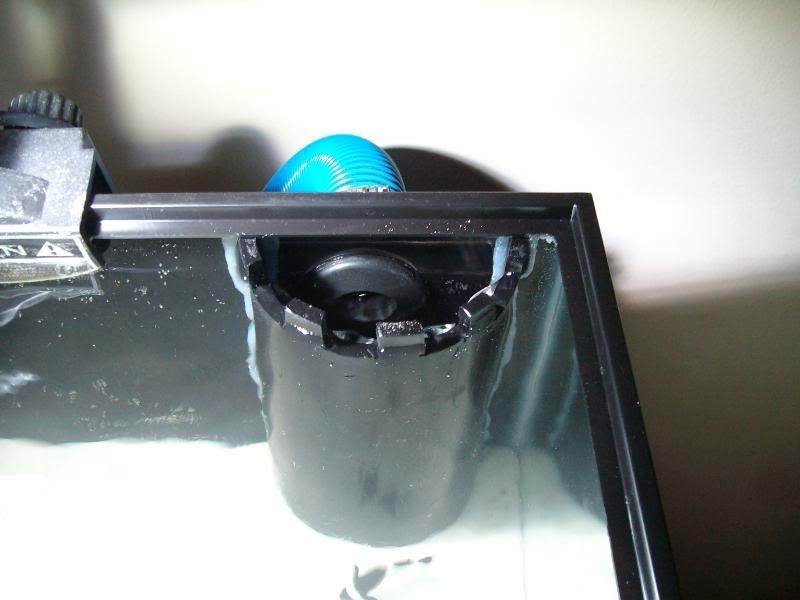
3: I dremelled out 3/4" notches for the top of the pvc overflow ( by notches I mean the castle-like protrusions that keep fish and other stuff from entering the overflow). This size was carefully calculated to adjust my water height in the tank. Depending on your return pump, the size of the notches may have to be smaller or larger depending on the water volume you plan on moving through your overflow. In this pic you can see the notches with the black backround and bulkhead.
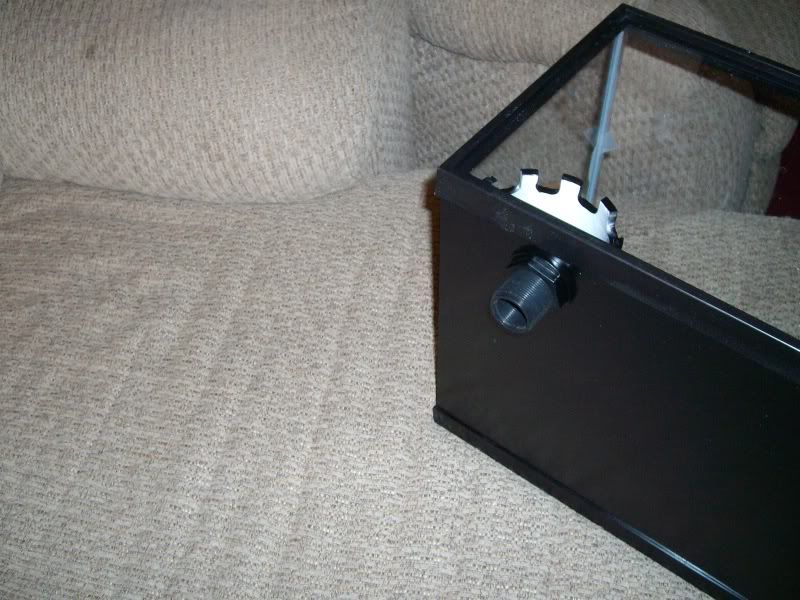
OPTIONAL 4: Install the bulkhead in the hole, mask it off and surrounding areas to prevent overspray, and since you have the paint, paint on your backround. Its easy and the paint is made for plastic and glass without having so prescuff or prime the surface. Thats what I did so I didn't have to mess around with cutting a black backround to fit and worry about cutting the hold right and all that stuff. Just paint it and be done with it lol.
OPTIONAL 5: Paint the overflow. Although not necessary, I painted the pvc overflow too. This way, the aquarium background and the pvc overflow were the EXACT same color so it blends in beautifully and really lends itself to looking like a professional job. I highly recommend paining your stuff.
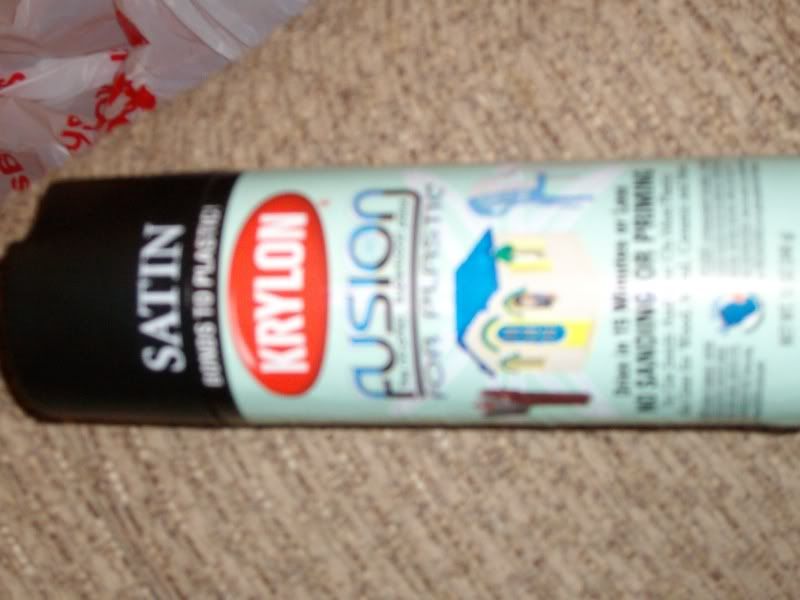
**** Just a note, I said Krylon Fusion paint for a reason, this stuff has a known trackrecord of being safe to use in an aquarium and most hobbyists utilize this for all their DIY projects that require painting their tanks.... Any 100% latex paint should do, but I'd just stick with what's been tested IMO.
6: Once your tank and pvc have cured, its time to put them together. I used Aquarium silicon to accomplish this. I flipped the pvc over and placed a thick bead of silicon down both sides of the overflow and along the bottom edge that will make contact with the bottom of the aquarium. Press it down firmly and carefully clamp. If no clamp is available just put the tank on its side so the overflow rests on the floor, you really dont need a clamp for this but its just a piece of mind thing. here you can see the bead along the side.
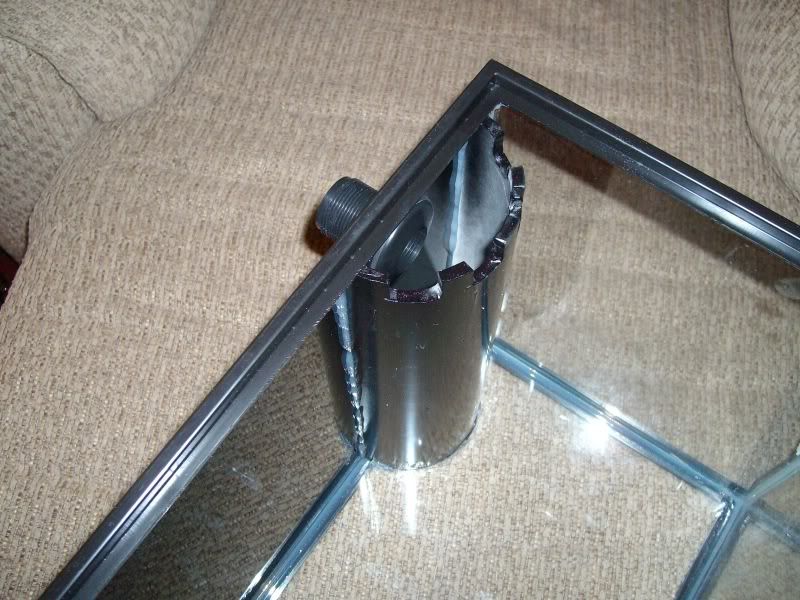
7: Once done hook up the pool/ flex hose to your bulkhead and your Reefing Baby! LOL.
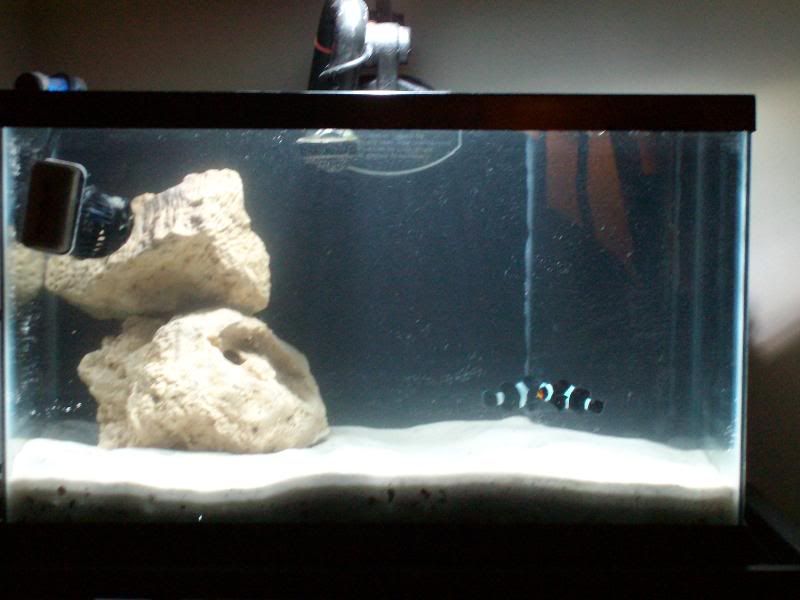
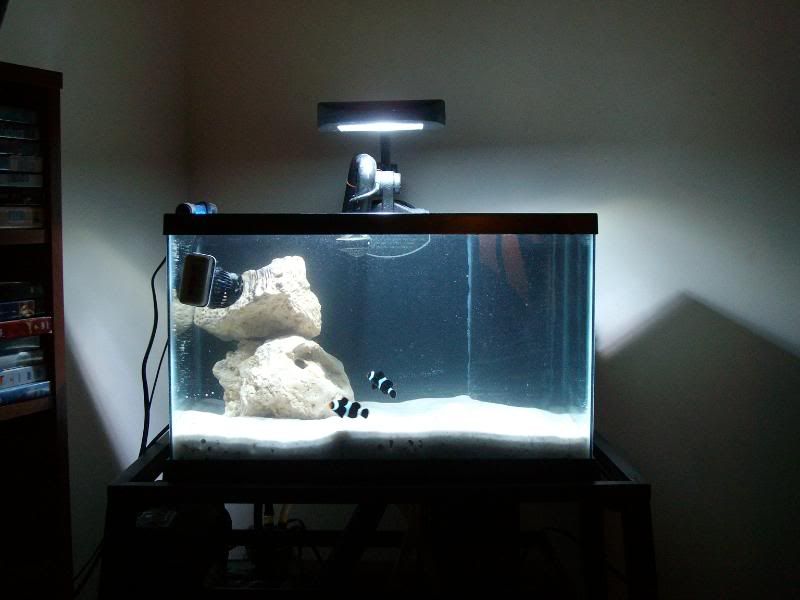
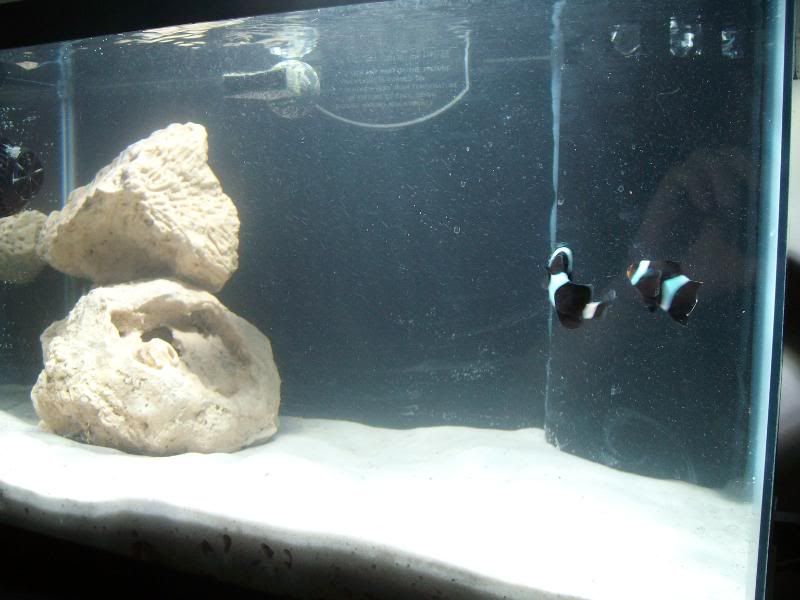
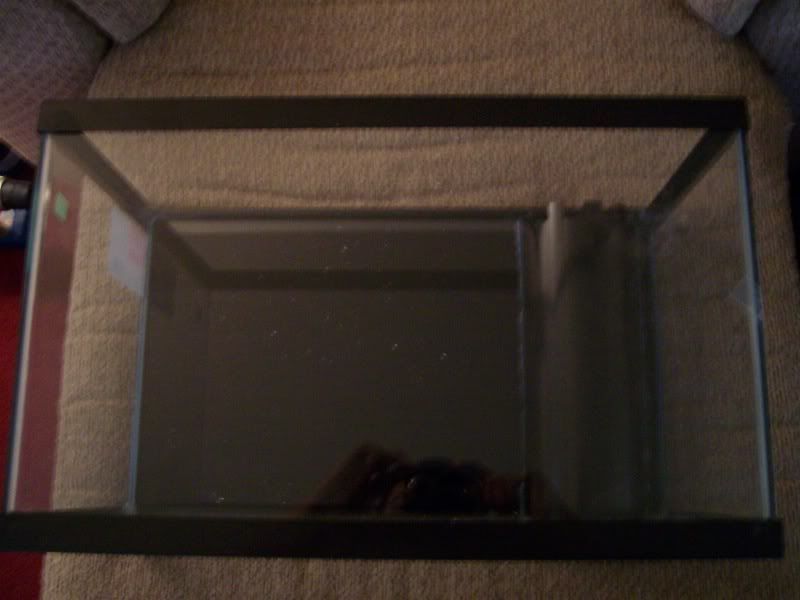
Here is the finished product still curing the silicon, as you can see painting the pieces was definitely the way to go when you consider how well the overflow blends with the background.
I hope this serves as a decent guide for someone who is attempting this sort of thing. Of course the sizes of bulkhead pvc pipe etc... is interchangeable depending on your project but its a good starting point. Let me know what you all think!!! thanks for reading!!
-Josh P
1: Cut the 2ft PVC pipe to length to fit the tank. (about 11 5/8") I then cut the pipe in half with a band saw (scared the crap out of me lol, this is a very dangerous step so be sure you are familiar with those sort of power tools)

2: I took the 1 1/2" Hole saw and drilled the hole in the aquarium side for my bulkhead (center of hole is about 2 1/4" down from the top right side of the tank if you're looking from the front) I didnt post pics of this because you should really see it done dirst. If you are uneasy about this step, search drilling aquariums on you-tube, there are plenty of step by step tutorials on how to do this there.
3: I dremelled out 3/4" notches for the top of the pvc overflow ( by notches I mean the castle-like protrusions that keep fish and other stuff from entering the overflow). This size was carefully calculated to adjust my water height in the tank. Depending on your return pump, the size of the notches may have to be smaller or larger depending on the water volume you plan on moving through your overflow. In this pic you can see the notches with the black backround and bulkhead.

OPTIONAL 4: Install the bulkhead in the hole, mask it off and surrounding areas to prevent overspray, and since you have the paint, paint on your backround. Its easy and the paint is made for plastic and glass without having so prescuff or prime the surface. Thats what I did so I didn't have to mess around with cutting a black backround to fit and worry about cutting the hold right and all that stuff. Just paint it and be done with it lol.
OPTIONAL 5: Paint the overflow. Although not necessary, I painted the pvc overflow too. This way, the aquarium background and the pvc overflow were the EXACT same color so it blends in beautifully and really lends itself to looking like a professional job. I highly recommend paining your stuff.

**** Just a note, I said Krylon Fusion paint for a reason, this stuff has a known trackrecord of being safe to use in an aquarium and most hobbyists utilize this for all their DIY projects that require painting their tanks.... Any 100% latex paint should do, but I'd just stick with what's been tested IMO.
6: Once your tank and pvc have cured, its time to put them together. I used Aquarium silicon to accomplish this. I flipped the pvc over and placed a thick bead of silicon down both sides of the overflow and along the bottom edge that will make contact with the bottom of the aquarium. Press it down firmly and carefully clamp. If no clamp is available just put the tank on its side so the overflow rests on the floor, you really dont need a clamp for this but its just a piece of mind thing. here you can see the bead along the side.

7: Once done hook up the pool/ flex hose to your bulkhead and your Reefing Baby! LOL.
Here is the finished product still curing the silicon, as you can see painting the pieces was definitely the way to go when you consider how well the overflow blends with the background.

I hope this serves as a decent guide for someone who is attempting this sort of thing. Of course the sizes of bulkhead pvc pipe etc... is interchangeable depending on your project but its a good starting point. Let me know what you all think!!! thanks for reading!!
-Josh P

