Chuck's DIY journal

chuckcac

Member
thanks everybody... i appreciate the feedback

this weekend, i started to hook up my RODI filter...

i stopped the installation when i reached this point...because i want to move the existing outlet to the right side of the waste stack and make it a GFCI... i'm not comfortable leaving it in such close proximity to water.... (it should have been a GFCI anyway...)
so, its off to my favorite home goods store to get some wire, a GFCI, and a junction box...

more to come...
 

chuckcac

Member
Originally Posted by barngeatbayman
chuck 2 questions where did you purchase the arylic for your sump? What kind of RO filter is that and where did you get it?
barngeatbayman... 2 answers

i had the acrylic from a project i never completed 15 years ago (i wanted to build a cage for my 8ft Colobian red-tailed boa constrictor - but i gave the snake away when he got too 'aggresive')... i think it came from a local home goods/hardware store... its 1/4" thick
that is the 5stage RO/DI 'compact reefkeeper' by AirWaterIce... 139.00 + shipping and it comes with a digital TDS meter...you can google to find it... they also make the typhoon III...
 

dragonzim

Active Member
Geez man, you still dont have the RO hooked up yet? What have you been doing with all your loads of spare time? (note the dripping sarcasm there)
 

chuckcac

Member
Originally Posted by DragonZim
Geez man, you still dont have the RO hooked up yet? What have you been doing with all your loads of spare time? (note the dripping sarcasm there)

ive been busy planning someone's bachelor party with all my spare time

j/k
actually, my MagDrive 9.5 & my powerheads showed up today... looks like i can add more to the list o' s%!^ to do...
i plan to hit the Depot this weekend to get some additional plumbing supplies, some rigid insulation (for the stand) and some bead board (or pine) for the stand & the rest of the equip i need to move that outlet farther away from the RODI...
slow & steady wins the race, right? :notsure:
 

dragonzim

Active Member
OK, I'll forgive you for not getting further on your tank. You won't hear another word from me about it till after my wedding!!!

Slow and steady is definitely the way to go!
 

chuckcac

Member
Originally Posted by Brandan
Sweet project, what kind of light are you goin to use for the fuge?
thanks!

i'm not exactly certain, but i was thinking about getting one of those clamp-on shop lights and a 6500K PC fluorescent... i heard that was a pretty cheap & effective way to go... :thinking:
i got the idea from one of the more recent threads in Lighting,Eq,DIY...
 

quads4_lif

Member
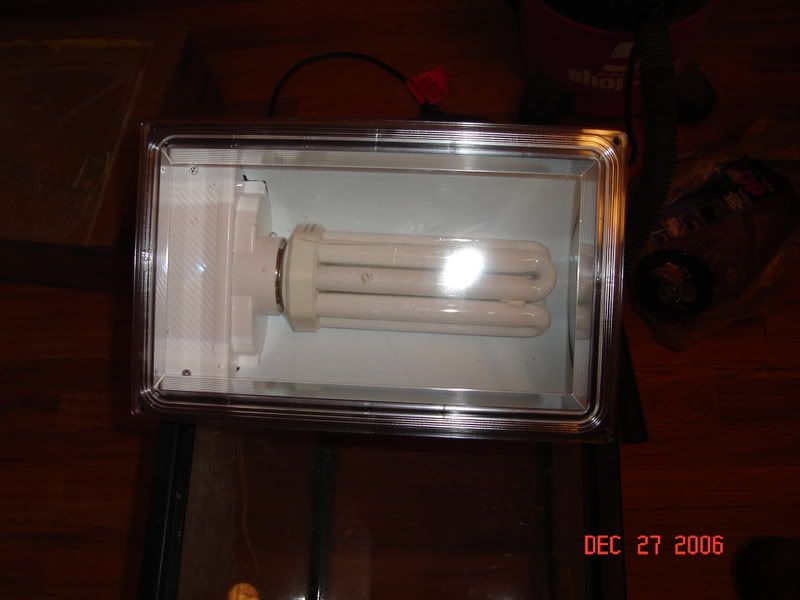
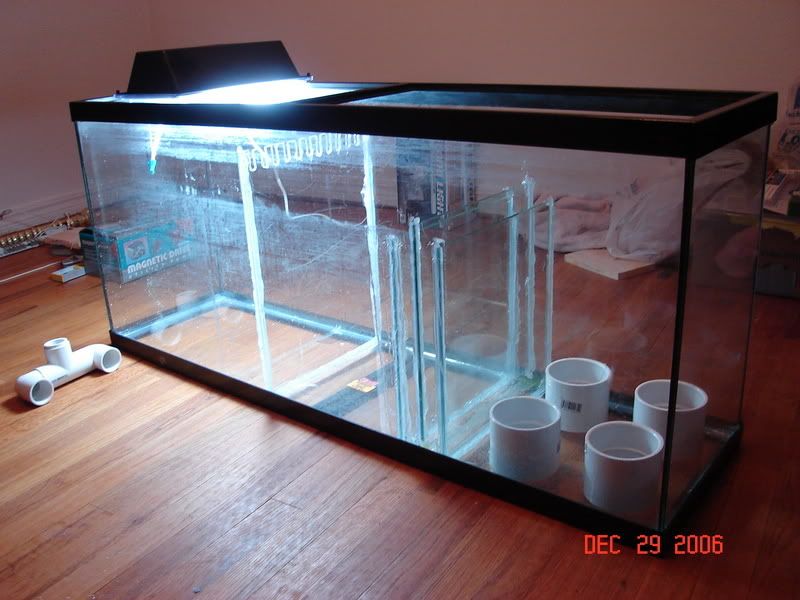
Go with a 500watt 6700K Lights of America flood light from Home depot for $48.00 Here is a pic of mine and mine on my sump before installed


chuckcac

Member
sweet, Quads - what are the dimensions of that fixture?... as you can see... realestate is limited under there...
 

zman1

Active Member
Looks good, I one question or more of a suggestion. The stand looks rather tall. When I bought my 75 many years ago I got the stand with it and it sat 25" high. I never liked how low the tank sat on it. When I bought a 120, I built the stand at 35 inches. I moved the 75 and put it on the same system as the 120. I built it a new stand to match the same height, so they both are at 35". The 120 has a width of 24" and is rock solid on the stand with rock and water. The 75 is 18" wide and after I added water and rock, it appear top heavy and wasn't as stable front to back as the 120. I tied/attached the back center support to a wall stud and that made it quite a bit more stable. Something you may be able to do it you find yours to be similar. The fact you have a sump under yours may help, my sump is remote.
 

chuckcac

Member
thanks zman1...
yeah, i built it 33" tall. for 2 reasons...
-heights & clearences for the sump
-its at perfect eye-level to my home office desk
i actually had that "top heavy" concern a while back
but i was thinking that the added weight of equipment, sand, rock & water in the sump/fuge would help to lessen that concern... it'll be roughly 200lbs under there... i know that pales in comparison to the 700lbs of the DT... what do ya think? :thinking:
so if it looks a little 'wobbly' - i will definatly put your idea to work for me.
 

quads4_lif

Member
Originally Posted by chuckcac
sweet, Quads - what are the dimensions of that fixture?... as you can see... realestate is limited under there...

12 1/2" long X 3 1/2" tall X 8 wide
 

chuckcac

Member
hey everyone...long time no write... been busy with work n stuff... haven’t really had any time until recently to keep things moving with the aquarium...
so to give y'all the updates...

I’ve finally got all my pumps, powerheads, heaters, skimmer, ground probe, refractometer, overflow box, timer, test kits, RO/DI, buckets, tubing, QT, sump/fuge etc… basically all my equipment is purchased & ready to go…. Stand is almost complete, plumbing is rouged together, QT is complete…
So, here’s the plan –
This weekend- make 100lbs of DIY rock (start the curing process)
Next weekend – complete the stand, stain, laquor etc. & spray paint the back of the DT
28th-29th - hardwire two new GFCI outlets, set up the stand, glue all the plumbing
Aug 4th -5th –– WATER TEST (fingers crossed)
If all goes well with the water test on the DT… I will begin the Nitrogen Cycle in the QT to get ready for some inverts…
When the base rock has completed curing, (second week in Aug) I will move it all into the DT, buy some sand, and start the DT cycle….
So, in keeping with my original forecast… I should be up & running by September…
Jeez… has this has been an exercise in patience or what…?

I’ll post some pics soon for all those who are still following this LOOOOOOONG expedition…
 

chuckcac

Member
so, last week i bought all the supplies i need to make my base rock. so far i have made about 50# of caves, arches, tables and other shapes... i will make another 50# worth by the end of the week.
(DragonZim - i'll have plenty of leftover material if you want me to make you an arch, or a cave or somethin - let me know... :))
i promise
to post some pics tomorrow of what i've got so far

this weekend i hope to...
1. complete the stand and stain it.
2. start to freshwater-cure all the base rock i made
3. spraypaint the back of the DT (marine blue at the top - fade to black towards the bottom)
I'll be pretty psyked if i can get all that done...
 

chuckcac

Member
ok - here is the stand and the rough plumbing for the sump/fuge...

here's a close up of the plumbing...

and here is an arch i made yesterday

two caves...


and a table...

this is something i made last night that i will bpull out of the mold later when i get home...

just to pre-answer questions some of you may have...

7 cups crushed oyster shell
2 cups portland cement (type I/II)
2 cups water
set in mold and let harden for 24 hours
 

chuckcac

Member
and here is my QT... i couldn't wait anymore
there is a 1lb marshall island live rock... and a few pieces of some rock i brought back home with me from mexico... they are all in there curing...
SG - 1.025
amm - 0
trite - 0
trate - 0
pH - 8.0
temp - 78
the intention is to let the live rock cure and transfer it all to the DT when i get my first fish to QT....except the shark... he stays in the QT


chuckcac

Member
here's the base rock i took out of the mold last night.... this one is my favorite so far...
i'm really enjoying making these things...


more tomorrow...
 
Top