DIY 10 gallon Diary

reefforbrains

Active Member
what about the evap loss from such a small sump wont your level be a headache? I am not really sure which thread to respond to, but it seems like your following both. Nice work
 

rabid frog

Active Member
no I have a little 3.5 gal going and it only evaps about a 1 cup a day. The 12 gal aquapod I have doesnt have a sump and it evaps a 1/2 gal a day. So I have to make the top off rounds every day on all 5 tanks. So it wont be a thing.
 
Nice stuff dude,
youve inspired me and gave me a great idea, also, my 12g nano doesnt evap at all maybe a cup a week at the most, but I also have to leave the feeding lid cracked or my tank goes to 90degrees!!
 

rabid frog

Active Member
ya our aquapod used to be real hot, but I switched to the sunpod lights and that cooled the tank down a lot now that is an open top.
 

volitan_fa

Member
Hmm...the most my BioCube has fluctuated is about 1 degree...1.5 at most.
I like your project...all this is under $200? Interesting...
If I could work with acrylic and other stuff like that I would have my 75 gallon aggressive tank up and running :p
 

rabid frog

Active Member
I am a little bit more skeptical working with larger tanks. This is only my second tank (first one leaked). I think if I was going to do something other than a sump or smaller tank I would just buy it or have it professionally built. Something about 75 gallons of water spilling in my appartment does not sound appealing.
I am still working on how to get a perfect seal. This is not as easy as some make it out to be. I am buying a router today so I can "clean" the edges before I glue them. Hopefully this will help a lot and maybe inspire me to build a larger system.
Thank you for all the comments. If you see something you think could have been done better, please by all means just speak up. I am always open to new ideas and it will help everyone out.
 

rabid frog

Active Member
money wise in materials and live rock im just over 100.00. If you add in my equipment thats going to put me over 200.00 w/o any live stock.
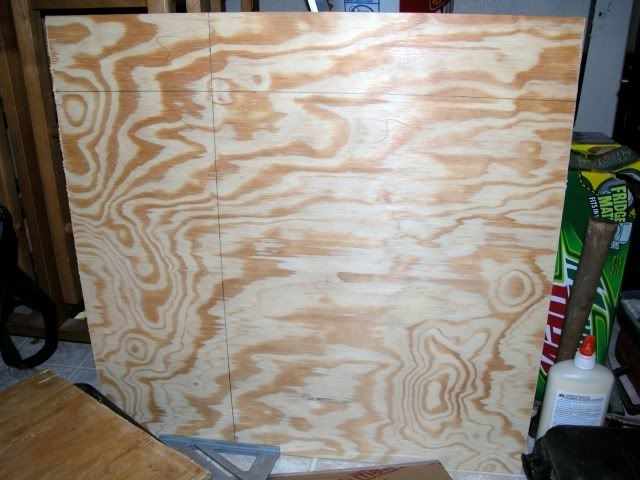
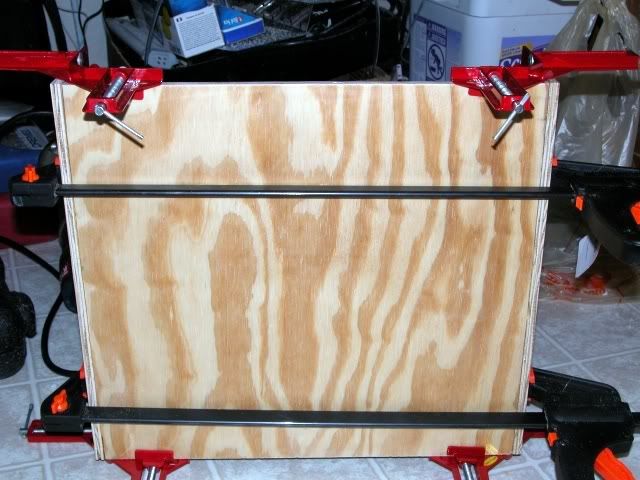
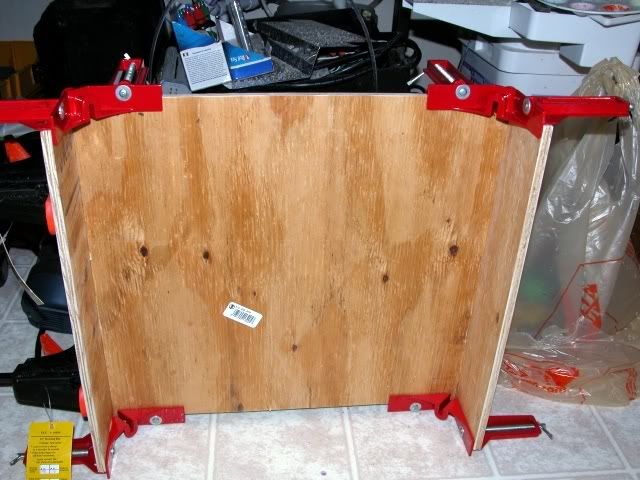
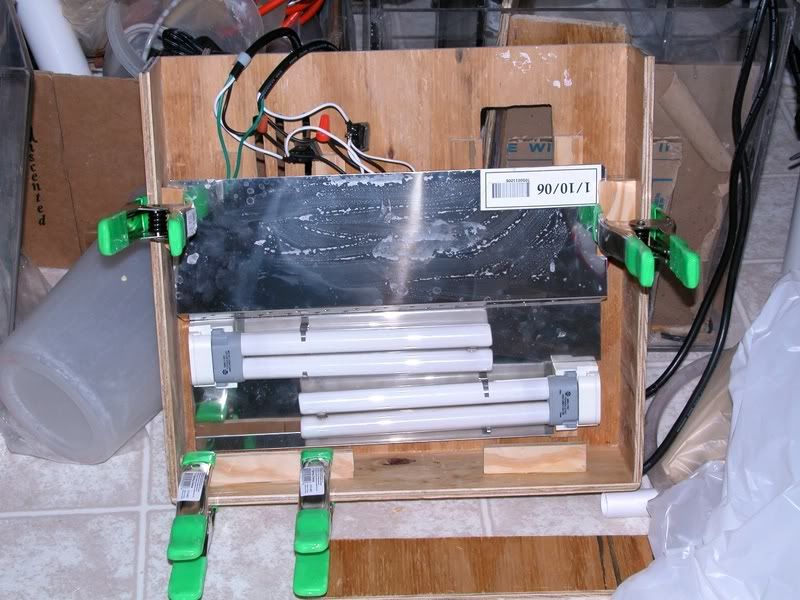
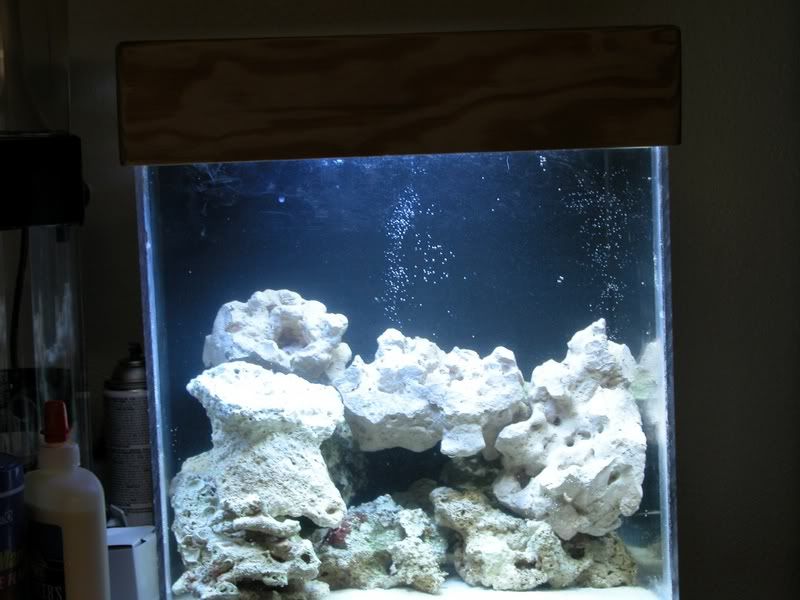
Here are some more updates. Working on my Canopy. Total material cost 6.00
2- 24x24/3/8 sheets of precut wood. Home depot 3.00 each


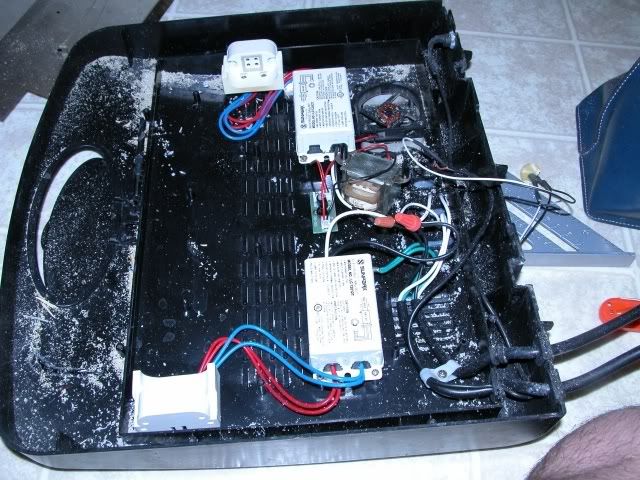
Now I get to wire in the aquapod lights

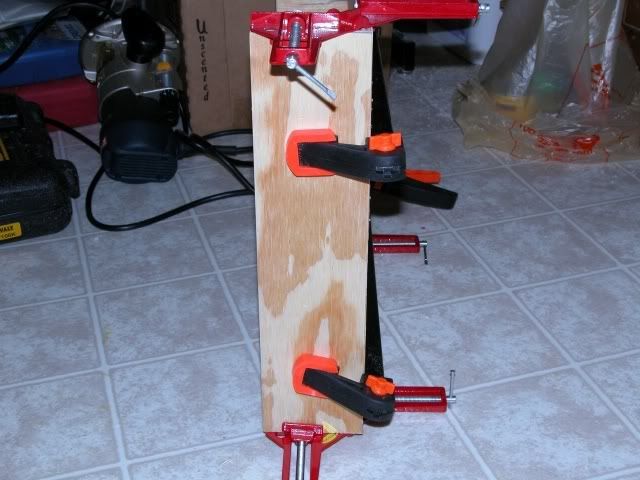
Here is the one fan housing....

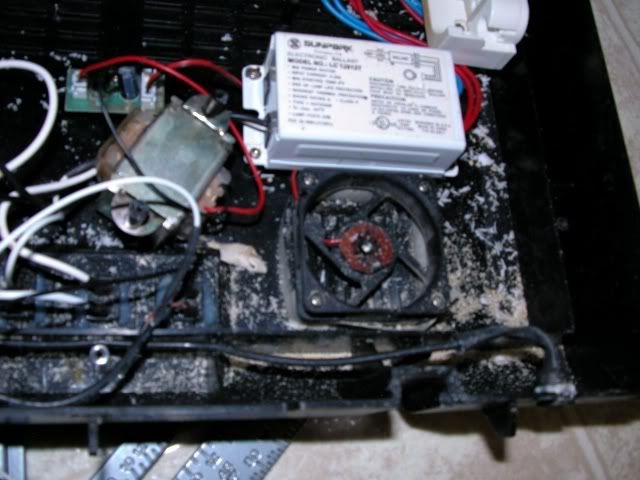
Know all those heat problems people are having with their pods? Look at the converter... It has room for 2 fans!! The hood also has another fan mount already installed

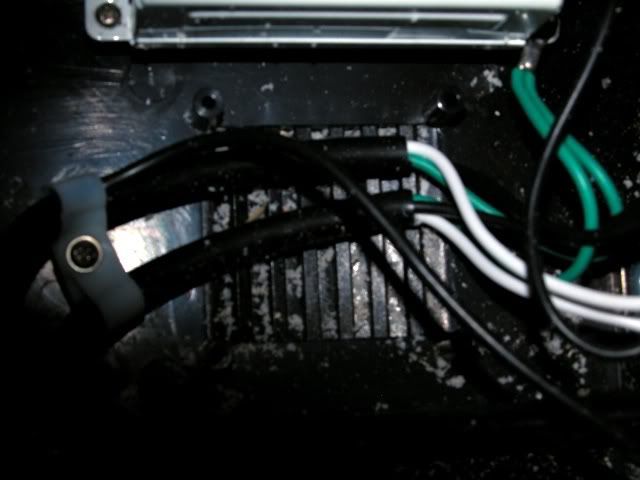
Here is where the second fan is supposed to go... hmmm wonder why they never installed them?
 

rabid frog

Active Member
Tank is about 98% done now. All i am lacking is a finish on the canopy and installing some moon lights.
Here are some pictures of the canopy with the aquapod guts installed. and the canopy on with lights running. Sorry for the crooked pictures. Didnt want to break out the tripod.
Aquapod guts installed

Canopy mounted


rabid frog

Active Member
thanks. It is working out good. No fans installed yet, but no heat problems either. More than I can say for the Pod.
Got the canopy stained, but I am unsure about the finishing process. Are you supposed to sand it after stain and then Lacquer (sp)?
 

otter

Member
Got the canopy stained, but I am unsure about the finishing process. Are you supposed to sand it after stain and then Lacquer (sp)?
My understanding is that you do not sand the stain. You can sand between lacquer coats with a real fine wet/sand paper. IMHO.
 

rabid frog

Active Member
nano is almost done cycling. Ammonia is 0 Trites are .1 and trates are 25
I have a bunch of zoa frags waiting to be put in the tank. Hopefully by the end of next week. :jumping:
 
Top