DIY Nano

rabid frog

Active Member
Ok so our reef club is having a DIY Nano build off that is to run for the span of 6 months. The goal is to stay under $200.00 and 10 gallon or less
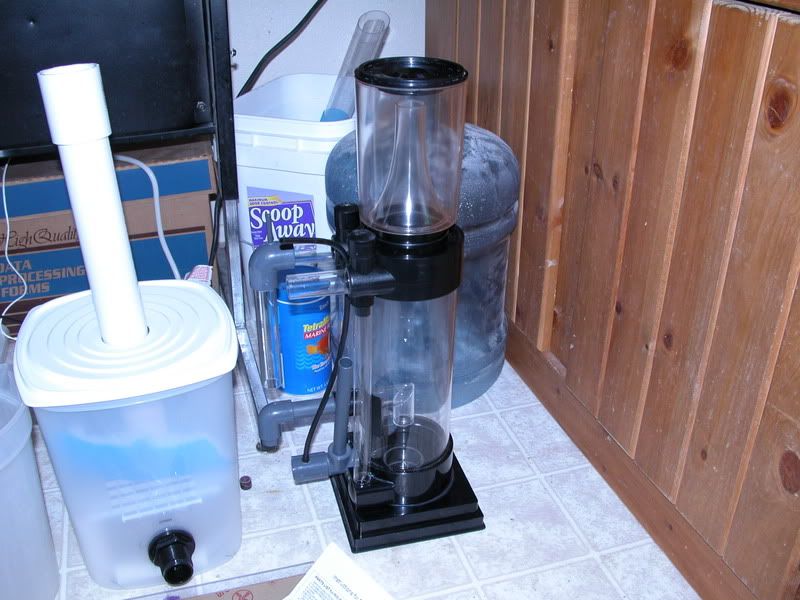
. Here is what I have so far. I used 1/4" acrylic for this tank. I am building my own "Canister" filter for the tank also.
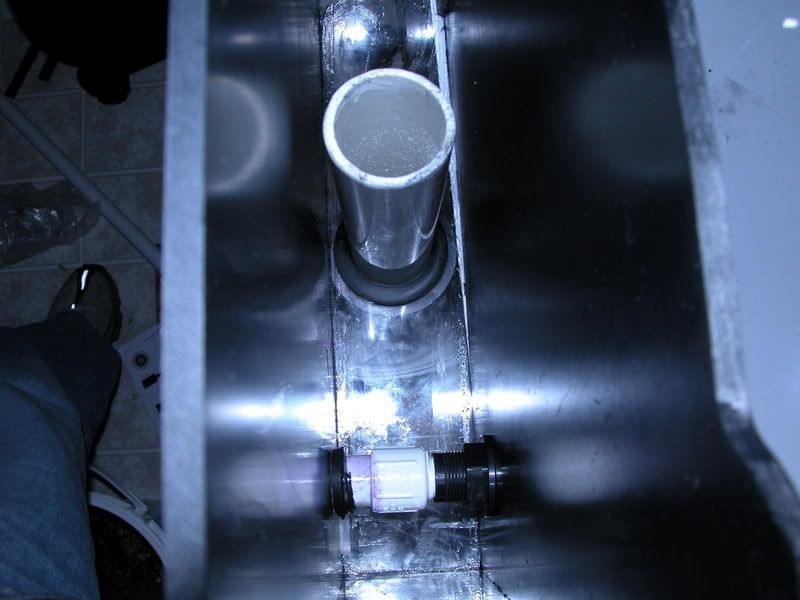
I am using the old lights from my aquapod, but I still have to build a canopy for it. I have a huge drain 1 1/2" that I am going to use for a stand pipe to drain into the filter. I am using 1/4" pvc for returns , which I have drilled for bulk heads and lockline returns.
Hopefully I will use my mag 5 pump that I have laying around. I am putting a ball valve on the return side so I can choke down the pump if it is too much flow. Undoubtly it will be a little too much flow.
Enough bable onto the pictures.
The complicated autocad drawings

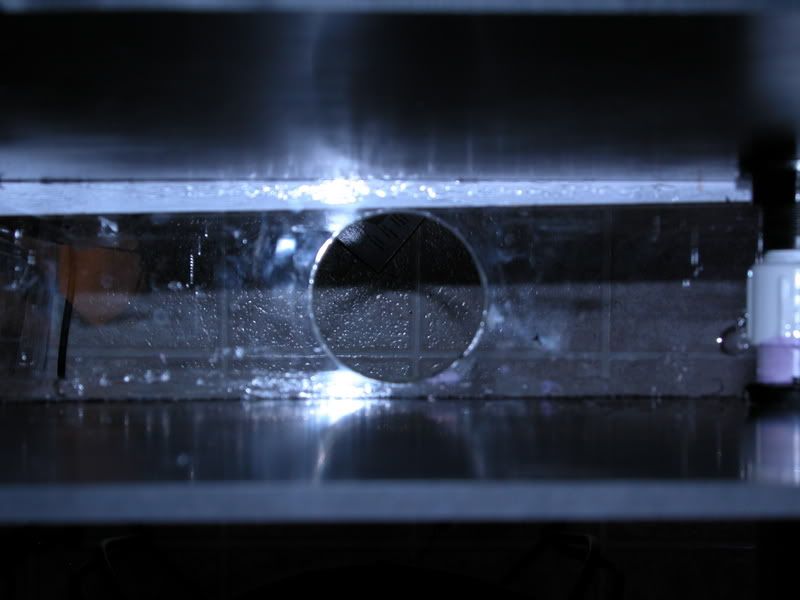
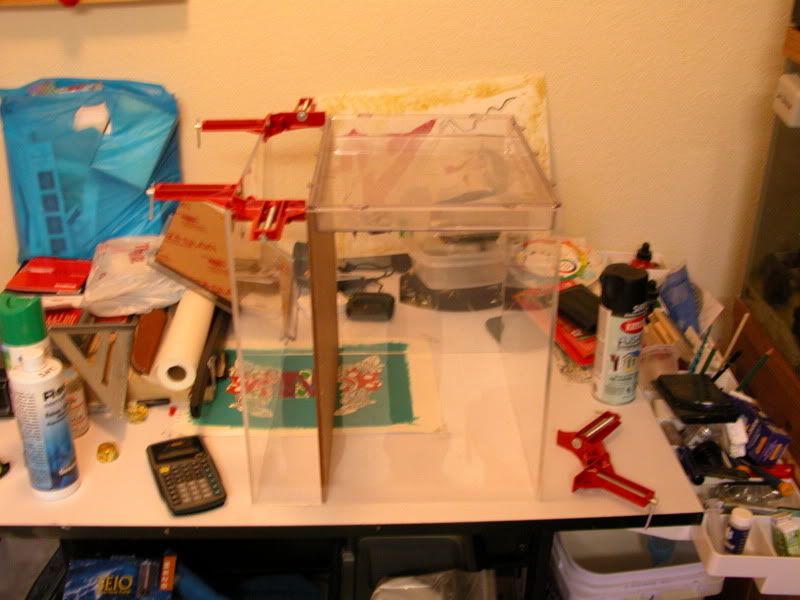
Showing the back chamber


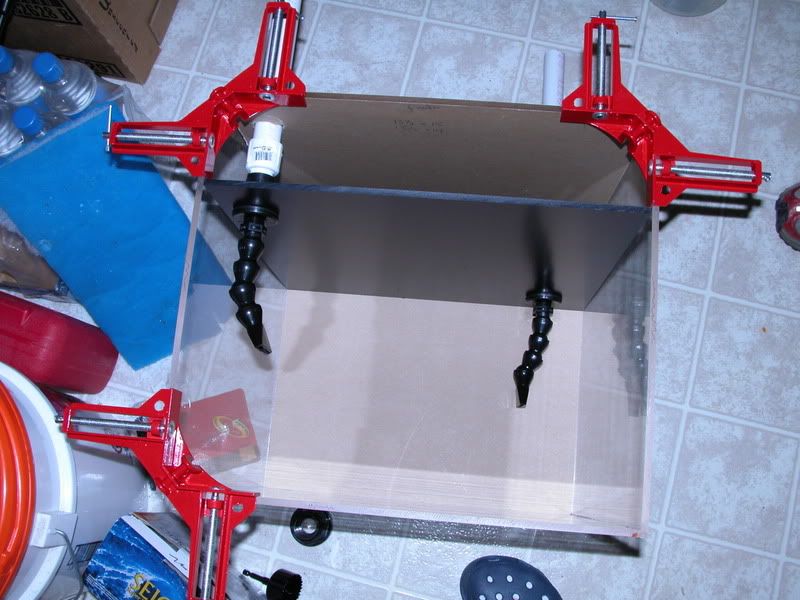
Clamps i used to make sure the tank was square. Harbor freight 1.39 each.

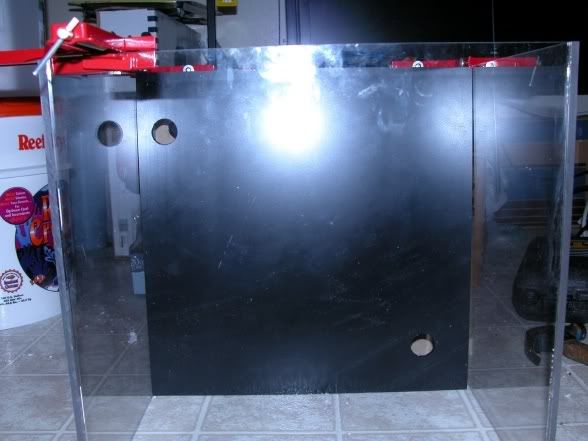
Holes drilled for returns and back wall painted black. Krylon Fusion


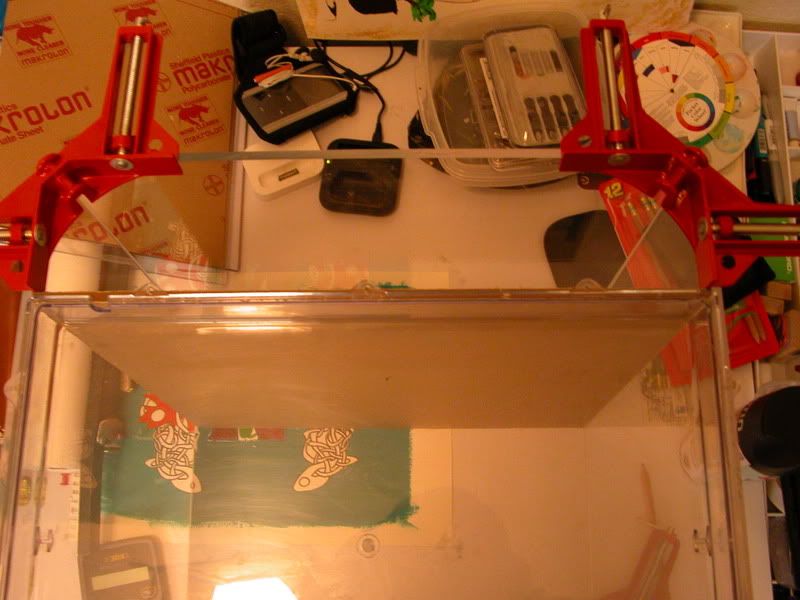
With lock line returns and bulk heads installed. I ended up taking all but one link of lockline off. The returns were too long imo.
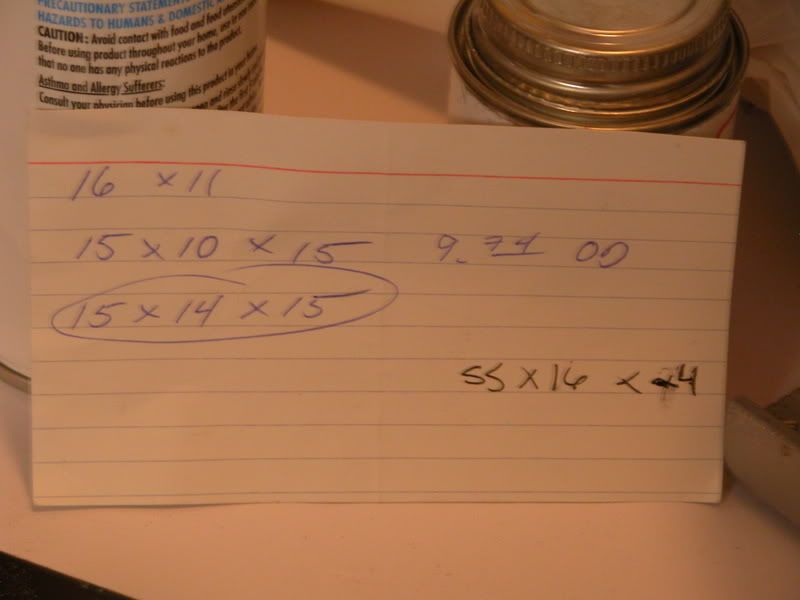
Hope you enjoy. I realize from the plans the actual dimensions of the tank are not 10 gallons. But I have the back plate moved up so the main tank is 10" from back to front. So the main tank size is 10x14x15 which turns out to be about 9.09 gallons. But I am running the tank with the water line to be about 1" low so that gives me another gallon to play with in the sump/canister filter.
I guess what I ended up doing was building a reef ready aquapod.. lol. Or an aquapod the it almost should have been built.
 

reefforbrains

Active Member
Originally Posted by rabid frog
Hopefully I will use my mag 5 pump that I have laying around. I am putting a ball valve on the return side so I can choke down the pump if it is too much flow. Undoubtly it will be a little too much flow.
maybe just a little too much but with the returns being split you should be right on. looks great so far. And yes harbor frieght is awesome for cheapo braces and ect. If you used them everyday for work they are worthless, but for specific tasks they are well worth the price to use once then toss in the shop.
Beautiful build, keep us posted
 

rabid frog

Active Member
Thanks guys, Got some of it plumbed yesterday. Here are some new pictures.
The drain is going to be 1 1/2 " I used a union seal for the drain. Its kind of like a bulk head but relies on the pvc to strecth it and make the seal.

Here is a picture of the seal with the stand pipe semi-installed

My home made canister filter and the protein skimmer I am going to use. Walmart jug. about 2.00 Turbo Floater 1000 skimmer... over kill but I had it laying around.
 

rabid frog

Active Member
Weld on #3 for the intial gluing. Then I used Weld on #16 for a bead, kind of like you would do with silicon.
 

mkzimms

Member
those clamps are pretty nifty, i guess having the right tools makes the job that much easier! ive been toying with the thought of building a 6 inch deep top-view type tank for some clams but i've never attempted acrylic work and i don't want to find out how good i am on a fish tank. those clamps may give me the edge im looking for. looking good. how much have you spent on that so far?
 

rabid frog

Active Member
Here is what I have invested so far.
PVC Ball valve 1/2" $2.65 x 2
1/2" Bulkheads $7.99 x3
Union seals $24.04
Acrylic 1/4" 5 pieces cut to size $58.00
Lockline $17.00
Various lengths of pvc from other projects about $6.00
Weldon #3 $6.00 ( I will use Weldon #4 in the future.)
Weldon #16 $4.00
for a total of $144.31
Kind of expensive for a 10 gallon tank I guess, but its been fun making it. It is also hard to find a drilled 10 gallon tank. I have unsuccessfully tried to drill the 10 gallon aquariums you buy at wally world.
 

rabid frog

Active Member
No I did not Euro brace it. I dont think roughly 10 gallons of water could bow 1/4' acrylic. But I could be wrong I suppose. Any thoughts on that?
 

acrylic51

Active Member
Might overtime bow, but looks extremely cool.......I've thought about doing a little tank, and now you've sparked my curiosity again.........
 

rabid frog

Active Member
Unfortunately I think this one is going to be scrap. After I installed the 1 1/2" drain I think I put too much stress on the bottom, so now it leaks. I think I will go get more acrylic cut and start over, this time with weldon #4. I was not happy with the #3 at all. Too watery and too hard to control. But I have learned a lot from this build. I am still trying to get the leak stopped, but if it does not stop I by this weekend this one will be scrap.
I will install the bottom union seal by itself this time, before I glue everything.
 

acrylic51

Active Member
AWWWWW........
that thing was looking sweet!!!!!! Did you pinpoint the source of the leak? You could use 16 to seal your leak....I love using the 3 over the 4.......4 has a little slower setup time than 3, but not that much more......You'll have a hard time getting 3 or 4 to seal a leak.....If your trying to seal a leak you'll need to use 16.....HTH
 

rabid frog

Active Member
Ya im using 16 to seal the leak but it is not working. I am also trying silicon. Do you think if I put 16 on the back side of it that would sesal the leak? :thinking:
 

acrylic51

Active Member
Have you been able to locate the leak?? I've had to take painters tape at times from the outside or depending what type of joint and put tape on the opposite side I'm gluing, and then apply the 16.......Why isn't the 16 working.....That's weird......16 is a gap filler more or less......are you trying to do just that little area that's leaking or are you doing the complete joint as well with the 16?
 

rabid frog

Active Member
The problem that I am having is while installing the 1.5" pvc through the uniseal I think it put too much stress on bottom. I installed the false wall before I found out about weldon 16 so i was not able to get a good seam of it on. I tried to get it the best I could but it was too runny and I was not able to get like I got the front panels.
So this afternoon I took some silicone and put it on my finger and ran gobbs of it along the "problem" seams. I smoothed it out with my finger and was able to get a pretty good bead of silicon on those areas. I was not really concerned with the look of it any longer, as I am just going to paint the side panels of the overflow black now so you cannot see the shabby silicone work. I initially wanted to leave those parts clear so you could see a behind the scenes look into that part w/o having to remove the hood. But this is a first acrylic project for me and I have learned many tricks to gettin things accomplished.
If I have to scrap this tank so be it. I am going to build another just like it, but go about putting it together differently. I will change the assembly order dramatically and the next one should come out significantly better. I hope :hilarious
thanks for the support though, and if you have any ideas on how to improve on the design let me know. I am always open to new ideas.
 

rabid frog

Active Member
Good news, the silicone worked to stop the minor leaks. Just waiting for the silicone to cure the rest of the way before I really get the tank wet.
 

acrylic51

Active Member
16 isn't forgiving and can be messy.....Were you trying to apply it right from the squeeze tube? They do sell 16 in a can like the 3 and 4 and you can get syringes that you use to apply the 16......Getting into tight spots with 16 is a b**ch.......Congrats.....Show me some flow pics when she's cured.......
Looks fantastic though..........
 

acrylic51

Active Member
Originally Posted by rabid frog
The problem that I am having is while installing the 1.5" pvc through the uniseal I think it put too much stress on bottom. I installed the false wall before I found out about weldon 16 so i was not able to get a good seam of it on. I tried to get it the best I could but it was too runny and I was not able to get like I got the front panels.
So this afternoon I took some silicone and put it on my finger and ran gobbs of it along the "problem" seams. I smoothed it out with my finger and was able to get a pretty good bead of silicon on those areas. I was not really concerned with the look of it any longer, as I am just going to paint the side panels of the overflow black now so you cannot see the shabby silicone work. I initially wanted to leave those parts clear so you could see a behind the scenes look into that part w/o having to remove the hood. But this is a first acrylic project for me and I have learned many tricks to gettin things accomplished.
If I have to scrap this tank so be it. I am going to build another just like it, but go about putting it together differently. I will change the assembly order dramatically and the next one should come out significantly better. I hope :hilarious
thanks for the support though, and if you have any ideas on how to improve on the design let me know. I am always open to new ideas.
What??????
I'm going to copy yours......The first one usually is the bear that's when you work out all the kinks for the next one though....
 
Top