I must have been a good boy, or just good.

kspops

Member
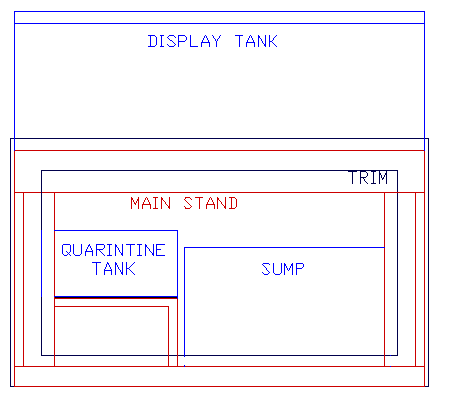
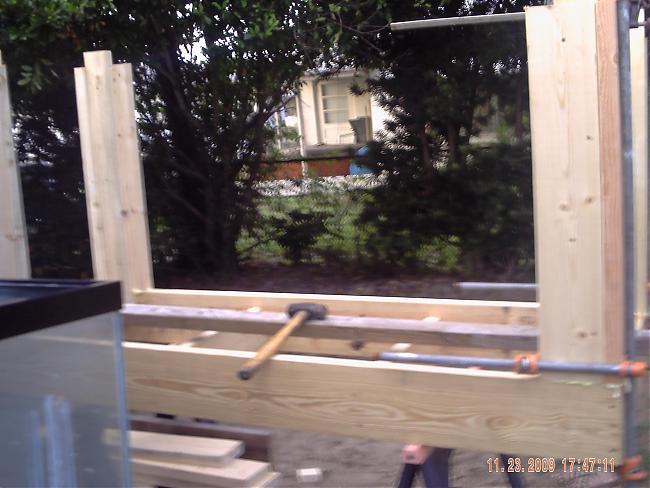
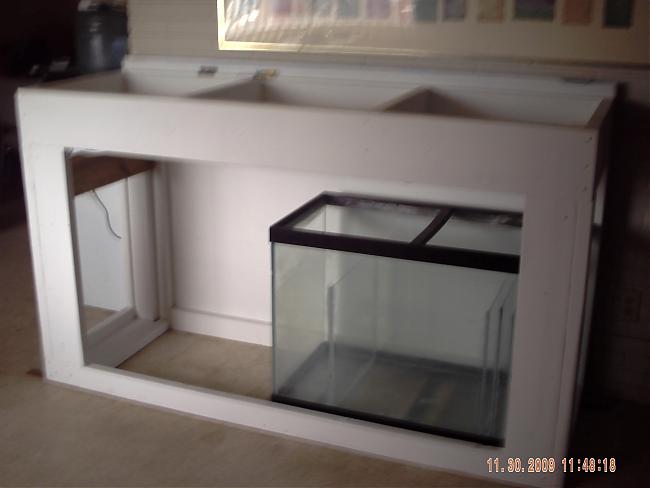
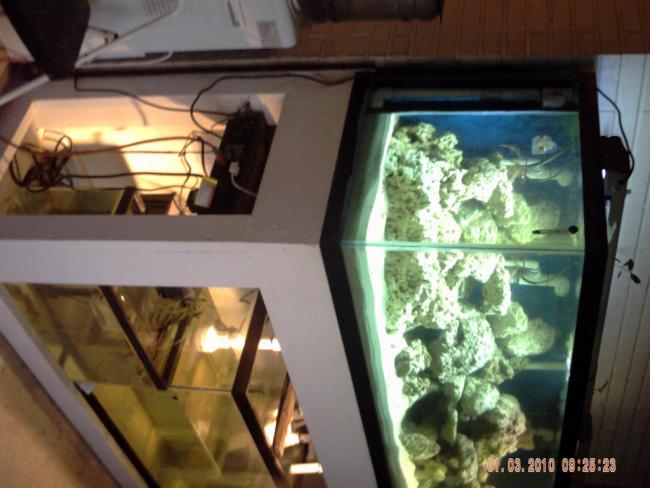
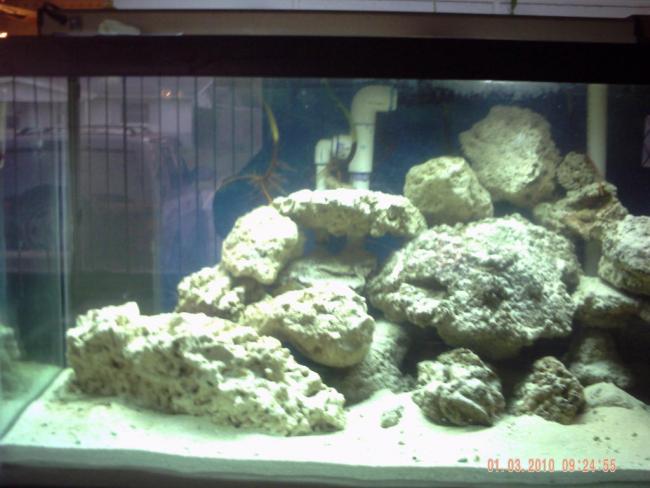
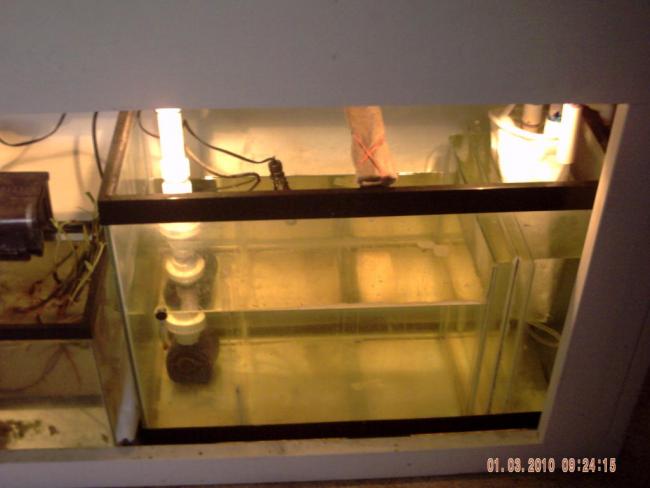
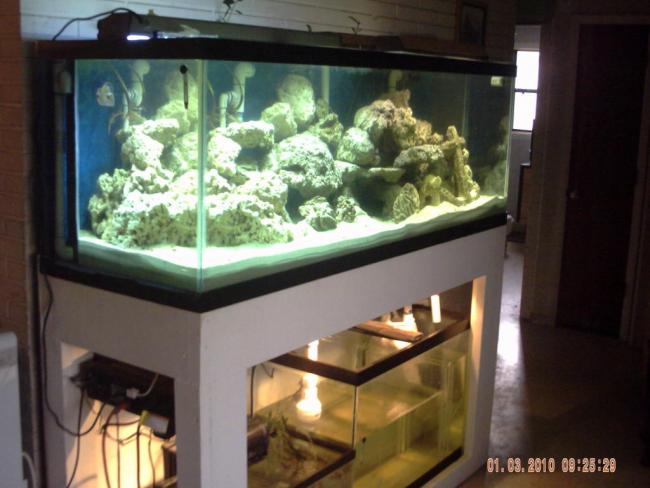
I am still somewhat in shock, but I talked my wife into a 180 gallon tank to replace my other tank(s). I have a 135g with sump and then a 75g freshwater. I proposed to use the 75 for a sump, and build a custom stand for the set-up. The 180 was $125 plus shipping, (a 2 hr road trip). So my fun has just restarted, The tank has been drilled for 1" bulkheads in 5 places. I plan to use 2 for sump runs, and the other 3 for returns. First I have to clean some old silicon out where a former owner tried to seal the holes with a piece of acrylic. So I will go to the extreme and reseal the entire tank. I will post pics as I go.
 

skate020

Member
sounds like a plan:), keep the 135g as a QT?
what you planning on stocking it up with ?
75g sump sounds good:)
what lighting, skimmer, and stuff are you planning on getting?
im getting a 180g in about a month:)
it comes with 3x 30w T8's, 2x fluval 605 cannister filters. normally, i'd dump the filters and use a sump, but because its a FOWLR, and itsnt holding any corals, the cannisters will be good enough, same with the lighting, they dont have to support any corals:)
i hope to get a nice bluefaced angel, with a big lion, and some other nice fish:D
 

kspops

Member
well, here is the beginning of the project. As stated, the tank needs some work. So this is the start.


kspops

Member
So here is where I am at now, I have re sealed the tank and now waiting for my bulkheads to come in. I will then water test the tank and get ready for a stand build. Then I have a garage to clean out before the stand build. I had to give up my 135 to get this tank, but not until I get this thing up and running. I will try to get more pictures later, but for now, I cant wait to move forward.
 

kspops

Member
I have a couple questions for the DIY experts out there,
1, for an overflow in the DT, what is the standard height from the rim of the tank, and what about the supply to the sump? is there a standard drop for that?
2, My plans have been changed slightly as the 75 I was going to use is now replaced by a 65 gallon tall. What is the suggested height of the baffles?
I am planing to run to pumps just to keep the flow going if one has to be replaced or repaired. I will try to post pics when I get them or make some progress. Thanks.
 

kspops

Member
Here is the latest, I have done a water test on the reseal and it passed. I also di a test on the tank that will become the sump and that passed. So now the stand is in production. I will post a couple pics later, but the basic design is from --. I went to the bigger 2X8 supports and will use 2X6's and 2X4's for the legs. Just small steps for now. The top section is Glued and fastened with a little help to keep it square. Next will be the Legs and then the bottom. I am hoping to have the sides and front panels removable using magnets for great access. I will try to get pics as I go, and put up a couple of drawings.
 

kspops

Member
Here is the basic game plan.
The stand will be seen when the front and side covers are removed. The QT is just to keep it all in one area. I hope to make a floating canopy above the tank, but that is another project for a later time and will hopefully allow for mangroves out of the top.
 

kspops

Member
Well, it might have been a while, so here is an update.
First is the stand as of now. I am using a pattern from --.
Second is the sump I have in progress. Then finally, is the custom paint job for the back of the tank. I tried to do a textured finish with several shades of blue.


kspops

Member
Well, here is an update as to the build. I have the stand in basic shape and painted. I plan to trim it out with Cedar and then put removable panels on the front and sides. I think I will try to put fans on the back panel for temp control.
The sump is done to the point it will function. I may add another baffle to insure the flow through the LRR and sand.
As for the tank, I am planing on putting a plenum in and work it around the tubing. I have added a third drain in the middle as an emergency drain. This will be a simple tube with strainer for a last ditch effort to stop an overflow. For now, Happy Holidays


kspops

Member
This is where I am now. I just got the stand inside and put the sump in. Looks like I will have plenty of room. I also got the sump lighting in place, so now I wait for the neighbors to get home for the heavy lifting. Here are some pics.
The Power Station is just a set of outlets that I wired at work. I have a timer to set and control the sump/night lights and the tank lights. Also, several outlets that are switched and several that are constant power.


small triggers

Active Member
lookin good so far,, how tall is your skimmer???? how much space is between the top of your sump and the bottom of the stand? it doesnt look like too much. I ended up going from a 55g tank to a 46g rubbermaid tote because of the height problem in my stand...
 

kspops

Member
Well, here is the latest update. I got the tank up with a little help from the auto equipment.
Next, I started the RO/DI unit in the garage. As of now, I have to manually start and stop the process, but more updates on that later. I started the plumbing and then did some change-ups. but it works.
After 150 gallons of new salt, That was mixed and then transferred with an old low power pump, I was able to start the move.
First, I cleaned and moved the live rock. Then I moved the fish, Inverts, and mangroves to the holding tank.
Next came the transfer of the old sand on top of the new sand. I still have some sand and LRR for the sump, but I have to put a new baffle in first.
The water has tested low on Ammonia and no Nitrites. the PH is 8.2 and a KH of 179 ppm.
I will give it a few days to see about a cycle, but hope to move the livestock soon.
Here are some pictures of what I have so far...


kspops

Member
Just added some Homemade corner covers for the tank. I had them soaking in fresh for the cement curing process. Now I still want more rock.


Top