First of all, do you have an internal overflow or an external overflow box?
Materials list:
10 - 2x4's 8ft long
1/4" birch plywood 4'x8'x1
1x1" finnishing wood
10" midar saw
1x power drill (your choice)
2 1/2" course thread sc-rews (2lbs)
1 finnishing nailer with 1" finnishing nails
1 air compressor
protective glasses (safety)
ear protection (safety)
wood glue
metal plates with sc-rew holes
2x 1/4"x2"x96" finnishing wood
hinges of your choice.
Remember that a 2x4 is actually a 1 1/2" by 3 1/2" board.
I like making my stands 42" tall. This height will give you plenty of room to play around with underneath your tank. If you are short in stature, you may want to make the stand shorter for better viewing.
Measure and make your cuts:
4x48 1/2" cuts (length)
8x15 1/4" cuts (widths)
4x42" cuts (legs)
12x35" cuts (inside legs)
1x60" cross brace (on inside)
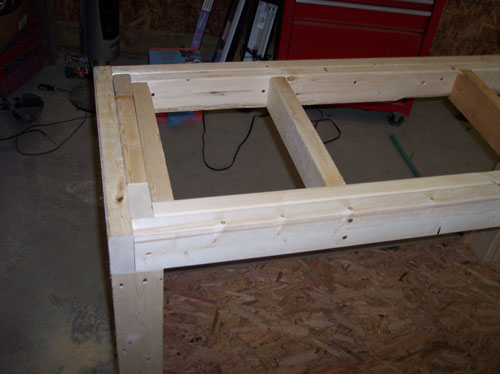
First, assemble the top box using 4x15" and 2x 48 1/2" boards turned on their sides. Then assemble the bottom box the exact same way.
While you have the bottom box on the floor,
[hr]
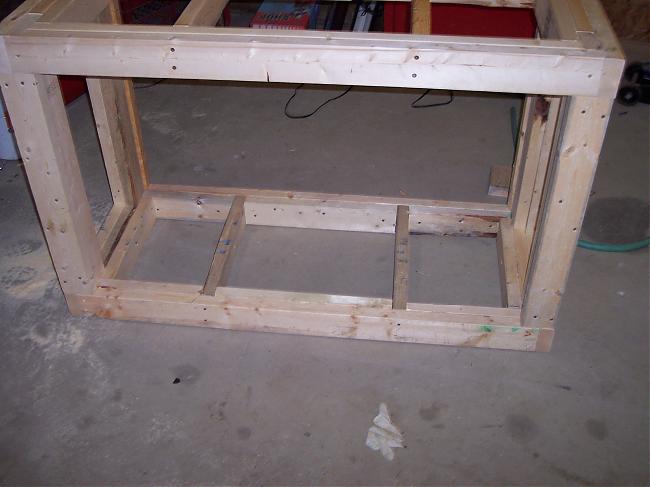
the 42" legs on the inside of the box on all four corners (where you put them is your choice.).
Brace the 42" boards with the 35" boards on the outside(sc-rew them on) , giving support to your top box for the weight.
Put your top box on top of the legs and secure them on. Check how level your stand is with a leveler, both ways.
Use the rest of the 35" boards to brace the rest of the stand under the lip, secure them with screwable metal plates. These don't really need to be braced up, they are more for support of the weight.
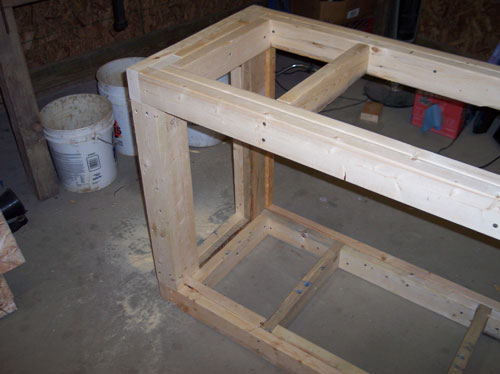
use the 60" cross brace on the inside of the legs. Put one end at the top and one end at the bottom, then secure them in place to each othe cross braces. This ensures that the stand will not move anywhere.
Congrats, now your done with the main construction, time to put on a glove!
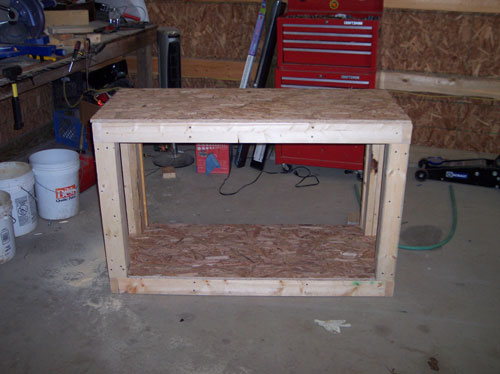
Measure out a 49" by 45" piece of 1/4th inch plywood. Cut out three windows for the doors. Tack it on lightly with the finnishing nailer.
Measure out tw 18 1/4" x 45" sheets of 1/4" plywood. Make your cuts, and insert your sump through the side, as well as any protein skimmers and tall objects. Tack on those two pieces.
Now for the top trim, Use the 1x1" finishing wood for some trim work on the bottom and on the top of the stand. Glue it on, and then use a finnishing nailer. Wipe up any excess glue. If you want, you can use a router to make a nice trim work edge on the bottom of the stand. Do this BEFORE you tack it on.
Fit your tank inside of the glove to make sure that everything fits up correctly. Make your changes accordingly.
Next, you need to add doors to the stand. Cut out a piece of 1/4" plywood that fits 1" overlapping the "windows." Cut out the 1/4"x 2" finnishing wood at the ends at a 45 degree cut. Make a box surrounding the doors. This will give some definition to the stand. It also allows you to have something to grab onto to open the doors.
Secure the doors on with hinges of your choice. Doesn't have to be hardy and sturdy hinges either.
I can't think of any other woodwork that has to be done with the stand. If you have some lights that need to be put above the tank, you will need to construct a canopy...