LED DIY LIGHT build
- Thread starter 1snapple
- Start date
monsinour
Active Member
Quote:
Originally Posted by 2Quills http:///forum/thread/383238/led-diy-light-build/120#post_3356857
Nice job, man. Keep us posted with updates. Did you use the thermal grease between the leds and the alluminum?
That would transfer heat better and make the LEDs last longer. Why would anyone want to use that? I mean its what $5 for a 2g tube? Oh wait, thats the thermal glue. It acts like thermal grease but glues the LEDs in place. I havent decided how I am going to mount the LEDs yet. I am debating on screws or thermal paste. I did read somewhere that even the heat resitsant washers didnt work all that well when mounting the LEDs with screws. I am leaning toward the thermal paste.
Quote:
Originally Posted by 1Snapple http:///forum/thread/383238/led-diy-light-build/120#post_3356860
Nope, used a very small amount of superglue, I know everyone says it fogs up the lens but It didnt mine.
And what will happen over time as that superglue is heated and cooled and heated and cooled and heated and cooled? You might not have an issue now, but in the future, you might run into a problem. I personally would have stayed away from superglue. I mean, how much were those LEDs? Wouldnt you want to spend the extra $5 to protect them?
edit: forgot to mention the lights. My bad....
I think that it is super bright and looks like it will work out rather well for ya. Mind posting a pic of how the wires are ran on the LEDs? I am a tech geek and a hacker at heart. I like seeing how things are built and then attempting to improve upon them in my mind. Where did you mount the driver and whatnot to make the LEDs work? Is that a piece of acrylic supporting the heatsink?
2quills
Well-Known Member
Quote:
Originally Posted by Monsinour http:///forum/thread/383238/led-diy-light-build/140#post_3356963
Quote:
Originally Posted by 2Quills http:///forum/thread/383238/led-diy-light-build/120#post_3356857
Nice job, man. Keep us posted with updates. Did you use the thermal grease between the leds and the alluminum?
That would transfer heat better and make the LEDs last longer. Why would anyone want to use that? I mean its what $5 for a 2g tube? Oh wait, thats the thermal glue. It acts like thermal grease but glues the LEDs in place. I havent decided how I am going to mount the LEDs yet. I am debating on screws or thermal paste. I did read somewhere that even the heat resitsant washers didnt work all that well when mounting the LEDs with screws. I am leaning toward the thermal paste.
Quote:
Originally Posted by 1Snapple http:///forum/thread/383238/led-diy-light-build/120#post_3356860
Nope, used a very small amount of superglue, I know everyone says it fogs up the lens but It didnt mine.
And what will happen over time as that superglue is heated and cooled and heated and cooled and heated and cooled? You might not have an issue now, but in the future, you might run into a problem. I personally would have stayed away from superglue. I mean, how much were those LEDs? Wouldnt you want to spend the extra $5 to protect them?
edit: forgot to mention the lights. My bad....
I think that it is super bright and looks like it will work out rather well for ya. Mind posting a pic of how the wires are ran on the LEDs? I am a tech geek and a hacker at heart. I like seeing how things are built and then attempting to improve upon them in my mind. Where did you mount the driver and whatnot to make the LEDs work? Is that a piece of acrylic supporting the heatsink?
lol...yes that's what the thermal grease is for, heat transfere from the leds to the alluminum. People use the grease when the drill and tap method is employed and they use the thermal epoxy when they just want to secure and go. I think it's a pretty important step and also why it is sold in all the kits. But I don't want to knock the work that Snapple did for his first build, I give him props for his attempt and have them come out working.
The lights look good from what I can tell from the pics. I know that cameras have a hard time picking up the true colors with the blues on. I'd try to find some way to protect them from evaporation in the long run. Raising them up higher would be my first thought which I'm sure you already plan to do.
reefraff
Active Member
As far as humidity affecting the leds one of the sites is selling something called LED coat that I used on mine. I placed a straw over the LED domes because I didn't want to coat them but evidentially you can; I heard it was demoed at one of the shows by placing an LED star under the water and running it. I think it was nanotuners that is selling it. Anyway with my unit being placed in a canopy I didn't want to worry about the exposed electrical pads on the stars corroding. I suspect you could use polyurathane to do the same thing.
monsinour
Active Member
Quote:
Originally Posted by 1Snapple http:///forum/thread/383238/led-diy-light-build/140#post_3356979
ya. for now it's acrylic holding it up.
I know i should of used thermal epoxy but i could not find it locally.

Mon, as far as wiring i can make a diagram.
not worried about how to wire it up, i just want to see your handy work.
Originally Posted by 1Snapple http:///forum/thread/383238/led-diy-light-build/140#post_3356979
ya. for now it's acrylic holding it up.
I know i should of used thermal epoxy but i could not find it locally.

Mon, as far as wiring i can make a diagram.
not worried about how to wire it up, i just want to see your handy work.
acrylic51
Active Member
Josh did you figure out what the deal was with the LEDs??? I seen your post over on RC.....
I'm going to ask blindly since I didn't read the past couple days been busy with work, but why not use screws vs the epoxy? When you epoxy the LEDs in place they are permanent. If you'd need to swap them out in the future you'd be SOL IMO. The thermal grease on the other hand is important for heat transfer correct?
I'm going to ask blindly since I didn't read the past couple days been busy with work, but why not use screws vs the epoxy? When you epoxy the LEDs in place they are permanent. If you'd need to swap them out in the future you'd be SOL IMO. The thermal grease on the other hand is important for heat transfer correct?
1snapple
Active Member
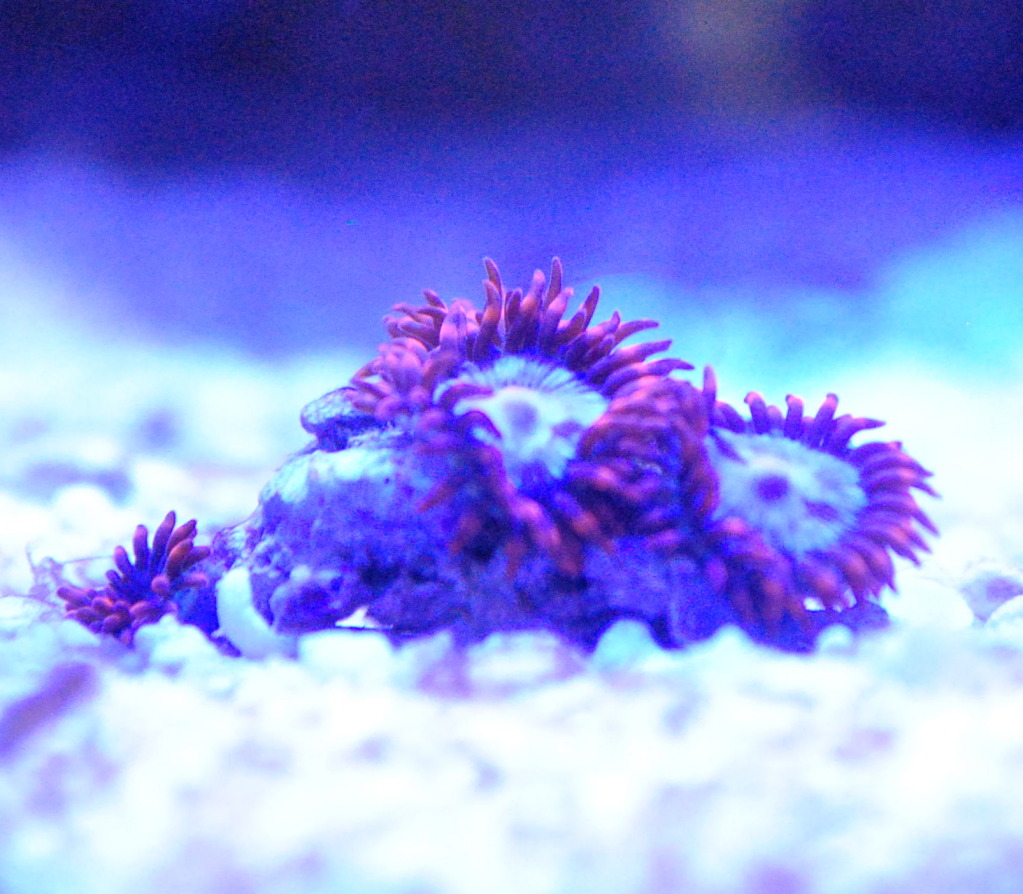
Unknown zoos. Call out a name if you know it.
Crop Circle zoos.
Joker Chalice, sorry for bad pic.
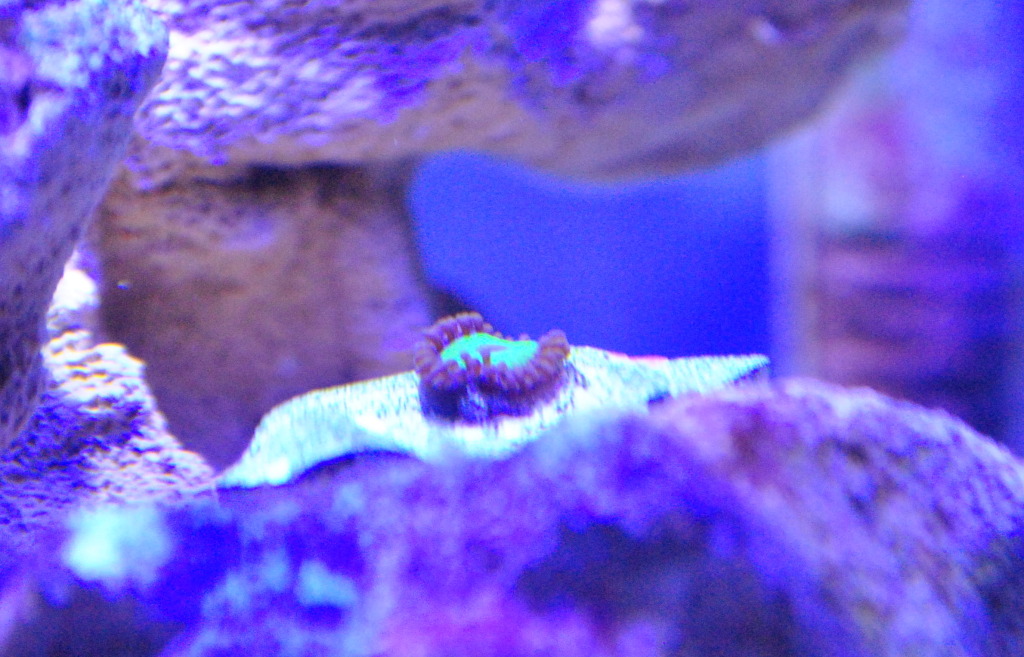
Hulk zoo.
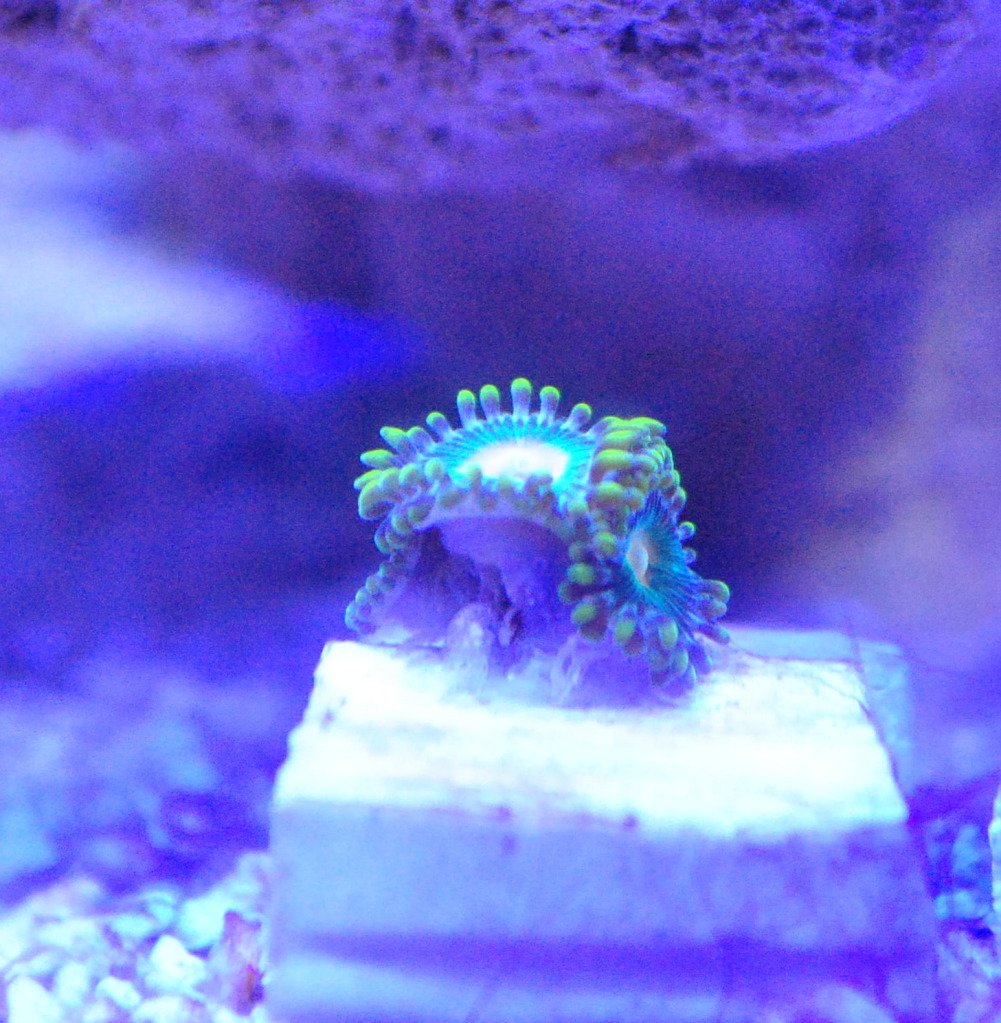
Greenbay zoos.
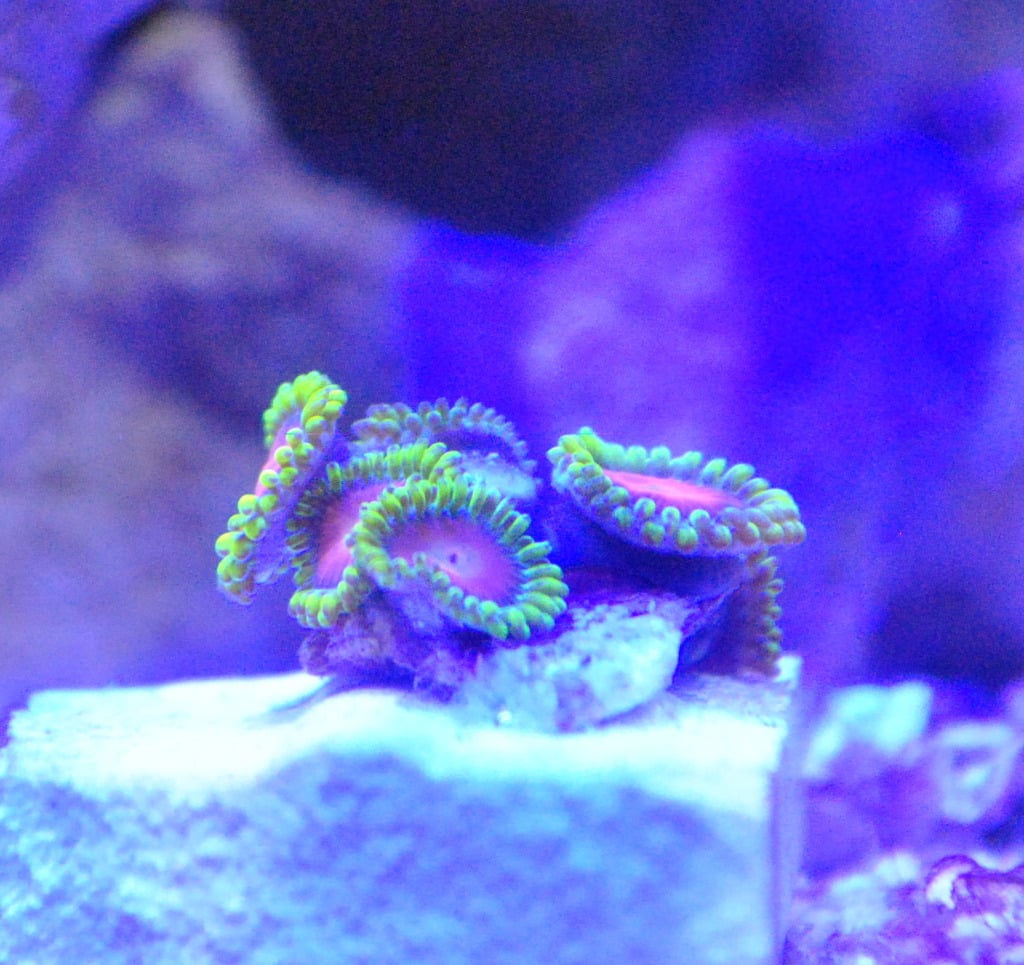
Dragon eye zoos.
Acro, (turning from red to green?)
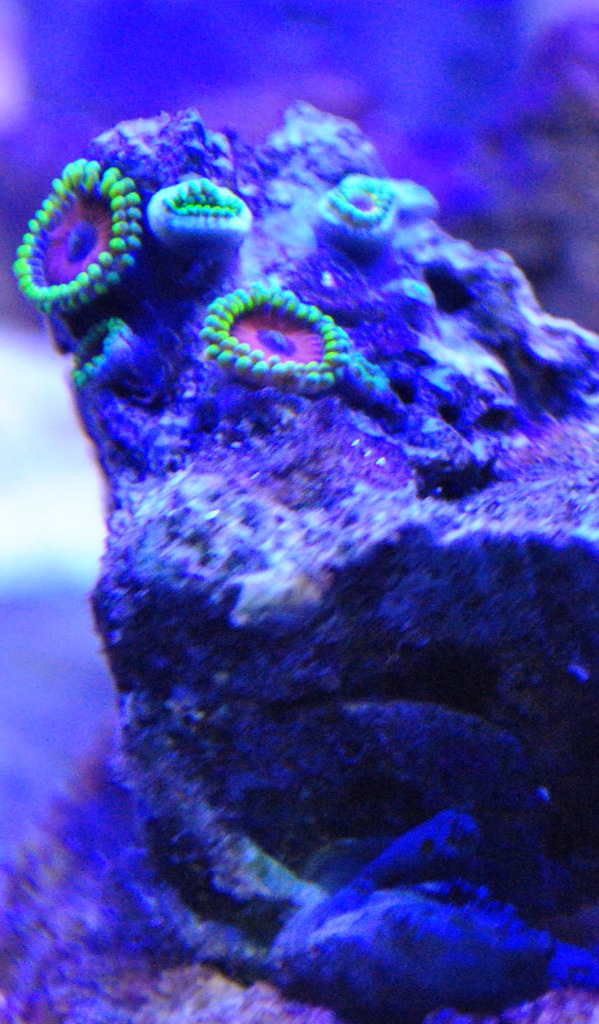
Eagle eyes & emerald crab.
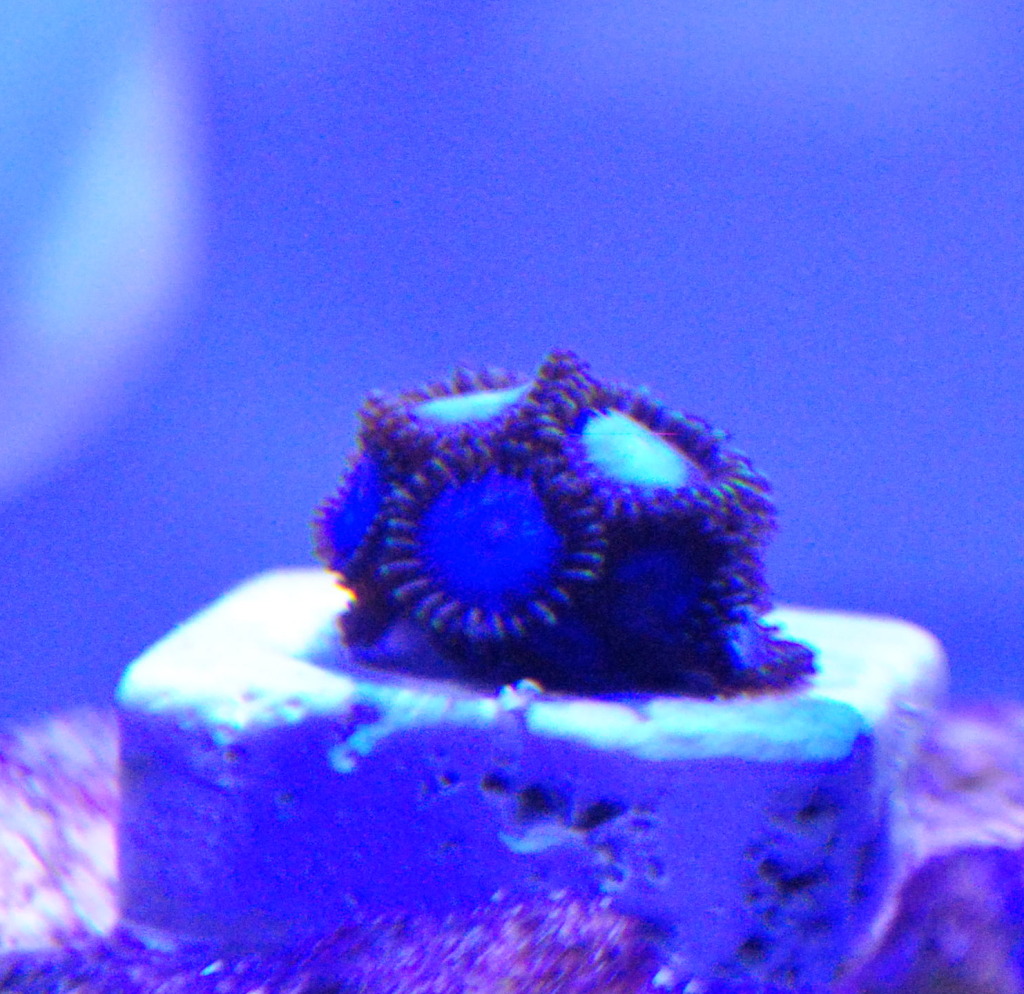
Tubbs blue zoos.
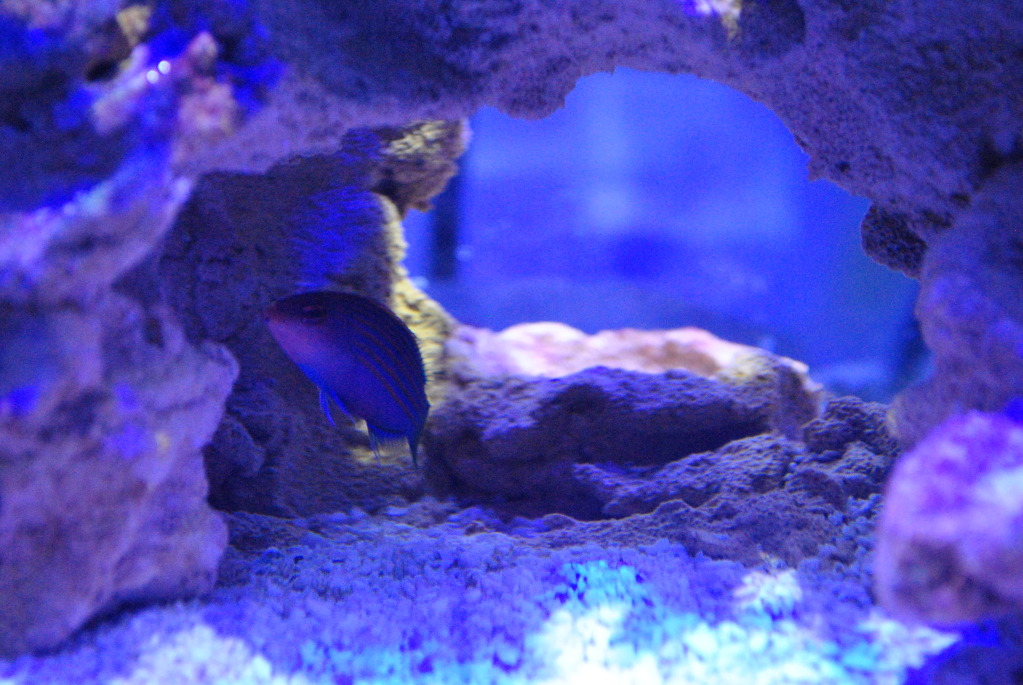
sixline wrasse. ( I know in to small of a tank, small flatworm problem.)
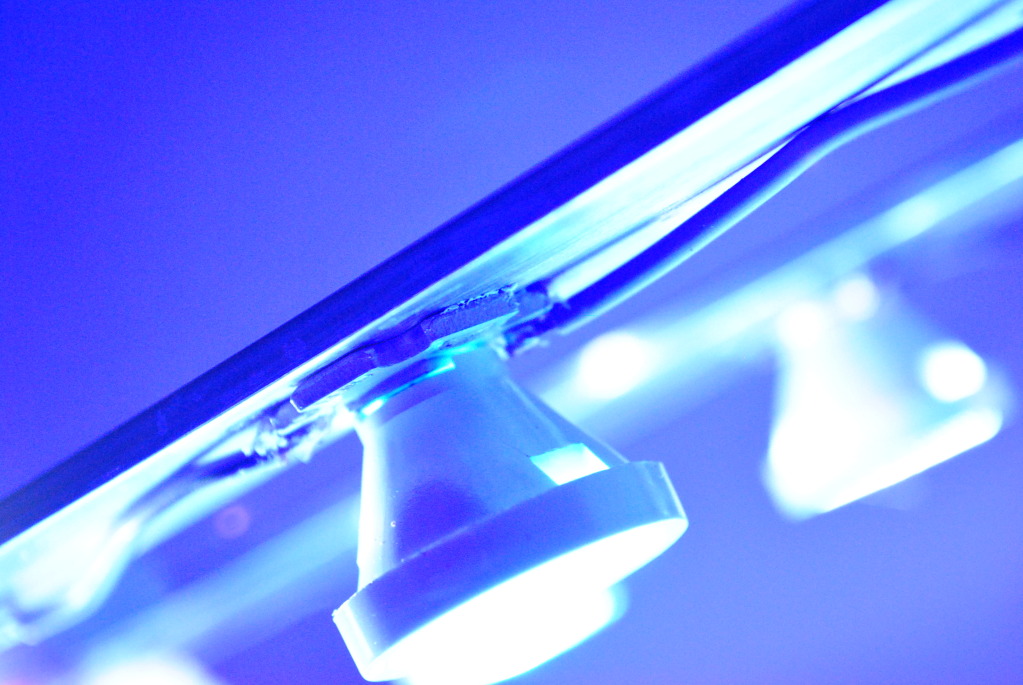
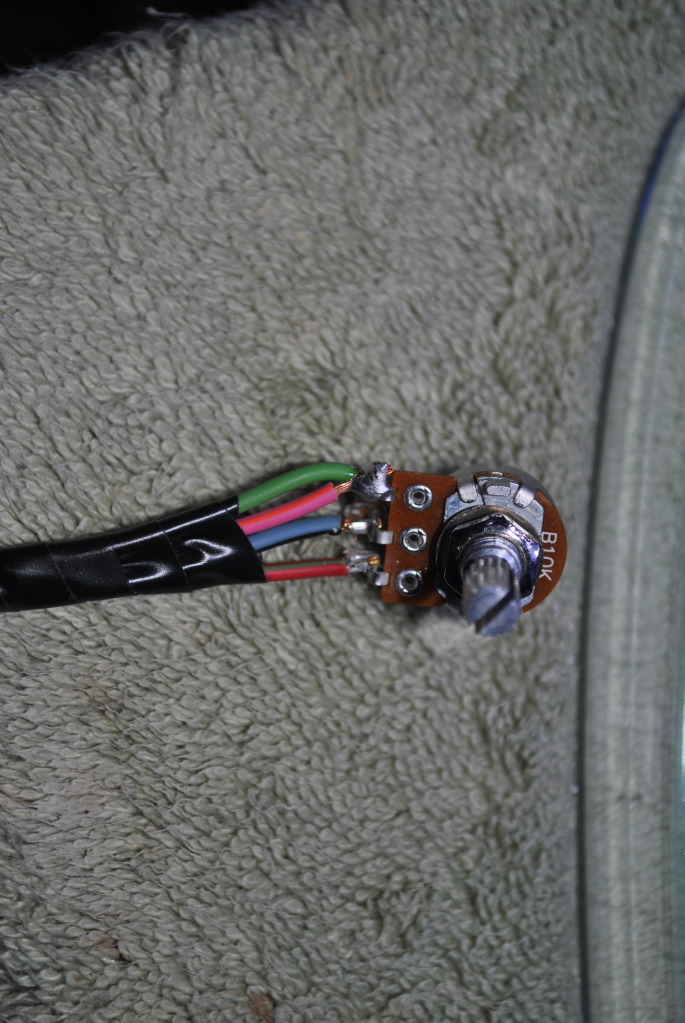
RB LED. trying to show soldering work.
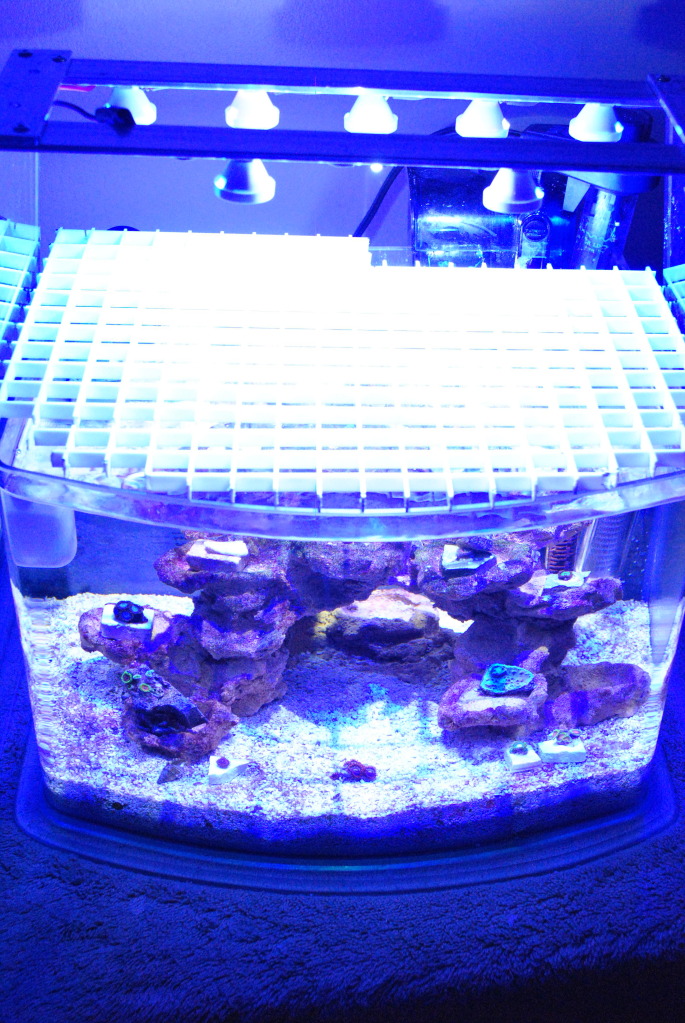
FTS.
1snapple
Active Member
I am extremely happy, hard to take pictures though.
It seems like they are really white or saturated.
I think it is really cool how easy it is to control the intensity.
You can go from barely visable to blindingly bright, It's awesome.
The only regret is not having enough LEDs to get 2 drivers and to dim each color individually.
It seems like they are really white or saturated.
I think it is really cool how easy it is to control the intensity.
You can go from barely visable to blindingly bright, It's awesome.
The only regret is not having enough LEDs to get 2 drivers and to dim each color individually.
reefraff
Active Member
What I've heard about super gluing the lenses on is as the glue cures the fumes will cause the issues. It will be interesting to see what happens after a couple months. I used a dab of silicone on my lenses.
I used the thermal pads for my build. Isn't too hard to remove the LED's from those. When I changed LED's I ran out of new pads and super glued a few of the LED's back to the old pads. We'll see how that works.
I used the thermal pads for my build. Isn't too hard to remove the LED's from those. When I changed LED's I ran out of new pads and super glued a few of the LED's back to the old pads. We'll see how that works.


