New Sump - 65 gallon FW Build

al&burke

Active Member
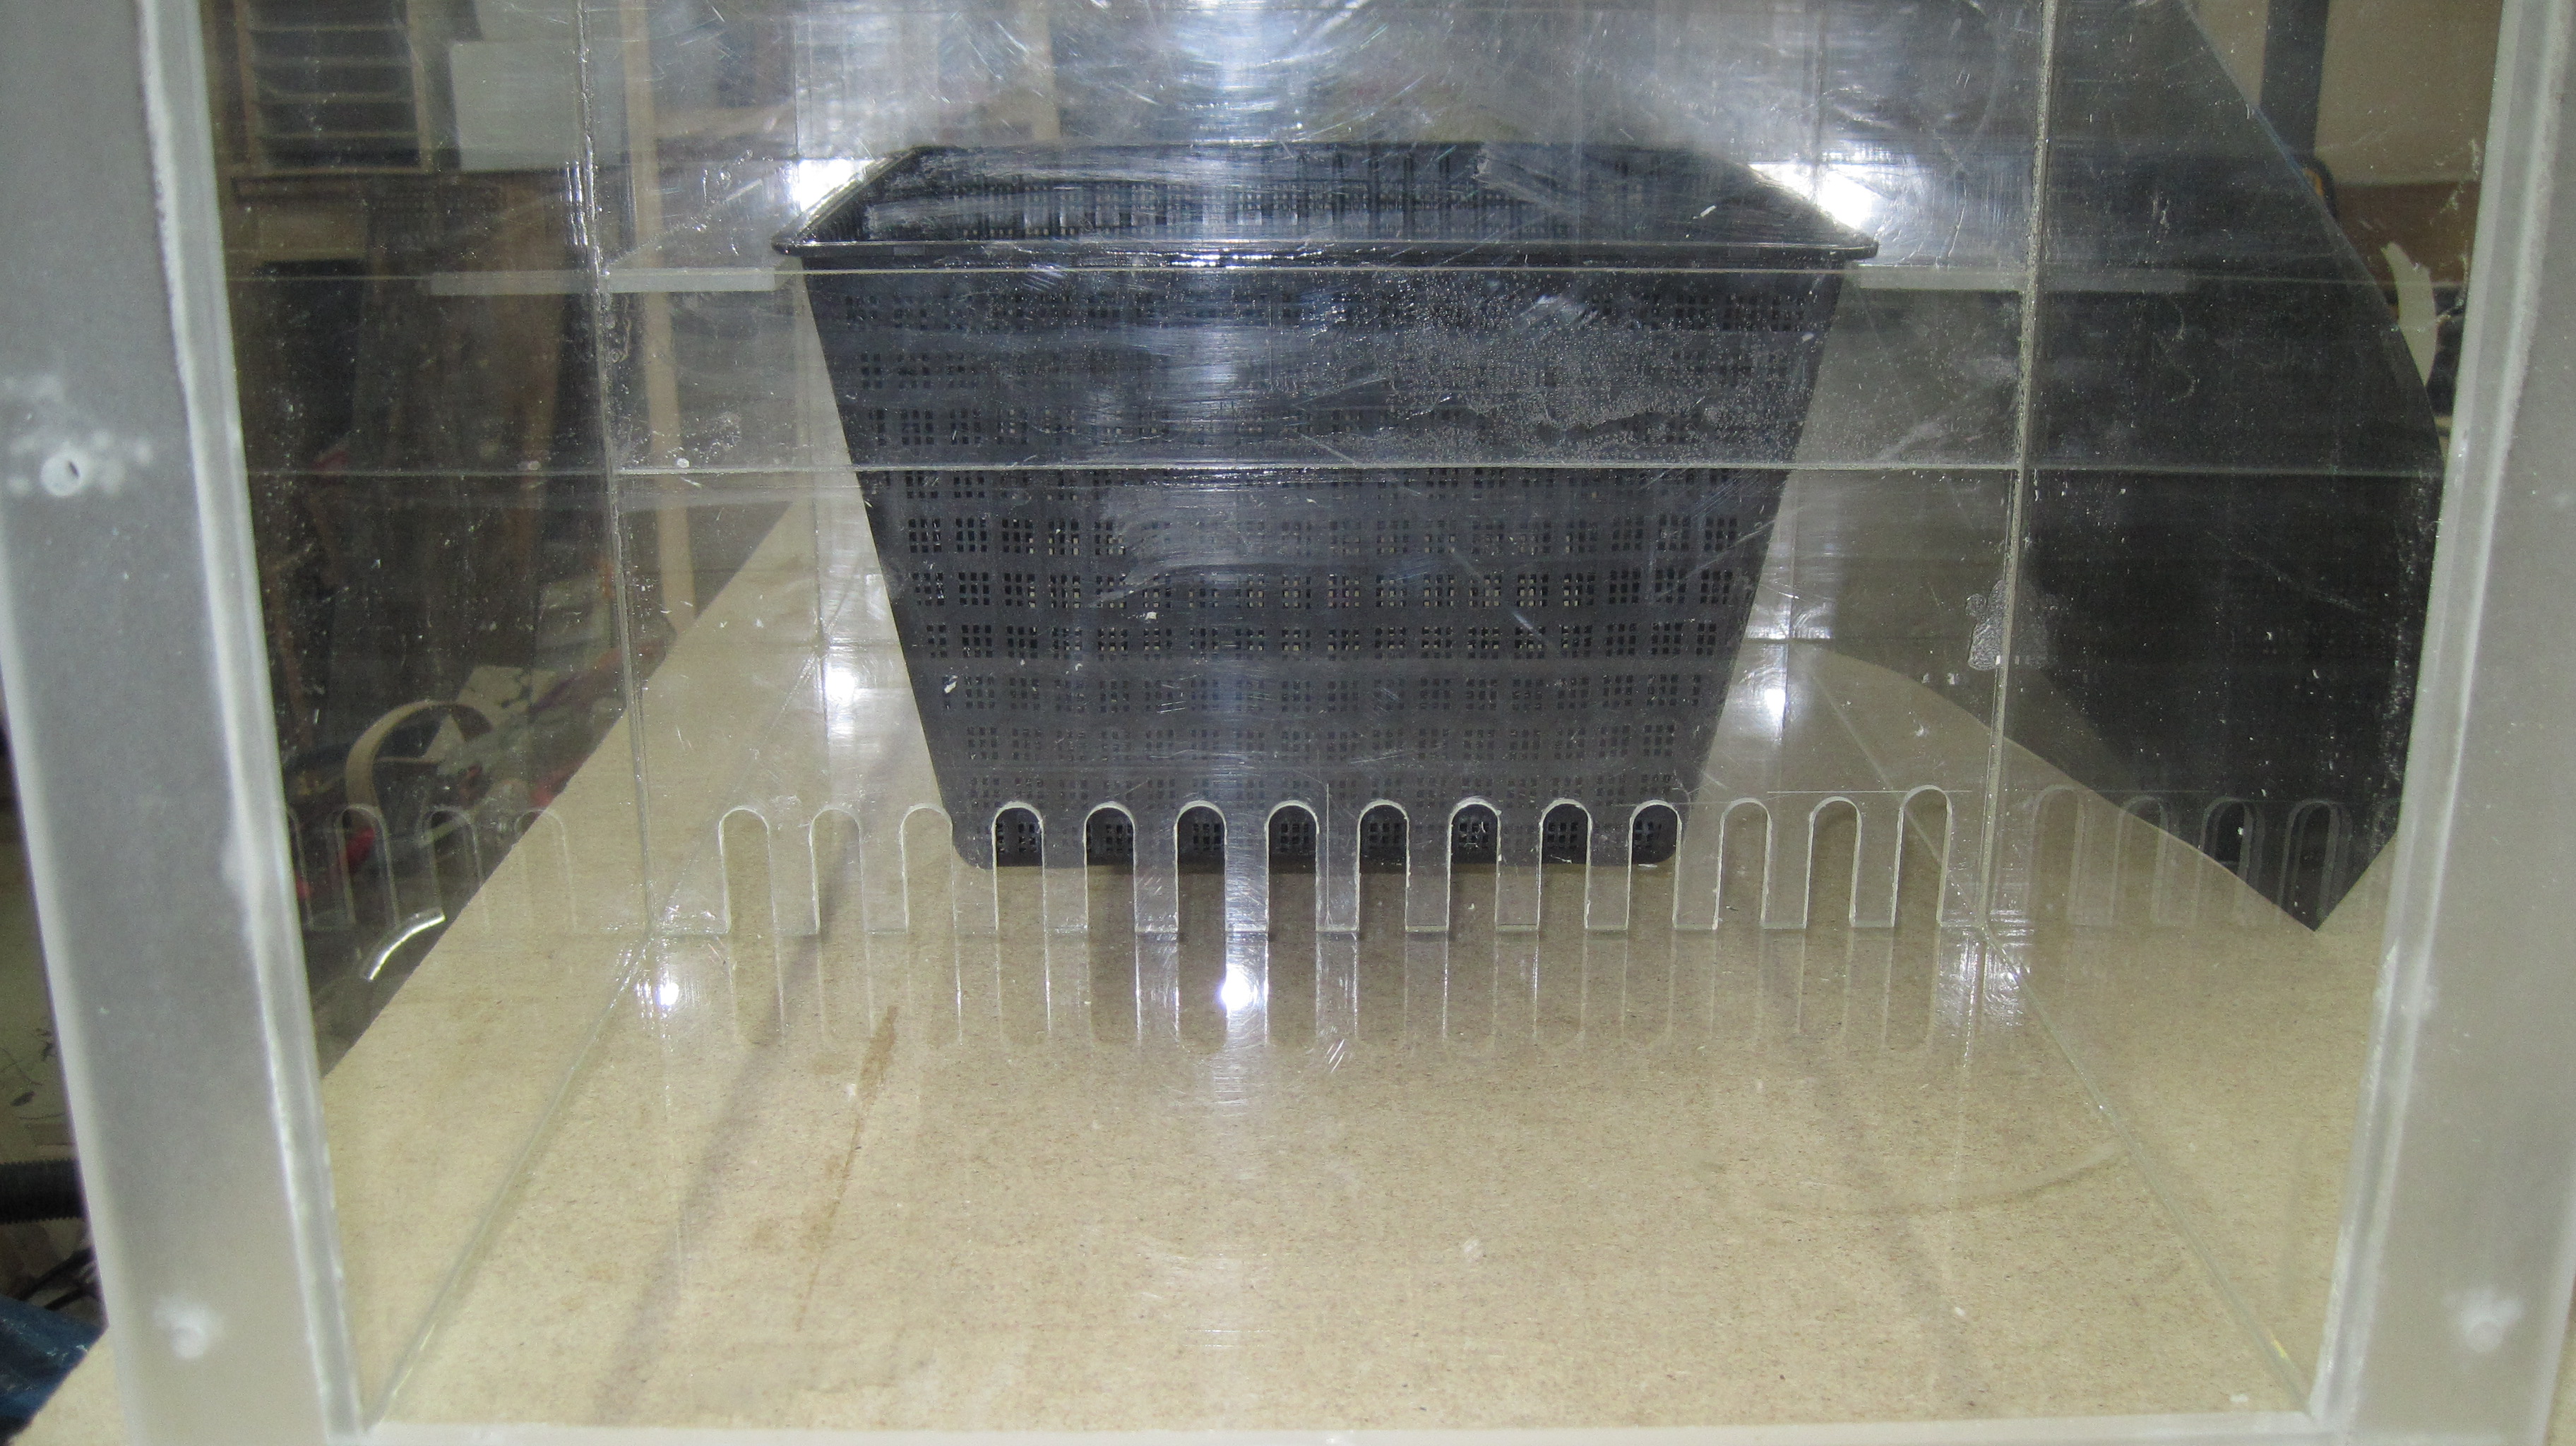
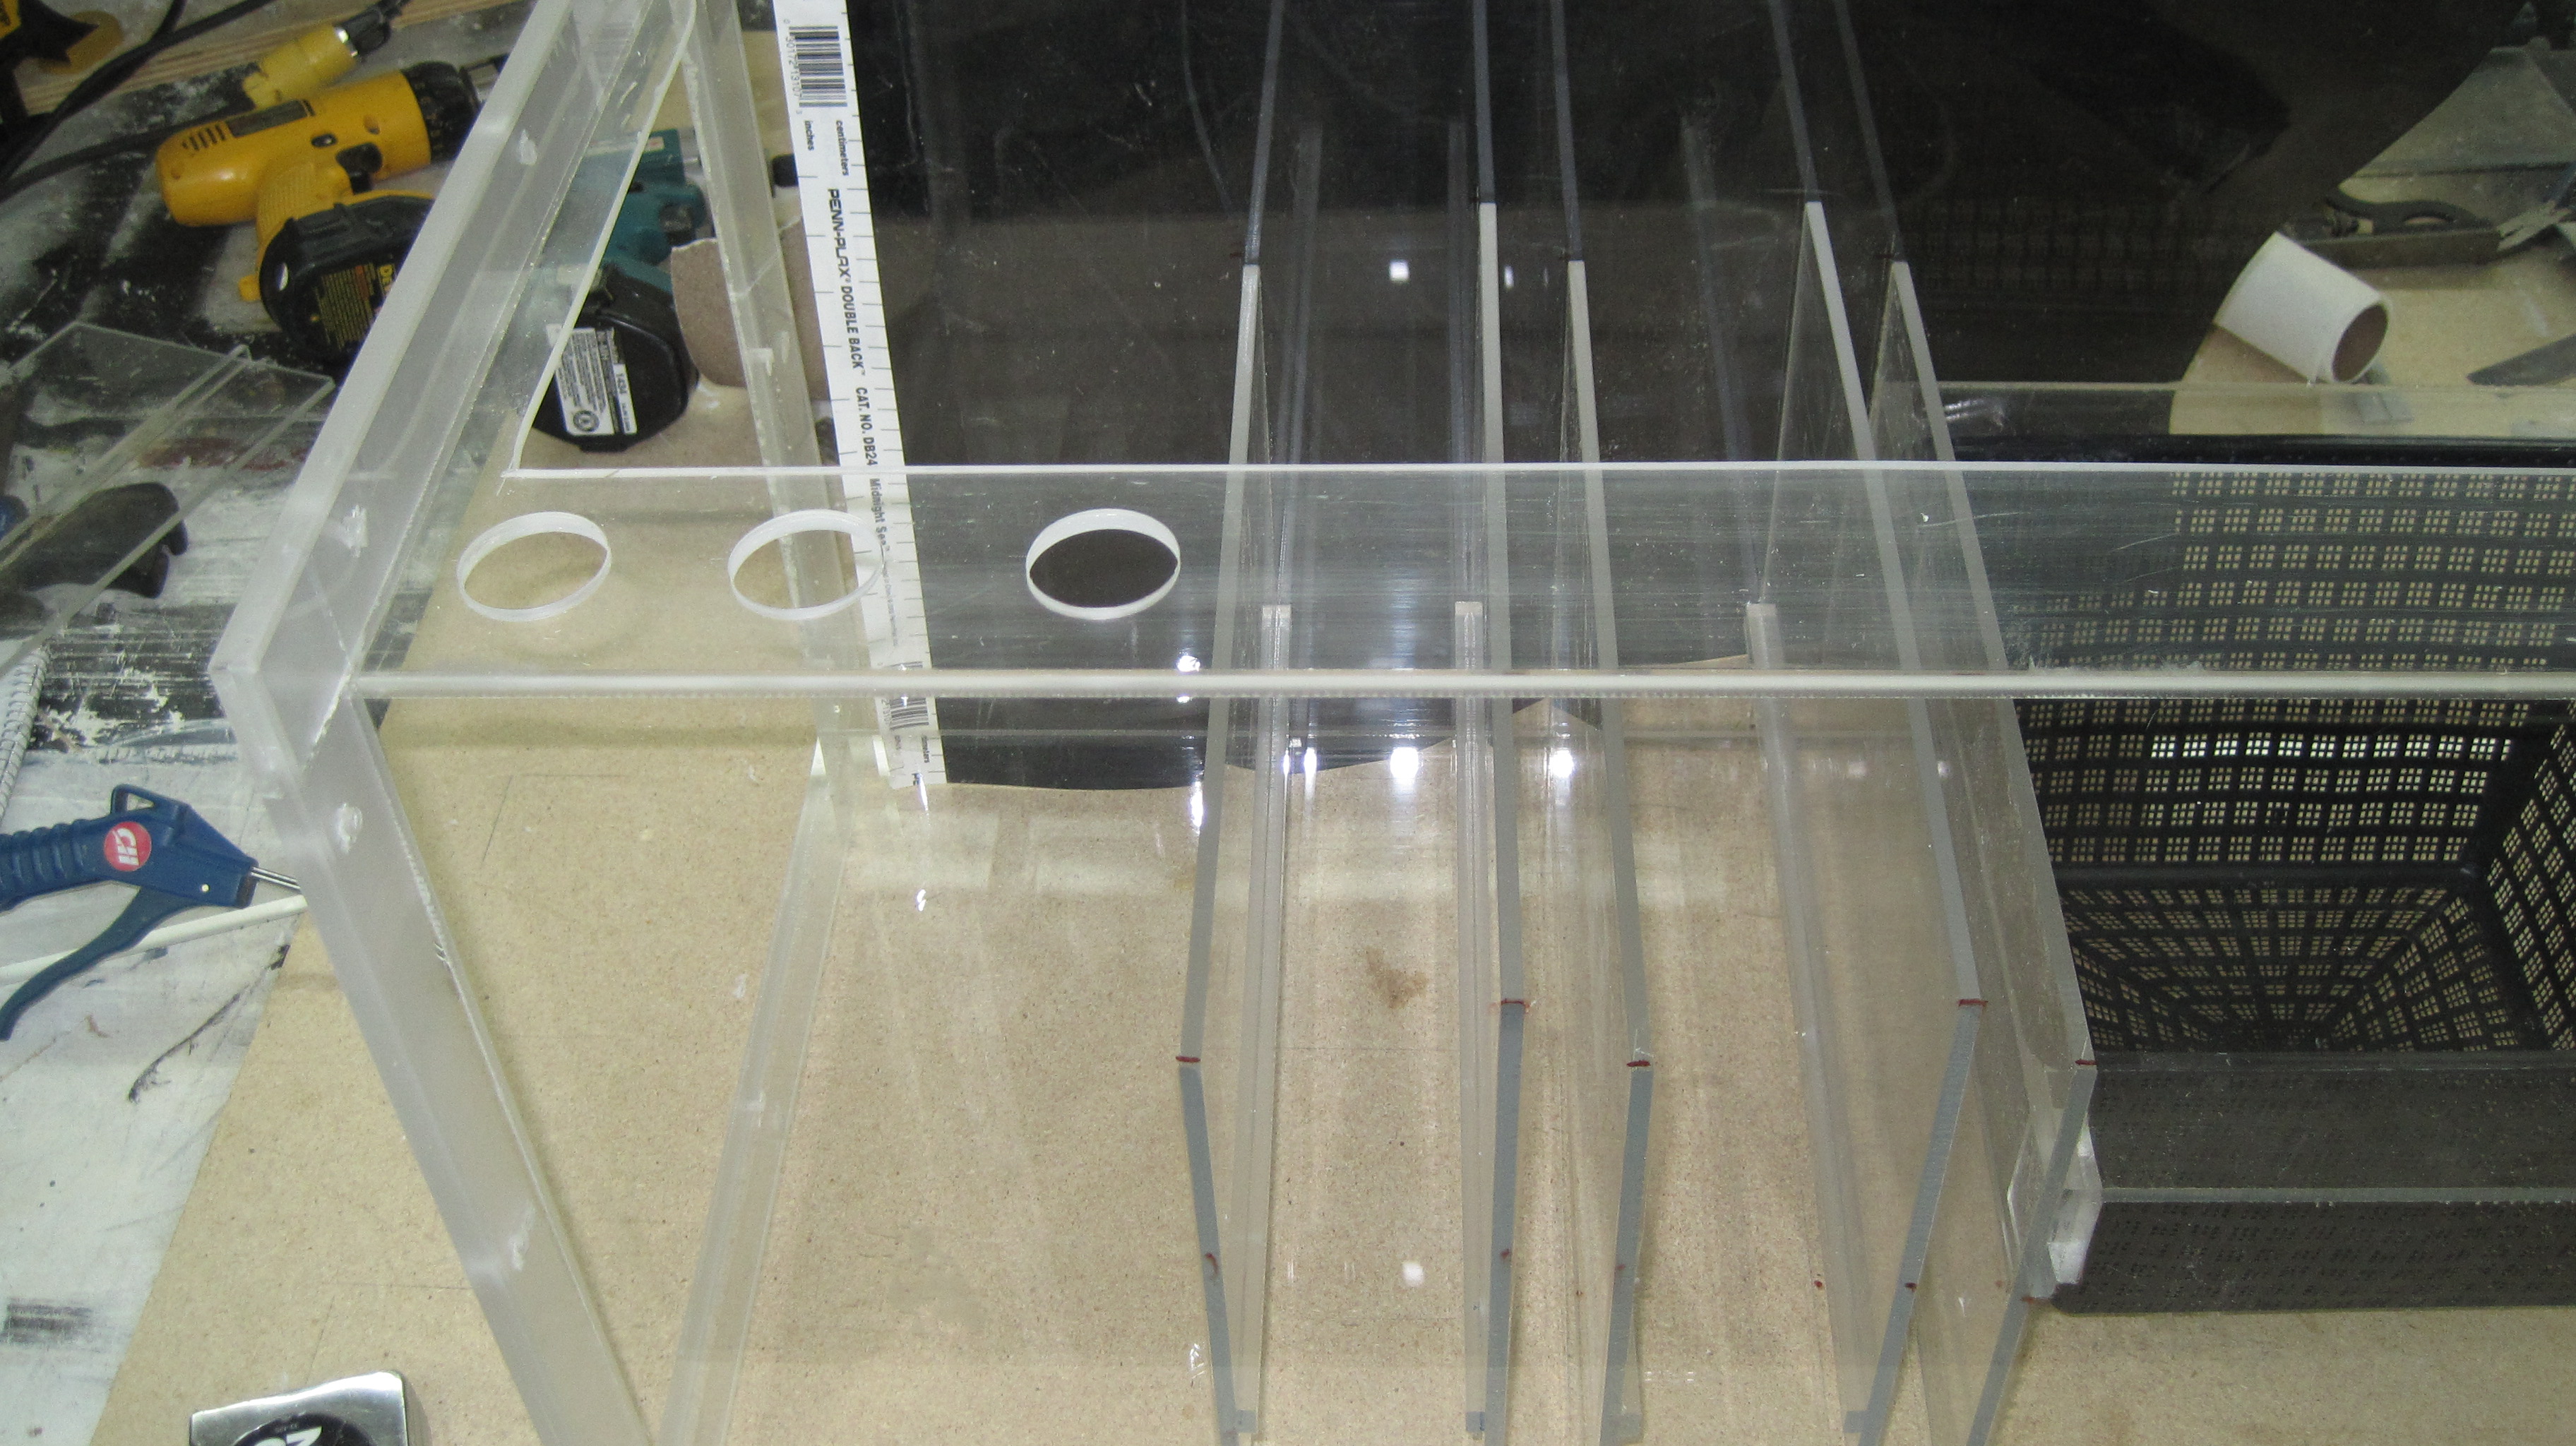
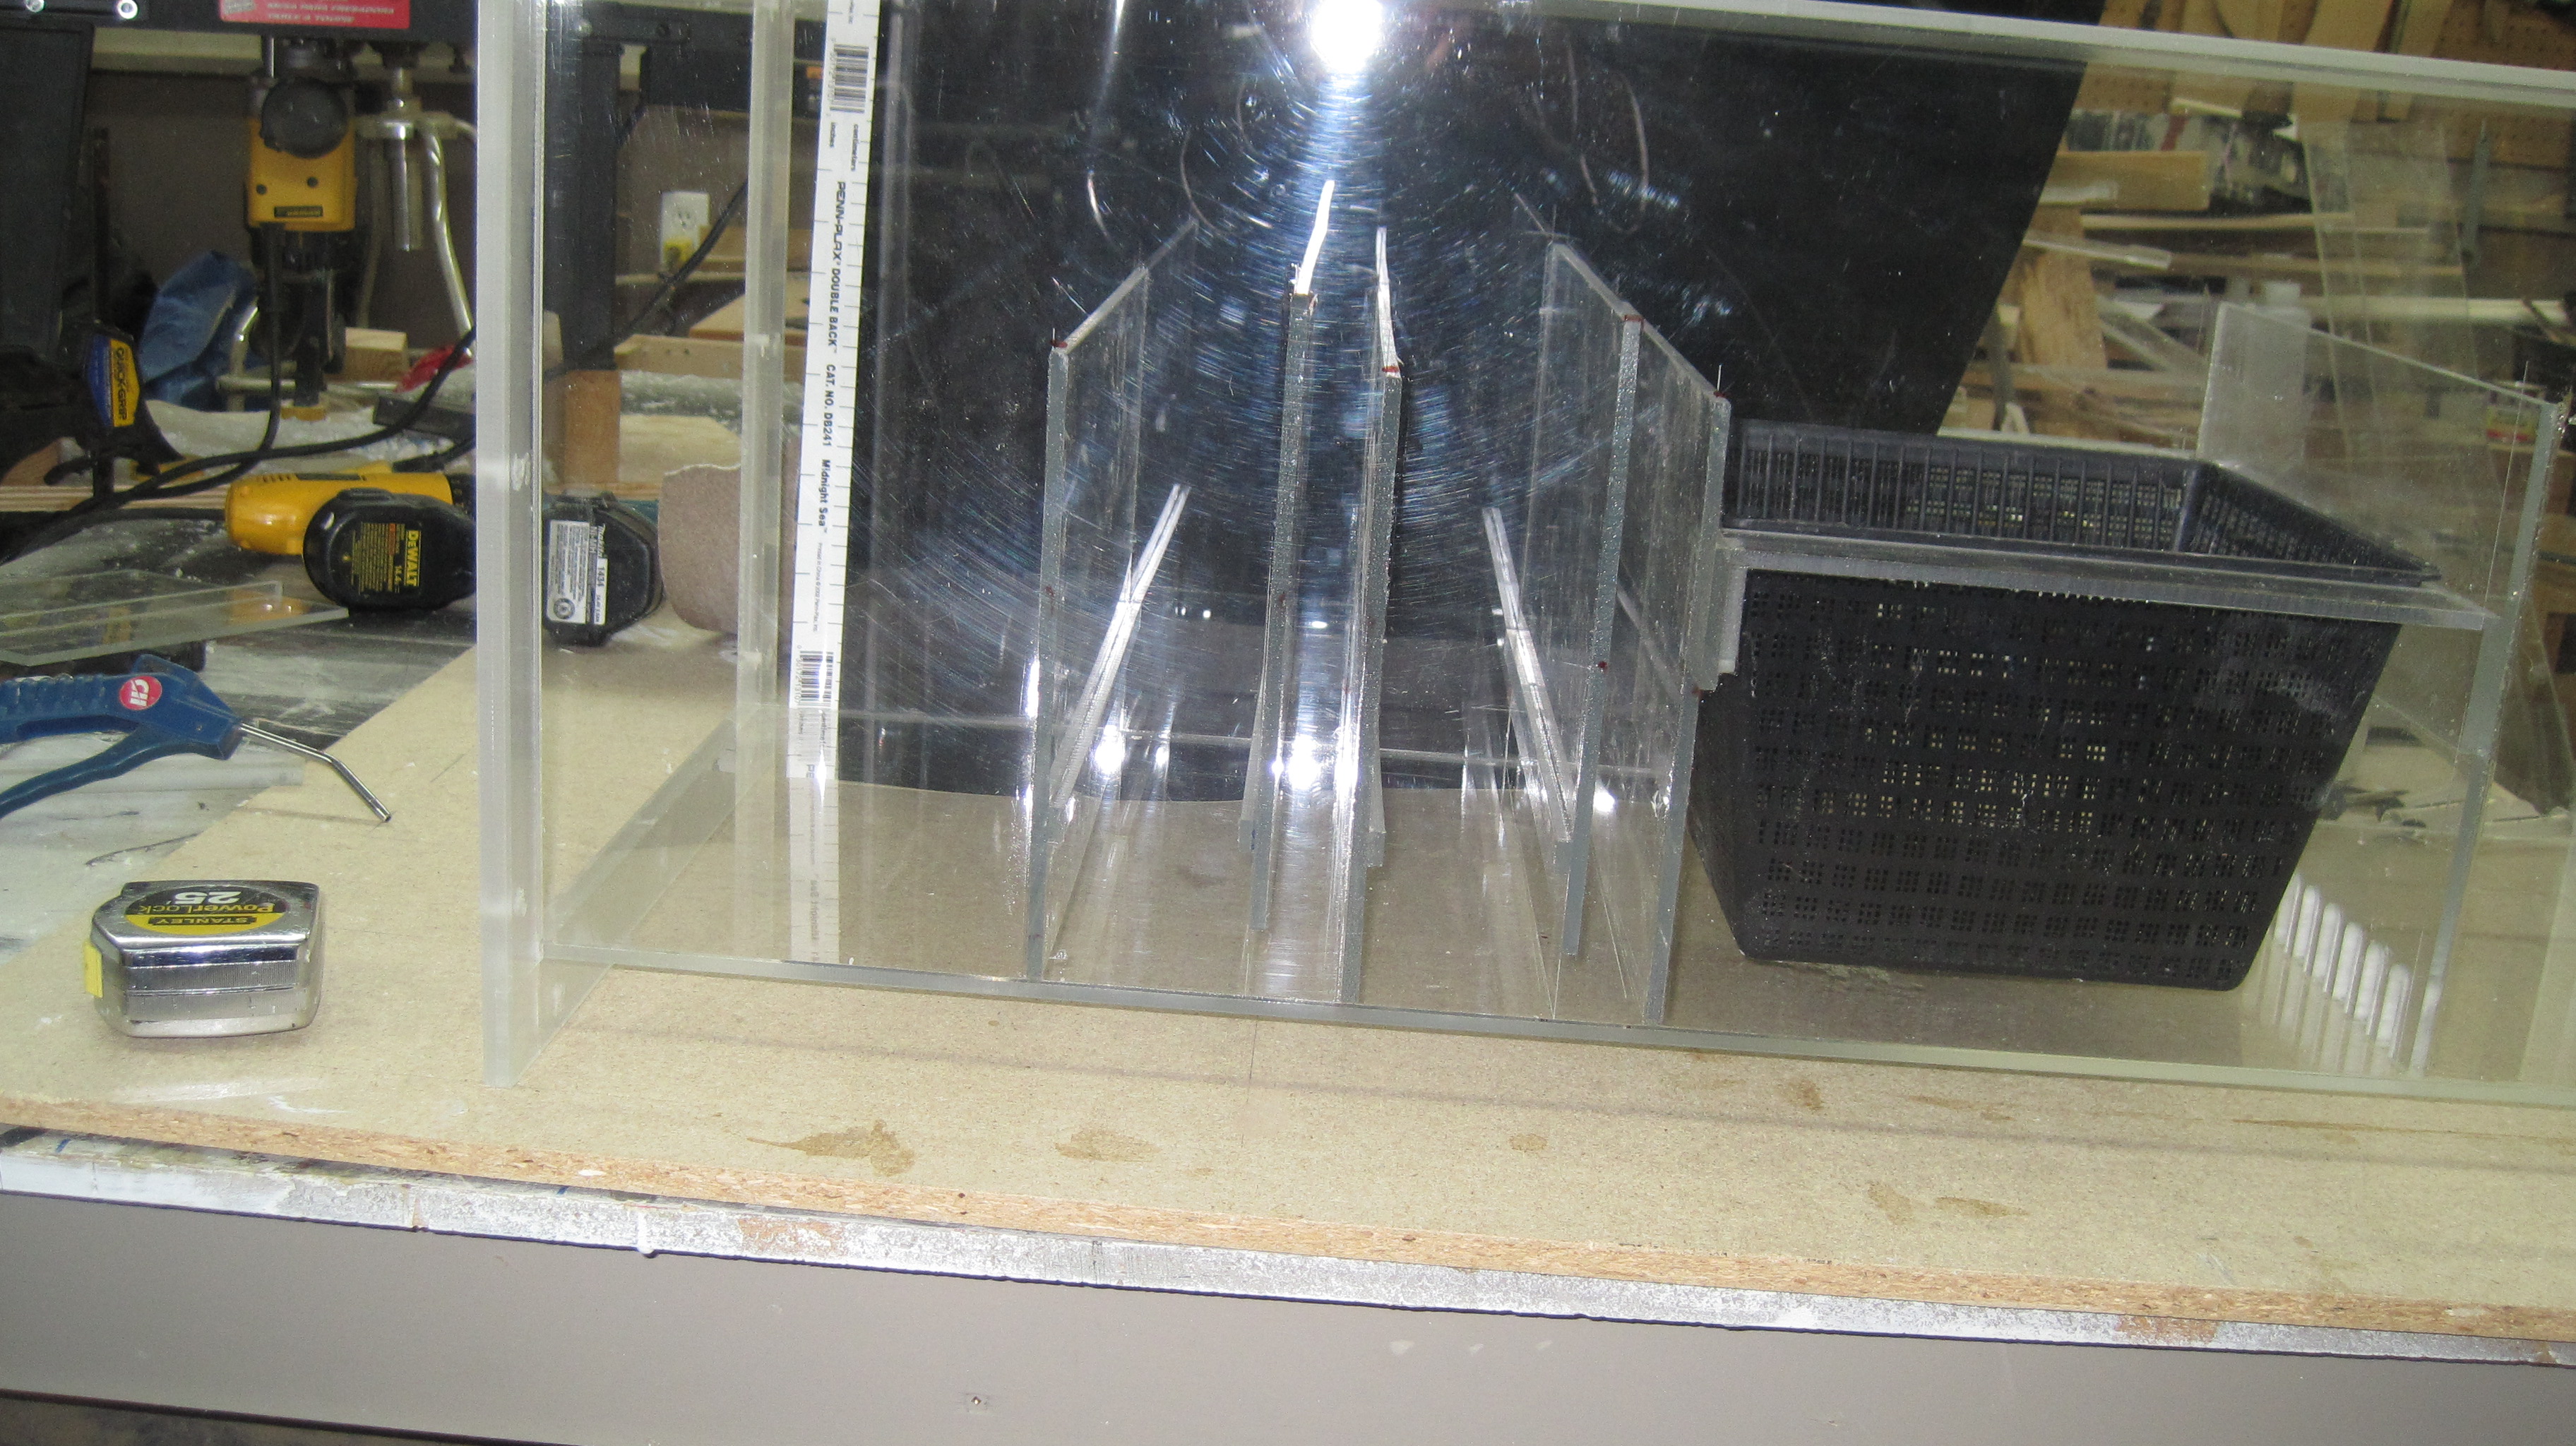
Here is a sump I am working on, thought I would share, but I have to tell you it is for a planted tank FW, I am eventually going to make one very similar minus the bio filter area for my 65 reef. As you can see in the pictures there are two 3' wide section for media, they will sit on eggcrate, the black mesh basket is going to have red brick chips or clay hydroponic sheres in it, easily removed for cleaning/rinsing. The 4 holes on the top are going to have bulkheads, first main drain to sump, 2nd backup drain, third bypass from pump with CO2 reactor inline, the fourth is the pump discharge. I want to completely cover the sump to reduce off gasing of CO2. I also want to note that this sump is made from all recycled materials, my material costs were zero.
 

al&burke

Active Member
Kinda - it is going to be submerged, the black mesh bucket will have red brick chips or clay spheres.
 

al&burke

Active Member
Not yet Burrito, I still have to build the stand, and put end plates on the sump, maybe next weekend I will have water in it. Thanks for your enthusiasm
 

scott t

Active Member
Quote:
Originally Posted by Al&Burke http:///forum/thread/382119/new-sump#post_3332554
Thanks Scott, I made your jig today as well, I will get a picture later
Thanks Al. I can't wait to see a pic of it.. I just am so glad that there are people here that are willing to help others out. I think that with the advice from you and Corey and with this Jig that you are sending my I will not be as scared to drill my tank as I was before... I should post a pic of the Over flow and what came with it.. Maybe I will do that..
 

al&burke

Active Member
Quote:
Originally Posted by Scott T http:///forum/thread/382119/new-sump#post_3332563
Quote:
Originally Posted by Al&Burke
http:///forum/thread/382119/new-sump#post_3332554
Thanks Scott, I made your jig today as well, I will get a picture later
Thanks Al. I can't wait to see a pic of it.. I just am so glad that there are people here that are willing to help others out. I think that with the advice from you and Corey and with this Jig that you are sending my I will not be as scared to drill my tank as I was before... I should post a pic of the Over flow and what came with it.. Maybe I will do that..
I would like to see it, as far as drilling I can put together some instructions, a pictorial
 

scott t

Active Member
Quote:
I would like to see it, as far as drilling I can put together some instructions, a pictorial
Thanks that would be totally awesome. Look for my post in the new Hobby section I am going to post pics of it now.....
This is what the Post if called

This is the Start of my Tank (This is what I have so Far)
 

al&burke

Active Member
Quote:
Originally Posted by Gill again68 http:///forum/thread/382119/new-sump#post_3332651
So you built the entire sump? Are you using weld on for your cement? Very nice job!
The body of the sump is from my work, I work for a company that does air flow model studies of pollution control equipment, boilers, duct work etc. They just happen to make them out of plexi glas, the ducts were being thrown out - I saved them and cleaned them up really good. The inside is what I added, they are actually put together with methylene chloride, which chemically melts the plexi together. I will glue ends on the sump where the flanges are, for this I will use a gel type product called Weldon, only because the joints will be 1-1/2".
 

flower

Well-Known Member

I like how you made a section for media that will sit in egg crate, and a removable basket to make life easy for clean up.. Such talent..
 

al&burke

Active Member
Thank Flower, I am trying to make this as easy for me as possible, I am also going to have another tank same size as sump for water changes and I will plumb water right to it. I will post pictures as I go. What do you guys think of having baffles like this (with eggcrate) for a SW sump, minus the bio basket of course.
 

burrito

Member
the basket will be dirty so you might have o clean it once a week or 2 but so far where are the pictures D:
 
Top