blazehok68
Active Member
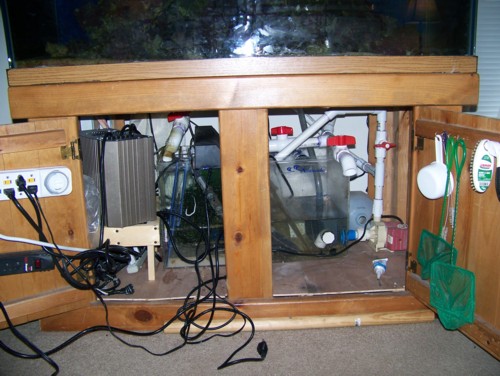
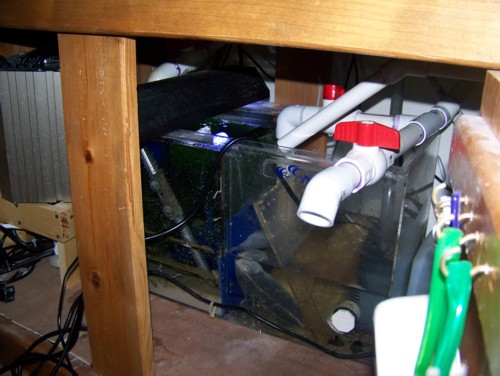
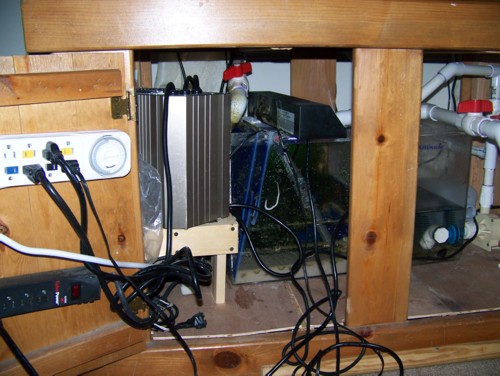
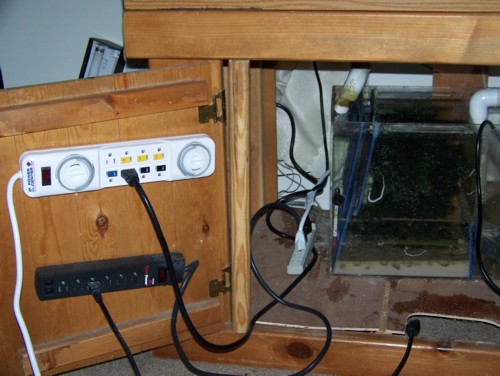
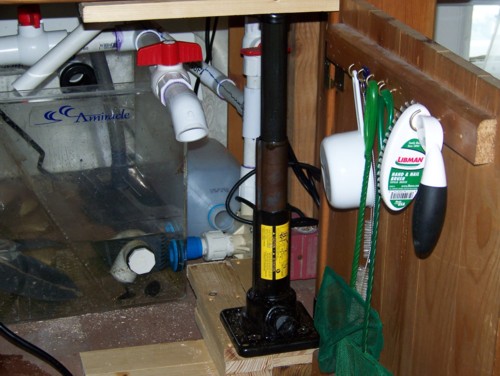
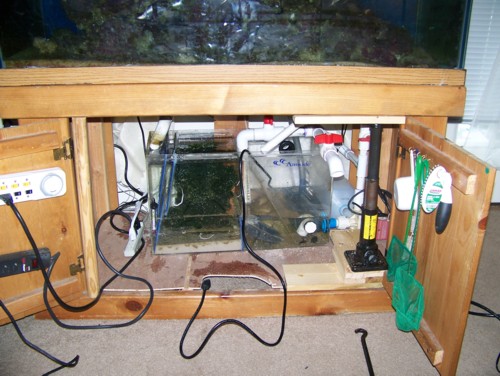
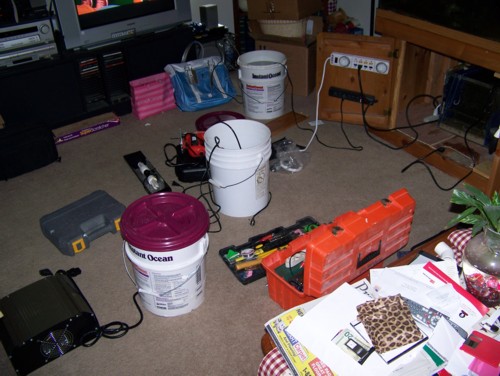
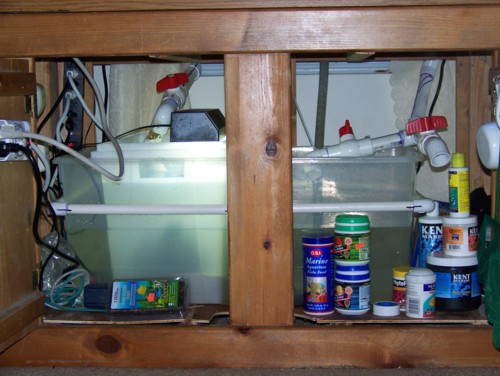
well yesterday i took on the task of redo-ing my sump to a bigger one. some of you may recall that about a month ago, my sump overflowed twice in two days and i was ready to get out all together. but someone on here convinced me just to get a bigger sump, so i did. i started out by cleaning all of the crap out from under the tank that has accumulated over the past year. stuff i should have thrown out, but didnt, caust like my mom says im a pack rat. then i took the boottle jack out of my car and a 1.5" diameter wooden dowel that i had laying around (dont ask) and proceeded to support the stand. this was kind of overkill because when i first got the tank and stand, i reinforced the corners of the stand with a hell of a lot of 2x4's, but better safe that sorry. i used the bottle jack and a dowel because i live in an appartment and didnt have any lumber or a circular saw, so i jacked up the stand on one side, and cut the dowel to length on the other side with a hand saw. once we were all supported, i cut a hole in the "floor" of the stand with a jig saw and removed the center brace. i was nervous at this point, because i thought i was going to hear some creaks and cracks and then it would all come crashing down. but not a sound was made. thanks to baby jesus in his little golden fleece. so, i took my home made sump, a 29gallon rubbermade tote for the sump, and a crate that i got from a florist to go inside of it for the fuge i also took some pvc and put bracing on the tote just in case the water pressure made the plastic bulge, and i placed the whole thing underneath the tank. adjusted the plumbing a bit put the brace back in and good as new! overall this chore was 100 times easier than i thought it would be. overall it took me about 2.5-3 hours to complete the task. a little time consuming but well worth it. now i dont have to worry about the sump overflowing anymore. and yes i did test it.
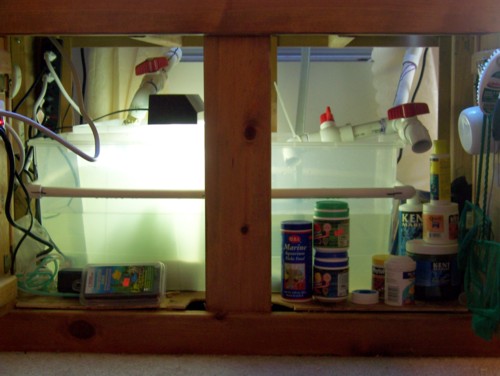
here are some pics to show the progress


here are some pics to show the progress