kemfish
Member
So we decided to make our own base rock because we have a limited space to work with in a 25 gallon breeder tank...here is what we are using, going vaguely off the list of http://www.athiel.com/lib3/arago.htm which tells you how to make base rock.
Supplies list:
60 lbs quikrete ready use concrete mix
0.5 cubic feet of "coral sand"
20 lb bag of CaribSea Instant Aquarium Moonlight Sand Gravel (this stuff was much better quality than the coral sand)
5 gallon bucket
trowel
PVC pipe and caps (optional)
epoxy (optional- if you use PVC, get epoxy)
measuring tape
pencil and sharpie (to draw and make marks for cuts)
cement gloves
Styrofoam box (what our live rock was sent home in)
cardboard
scissors
duct tape
2 cups/glasses (optional- used to scoop sand and add water to sand)
storage tote
vinegar
fresh water
hacksaw
large box(optional)
small box(optional)
crushed coral(optional)
Total cost of supplies (does not include some items we had on hand, like crushed coral): $65.
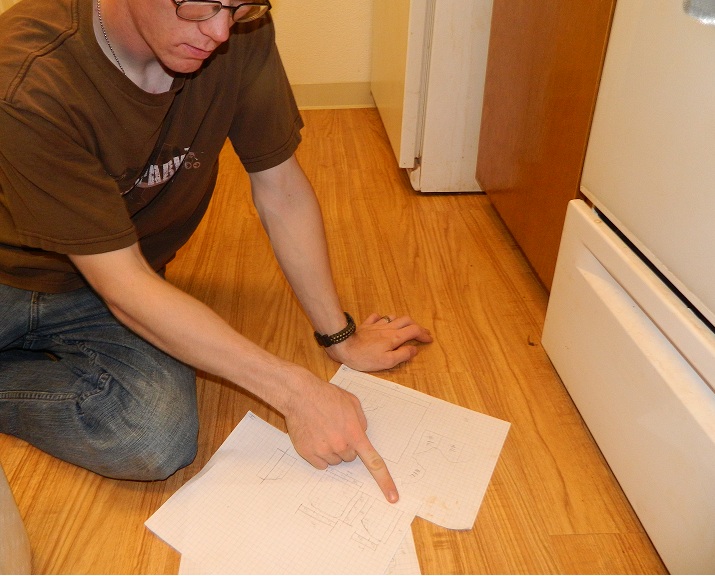
First my husband and I decided on the design of the finished product. He used his drafting skills to make a scaled drawing of the rocks, and we starting setting up.
We gathered the PVC pipe and cut it to size for tunnels inside the rock (for shrimp and small fish). We filed it down, and then my husband glued it together using the epoxy and we set it aside to dry.

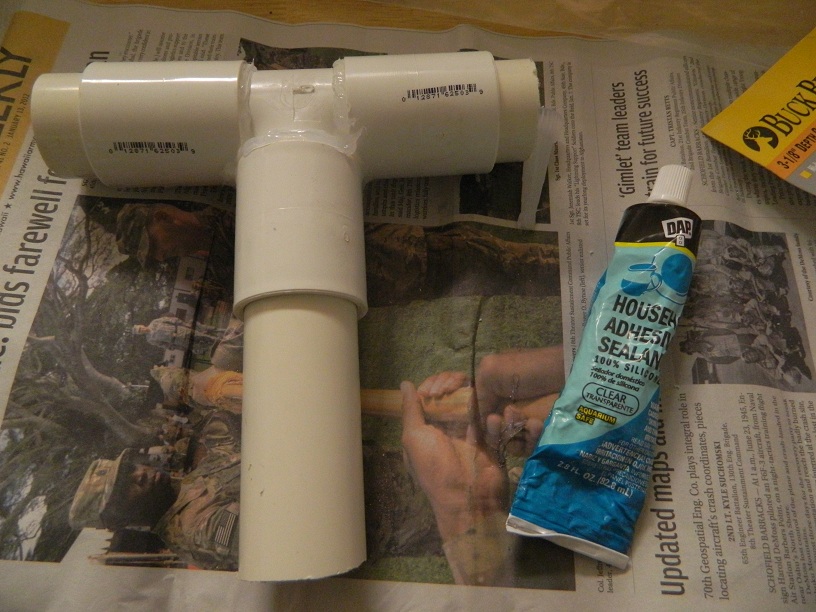
We have two tunnels for shrimp which have PVC caps on them, which were NOT glued, just fitted tightly, and we packed them full of sand.
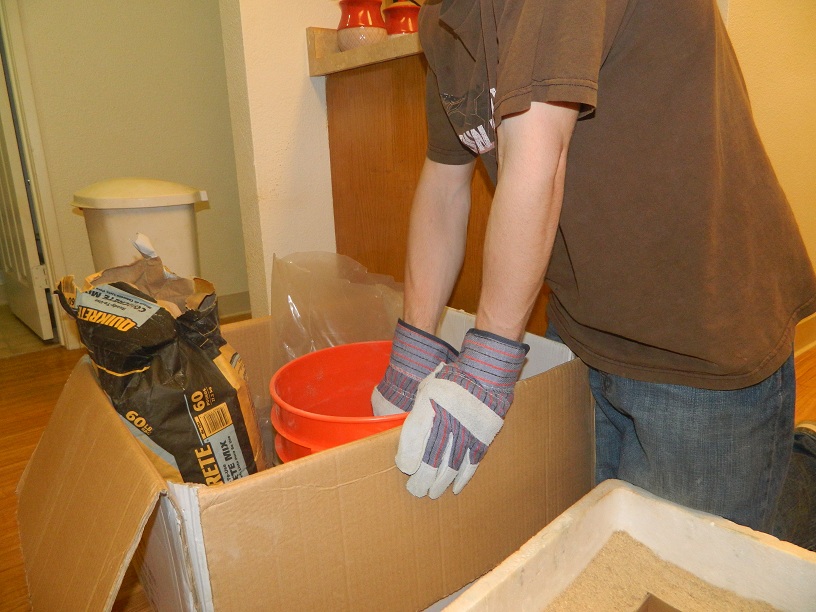
We had a large box and put the 5 gallon bucket in it with the bag of sand and the bag of quikrete. (the box just prevents any mess from hitting our floor)
We opened the sand, mixed in some water until moist but not wet and put a 3/4" to 1" deep bed across the bottom of the Styrofoam box.
My husband started fashioning cardboard cut outs of the sizes/shapes of the rock.
CN3736.JPG" src="https://forums.saltwaterfish.com/data/6/69/695f7893_DSCN3736.jpeg
We set the first cut out in the Styrofoam box on top of the bed of sand.
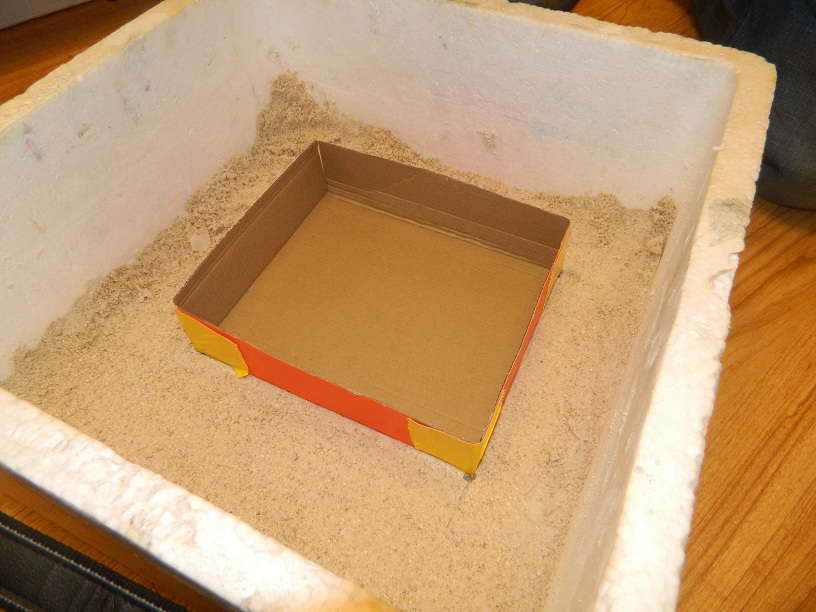
Once it was in the box, we filled the surrounding area with sand, then removed the box. What is left is the area to be filled with the quikrete.

We opened the quikrete and mixed it in the 5 gallon bucket with fresh water. It is important to only mix small amounts of quikrete at a time, to avoid waste.
Then, we filled the area in the sand with quikrete, and smoothed it out.

Next, we placed more cut outs on top of the quikrete we just put in the sandbox, and again covered the surrounding area with sand up to the edges of the cutouts.
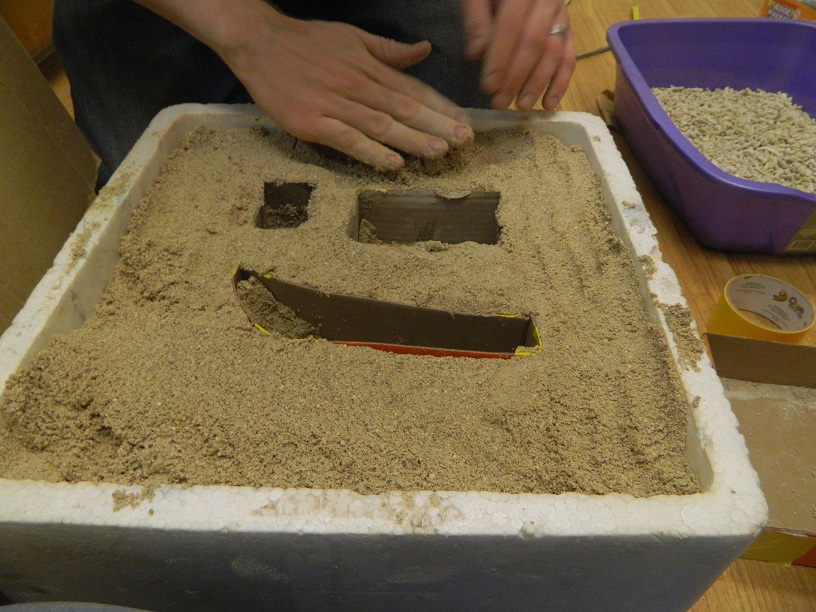
Now, we slowly removed one cut out at a time, and filled it with quikrete.

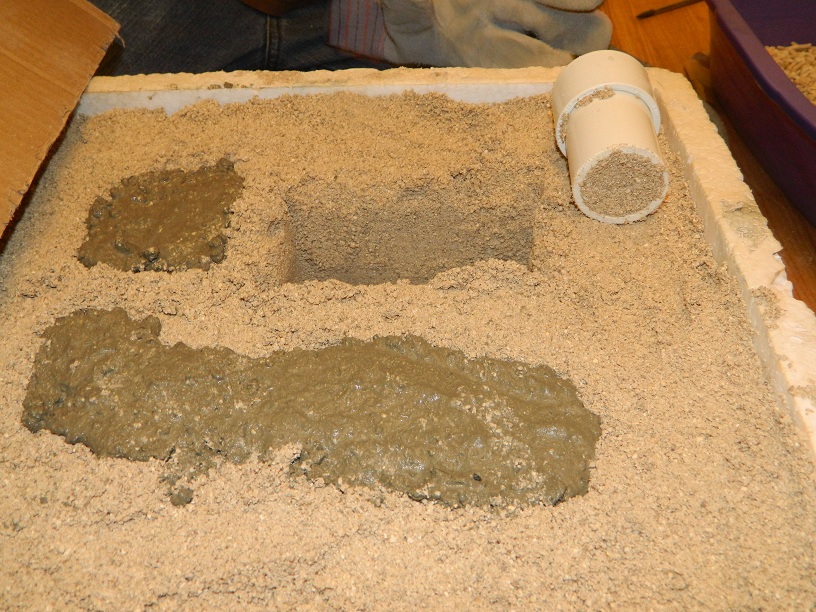
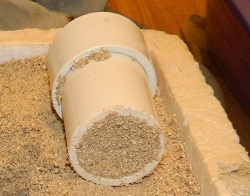
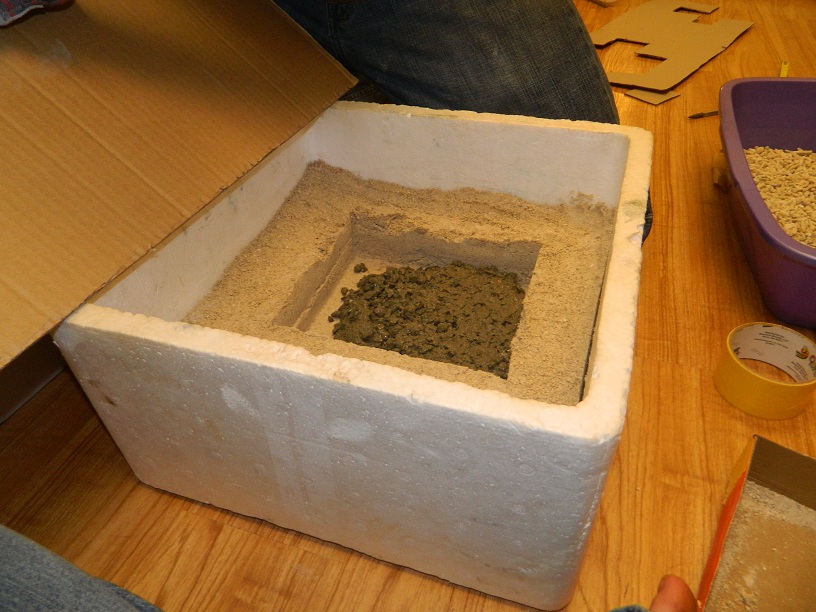
One of the 3 cut outs at this point holds a shrimp tunnel, so we filled the hole about 1" deep with quikrete, then placed the PVC pipe with cap (this piece was NOT glued with epoxy!!) inside of the hole, and continued to fill with quikrete.
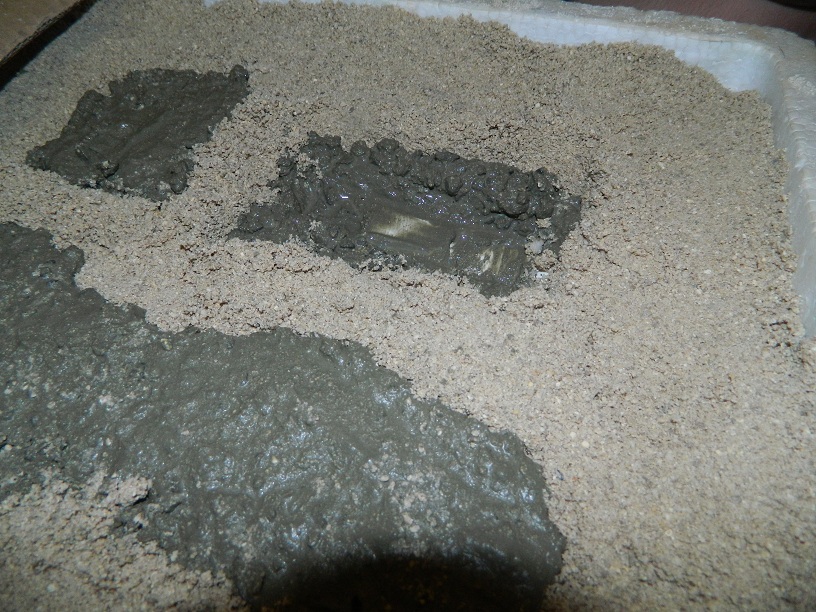
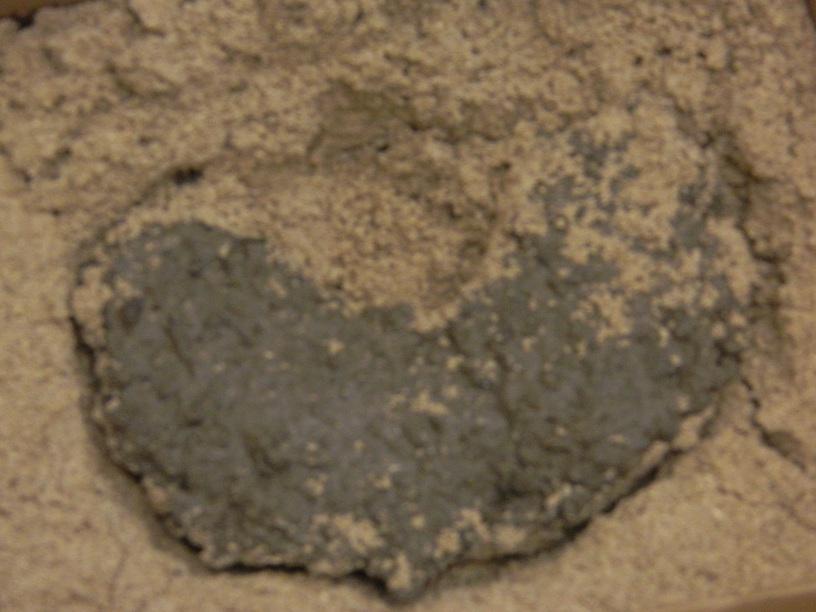
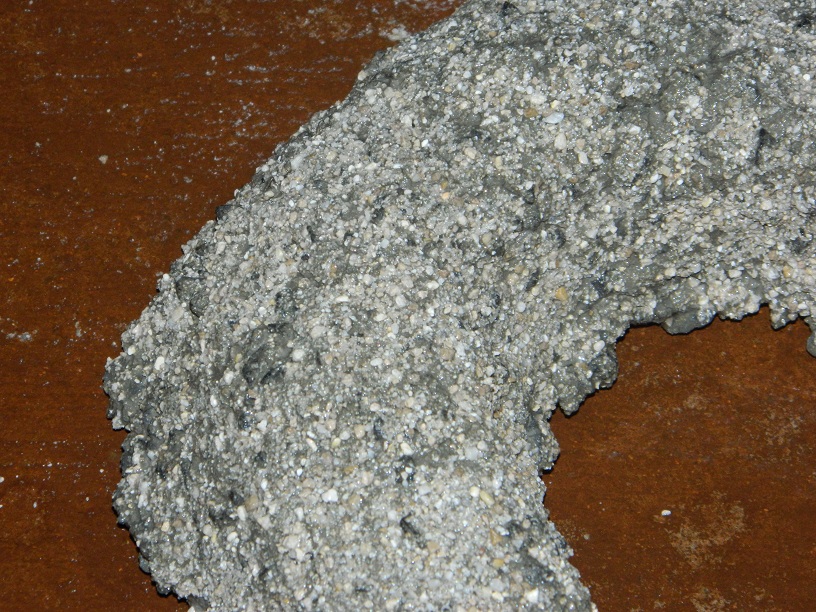
Once all 3 holes were filled, we smoothed them out, and covered the entire bottom area of the rock(the size we originally made with the first cut out) with quikrete to create a smooth bottom that won't fill with the sand in the bottom of my tank. This piece of rock is not finished! It will serve as the base piece to the 3 piece tier.

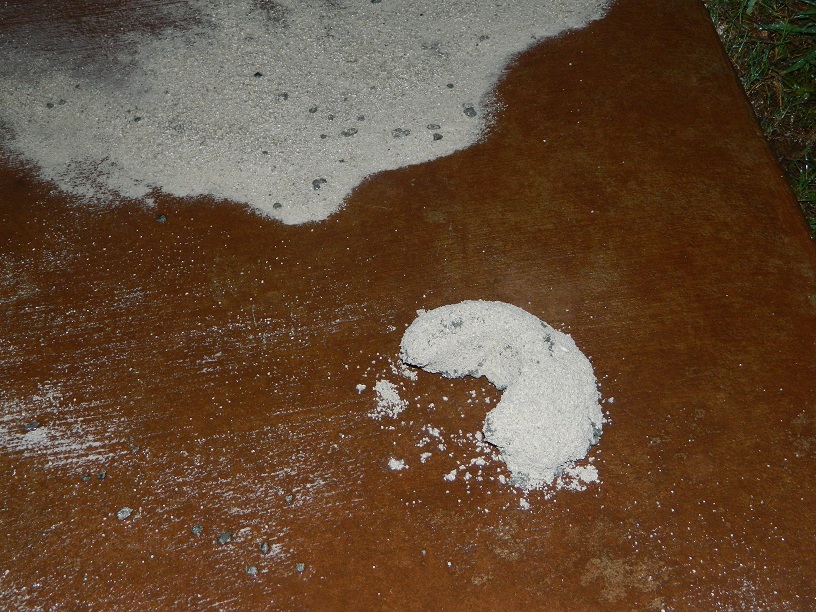
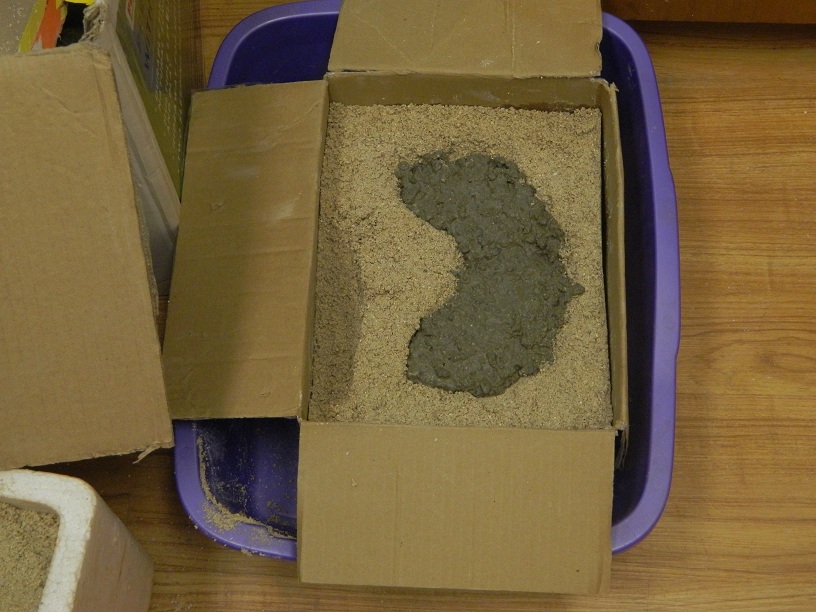
We only have one foam box, so to make the top piece tonight instead of another time, we found a small box, lined it first with crushed coral (to keep it dry from the moistened sand) and then covered it with a thin layer of sand. We formed the mold of the top piece of rock in sand, which is a simple half moon shaped piece.
We again followed the previously listed steps and filled with quikrete, then smoothed it out for a flat bottom.
Finally, we cleaned all the tools (bucket, trowel, etc) and set up for tomorrow.
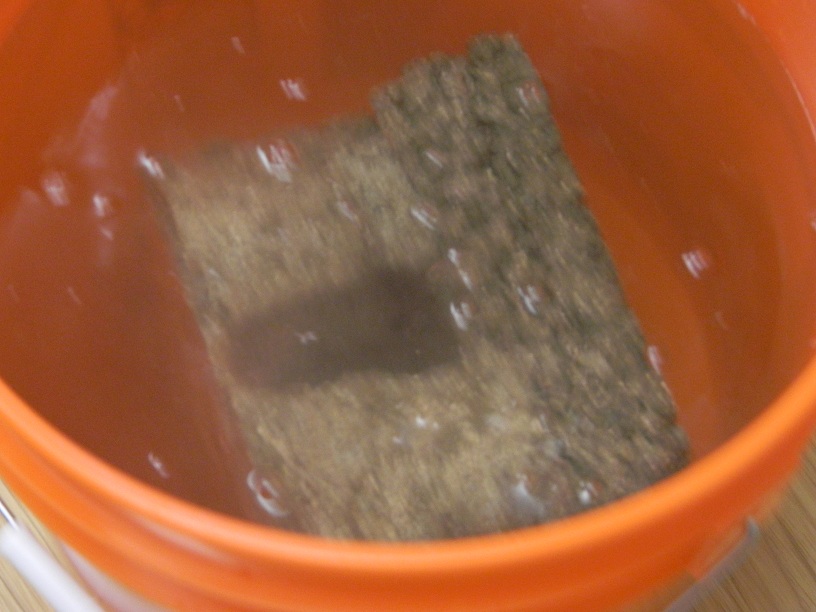
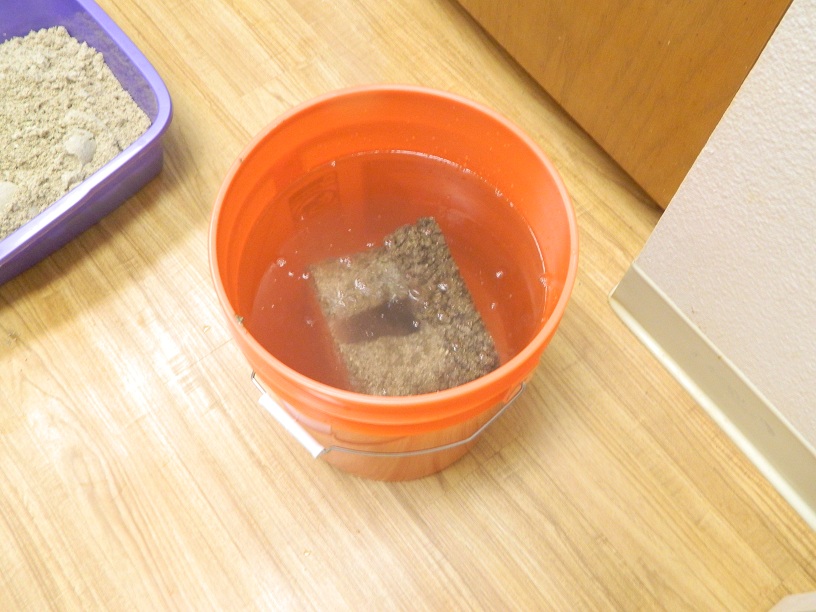
We can only make 2 rocks at a time of the 3 rocks total because we didn't have enough sand to make a 3rd box full. The rocks are supposed to sit for 24 hours. Tomorrow night, we will remove the rocks from the boxes of sand, dig the sand out of our PVC tunnel, and then soak in white vinegar for 12 hours. I don't know why it has to soak in vinegar, it is just what the website calls for...once those 12 hours are up the rocks will be placed into the tote of fresh water for 5+ days to continue drying/ "curing". I will of course provide more pictures!
Total time elapsed so far (to include planning and shopping at home depot, dinner breaks, etc) about 8 hours.
Supplies list:
60 lbs quikrete ready use concrete mix
0.5 cubic feet of "coral sand"
20 lb bag of CaribSea Instant Aquarium Moonlight Sand Gravel (this stuff was much better quality than the coral sand)
5 gallon bucket
trowel
PVC pipe and caps (optional)
epoxy (optional- if you use PVC, get epoxy)
measuring tape
pencil and sharpie (to draw and make marks for cuts)
cement gloves
Styrofoam box (what our live rock was sent home in)
cardboard
scissors
duct tape
2 cups/glasses (optional- used to scoop sand and add water to sand)
storage tote
vinegar
fresh water
hacksaw
large box(optional)
small box(optional)
crushed coral(optional)
Total cost of supplies (does not include some items we had on hand, like crushed coral): $65.
First my husband and I decided on the design of the finished product. He used his drafting skills to make a scaled drawing of the rocks, and we starting setting up.
We gathered the PVC pipe and cut it to size for tunnels inside the rock (for shrimp and small fish). We filed it down, and then my husband glued it together using the epoxy and we set it aside to dry.
We have two tunnels for shrimp which have PVC caps on them, which were NOT glued, just fitted tightly, and we packed them full of sand.
We had a large box and put the 5 gallon bucket in it with the bag of sand and the bag of quikrete. (the box just prevents any mess from hitting our floor)
We opened the sand, mixed in some water until moist but not wet and put a 3/4" to 1" deep bed across the bottom of the Styrofoam box.
My husband started fashioning cardboard cut outs of the sizes/shapes of the rock.
CN3736.JPG" src="https://forums.saltwaterfish.com/data/6/69/695f7893_DSCN3736.jpeg
We set the first cut out in the Styrofoam box on top of the bed of sand.
Once it was in the box, we filled the surrounding area with sand, then removed the box. What is left is the area to be filled with the quikrete.
We opened the quikrete and mixed it in the 5 gallon bucket with fresh water. It is important to only mix small amounts of quikrete at a time, to avoid waste.
Then, we filled the area in the sand with quikrete, and smoothed it out.
Next, we placed more cut outs on top of the quikrete we just put in the sandbox, and again covered the surrounding area with sand up to the edges of the cutouts.
Now, we slowly removed one cut out at a time, and filled it with quikrete.
One of the 3 cut outs at this point holds a shrimp tunnel, so we filled the hole about 1" deep with quikrete, then placed the PVC pipe with cap (this piece was NOT glued with epoxy!!) inside of the hole, and continued to fill with quikrete.
Once all 3 holes were filled, we smoothed them out, and covered the entire bottom area of the rock(the size we originally made with the first cut out) with quikrete to create a smooth bottom that won't fill with the sand in the bottom of my tank. This piece of rock is not finished! It will serve as the base piece to the 3 piece tier.
We only have one foam box, so to make the top piece tonight instead of another time, we found a small box, lined it first with crushed coral (to keep it dry from the moistened sand) and then covered it with a thin layer of sand. We formed the mold of the top piece of rock in sand, which is a simple half moon shaped piece.
We again followed the previously listed steps and filled with quikrete, then smoothed it out for a flat bottom.
Finally, we cleaned all the tools (bucket, trowel, etc) and set up for tomorrow.
We can only make 2 rocks at a time of the 3 rocks total because we didn't have enough sand to make a 3rd box full. The rocks are supposed to sit for 24 hours. Tomorrow night, we will remove the rocks from the boxes of sand, dig the sand out of our PVC tunnel, and then soak in white vinegar for 12 hours. I don't know why it has to soak in vinegar, it is just what the website calls for...once those 12 hours are up the rocks will be placed into the tote of fresh water for 5+ days to continue drying/ "curing". I will of course provide more pictures!
Total time elapsed so far (to include planning and shopping at home depot, dinner breaks, etc) about 8 hours.