SCSInet's 180g Reef Build!

scsinet

Active Member
Okay FINALLY I have time to sit down and do a thread on this. I know lots of you have asked when I'm gonna put a thread up about the system I'm planning that I keep mentioning.
First, to be clear up front... this project has been going on since May. I didn't want to bore people with my slow progress, so I figured I'd start posting steps around October... but that didn't happen.
A background story...
I've been keeping saltwater tanks for a while, and freshwater tanks even longer. I've been dabbling in different tank types (Reef, FOWLR Community, FOWLR aggressive, etc). What I found is that what really thills me are reef tanks, and most notably, setting them up. My fiance gave me permission to spend a pile of thousands on a tank provided it kept me thoroughly busy for at least a year, and that the number of tanks in the house either dropped, or stayed the same.
So I decided to consolidate my 55g reef and 90g FOWLR into the reef tank. All of my inhabitants of both tanks, minus a Volitan Lion and Valentini Puffer are reef safe, so that worked out.
So here we go...
The tank...
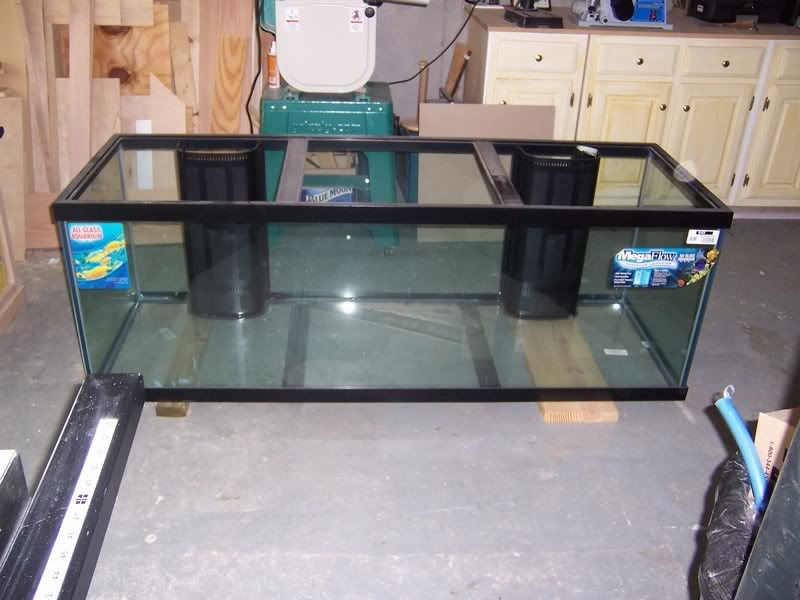
My LFS seriously discounted the AGA 180 w/Megaflows for me.

The stand...
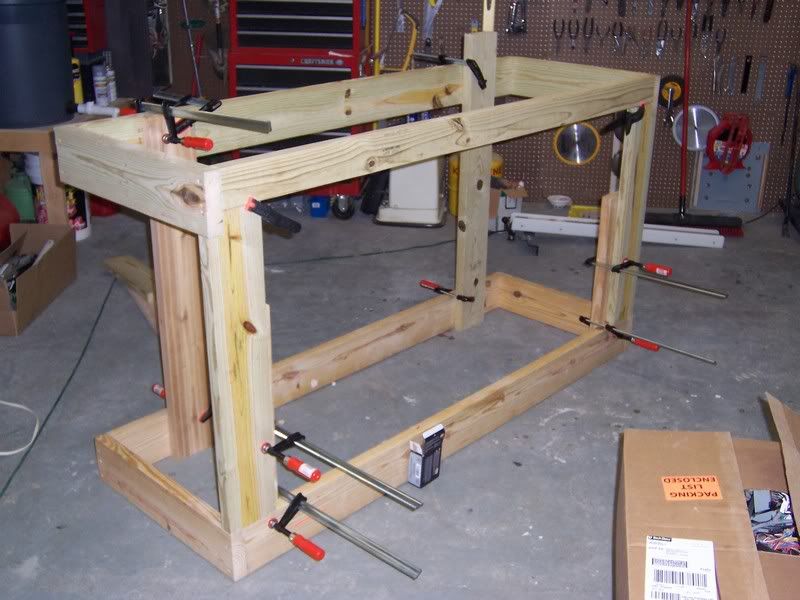
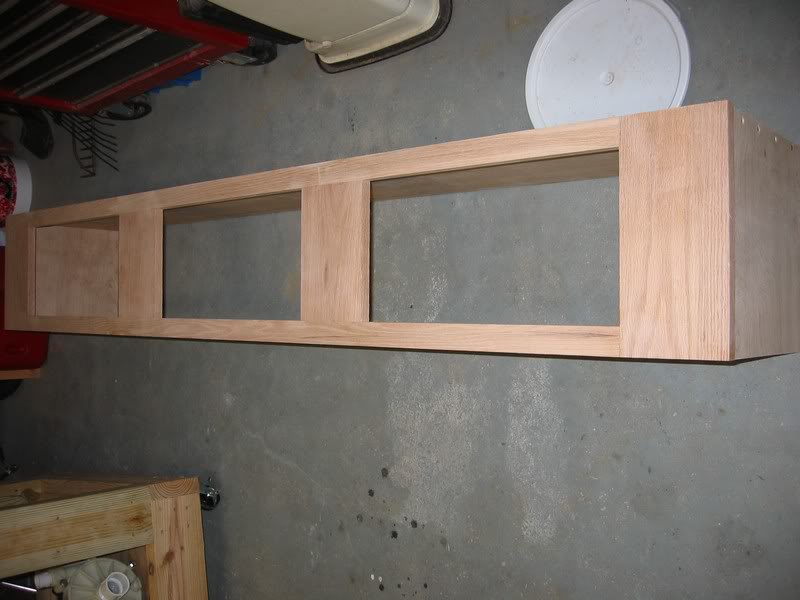
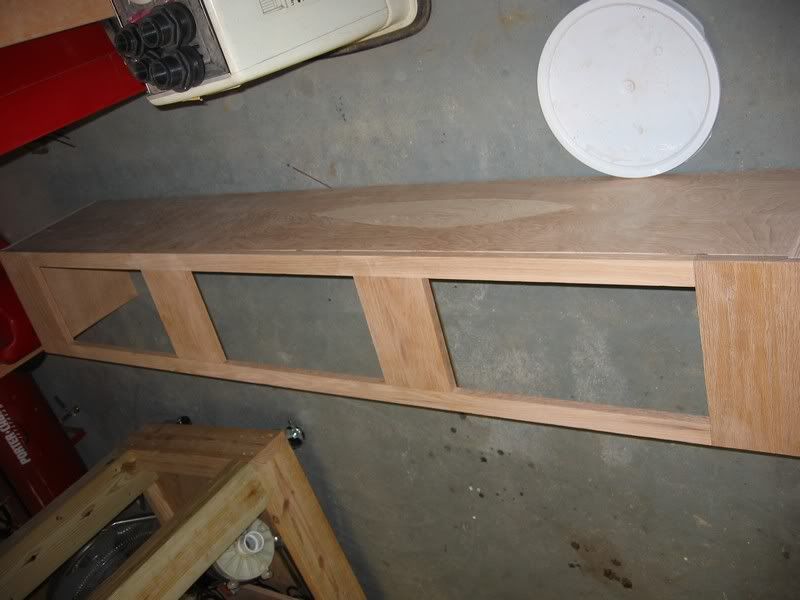
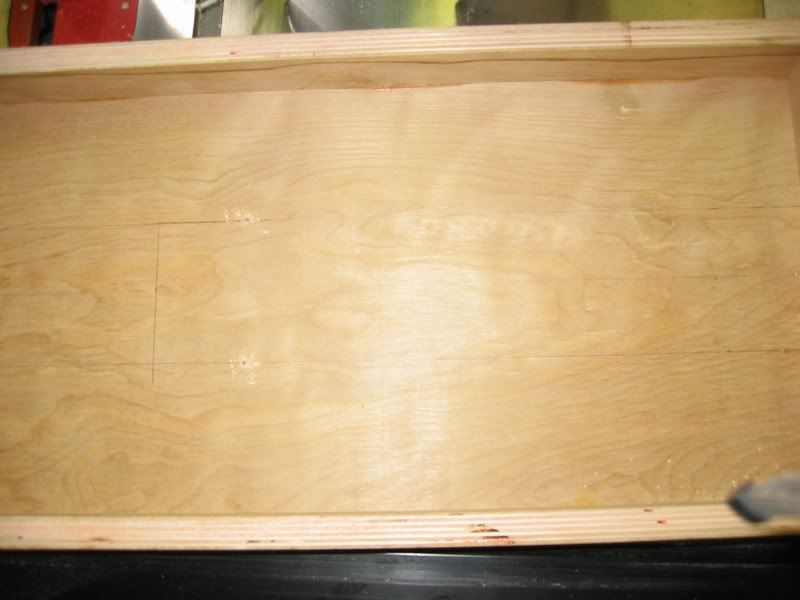
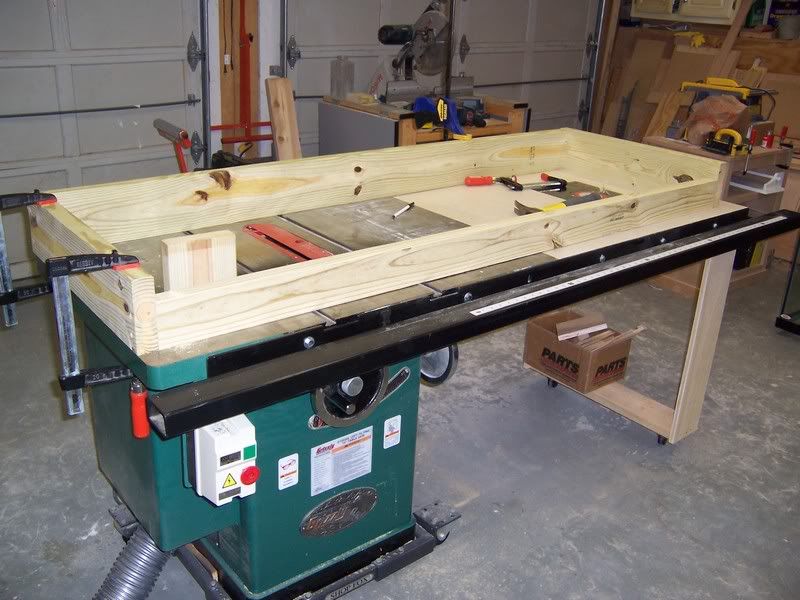
I started by ripping 2x6's on the table saw to create one dead flat edge, then assembled those pieces into a perimeter frame to sit on the bottom of the tank. It's shown here resting on the top (upside down)...

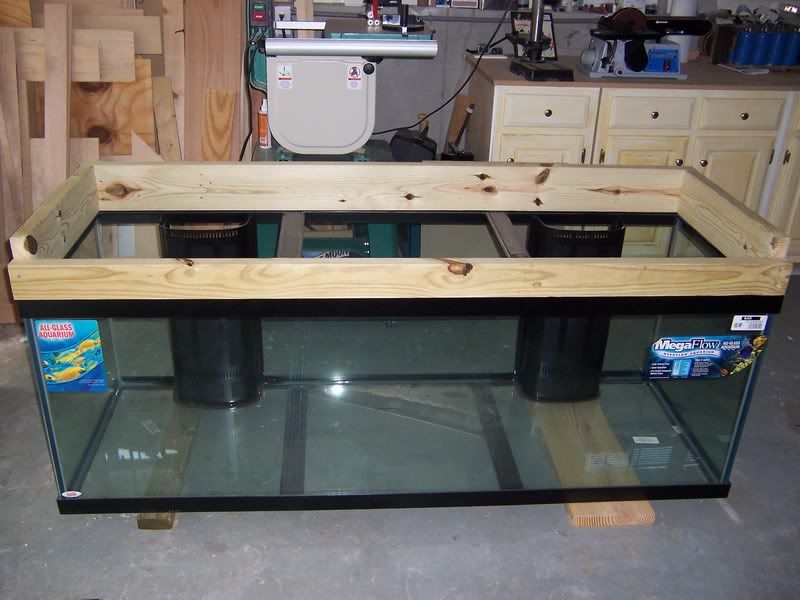
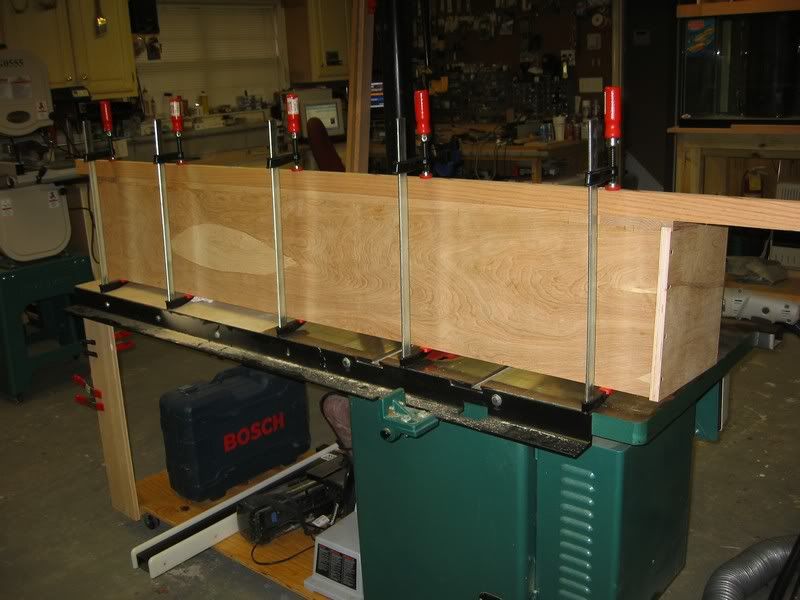
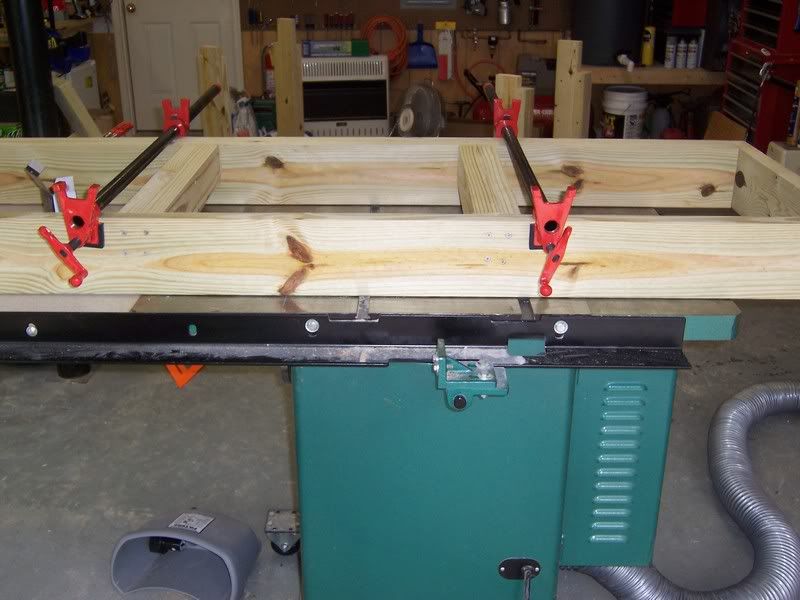
I kept the pieces clamped to my table saw (a very flat surface) as I sc-rewed and glued everything together. All pieces are assembled using waterproof wood glue and coated deck sc-rews.

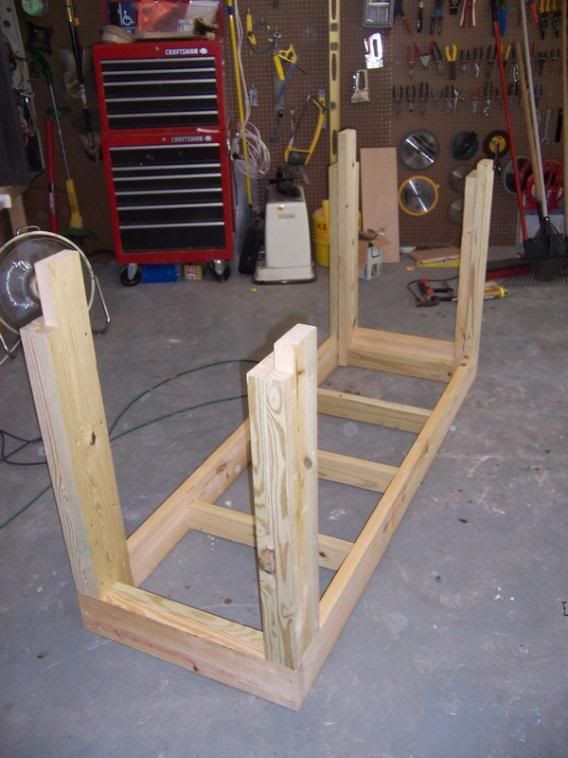
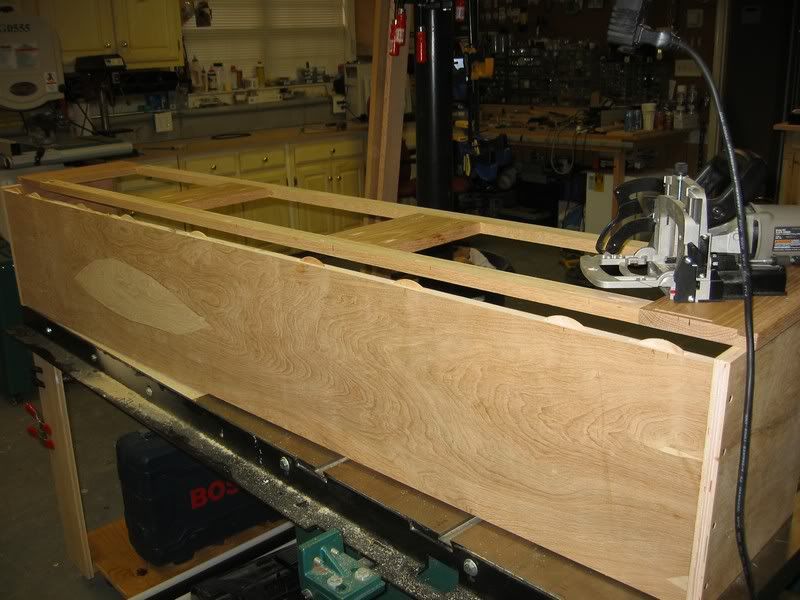
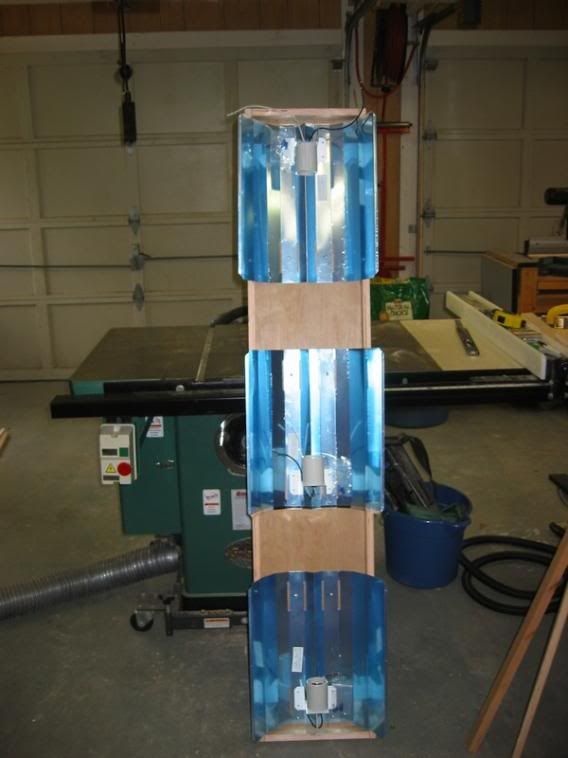
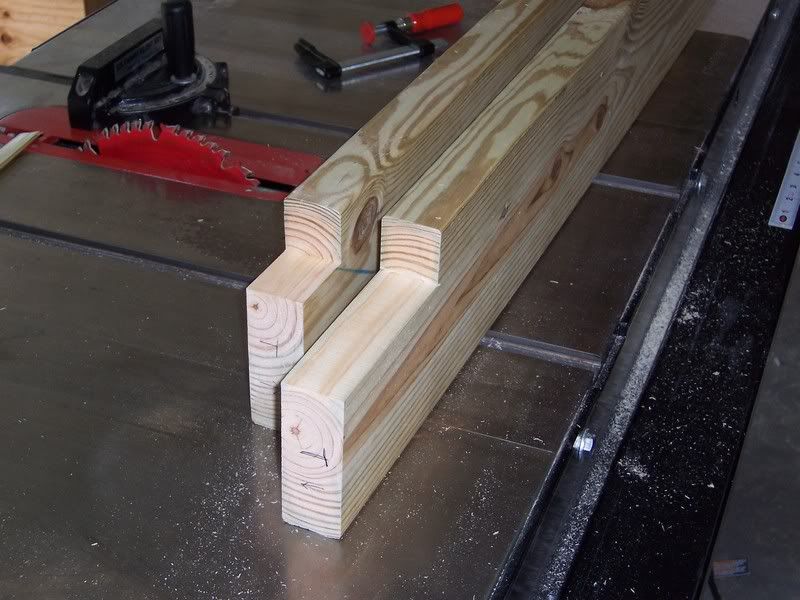
Doubled up 2x4s for the center supports...

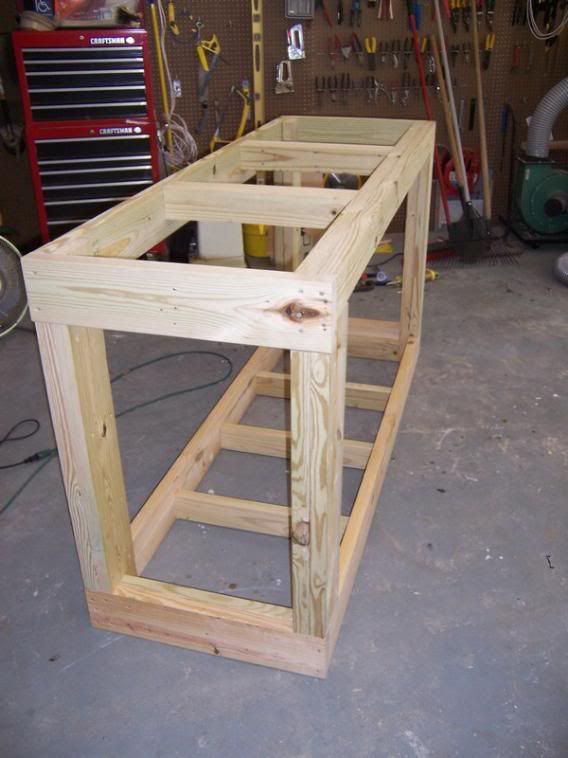
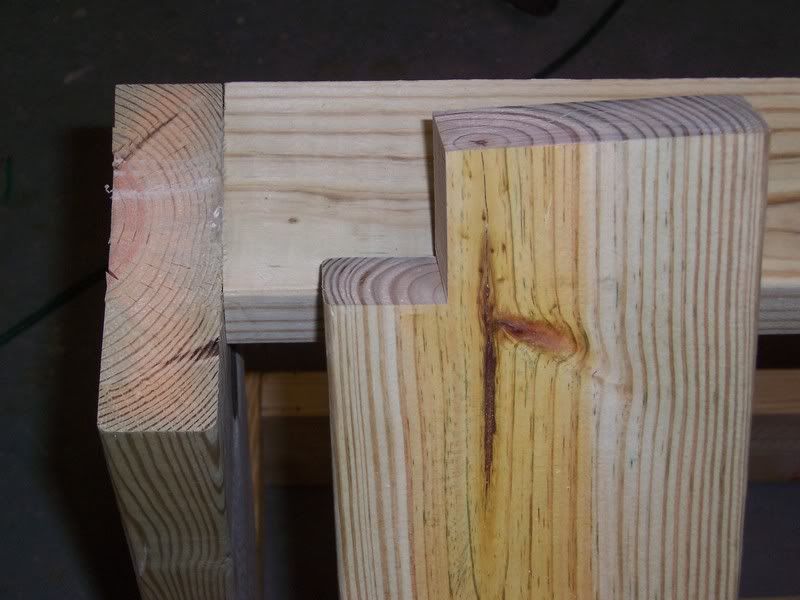
The legs are designed to rest on the bottom frame, and for the top frame to rest on them. By design, the tank's weight should never rest on the fasteners. Glue, construction adhesive, and sc-rews are all just to keep everything together, never to take weight. It's a bit easier to see the flattened top of the frame here also.


scsinet

Active Member
Using clamps, the legs were test fitted and trimmed to bring the stand into "true" to 1/32nd of an inch all around.

Next, the legs were attached to the bottom frame using construction adhesive and sc-rews. Note that the legs are doubled up 2x6s. They were clamped, sc-rewed, and glued with PL-259 subfloor adhesive, then allowed to set and run on the table saw to true out any warping prior to installation.
Also note the cross 2x4s on the bottom frame. Unfortunately this tank has to rest parallel to the floor joists, not perpendicular, so the stand is designed to distribute the load of the tank across the joists properly.

Finally, the top frame was installed, clamped up, and once measurements and level confirmed, sc-rewed into place.

Plywood was cut and dropped into place in the bottom. Notice that it forms a "basin" which will be used to contain up to 9 gallons of leakage in the event of an accidental spill. This will later be covered in formica.
The plywood base was caulked all around and underneath, even though the formica will form a watertight basin, this is just extra security.

Alright, that's it for now. Of course, comments, questions, etc welcome!
 

maelv

Active Member
SCSInet, nice.....I just finished building the frame of my stand for the 220. Not completely finished, but getting there, just need sand it down a bit, and get some plywood for inside the stand and on the top. How tall does this sit?
I only made mine 30"tall. A little short for me to stand in front of it and look in, but it is perfect height for when we are sitting down on our couches and be able to look at it. My tank is 30" tall, so so it will come up some.
Good job though. Very good job on the stand
 

scsinet

Active Member
The stand overall sits 42" tall. The room that it's in lends itself to standing observers, so I placed it at a height that would be comfortable for standing.
I placed this thread in the wrong forum. Mods, can somebody move this to DIY?
Ahh... that's better. I feel at home now!
 

harris28

Member
Looking good. Keep the pictures coming. Nice shop by the way!! I built a stand and canopy for my 75 and it turned out really nice. Too bad it took 3 times building the stand before it was usable!! Oh but it was fun!
 

t316

Active Member
I'm staying tuned in for this one. Very nice workshop/garage...especially for woodworking
 
J

jrthomas40

Guest
this is so awesome...i want to build one and i have one bulit already for my 75 just needss to be finished up with paneling and i have the premade cabinet it is in now...i just want to make it look like yours...lol
 
J

jrthomas40

Guest
Originally Posted by T316
I'm staying tuned in for this one. Very nice workshop/garage...especially for woodworking

me too
 

trippkid

Active Member
Excellent work on the stand so far, I am jealous of your shop(I don't have space for one, yet). Keep us posted on new developments.

Matt
 

t316

Active Member
Originally Posted by wattsupdoc
Nice frame SCsi
Staying tuned. BTW boy are we in for some serious reading now!

That's what Iv'e heard...he's detailed. But that's what people love about him. The more specific, the more we get it.
 

m0nk

Active Member
This is very cool, I personally wanted one of the AGA 180s with the Megaflows but found a great used setup for a price I couldn't refuse...heh. I'm looking forward to seeing the progress!
 

reefkprz

Active Member
wow thats going to be one heavy stand. nice construction. it looks like a fair amount of forethought went into how you built that. I know you said its going to be reef but what kind of reef? softie, mixed, SPS?
 

sign guy

Active Member
you keep showing off like this and youll have to make a trip down south to help with my stand, looks great though
 

scsinet

Active Member
Originally Posted by reefkprZ
wow thats going to be one heavy stand. nice construction. it looks like a fair amount of forethought went into how you built that. I know you said its going to be reef but what kind of reef? softie, mixed, SPS?
It's going to be a mixed tank. Currently, I keep only softies, but the problem with soft corals is that after a while, you run out of options.
As for forethought, I've set up quite a few tanks now, and every one of them there has been some aspect I wished I'd done differently, something I wished I had done. So I kept track of those things and started putting together the dream system in my head.
The stand, carpentry, lighting system all are the results of lessons learned, mistakes made, etc in the past.
I don't expect this tank to be perfect, but I hope it's as close as I can come ... for now.
 

scsinet

Active Member
My previous lighting systems all suffered from 3 main functional flaws.
1. Tank Inaccessible - In one canopy I built, the lights took up so much room over the tank that the tank was hard to get into without removing the canopy.
2. Difficult or Dangerous to Open - I solved this problem in the next canopy by mounting the lamps to the openable section. This caused the problem of the section being very heavy. Should I slip when opening it, the top would come crashing down, almost certainly destroying the lamps and possibly shattering the tank from the impact. Furthermore, when open, the lamps do not shine into the tank, making it difficult to work.
3. Impractical for feeding - The entire canopy in all designs had to be opened for little stuff, like feeding.
I solved these problems with my new canopy design, and threw in some goodies as well.
I designed this canopy to be a hybrid design. The canopy features 3 doors that open in the front to allow me to reach in for feeding, etc. These doors, along with half the canopy top, lift up with a piano hinge for major work.
The lights themselves are mounted on Sugastune Stainless Steel ball bearing slides, on a sort of gantry so they can be slid to the back of the canopy to allow better access to the tank.
In designing this, I got the idea of mounting a motor drive using positionable stepper motors and a microcontroller to move the lights from front to back of the course of 12 hours, giving the effect of the sun moving across the sky. Why? To what benefit? Because I can!!!

I started by building the face frame for the top of the canopy. You can see the 3 openings for the doors.


I used biscuits to secure the whole thing together.


I started building the gantry tray for the lighting to sit on. You'll notice that I used the spider reflectors rather than the lumenarc. At the time, I was not aware that Lumenarc made a small version, and didn't want the huge reflectos. By the time I found out, I already had these so I figure I'll give them a shot.

Reflectors in place
 

scsinet

Active Member
The next thing I focused on was the moonlights. I wanted to have the ability to have lunar cycles, and also the ability to have moderate white lighting that could be turned on at night should the need arise to quickly shed some light in the tank without waiting for the halides to warm up.
The moonlights will be powered by a Pulse Width Modulated (PWM) circuit driven by a microcontroller that keeps up with the lunar cycles, dimming the LEDs accordingly to correspond.
I purchased some Cree 5w LEDs, 5 white, 5 420nm Blue, 4 of each I used.
I mounted them using some angle aluminum as a heatsink, and by using a small piece of angle iron and some rubber washers, I was able to construct a pivoting mount for them so they could be articulated to wherever I wanted them to point. Each one has one blue, one white LED on it.


Here is one mounted and ready to go


As stated earlier, the lights can be moved. Here is one of the slides used. The slides, mounting hardware, and mounting brackets are all stainless steel.

I used a wire management arm from an old server we decommissioned at work to make the cables stay neat and tidy as the lighting system moved.


scsinet

Active Member
On the next installment, I'll cover the motor drive that moves the lights back and forth (and the troubles encountered), then I'll get some specs of the system up and cover the ballast(s) and control gear.
 
Top