jcovercash
Member
I figured now was as good of a time as any to start up this thread. As some of you may have seen I have been having problems with heating issues on my tank. My solution to this was to add a sump before wasting the money on a chiller that could be better spent on a sunpod  .
.
With my tank already being established and having all my rock, sand, and a few critters in the tank, that made drilling it out of the question. I don't have a Sunpod so I couldn't add a HOB overflow, so I had to start looking at other routes.
I ended up making a DIY PVC overflow. After 12 hours of tweaking I finally ended up with a design that when the siphon is broken it will start back up instantly with a full flow rate as soon as the water reaches the top of the intake tube. I have tested it 10 times in a bucket to make sure it does work correctly should the power break so I don't flood my house. I am very happy with this design and if I did another nano I would incorporate this from the start.
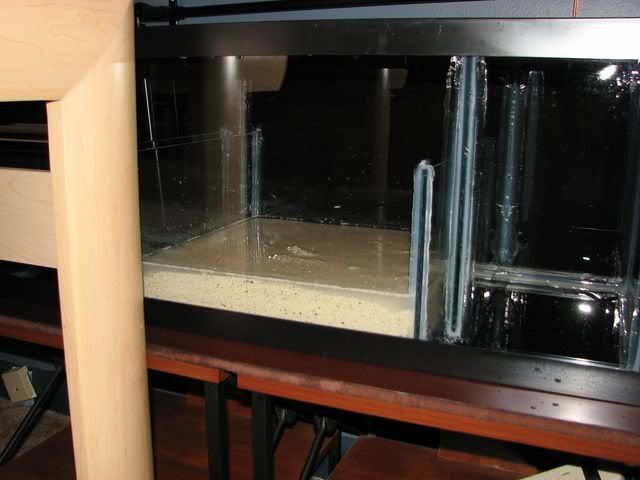
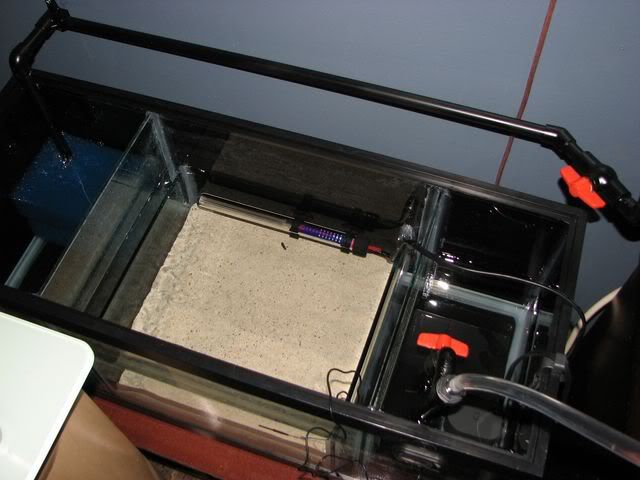
My sump is going to be made from a 20L tank. I have added a few 1/4 pieces of glass for baffles. I plan on having the middle section as a refugium of sorts for extra sand, live rock, and some microalgea. I just need to decide on a light for it now.
I am using 1/2" CPVC for my overflow, painted black with krylon fusion. It has a much smaller OD than the 1/2" PVC and with the low flow rate and minimal pressure I am not really worried about it as its rated for 100PSI and I know with this low water volume I am not nowhere near that and my return pump won't be either. I calculated flow rate and its roughly 120 GPH. My return pump is going to be a spare Maxi-Jet 1200 that I had laying around. I made a splitter for it so that I can return to the sump with one output and to the tank with the other. On the leg that goes to the sump is a ball valve so I can control the return output to the tank by closing the return leg to the sump, this way I don't put any head pressure against the pump itself.
I will be adding a skimmer shortly to the sump, but I haven't decided on a model yet. I am trying to save a few bucks right now so I don't want to put a fortune into one. Space is kinda a concern, I have much more space than I would in the nano but not as much as some people have in their sumps for skimmers.
When I bought the tank I made the stupid mistake of getting Current's stand with the tank. What a POS that was. Every time my dog (50lbs) would jump off my bed I thought the whole tank was going to topple over. That couldn't last so I ended up building a nice stand out of maple. Its very solid now and gives me a place to put all my supplies, timers, power strip, etc. I had some custom doors made for it and they just come in yesterday, so I am still in the process of staining/polying them.
As I get stuff up today I will try to update this post with pictures and answer any questions people might have about the overflow/sump setup.
Josh


