Time for my aquapod 24 journal...

jcovercash

Member
Originally Posted by NanoMantis
http:///forum/post/2996292
I would like to point out aswell that modifying it more than likely voids the warrenty.
I know with the oceanic biocube if it isnt even on an oceanic stand it voids the warrenty. They seem to be pretty anal about it.

What is their to Warranty on the tank? Other than the glass I suppose, but if it was faulty it would have already shown signs, otherwise if it breaks its probably my fault.
It no longer has the stock filtration, or the stock pump, the stock lighting (which has already been modded with stronger fans) will be gone next week and replaced with a sunpod.....
 

whisk

Active Member
looking good man, hope it works out for you. Thats a good little DIY project you got going.
 

jcovercash

Member
Little update.
Got the 150W Sunpod the other day and my light for my fuge.
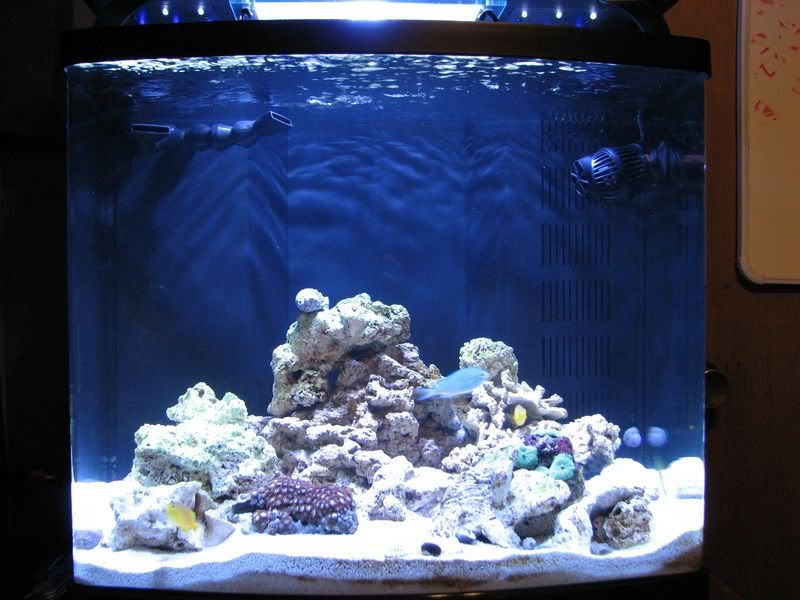
Shot of the whole setup

FTS

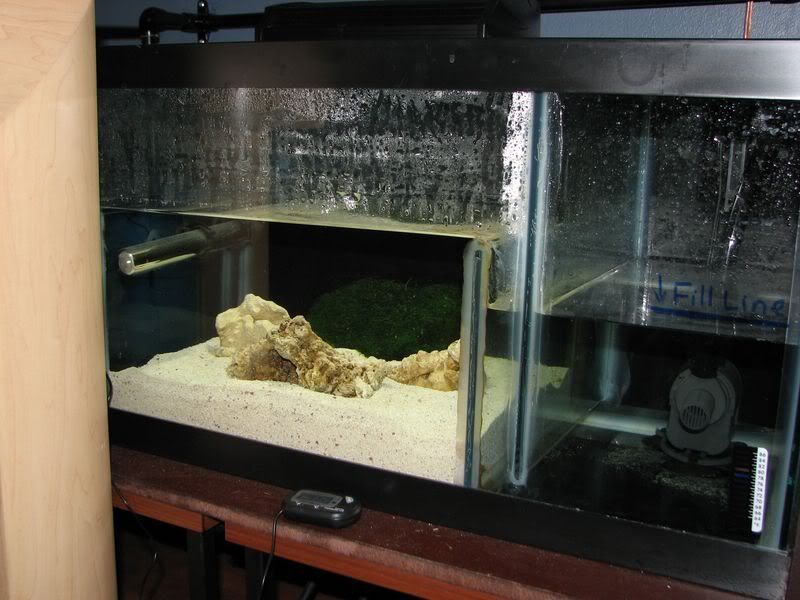
'Fuge section of the sump with the Coralife 2x9W CF (6700K) turned on

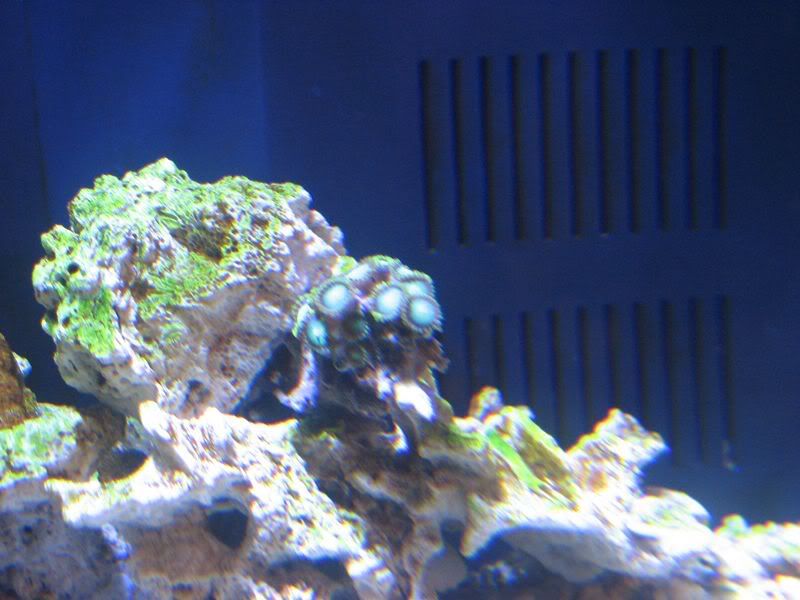
My Mushrooms (Look awesome under the Blue LEDs BTW), and Zoo's have been thriving and really opening up/growing the past couple of days. I hit up a new LFS today and got some Purple Mushroom frags, a Green Star Polyp Frag, and a branch style rock with a frag of some Zoo's with BRIGHT green centers (Not sure what they are). Ill get some pictures of them all when they get acclimated and really open up.
 

jcovercash

Member
Picked up a few more frags recently.
My Favorite so far.... ORA Duncan

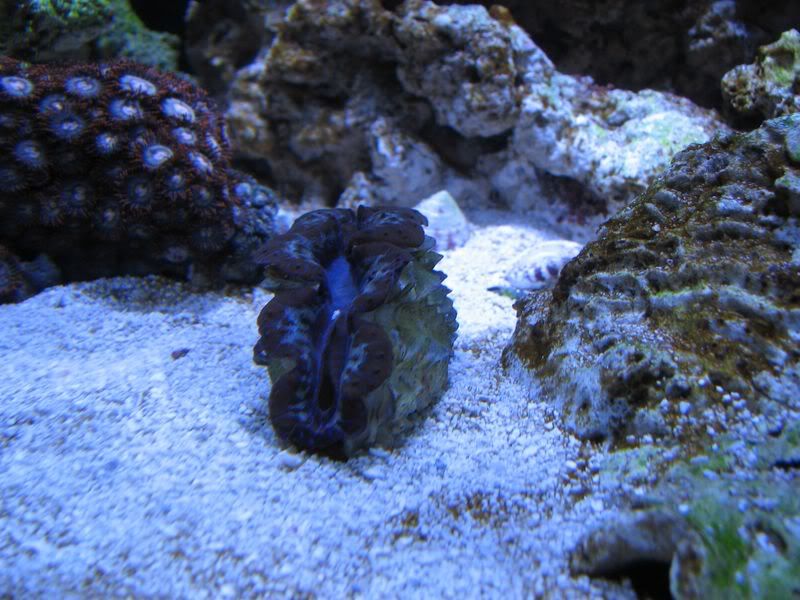
The Maximus clam my GF had to have....

A Green Zoanthid Frag that im not sure exactly what it is...

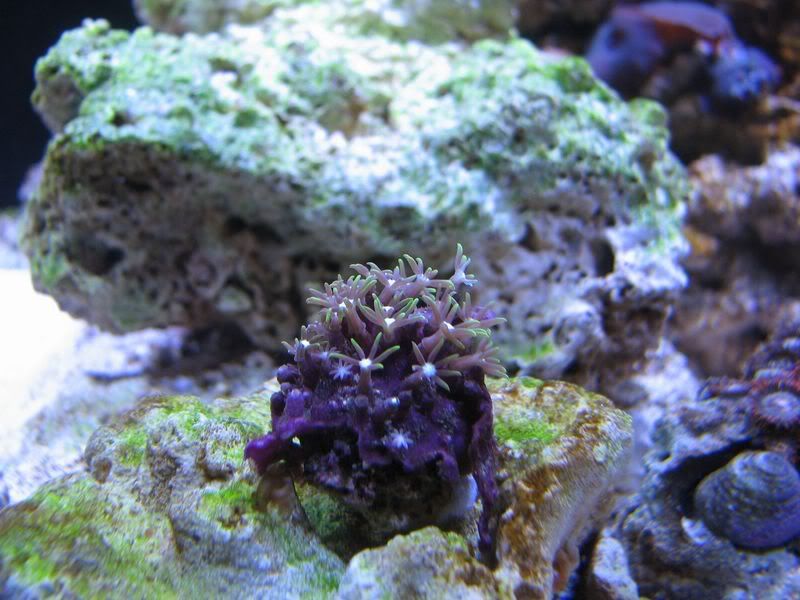
Two purple Mushrooms Frags


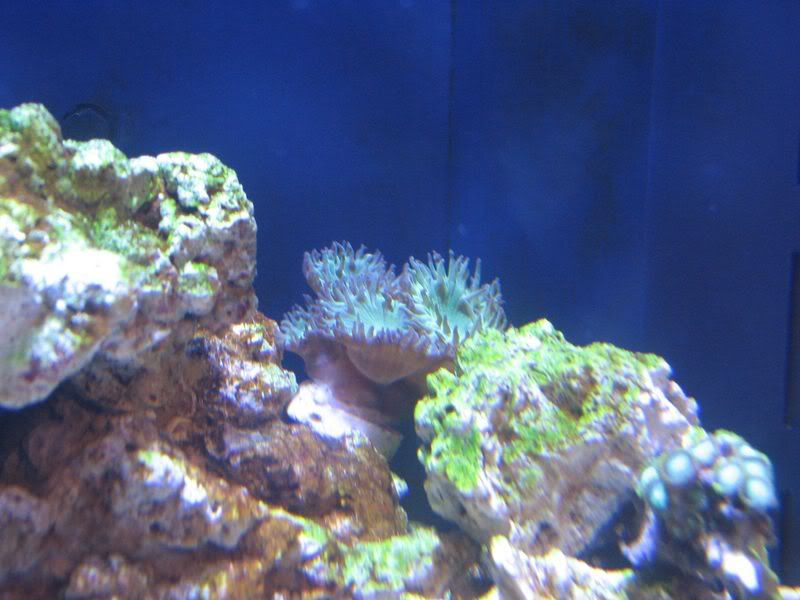
GSP? right?

And Finally FTS
 

worrballer

Member
Awesome setup! I love how clean everything is.
That Sunpod is really nice makes the tank look gorgeous. What kind of bulb is in there?
 

worrballer

Member
I had a question about your overflow.
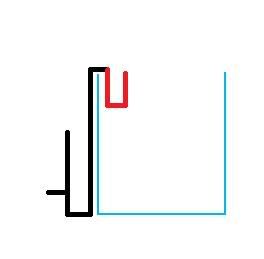
Is it possible to have the drain (the first tube the water flows down) be 5" long? Or does it need to be longer?
 

jcovercash

Member
Originally Posted by WorrBaller
http:///forum/post/3005311
I had a question about your overflow.
Is it possible to have the drain (the first tube the water flows down) be 5" long? Or does it need to be longer?
In my sample tests the longer the upwards drain inside the tank was the better it worked. Now if your up tube was say 7-8" long and the outer U was also 7-8" in length it would probably work ok, but I wouldn't take the tube all the way to the bottom of the tank and then only bring the drain up 5" as it made it take forever to get back to a full siphon during my simulated power outages.
 

worrballer

Member
Sorry I wasn't clear I think.
I'm talking about the whole part inside the tank. The first "u" as it were.

I want it to look exactly like this picture. I'm trying to cut down on the equipment that you can see in the tank and doing this would rock my socks.
 

jcovercash

Member
Originally Posted by WorrBaller
http:///forum/post/3006002
Sorry I wasn't clear I think.
I'm talking about the whole part inside the tank. The first "u" as it were.

I want it to look exactly like this picture. I'm trying to cut down on the equipment that you can see in the tank and doing this would rock my socks.
That would not work. You need the inside down leg and outside down leg to be the same length. You could shorten up the leg going down the outside of the tank however.
In all my testing (and I did A LOT), I found that it seemed to work best when you could put a longer leg inside the tank with the longest intake pipe as possible that way when you had a power outage it would have more "reserve" of water and it would start back up quicker.
you could do it like this but like I said in my testing these didn't work as well....

What type of tank are you putting it in?
Josh
 

worrballer

Member
Just a regular 29 gallon with a foam background. The red section would sit inside of my DIY overflow which is 5"
 

jcovercash

Member
Originally Posted by WorrBaller
http:///forum/post/3006285
Just a regular 29 gallon with a foam background. The red section would sit inside of my DIY overflow which is 5"
Just make sure the up leg out of the tank and down leg outside of the tank are equal length and it should work. Make sure you glue your test model or it won't work properly
 

nissan577

Active Member
amazing man! the tank has come out so awsome and the DIY fuge is so amazing! i wish i had the creativity like you do!
 

worrballer

Member
I love the 14k (at least from the pictures i've seen), I wouldn't change a thing. It seems to have the perfect balance of white and blue that I like.
Your tank makes me want to upgrade my lighting lol.
 

jcovercash

Member
Originally Posted by WorrBaller
http:///forum/post/3006736
I love the 14k (at least from the pictures i've seen), I wouldn't change a thing. It seems to have the perfect balance of white and blue that I like.
Your tank makes me want to upgrade my lighting lol.
The Sunpod was the best money I have spent on the tank
 

worrballer

Member
jcovercash, I just built a PVC overflow and was wondering how you started the siphon.
Also how are you sure that when the siphon breaks (an air bubble forms at the top of the tube) that it'll start right back up?
 

jcovercash

Member
Originally Posted by WorrBaller
http:///forum/post/3011184
jcovercash, I just built a PVC overflow and was wondering how you started the siphon.
Also how are you sure that when the siphon breaks (an air bubble forms at the top of the tube) that it'll start right back up?
TEST, TEST, and TEST!!! I tested mine many times before I trusted it.
Some people drill a hole in the line coming out of the tank in the elbow and put an airline check valve there, then after pouring water in the capped area (which is not glued, but has a 1/8" hole in it) to prime that side they pull a vacuum on the check valve. Me I just put my lips on the capped tube (without the cap on it) and just sucked the air out bit by bit, kinda making the water slosh back and forth and that got the siphon started.
If you google "DIY PVC Overflow" you will find a lot of results and even some diagrams.
As far as it started back up, thats when I had to drill the vent holes at the top of the drain tube to help it start back up quickly otherwise it would try to pull in water while trying to expel water and it would take forever to start back up.
Josh
 
Top