Trials and Tribulations of My Reef Build

chebby

New Member
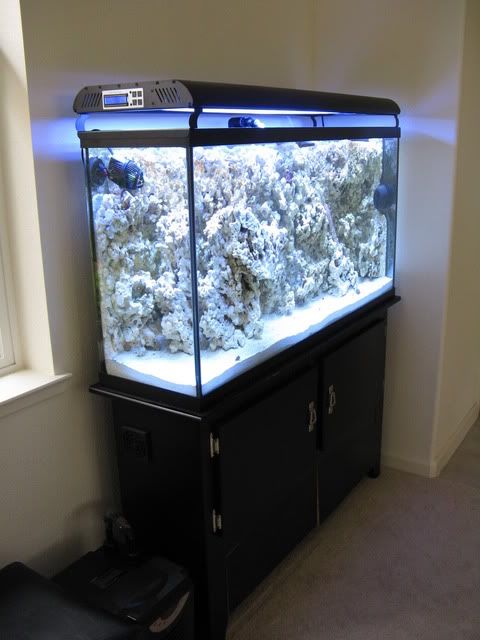
Hello Everyone. I enjoy reading others' build threads so I thought I would share my current reef build I had started earlier this year. Hopefully some useful learnings and enjoyment will come from it. This build is my second reef tank. The first is a 13g that I have never been too happy with so I decided to try and do it right this time.
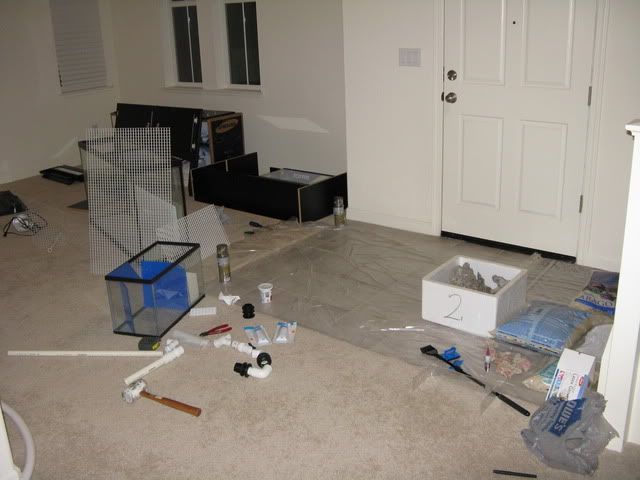
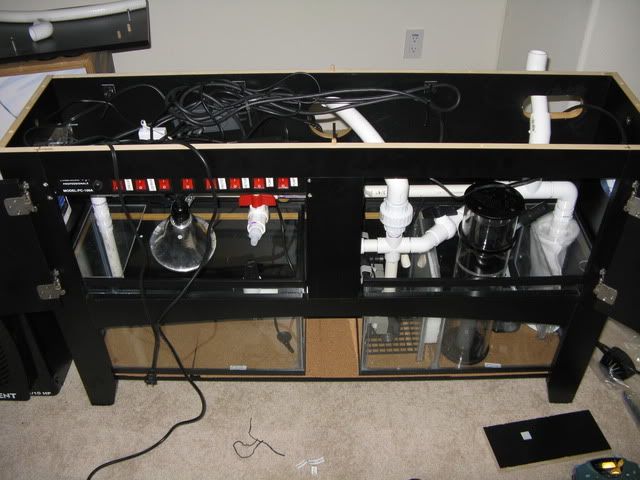
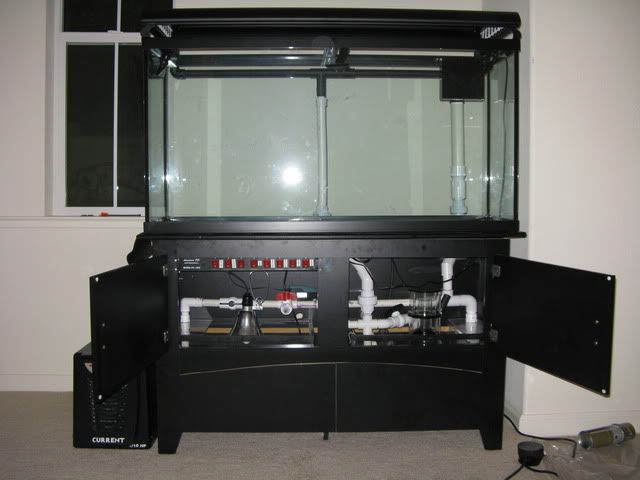
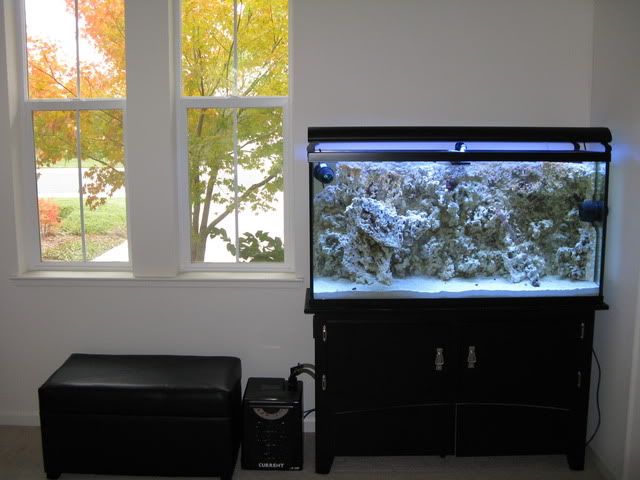
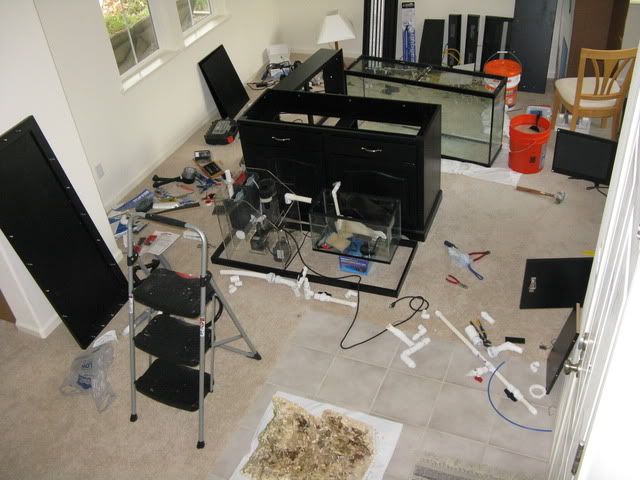
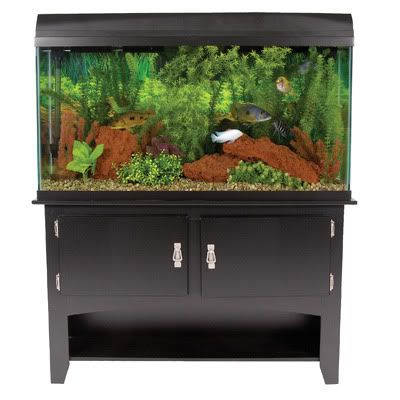
It all began when I came upon a mismarked 60g tank and stand from a national chain store. It was too good to pass up. I had a good location in my empty family room for it. The biggest drawback was the stand and the utter lack of space in it. But I thought I could come up with some clever ideas to make it work and for the most part I did.
 

chebby

New Member
First step seemed obvious.

I toyed around with the idea of using a canister filter but I really desired a sump and refugium. But how to fit one in that stand? I thought about a custom acrylic job but did not like the prices. A cheap 10g tank seemed like it would fit. After some comparison measuring I found not all 10g tanks are the same size. One particular brand actually would fit snugly inside that stand so that is the route I took and started gathering materials.
 

chebby

New Member
So two 10g tanks end to end would fit in the stand. One would be the sump the other the refugium. I just needed to connect them. Whoops! Never had that happen when cutting glass before. Thank goodness that was not my DT.

This was my first layout of the system.

Took it outside for a wet run and turns out there is a big design flaw. No water was flowing to the fuge half. Glad I figured it out before it was stuck inside the stand. After my equipment arrived (Mag 9.5 and Octopus NW110) and few more revisions, this is nearly the final layout.
 

chebby

New Member
It is a very tight fit but it all goes in there. Added an American DJ switch for all the equipment. Even added a small exhaust fan to the side to keep down the moisture buildup.

Now on to the DT. First step was to drill a hole for the overflow box.

Now to put it all together to make sure it all lines up. I also decided to plumb in a chiller since my house gets rather warm in the summer. I also added another leg to the bottom of the stand to help stabilize the system as it felt prone to tip forward.
 

chebby

New Member
Since a 60g is tall yet narrow, I thought it would be rather difficult to stack rock very high without looking like the whole tank was rock. The solution? A foam wall.
My first foam wall attempt was a huge ugly mess. I used egg crate as my foundation and split it into two sections so I could fit in into the tank. Lesson learned - split into 3 sections it is much easier to deal with later. On my first attempt I did not use nearly enough rock. Too much foam causes warping so you will not have a flat surface for attaching to the glass. Another tip, tape the back side of the egg crate so the foam can only expand forward and you do not have to do any trimming once dry. Even if working on a flat surface, the foam will expand behind unevenly and warp the wall. The tape prevents this.
So this is the second attempt. Egg crate frame in 3 sections. I ordered 60lbs of Pukani Dry rock. I really liked this stuff. Even got this huge piece I decided to use as a column.


It's a bit tough to tell but it is 80% rock. Foam was covered with epoxy and light layer of sand. It was siliconed to the glass and is quite heavy so I do not expect any buoyancy problems down the road.


chebby

New Member
Fill 'er up. Chose to use Reef Crystals for my salt.

And the completed product. Using the Sunbright LED system. I don't have all the bulbs I want yet but they look great.

The acrylic rod was seeded with coraline in my other tank and is now seeding this tank.


The ottoman is for both equipment storage and holding my top-off water that a lifter pump pulls from.
 

chebby

New Member
What is the red handled gate valve for
Currently I use it for easy water changes. I could connect a PhosBan reactor or what not in the future.
 

chebby

New Member
So now for the bad news. Tank was running good for about 3 weeks. Cycle was nearing its end. And then I noticed some water on the stand. Checked everything for any sign of spillage, drips, or salt creep but found nothing. I put a paper towel to wick up the water and hoped it was just a 'burp'. Of course I could not be that lucky. The water continued to be leaking from underneath the tank for several days with no sign of stopping.
Tank is now drained. Thankfully I had not stocked it so it is not a big emergency like others have had. What a dissappointment.
 

asharp13

Member
Can u explain ur rock wall process a little more? Did u lay out the rocks and then foam around them to stick them in place? I've tried foam before n it seems to expand way more then I like. How did u combat this? Then u just covered it with epxy n glued sand to it? What kind of epoxy did you use?
It looks great I'm impressed!!! Srry to hear about the leak that's a huge bummer
 

chebby

New Member
Can u explain ur rock wall process a little more?
One of the keys is to use a lot of rock. The foam is really there just to attach the rock to the egg crate. So I put a light layer of foam on then placed the rock onto it. Because the rock is so purous you do not need much foam to get a strong bond. Then just a tiny bit of extra foam to cover any remaining exposed egg crate. The epoxy I used was Bob Smith Industries 30 min cure. This particular kind is said to be waterproof according to their documentation. Sand was sprinkled on while the epoxy was still wet.
 

chebby

New Member
Well the 60G is now completely dismantled. Decided to take this oportunity to make my aquarium 50% better and will be upgrading to a 90G. Currently working on the new stand and plumbing.
 
E

eric b 125

Guest
so much for the tank being 'mismarked', eh chebby? that sucks big time. at least it inspired an upgrade, though.
 
Top