cocoacf
Member
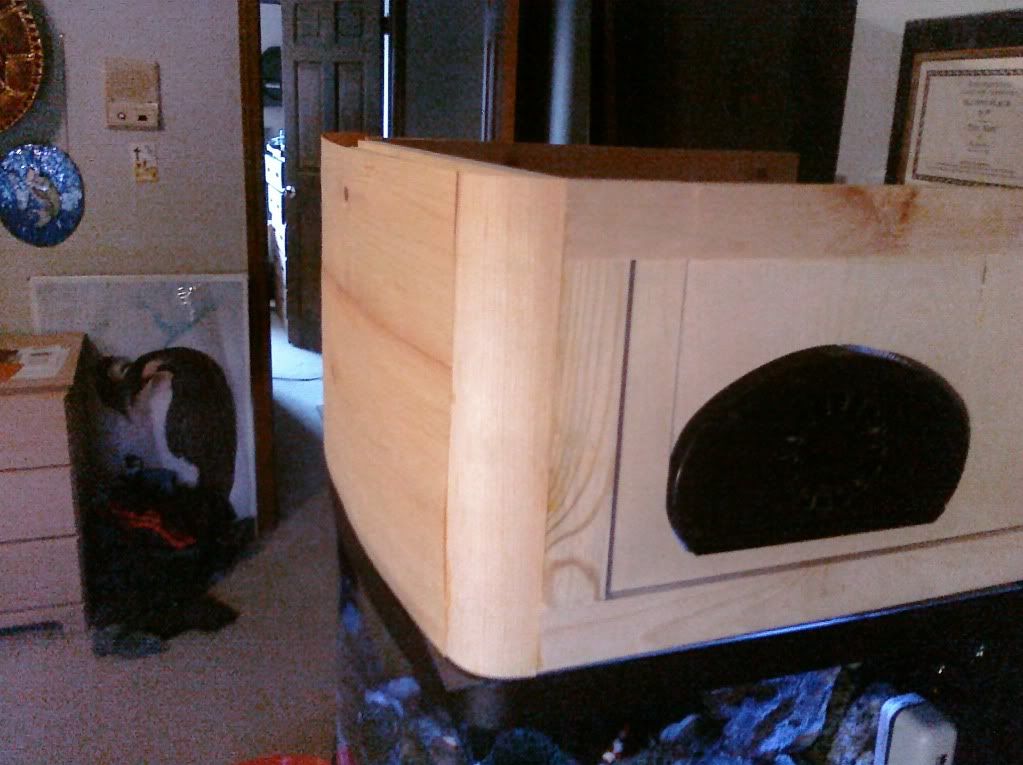
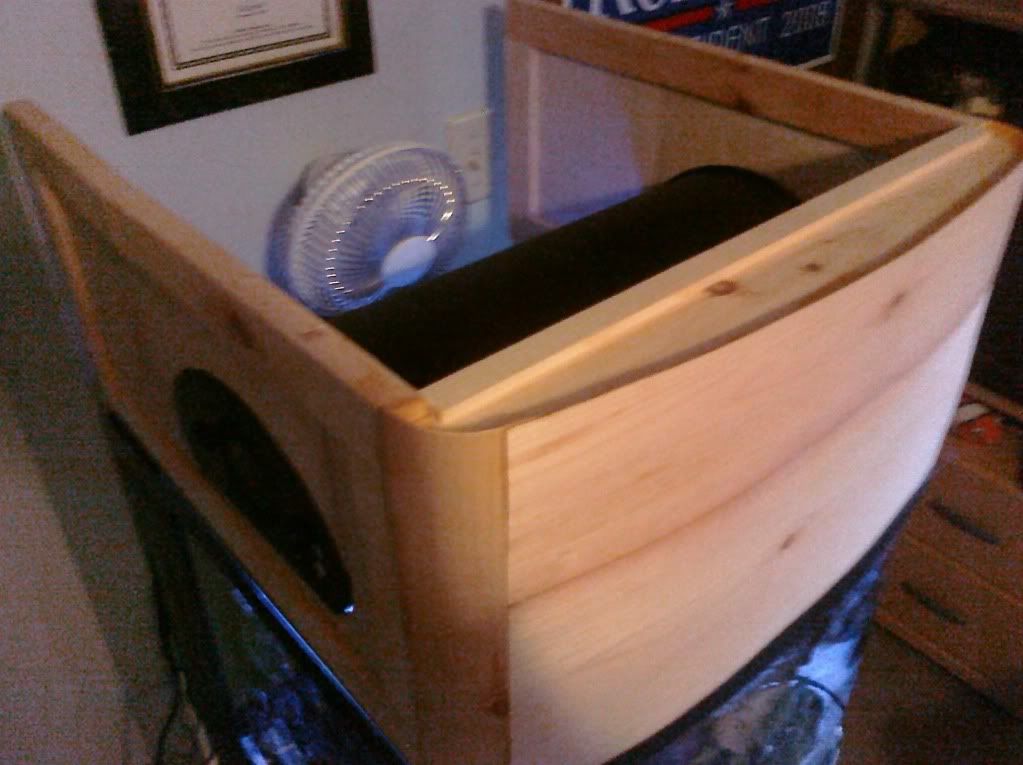
So after having a outbreak of dinoflagellates in my 14 gallon biocube, I tried to do a major cleansing of most existence in the tank, and to no avail was I able to get the algae to go away. After coming to the realization I would have to completely start over in order to rid myself of these inglorious basterds I decided I might as well upgrade while in the process! Thus, my 29 gallon biocube.
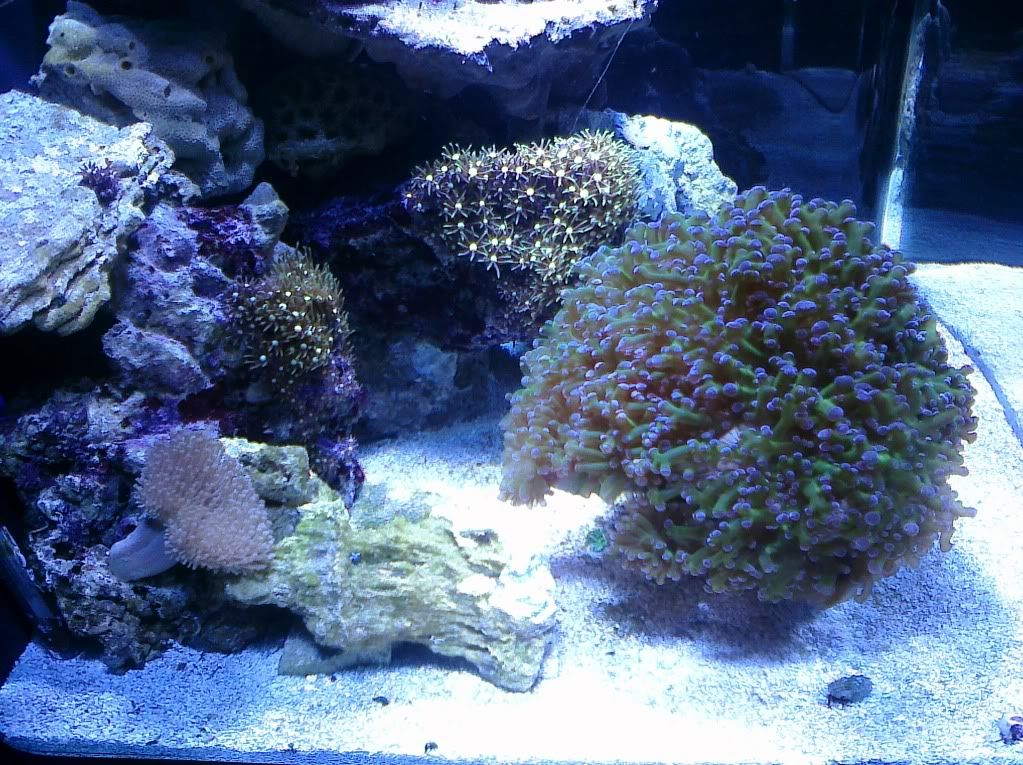
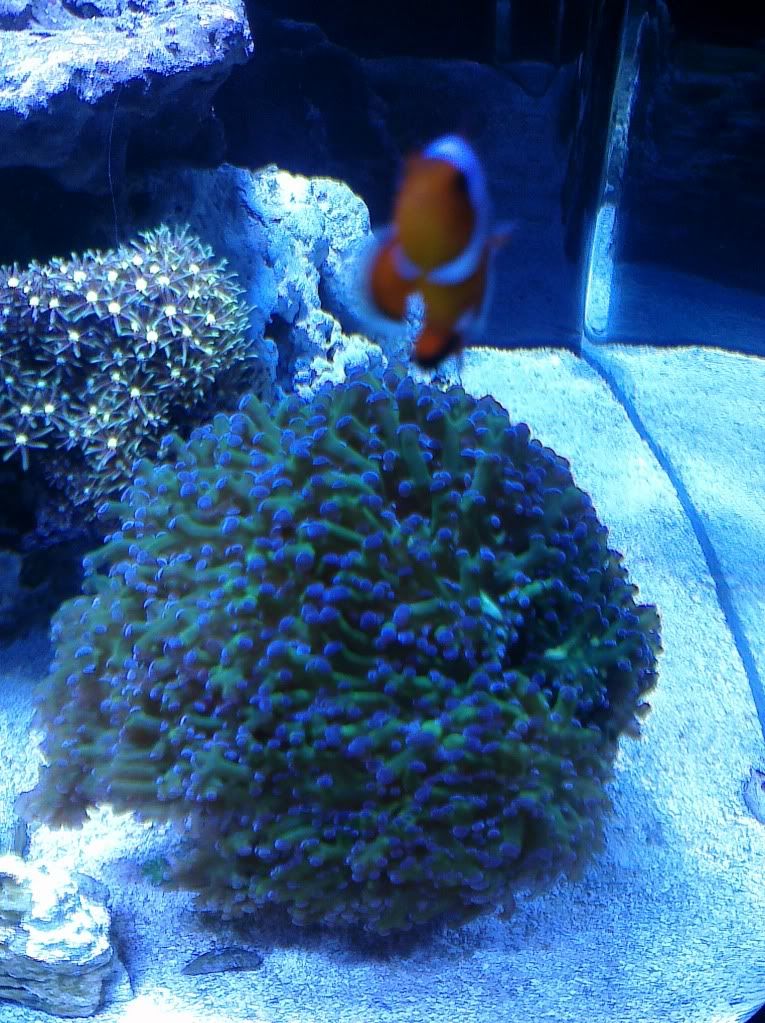
On the 28th I set up the tank with water from a friends established tank. On the following day I bought a 20lb bag of live sand and 16 lbs of new live rock to go with the 16 pounds I had in my 14g biocube. I had let the LR I used in my 14g dry out to kill off the dinoflagellates and become base rock. As of now its about 5050 LR:BR. The only 'upgrades' to the tank I have preformed are adding 4 lbs of LR & 3 lbs of BR to the 2nd chamber (I filled the left over space with bioballs in order to minimize the noise from the water) and using a 150 watt HQI sunpod [14k Phoenix bulb].
I got the LR for $3.50 a LB, and two of the pieces had a fairly good amount of GSP on them! They aren't opened up all the way because today was the first full day I had my lights on with LRLS in the tank. I've also seen 3 banded serpent starfish. I don't know if any of this will make it through the cycle but I've got my fingers crossed..
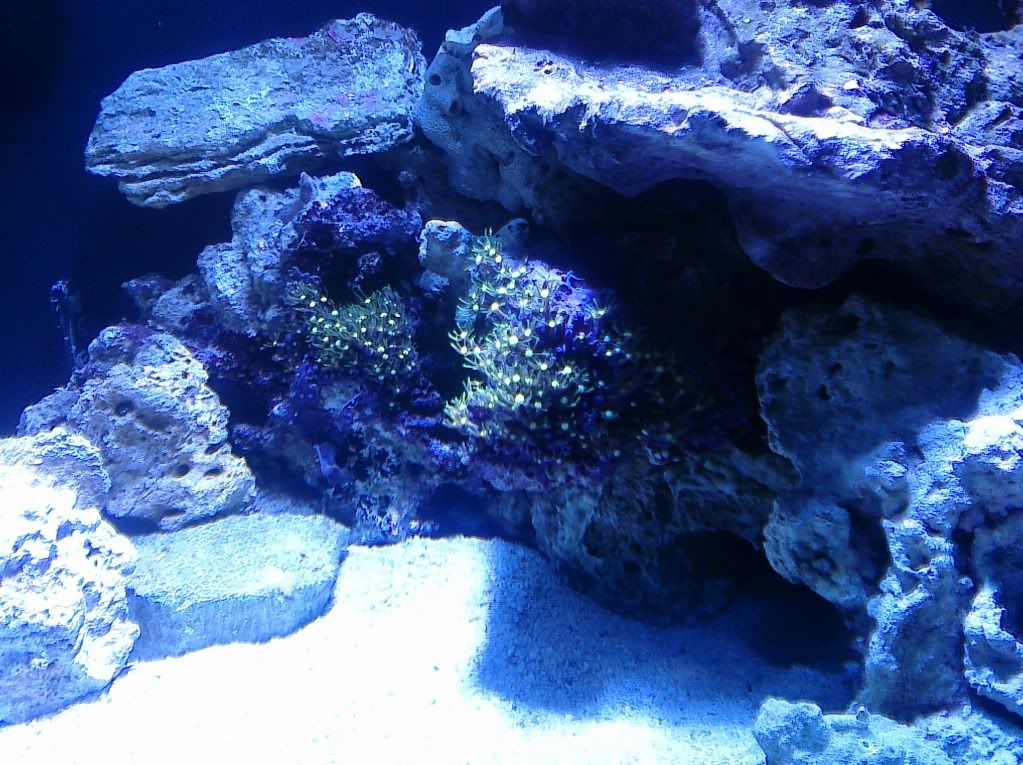
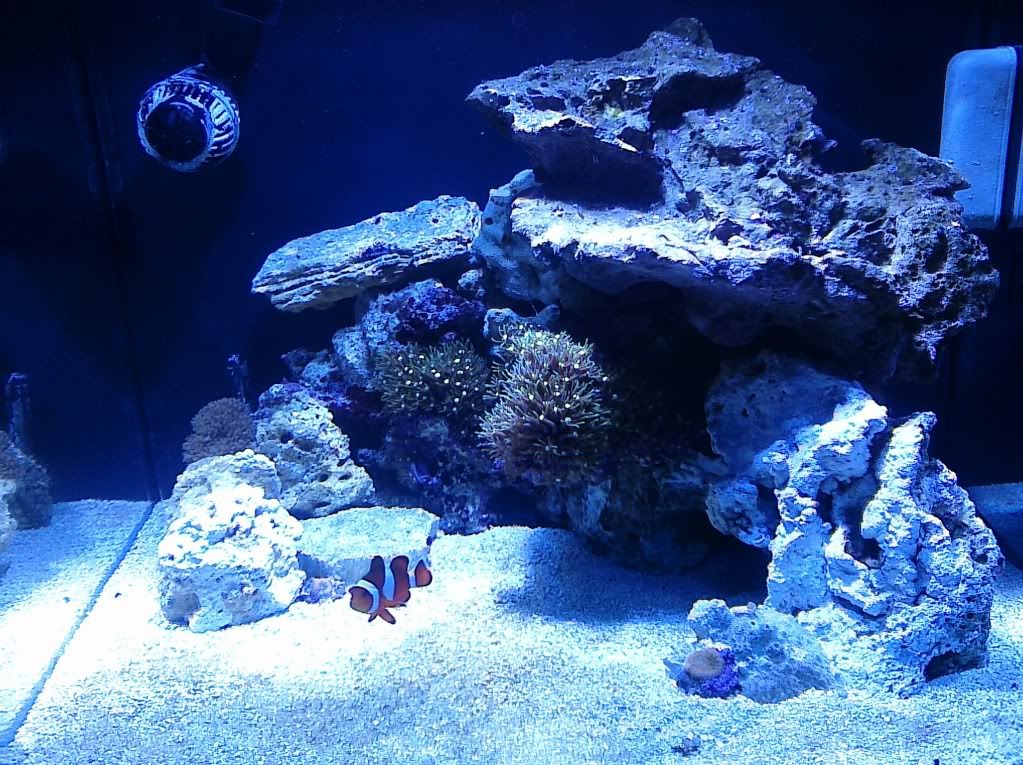
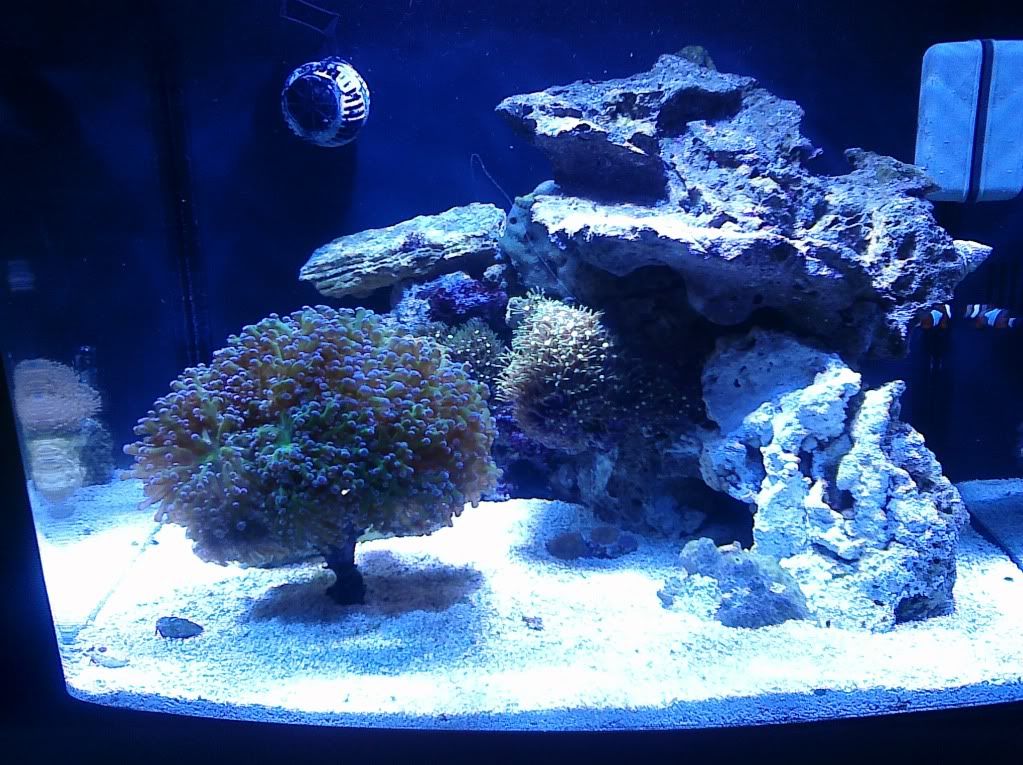
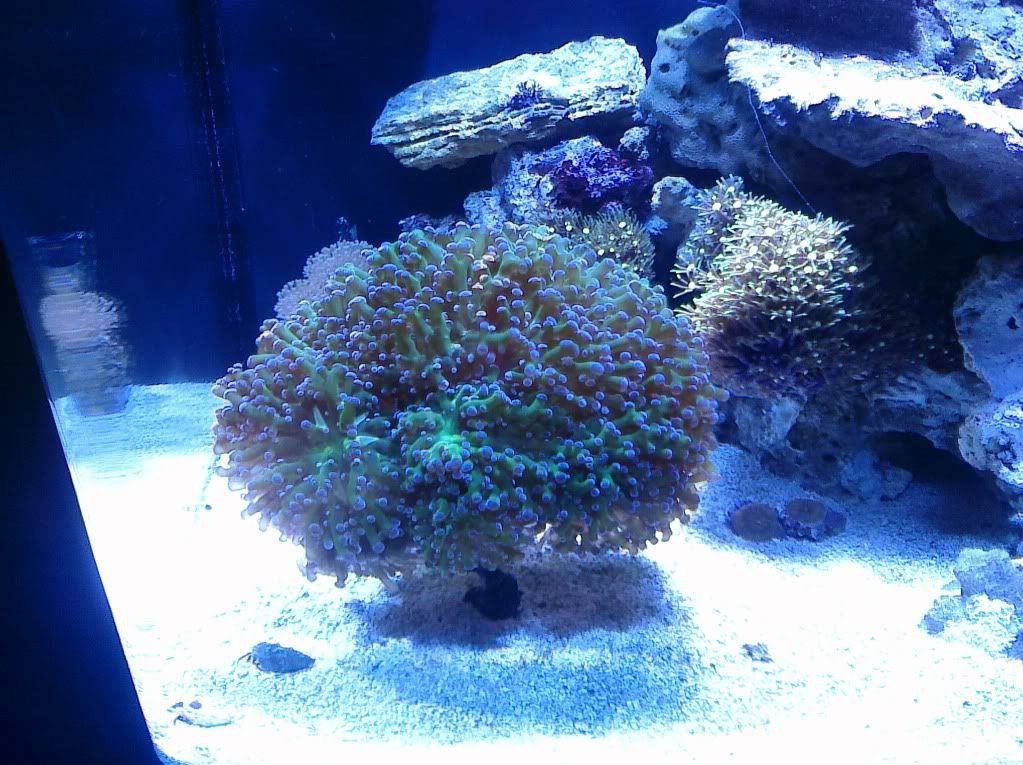
Here are a few pictures. I'm really loving the rock scape I came up with. I've seen some people just throw their rock in the tank and call it a days work, but I think its important to spend a good amount of time seeing what fits where and such. The thing I love about a nano tank is that they are relatively small so you can get really personal with them, and spend a lot of time making it look neat.
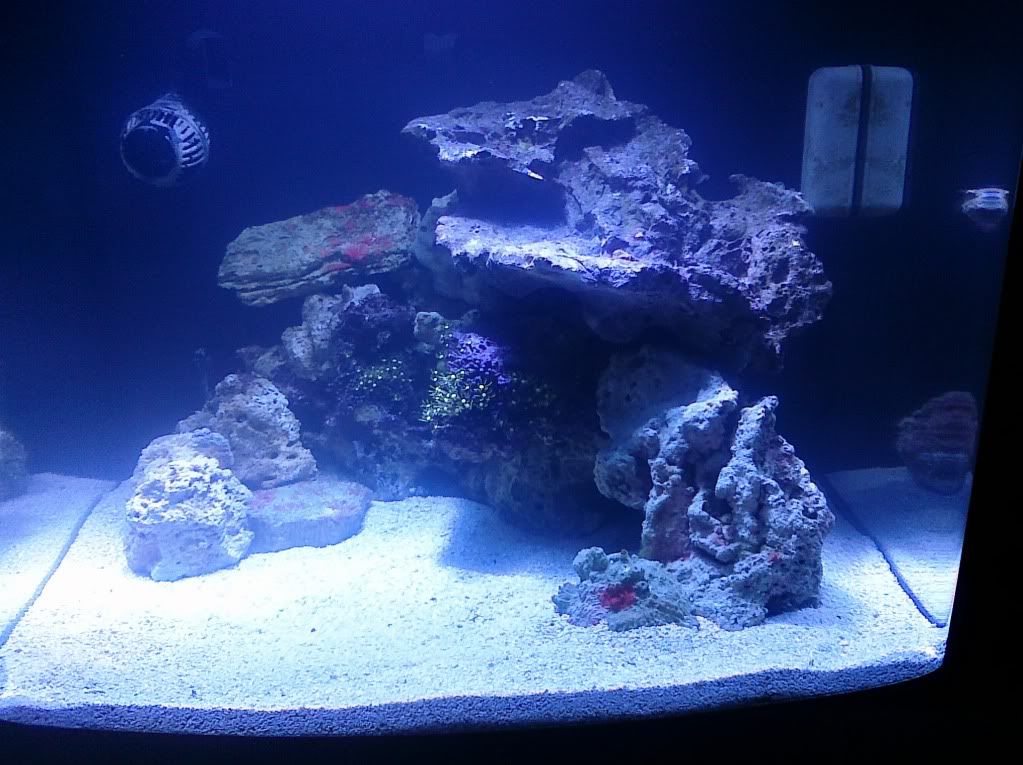
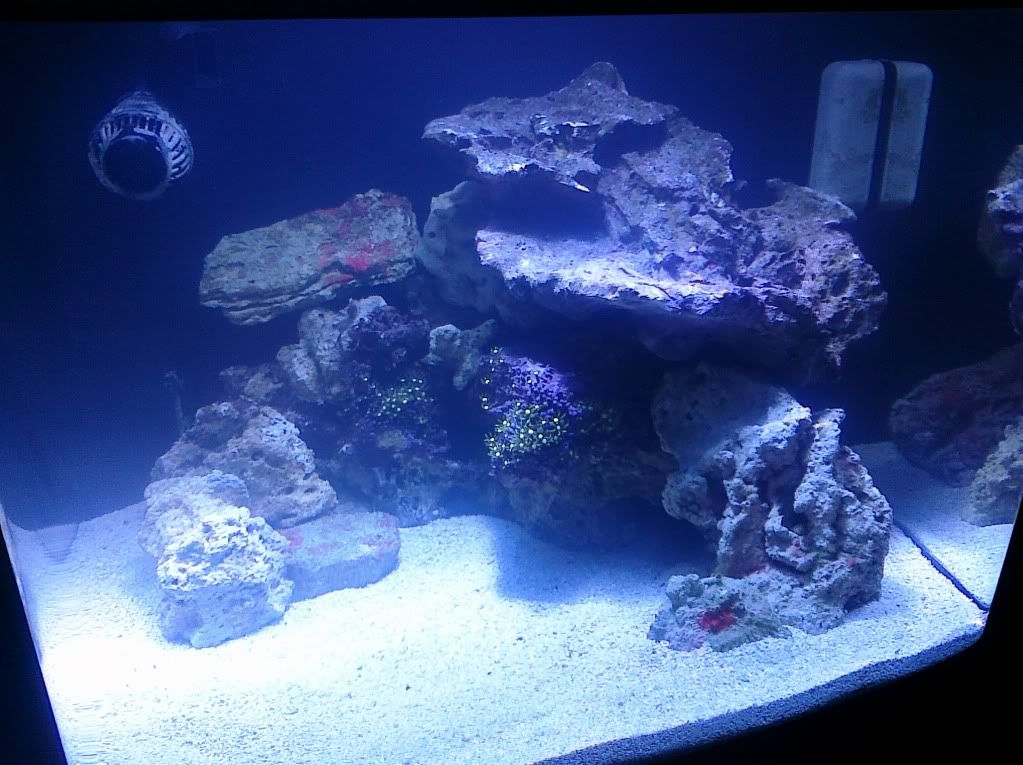
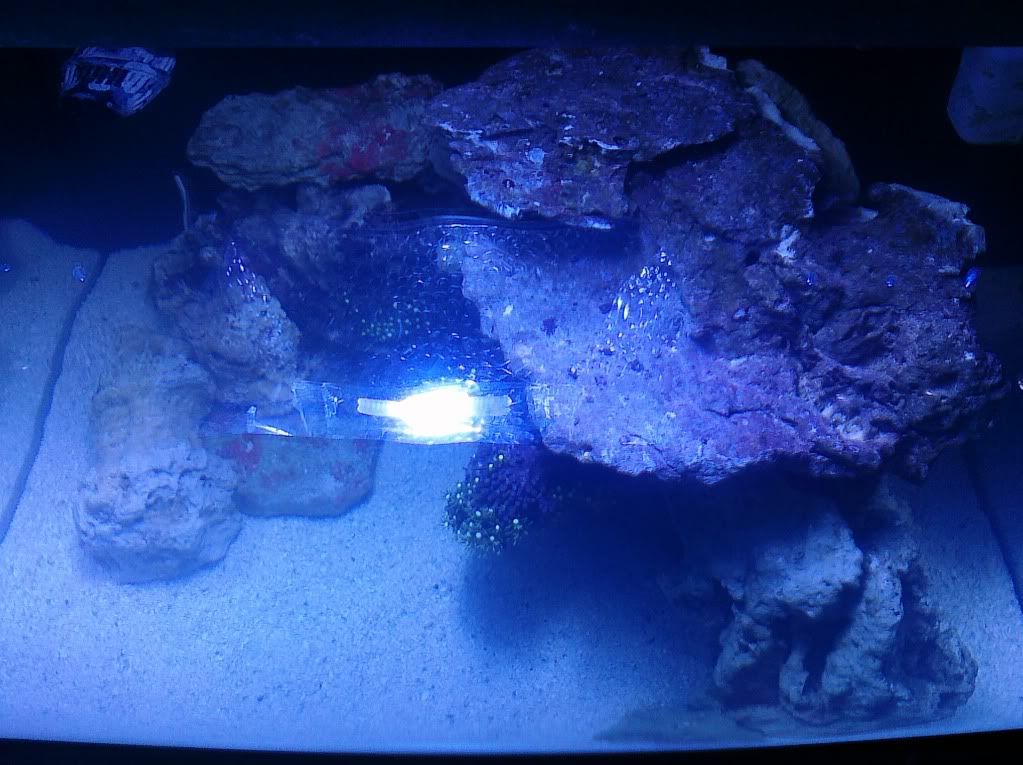
I'm not really satisfied with the depth in these pictures, they were taken with my cellphone. I tried to take pictures with my camera but the colors were coming out blue.. So I'll try to find a balance and get some good pictures up.
All comments are welcome!

On the 28th I set up the tank with water from a friends established tank. On the following day I bought a 20lb bag of live sand and 16 lbs of new live rock to go with the 16 pounds I had in my 14g biocube. I had let the LR I used in my 14g dry out to kill off the dinoflagellates and become base rock. As of now its about 5050 LR:BR. The only 'upgrades' to the tank I have preformed are adding 4 lbs of LR & 3 lbs of BR to the 2nd chamber (I filled the left over space with bioballs in order to minimize the noise from the water) and using a 150 watt HQI sunpod [14k Phoenix bulb].
I got the LR for $3.50 a LB, and two of the pieces had a fairly good amount of GSP on them! They aren't opened up all the way because today was the first full day I had my lights on with LRLS in the tank. I've also seen 3 banded serpent starfish. I don't know if any of this will make it through the cycle but I've got my fingers crossed..
Here are a few pictures. I'm really loving the rock scape I came up with. I've seen some people just throw their rock in the tank and call it a days work, but I think its important to spend a good amount of time seeing what fits where and such. The thing I love about a nano tank is that they are relatively small so you can get really personal with them, and spend a lot of time making it look neat.
I'm not really satisfied with the depth in these pictures, they were taken with my cellphone. I tried to take pictures with my camera but the colors were coming out blue.. So I'll try to find a balance and get some good pictures up.
All comments are welcome!