125 Gal Upgrade!!!

jas1

Member
Originally Posted by King_Neptune
http:///forum/post/3094788
If your a little shaky about drilling holes, don't worry. Its really easy and not nearly as hard as you worry. Just take your time and let the bit do the work...don't put pressure. In fact, the weight of the drill or less, is plenty. Drill in 5-10 second bursts. Put a ring of plumbers putty around the area and fill it with water. It will become muddy as you drill, this is ok.
Also good idea to make a mold and place it over where you want the hole. A simple plank with a "V" cut in it will do:
Also remember to put duct tape on the opposite side. This will reduce the vibrations, and keep the glass from chipping when you punch through.
Took me about 20 min to do each hole. First one was scary, second one was cake once I realized how easy it was.
If you need help getting bits cheap let me know. I bought mine for under 20 bucks.(Diamond tipped)
Thanks King!! I watched the video on glassholes and it doesn't look too hard. I also seen the stand you built for your 125 on another thread somewhere but I lost it could you attach a pic here for me? Thanks
 

jas1

Member
Originally Posted by Posiden
http:///forum/post/3094374
Ha, Ha, SWEET.
Here is my version of it. It is on the outside. Duh,right.

The fourth one is for my return. It will exit at the corners of the OF cutout.

That is a 20L if it matters at all. I did the exact same thing as his design on my 75 that will be up and running sometime in the near never. I have more things to collect. The things needed for this tank I had except the stand, which I will build like you.
That is freakin SWEET!!! Is that tank rimless?
 

posiden

Active Member
Originally Posted by Jas1
http:///forum/post/3095112
That is freakin SWEET!!! Is that tank rimless?

Ha, Ha,
It is now.
I took the trim off and then reinforced the tank with glass. It took me a while to get the top cut out. I broke three of them before I got it right.
Here is the top when I got it cut out.

Here is the top installed on the tank,

This is just another shot with my hand so you can see the edge of it.

The whiteish looking triangle in the back and the whiteish rectangle in the front are pieces of glass that under the top to lock everything together. There is no dbout it is stronger then it was. And I think it looks a lot better.
 

jas1

Member
Originally Posted by Posiden
http:///forum/post/3095139
Ha, Ha,
It is now.
I took the trim off and then reinforced the tank with glass. It took me a while to get the top cut out. I broke three of them before I got it right.
Here is the top when I got it cut out.
The whiteish looking triangle in the back and the whiteish rectangle in the front are pieces of glass that under the top to lock everything together. There is no dbout it is stronger then it was. And I think it looks a lot better.
That is AWESOME
So it's basically a three sided eurobrace with gussets in the corners? What's all the eggcrate for???
 

posiden

Active Member
Yes you got it. That is my one piece euro brace.
I am going to make my own rock and do a foam rock wall. The two will be one. Some of it will be covered in foam and some in concrete. I started to build a rock and realized part way through that it is real heavy. I am hoping the two will counter act each other. We shall see i guess.
 

jas1

Member
Originally Posted by Posiden
http:///forum/post/3095154
Yes you got it. That is my one piece euro brace.
I am going to make my own rock and do a foam rock wall. The two will be one. Some of it will be covered in foam and some in concrete. I started to build a rock and realized part way through that it is real heavy. I am hoping the two will counter act each other. We shall see i guess.
Nice job!! Yeah I made a couple of rocks myself a few months ago
I figured out REALLY quick that it is not as easy as it looks

One tip I got from a reefer in Spokane is if you have a creek nearby you can wrap the made rocks in some moose-fence or screen or something, anchor it to the bank and throw em in. the constant flow of water will speed up the concrete curing process to 1/2 the time it would take curing them in buckets and doing daily water changes
 

posiden

Active Member
Originally Posted by Jas1
http:///forum/post/3095163
Nice job!! Yeah I made a couple of rocks myself a few months ago
I figured out REALLY quick that it is not as easy as it looks

One tip I got from a reefer in Spokane is if you have a creek nearby you can wrap the made rocks in some moose-fence or screen or something, anchor it to the bank and throw em in. the constant flow of water will speed up the concrete curing process to 1/2 the time it would take curing them in buckets and doing daily water changes
Yea I heard that too. Another trick if the rock is small enough or the right shape, you can put it in the back (tank portion) of the toilet. Then every time you flush it will change the water.
 

fishkid13

Active Member
Originally Posted by Jas1
http:///forum/post/3090398
Thanks for suggesting glass-holes but they didn't have exactly have what I'm looking for. So I'm going to DYI kinda-sorta. I called a glass shop and I can get the holes drilled for $10 each, a little expensive but they are bonded and insured where I am not
Does anyone know if it possible to build the overflow boxes out of plastic/acrylic and attach them to glass???

Found some bulkheads at a local "everything" store. 1 1/2" for the overflows and 1" for the returns.
Why does this seem very familer.

Congrates! Waiting for more pic's.
 

jas1

Member
Originally Posted by fishkid13
http:///forum/post/3095479
Why does this seem very familer.

Congrates! Waiting for more pic's.

lol... Thanks! Was wondering where you were

Hopefully I will be going to get the lumber for the stand 2day
 

jas1

Member
Need some input...
The stand will be an open design, meaning no vertical supports in the center.
So my question is will 2x4's be strong enough or do I need to go with 2x6's? It's a 6 foot long tank.
 

mkroher

Member
Originally Posted by Jas1
http:///forum/post/3095936
Need some input...
The stand will be an open design, meaning no vertical supports in the center.
So my question is will 2x4's be strong enough or do I need to go with 2x6's? It's a 6 foot long tank.
definitely 2x6 with cross bracing
would you consider a vertical support in the back?
 

king_neptune

Active Member

Originally Posted by Jas1
http:///forum/post/3095936
Need some input...
The stand will be an open design, meaning no vertical supports in the center.
So my question is will 2x4's be strong enough or do I need to go with 2x6's? It's a 6 foot long tank.
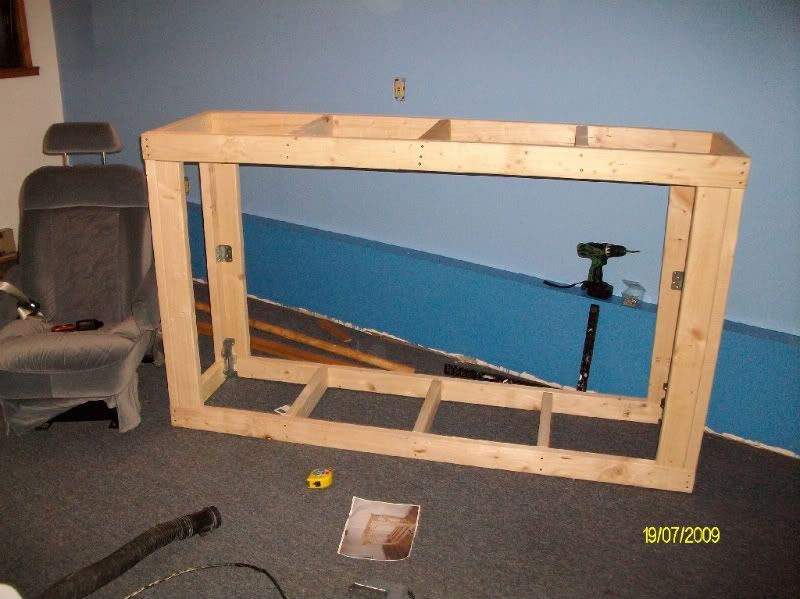
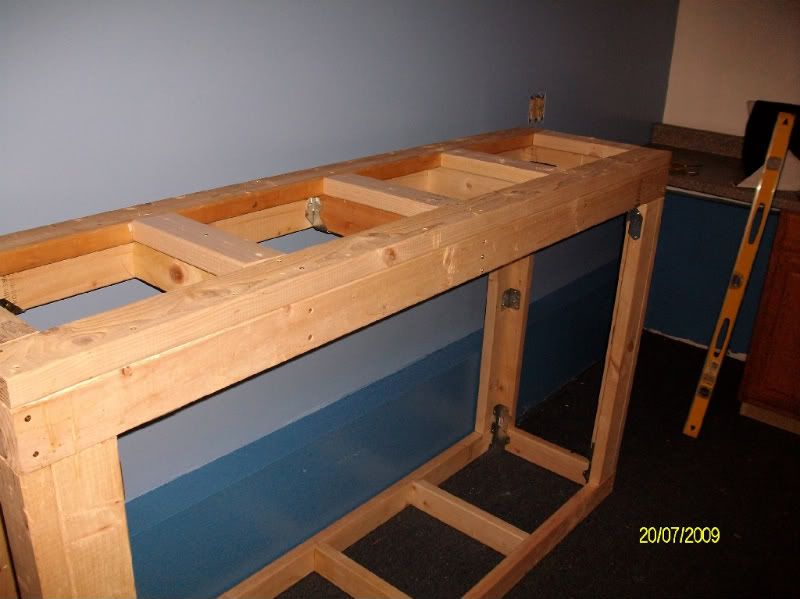
Here is one I built this week. Its overkill strong for my 125DT:
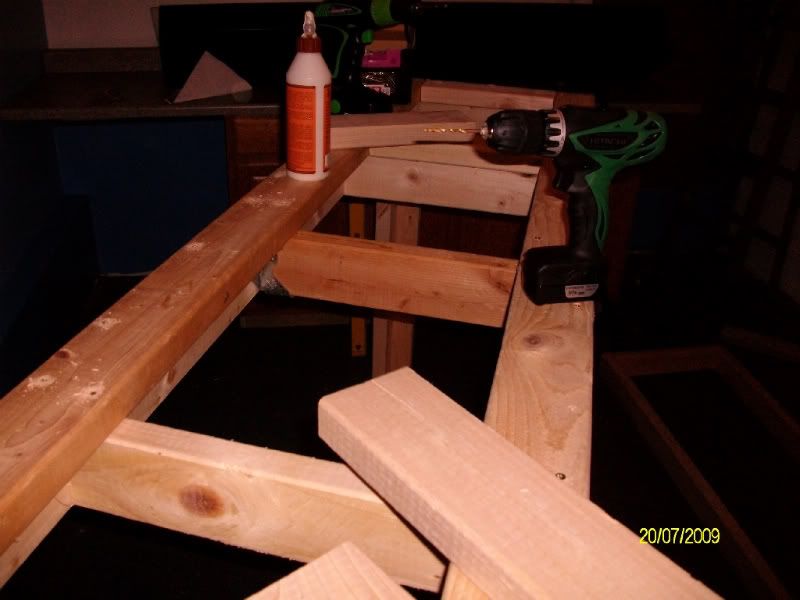
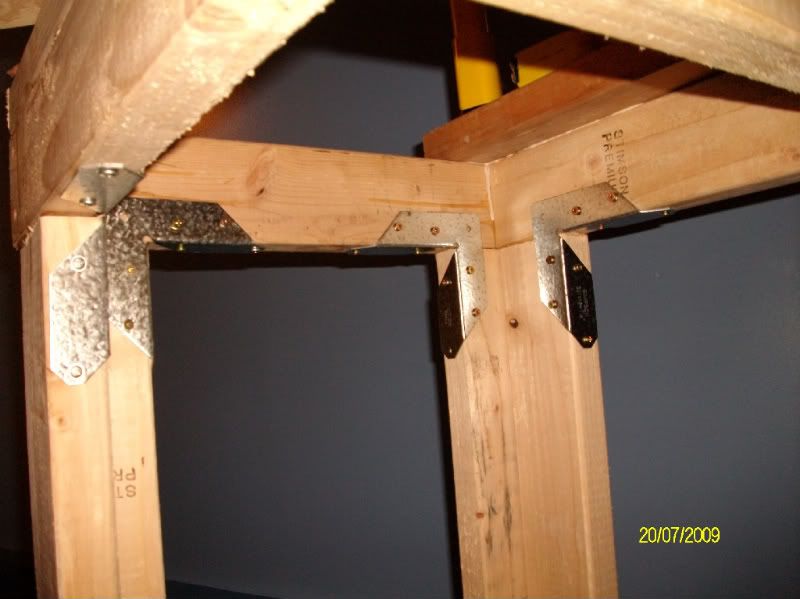
I used 3" wood scrws. I also pre-drilled every hole with a small wood bit to allow the scrws to go in w/out splitting the wood. Also I ran glue along every piece to add extra durability. And finally metal brackets as well.
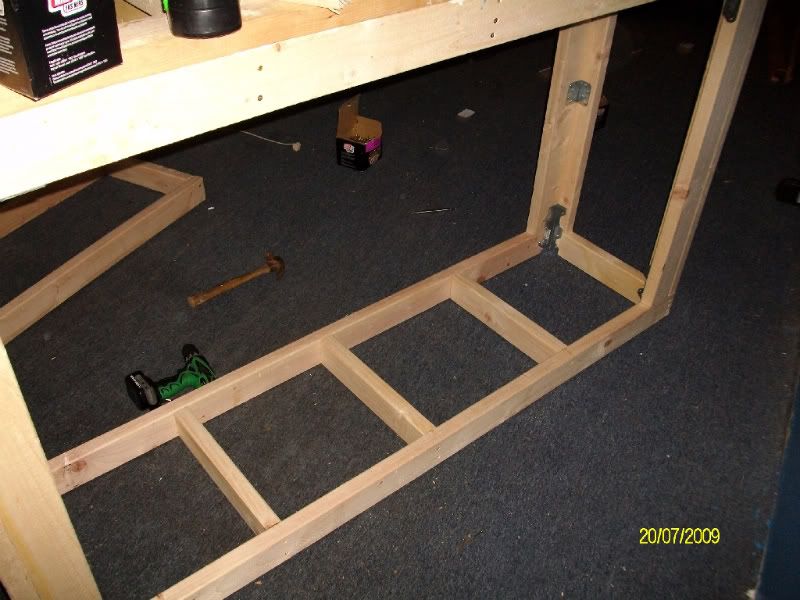
This is before the second layer of support was added. Notice the ribs are VERTICLE

Second layer...now The ribs are stacked on top HORIZONTAL making it a "T" shaped rib.


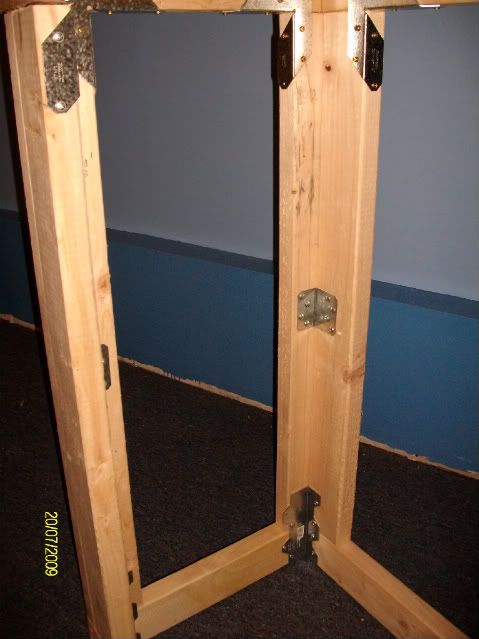
I used brakets to hold everything in at all major stress points:


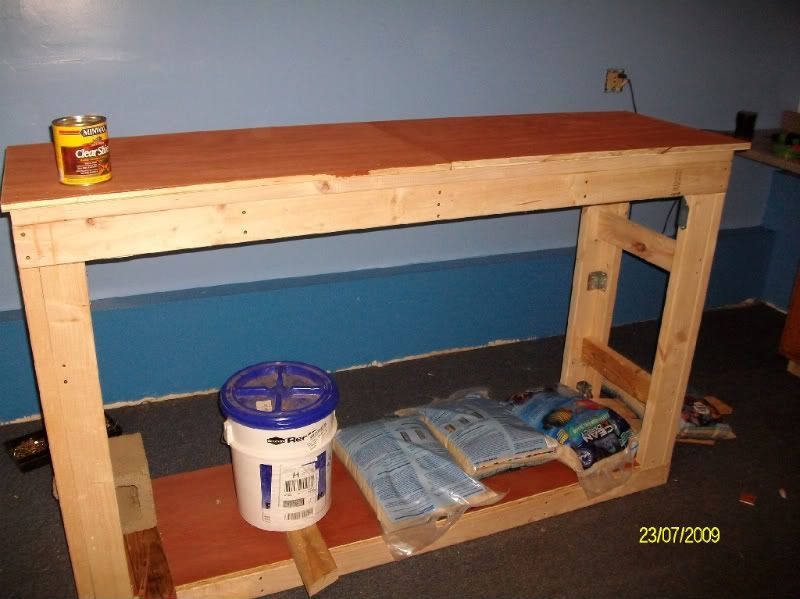
Put in a bottom and top plate notice the cross supports I also added beet ween the legs)
. Also the top plate is 1inch thick high quality plywood:

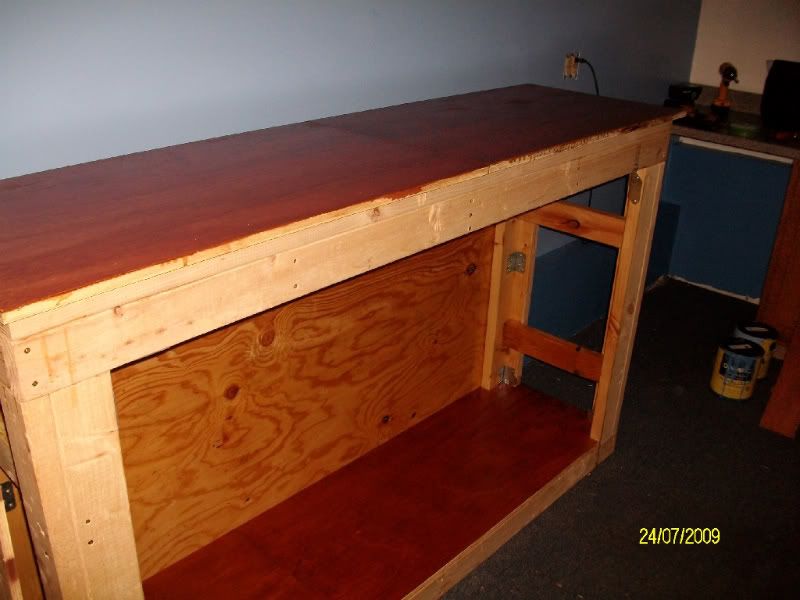
And added a back wall to help with torque:

Not pictured is the skin I added to the side and a 8inch lip at the bottom of the front. I primed it with polyurethane. Half dozen coats and 8hours between each coat...so it took 3 days to seal it. Then I put a bead of silicone around the bottom along all the seams to make sure it held water in case of spills. I can probably hold a good 40-50 gallons at the bottom of the stand.
Later on down the line Ill add nice woodwork to skin it, and trim it all with nice pieces. The front is open(Ill make a removeable panel for the face at a later date).
There is LOTS of head room as you can see. Its 21 inches wide,73 long and 45inches tall. And overkill sturdy.
The only thing I would do differently is run each 2x4 through a planer to get all the surfaces smooth and seamed tight. And for the top plate I would suck it up and buy the $60 plywood sheet, instead of two 4ft peices for $15 each. It was a corner I cut, and I know I would be happier with one solid plank across the top. But its already glued and nailed into place.
 
Top