40g Diary LOTS OF PICS

hybridfish

Member
Hello all,
When I first started this hobby back in June, I wanted to start w/ an existing aquarium (my 29g) to get a feel for the salty side of fish keeping. Little did I know how addictive this hobby would become. I've met great people and have learned a great deal from everyone. I'm proud to say, this hobby has forced me to do the most reading I've done in a long time. Anyways, I finally feel comfortable with upgrading my system. I kinda went ahead of myself before I deciding to do one of these diaries so this is what I have so far.
This is the tank I will be taking down as soon as I setup the other tank. I will be using this to cure rock at a later date.

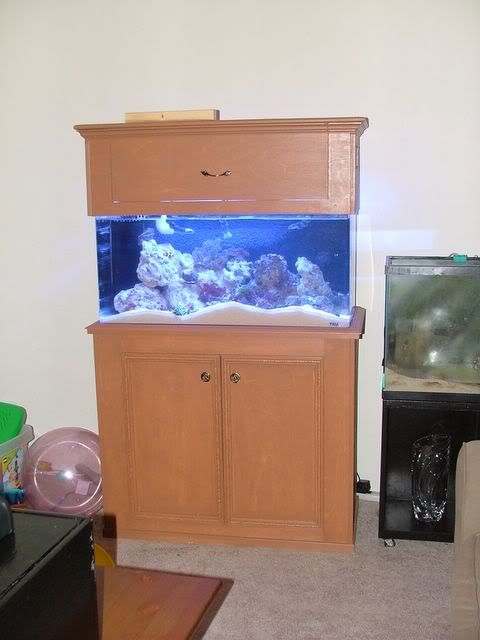
This is my DIY heavy duty stand and a used 40g that I got from a fellow reefer on this site . It's a little taller than usual stands to get the tank a little more to eye level. It's just high enough for me to touch the bottom of the tank without bending over . I also made the stand a little wider for either further storage or to sit a closed loop pump back there. I miss measured the hole placement for the 1" overflow bulkhead when I drew up the design. I had to cut and sand a little off one of the legs but it should be ok.


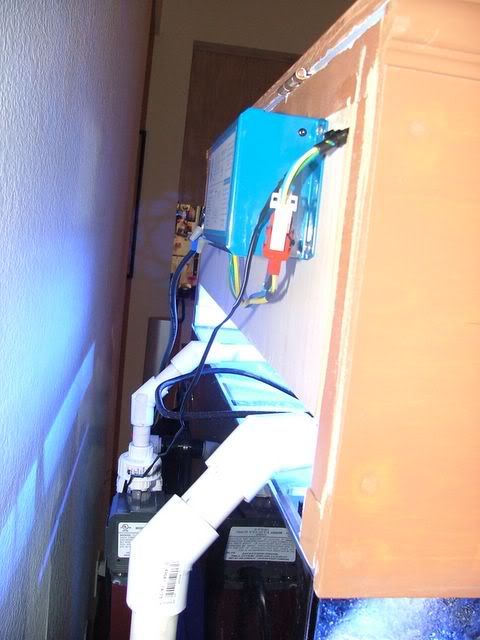
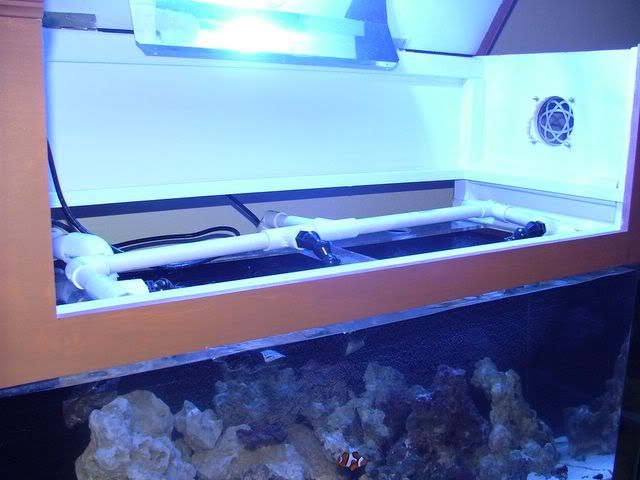
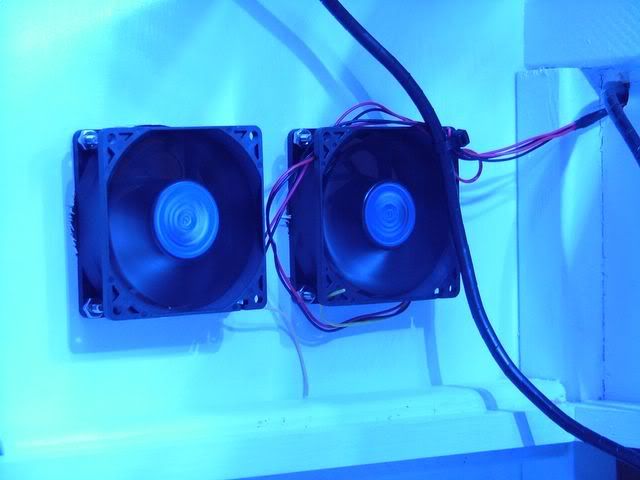
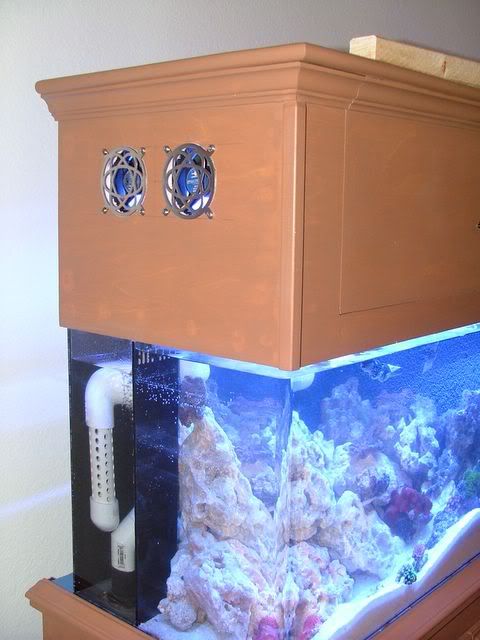
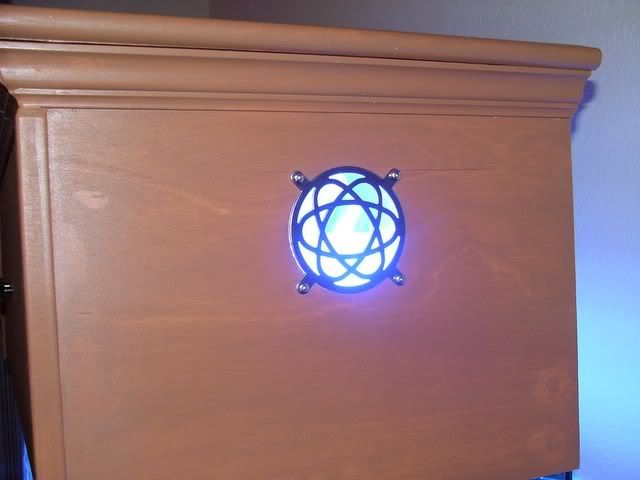
One thing that really gets to me about my original set-up is how inconvienient it is to service or move anything around inside the tank. I would have to remove the PC lights and then pull off the hood. If I don't want to do that, I'd have to pull up a chair in order to reach anything. My new DIY hood solves all these problems with a cutout in the front and a MH retrofit that will fit behind the front cover. It's not totally done yet but here's some picture to give you an idea of what it's going to look like.


hybridfish

Member
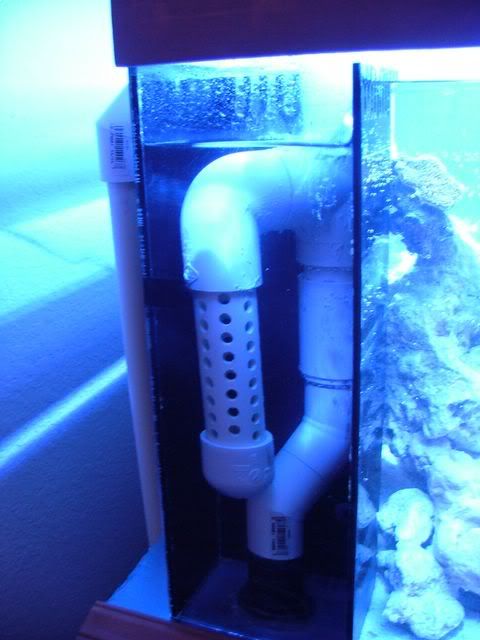
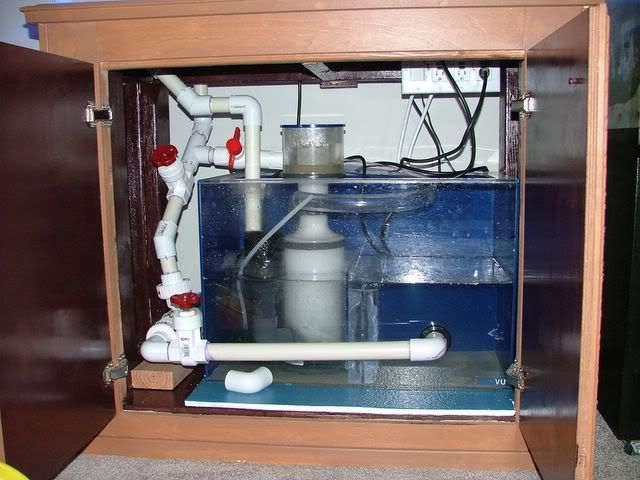
I really liked the idea of a durso standpipe so I decided to make one on my own. The problem is that the durso standpipe design doesnt fit my overflow box standing straight up so I had to do a bit of modifying. This one has the addition of two 45 degree bends to offset it to the edge of the overflow. All this leaves a lot of room for the 90 degree elle.


hybridfish

Member
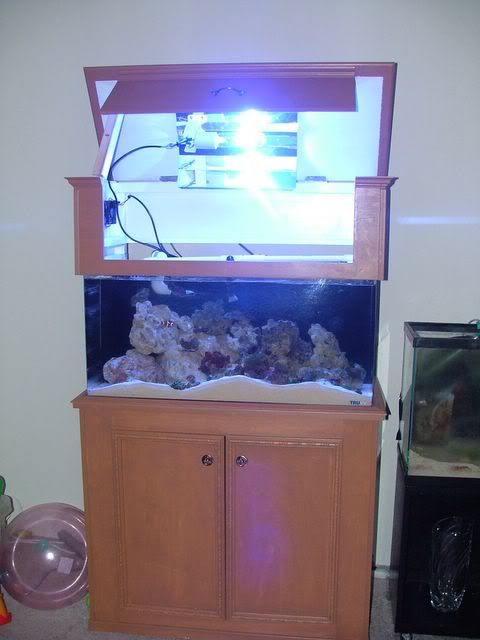
This is how the stand and canopy look as of right now. I'm going to have to wait for the weather to dry up a bit before I stain it.


hybridfish

Member
A bit more info on the current specs and future specs:
40g reef w/ closed loop
Modified 20g sump w/ fuge
175W 14k Hamilton
65W 10000k/6500k PC fixture
65W dual actinics PC fixture
Euro-Reef ES5-20 skimmer
40lbs base rock (I have 120lbs from hirocks to play with)
30lbs live rock
70lbs of live sand
future buys:
mag5 or mag3 closed loop pump
iwaki 20rlt return pump
I'll add more to the list as time goes by. I'm working from an apartment building so I'm almost stuck w/ having to use hand tools.
 

hybridfish

Member
Originally Posted by Bronco300
uh....i believe you may want to fix those pics...all i see is the logo for another site,lol
oops.. I'm gonna have to grab them from my photobucket account.... pics are coming! That's kinda funny because I previewed them before I posted and they came out correct. Maybe it's the browser...
 

chosen1608

Member
that looks great...how much did all the wood cost to build the stand/canopy? I'm thinking of building a new one for my 55 and wanted an idea of price. Also, are those 4x4s you used in the corners or just 2 2x4's?
 

hybridfish

Member
Originally Posted by fedukeford
yup they are fixed and look REALLY NICE!! what fish are you putting in it?
I'm not too sure yet... I have 2 chromis, 1 true precula clown, and 1 engineer goby in my current tank right now. I don't plan to put the 2 chromis into the new tank but rather send them back to the LFS for credit on a new fish or just give them away.
Originally Posted by WangoTango
nice stand! did you do the fancy trim yourself? it looks fantastic

The trim was bought at Home Depot. I think going w/ this trim gave the stand more of a custom look since I havn't seen it on anyone elses stand.
Originally Posted by chosen1608

nice stand! that looks great...how much did all the wood cost to build the stand/canopy? I'm thinking of building a new one for my 55 and wanted an idea of price. Also, are those 4x4s you used in the corners or just 2 2x4's?
I used 2x4s because it was cheaper than buying a bunch of 4x4s. It was also easier to cut since I live in an apartment and I don't have much access to big power tools like a jig saw or table saw. So far I think I've spent about $125 on all the wood, screws, stain, and other building supplies like wood glue and filler.
Originally Posted by Rappa

Is that plywood that you used? or is it pine glued together? Looks great!
It's 1/2" Hard birch plywood. It's a little bit on the expensive side but I planned all my cuts in order to minimize waste. I only used one 4'x8' piece of plywood for the whole project costing me about $45. The lid for the canopy is 3/4" hard birch plywood. I had that laying around from a previous furniture project I did. I went w/ this thickness on the lid because the scews that came with the light reflector and hinges were long and I didn't want them poking out of the other side if I stayed w/ 1/2" ply. A comment of solid wood... I hear it's easier for solid wood to warp which is the reason I didn't go that route.
 

rappa

Member
Where can you buy the Hard Birch Plywood? Looks like nice stuff. Again, you did an awesome job on that stand. One of the best DIY I have seen.
 

hybridfish

Member
Here's a couple of pictures of a preliminary stacking of 60lbs of hirocks hawaiian base rock that I received. I have another 60lbs in it's box still that has to be cleaned. Of course this isn't the final layout since I also have 30lbs of live rock in my current setup that I will mix with the base rock. I just wanted to get an idea of how everything is going to be put in. I'm going to break some of the rock into smaller pieces for the refugium/sump. I'll probably have 70lbs of base rock left over when the job is complete out of the 150lbs I have in hand. Anyone interested?


hybridfish

Member
Originally Posted by Rappa
Where can you buy the Hard Birch Plywood? Looks like nice stuff. Again, you did an awesome job on that stand. One of the best DIY I have seen.
I found it at Home Depot. Thanks for the comments
 

hybridfish

Member
Originally Posted by chosen1608
how'd you attach the front cutout?
This picture shows a piece of 2"x2" that I secured w/ some clamps while the glue set. I screwed it to place after the glue set. After that piece was secure, I placed a bead of glue on the back of the front cutout and held it in place by closing the lid. This ensured me that the front cutout would stay flush w/ the rest of the canopy. As soon as the glue set, I added some more glue then screwed it into place. I hid the screws w/ a piece of trim.
 

hybridfish

Member
Hello all,
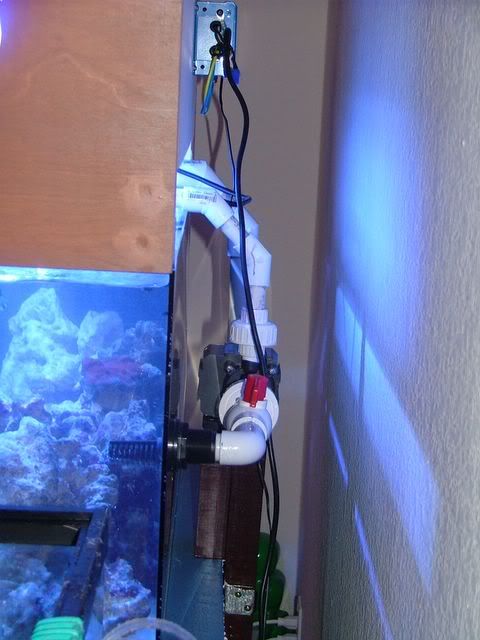
I decided a while back that I should stop typing and get to work... Unfortunately I forgot to take pictures during the work in progress. The good thing is that I finally finished my setup. Here are some pictures:


Top