8'x2' stand and canopy re-finish

snakeblitz33

Well-Known Member
Hello guys and gals,
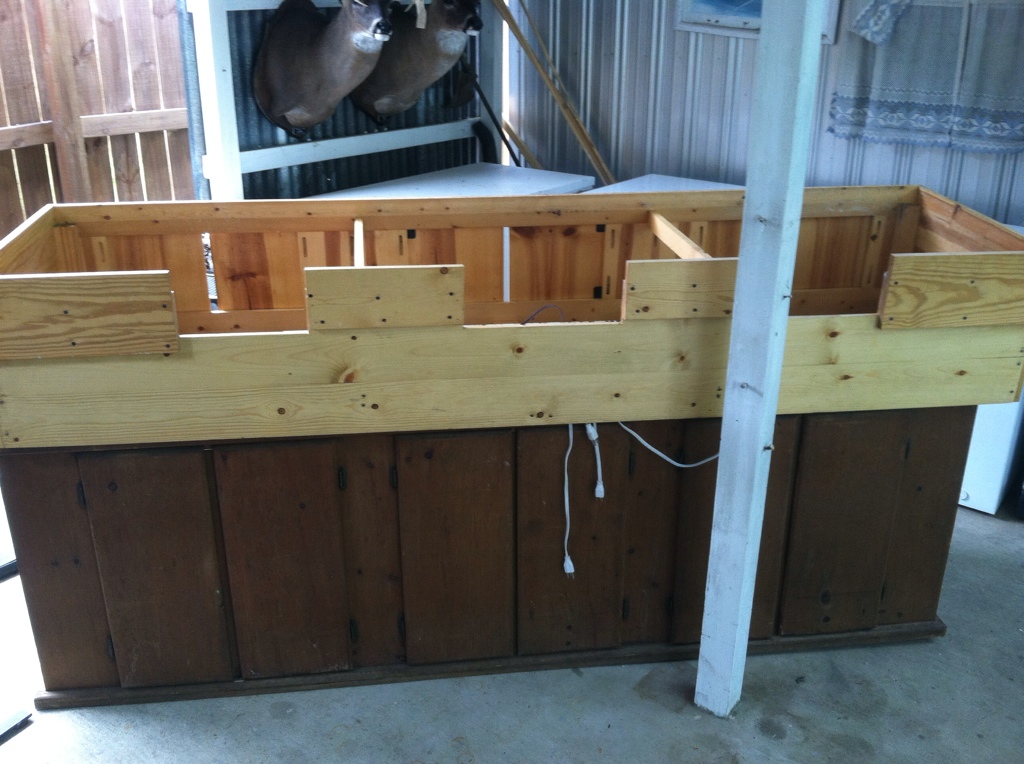
So, I got a text from a gentleman a few weeks ago about building a stand and canopy for him. Two weeks ago, he purchased a 240g tank, stand and canopy and got it for a really good price. So, instead of building a new stand and canopy, I am refinishing a stand and canopy.
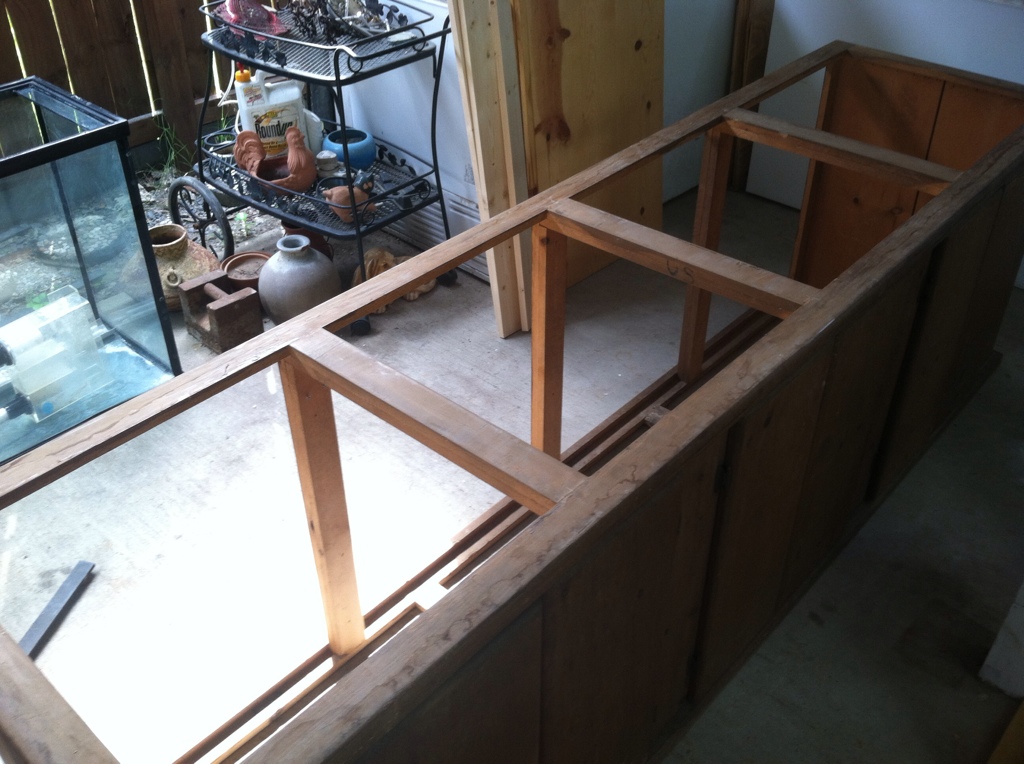
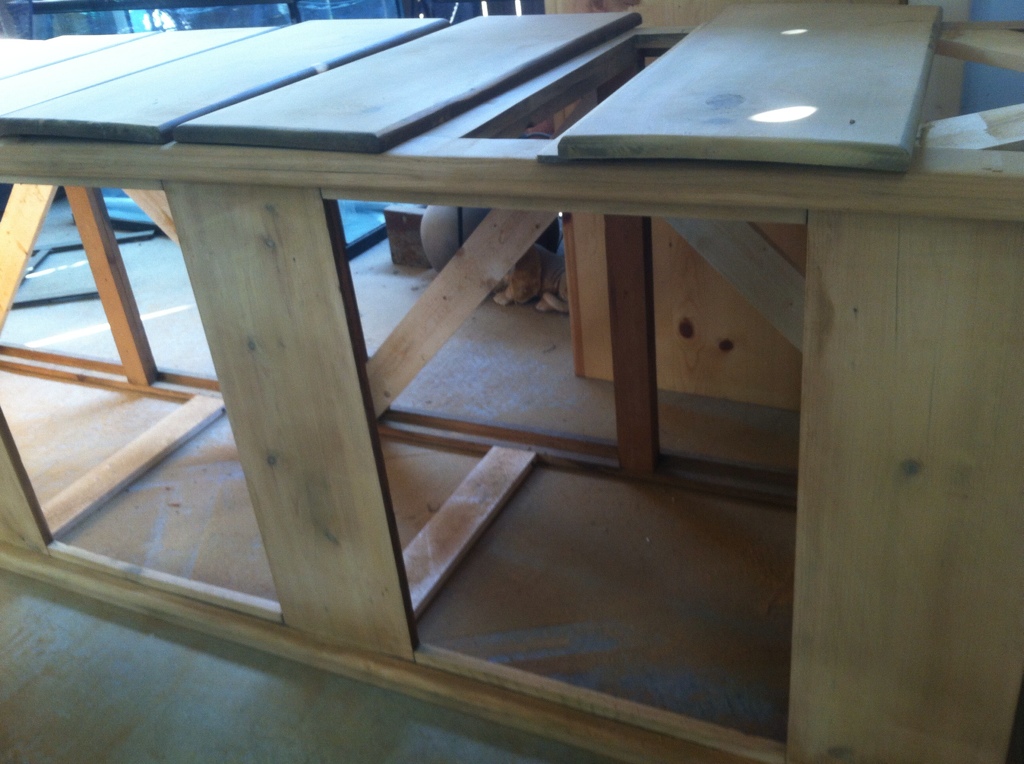
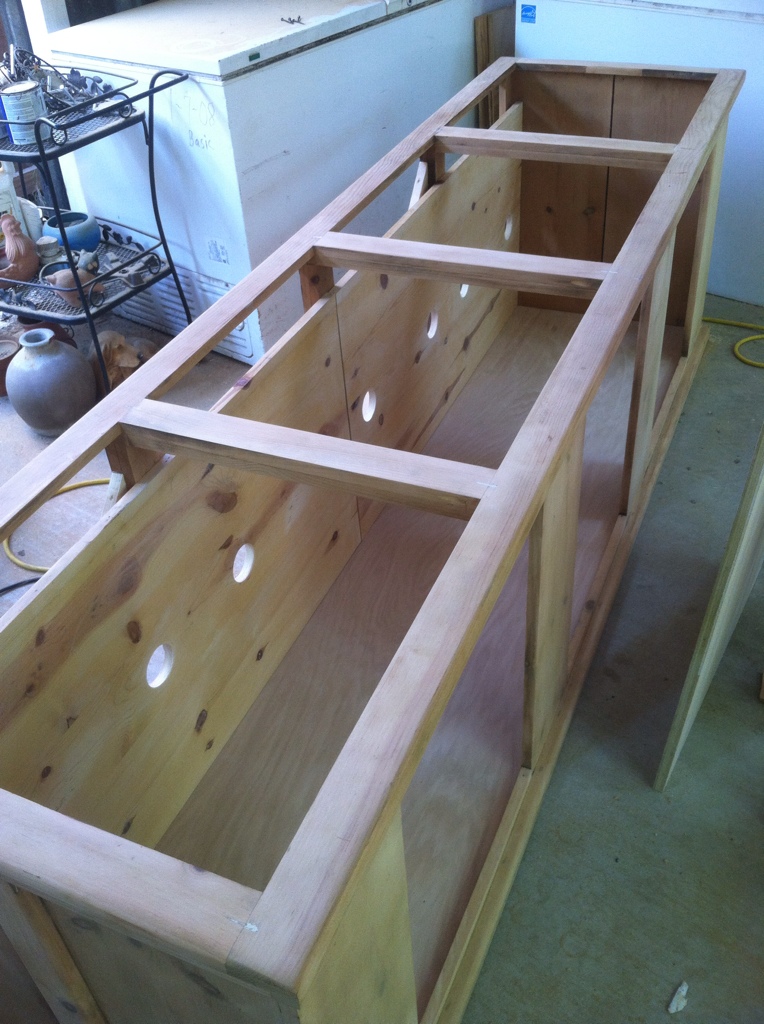
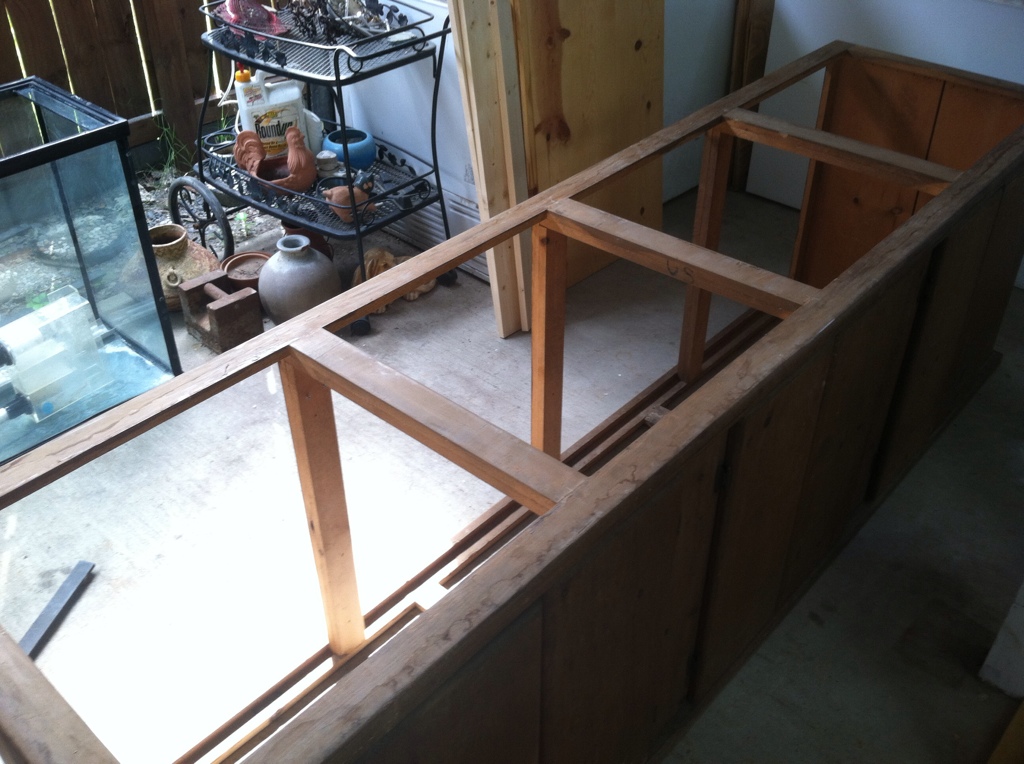
There is a lot of damage to the stand. There is some water damage in spots, but no rot. There is also a broken board at the bottom. Also, when I was moving the stand around, I noticed that it was extremely.... flexible. So, it has to be completely braced up. I also noticed a lot of dings and scratches in the wood - some made before the previous stain, some made while in use.
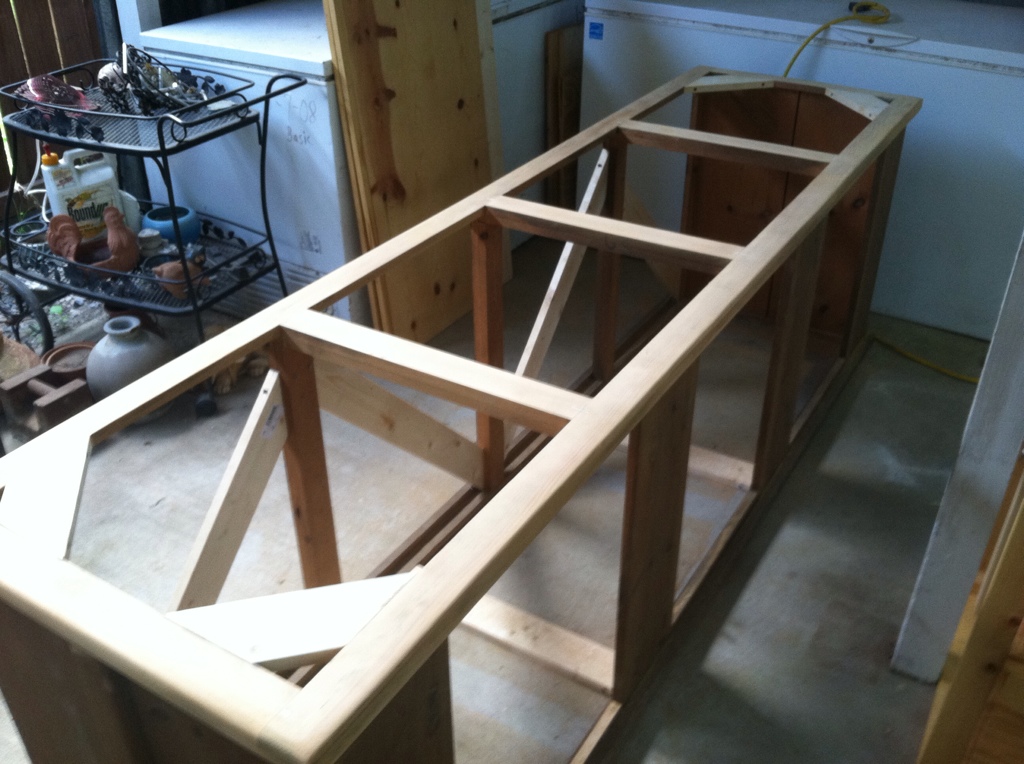
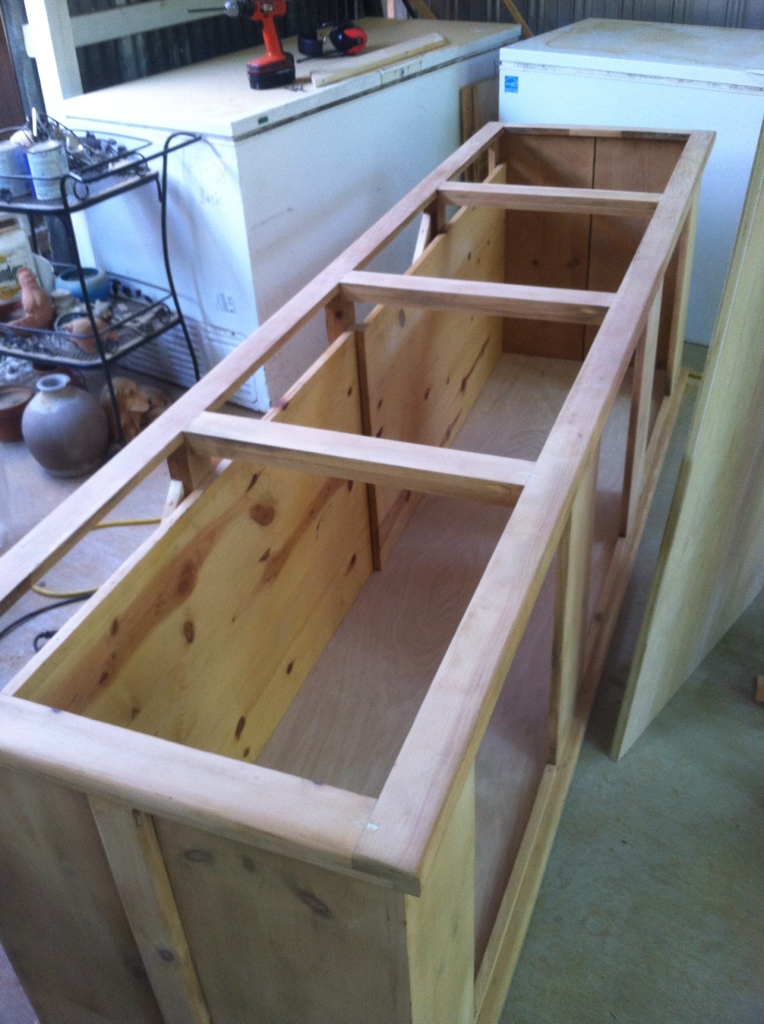
This afternoon, I put cross braces all along the back of the stand. I also placed a couple of boards in the bottom of the stand to help sturdy it up even more. At the top, I put braces in each corner. I feel like it is absolutely important to have a well braced, well made stand, especially with such a large tank. I'm happy with what I did to it.
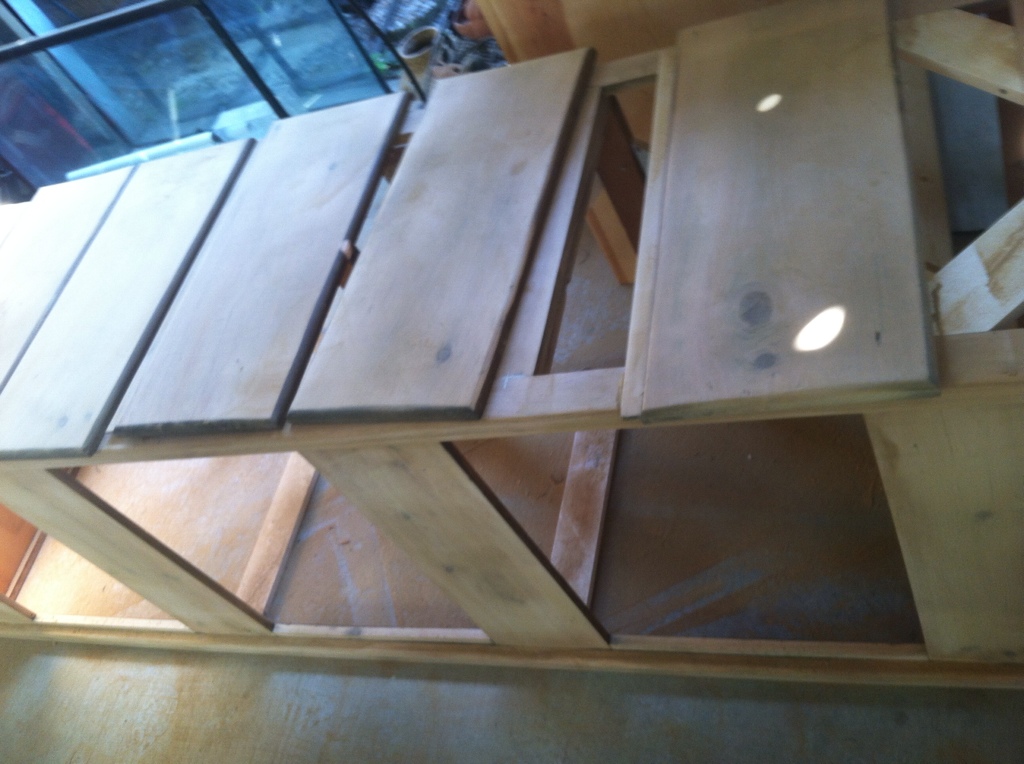
I also was able to save some of the old wood that I took off of the stand and cut it to fit the broken piece at the bottom. I then removed the doors and the hinges and all the other little pieces.
I also sanded the top of the stand with some 100 grit sandpaper. It's going to take a lot of sanding, but shouldn't be too bad. Once it's all completely sanded and there isn't any stain left and all of the dents and scratches is gone - it will be time for staining and polyurethaning.
The canopy is UNFINISHED! But the problem is that it might be a different type of wood then the stand is built out of. I'm not sure how bad that is going to affect the color of the stain. I'm going to have to play with it a bit.
On the canopy, there are a lot of dents and dings. I also am testing out the lighting system that is already on it. Another problem is that there are MAJOR gaps in the canopy doors... and one of the doors is warped from moisture. So, I'm going to have to do something about that.
The canopy is going to be painted gloss white - to prevent mold and mildew damaging the wood over time.
Anyways - that's the deal right now.
Pictures to follow...
 

snakeblitz33

Well-Known Member
Yeah, I gotta keep sanding. Probably another 8 hours of sanding to be honest. Once it's all sanded, it's cake.
I am going to start working on Flowers canopy build. I got to make a diagram of it for her approval tonight. yay. :D
 

snakeblitz33

Well-Known Member
I worked on the stand some yesterday. I went through all of the 100grit sandpaper that I bought. I still have to do a little bit more standing on the outside of it with 100grit sandpaper and then the customer also wants the INSIDE of the stand sanded down and stained as well. Basically, done right. I'm all for it through, I'm getting paid by the hour. So far I have seven hours of work put into it. I'm going to be working some on Flowers canopy tomorrow as well as doing more sanding.
Tomorrow is definitely going to be a very busy day.
 

snakeblitz33

Well-Known Member
So, I have to retrofit the stand now for an acrylic tank. I am going to do an oak plywood inlay into each of the three holes in the top of the stand. They will be pocket holed into place and then braced some more underneath by two boards going across the tank, then sanded down to match. It won't make much of a difference how good the inlay looks because it will be covered with styrofoam and the tank - but I want it to look good anyways.
The other half of the plywood is going to be cut and fit into the bottom of the stand to make a solid surface. I don't think that my customer will expect such a nice oak finish on the bottom. The customer also wants the inside of the stand stained and polyurethaned. So, twice the work.
Also, my client no longer wants the top canopy because it's a DIY piece and will look tacky sitting on top of the tank. So, to remedy the canopy situation, I am going to take and bend some electrical conduit to make a lighting rack over the top of the tank and secure the conduit in place to the stand. The lights that I am setting him up with is two units, 4 foot each, six bulb T5s that already come with freshwater plant grow lights for $200 each. How awesome is that? Also, the light fixtures will be modified to accommodate a 34" strip of LED moon lights in the center of each fixture. I think it will look pretty awesome. :D
Even though this is a freshwater tank, I really want to share with you all what it looks like when it's completely set up.
 

snakeblitz33

Well-Known Member
I've been working on the stand a lot this week. I'm glad I have carpentry skills.

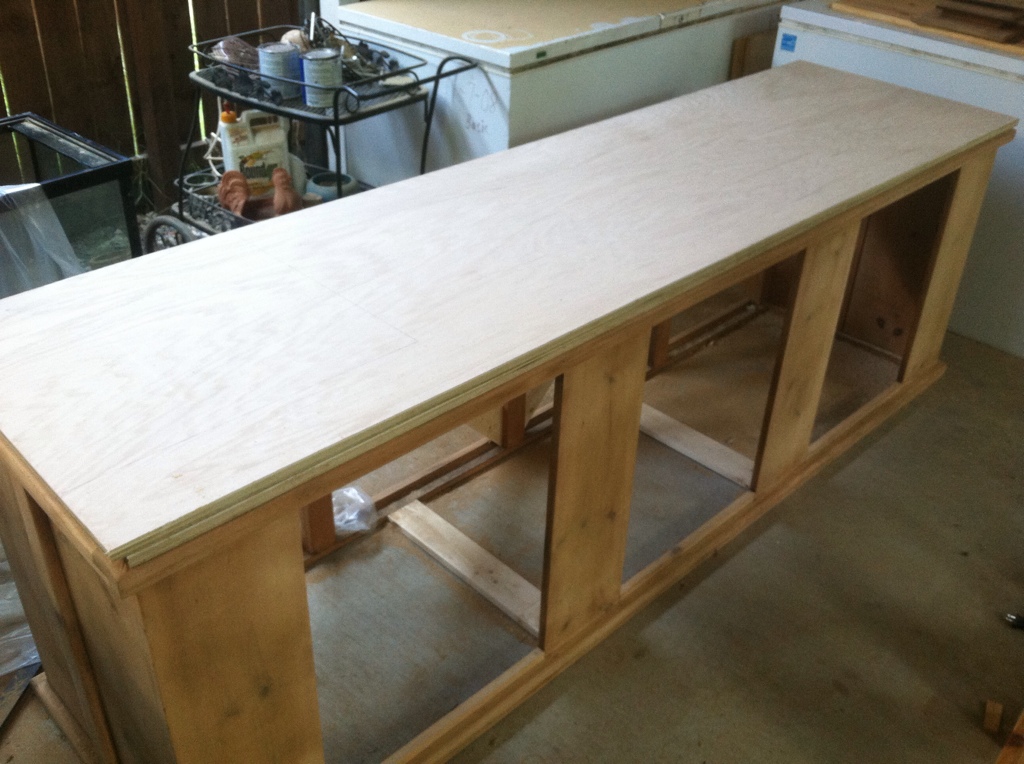
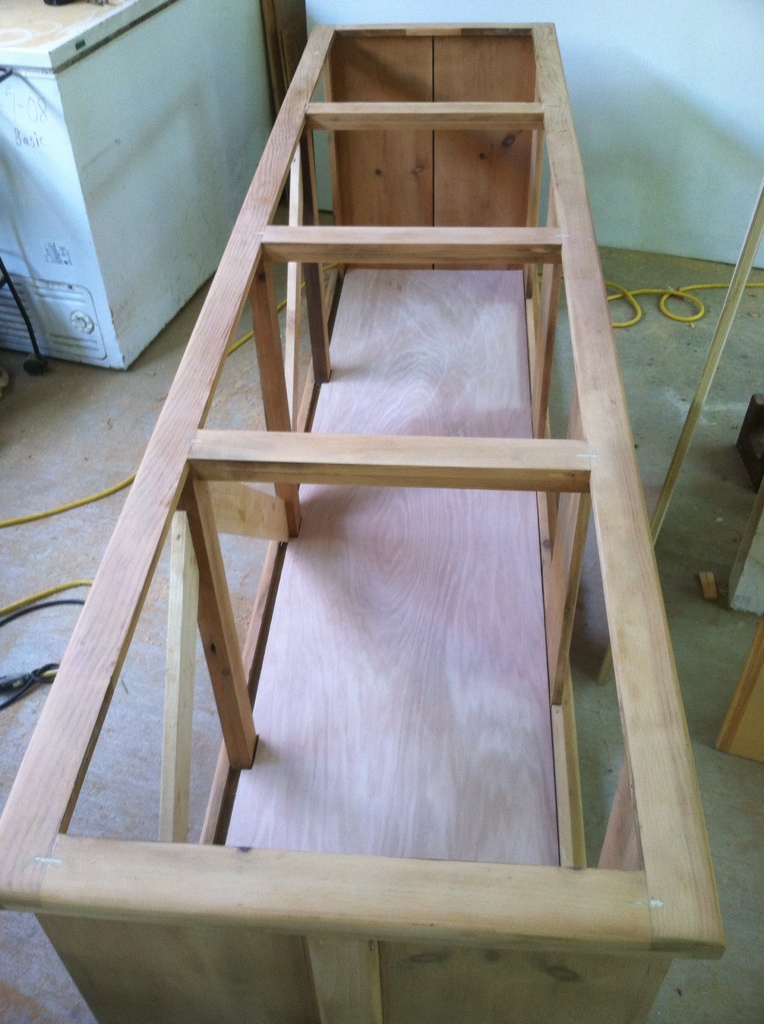
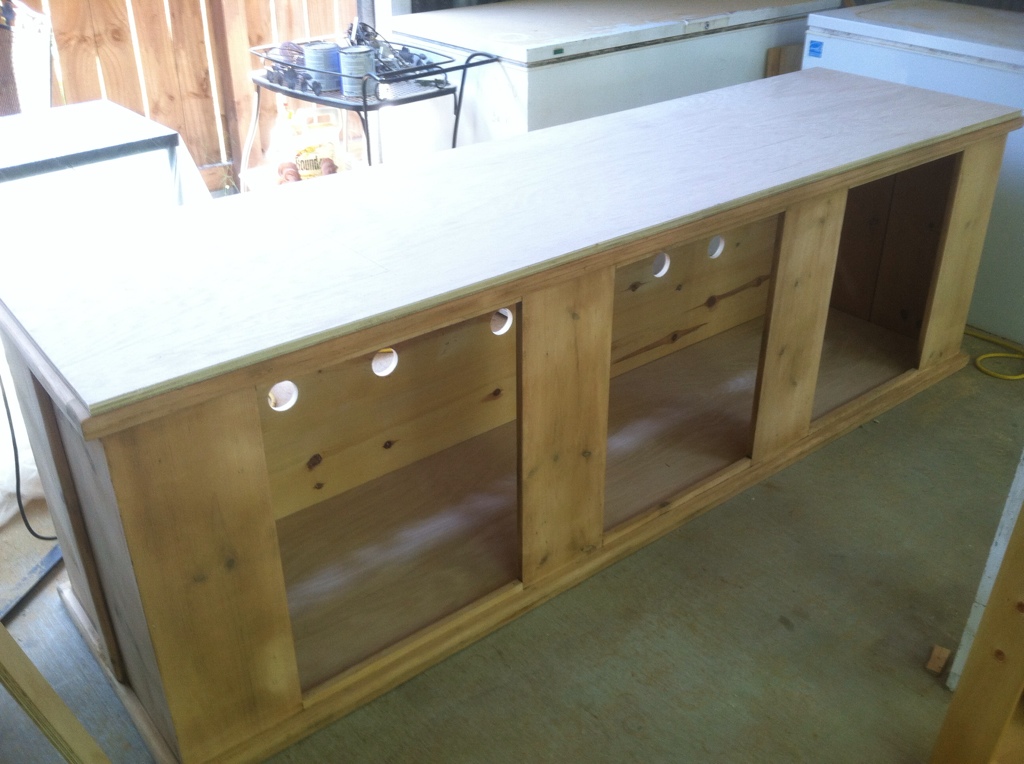
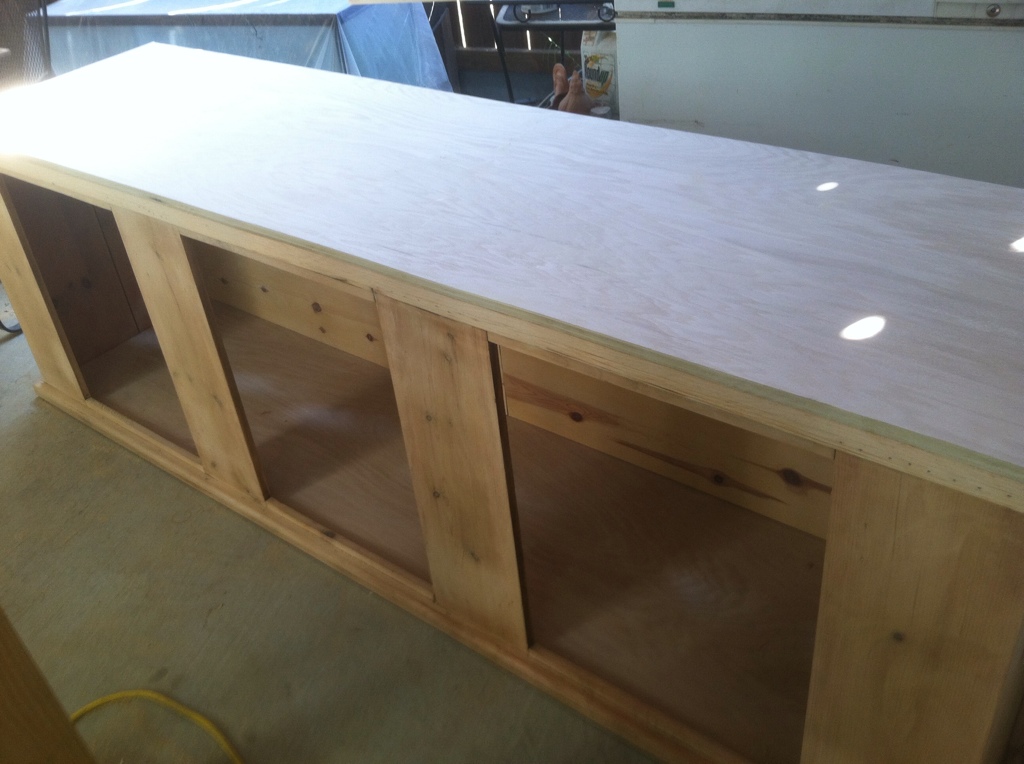
I cut a piece of oak plywood in two pieces. One measuring 26" wide and one measuring 22" wide. The larger one was glued and screwed onto the top of the stand. The 22" one was cut to fit into the bottom of the stand. It was also glued and screwed from underneath.

Never put your top on before your bottom. The gaps in the back of the stand won't matter because of the next step.
 

snakeblitz33

Well-Known Member
I had a couple pieces of white pine leftover from a different project and decided to cut them to fit inside the back of the stand. This is a photo of me taking measurements.

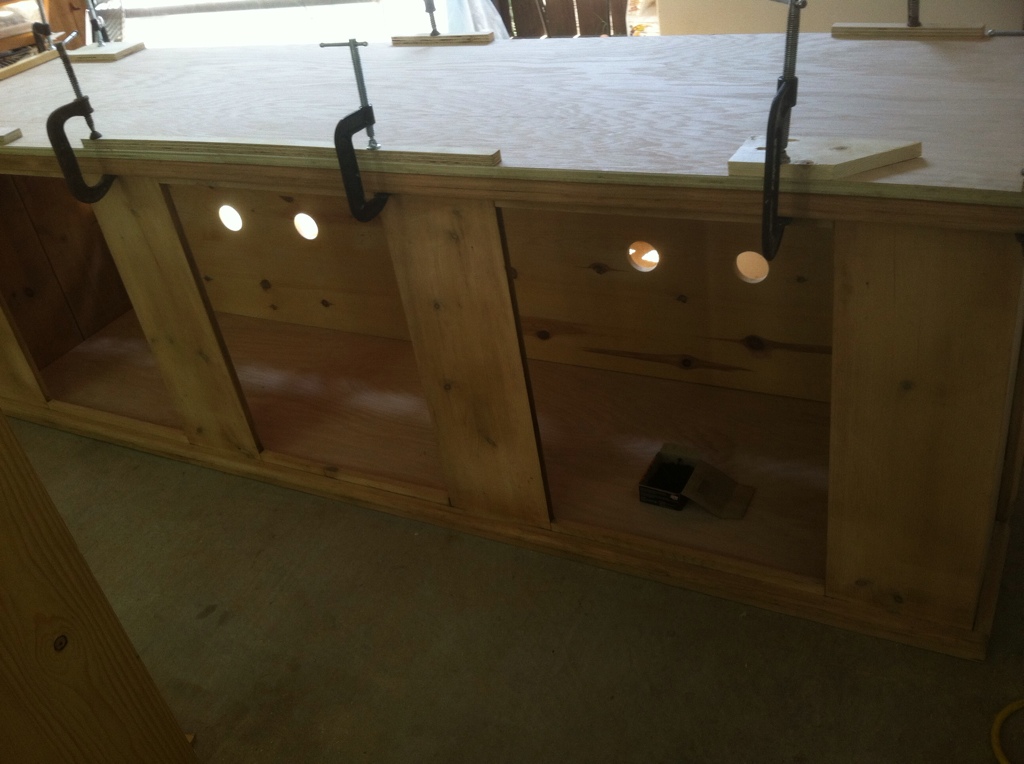
Once measured, I cut it to fit. I also put eight large 3" diameter holes in the wood for electrical outlets, plumbing and anything else needed.
 

snakeblitz33

Well-Known Member
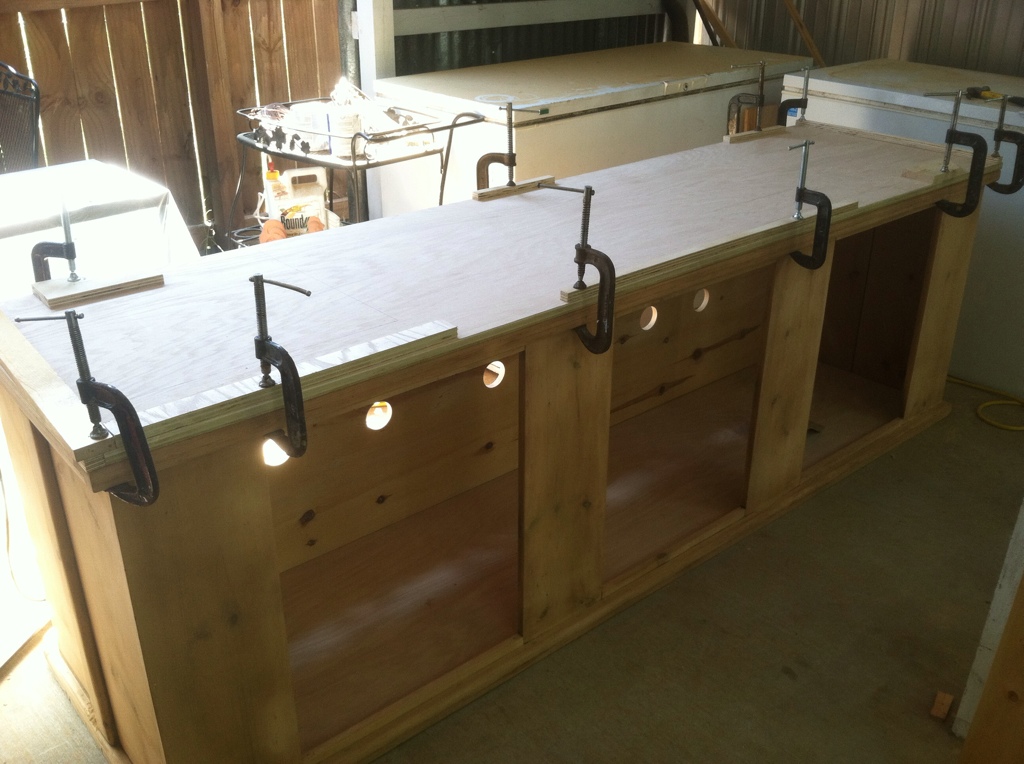
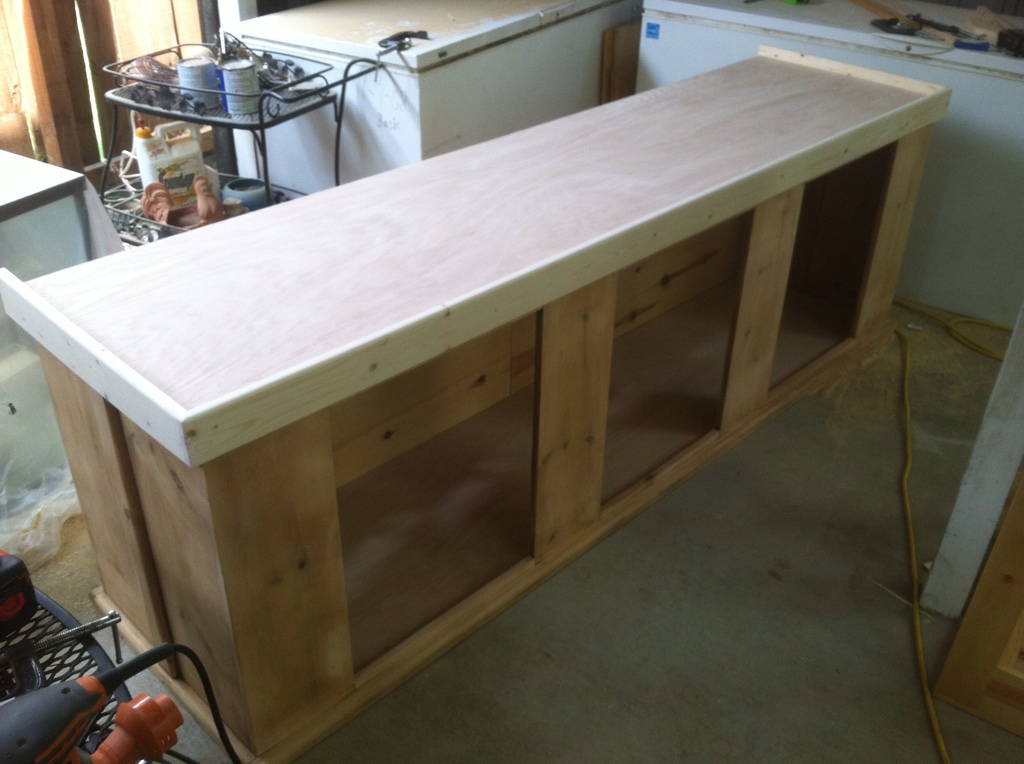
Pic of the dilemma that I had when I glued the top on and screwed it down. Do you notice anything wrong? Anything? Yeah, the tank is 96" but the stand is 98.5" long!!! The plywood is only 96" long... so I had some wood hanging off of each side. So, what I did was - I took some leftover birch plywood that I had and cut it to fit the sides. Then, I measured and re-measured and made a fence to cut it down. So, now the top of the stand has an extra 1/4" on each side, which should be plenty of room to slide the tank into place from the back. I also cut off the front ledge of the stand and I am going to put some routed trim work all around the top to hide the styrofoam, bottom of the acrylic tank and some of the gravel substrate.


When you use wood glue - you have to clamp it down hard.Also, you shouldn't put clamps on the finished wood because of the imprints that it makes. Therefore you will see all of that extra wood on the top. That's just there to keep the imprints down. Tightbond wood glue dries in 30 minutes. At least I was able to get a small break today. :D
It's starting to look like a nice solid strong stand, isn't it?
 

snakeblitz33

Well-Known Member
This is the last pic for today. I am going to take pictures of the trim work tomorrow - then I have to do one more light sanding and blow it off again with the air compressor and then.... STAIN! stain in this kind of heat will dry in 4 hours with good ventilation. I don't expect to get the entire stand stained up tomorrow, but if I can, that would be awesome. I know polyurethane has a quick trying time - so I am dedicating my Thursday towards applying three coats of polyurethane. :D Friday's Payday! woohoo! Another job well done.
 

snakeblitz33

Well-Known Member
Just doing a side by side photo comparison.

Wow... So, anyone think that what I have done to the stand is worth $400 so far?... well, after stain and polyurethane?
 
S

smallreef

Guest
I think it looks DAMN good! depending on how may hours you have put in YES, I think after the final coat of stain and poly would be worth it....
 

snakeblitz33

Well-Known Member
http://i267.photobucket.com/albums/ii295/SnakeBlitz33/83BF7ED9-333D-4672-AAD2-663E56394761-34707-000035058E58F602.jpg
http://i267.photobucket.com/albums/ii295/SnakeBlitz33/75F37815-CD57-499E-9DA2-F90C67828BAF-34707-00003505A5435CF2.jpg
If the image doesnt show, ill have to redo it when i am not on my phone.
 

snakeblitz33

Well-Known Member


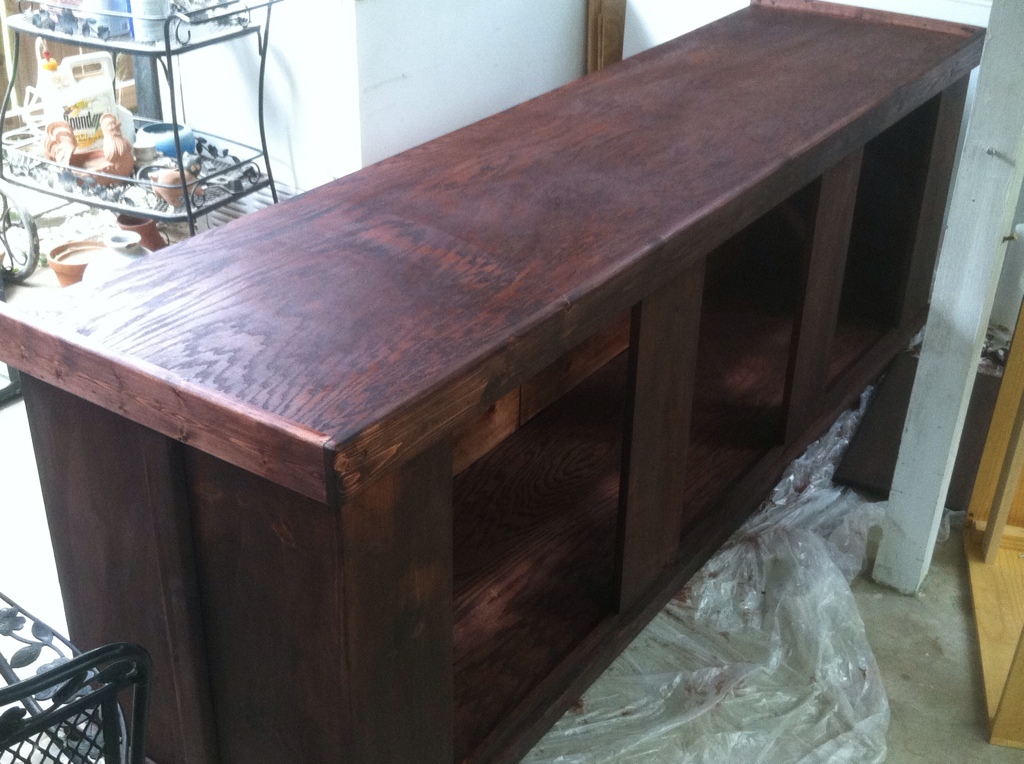
Its going to get another coat of stain in the morning. It will take four hours to dry completely in this weather, with a small fan. There are a couple of parts that need a good soaker with stain to get it dark enough to match the rest of the stand.
Keep in mind that this stand is re-finish job. I can only do with what I got. And what I got was junk.
 

snakeblitz33

Well-Known Member
I guess I could have made the stain a bit more even by bleaching the wood before staining. But, hindsight is 20/20. I know better for next time.
Now, what I didn't know is that if you use an oil based stain (like I did) you should never use a water based polyurethane. Oil based stain - oil based polyurethane. Water and oil don't mix. RIGHT? Simple - learned that in grade school - but I didn't think about it until I read up on using poly. So, I have to take back the poly I bought and exchange it for an oil based polyurethane. I will be using two quarts of polyurethane on this stand. I will be applying the first coat of it in the morning after I exchange it and get back from the store. While the first coat is getting dry(er) I'll be staining up the doors. The stain should take about 4 hours to completely dry. Especially if I leave it in a well ventilated warm area. This stand will get one nice thick coat of polyurethane, and then I'll lightly rub it down with some #0000 steel wool and then hand rub some paste wax into it. That should give it a nice shine and my customer should be very happy by friday. :D
 
Top