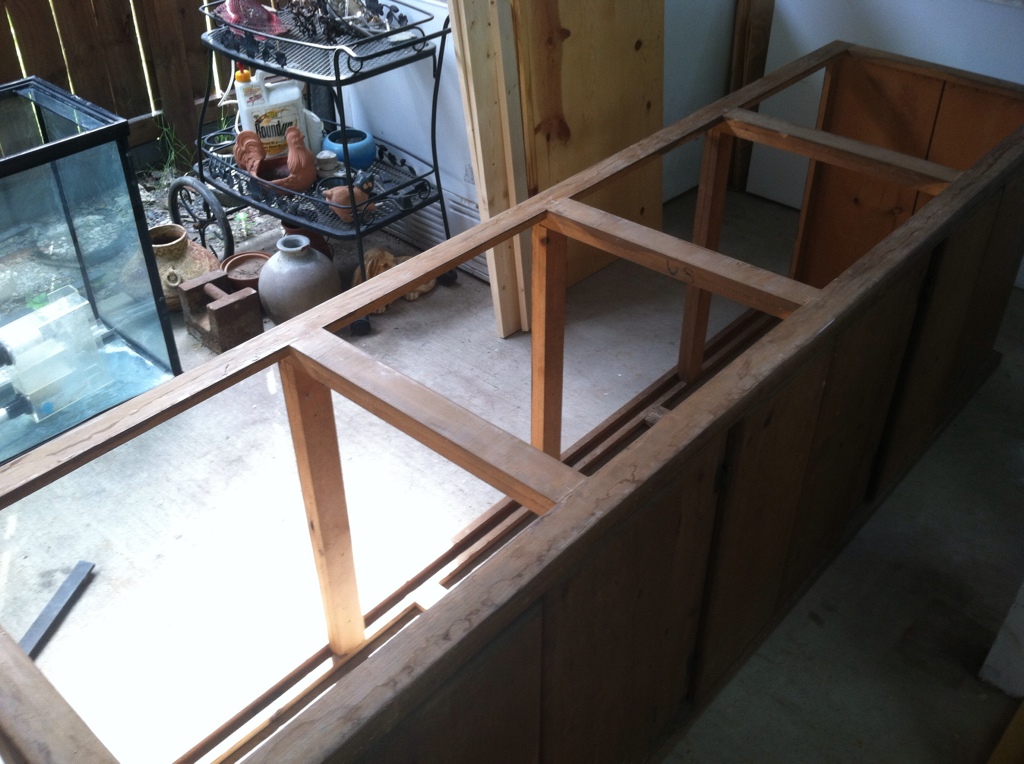
8'x2' stand and canopy re-finish

snakeblitz33

Well-Known Member
So i looked everything over again and i see some tool marks in the wood on one of the doors and one of the side panels. Ill have to wait until the stain is completely dry (24-48 hours) before i can sand it down again. This time i am going to finish it off with a 220grit sandpaper before i stain anything.
Anyone have any recommendations on a stain lifter? I saw some by minwax this morning. Probably worth checking out.
 

snakeblitz33

Well-Known Member
So i have worked on the stand all day today. Lol. Ah, the benefits of being jobless.
Progress! I put one coat of polyurethane on the stand. Its still a little tacky but should dry soon. Im going to steel wool it down and blow it off with the air compresser. Then ill put one more coat on it today. I have to sand down the doors and the top trim and restain them tomorrow.
 

snakeblitz33

Well-Known Member
Alright - pictures! I'm excited to show you this set of pictures. lol.
Tomorrow I am going to be sanding down the doors and going up to a 220 grit. I am going to get the doors slightly lighter than the columns of the stand because it's kind of a decorative touch. I don't think the doors should completely blend in with the stand, do you?

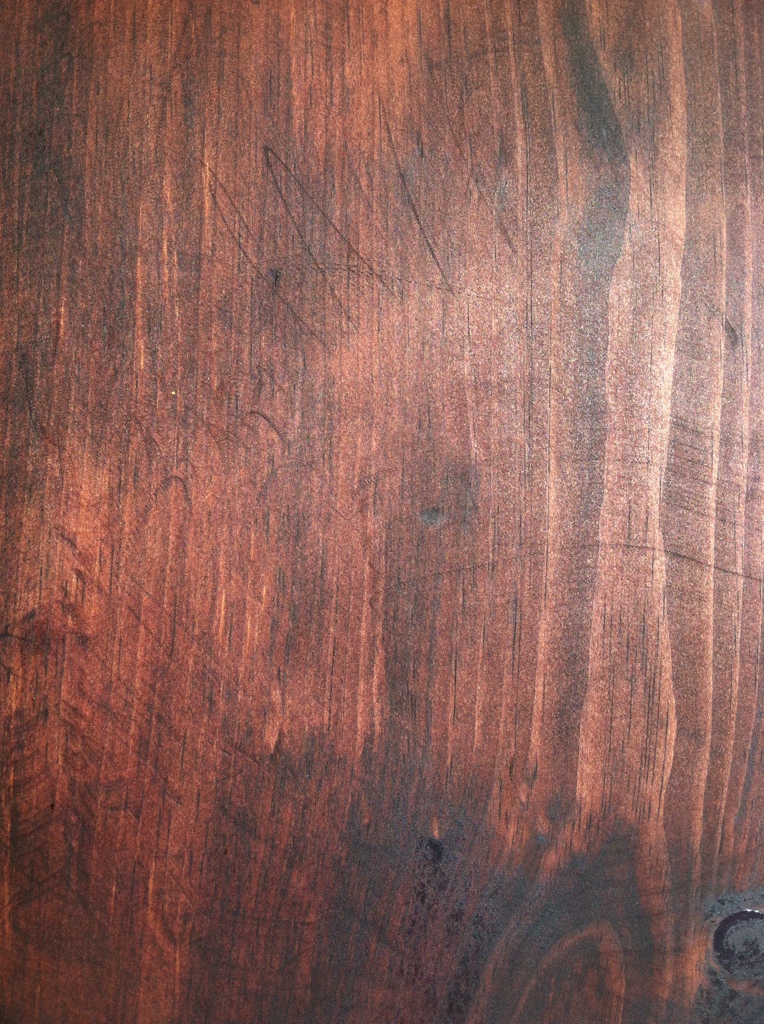
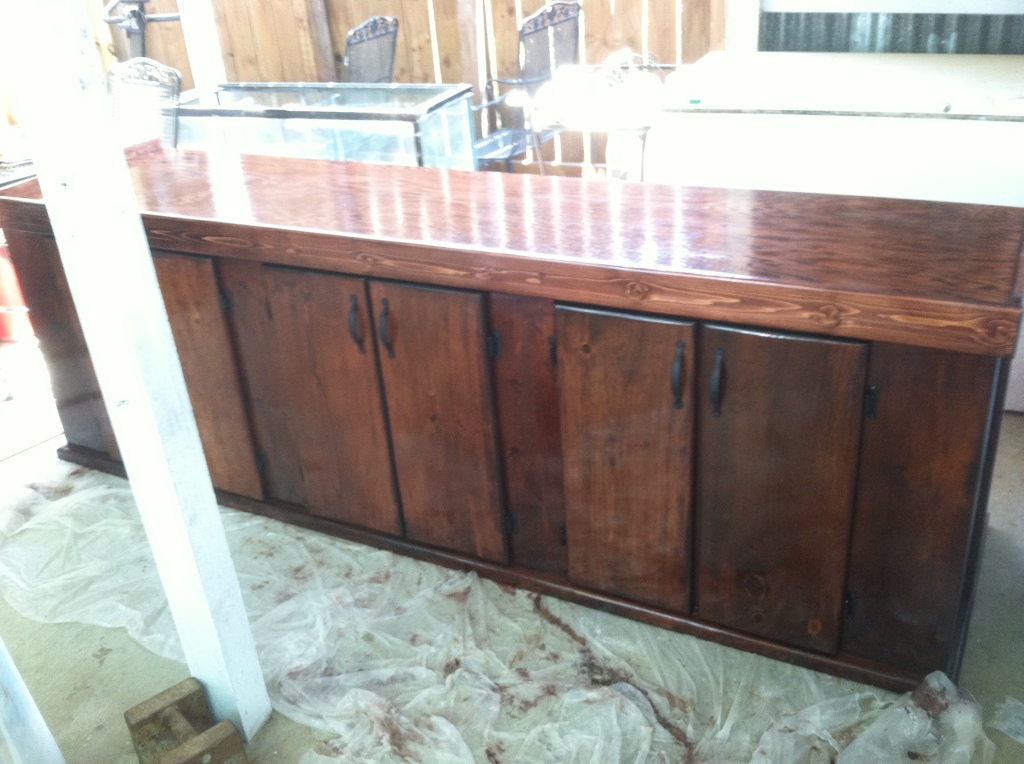
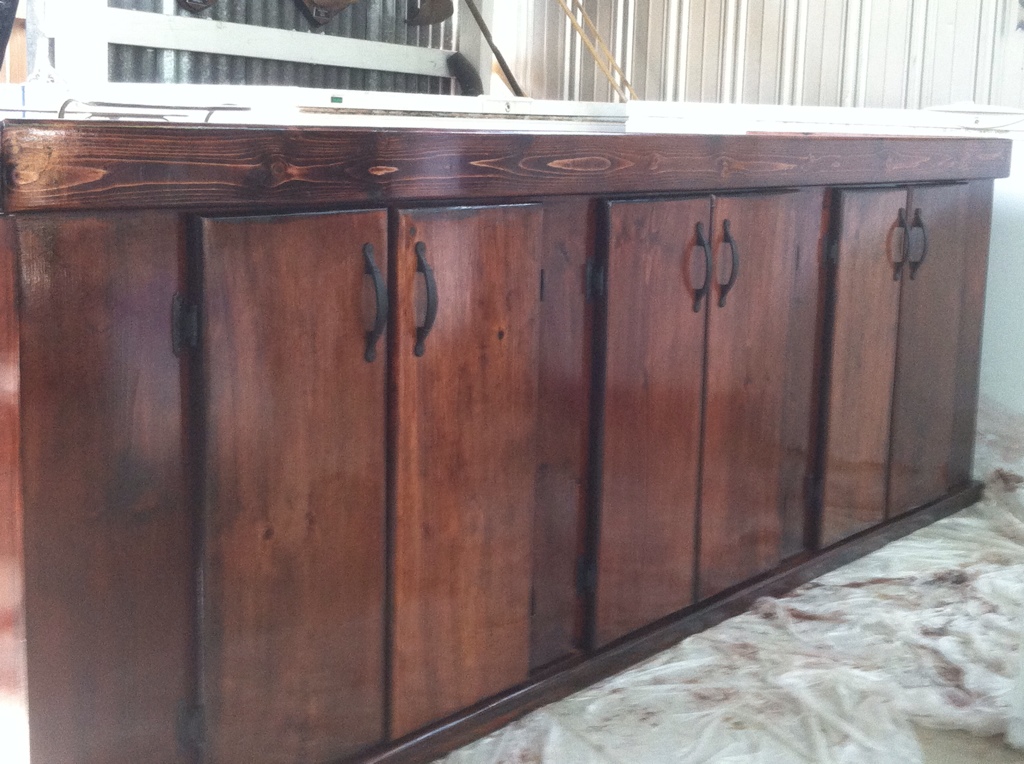
This is what I call a big mistake... This is one of the doors. All six are almost like this. This is the worst one, but still... They will all have to be sanded down again and re-stained.

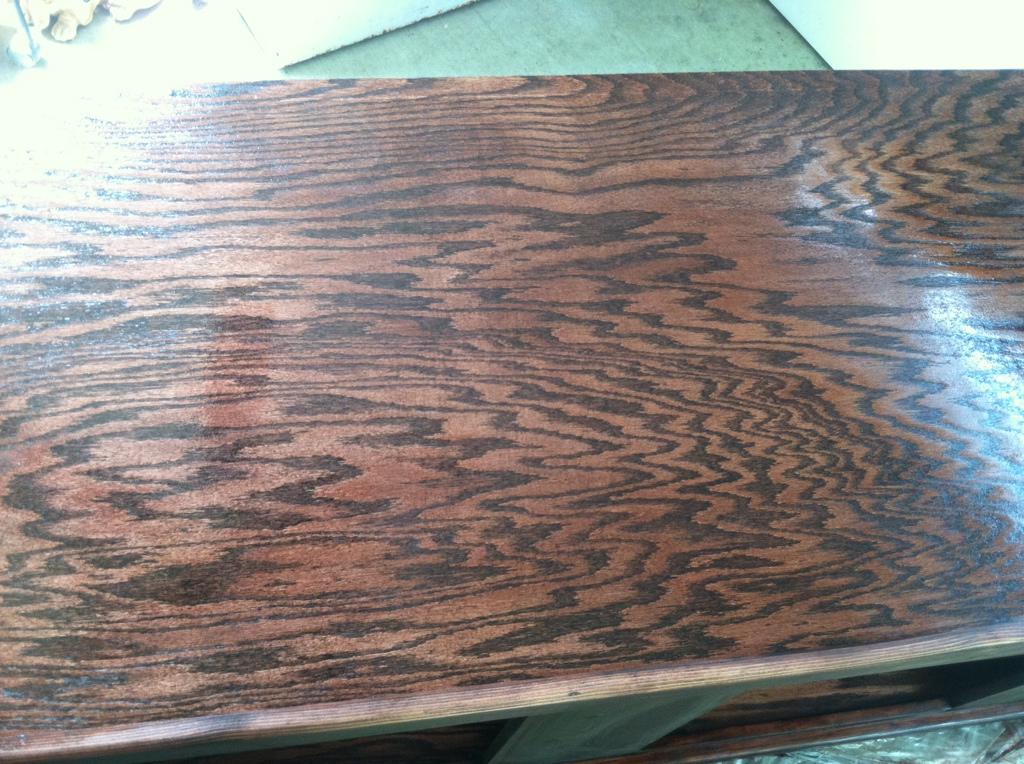
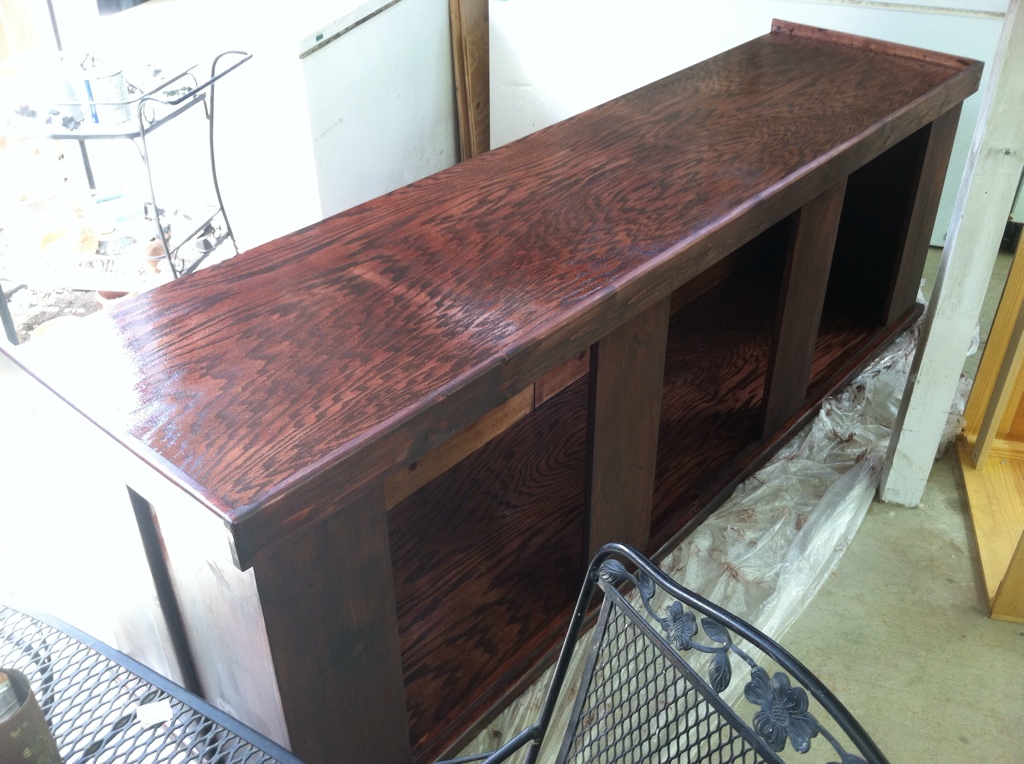
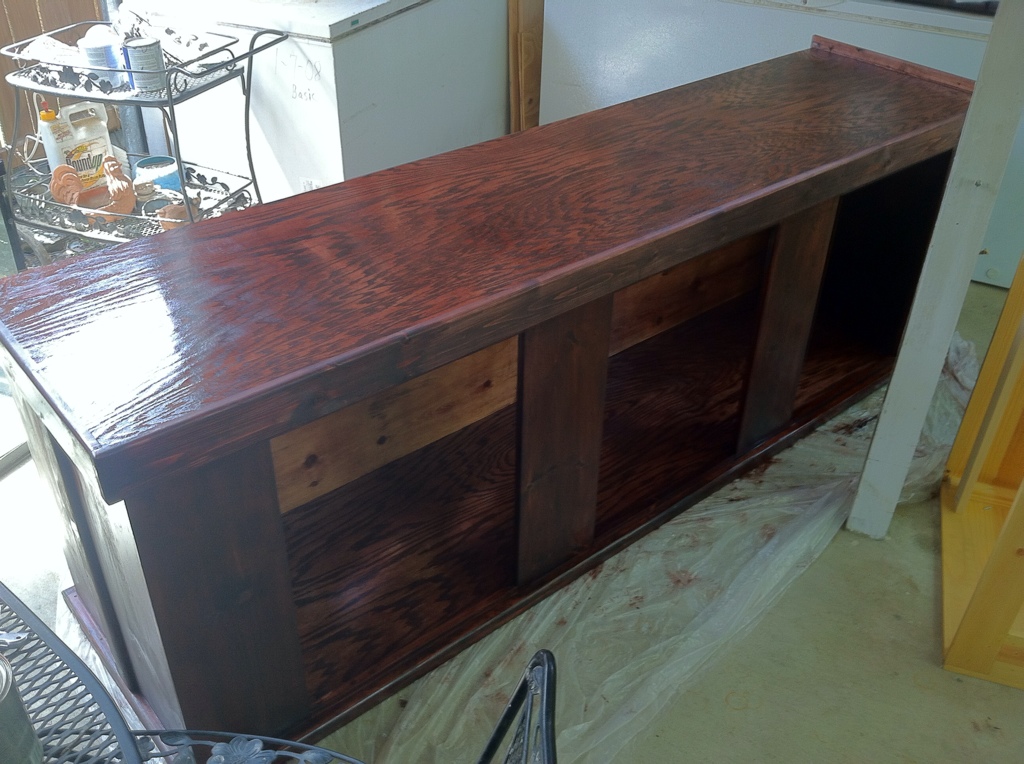
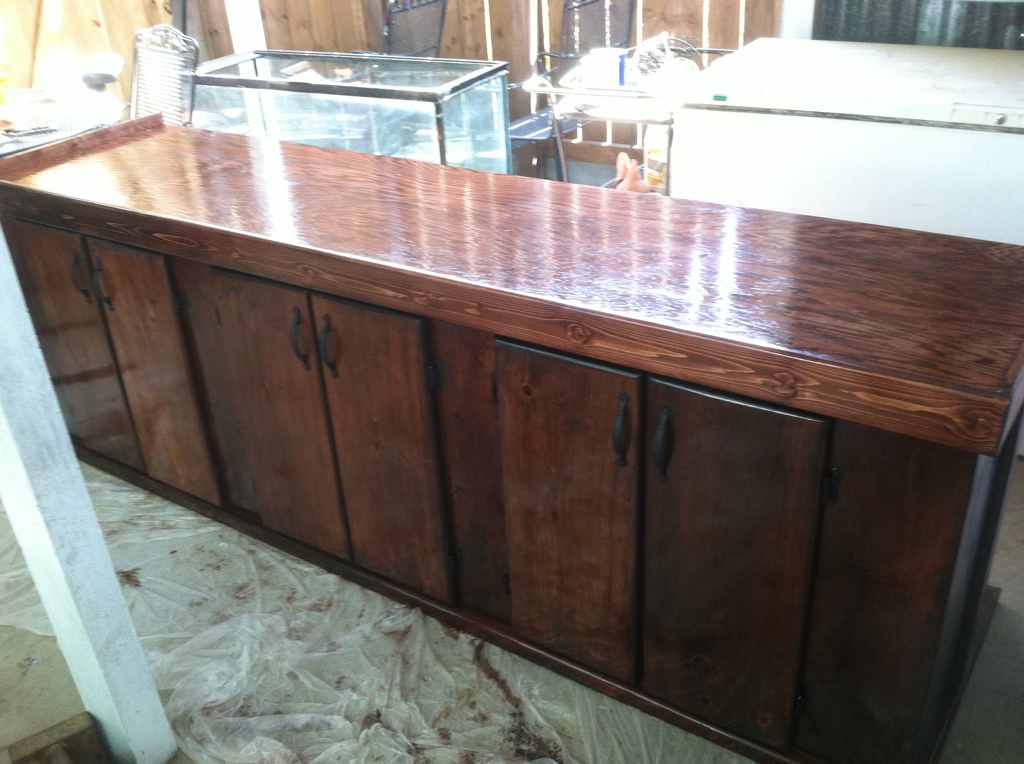
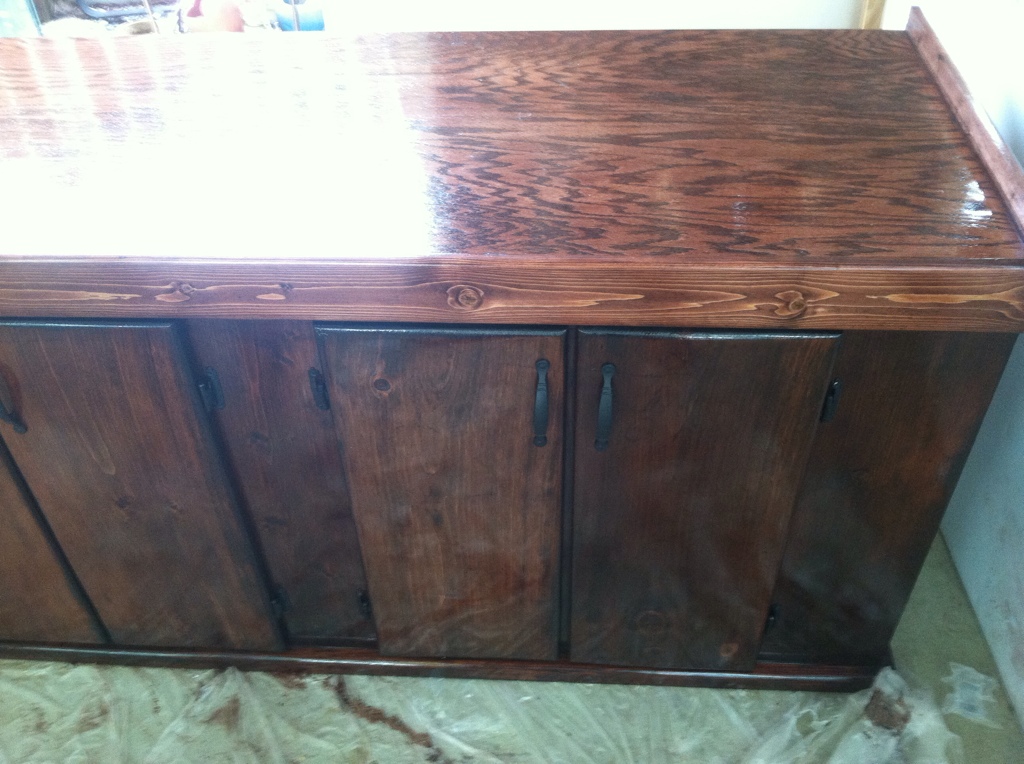
This is the top of the stand after the first coat of oil based polyurethane.
 

snakeblitz33

Well-Known Member

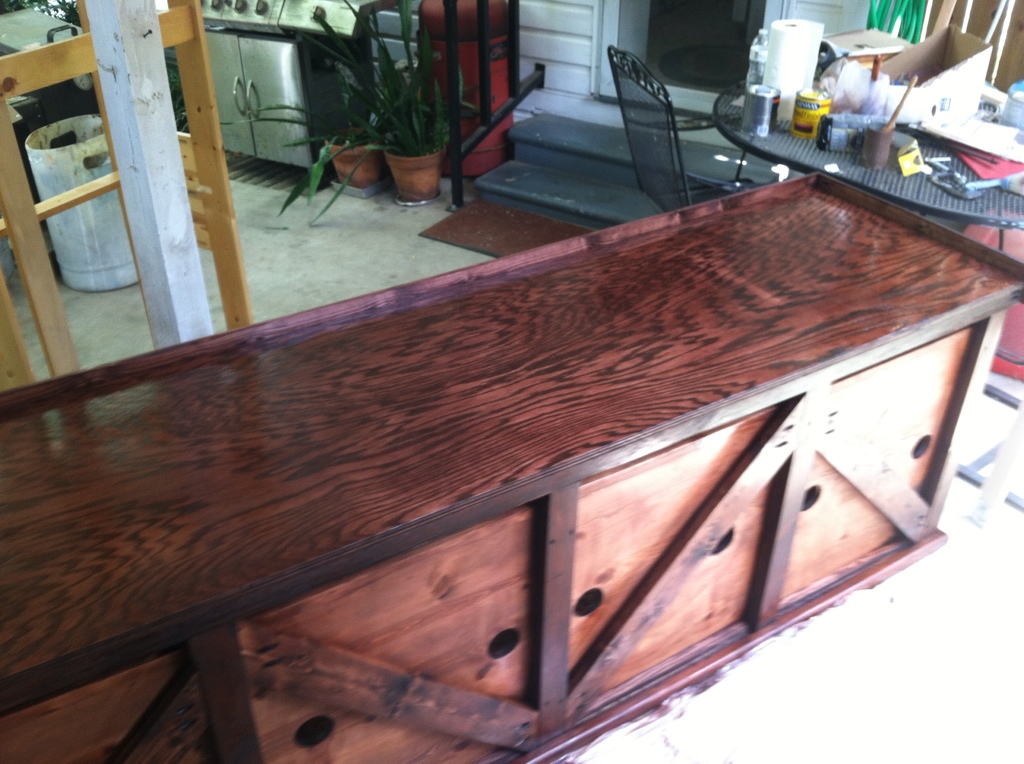
This is the back of the stand as it is now. There is a gap between the back plywood and the top of the stand that is just enough to fit plumbing and extras through. If anyone wanted to drill the tank and add a couple of overflows, it would be easy to add them. Just drill a hole in the top of the stand! lol The customer also wanted the back of the stand stained and polyurethaned. I put one coat of poly on the back, and underneath the top. Three coats on the top, doors, the three outside columns and sides.
 

snakeblitz33

Well-Known Member
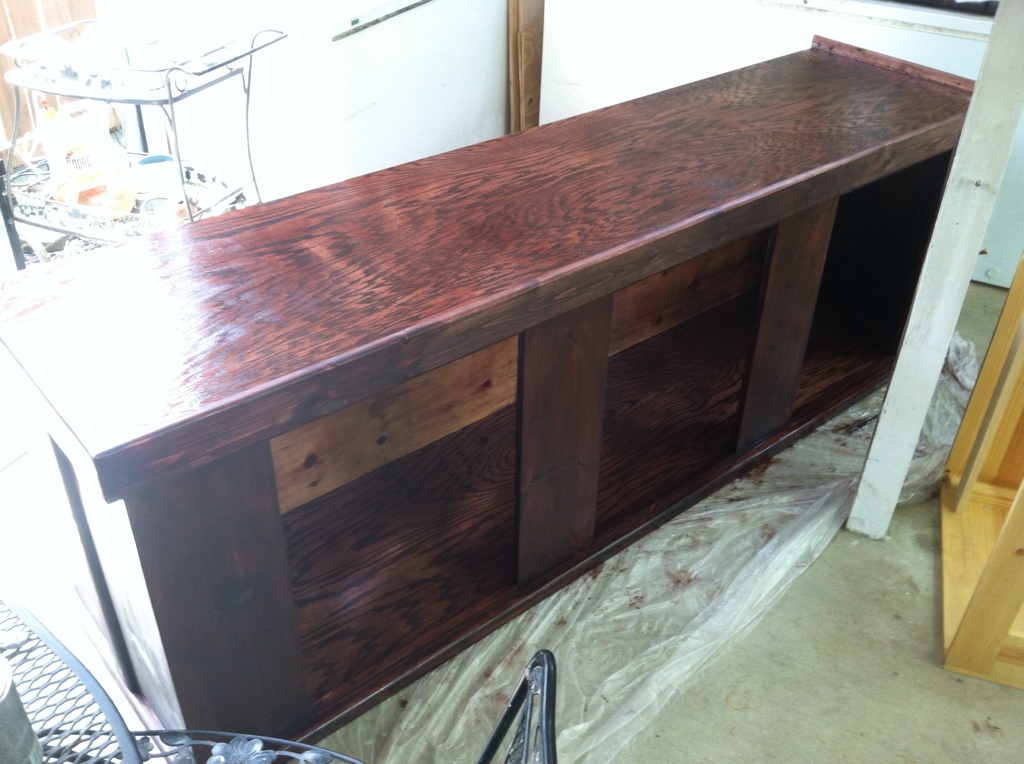
I think this is the first coat of poly. The top trim work hasn't gotten any polyurethane at all because I need to sand it down and re-stain it. When the planer cut the wood to make the trim - it left indents in the board that I wasn't able to fully stand out and didn't notice it until I stained it, of course. LOL

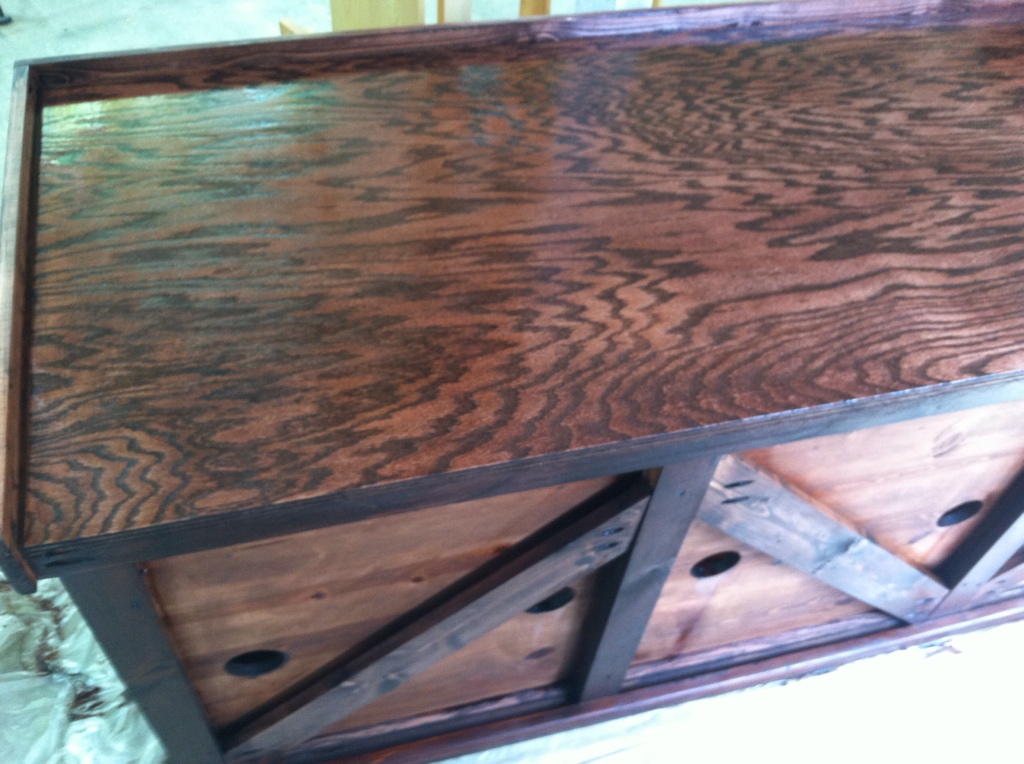
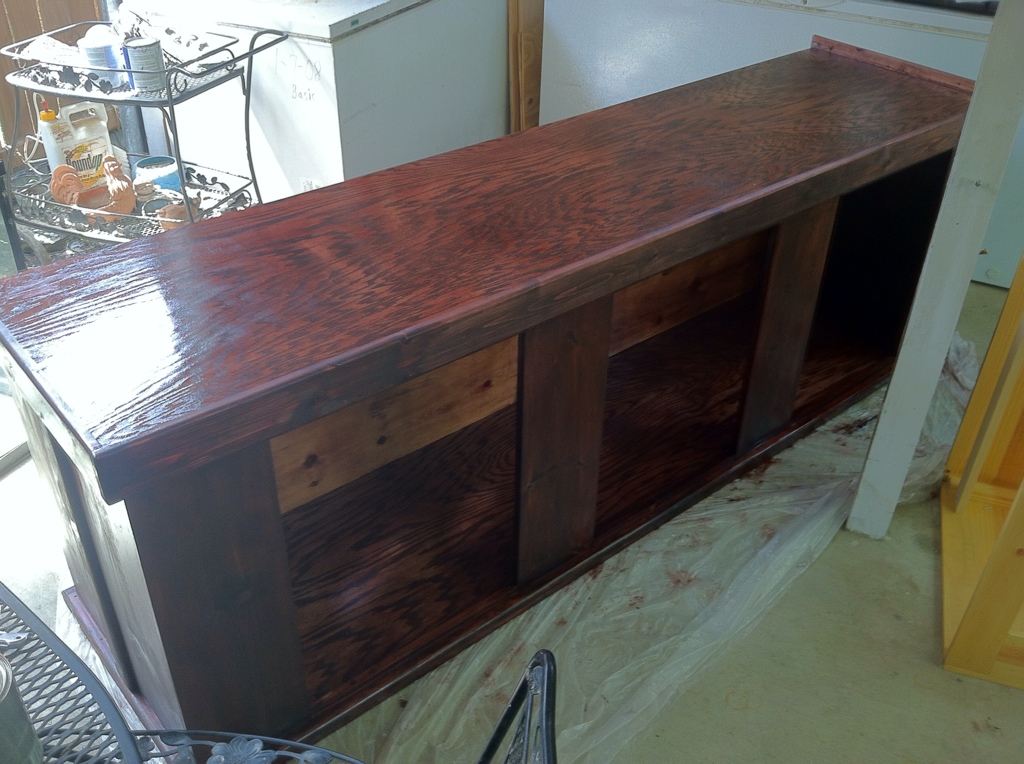
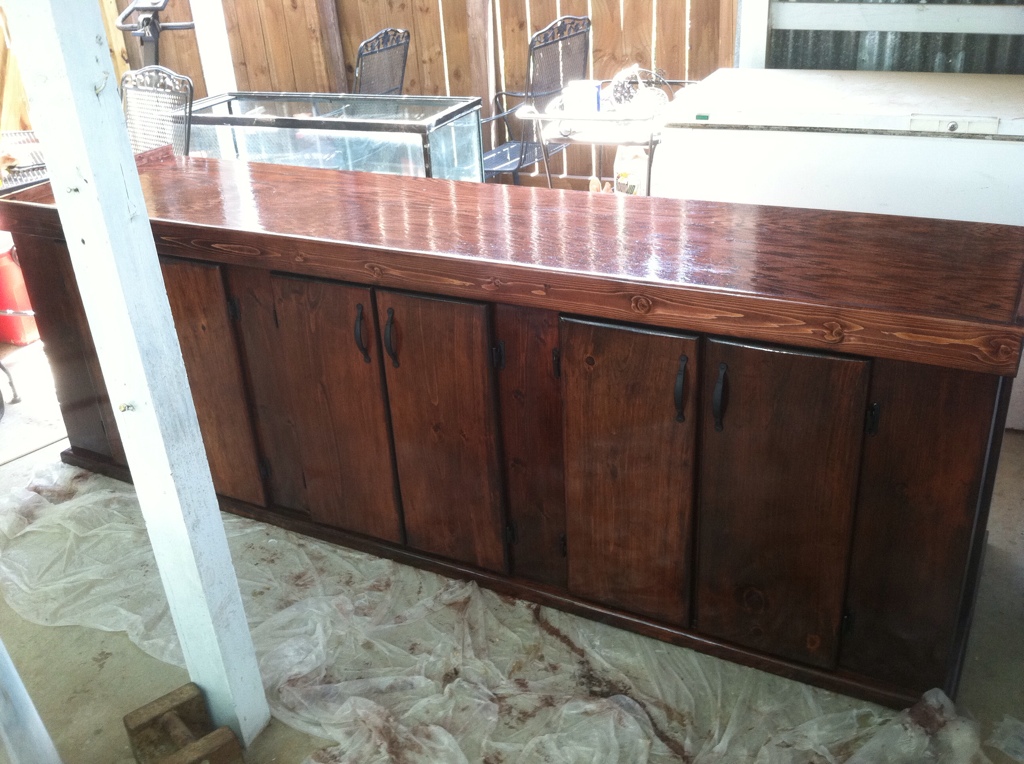
Second coat of polyurethane...

Not much of a difference, but you get the idea.
 

snakeblitz33

Well-Known Member

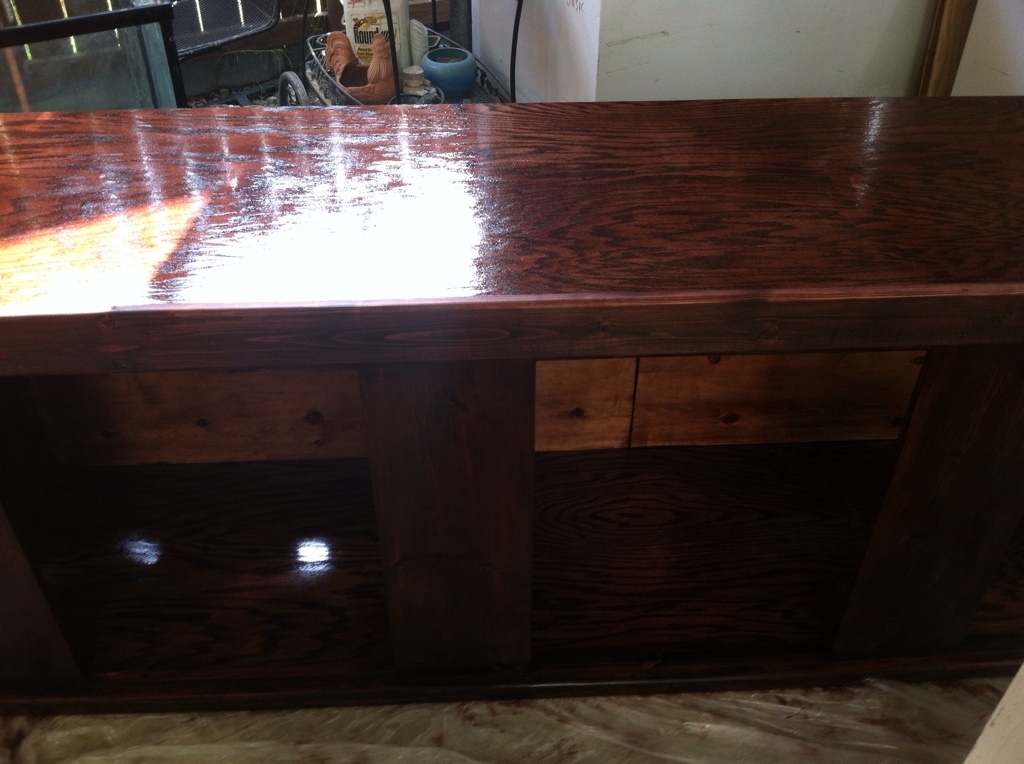
Between coats of polyurethane, I used #0000 steel wool to lightly sand down the rough spots. It made a difference, I think.

Can't really tell in this picture much difference. I think it's starting to come together and look really good.
Does anyone think the man will be surprised when he sees the final product?
 

novahobbies

Well-Known Member
Seth, that looks absolutely outstanding!! Fantastic work.
Yeah, it's amazing what #0000 steel wool will actually do, isn't it? I didn't believe it until I used it myself. Your client is going to be seriously impressed.
 
S

smallreef

Guest
Its looking great... yeah those doors... I went through ALOT just trying to get the pass scrapes from the tablesaw off of mine...
 

snakeblitz33

Well-Known Member
Updates.
I did most of this work today. I have put five coats of polyurethane on the top and bottom, five on all the sides. I put two to three coats of poly on the front and backs of the doors. I put the hinges on and drilled holes for the handles. The handles were a little tricky.
The problem is that I can see all kinds of flaws here and there on the stand... things that I would do differently next time or just a scratch here or a drip of poly there... Things that will probably go completely unnoticed to someone who is looking at the big picture. Anyways, I think I did pretty good with my first time working with polyurethane. I don't know if I want to do it again. I think I will be more happy with doing a "sand and seal" with a gloss finish and spraying it on with a paint sprayer. (I have a high quality automobile paint sprayer made in Germany,... Woot woot!) ... and I didn't even get to use it for this build. :(
ANYWAYS, I hope my customer likes it. I'm crossing my fingers that he won't catch the flaws and imperfections and complain.
Pics to follow.
 

snakeblitz33

Well-Known Member

All I can see is imperfections. :( Ugh! I hate being a perfectionist! I hate how that one door... out of all of them.... stained up darker than the rest. And not only that - but so did that one panel to the right of it! UGH!!!!
But, I know that I can't control how the stain turned out. Afterall, it is basically "reclaimed wood."
 

rlablan

Active Member
This turned out really nice. I dk where you are located but when I eventually get my bigger tank, I will be calling on you to make me a custom tank with shelves and junk in it. It seem no matter what tank I have there is never enough room underneath for equipment or for various odds and ends.
I would rather have you do it than buy something cheap that I am not happy with.
I like how this piece looks more like furniture than just some random "tank stand".
It would be better if it had a reef sitting on top of it
, instead of fresh water. lol
Good job Dude!
 
S

smallreef

Guest
Turned out well! I am like you and I HATE how stain can take to some pieces... as anal as I am I still havent finished my own stand because of it,lol
Ive sanded down the door 4 times and restained it between each because of this.... there is a spot that keeps absorbing more so im trying to make it even...UGH
 

snakeblitz33

Well-Known Member
Sometimes you just have to buy a new piece of wood to get "that perfect stain" to match the rest of the stand...
In this case, since it was a refinish job, I kept all of the original woodwork. If I had my choice - it would have been made completely out of Red Oak or White Oak.
 

novahobbies

Well-Known Member
He's gonna love it. I see what you mean about the one door, but honestly it's not too big of a difference. As you say...this is reclaimed wood, and stuff like this will happen.
The shine you put on it is amazing. I stopped at three coats of poly for mine. I hope he sends you pictures of the finished project! Post them up if he does, will ya?
 

novahobbies

Well-Known Member
Another thing to note. Wood has a "personality" to it....every piece is different. I think part of the charm in any piece of well made furniture are those tiny imperfections that signify a hand-made job. My Grandfather was a carpenter his whole life (when he wasn't flying B52s in the Air Force; man I love my Grandpa!!!) and I own a number of pieces of furniture he made. Even as skilled as he was, there were still small imperfections from time to time that he could see and point out. To the rest of us, they weren't scratches or tool marks; they were "pieces of him" left in the lumber. Older furniture has things like this all the time, and to be honest Seth the job you did reminds me of the kind of furniture that's been around for a long time....and will continue to be around for a long time to come. I would be proud to own that.
 
Top