maxalmon
Active Member
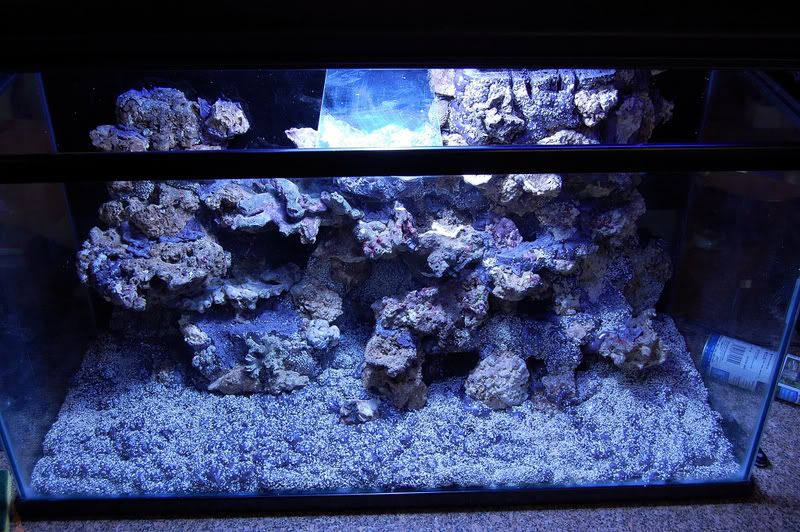
Yeah,....It's Done

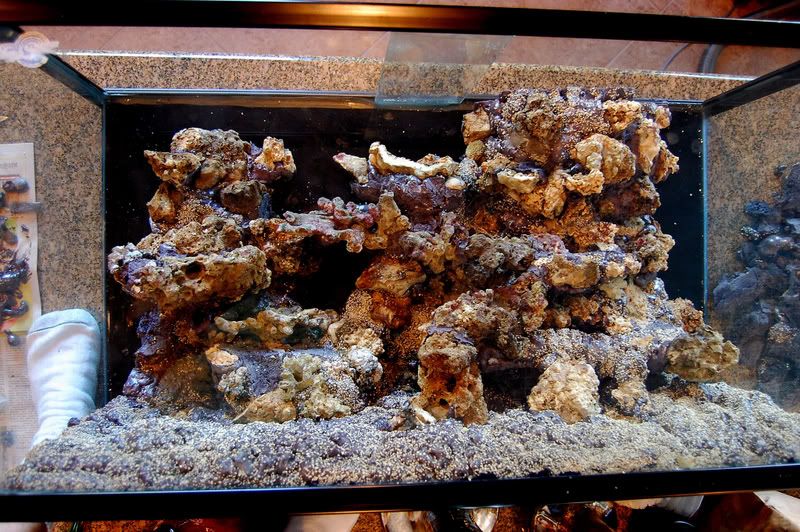
Only had a couple of setbacks, but this stuff is really easy to work with, if you make a mistake, just use a knife and cut the section out and start over, it's that simple

I ended up not using all the large pieces of LR that I had set aside for this project. I wanted a nice, balanced foam-scaping and it was starting to look a little crowded and overdone, so I decided to edit my design and cut back on the # of large pieces to use in the final install.
I have 41 ledges in varous sizes from .75"x1" (pefect for a fragplug) to some that are 4"x6". The tank is 36" wide. I also left some large areas on the bottom for lowerlight loving corals, on the bottom left there is a huge overhang and undeneath was left empty for this reason.
The entire left hand side is elevated up, off the bottom of the aquarium so there are lots of caves etc...You can kinda see this in the photos, sorry this thing just doens't photograph very well.
I may scoop out a small area of foam on the bottom of the tank and add a small sand pit area something like 6"x9" and maybe 1" deep, just incase I want to add a clam or other sand loving critter.
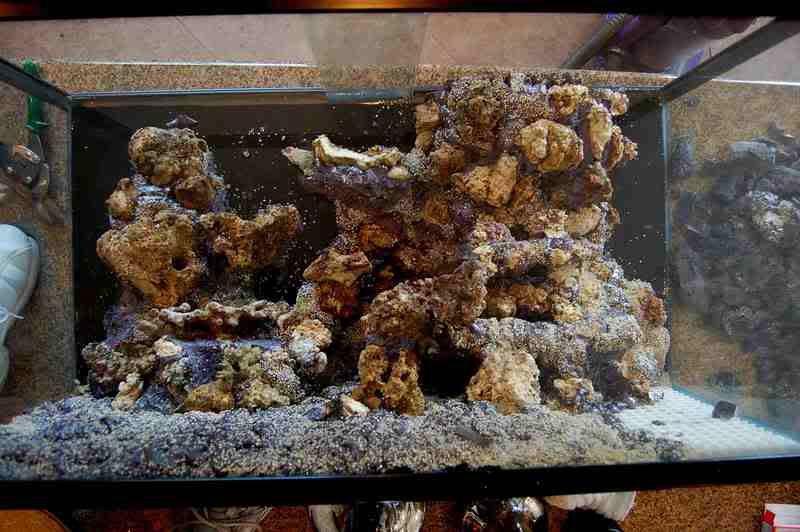
Here is the before pic, you can see the empty area's where I added the large pieces of LR.
Only had a couple of setbacks, but this stuff is really easy to work with, if you make a mistake, just use a knife and cut the section out and start over, it's that simple
I ended up not using all the large pieces of LR that I had set aside for this project. I wanted a nice, balanced foam-scaping and it was starting to look a little crowded and overdone, so I decided to edit my design and cut back on the # of large pieces to use in the final install.
I have 41 ledges in varous sizes from .75"x1" (pefect for a fragplug) to some that are 4"x6". The tank is 36" wide. I also left some large areas on the bottom for lowerlight loving corals, on the bottom left there is a huge overhang and undeneath was left empty for this reason.
The entire left hand side is elevated up, off the bottom of the aquarium so there are lots of caves etc...You can kinda see this in the photos, sorry this thing just doens't photograph very well.
I may scoop out a small area of foam on the bottom of the tank and add a small sand pit area something like 6"x9" and maybe 1" deep, just incase I want to add a clam or other sand loving critter.
Here is the before pic, you can see the empty area's where I added the large pieces of LR.