FoamBack Project 101

maxalmon

Active Member
Originally Posted by Grue
http:///forum/post/2771132
Very nice write up. Can't wait to see it finished. But DUDE your avatar scares the hell outta me......
Grue
I have another thats even more disturbing, I could switch them out for ya...
 

maxalmon

Active Member
Getting ready to start applying the actual foam
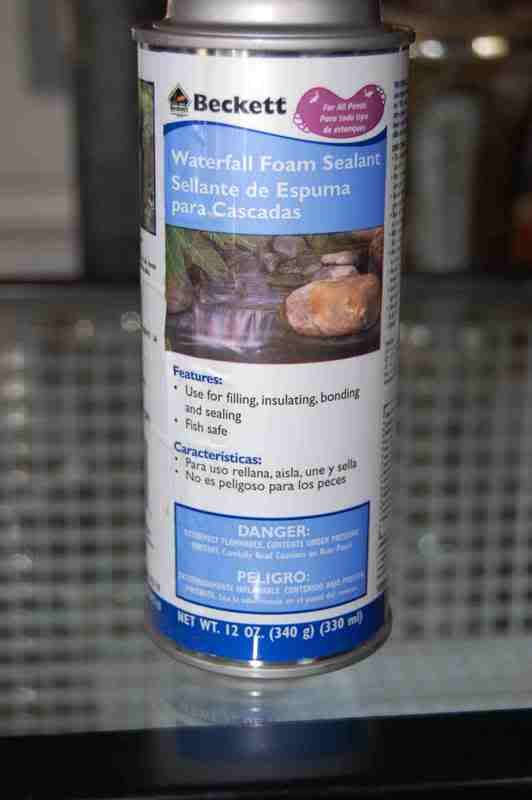
I'm using Beckett Waterfall sealant, that can be found in the garden section of just about any HomeDepot. This particular product seems to be mentioned by more reefers who have done a foam back than any other foam product. expansion is about 1 to 3. Very tacky product and they are not kidding when they say to "use Gloves" this stuff will not come off your skin.
I have 4 cans of this product
So far, project list and cost is fairly minor,
1.5 sheets of Gridwork $9.00
4 cans of foam $52.00


maxalmon

Active Member
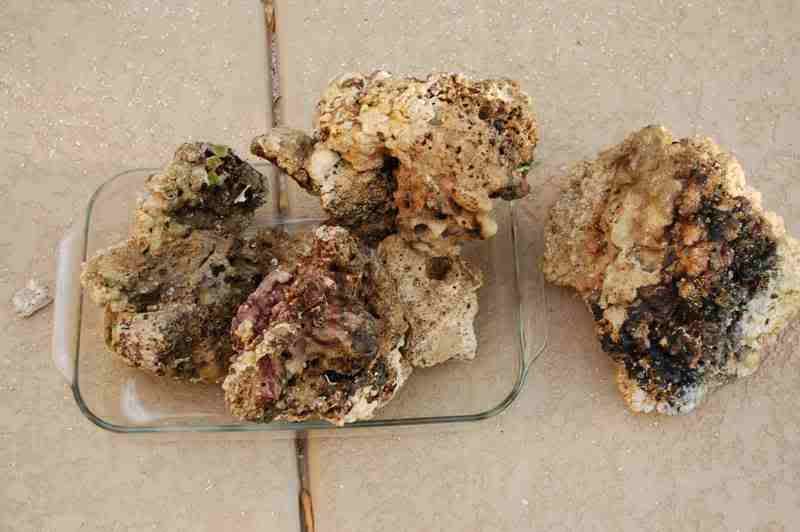
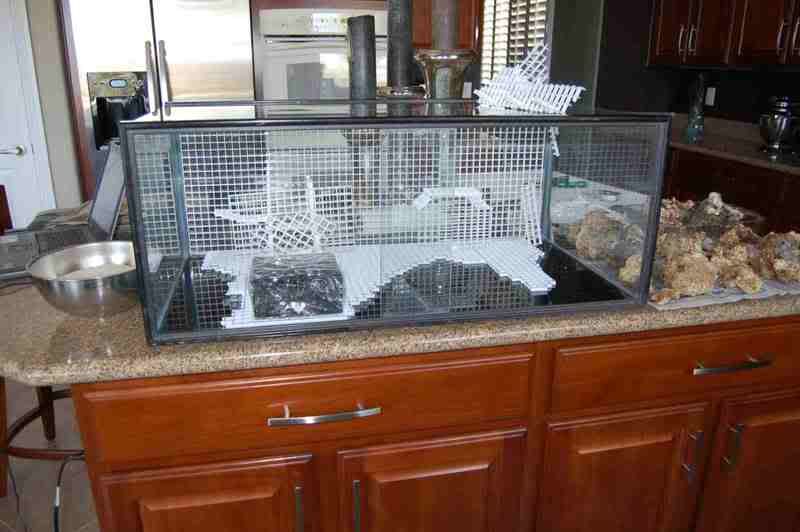
Here is part of the live rock that I used, remember that you need lots and lots of small pieces, maybe 2x3 in order to cover a large area and to make it look realistic. I eneded up busting most of this LR into small chunks using a hammer and screwdriver.


Again, being organized is KEY TO MAKING THIS PROJECT WORK, YOU DON'T HAVE MORE THAN A FEW MINUTES TO APPLY LR AND DUST WITH SAND.
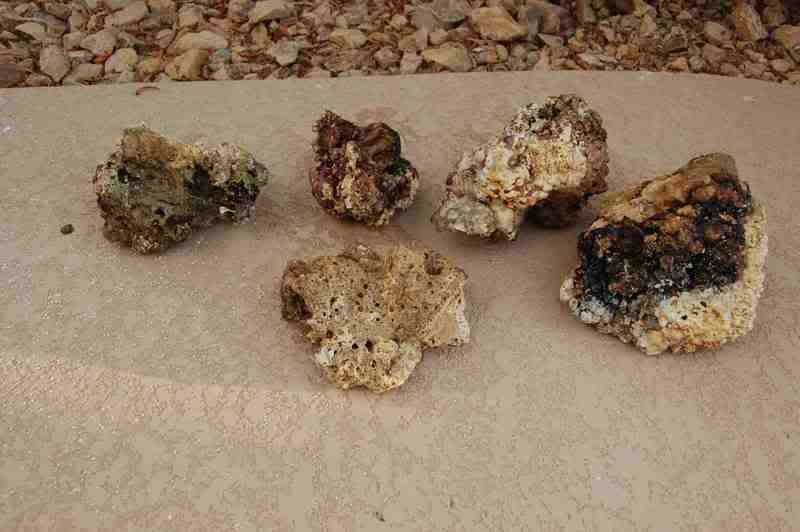
Here is the busted up LR, I already have a good idea where each piece is going to go and tried to lay them out in a logical order.

Once you apply the foam and I mean IMMEDIATELY, then you want to dust the entire area of foam with some fine sand or crushed coral, this will give you more of a rough surface and make it more natural looking, otherwise the foam will continue to expand leaves a very smooth, rounded surface.

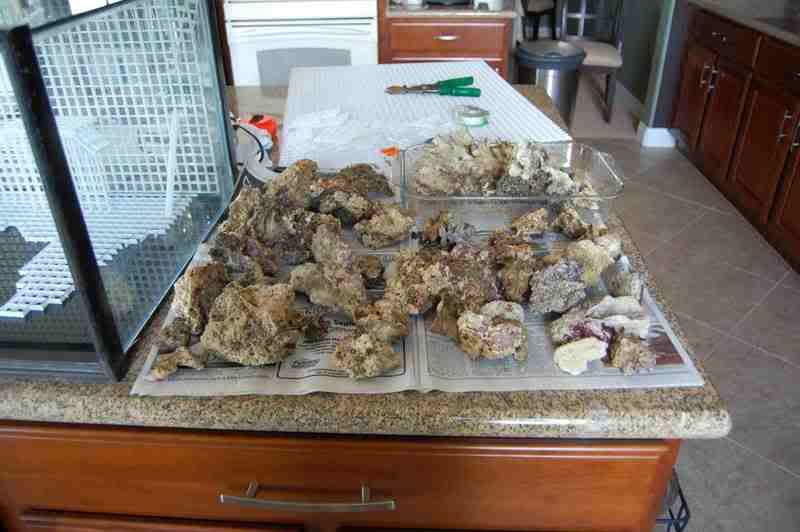
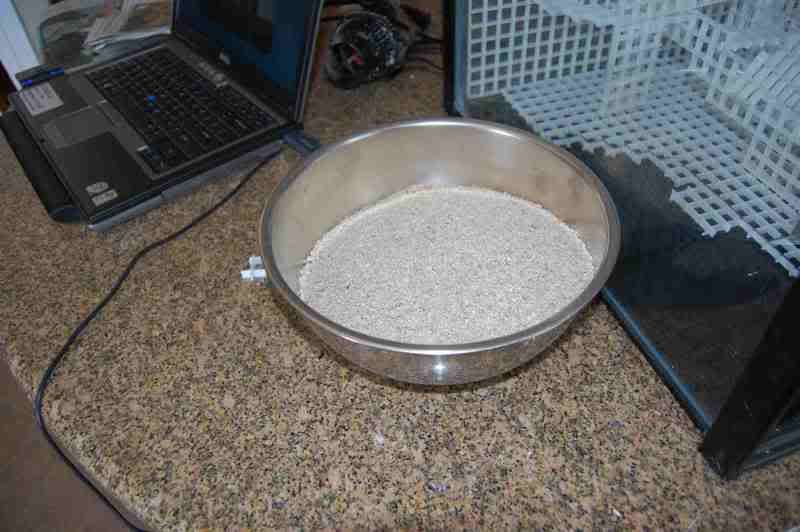
Now I'm just about ready to start the foam process, got my live rock pieces on the right and bowl of sand to dust the foam with on the left. The other thing you have to do is lay the tank on it's back in order to do the back wall. This allows you to position the live rock pieces wherever you want without them wanting to slide down the wall, once your done, you have to let it sit for atleast 1 hour.
 

maxalmon

Active Member
Wow,....I actually thought this would turn out to be another disaster, but it's really easy to use the foam and the results are pretty freaking amazing.
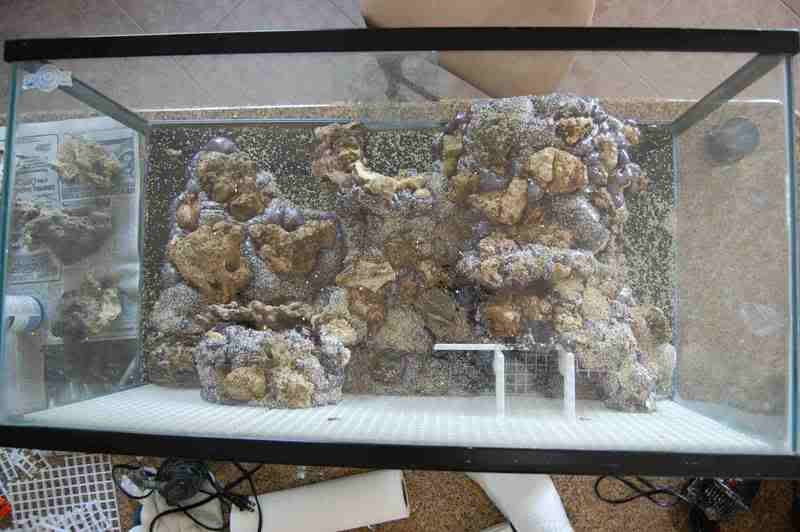
I'm jumping the gun a little bit by posting this picture out of sequence, but it's almost done.
Still have to finish the platform under the overflow and finish the bottom of the tank, should take me about another 45 minutes..
 

maxalmon

Active Member
Pictures don't do this project justice..There are tons of ledges and areas to stuff coral frags, along with about a dozen caves. The overflow I thought was going to be impossible to hide, but you simple don't even realize it's stuffed in there due to the way I designed the foam-scaping. There is a lot of depth to the rockwork, but the pictures make it look flat. Here are some higher resolution images, you can see how the sand sticks to the foam, helps to hide it and will also make it easier for coarline algae to cover the foam.


grubsnaek

Active Member
what that looks frickin insane....i had another word, but you can figure it out. that looks alot nicer and easier than DIY rock. i was thinking of attempting the DIY rock for a 29 im going to be setting up. but i like the way this looks. hope you dont mind if i try it. ill def give props to you on this one......
3 questions:
1. are you adding a sand bed? i would think not cause that would come in the fuge.
2. are you going to be adding more live rock to this system? im not to sure on the answer here.
3. the foam that is exposed will have no ill affect towards saltwater?
 

maxalmon

Active Member
Yes, the foam acts like a really strong adhesive. Part of what I learned was the 1st phase is to get your basic background installed, then detail the background, remove excess foam, correct any gaps or flaws in the foam. 2nd phase is to them go back over the foam-scaping with larger more interesting pieces of liverock, using the foam you simply glue them into place and you start to build up the visual depth of foam-scaping. Tomorrow I trim all the excess foam and will start adding the next round of live rock.
 

maxalmon

Active Member
Originally Posted by grubsnaek
http:///forum/post/2771311
what that looks frickin insane....i had another word, but you can figure it out. that looks alot nicer and easier than DIY rock. i was thinking of attempting the DIY rock for a 29 im going to be setting up. but i like the way this looks. hope you dont mind if i try it. ill def give props to you on this one......
3 questions:
1. are you adding a sand bed? i would think not cause that would come in the fuge.
The display tank will not have any sand other than what was used in dusting the foam to create texture. I will be adding a 40g fuge to this tank.
2. are you going to be adding more live rock to this system? im not to sure on the answer here.

Yes, the fuge will have about 60lbs of LR
3. the foam that is exposed will have no ill affect towards saltwater?
After 24 hours the foam becomes totally inert. I did tons of research and this particluar foam has been used by many of the famous reefers over on -- with no documented problems or ill effects on SPS or LPS.
 

maxalmon

Active Member
Just dawned on me, this make a cool Mantis tank....I could just see the little guy going nuts trying to move stuff around
 

grubsnaek

Active Member
when you say fix the caps or holes, do you mean just add more foam. and next round im guess also you mean by filling in the rest of the back glass....
 

maxalmon

Active Member
For anybody whos thinking about doig a project like this, it's a heck of a lot easier to do than it looks. I'm still kinda in shock at how well this looks (not being arrogant) Just follow the basic directions and you can't really go wrong, if an area gets messed up, you simply let it dry for 24hours then cut the area out with a serrated knife and then start over.
 

maxalmon

Active Member
Originally Posted by grubsnaek
http:///forum/post/2771322
when you say fix the caps or holes, do you mean just add more foam. and next round im guess also you mean by filling in the rest of the back glass....
I actually wanted to leave 2 areas on the back wall free of foam for coraline algae to grow on, or I can heep it clean which would give the background a look of depth.
Tomorrow I'm going to add some tonga branch and shelf LR.. MAN i WISH THE PICS CAME OUT BETTER..
 

grubsnaek

Active Member
well maxx, thanks for starting this thread... i am impressed about this project. looks easy enough. looks fun to do and try hell. i mite give it the good old collage try.....
one of the secret advantages i see in this type of project. it is what it is. meaning no continious aqua scaping, set the rock in the foam and done. plus with a fuge, there will be plenty of water volume in the DT compared to big pieces of of live rock....
 

grubsnaek

Active Member
Originally Posted by maxalmon
http:///forum/post/2771329
Tomorrow I'm going to add some tonga branch and shelf LR.. MAN i WISH THE PICS CAME OUT BETTER..
wut the pics are fine buddy, im in shock, never would of thought of something like this, i seen concrete backrounds but not foam with live rock, if i had i never realized it, or just this project caught my eye.
also im sorry for hitting your thread up so much, but im that interested....
 
Top