How would you plumb this tank?

cmack

Member
So, I've been out of the hobby for about 6 years and today I bought a used 55gal acrylic hex tank. I want to do a reef setup, probably LPS and some fish, but I can't figure out the best way to do the plumbing. the tank is predrilled in the bottom with 2) 1 1/4 baffles installed and then the top has 2) 3/4 holes drilled. I'm looking for suggestions on SUMP and possibly a refuge (if needed) set-up for this. I'd like to be able to also run the skimmer in the sump.
Thanks
Chris
 

2quills

Well-Known Member
Quote:
Originally Posted by cmack http:///t/394169/how-would-you-plumb-this-tank#post_3507997
So, I've been out of the hobby for about 6 years and today I bought a used 55gal acrylic hex tank. I want to do a reef setup, probably LPS and some fish, but I can't figure out the best way to do the plumbing. the tank is predrilled in the bottom with 2) 1 1/4 baffles installed and then the top has 2) 3/4 holes drilled. I'm looking for suggestions on SUMP and possibly a refuge (if needed) set-up for this. I'd like to be able to also run the skimmer in the sump.
Thanks
Chris
Did you mean 2) 1 1/4" bulkheads up there?
I suspect that those were dual drain lines and the top two holes were for returns? Just guessing. Got any pics?
 

cmack

Member
yes, bulkheads, sorry.
Should I combine the two drain holes with a T and run it to the sump? Or should I use one drain for the sump and the other to go directly to a refuge of some kind? I'm not sure if I even need a refuge for a tank this size, I'd like to leave room in the sump for a protein skimme compartment also
 

2quills

Well-Known Member
It's probably just going to come down to what you can cram under the stand. My thought is that the tank was set up with a Herbie Drain style, system. Lot's of info out there on the herbie drain set up.
 

cmack

Member
not sure about the herbie drain, there is no overflow in the tank. Just two holes almost in the middle, I really don't want standpipes in the center of the tank...
 

acrylic51

Active Member
I'm assuming the holes are in middle of the bottom of the tank or middle of the tank on the back panel.....Any pics....Would be helpful
 

acrylic51

Active Member
In the bottom in the middle of the tank.... What brand tank? Perfecto I think it was did this awhile ago....2 options really.... 2 open standpipes out in the open is a bad design IMHO, so you could either bulkhead and plug them and see if the back is drill able or use existing holes and build an overflow box, basically a 360 viewable design..., overflow hidden in the center of the tank.
 

acrylic51

Active Member
Wow.....That makes it even harder seeing how they are spaced apart.....Did the tank come with any parts or did you see pics of the tank when it was setup by chance.....
 

cmack

Member
No, it was disassembled at the LFS when I got it. I'm not sure what the previous owner kept in it either, I think he was somehow using an under gravel filter...
 

acrylic51

Active Member
Honestly I'd plug both holes and go an alternate route of adding an overflow box plumbing it to a sump as your wanting to do......Just my .02
 

acrylic51

Active Member
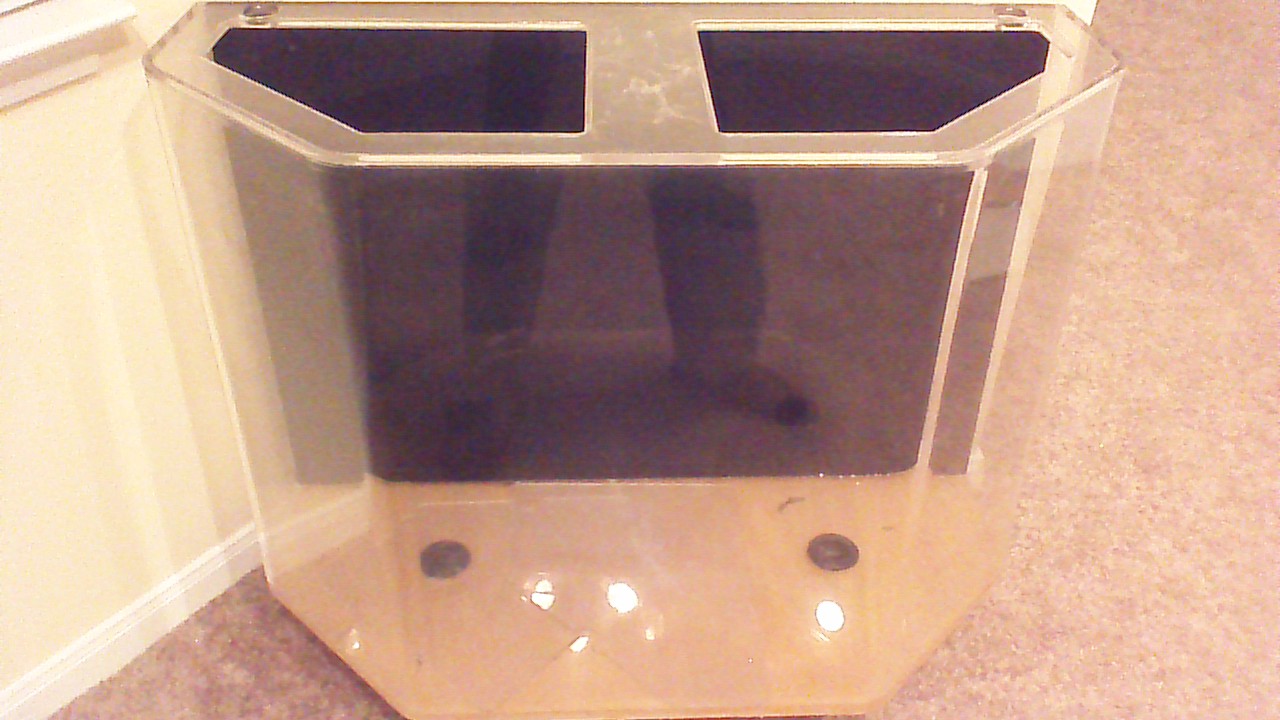
What.....Seriously that looks like that stuff Perfecto did a few years ago with some of their setups.....Standpipes in those positions exposed like they are are honestly an accident waiting to happen IMHO.....
I know your messing with me Corey, but to the OP imagine 1 of those stand pipes being snapped or sheared off.....The whole tank will drain within a matter of seconds....Sure some will hit the sump, but roughly 25-30 gallons all over the inside of your stand and floor.....Some might beg to differ that a standard setup has the drains drilled in the bottom of the tank, but think about it.....You have an overflow box surrounding them, that once the water level drops below the top of the overflow box, no more water would escape the tank....
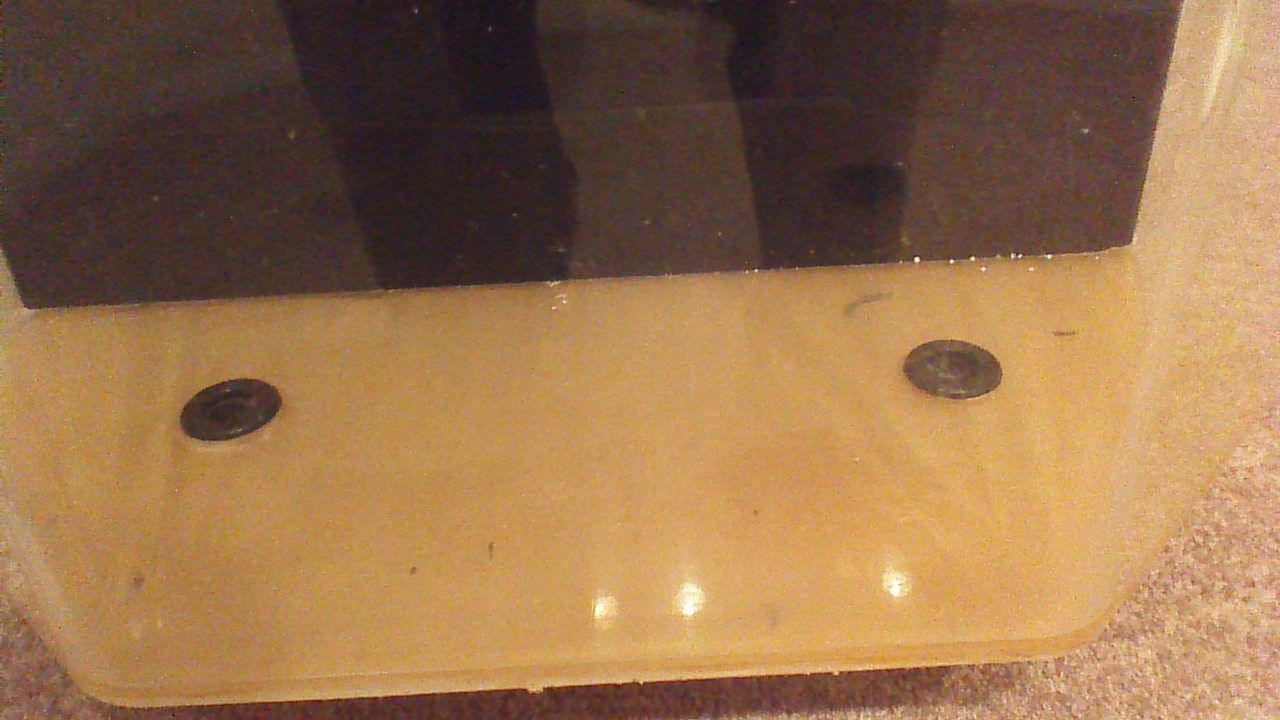
I would cap them off....Are the existing bulkheads there threaded or slip.....If they are threaded I'd buy caps from Lowes or HD and cap them or plug them if slip with some PVC and some glue and caps.....I'd seriously think about building an overflow for either the back or the corners and going that route.....Honestly I think a center overflow either through the bottom of the tank or 1 near the surface would be a better fit....
Doing a little more thinking and not sniffing WeldOn 40 fumes, I'd think the center overflow up around the top of the tank, which exits out the back would be a better fit for this tank vs an overflow box that extends all the way to the bottom of the tank.....My thinking or logic, which always isn't sound is the overflow located around the top would save on space inside the tank and be easier on the eye as well.......
 

2quills

Well-Known Member
I know ya hear me. :)
I would plug the holes with bulkheads as well, make a coast to coast and try the bean animal design if the choice were mine.
 

acrylic51

Active Member
Do you have a good pic of your overflow box....I thought you did your near the surface....Might give a good idea what were referring to.....
 

cmack

Member
I like the idea of the center overflow on the back wall.
If I drill the back, does it matter how far down below the surface I go? I guess the Overflow box itself will regulate the water level so it shouldn't matter...
Also, is one hole enough or should I have two drains? And what size hole would you use?
Thanks again everyone
 

acrylic51

Active Member
Technically the overflow doesn't have to be huge or deep, it's more to create an actual skimming area of the water surface and just enough to hide any fittings or such in the overflow box......Really it depends on what style overflow system you want to run......would more or less dictate what style you might choose....I'm partial to the BeanAnimal design over others.
 

acrylic51

Active Member
Don't let me steer or direct you....Just personal usage....I've used the tunable durso and Herbie's and found BeanAnimal my personal cup of tea.....I think Marvel Fan is another I turned on to it and he used it and fell in love with it's ease of use.....Personally no smaller than 1" holes.....
 
Top