my official frag tank build thread

reefkprz

Active Member
Ok got the final confirmation about tank size and placement. permission from the fiancee to go ahead do it. we made some compromises about various factors.
there are a couple things I need to accomplish to begin the build.
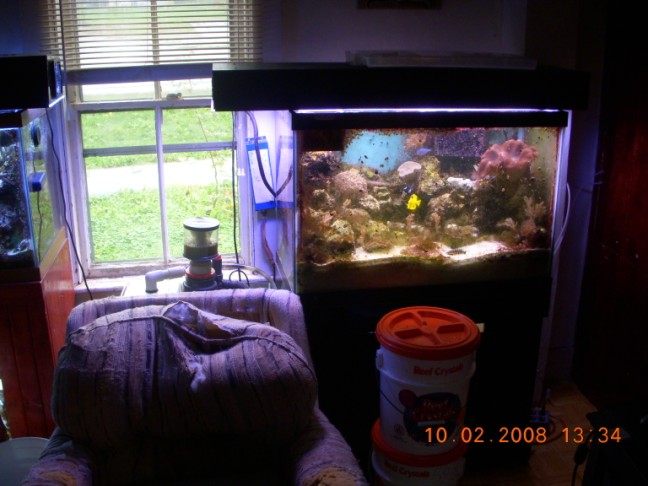
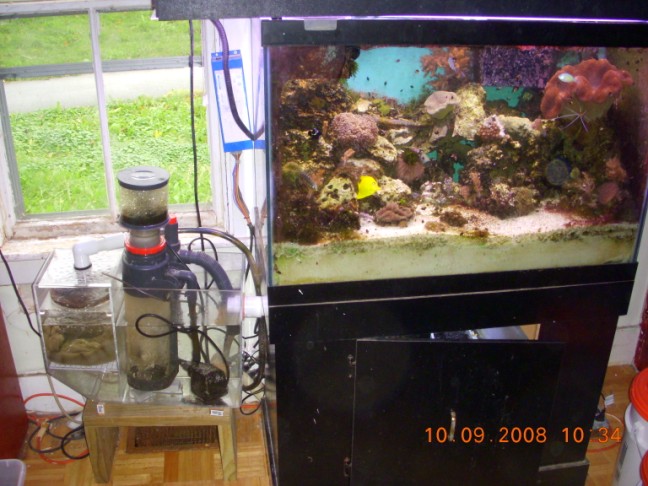
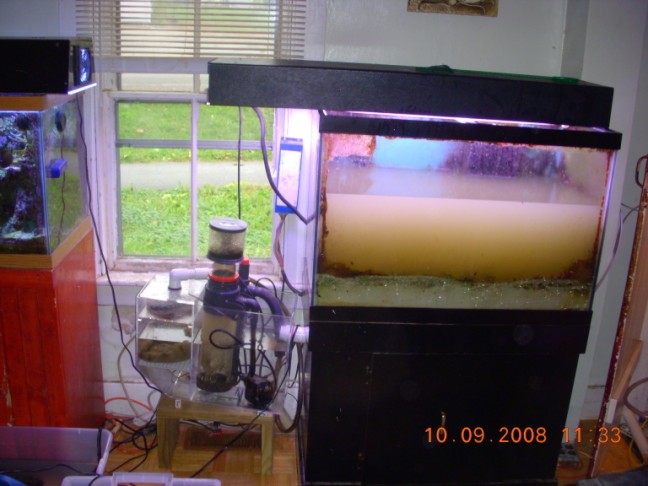
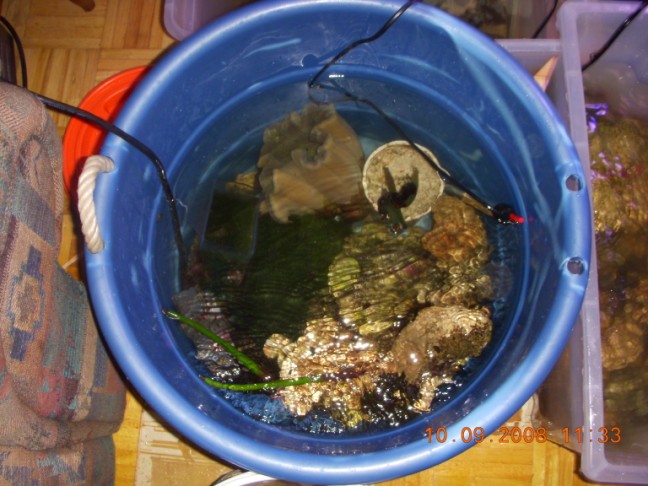
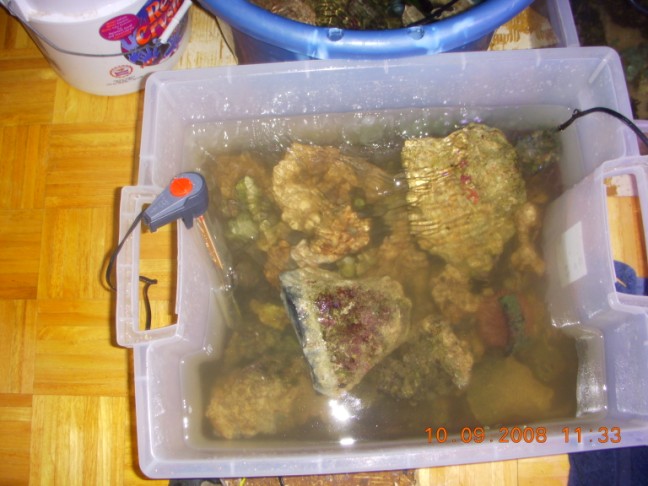
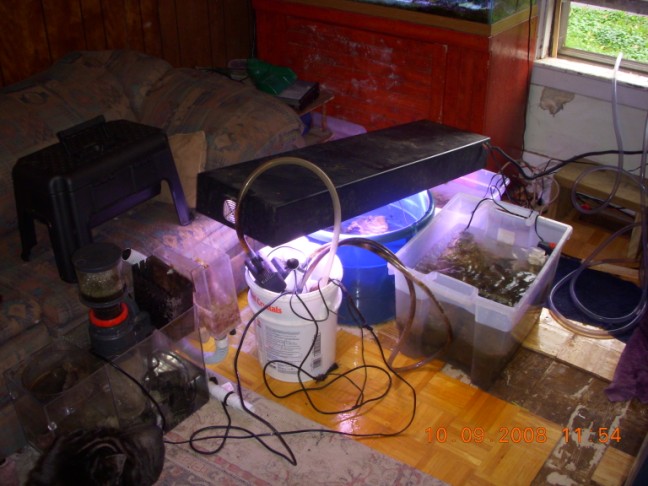
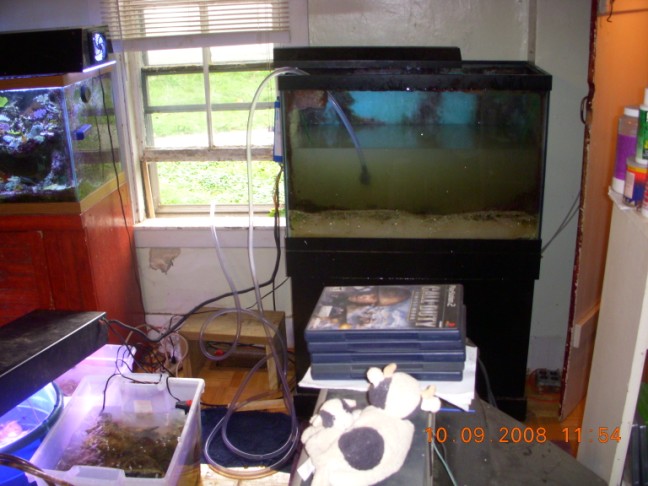
Step 1 will be the temporary tear down of my 65g natural reef, the 55g goldfish tank.
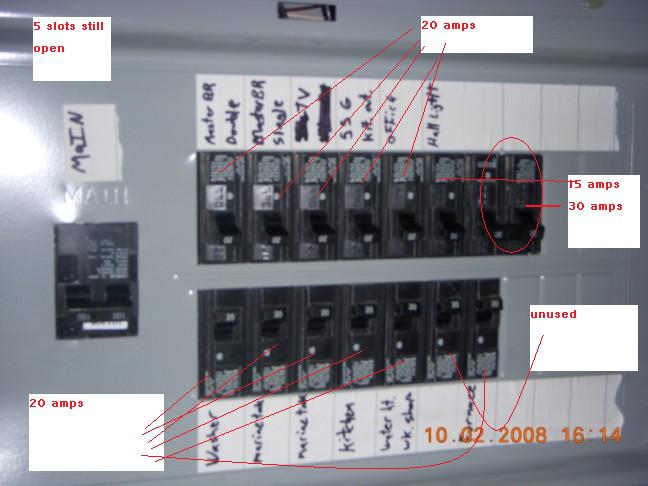
step 2 will be the installation of new power outlets on a seperate circut for the tank set up.
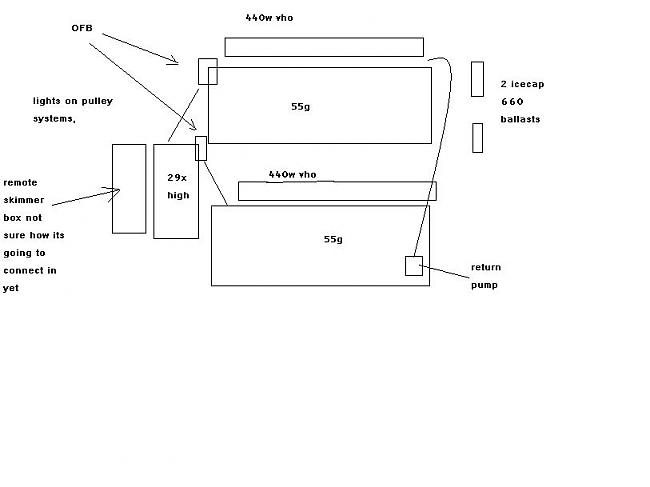
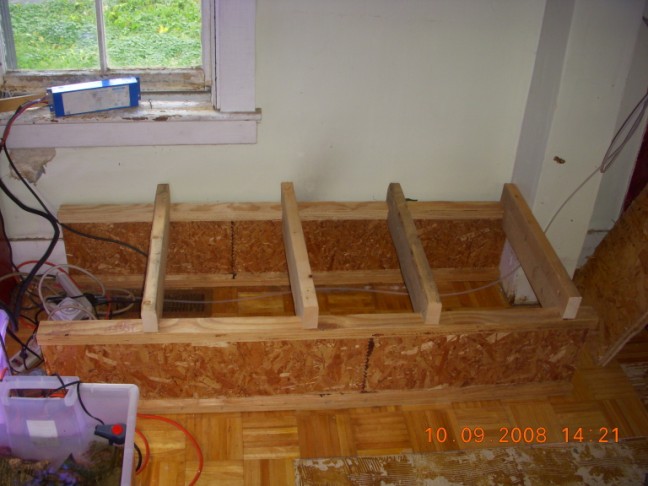
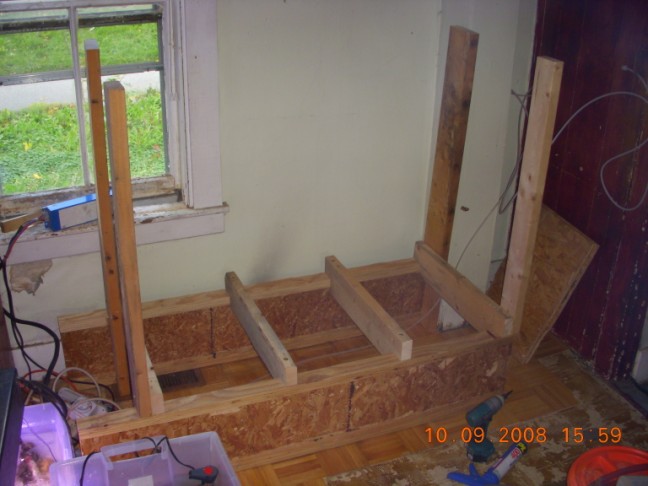
step 3 will be placing the multiple tanks, and plumbing them together, as well as construction of the lights.
this will be a slow start. unfortunatly I have had multiple starts and stops on this project, and have scrapped many ideas. but I am going to really begin tommorrow, I may even start tonight, depending on if I can find my gfci's in the back room and if I have 2 more available 20amp breakers in my electrical supplies. more to come later. and I wuill have TONS of pictures of the entire process.
 

reefkprz

Active Member
here is a rough (and I emphasize rough) sketch of the final plans obviously I left a lot out like various equipment powerheads heaters etc. I am not changing plans again, this is it. I have pretty much everything I need to get this sucker going.
 

reefkprz

Active Member
well I have confirmed a few more choices.
this is going to be a bare bottom system. there will be Live rock under the flat racks in the 55g tanks as well as in the 29x high. but there will be no sand what so ever.
racks will be the entire width and lenght of both 55g tanks at half depth for the top tank and 3/4 depth for the bottom tank.
there will be fish. the present assortment in my 65 will be all of them. since I will be almost doubleing the water volume this will signifigantly reduce bioload.
this system will have auto top off.
since I will be going sandless i can eliminate all my sand dwelling cleaners and stick to my surface cleaners and other non sand dependant detritivores.
the urchin has to go, so does the sand sifting cuke as well as a bunch of nassarius snails. the snails will go into my 75g but the other two will be sold/traded. I dont think my 75g can support a third sand sifting cuke and I dont want to risk killing it.
I've been measuring and calculating the dimensions of the stand I am going to go oversized on both platforms so there is an extra 12" of space behind the tanks for periphial equipment as well as outlets in splash proof inverted boxes. all hardwired and sealed against water penetration built into the stand the main supply will be 2 gfci outlets each on independant 20 amp breakers. feeding the each level of the stand independantly, so should one trip at least 50% of the equipment will remain operational. I may put the main circulation pump and heater on a third GFCI on its own 15 amp breaker. as final saftey precaution (I have to look and see how many slots are still available on my breaker panel)
 

reefkprz

Active Member
this is where it is going and the tank it is replacing the chair is going by by too. the dogs have destroyed it.
THE OFFICIAL BEFORE PICTURE
 

reefkprz

Active Member
wiring this is going to be fun my basement is flooding again. standing in water wiring circuts into a humndred amp service box YAY! but anyhow, I just looked at my panel and I have more than enough room for a couple more 20 amp breakers looking at the powerload I should have put in a 200amp service. maybe I will install a hundred amp sub panel and seperate both of my my tanks from the rest of the house completely. I do have another hundred amp service box out in my storage room (this is why I never throw anything away that may be usefull some day)
 

reefkprz

Active Member
any electricians? whats your opinion here is a picture of my panel and the breakers on it at this point. do you think I would be safe adding 2 more 20's and one 15? or should I put in a sub panel?
 

drpaul84

Member
how manys amps is your houses service coming in? (whats that main breaker say) even if you add a sub panel you will be feeding it from this panel so it must be sufficient to feed that new sub panel
 

wattsupdoc

Active Member
Add all the 20 amp circuits you want. Your demand is not what it mat look like, your good 2 go. However, adding 2 dedicated circuits should be more than sufficient. I can't see any point really in adding a third for the return pump. You could separate it onto it's own GFI if you like. I could see the point in that.
Also, I'm not seeing exactly how your design is going to work. I mean I see how it will work, but thinking about the level in the lower 55. It will need to be pretty low in order to allow for backwash. As well, that's where the evap will show up, so if your ATO is some kind of level detecting mechanism (float switch or valve) and you don't have a return pump compartment. It might not work very well. Also, You might have bubbles in both the 29 and 55 with it plumbed this way. It will work like you have drawn it, I just feel as though using the 29 as a sump/ fuge is a much better plan. With both tanks draining directly into it.
 

reefkprz

Active Member
Originally Posted by wattsupdoc
http:///forum/post/2779576
You might have bubbles in both the 29 and 55 with it plumbed this way. It will work like you have drawn it, I just feel as though using the 29 as a sump/ fuge is a much better plan. With both tanks draining directly into it.
I considered having both tanks drain into the 29 but then the top tank will be too high for convinient access.
bubbles arent a problem I have that covered (well I have an idea about how I am going to try and solve that issue, but thats a secret for now)
my main problem is moving the 65g and building my stand. this has to be done quickly so the fiancee doesnt get miffed about the living room being "unusable". I am going to pre cut everything in my half complete work shop then come inside and tear down the tank and assemble my stand then place a 55g on it with the live stock in temporary housing while I complete the rest of the work on the system, hopefully the teardown and build will only take one weekend, well, thats the plan anyhow. I need to take some more measurements for everything and finish drawing out my cut list for the stand parts. fortunatly one set of lights is already assembled so i dont have to build that set all I need to do is add the ropes and pulleys. the lights for the lower tank are in parts and pieces and needs a pendant build. not a big deal but there is a lot to this and speed is a big factor.
the only parts I am lacking is the PVC piping for plumbing drains into the stand. I am sick of tank accidents causing messes on the floors, both levels will have drains built into the stand so any spillage can be squeeged down the drain (this will also make water changes so much easier)
 

wattsupdoc

Active Member
Actually, the bottom two tanks, the 29 and the 55, can be level with each other. Either drilling or doing a U tube type connection between them will do the trick.As long as there is a lower water level in the 29 than in the 55, it'll flow just fine. It only takes an inch or so.....A DIY PVC OF would do the trick well.
I understand you need for speed! I have twice now tore down my 135 in less than a weekend. Once to change out the AGA 125 with my Oceanic 135, and then again to move it into another room. Makes my back hurt just thinking about it. That damn things heavy empty, let alone wet sand in it.
Both times made for all nighters. Crazy huh? To stay up all night working on a fish tank? Only a reefer......
 

reefkprz

Active Member
thanks, I'm excited too. I onluy have to work for 4 hours tommorrow so I can work most of the night and still get enough sleep and carry on tommorrow afternoon. I have to assemble this stand as fast as possible to keep the fiancee from burying me in the back yard and finding some one else.
 

reefkprz

Active Member
more progress. it seems slow but everything is getting assembled exactly to plan. the screws I am using to

[hr]
this together are GRKs 5 inch screws as well as some other sizes, there is a picture of one in case your not sure what a GRK is. definatly one of the best made screws ever. every seam and joint is getting glued with PL400 construction adhesive.


Top