Nemo's 10 gallon tank diary

N

nemo_66

Guest
well, ive decided to make a little 10 gallon nano just to occupy me. and since i have a lot of the stuff, its going to be somewhat cheap.
well, tank is going to be one normal 10 gallon from walmart most likely.
i will try to update daily hopefully. i got a canon xti and im pretty exited about it so there will be lots of pictures. live rock will all be diy with one or two from my main tank to seed. well, lets hope for the best and get going!
here is the stand

and hopefully, it will look like this
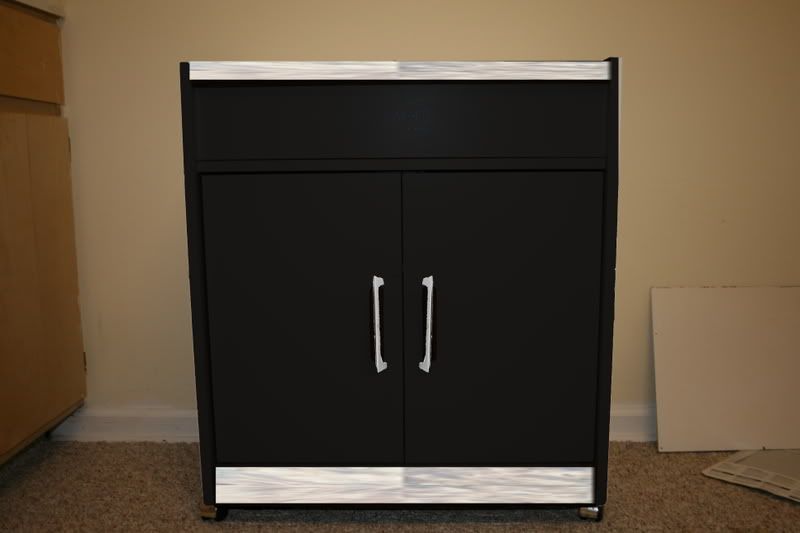
PS, the white trim on the edited picture will hopefully be something that looks like stainless steel. im going for the modern look...
 
N

nemo_66

Guest
well, im back from home depot and i got some materials.
LIST
Portland Cement- $10
Rock Salt- $5
Play sand- $5
Spraypaint- $1
Door handles- $6
Foil tape- $8
so far thats a total of 35 dollars on the stand and all the rocks i will ever need!
i'll get some pictures up tomorrow once i start to make some rocks and paint the stand.
o, and tell me how you like it so far. i dont like talking to myself.
 
N

nemo_66

Guest
ok, so tonight, i got a part of the stand that really isnt visable and tested the spray paint. it worked like a charm! two coats in a small area and it looks pretty good. tommorrow, i will paint the whole thing!
hopefully we can get some followers too! lol
 
N

nemo_66

Guest
just finished making the first batch of live rock. much more to come after this batch. also finished painting the top of the stand. stand isnt anything special, YET...so i wont put up pictures of that now, but i will show you some of the steps into making your live rock. but i just got finished and i need a shower, so post those up a little later...
 
N

nemo_66

Guest
well, lets get started with the pictures...
here, the three main elements for my DIY live rock: rock salt, sand and portland cement.

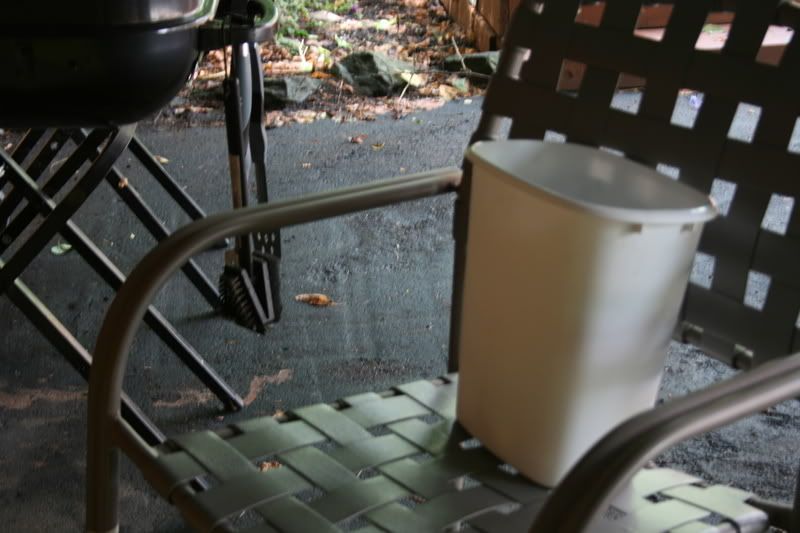
heres the little trash can i used to mix everything with

here is what everything looks like in the trashcan. with some cement, sand, rock salt and water.

here is how it is molded. i just did a basic mold made of rock salt. this is to get the most random shapes. all you have to do is make a big rock like shown, and once it dries, smash it on the ground, and you smaller, more random shaped rocks

and here is the rock close up

and finally, here is one of the handles i bought for the stand. it matches my other furniture quite nicely, or else i would have picked a different one.

comments and questions are welcome.
 

lawny

Member
Give us the recipe for the rock. Would like to make some of my own. I'll continue to follow as you post. I have handles similar to that on my kitchen cabinets. Great taste
 
N

nemo_66

Guest
lol. thanks. and to be honest, i dont have a recipe. making rocks is almost like a family secret. my brother made the recipe and taught it to me.
but, this is how i do it. lets say i want a somewhat small rock. i will put one cup of portland cement in the bucket. (the cup is one of those red plastic ones)
about half a cup to three quaters of sand. again, its a red plastic cup...
and i just shovel in the rock salt, since you can never go wrong with a super porous rock.
then add enough water to make it somewhat gooey, but not to liquidy, but not to dry.
and finally, add some more sand if needed.
to me, the hardest thing is to get the amount of sand right. add to much and your rocks will break easily, add to little, and your rocks will look like cement.(a dark color of grey.)
hope that helps.
and i got done painting the front of the stand. so far, it looks great, but my paint ran out and will be getting some more later today.
 

lawny

Member
I'll give it try sometime soon. Thanks.Post pics of the stand when you get it done. I'd like to see how it turns out.
 
N

nemo_66

Guest
yea, im going to once its finished. i ran out of paint, so its going to get finished late tonight or early tomorrow.
 
N

nemo_66

Guest
ok, so i finally finished putting on the trims, which btw, look great...to me.lol
doing it was a lot harder than what i thought. air bubbles and crap. but i found out a technique using a credit card to flatten those out. here are the pictures. stand isnt done painting yet, as you can tell by the sides.

this is the top trim. as you can see, one small mess up. not very noticeable tho.

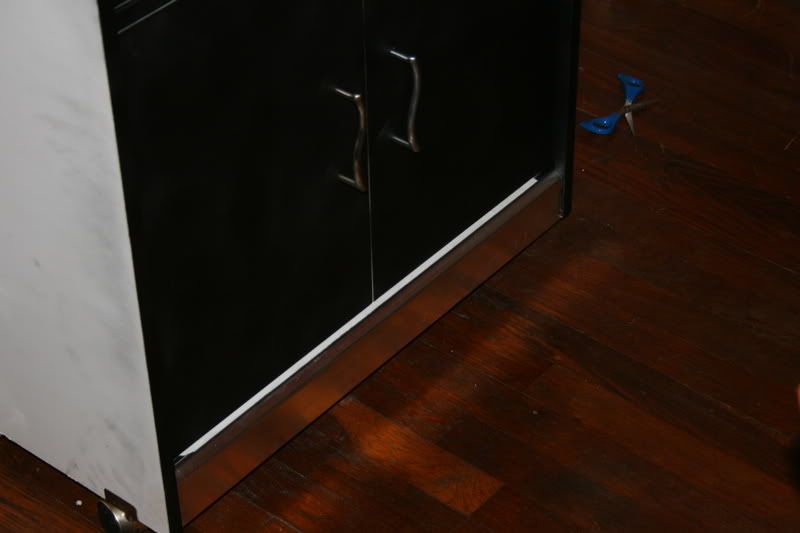
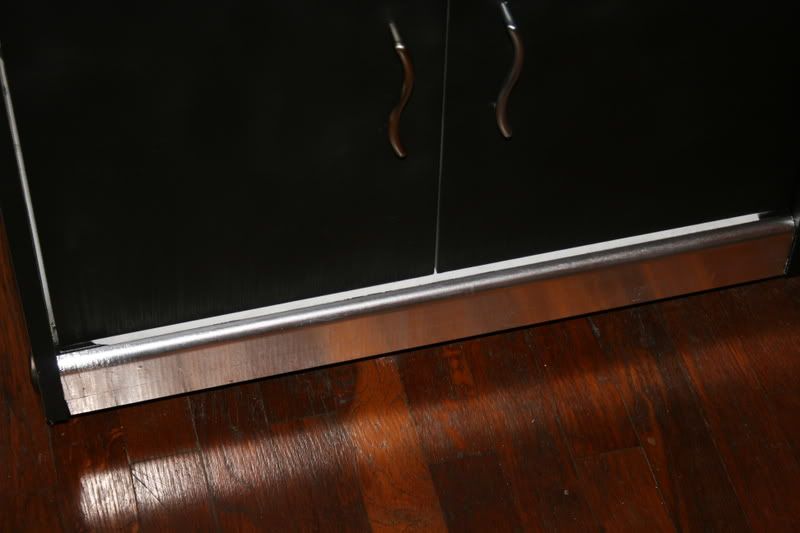
bottom trim

the bottom trim is shiny. lol

the front. i dont know if i should leave it like that, or do a second coat. what do you think? it looks intentional, but i dont know.

the handles!

and we cant forget the mess! all of that just from the top trim!
 

subielover

Active Member
Personally I think it looks nice as is, but would still put a coat on for that nice black and stainless look
 
N

nemo_66

Guest
yea, thats what i was thinking. it would look more modern IMO.
so here comes another question
will a 20lb bag of sand be enough? all i want is a normal sand bed(i.e. not deep, not to shallow.) like, maybe a inch.
 
N

nemo_66

Guest
well, the stand is going to look like that till later tomorrow afternoon since my mom bought the wrong kind of spray paint after i spelled out the name of the one i need. lol
but i still need answers to the question above
 

silverdak

Active Member
probably a better bet... my 14G took about 10-12lbs for a 2"-2 1/2" sand bed.... the base sizes might be a little differnt too tho... 20 just seems like way too much maybe 15 wil be a normal size bed
 
N

nemo_66

Guest
yea, i just calcuelated it just to make sure, and 10-12lb seems like a safe bet. thanks
hopefully i will be getting the tank and some paint tomorrow. and some sand on saturday or sunday.
 
Top