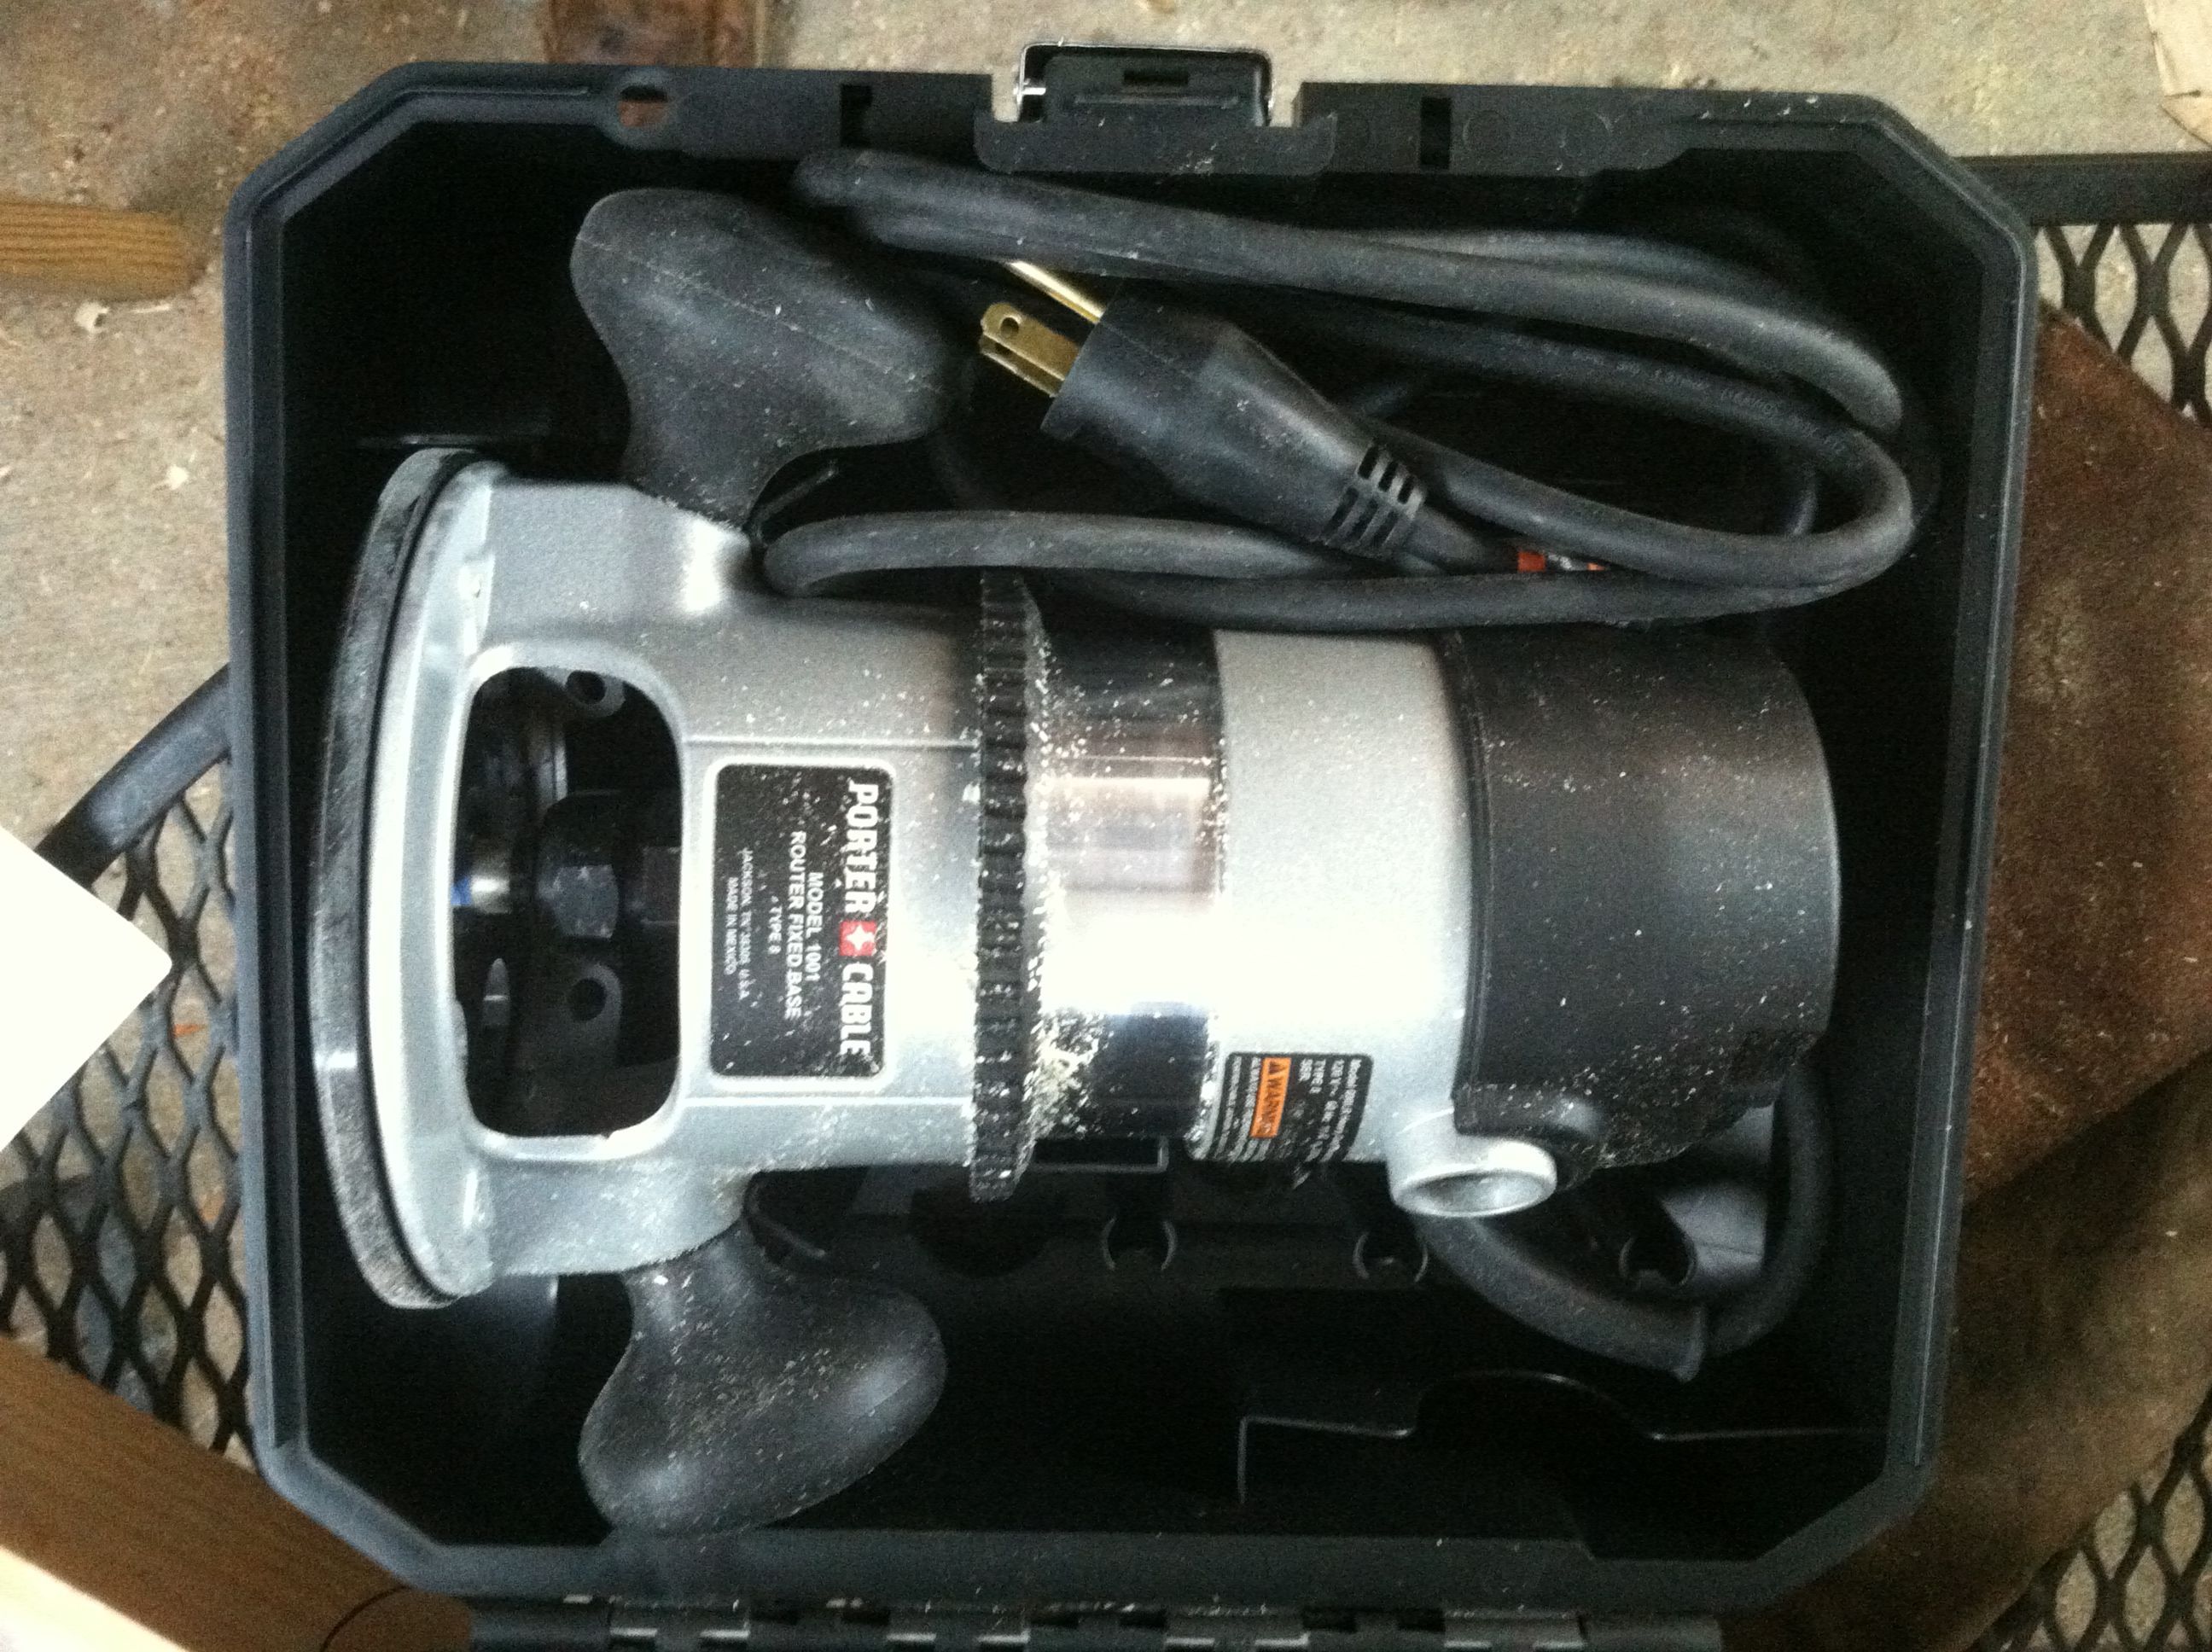
After all three sides of the first layer of trim is on, glue dried and clamps removed, go ahead and route it with a router bit design of your choice. Here I used a 1 1/4" roundover bit. It's not the most eloquent out there, but my client wanted a more modern and simple look - and that's what I gave him.

In this picture, you can see that the second layer of trim has gone on the stand - glued and clamped, but not screwed. Screw holes are easy to cover up with wood fillter, but screws are not necessary as the glue will actually give a better hold than the screws will over time. So, glue and clamp it and then wait at least 12 to 24 hours before continuing work on it. Make sure you are doing all three sides at the same time so that you can make faster progress on the stand.
Also, you can start to see some wood fillter going in the cracks and screw holes in the wood at this point. You can go ahead and start filling in any gaps that you see, so that it has time to set and cure before you go on to sanding everything down.
As a side note, I don't know if it is common sense or not, but ALWAYS pay attention to the quality of the wood that you are working with. Sometimes you can pick the absolute best in the store that you see, but then you get it home and you can see even more imperfections. Before you tack anything down, make sure you are choosing the best side out, and the worse side in. Knots, voids, and other things make your stand look more amateurish than anything - even if you consider yourself more than just a hobbyist - you need to be paying attention to the grade, grain, and quality of the wood on every mark, every cut, and every glue.
 Definite on the glue....What glue are you using......


