acrylic51
Active Member
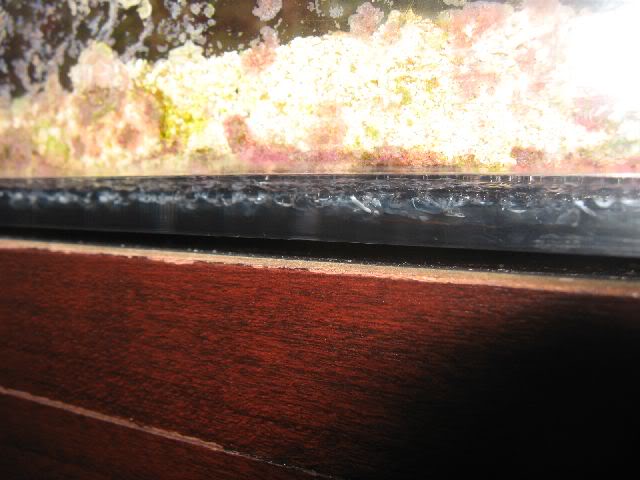
Took a glance at the pics.....Is the front seam where you say it's leaking it appears that it has a white hazy look to it......I know it's not slurry though.....That makes me a bit apprehensive on the integrity.....
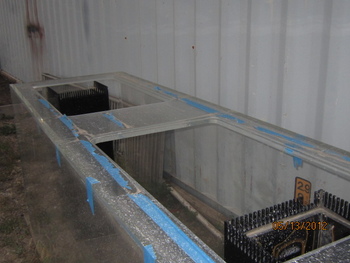
Either way I'd give it a shot.....I wished I was close to you to get a good look at it.....Actually it would be fun trying to put it back together, plus I have all the solvents laying around the house as well.....When you go to pour the "fillets" make yourself some 45 jigs out of 2x4's.....I made a pair for my plywood tank when pouring epoxy in the corners, and that's were I came up with the idea when I did my build. Held the tank perfectly in place and plenty strong......Again on the initial joint I'd shoot it with WeldOn 4.....You want the solvent to flow freely into that joint. Worse case if the joint is hazy as I'm seeing it, it won't make the haze disappear, but might make it hard to see if you got complete coverage in the joint.....
Keep in mind that WeldOn 40 is NO STRONGER than WeldOn 3 or 4.....The only time it is stronger is if it is annealed. That would be impossible for you to do. There is a trick to working with the WeldOn 40 though.....As I had mentioned it's a 2 part, but when your mixing you'll have to stir it quite a bit to get it mixed well, but don't stir it crazy.....You want to try to minimize injecting air bubbles into the mixture. When you first start mixing the solvent it will be a yellowish color, but as it mixes it will turn clear, and the smell is potent so have good ventilation.....It will give you mad head rush......
Let the mixture sit a bit.......as you let the the mixture sit, you'll see whatever bubbles you did inject will actually rise and pop, so the longer you wait, you can almost get all the bubbles out......You can only wait though but so long.....Another trick I learned with dealing with bubbles is to pour the solvent from the bottom of the container instead of the top.....Hard to understand, but it's actually a neat little trick that you'll never have to worry about bubbles......


