ReefForBrain's Supercheap DIY NANO Diary

reefforbrains

Active Member
Was in the plastic shop and dang that place puts so many ideas in your head you go mad. Those of you DIYers know what I am talking about. This was basically built from scraps and its just something I built to put in the office and have some zoo and misc.
I added prices to where applicable but theres really no high dollar parts used. Most expensive peice was the tiny little HOB from walmart. It was the only peice more than 10 bucks used.
Step one-

Took apart the clip on shoplight and painted the backside black with rattlecan paint. Removed the clip and put back together with one of those swirly Compact lights from Walmart. 6500k 26 watts. I have it hung from Ceiling from a plant hook above the tank.


Light is a clip on shoplight shoplight from Walmart- 5.96
Bulb is the 26w PC swirly from Walmart- 3.24
Cheapo Black paint I grabbed off the shelp in the shop. Its the cheapo buck a can stuff.

[hr]
Step #2-
Used weld on #4 and the hypodermic needle applicator to clue together two peices of cell cast acrylic I got as scraps from a local Plastic shop.
Super simple and super quick to glue. Its capilary so theres no clamps or jigs. Since its just tube stock, I had the shop use thier laser to cut me a matching end cap and just glued it to the bottom. The glue is like water and just runs into the crack and seals/welds dry in minutes. I left overnight just for giggles but it was ready in minutes.
Tube- 12 inch ID 1/4 wall cell cast (scrap) its only 13.5" tall.- 5.00


Had them laser cut me a cap from another scrap.- 8.75 cutting fee
Glue was 4.25 for the small can. I think another buck or two for the applicator needle.
Thats about it. I really didnt do anything amazing but it really looks clean.

[hr]
Step #3- FIll with water and enjoy..........
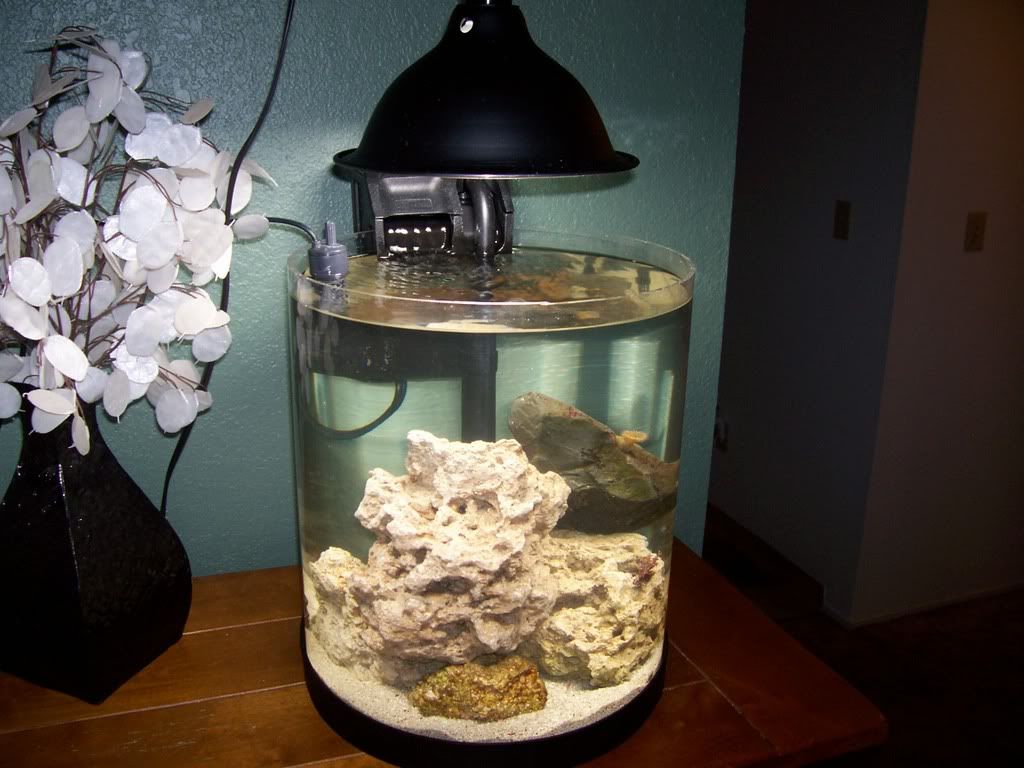

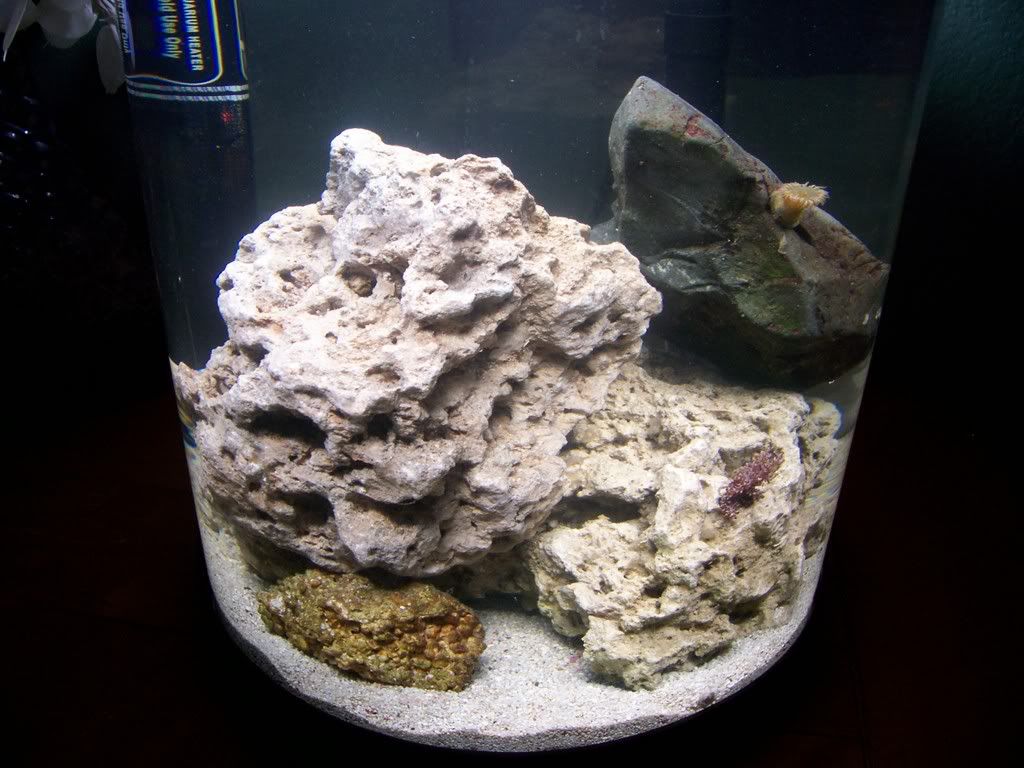
Rock IS live, but leaves to be desired for color. Next installments will show some zoos and colts I am going to pack this thing with. Yes theres already a tiny Kenya and a tiny rock Anemone.
Comments and hecklers always welcome.................
 

reefforbrains

Active Member
total price bout 40 bucks after you count it all up. But thats lights, tank, filter and Acrylic and glue.
Its about 6.5 Gallons of fury!!!
 

reefforbrains

Active Member
Hey thank you all for the kind words. Its SOOO hard to not just fill the sucker to the brim and thin out of the other reef, but then the fun would be over.
It just looks so bare its crying out and begging for scraps from the reef.
 

bsmith219

Member
looks really good i might give that i try my gf wants some sea horses that looks like it would be perfect what do you think? another question whats the black stuff around the bottom?
 

reefforbrains

Active Member
Yep, as seen on a few other thread where I really went on rants about these cheapo bulbs, they will support lighter corals, but my firm belief is if your going to stock ANY sized tank with a few hundred dollars in corals.........very easy to do, why not just use a more appropriate light that will really ensure success?
I plan on lighter stuff. This thread will be the whole build of it so TONS of ZOO's, a few lighter LPS like the kenya and perhaps a good purple colt. I certianly wouldnt try SPS or a clam in it....
More pics coming this evening of the new adds.
 

maelv

Active Member
Reef, perhaps I missed it, but where did you get the cylinder from? You're going to have me try this for my office...LOL
 

reefforbrains

Active Member
I got it from a local plastics shop as scrap. No need for cell cast like mine either. Cell cast is for strength, but on such small tank you could just run any arcylic tube stock. Cell cast is much more expensive than regular stock. I had the shop cut the circle bottom and then they are incredibly simple to glue if you use Weld-on.
 

maelv

Active Member
Okay, thanks, and how about the black around the bottom what is that and where did you get that? I am LOVING this idea....
 

reefforbrains

Active Member
Um...Its the black Cardboard top to a womans hat box painted about 10 times so its all sealed and clean.
Was saving this for the back pocket to post in some pics later this evening but added two very thin black leather dress belts. One around the top rim and one around the bottom. Really make its clean. See the new light in the other thread? This tank is going to be quite an awesome little reef in the next few months
 

maelv

Active Member
Originally Posted by ReefForBrains
Um...Its the black bardboard top to a womans hat box painted about 10 times so its all sealed and clean.
Was saving this for the back pocket to post in some pics later this evening but added two very thin black leather dress belts. One around the top rim and one around the bottom. Really make its clean. See the new light in the other thread? This tank is going to be quite an awesome little reef in the next few months
I am afraid you lost me here.....LOL.....don't know what a bardboard is. And don't know about another thread, do you have another one going? What is the link or what you name it? You used leather belts? I'd like to see that....
 

reefforbrains

Active Member
Yeah Hard to tell if they are leather or like a plastic synthetic but they were super thin and had a good seal/finish on them so I figured I would try it and see how it looks. I ll get some more imput on them and if they look good Ill bond them in place right now they are just sorta wrapped around for looks to see how I like them
Ill post pics in a few hours when I get back from shopping
https://forums.saltwaterfish.com/t/270550/my-new-nano-light-mad-scientist-style thats the link to the new light might I be using
 

maelv

Active Member
Okay, I see that is 150 watt. Now we're talking $$ for the ballast, bulb, etc. for someone who doesn't have all that stuff laying around. Do you think that your original lighting set up would work? I mean if I can get a cool little set up for about 50 bucks or so, it would be cool But if we're talking having to purchase MH, etc....might be better off buying an all in one unit.
 

reefforbrains

Active Member
Your correct, theres something cool about doing it on the skimmy that makes me want to just keep it how it is.
Afterall it doesnt look bad the way it is and I am sure I have enough light for softies so I will wait and see how it goes before I change anything.
To those reading along- go to Maelv's "Daddy's Room" thread and see the build for the tank in his Avatar. Its one of the cleanest and best build in tanks around. I dont know him, so I dont need to kiss his tail. I say it in earnest. A beautiful tank built with budget in mind and with tons of effort. Large enough to be a showpiece but not some rediculous-money no object-fantasy tank.
Absolutley Beautiful build
 

maelv

Active Member
Thanks for the compliment, I appreciate it. I can't remember off the top of my head if you threw a quick message in there or not. I threw some pictures up a couple of weeks back. But I took a couple more of some zoos and stuff.....so I guess I should update again. It was called Daddy's Room and the latest pictures are at the bottom of the second page.
Showed a friend your link and he mentioned possibly getting some blue led's in there to help out with the bright white light and give it a bluesh hue.....thought it was interesting.
Where did you get your heater? he just bought a 14gallon biocube and is looking for a heater small enough to fit it.
 

reefforbrains

Active Member
I went back and bumped it. I just love that tank. Not some rediculous monster where money is no object. I do not for a moment downplay the work involved or the money spent but its like the peoples champ tank. A real person on a realistic budget built it from nothing into a real showpiece. I did see the updated posts and pics. I didnt dig through to see if I actually posted in it but Boy It turned out great. Still my fav for built in.
 
Top