saltn00b
Active Member
Hi all as the title states, i have begun the planning and a few steps into a multiple - phase Upgrade for my tank!i welcome all comments, hints , tips, and suggestions, and of course constructive criticism.
a little history:
-started the hobby in march '05 with a 75g FOWLR
-upgraded to (used) custom built reef ready acrylic 150g in jan'06 and started with corals soon after.
-i moved 12/8/06 which spurred the timing for the upgrades.
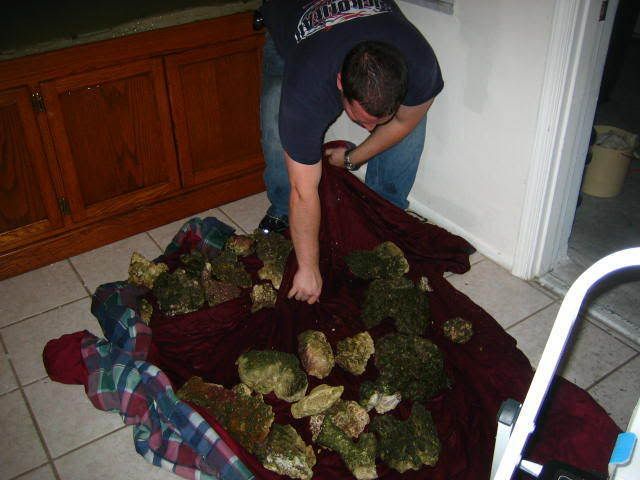
the tank move to the 150g was the stem of my current problems. I was ignorant to the true needs of a reef system and had not researched as much as i should have. I got a good deal on the tank and set up, but over time it became clear to me that it was quite lacking for a truely capable modern reef.
1) the tank was drilled, but it has only one center overflow column with 1" bulkhead. this allowed me a maximum turnover rate of 600 GPH.
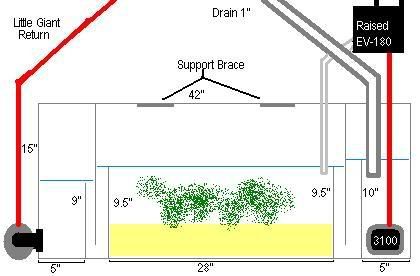
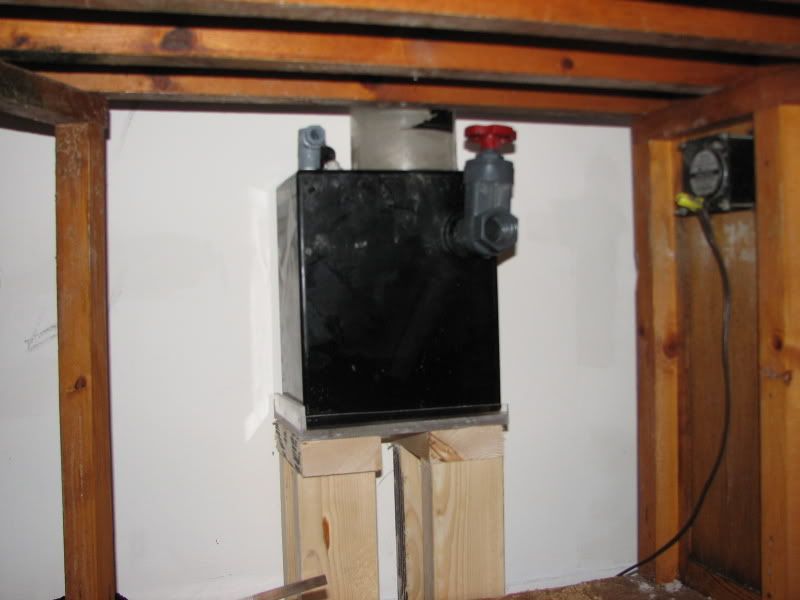
2)The sump was a wet/dry, and installed in the custom built cabinet that allows for a maximum internal height of 21" and depth of 15" (72" long, so close to 70" internal ). The Return pump is a Little Giant 4-MDQ-SC, which is rated around 675 GPH at the 5' estimated head height. All other flow in the system would be a rio 3100 pushing the AquaC EV-180 skimmer, and the PH's in the tank, 4x Rio 600, 1x Rio 1100. put simply, weak.
3) The Custom Canopy is a shallow design, maybe 4.5" H and is retrofitted with 2 72" T-12 VHO's powered by an Icecap 660. the bulbs are on the rear half. This lighting is grossly underpowered and has only been able to allow my corals to survive barely. There has been almost no growth whatsoever in 12 the months running. The only exceptions were some swaying xenia that grew and split to about 6 -8 times frag size (lost in the tank move), GSP's have creeped along my rock, growning about 2 square inches, and a few metallic red mushrooms have gone for walks.
With these three limiting factors i was also plagued by high nitrates for a while, over 50 ppm, and phosphates between 1.0 and 2.0 ( at least within the last 4 months). I have since been able to drop the Nitrates down to 20-25.
So these factors inspired me to perform a series of upgrades.
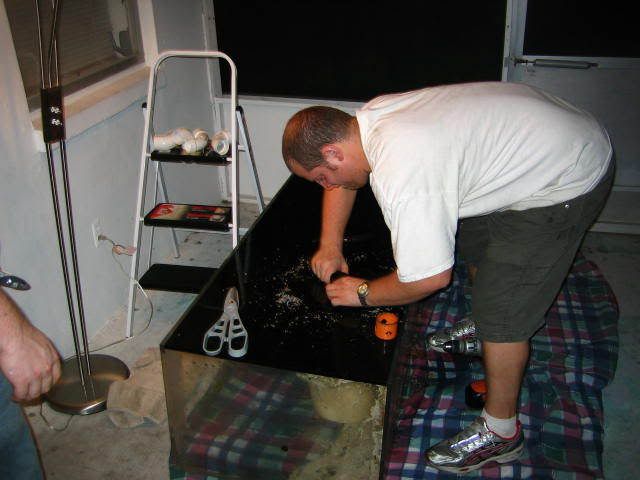
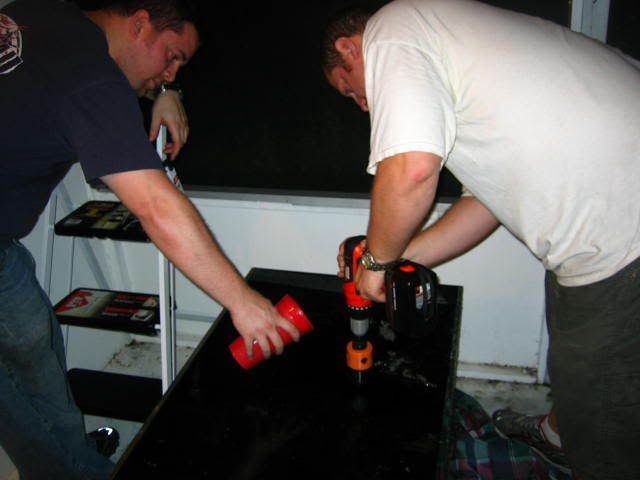
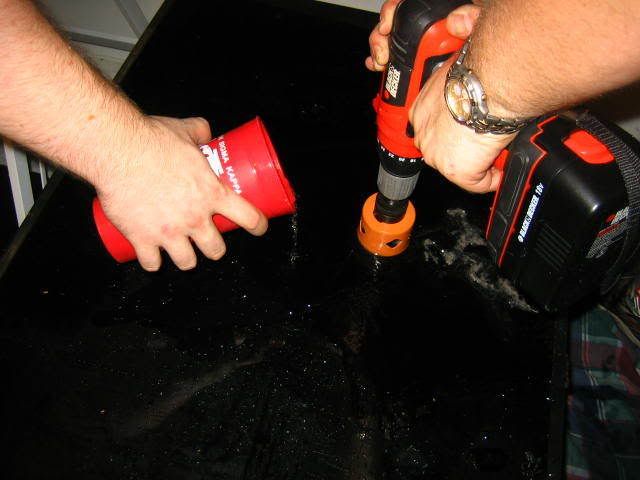
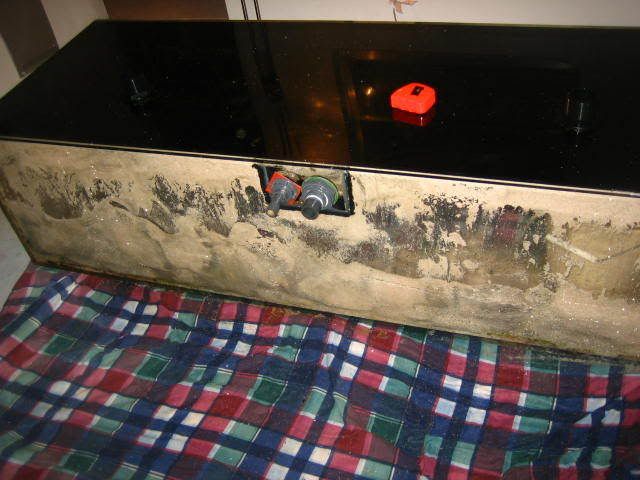
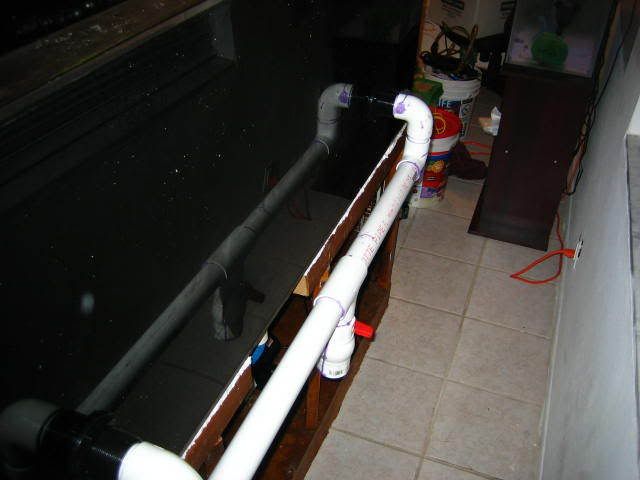
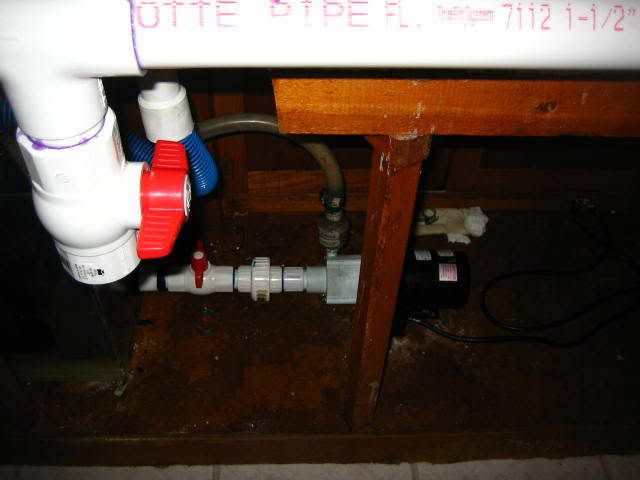
for problem 1) Install a CLS (Closed Loop System) with manifold
reasoning :
- removal of PHs. -
- will streamline and get rid of the bulkyness inherent with PHs.
- Remove the excess heat generated from PHs. (CLS pump will be inline)
- Increase GPH and in-tank flow to be at ideal levels.
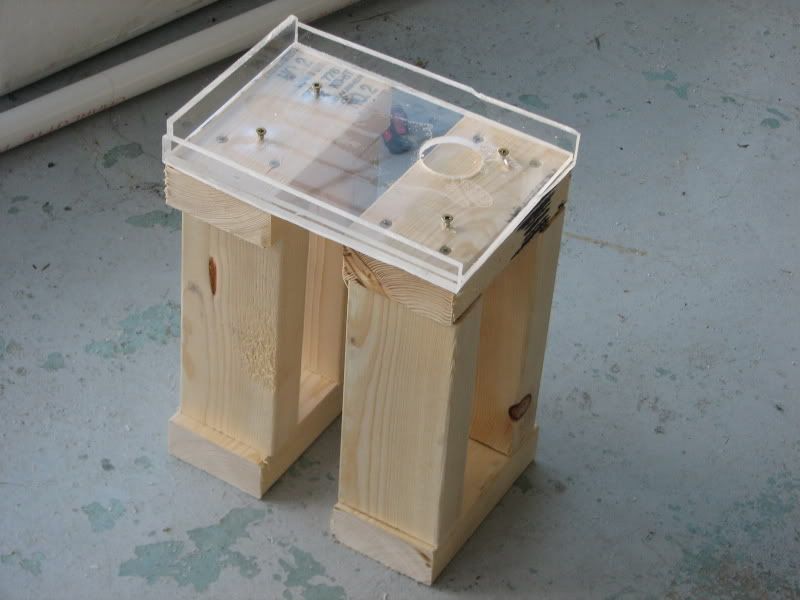
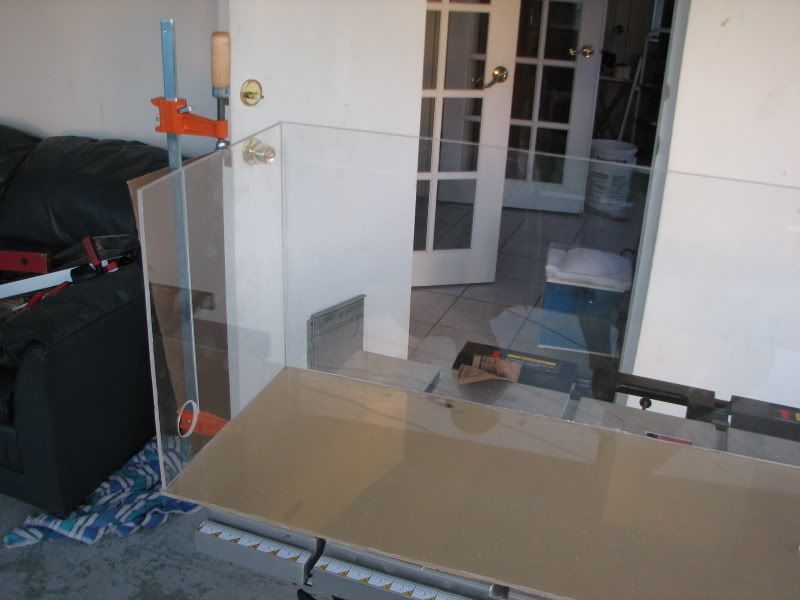
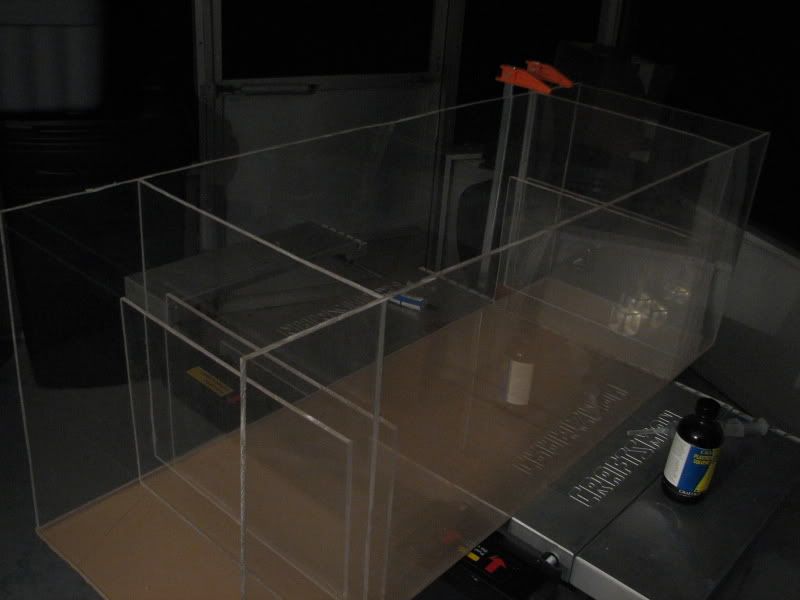
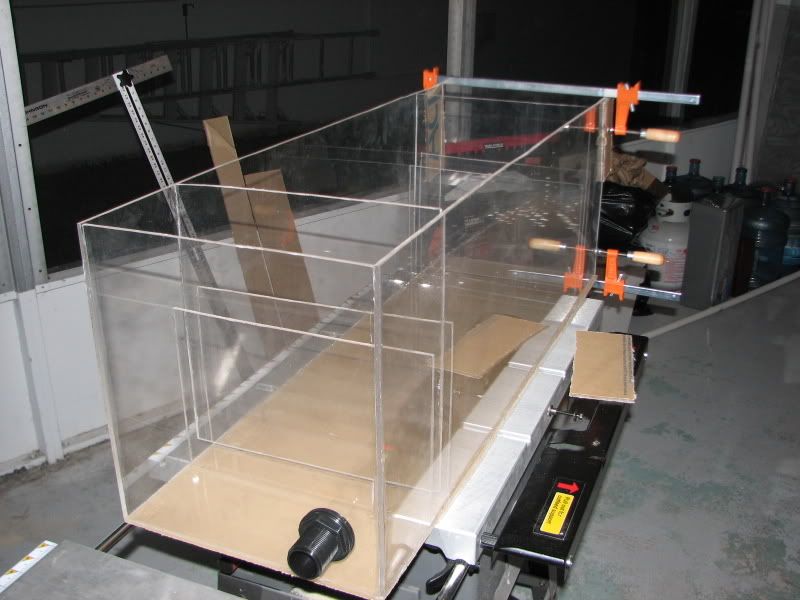
for problem 2) Custom Build a Sump/Refugium
reasoning :
- Baffles placed will stop the current microbubble situation
- Custom building is the only answer because the stand is annoyingly low, therefor i could not simply purchase a 75g tank and place baffles in it.
- Macro algae and DSB will help and possibly completely fix any remaining nitrate and phosphate problem
- will provide a safe haven for even more pods to thrive and provide fresh food for all.
- more overal tank volume for more water stability
- more LS and possibly LR for more phosphate absorption.
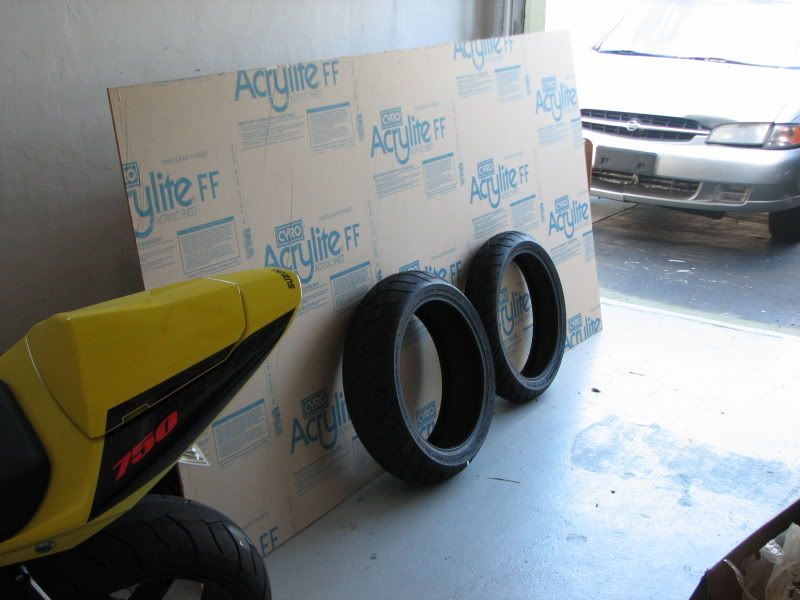
for problem 3) Build a new Canopy with a new lighting system, T-5
reasoning :
- the current set up is simply too weak
- T-5 will allow me to keep virtually any coral, including SPS (as long as i dont go too heavy i can avoid a calcium reactor)
- T-5 bulbs run very cool, and will not cause heat problems
- T-5 bulbs use minimal wattage to save on electrical bills
- T-5 bulbs need replacing every 1 - 2 years so save money on replacements
- T-5 do not need massively tall canopies for housing, as in certain heights from the surface.
i am going to try to document as much as i can for all to learn from, and if you have a question ask, because it is likely burning someone else's mind as well. we are all here to help! thanks for your time!
:happyfish
a little history:
-started the hobby in march '05 with a 75g FOWLR
-upgraded to (used) custom built reef ready acrylic 150g in jan'06 and started with corals soon after.
-i moved 12/8/06 which spurred the timing for the upgrades.
the tank move to the 150g was the stem of my current problems. I was ignorant to the true needs of a reef system and had not researched as much as i should have. I got a good deal on the tank and set up, but over time it became clear to me that it was quite lacking for a truely capable modern reef.
1) the tank was drilled, but it has only one center overflow column with 1" bulkhead. this allowed me a maximum turnover rate of 600 GPH.
2)The sump was a wet/dry, and installed in the custom built cabinet that allows for a maximum internal height of 21" and depth of 15" (72" long, so close to 70" internal ). The Return pump is a Little Giant 4-MDQ-SC, which is rated around 675 GPH at the 5' estimated head height. All other flow in the system would be a rio 3100 pushing the AquaC EV-180 skimmer, and the PH's in the tank, 4x Rio 600, 1x Rio 1100. put simply, weak.
3) The Custom Canopy is a shallow design, maybe 4.5" H and is retrofitted with 2 72" T-12 VHO's powered by an Icecap 660. the bulbs are on the rear half. This lighting is grossly underpowered and has only been able to allow my corals to survive barely. There has been almost no growth whatsoever in 12 the months running. The only exceptions were some swaying xenia that grew and split to about 6 -8 times frag size (lost in the tank move), GSP's have creeped along my rock, growning about 2 square inches, and a few metallic red mushrooms have gone for walks.
With these three limiting factors i was also plagued by high nitrates for a while, over 50 ppm, and phosphates between 1.0 and 2.0 ( at least within the last 4 months). I have since been able to drop the Nitrates down to 20-25.
So these factors inspired me to perform a series of upgrades.
for problem 1) Install a CLS (Closed Loop System) with manifold
reasoning :
- removal of PHs. -
- will streamline and get rid of the bulkyness inherent with PHs.
- Remove the excess heat generated from PHs. (CLS pump will be inline)
- Increase GPH and in-tank flow to be at ideal levels.
for problem 2) Custom Build a Sump/Refugium
reasoning :
- Baffles placed will stop the current microbubble situation
- Custom building is the only answer because the stand is annoyingly low, therefor i could not simply purchase a 75g tank and place baffles in it.
- Macro algae and DSB will help and possibly completely fix any remaining nitrate and phosphate problem
- will provide a safe haven for even more pods to thrive and provide fresh food for all.
- more overal tank volume for more water stability
- more LS and possibly LR for more phosphate absorption.
for problem 3) Build a new Canopy with a new lighting system, T-5
reasoning :
- the current set up is simply too weak
- T-5 will allow me to keep virtually any coral, including SPS (as long as i dont go too heavy i can avoid a calcium reactor)
- T-5 bulbs run very cool, and will not cause heat problems
- T-5 bulbs use minimal wattage to save on electrical bills
- T-5 bulbs need replacing every 1 - 2 years so save money on replacements
- T-5 do not need massively tall canopies for housing, as in certain heights from the surface.
i am going to try to document as much as i can for all to learn from, and if you have a question ask, because it is likely burning someone else's mind as well. we are all here to help! thanks for your time!
:happyfish

")