Saltn00b's Multi-Phase Upgrade Diary!
- Thread starter saltn00b
- Start date
saltn00b
Active Member
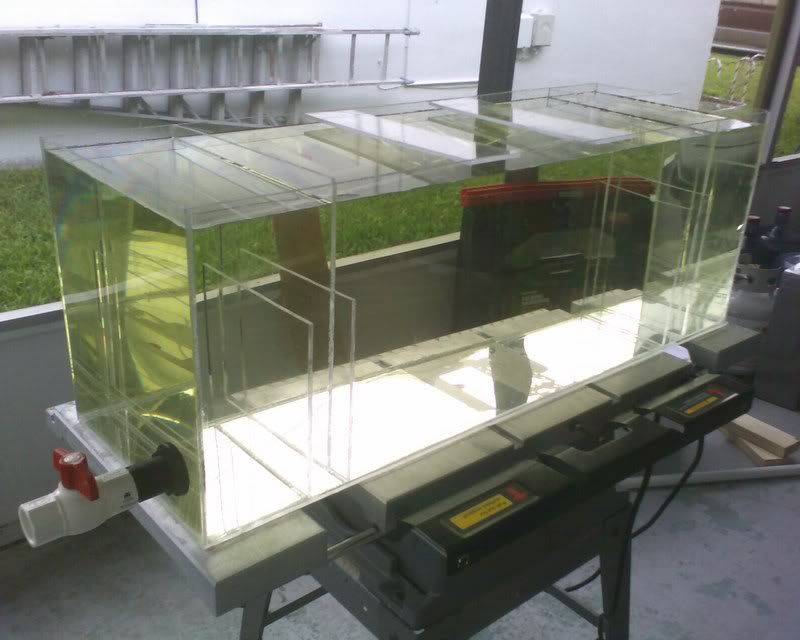
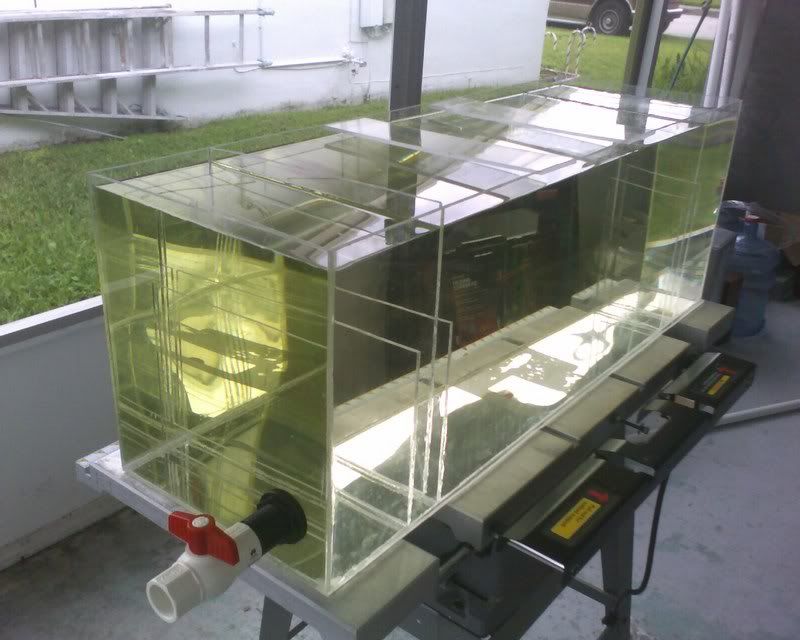
so a few more glue spots later and she is holding 10 hours thus far, over-filled!
here are some camera phone pics i took this morning before i went to work.
yea my camera memory card broke a little piece of plastic molding off and all of a sudden nobody wants to acknowlegde its existence, sort of like the red-headed stepchild....
almost didnt have these pics either cause my cell phone is in cahoots with the mem card as it did not want to send pics for the last few days. but ALAS, man has triumphed over technology!
all night and there is the smallest of puddles in 2 unseen spots. these leaks must be near microscopic. i attempted to 'goop' them with water still in the tank, if it doesnt hold today, then i will empty it and goop it again when empty.
i will be going to buy the sand today for 3.5" - 4" DSB and then filling the tank and hooking everything up tonight!!!!


joshh81
Member
LOL.... well I spent about 10 hours doing it. I have never tried to build anythig out of acrylic so my experience was way below par. After 10 hours of pretending to know what I was doing..... I had a finished product which looked not even 1% as good as yours does. I did a water test and there were only two small pin hole leaks. I reglued them, and then added a line of aquarium silicone to each joint. I let it dry and filled with water.
About 8 hours later, and about 2 am... I am staring at the tank (cause I am addicted to this hobby) and hear a huge crash and the unmistakable sound of 30 or so gallons sloshing around. I guess one of the corners gave way. I dont know if it was becuase there was a storm comming at that very moment and the pressure change broke it, or most likely my shotty workmanship. So, when I get moved into the new house, I will have to drive down to Ft lauderdale (liquordale... thats hilarious) buy a couple twelve packs and mabey you can show me the actual way to build one.

About 8 hours later, and about 2 am... I am staring at the tank (cause I am addicted to this hobby) and hear a huge crash and the unmistakable sound of 30 or so gallons sloshing around. I guess one of the corners gave way. I dont know if it was becuase there was a storm comming at that very moment and the pressure change broke it, or most likely my shotty workmanship. So, when I get moved into the new house, I will have to drive down to Ft lauderdale (liquordale... thats hilarious) buy a couple twelve packs and mabey you can show me the actual way to build one.

saltn00b
Active Member
im surprised nobody else is really chiming on this.
i was hoping for some constructive criticism if i was doing stuff wrong, like i am sure i am :thinking:
for example, if any of the acryli-heads out there had an answer as to why it cracks slightly when you reapply the liquid cement, and not the goopy stuff.
see attached pic for example. the circled crack is the biggest one, but i think it should hold and not get any bigger.
isistius
Active Member
you may want to thinmk twice about letting the drain empty below the water line. i have that with both of my drains, and it causes back pressure with that "gyrgling" sound. if you let it drain just above the reservoir, or partially submerged, then air won't possibly get trapped .
saltn00b
Active Member
IMO if any air starts to travel up the drain line, then it will continue up the Durso stand and release out of the top air release of the Durso. remember that with a Durso stand i do not have a full syphon, as you do with overflows which should have no air in them, and a complete syphon.
saltn00b
Active Member

looks like 1/3 of the upgrades is complete!
last night everything was holding after 24 hours over filled, so i figure it passed the test, and it was time to install!
here are the pics
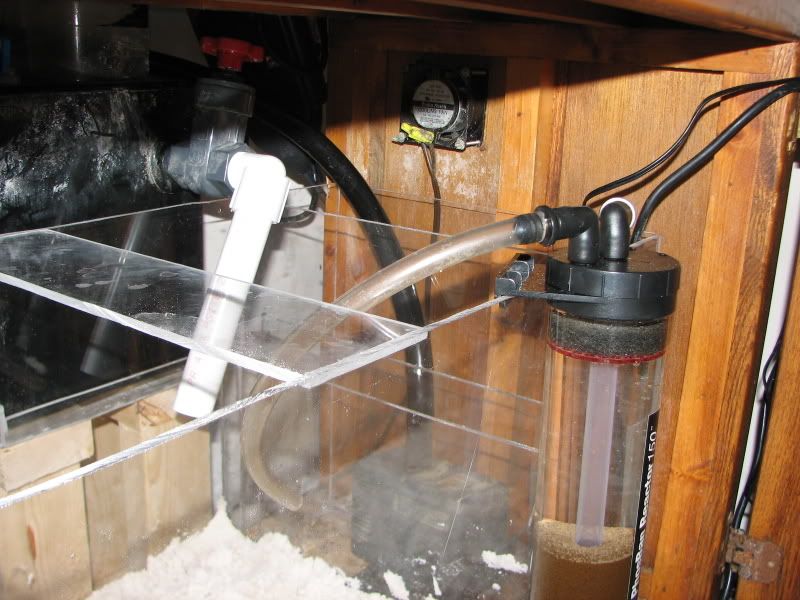
fitting the gate valve of the EV-180 with the 90 degree (and later some more PVC for more flow control), some new 3/4" vinyl tubing

fitting her in - almost had a little problem because we measured her to fit almost exactly and i PVC-glued the ball valve to the bulkhead!!!!

luckily, i was able to unscrew the bulkhead and have just enough room!

placing the equipment, PhoBan reactor...

two 45's and a union for the aging Little Giant. it now does not sit flush, and in fact hangs mostly in the air, but it makes no noise whatsoever , anybody have any comments on this??

fill 'er up!

IT'S ALIVE!


