Quote:
Originally Posted by
MarvelFan http:///t/393629/29-gallon-to-120-gallon-upgrade-build/20#post_3505101
I worked a full shift on the build last night.. started working around 11 PM in my new "Fish Room" and finally crawled into bed around 6 AM.
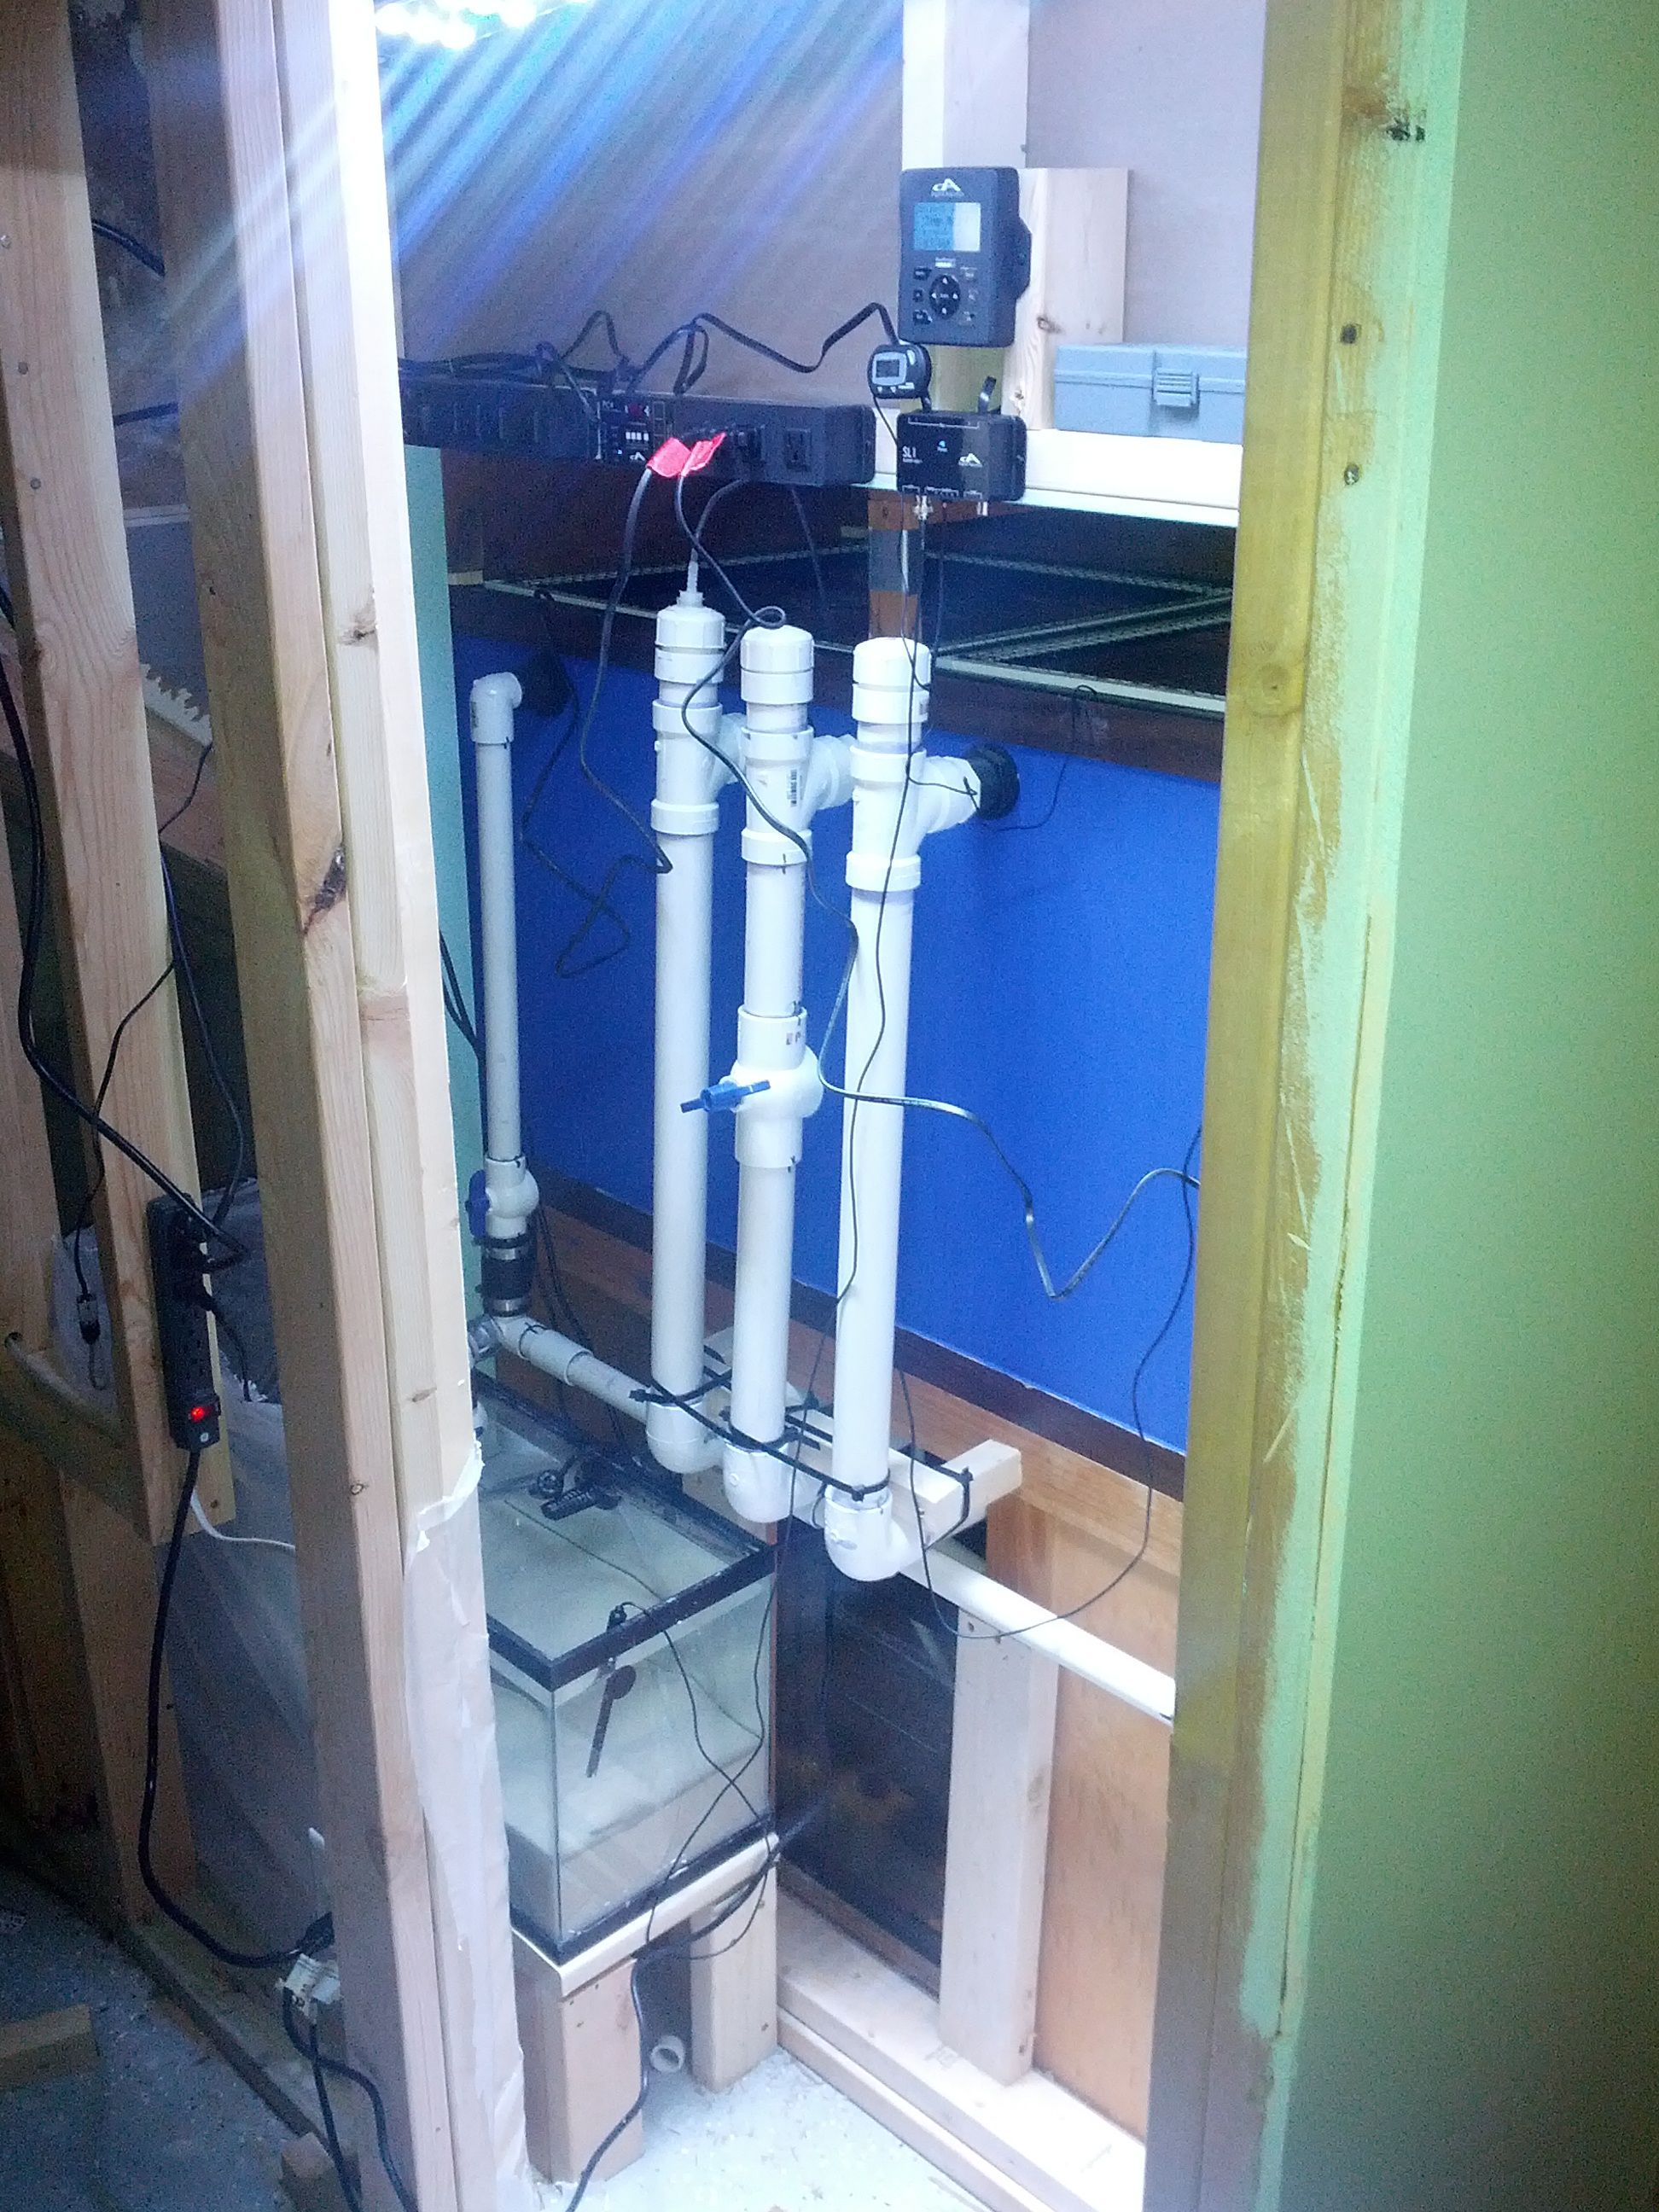
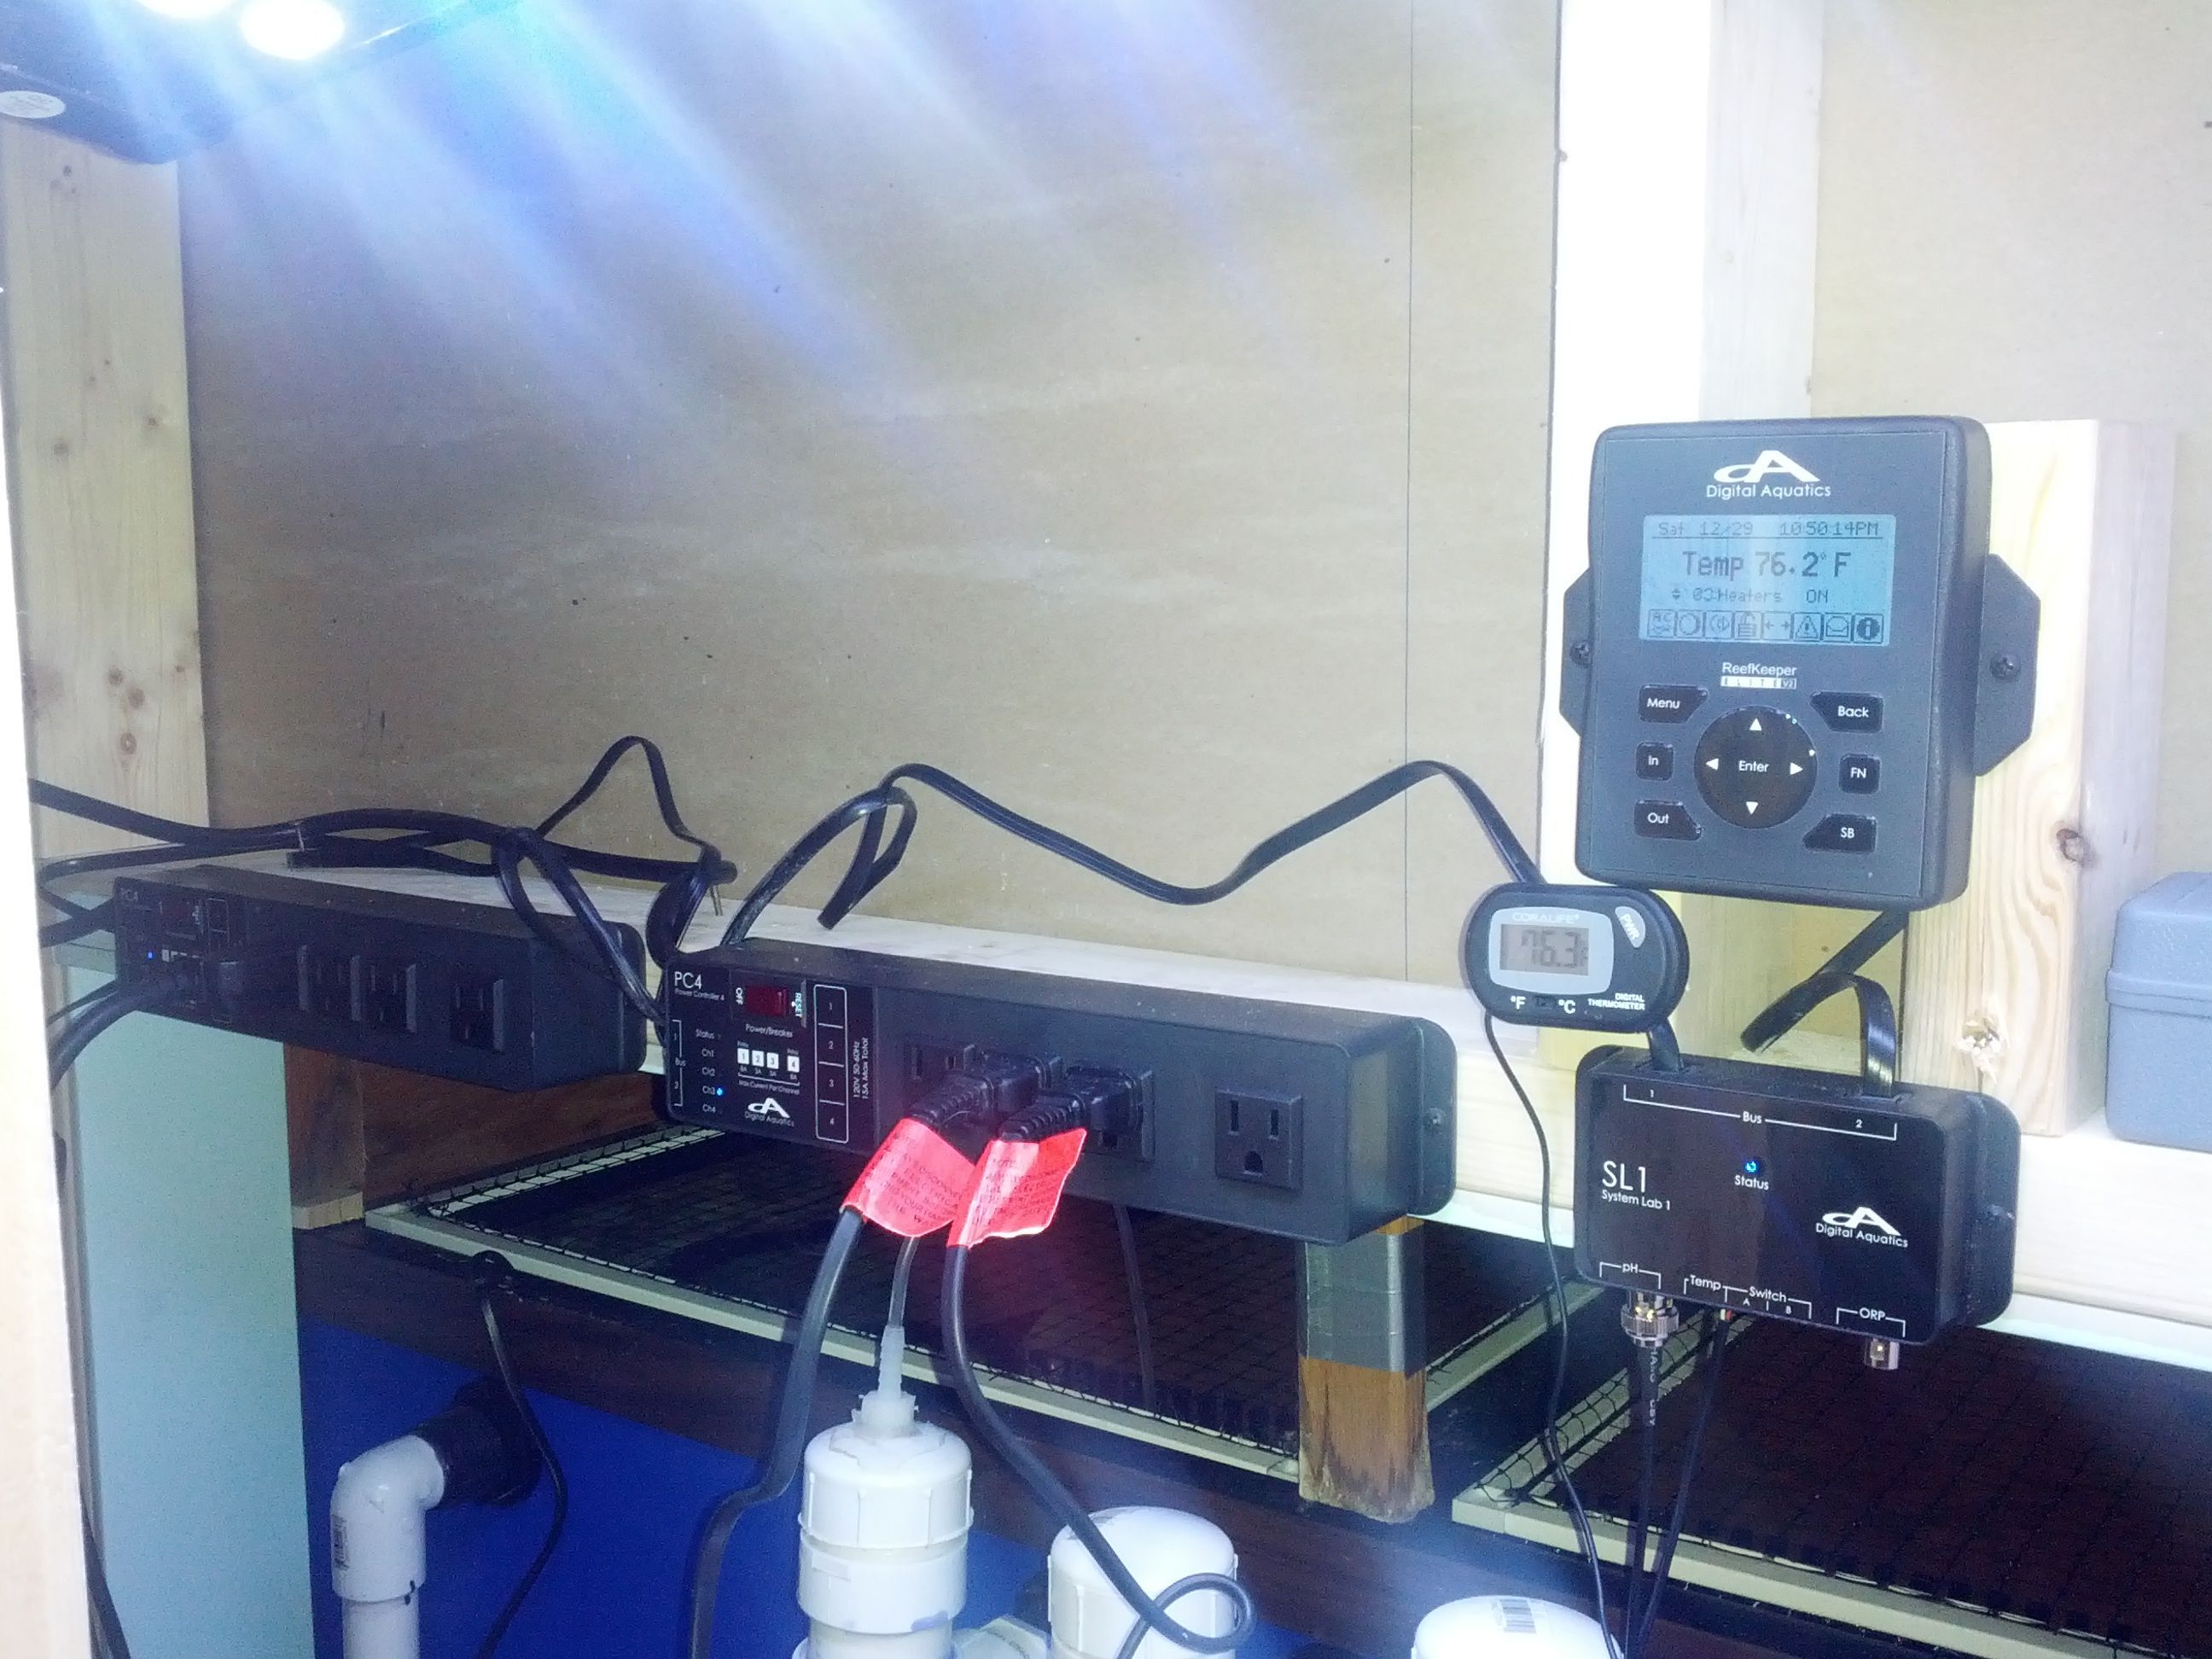
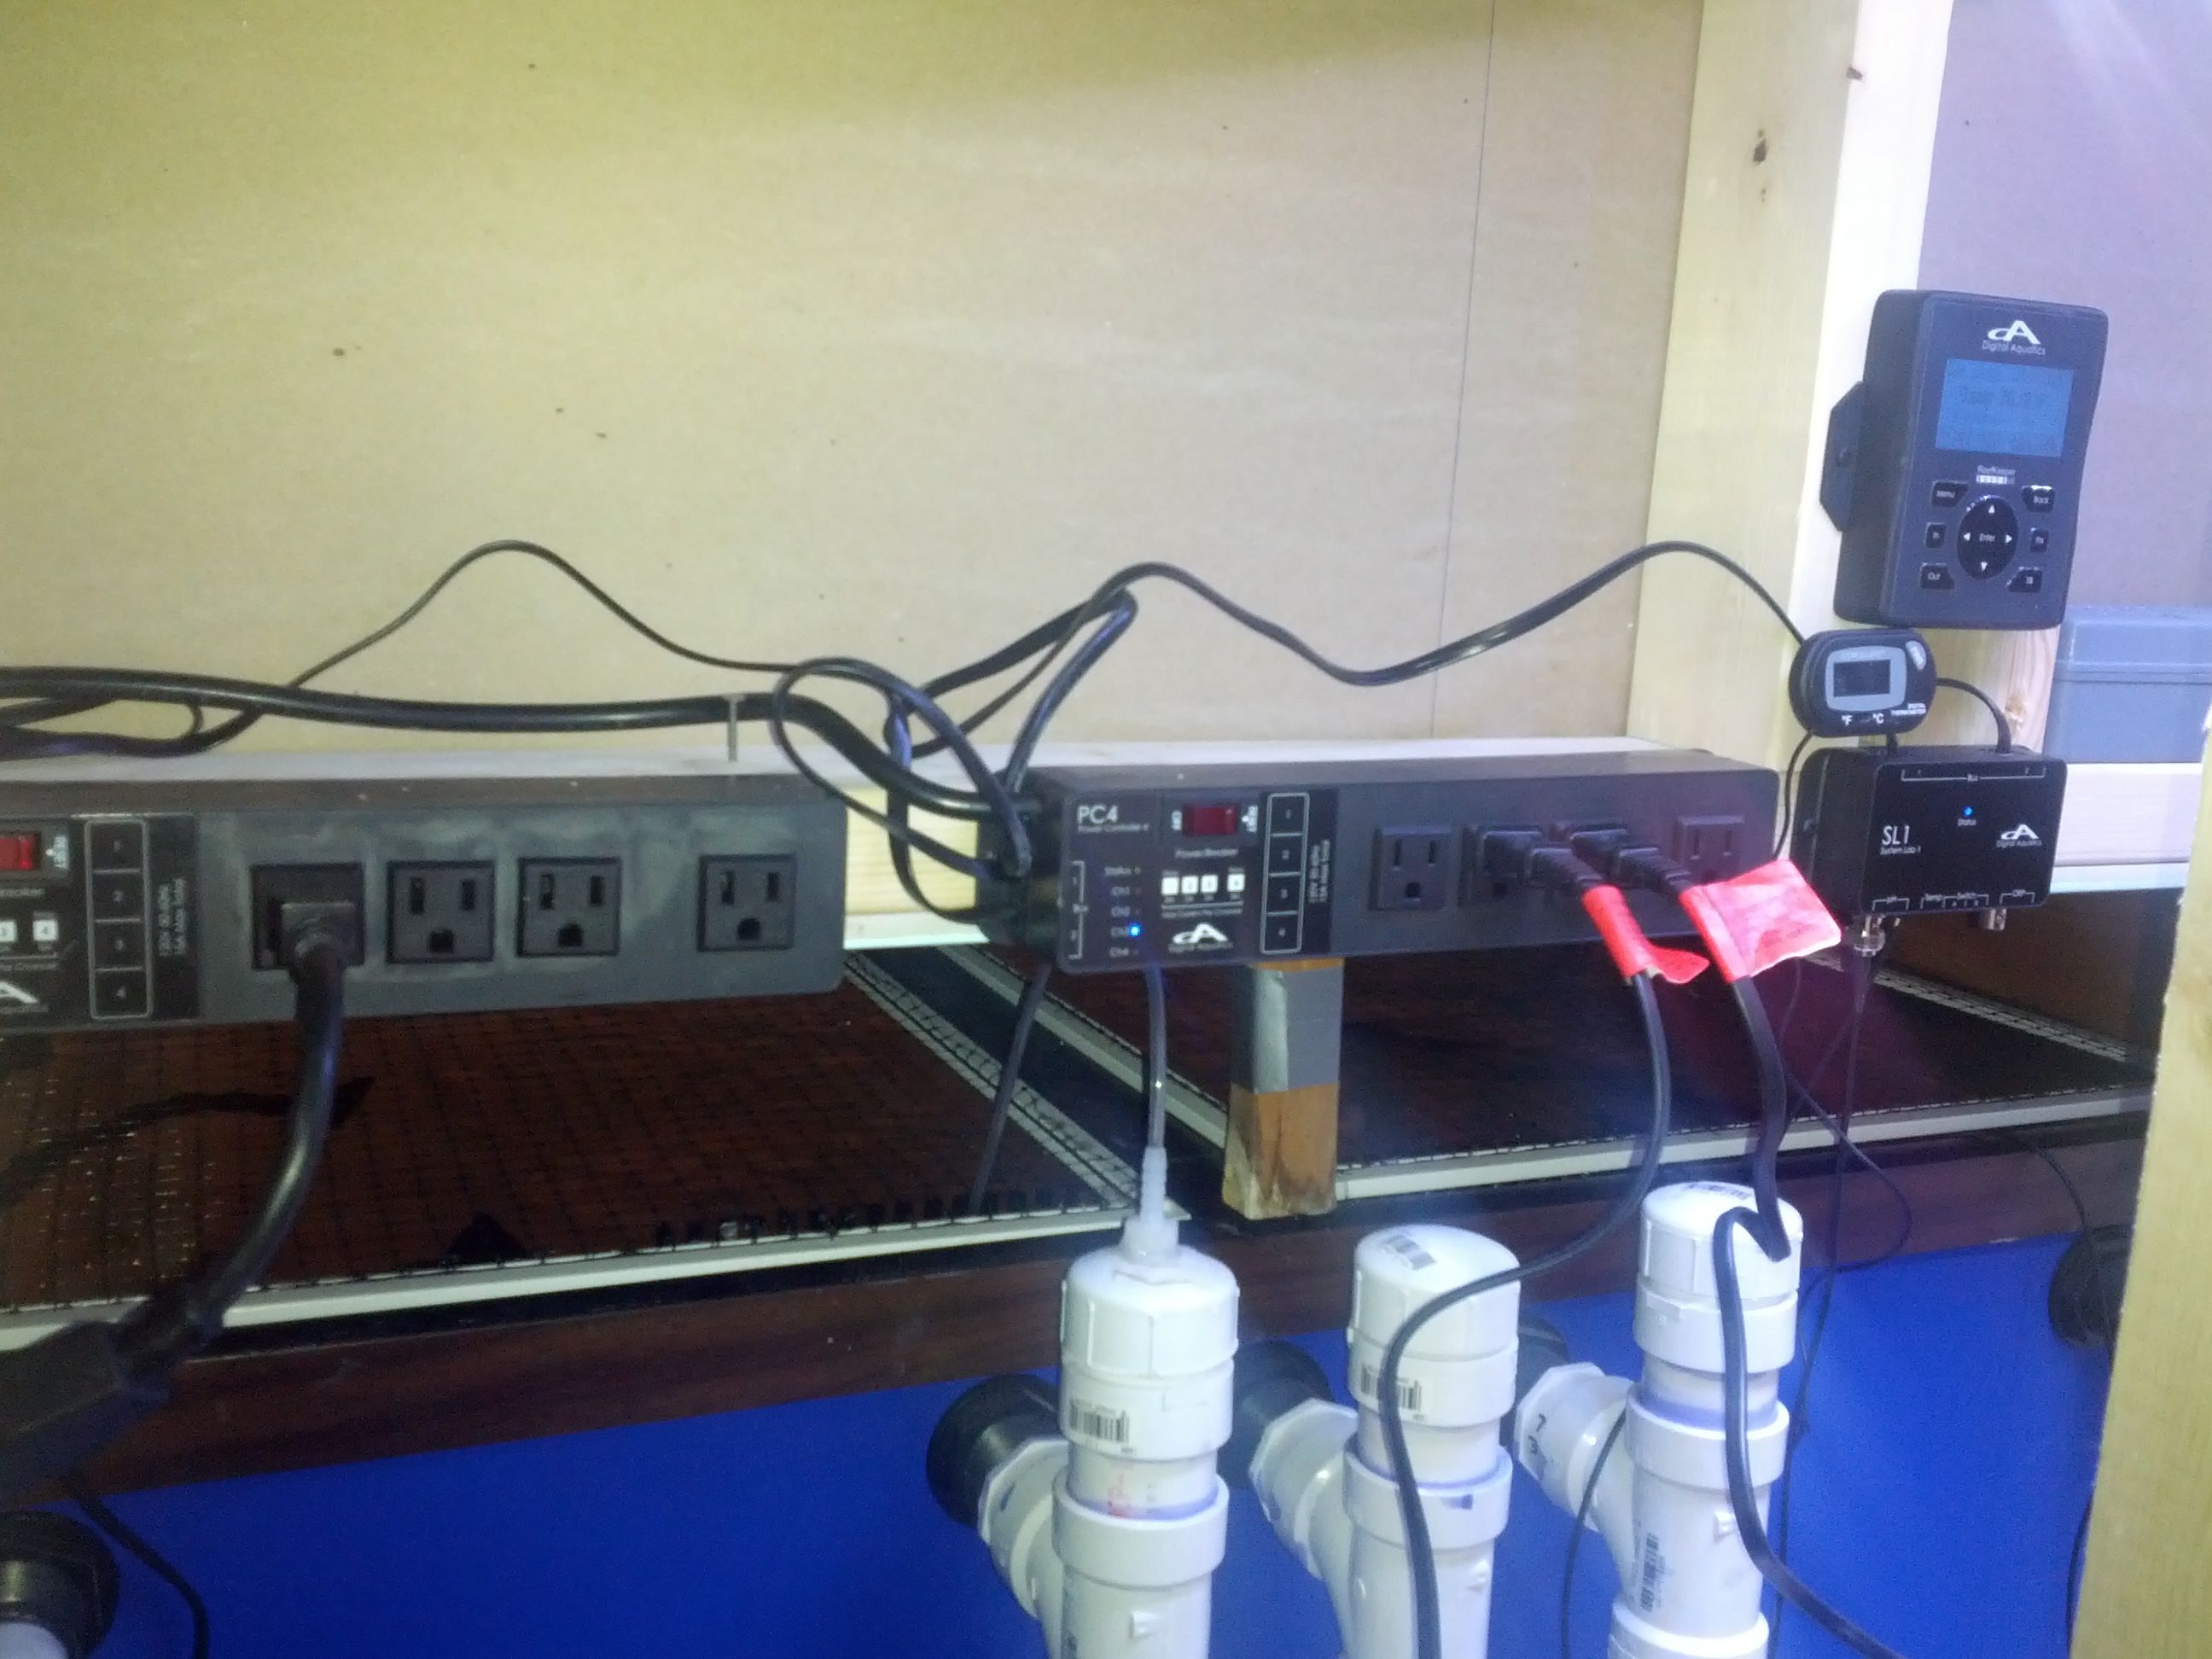
I got the 5 Stage RO/DI installed. Ran the water lines through the walls from the adjacent room to the tank. I'm filling the sump first via the bean animal overflow. Seem to be working great! However I did make a small error with the RO/DI. About 2 am I put the water line in the sump. I came down this morning and there couldn't have been more then 3 gallons of water. Over 8 hours, that didn't seem right!
I found that the unit I bought had a flush membrane valve which was open. I closed it and now I'm making a steady stream of RO/DI water. Frustrating that I wasted all that water. Lesson learned.
Those little things happen.....No harm though!!!!!!
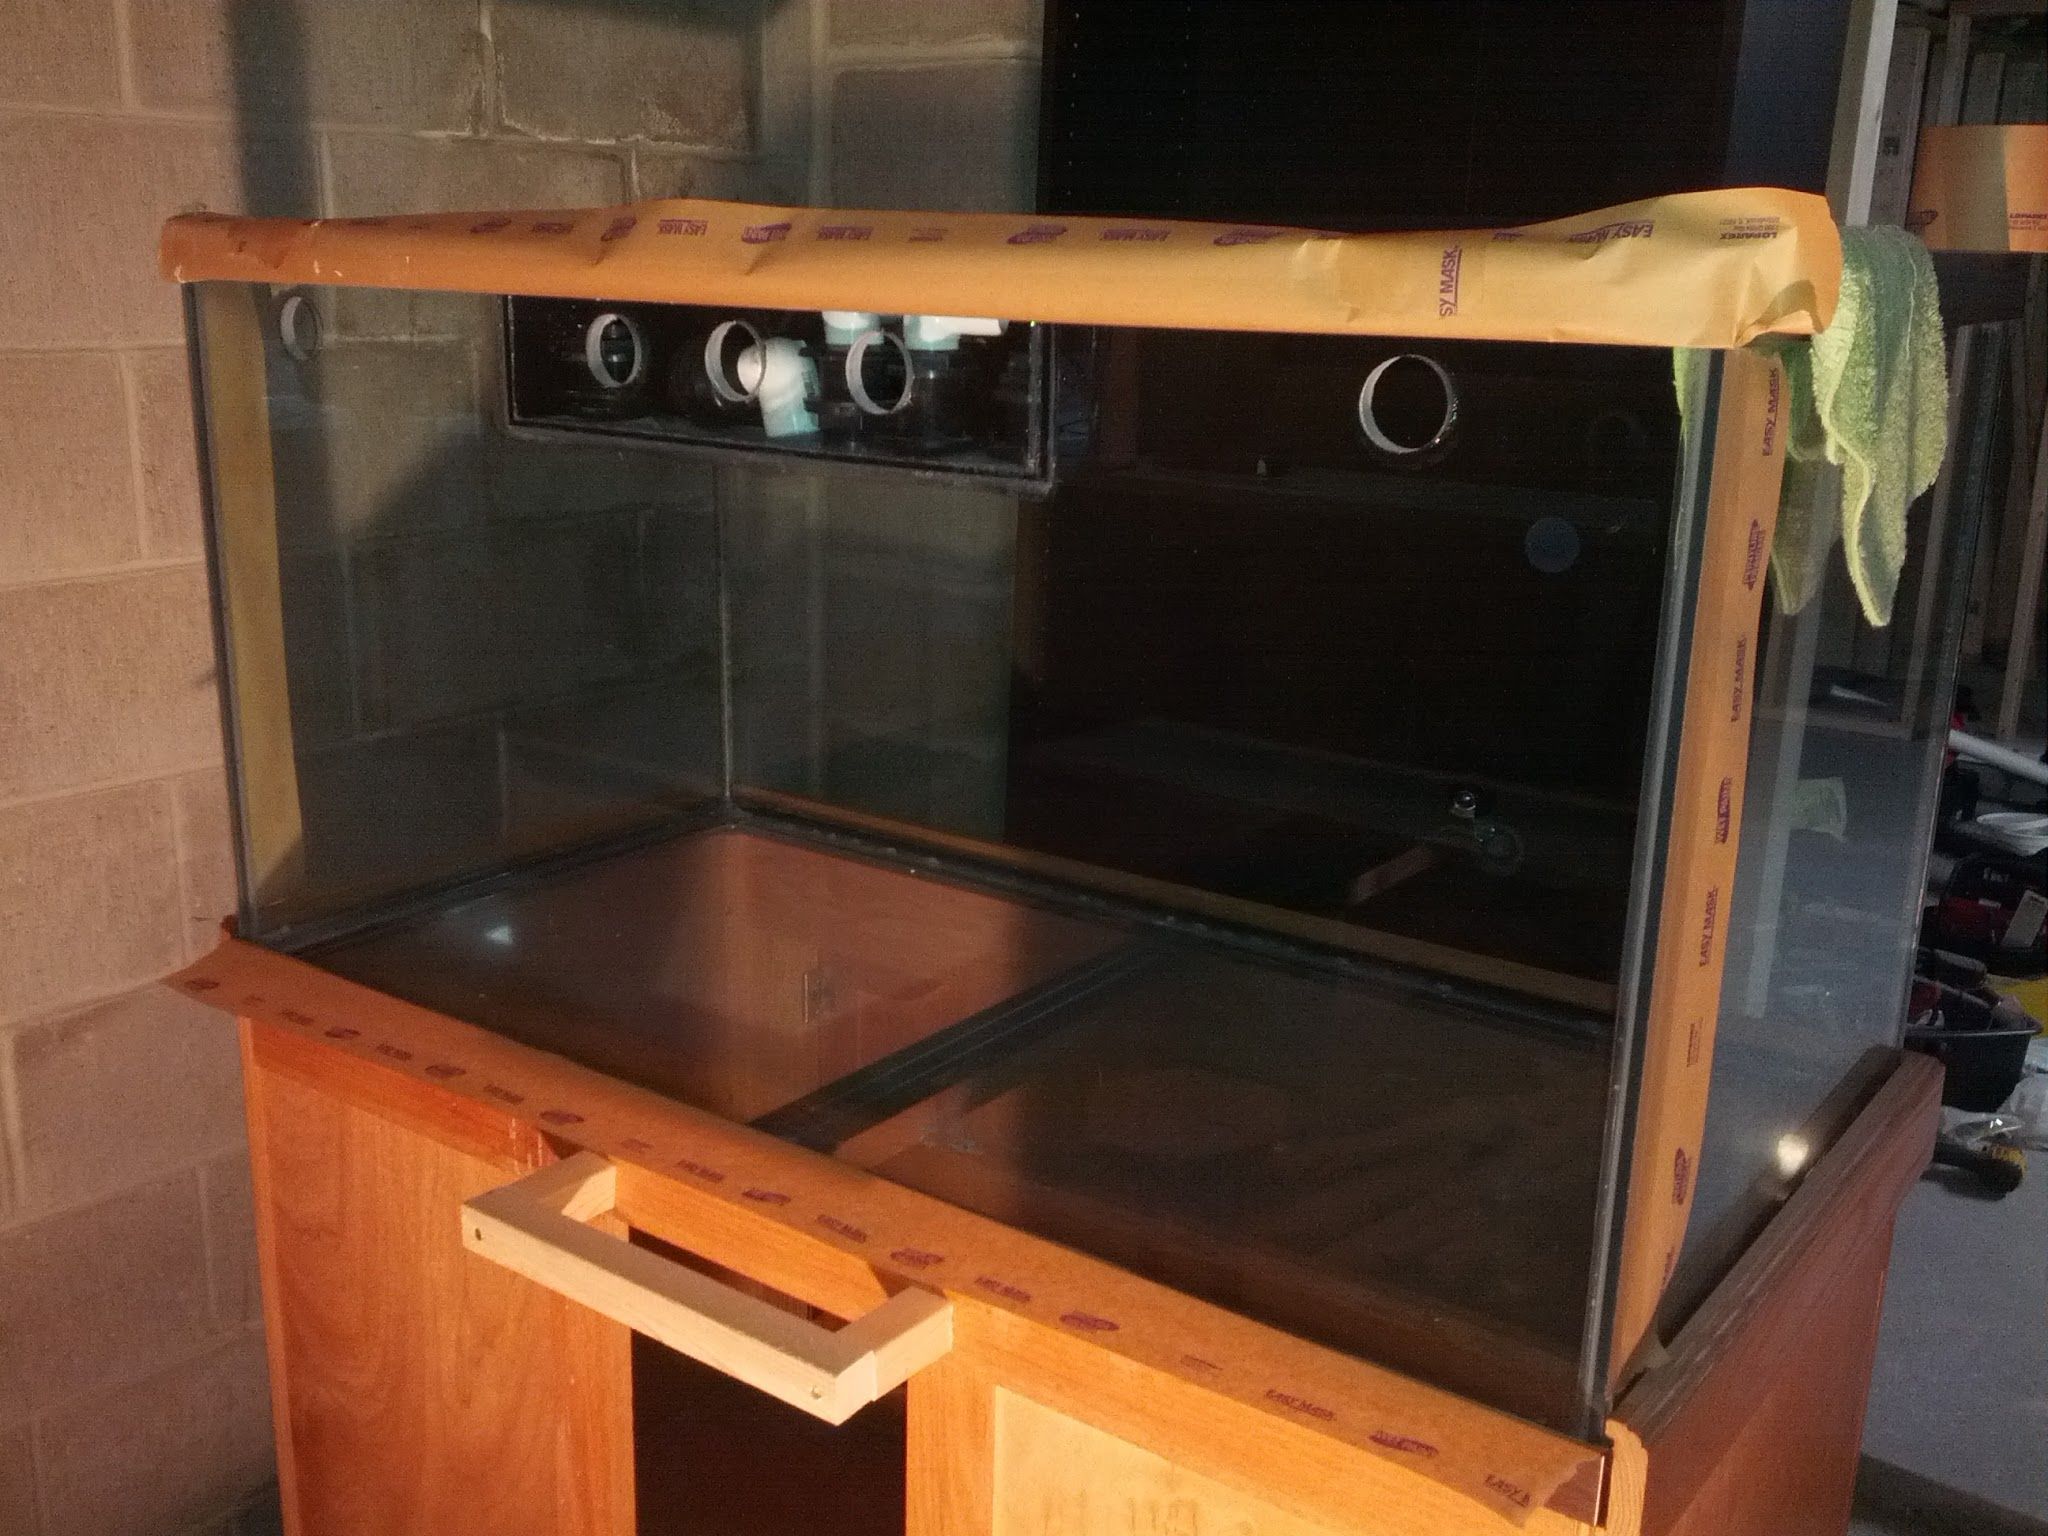
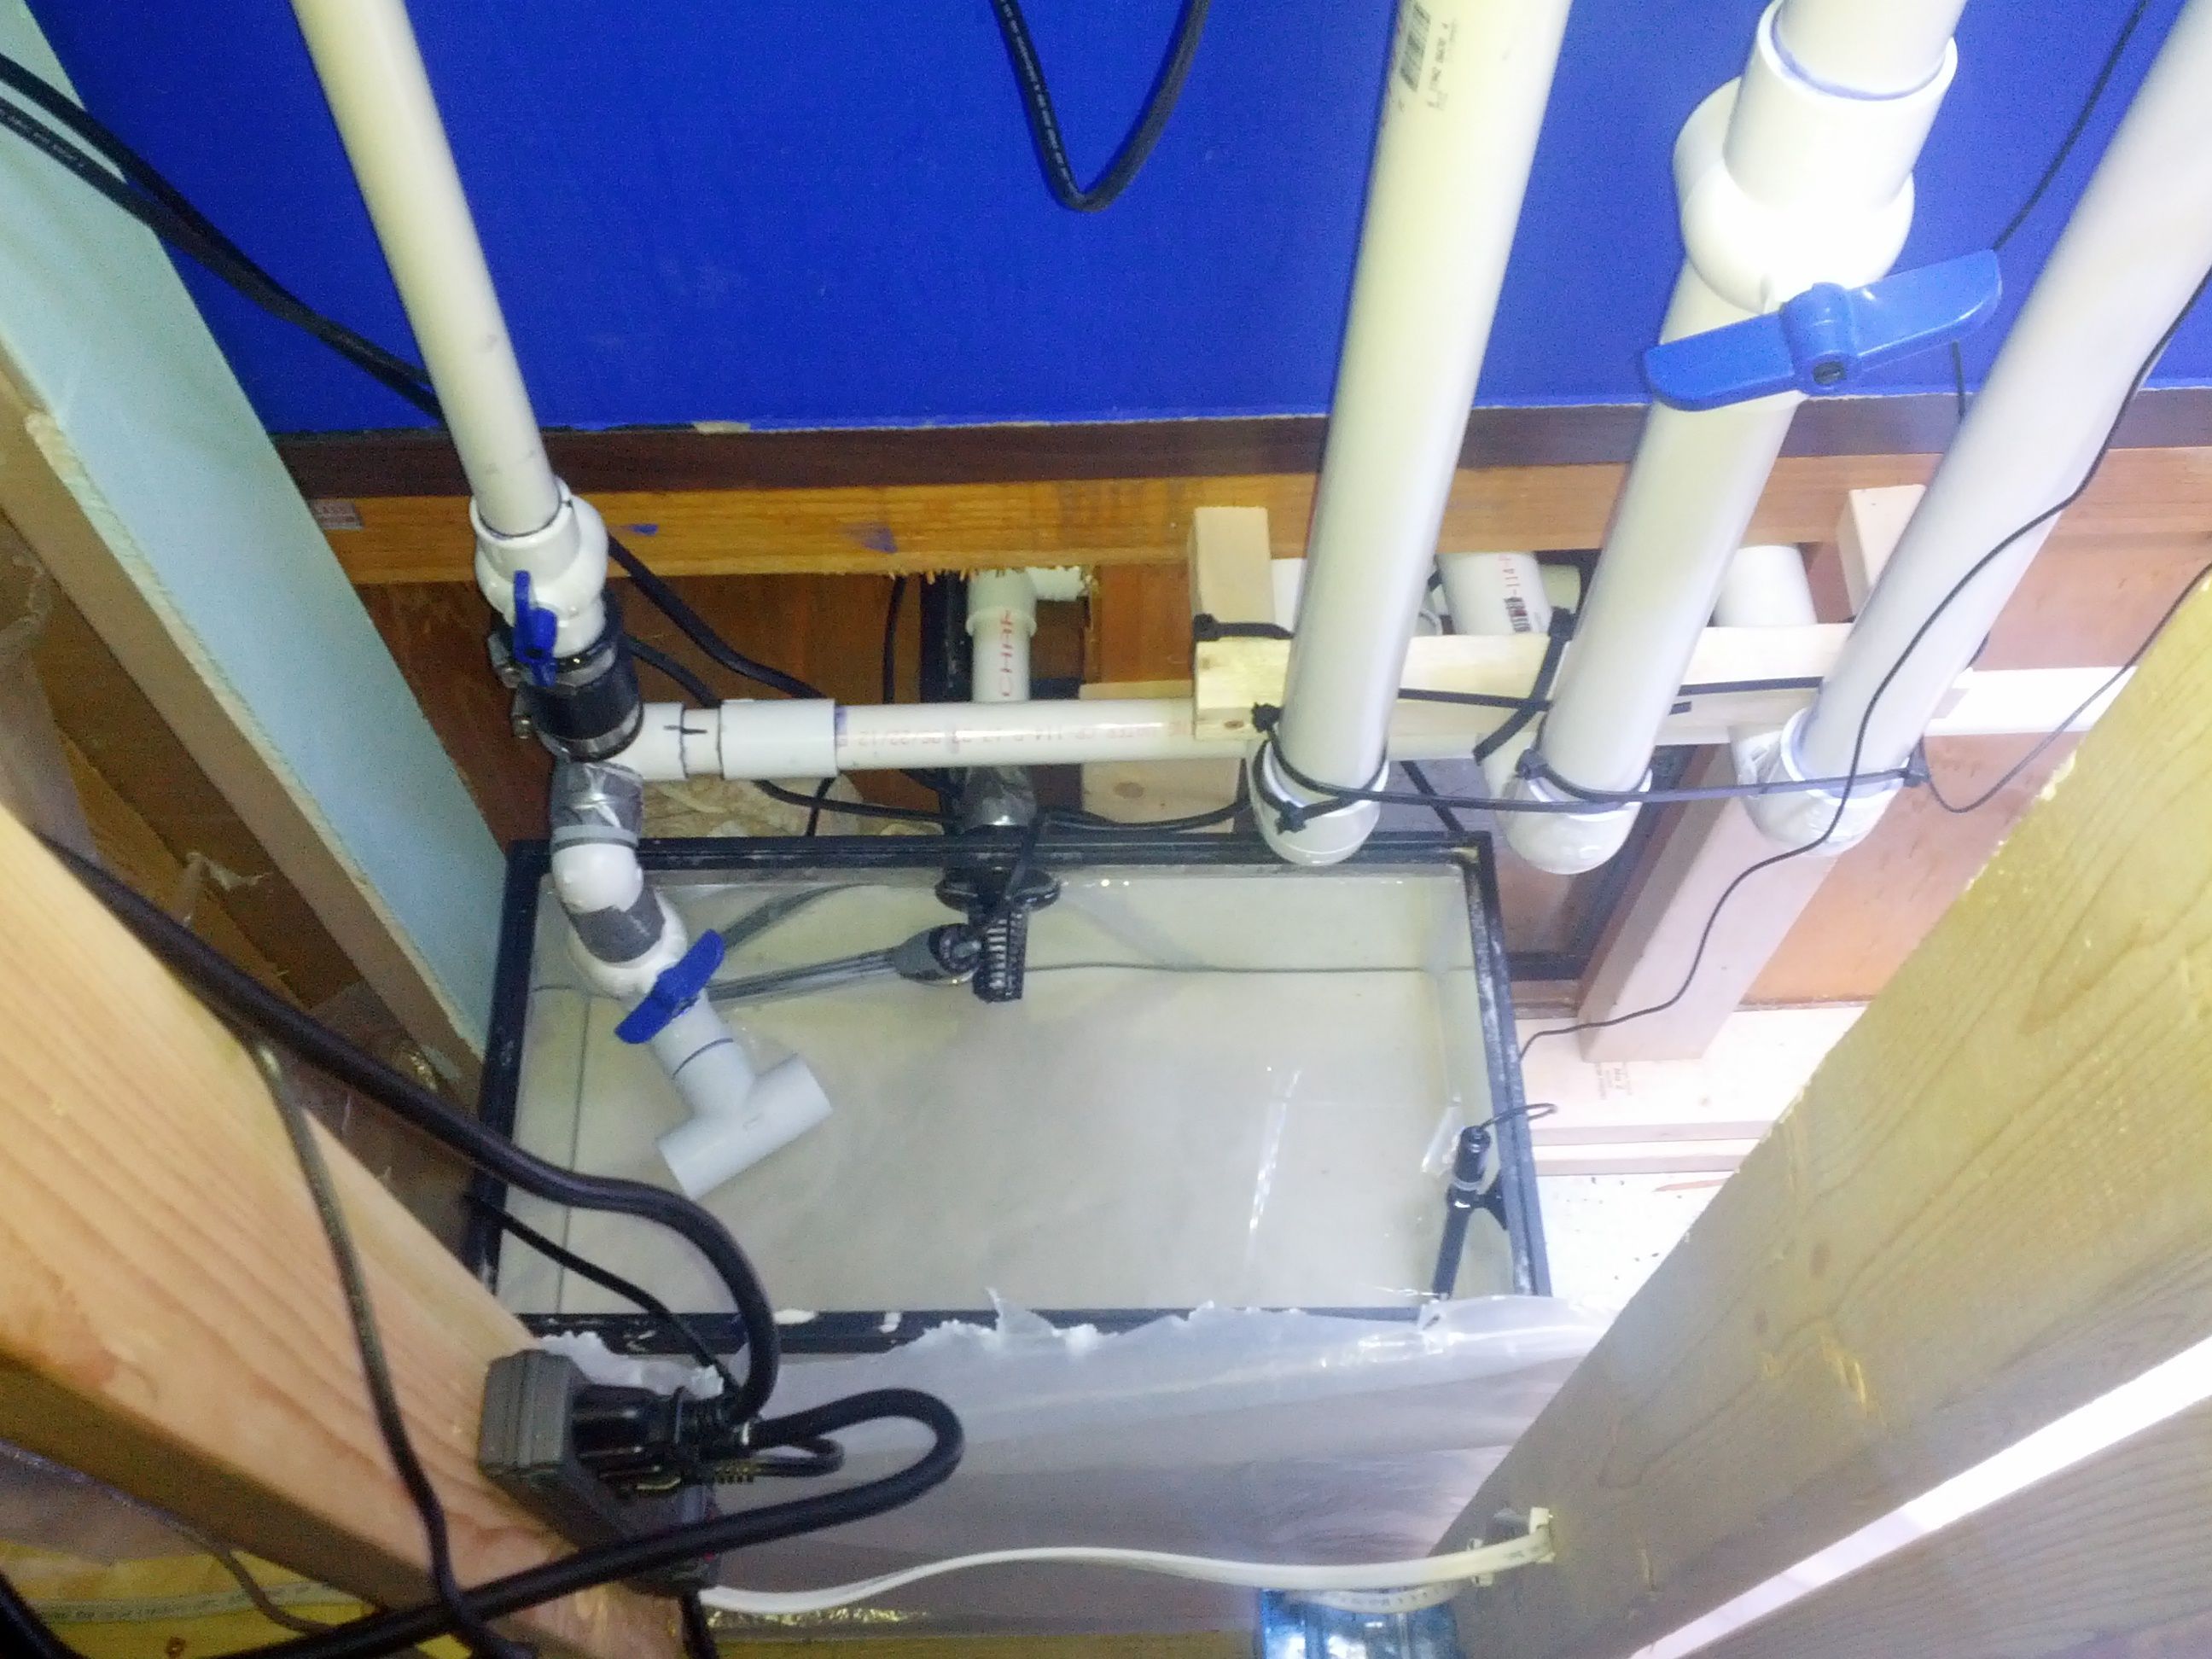
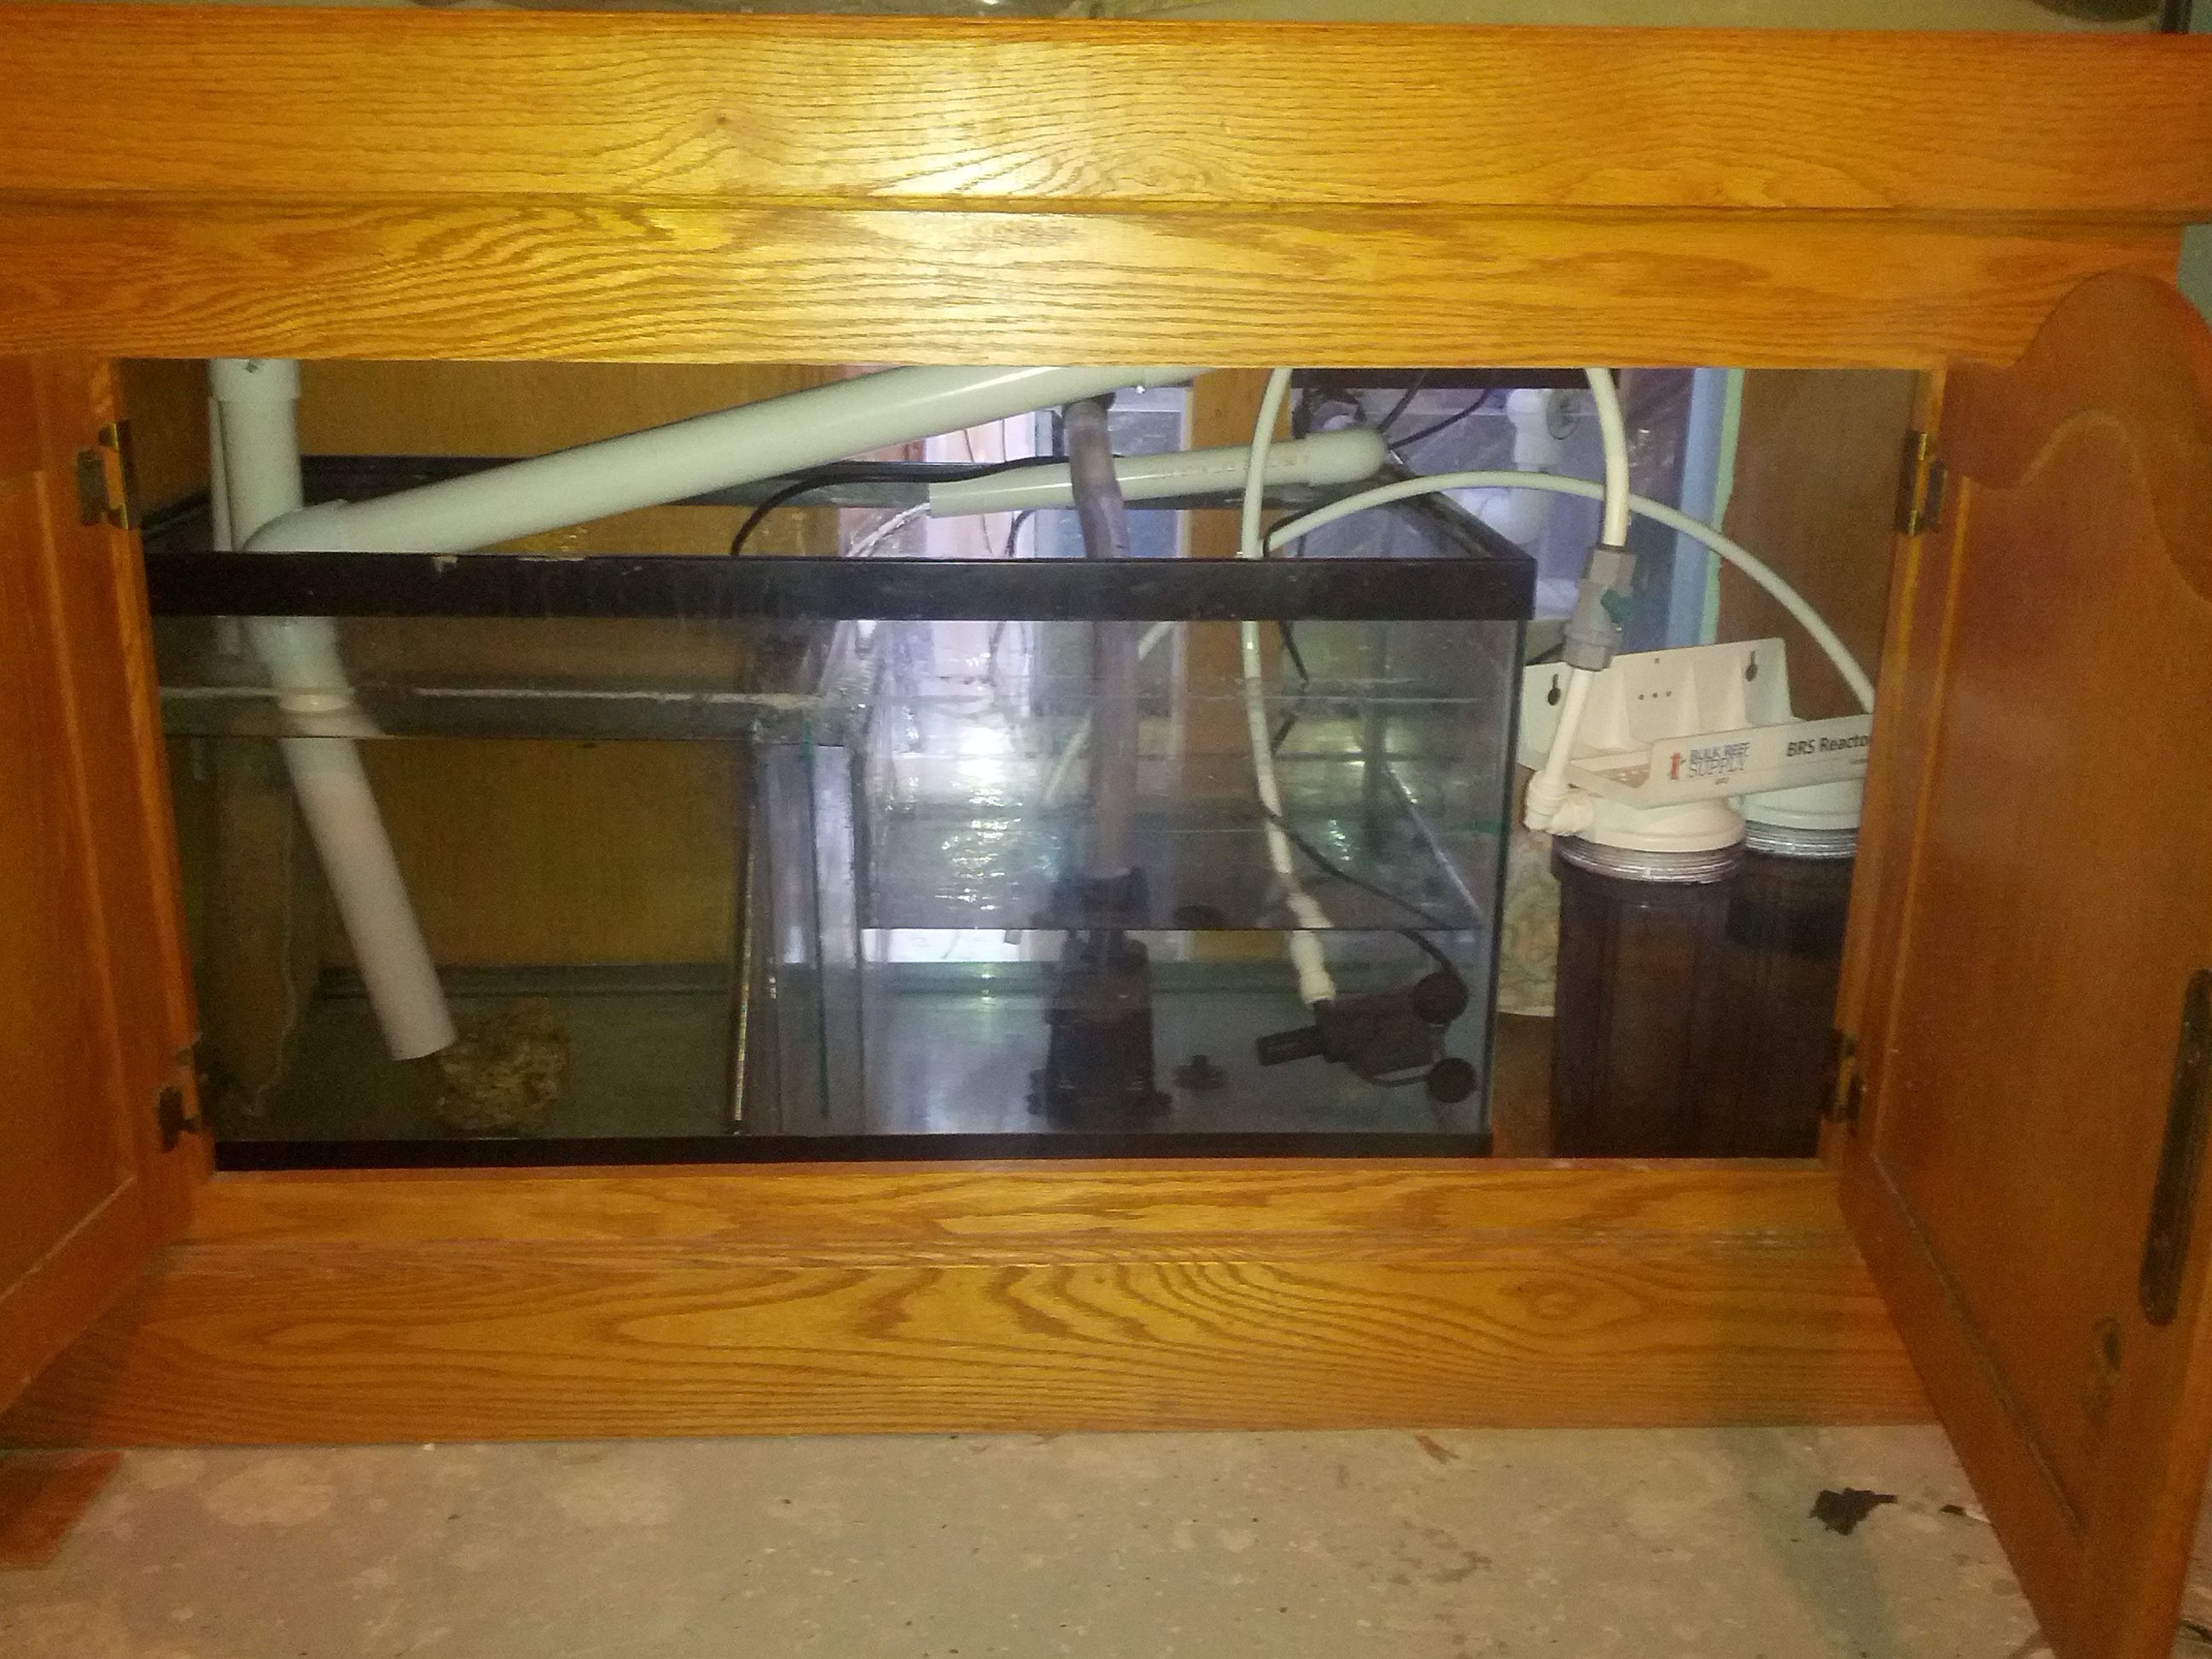
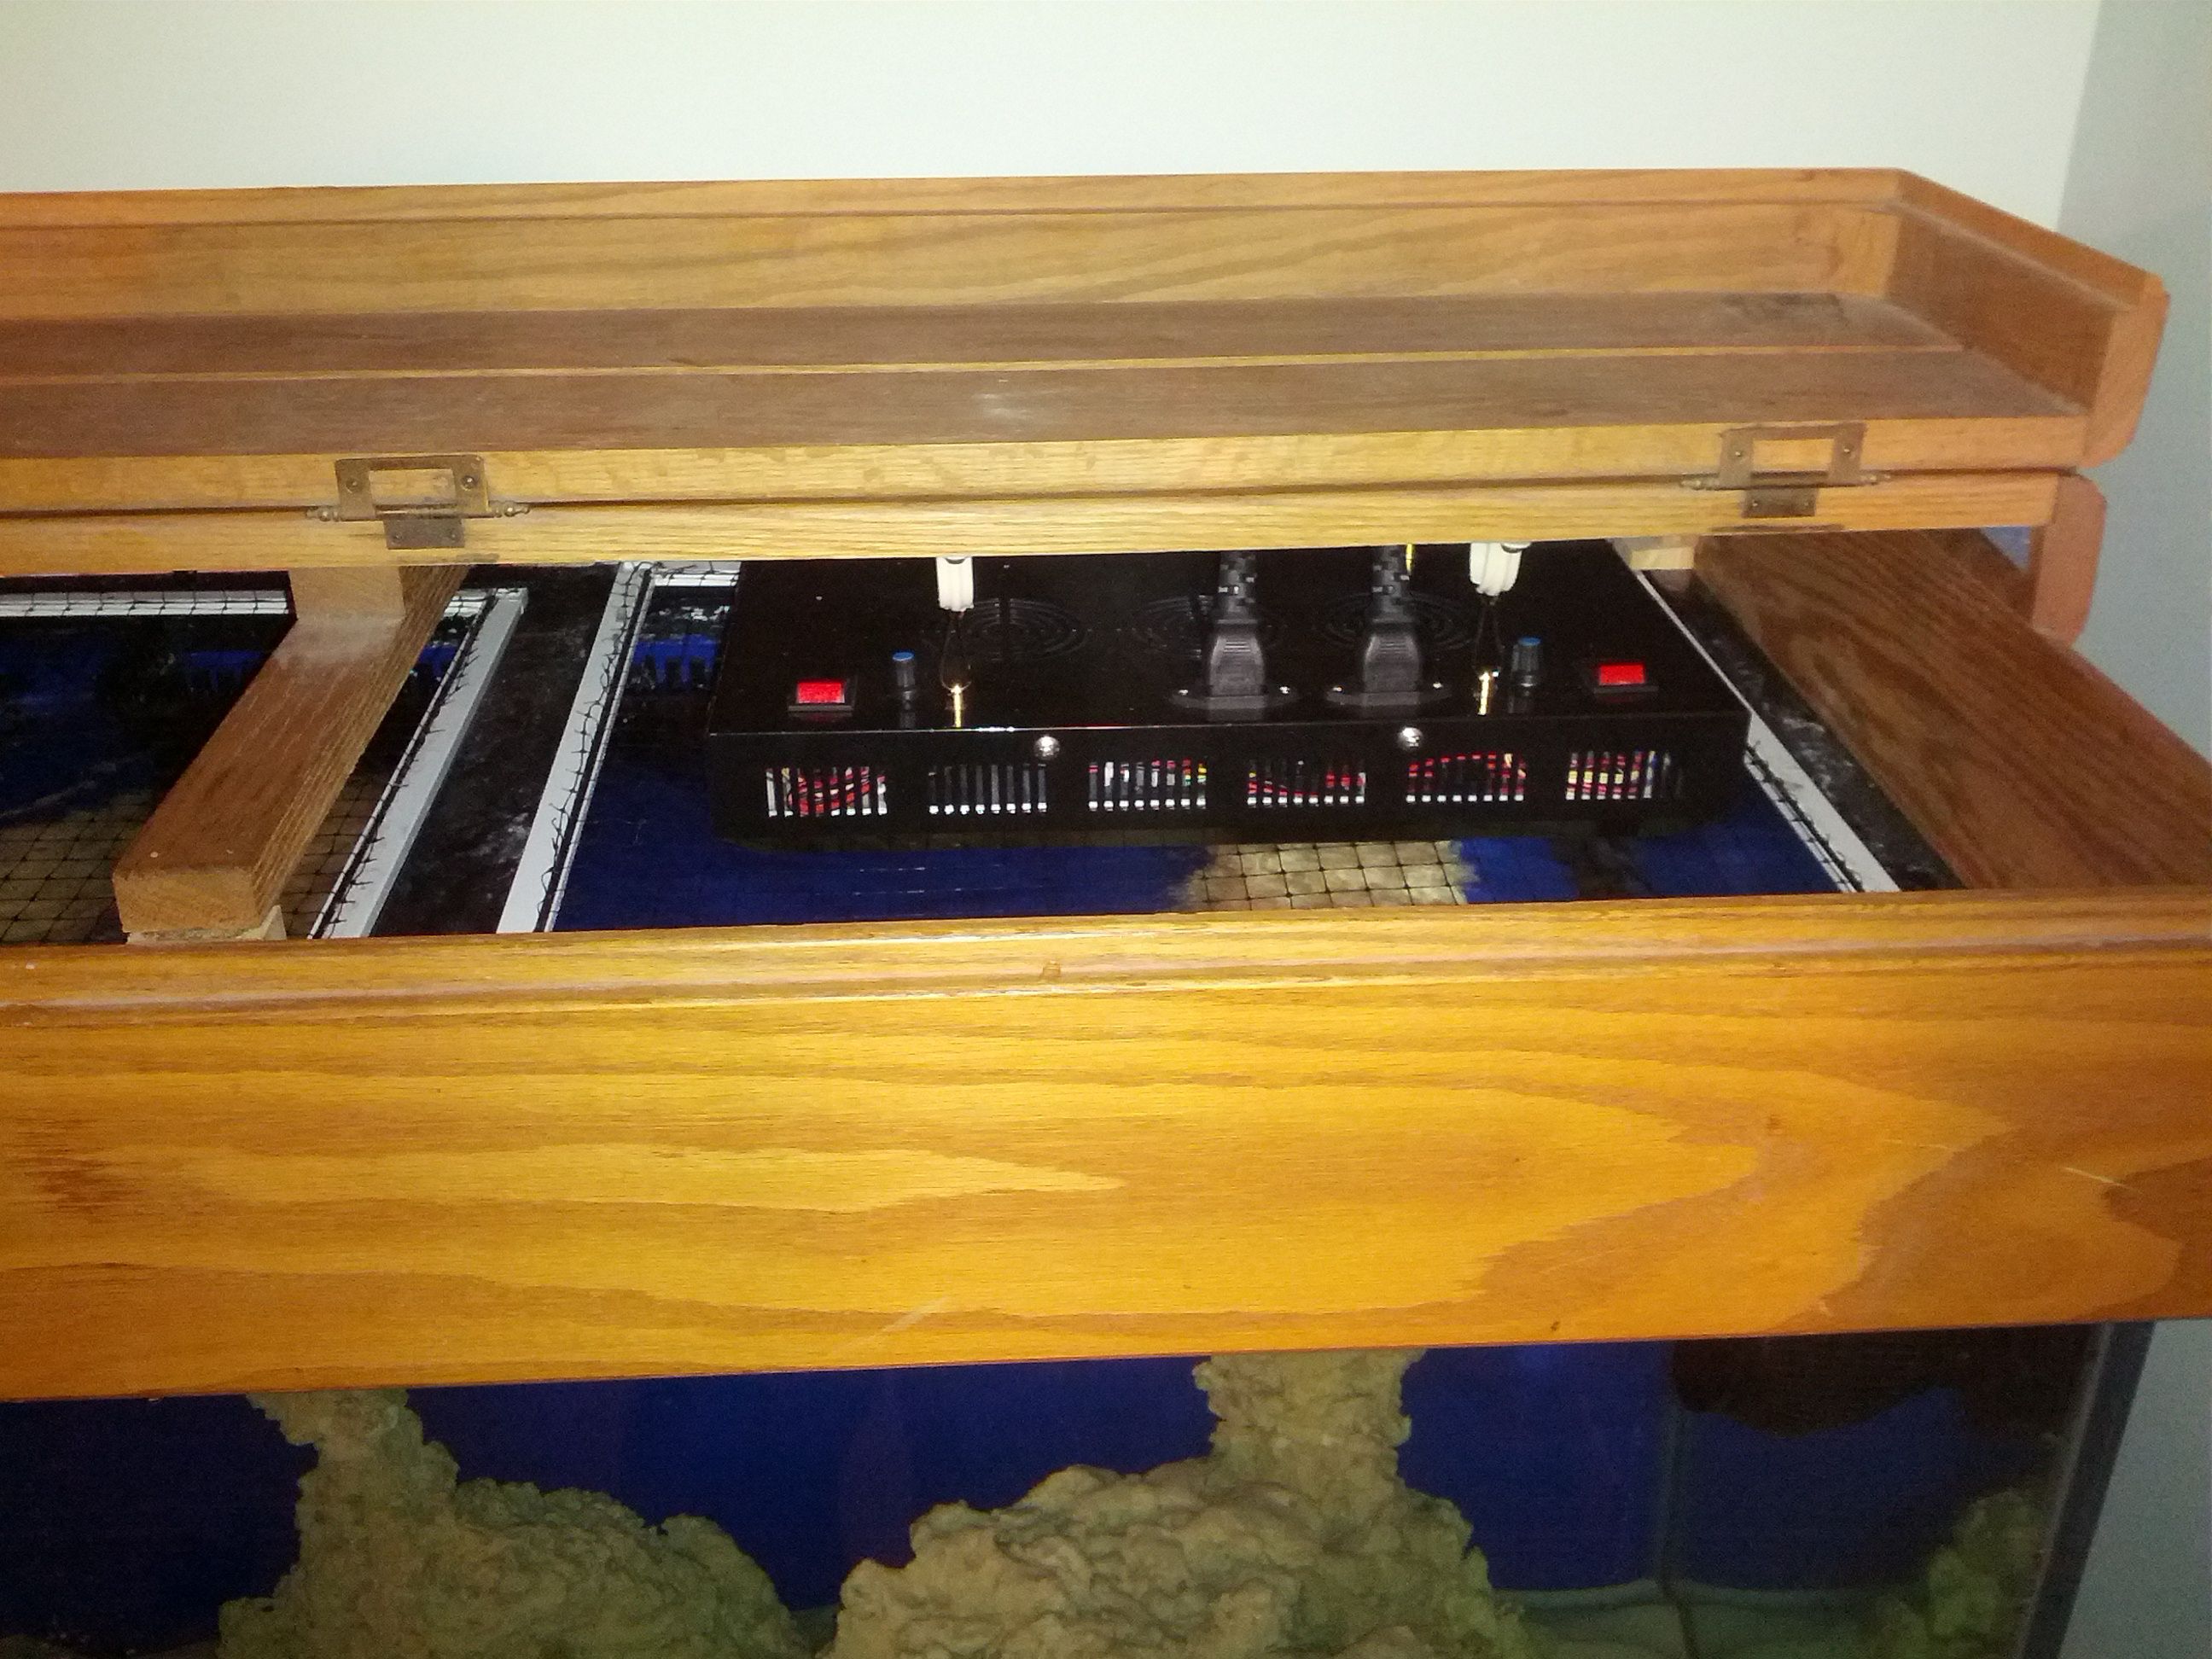
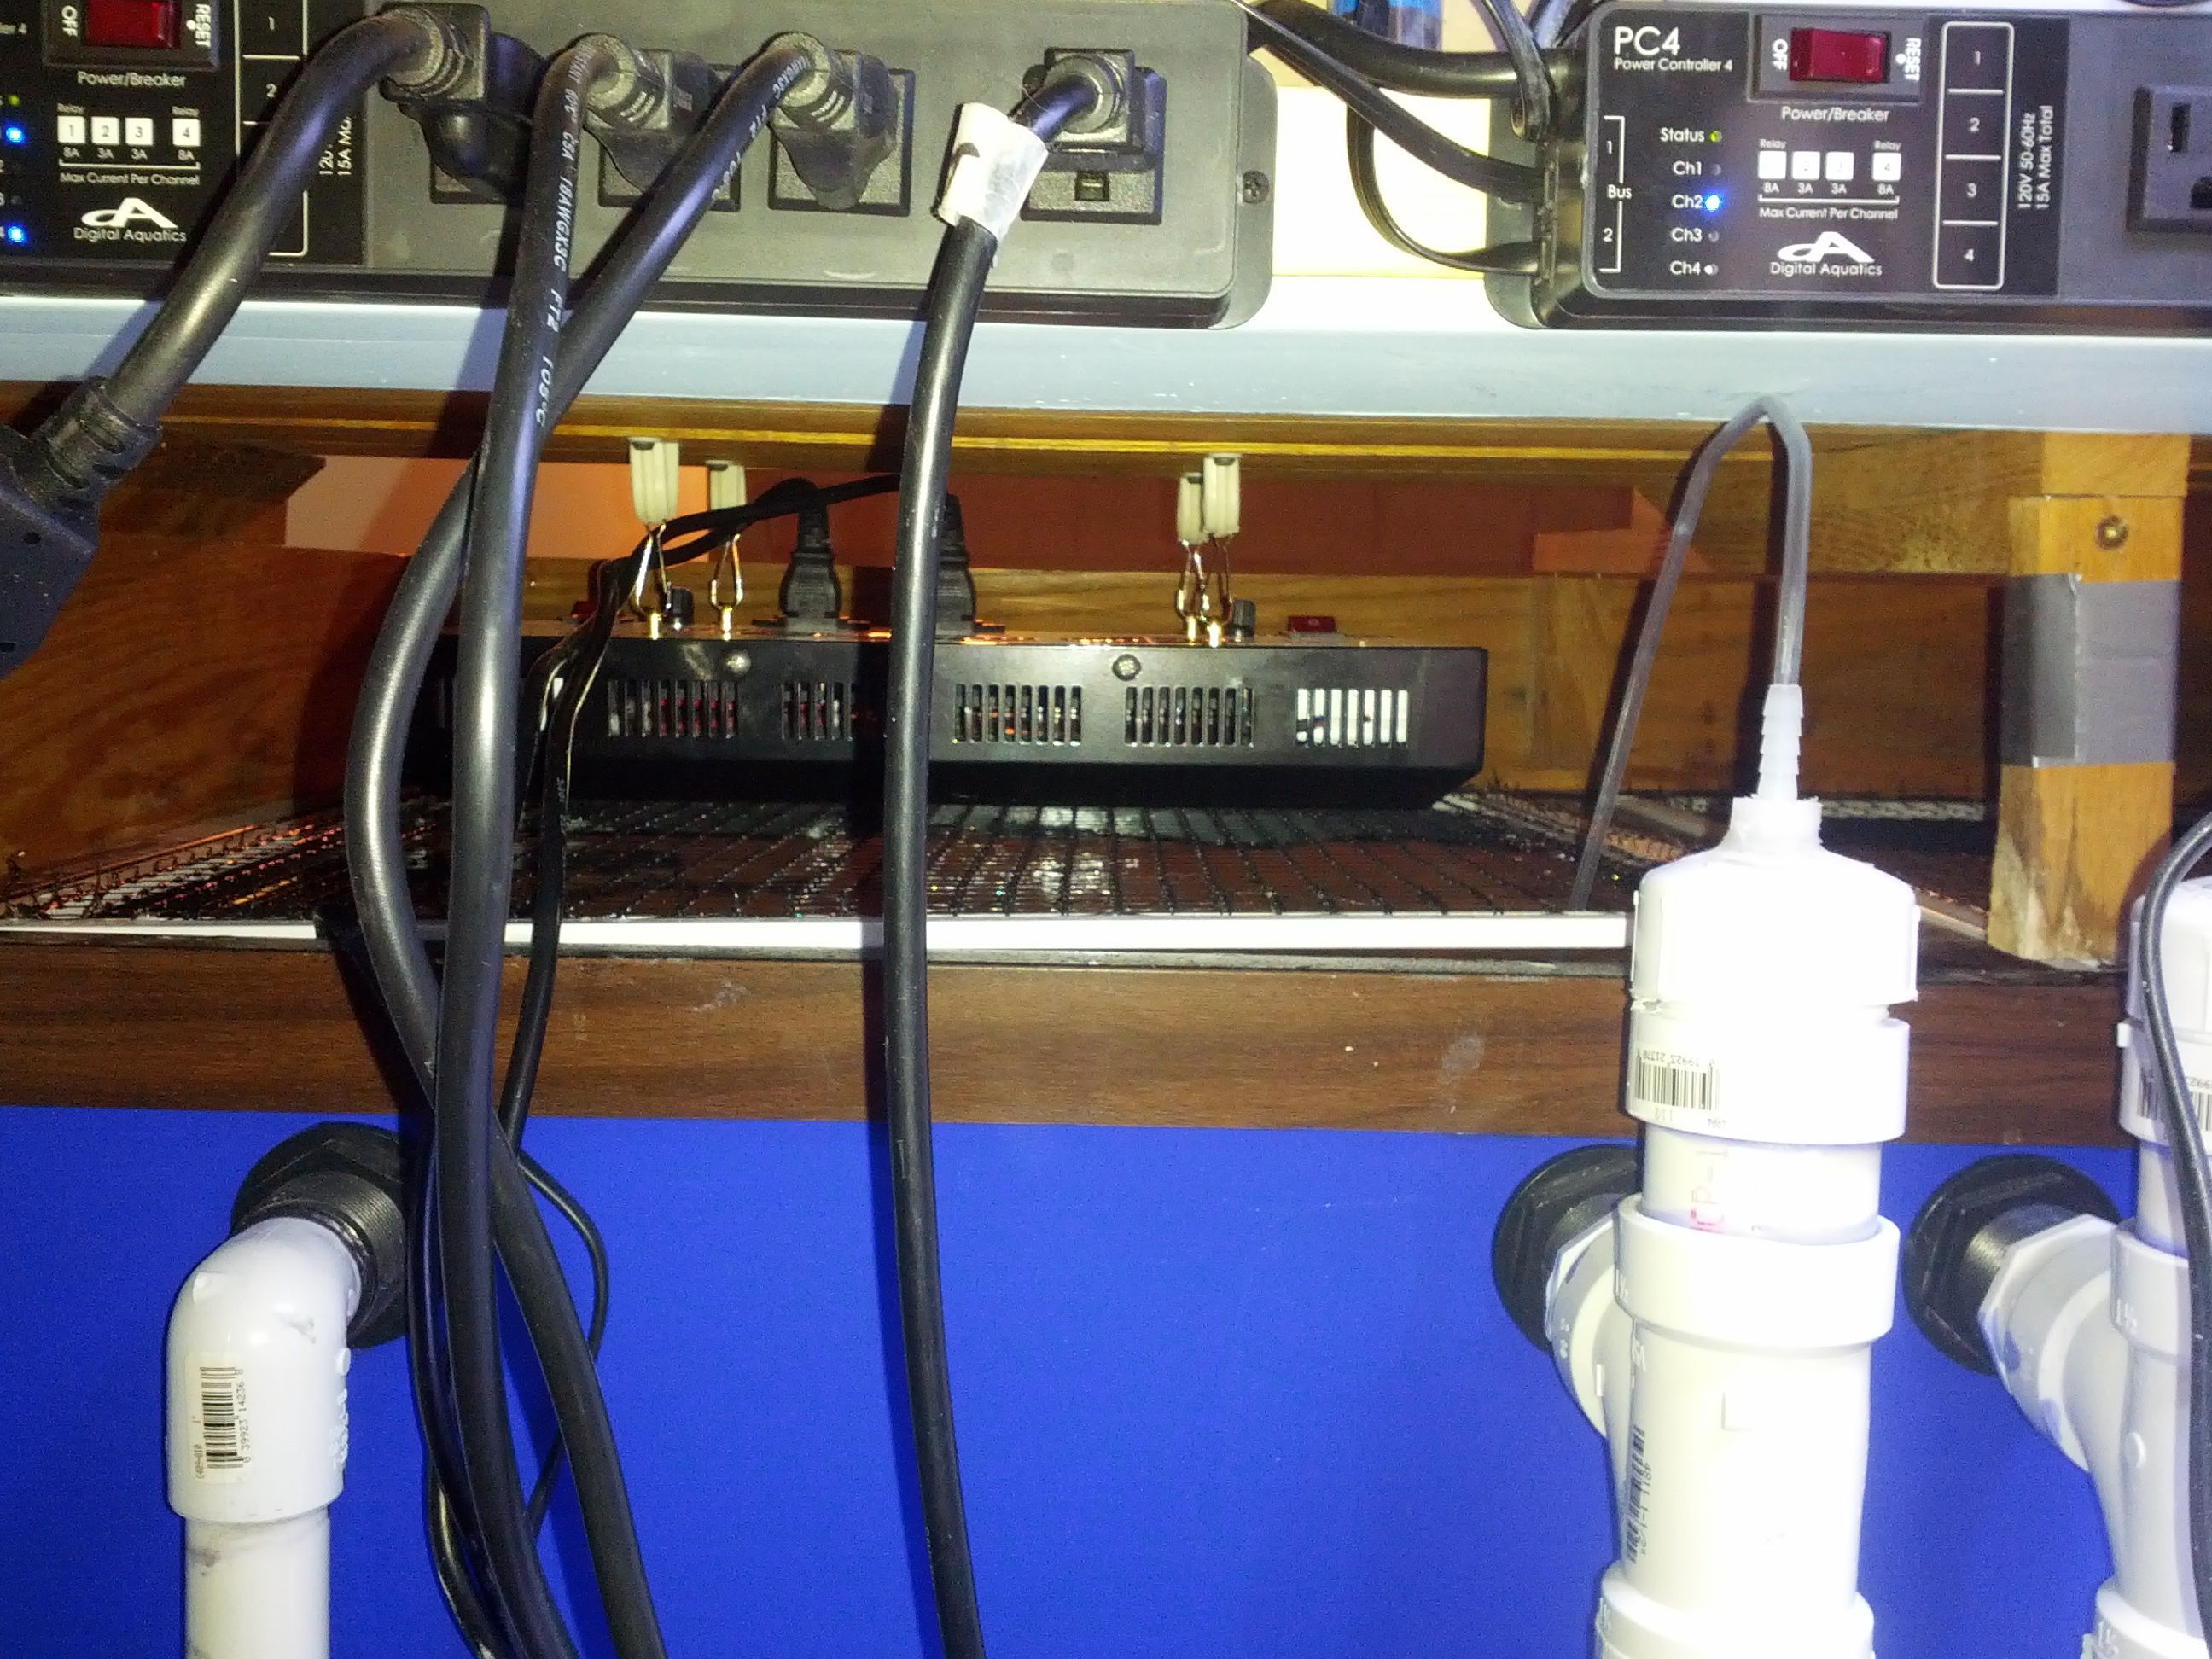
I also got the 10 gallon refugium tank drilled and installed with the bulkhead and filter. Everything fit under the cabinet, but it is not easy by any means to get into either tank. Not a lot of clearance, but I'll just have to manage at this point. Not anything I can't work around.
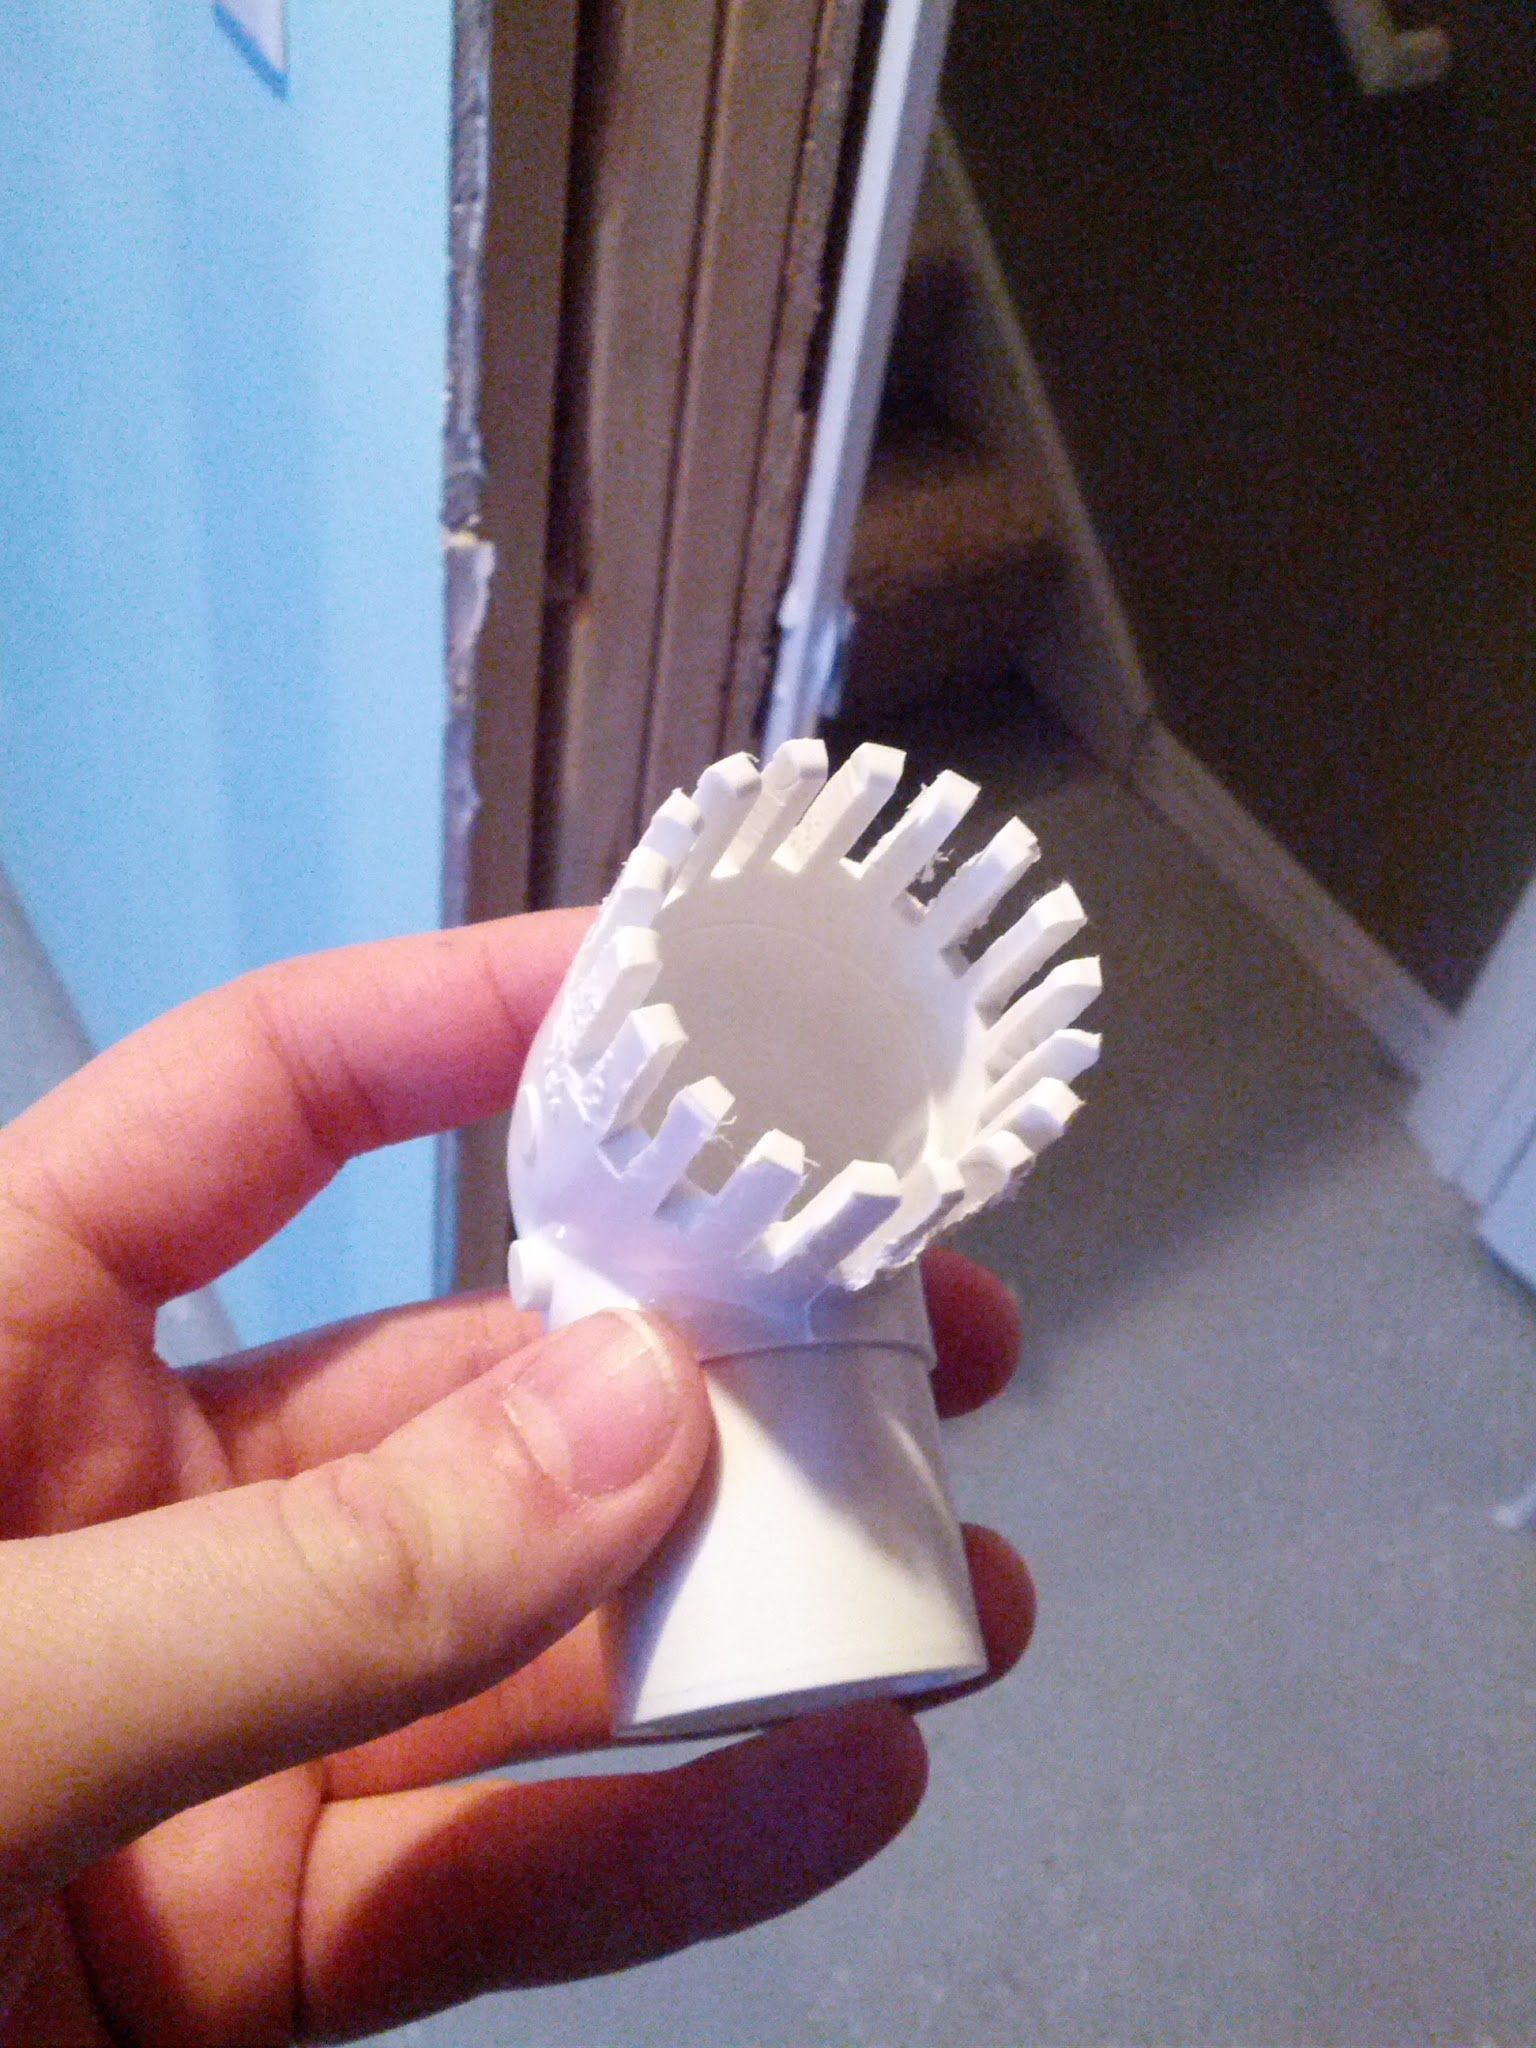
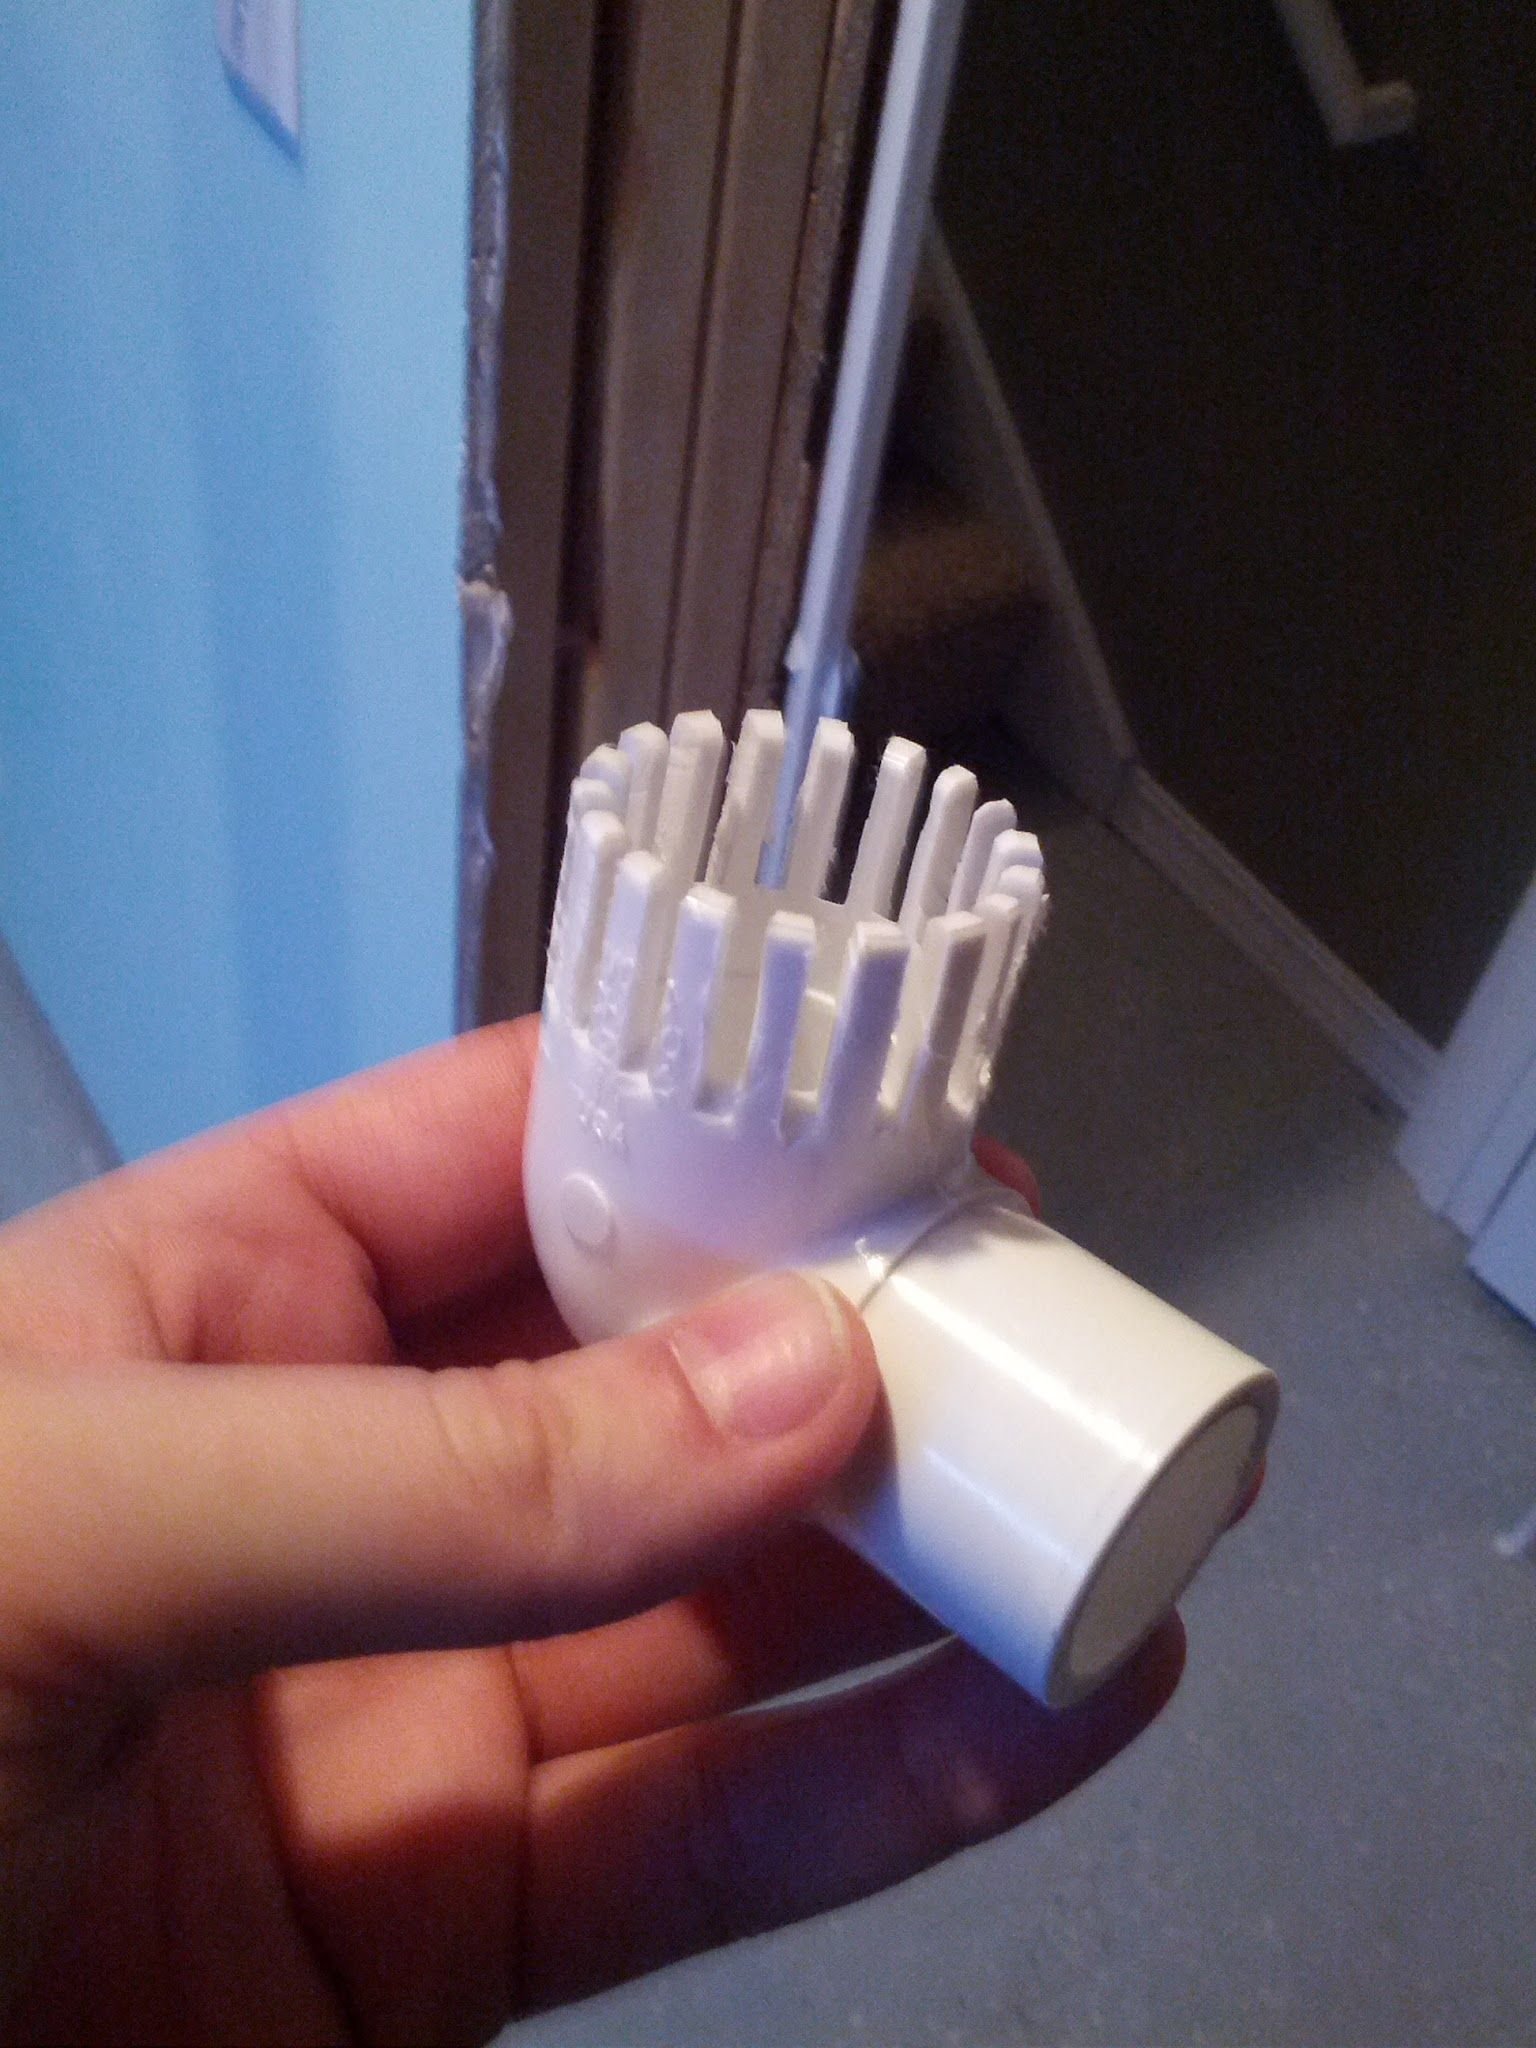
I also used a dremel tool to make my overflow elbows have a filtered finish. That i do have a picture of. I'm happy with they way they all turned out.
L
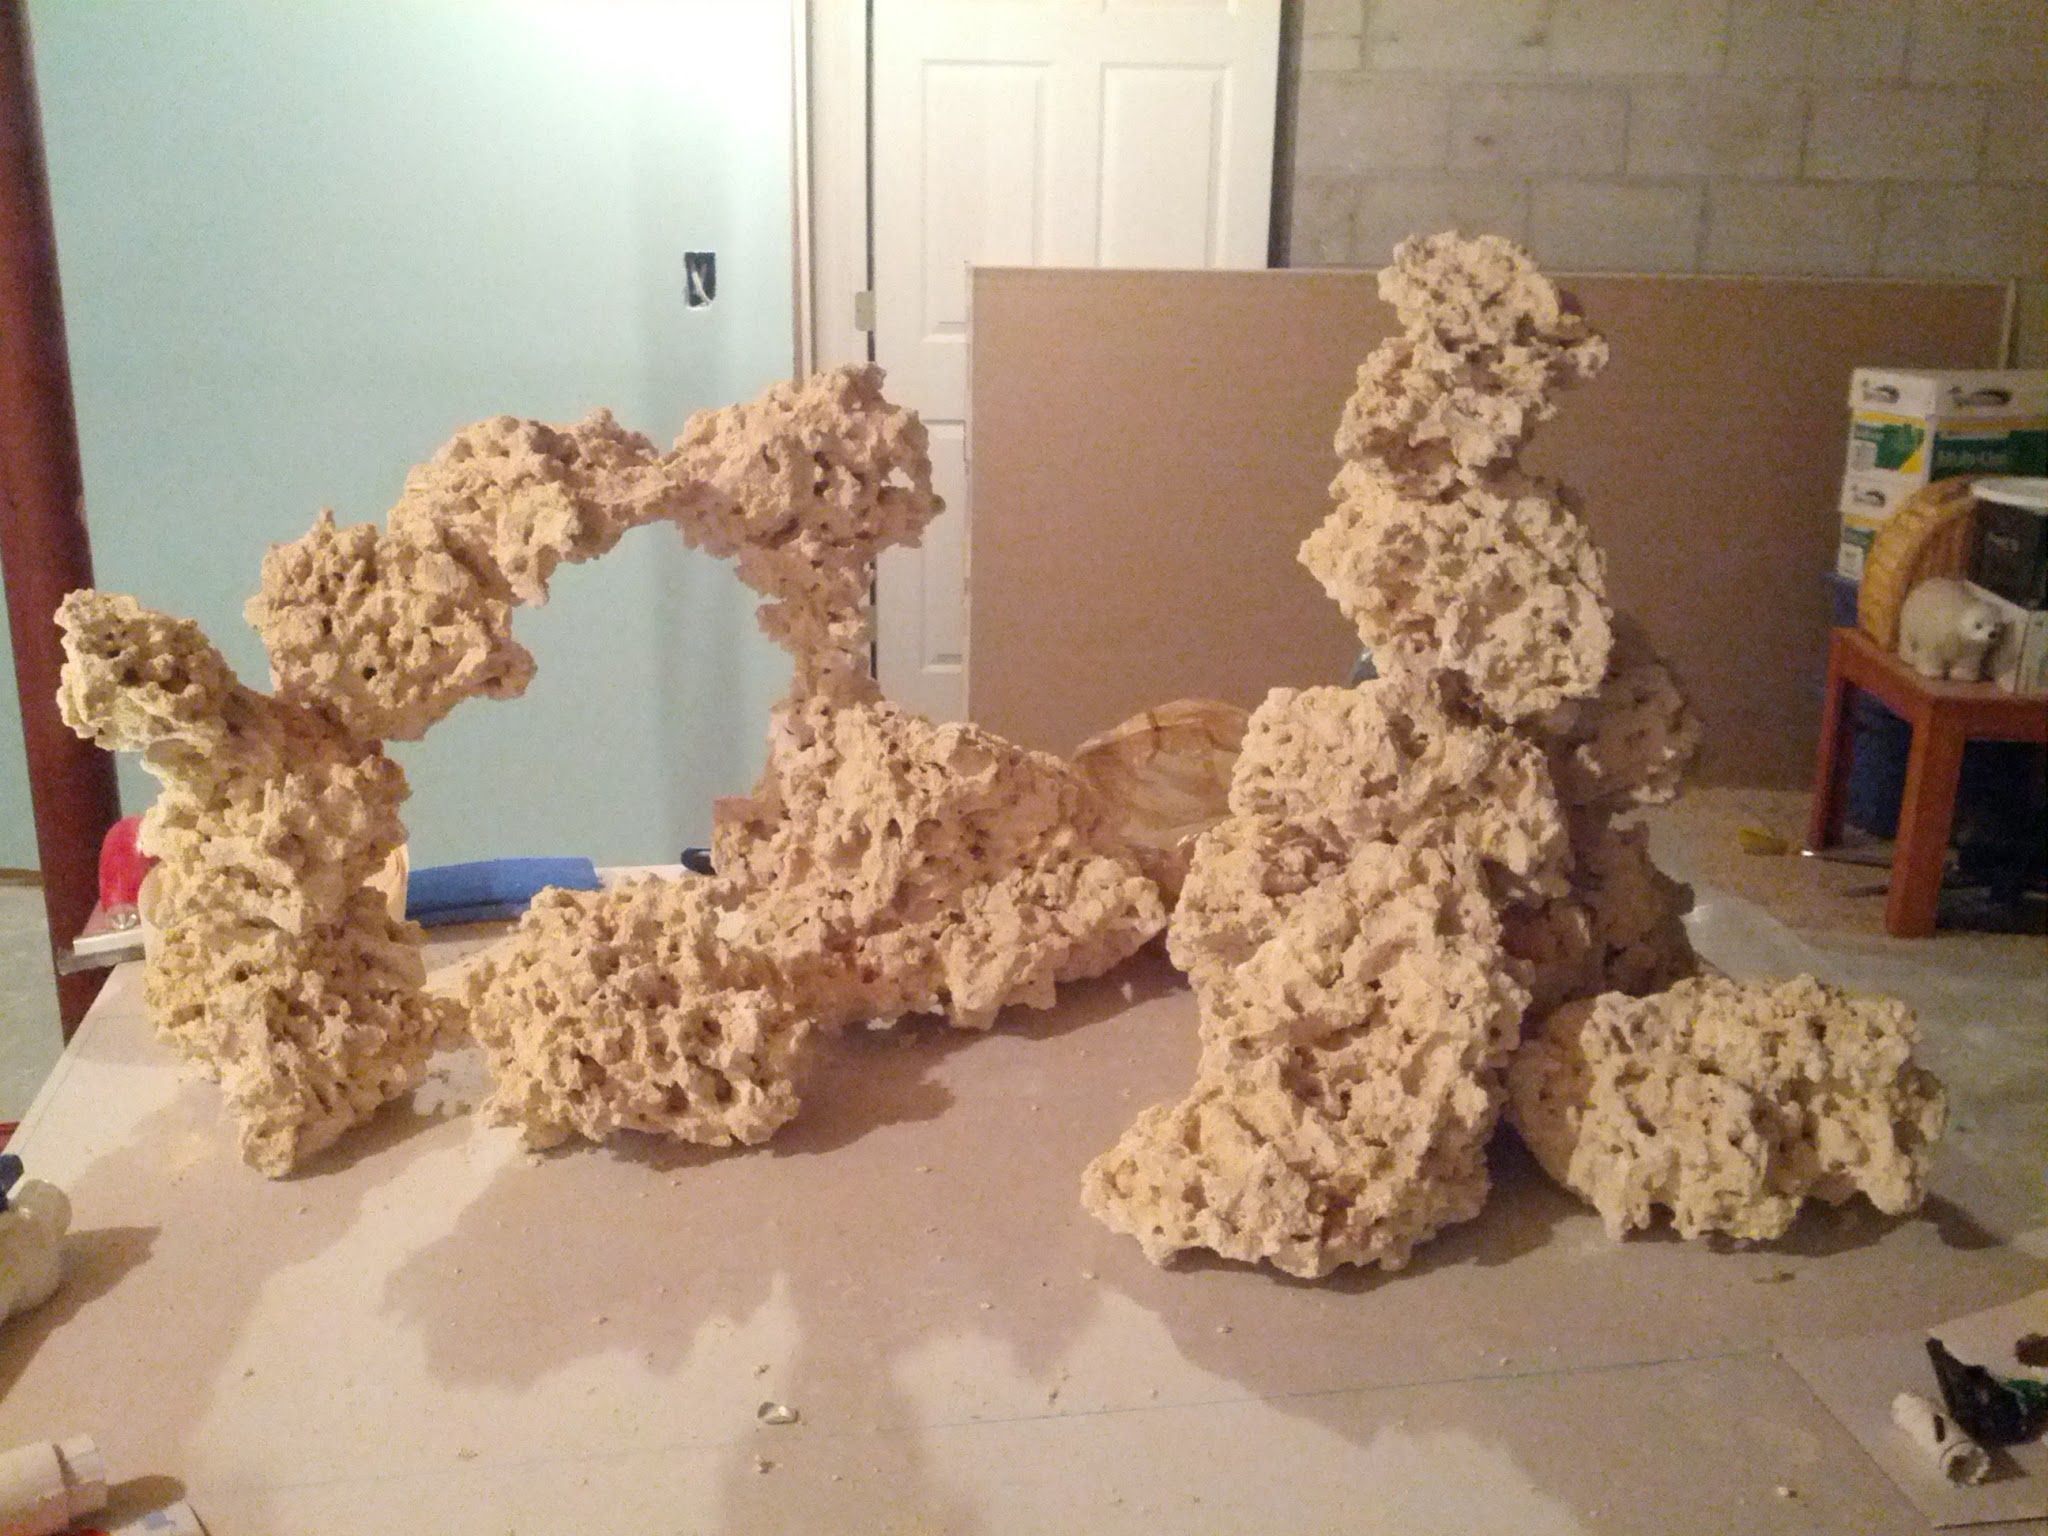
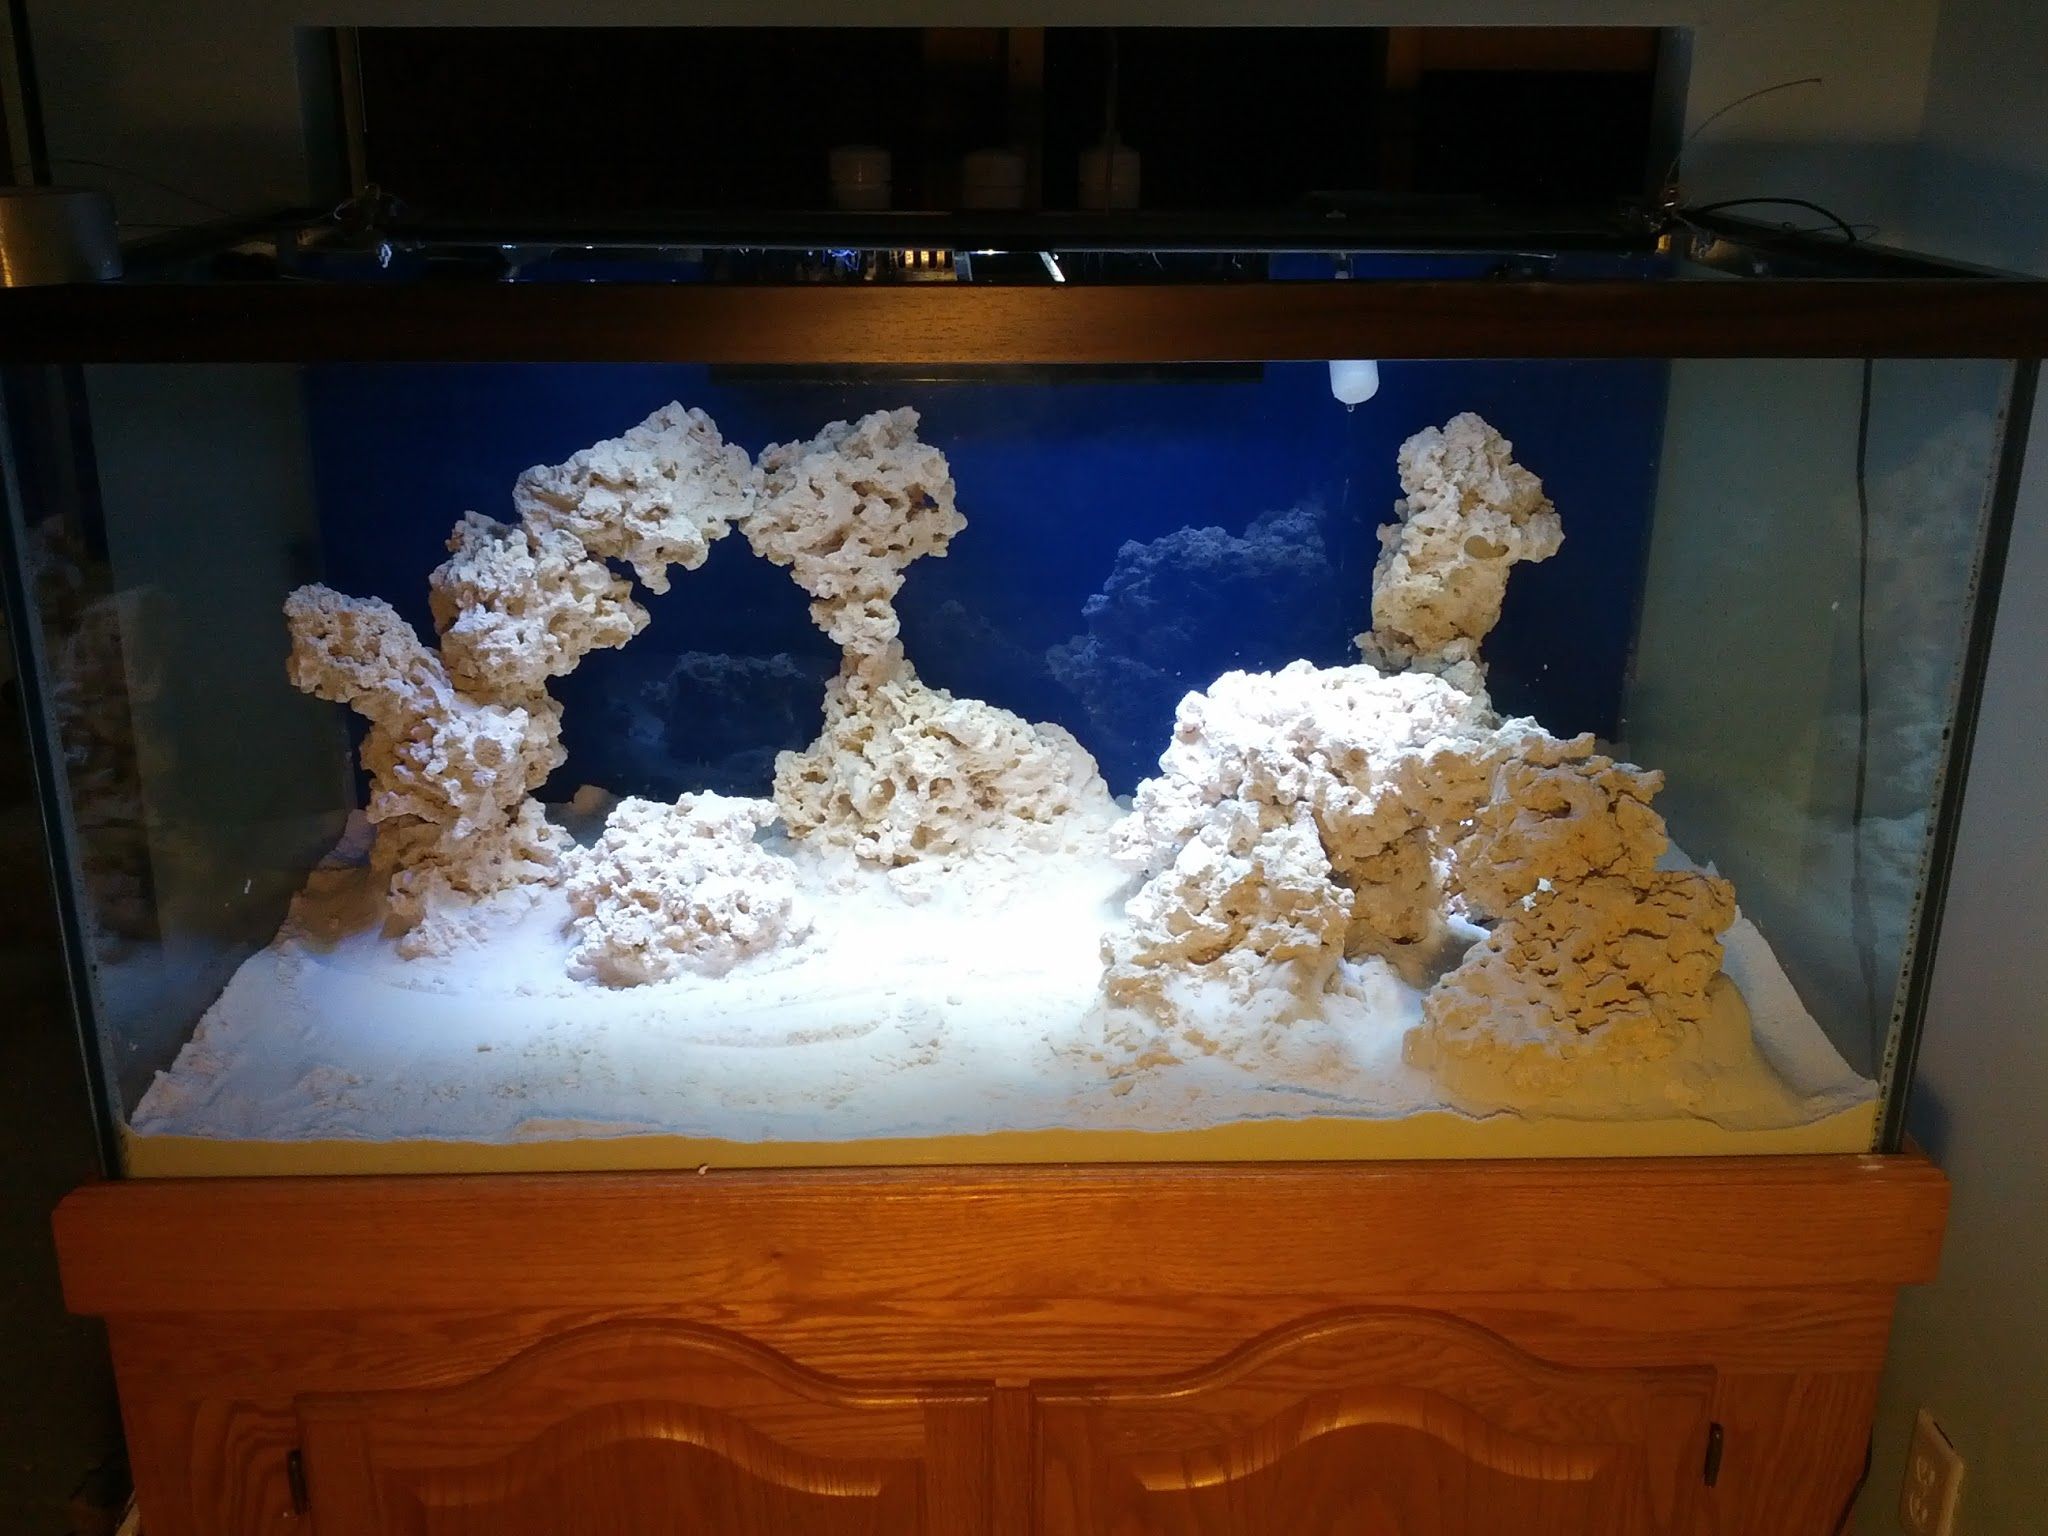
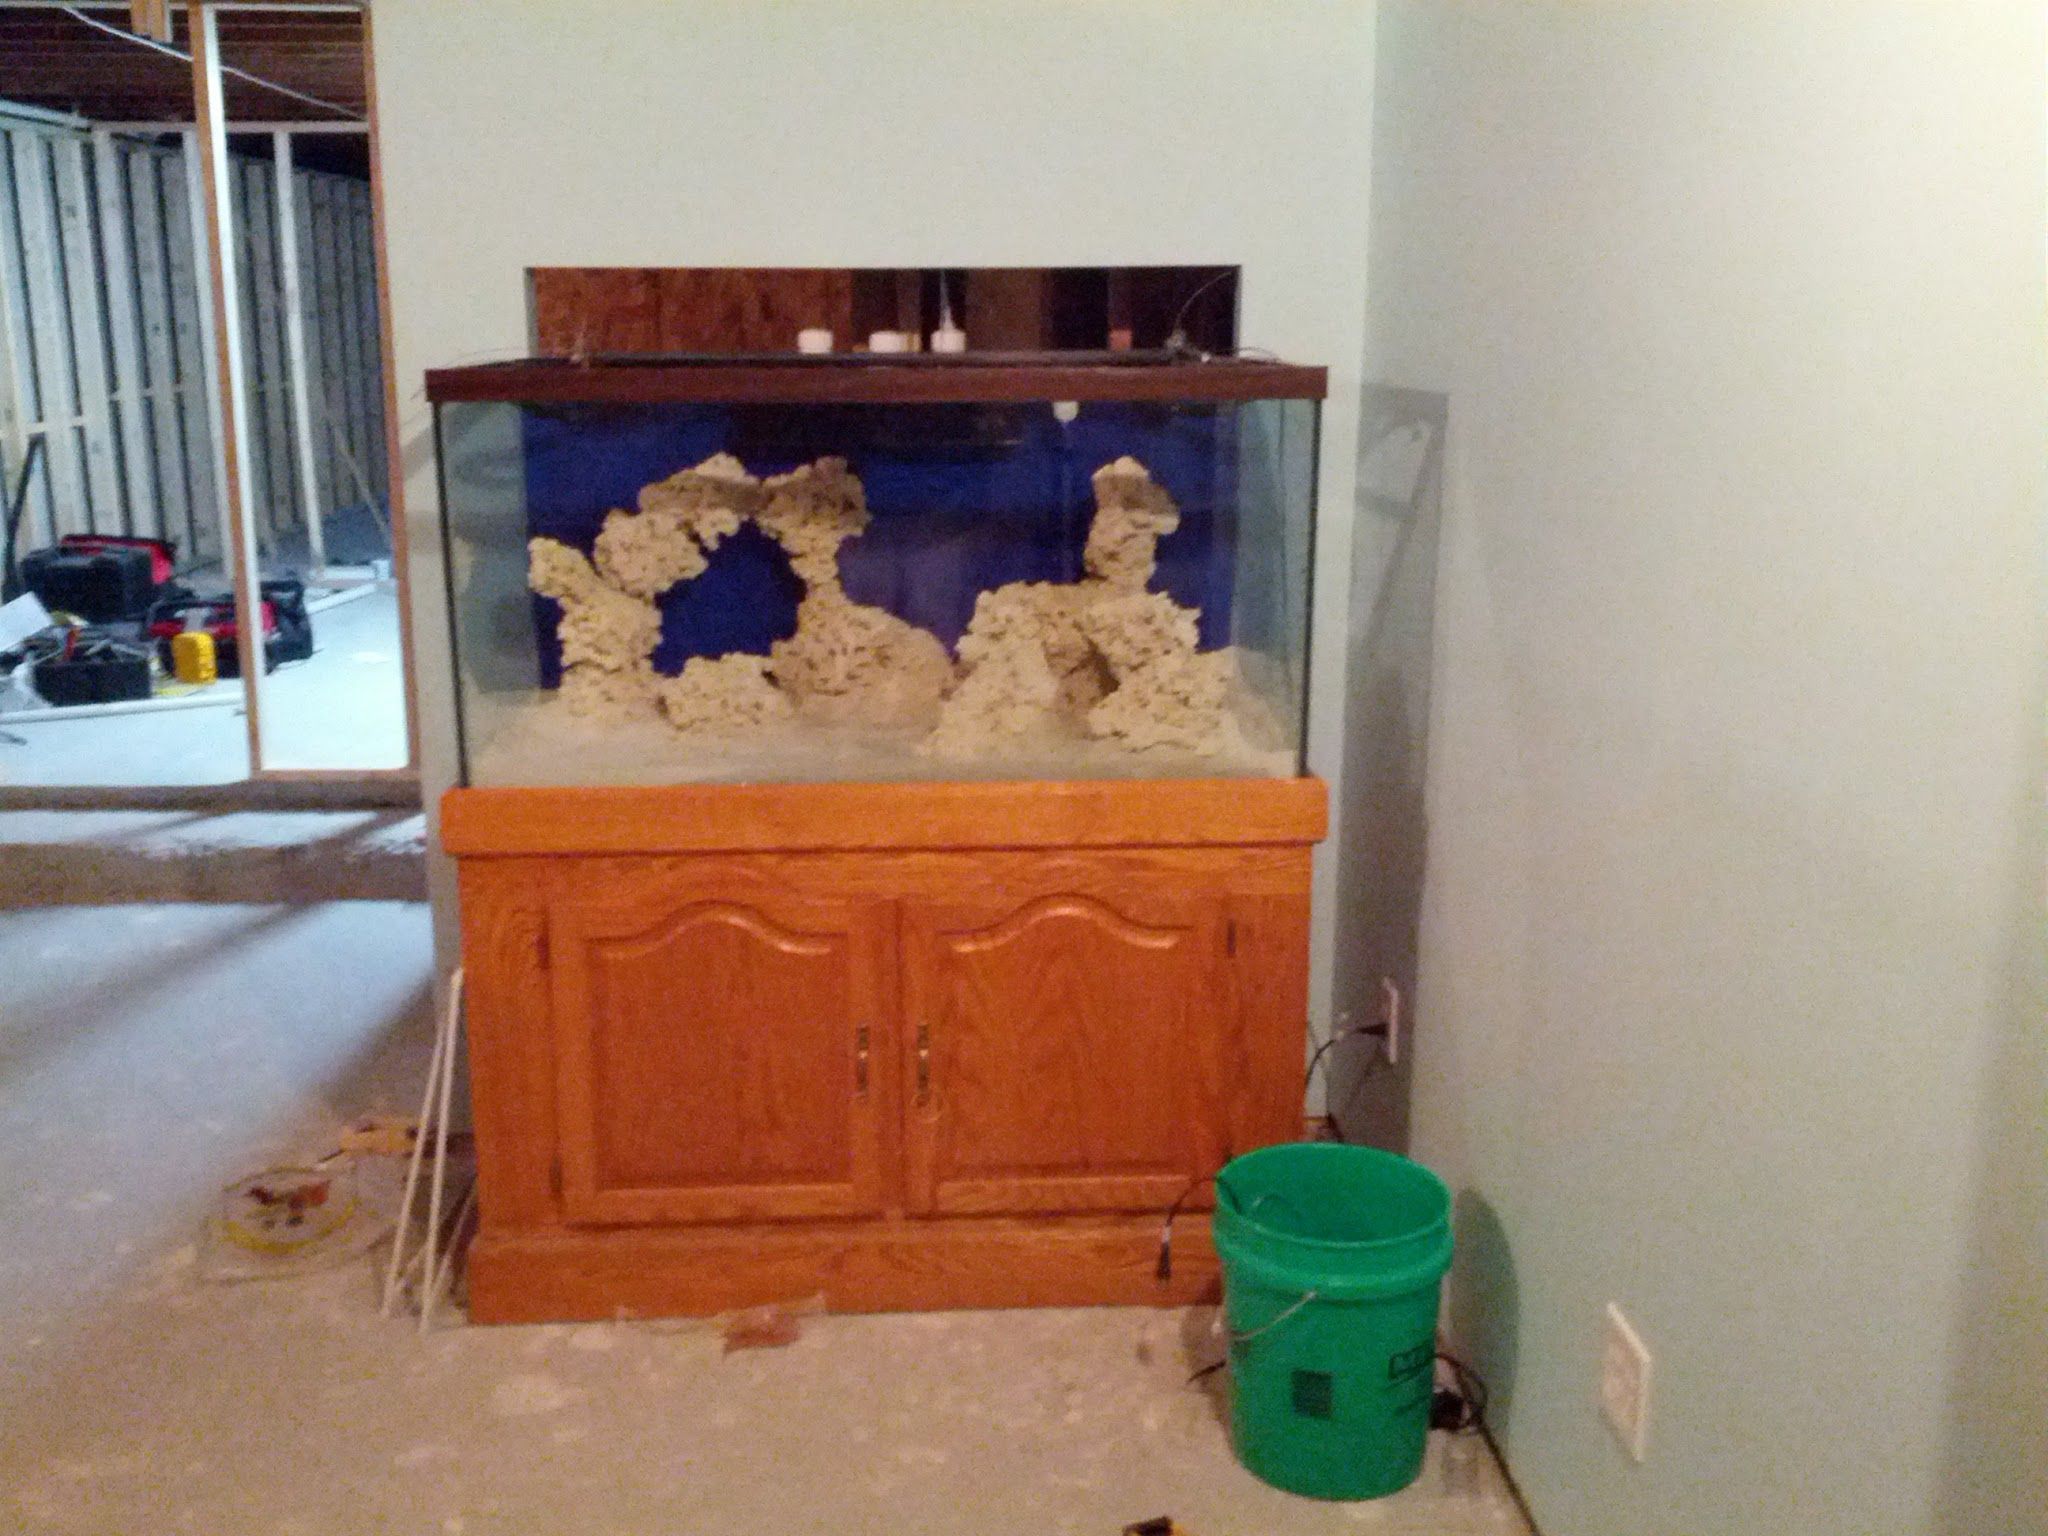
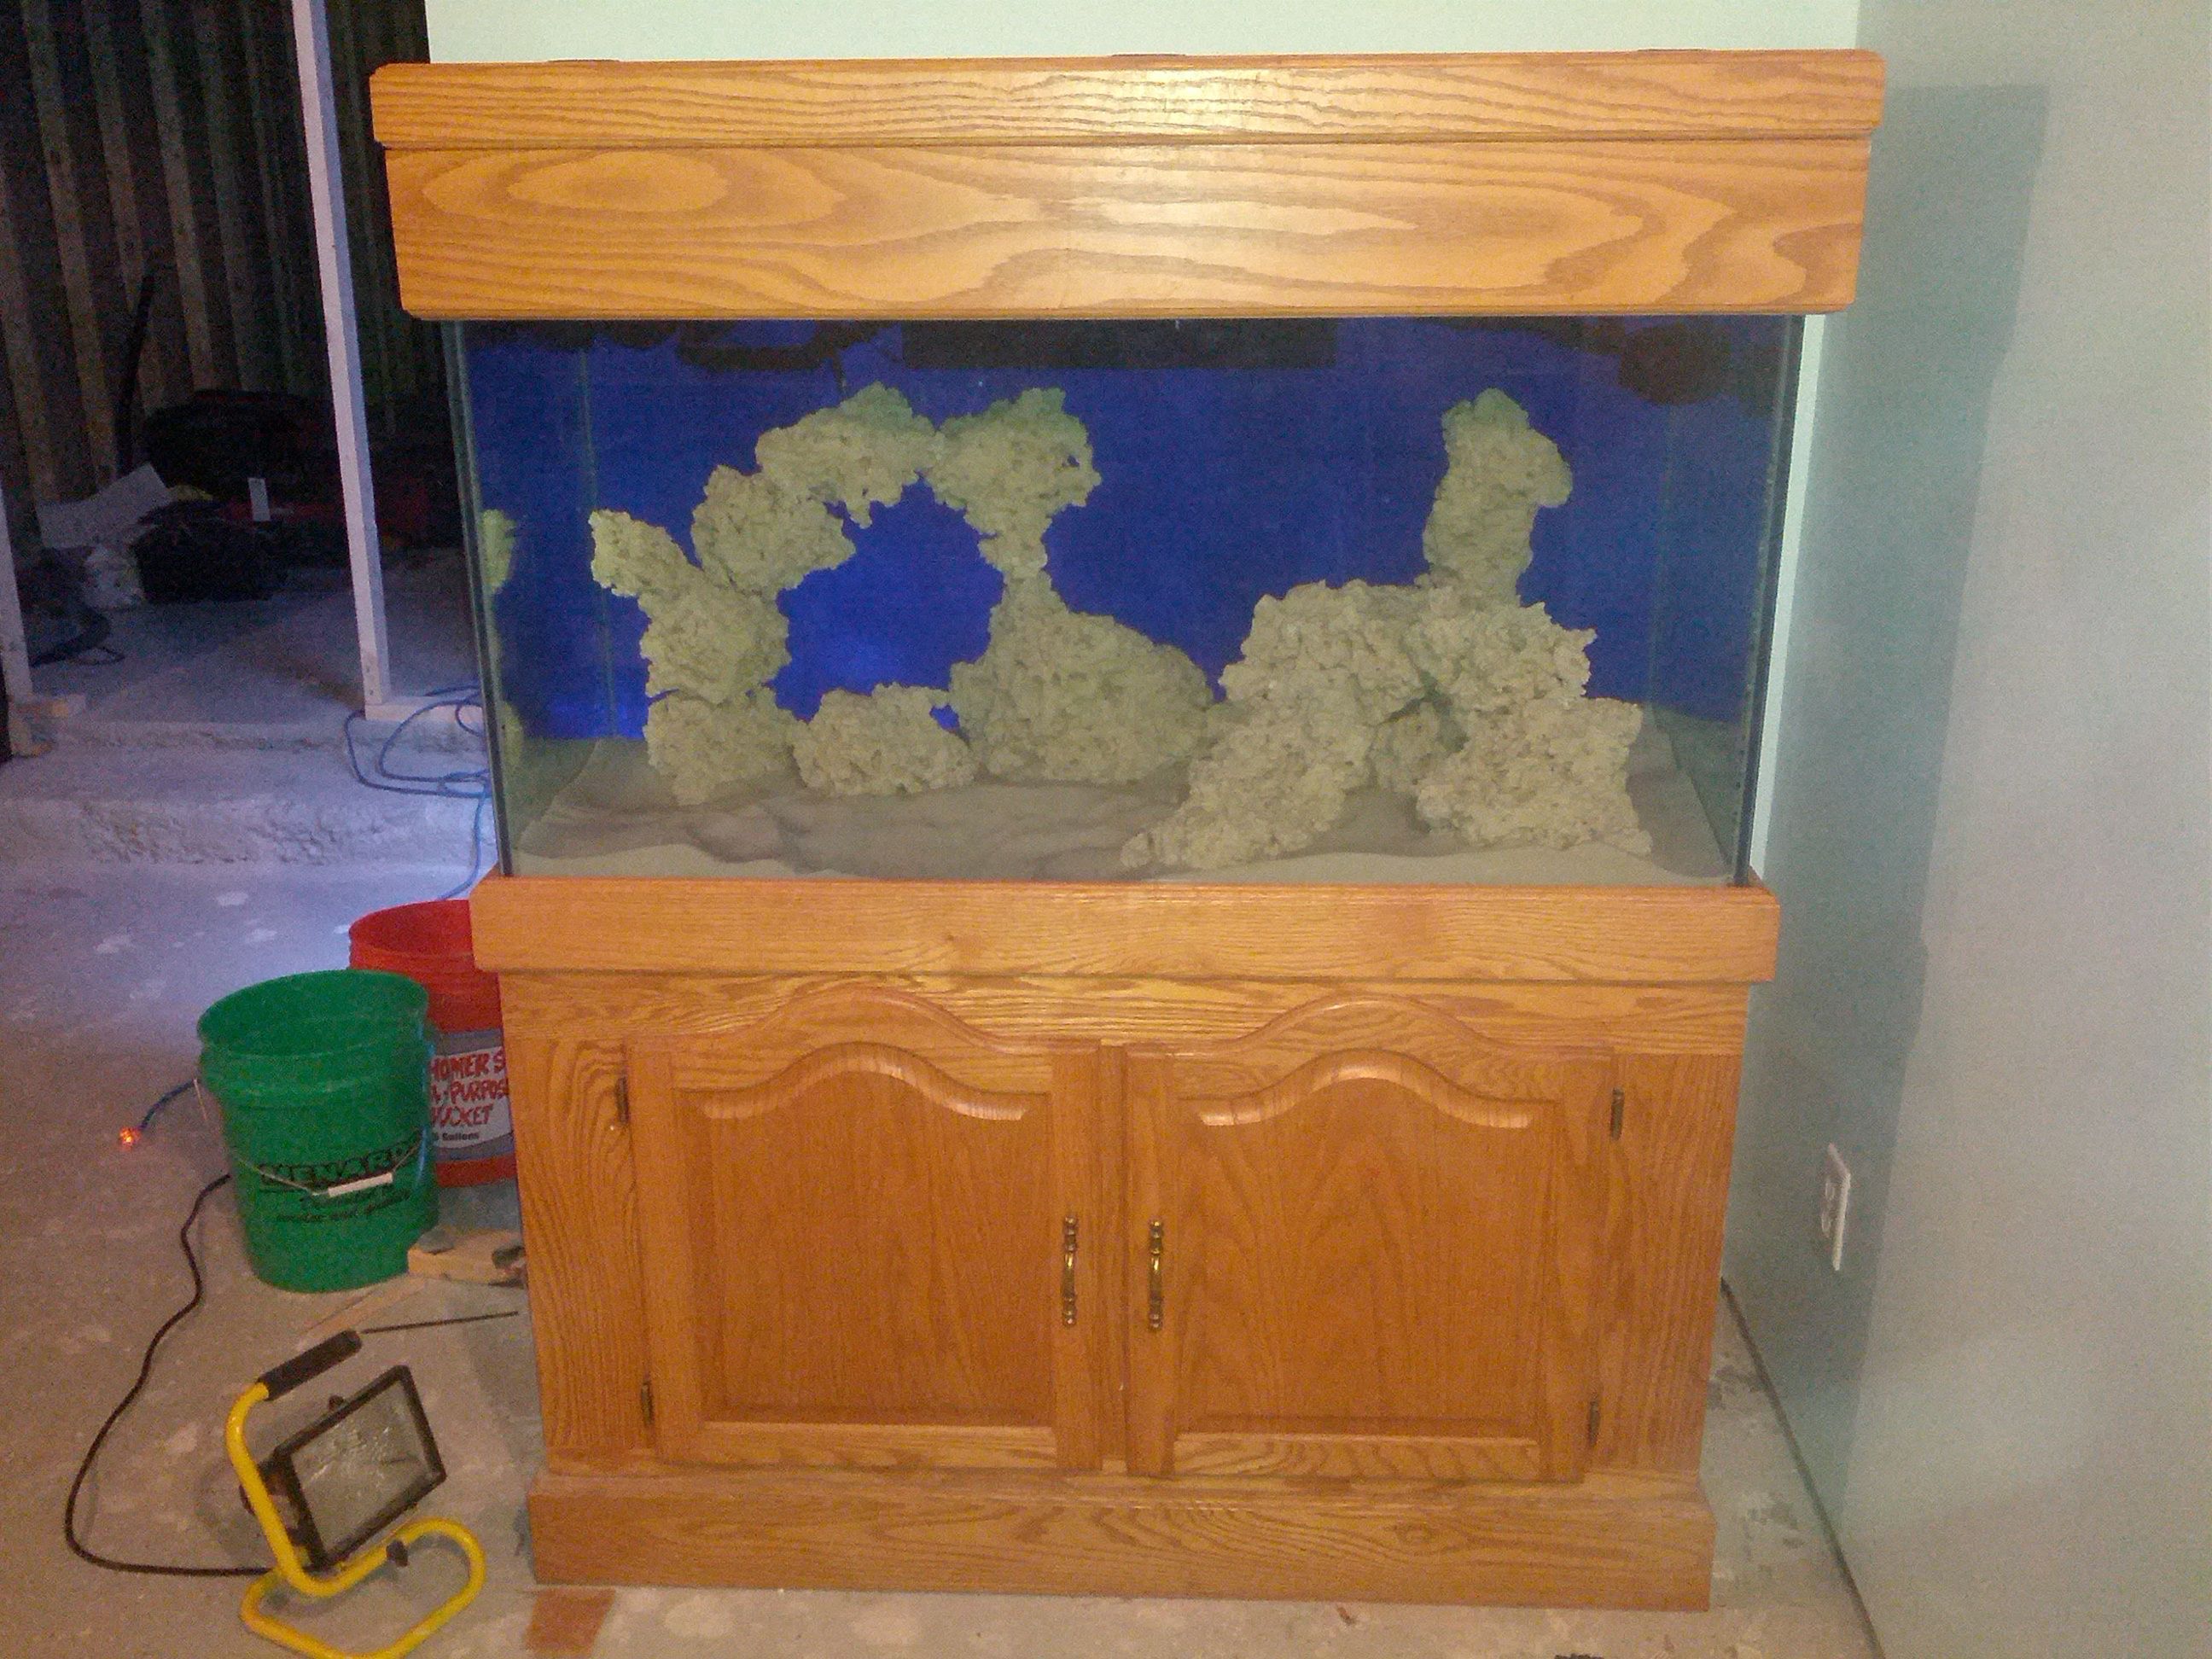
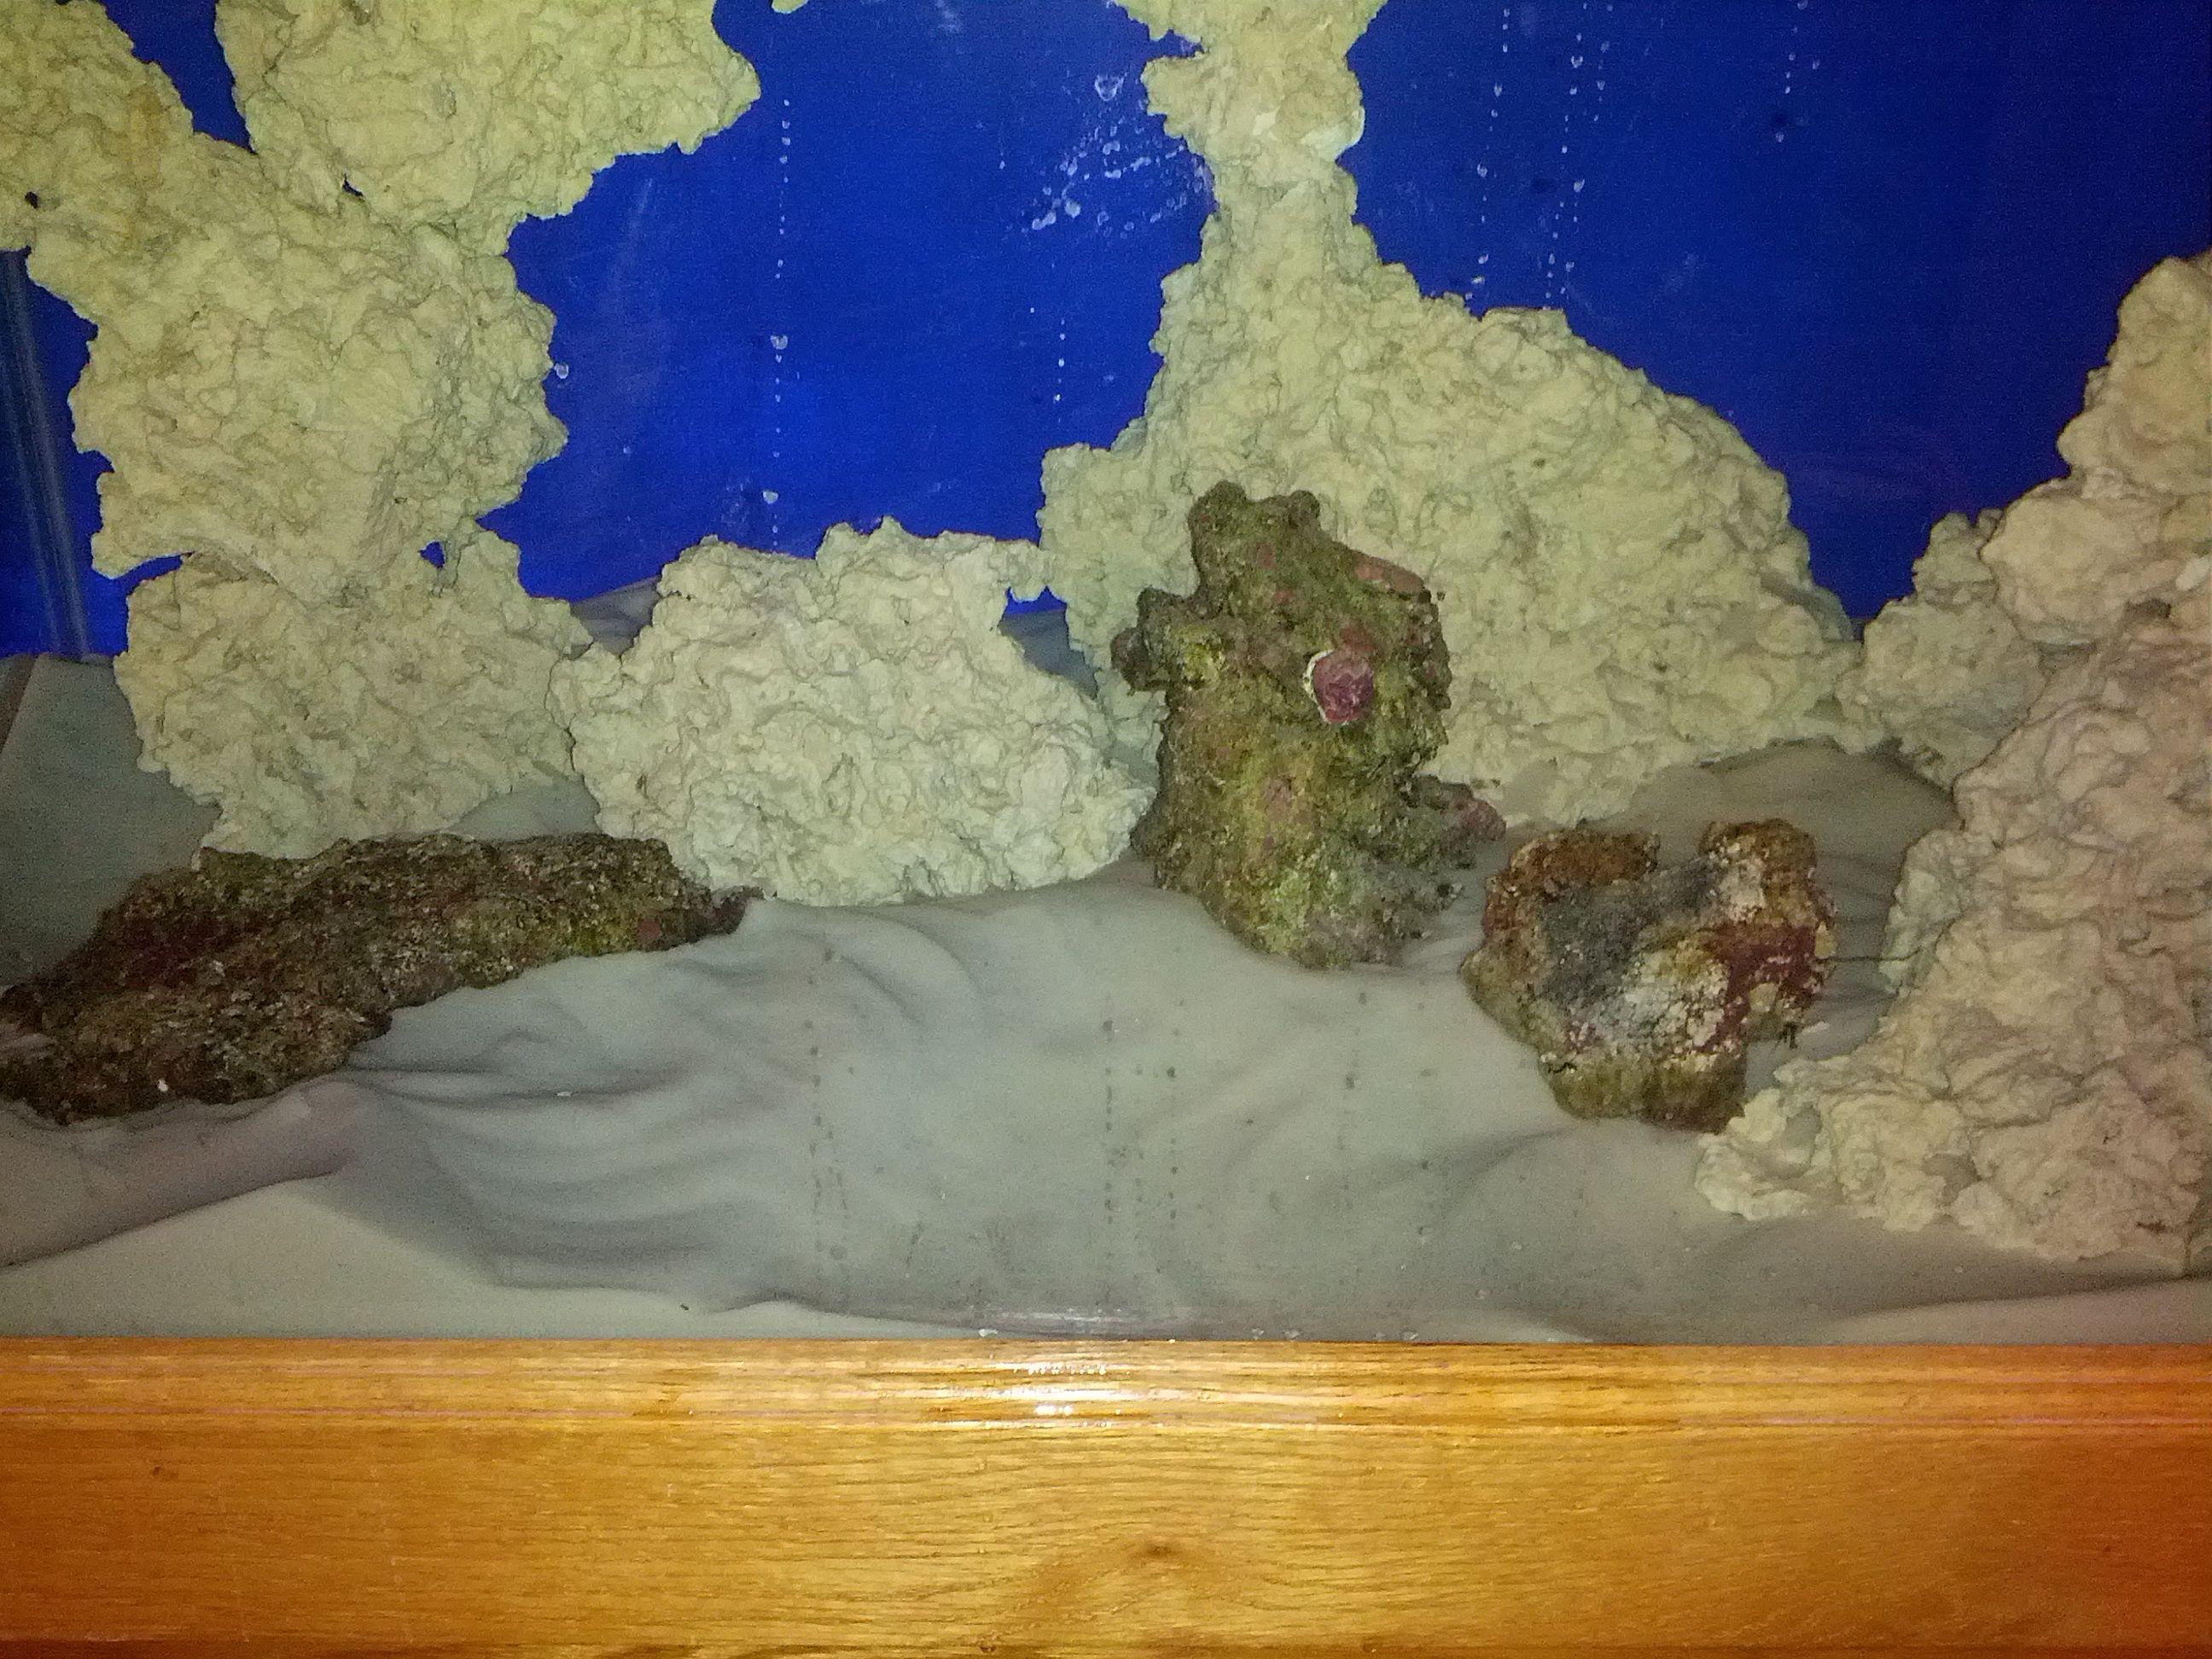
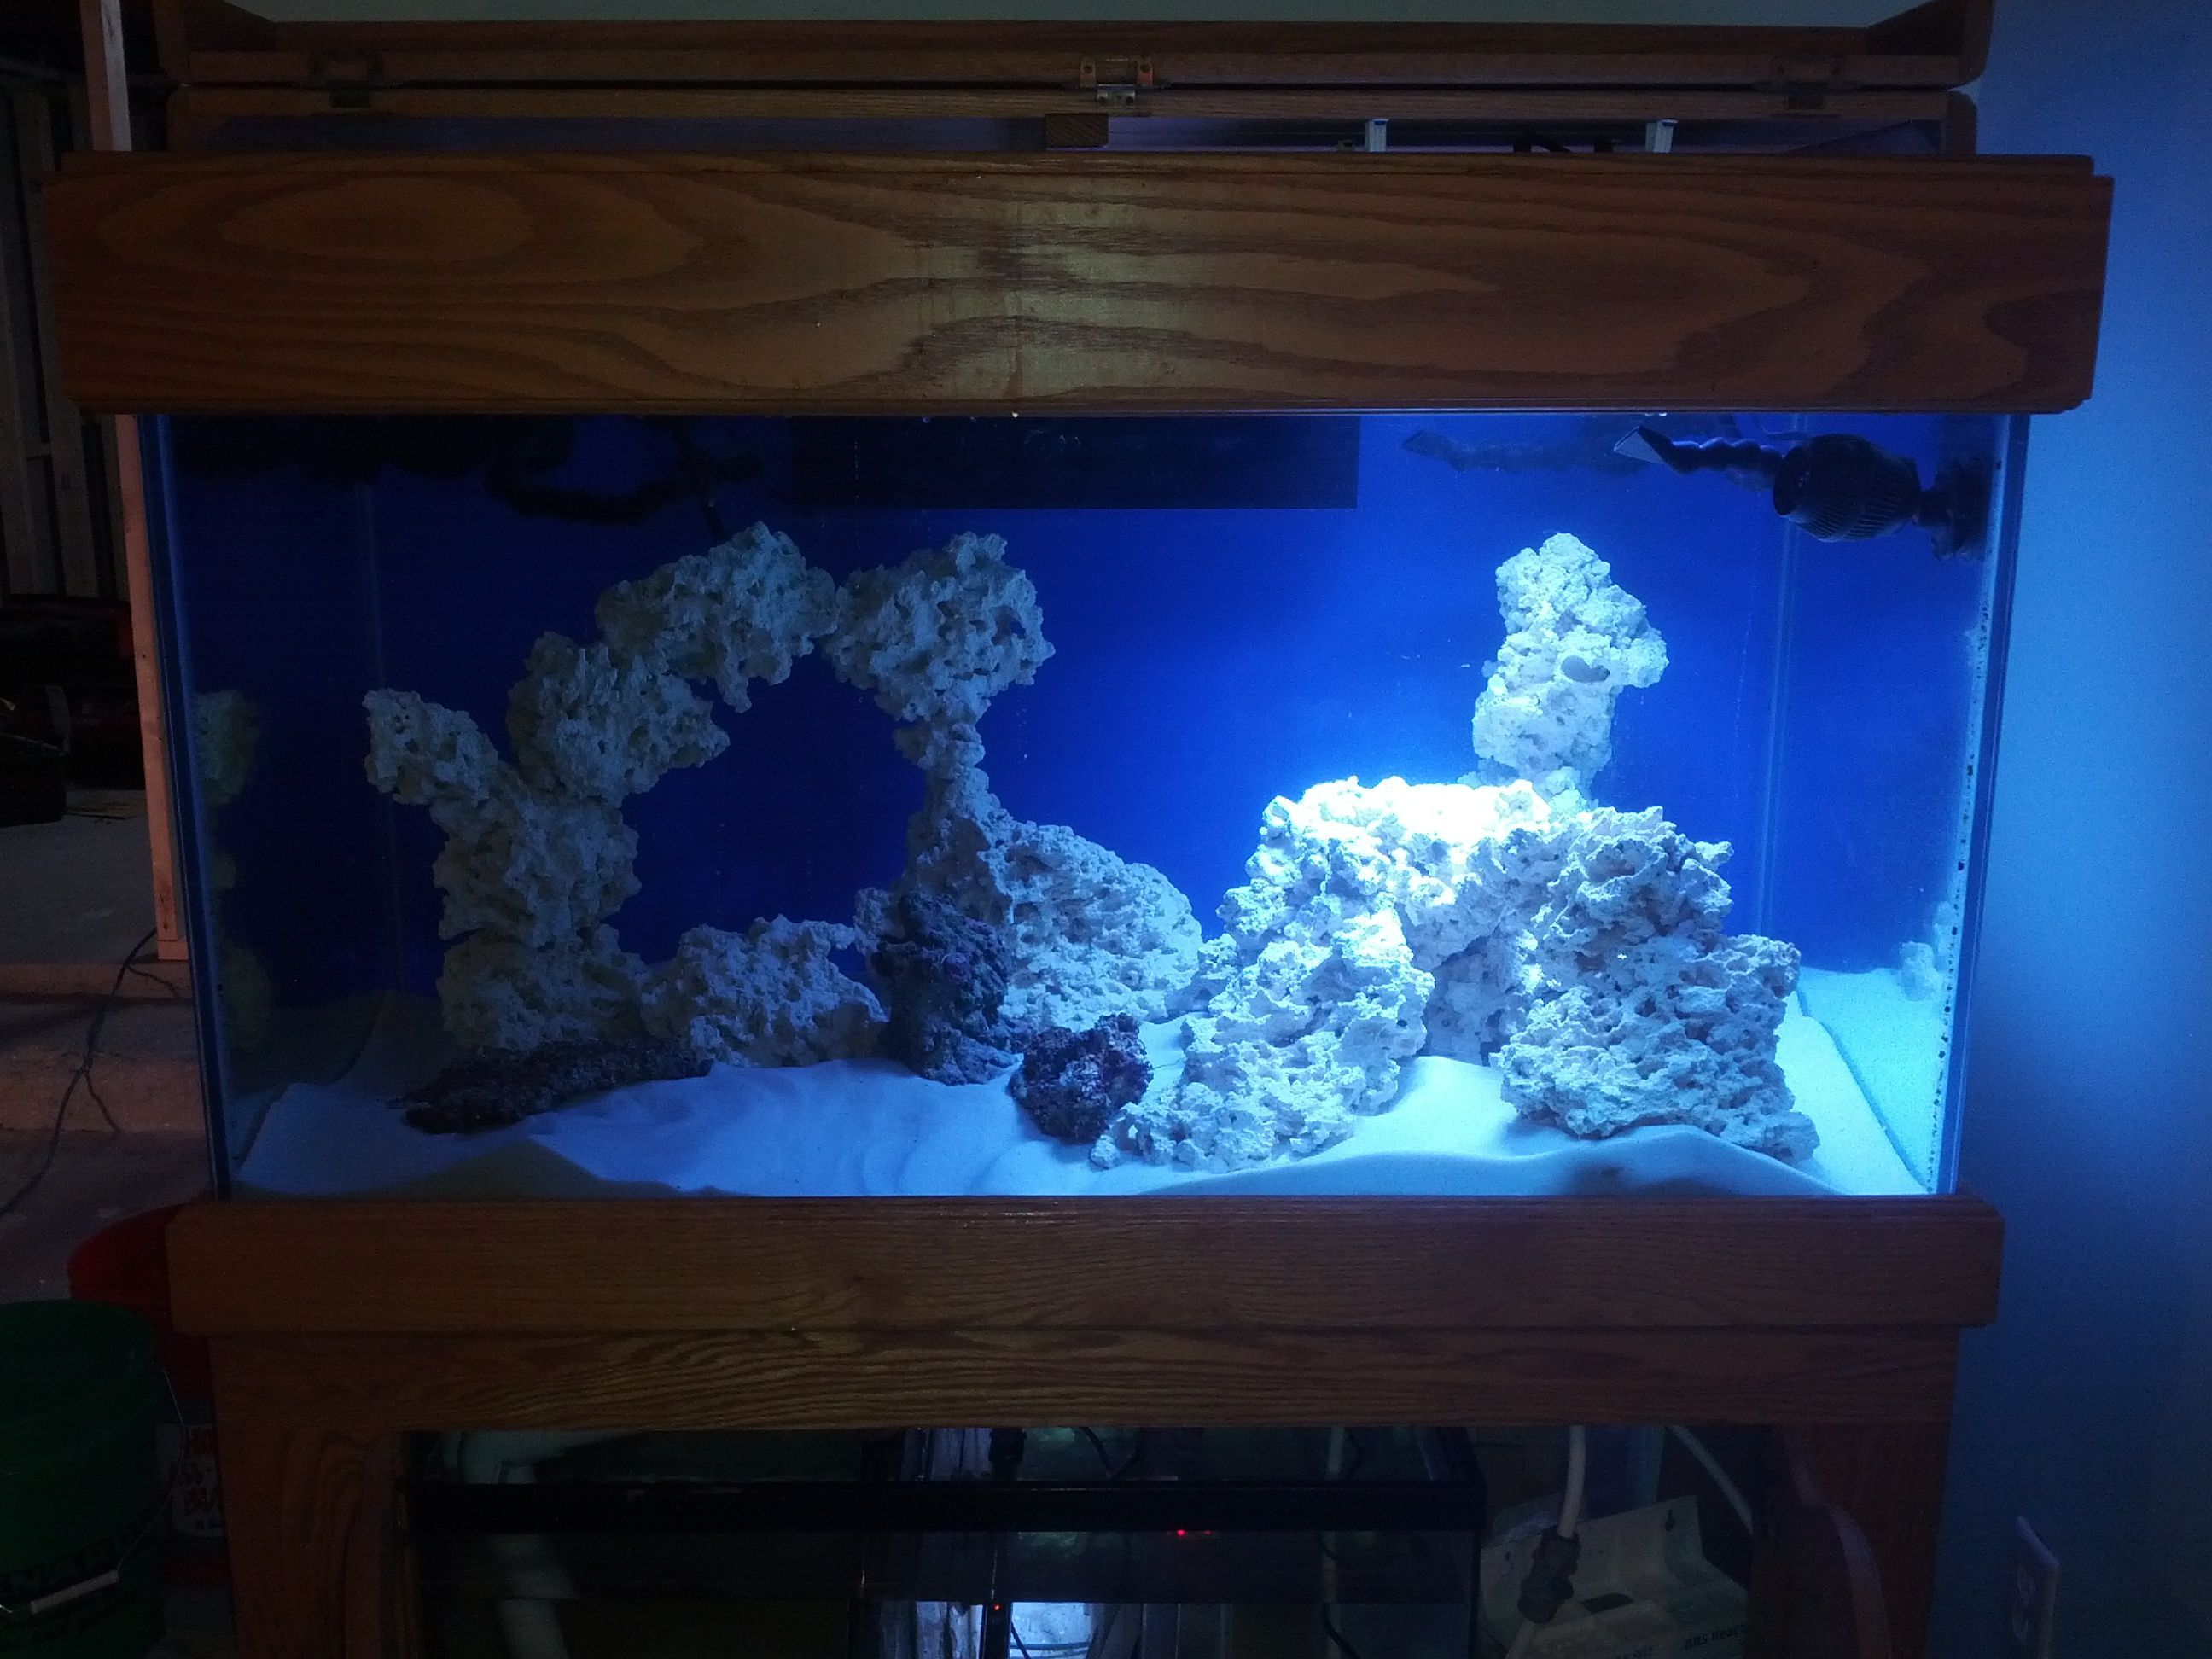
I also think I finalize my rock work. I have a nice sweeping arch with shelves on it and a peninsula style tower, also offering lots of shelving for future frags.

Its look quite different in person. There are alot of 3D aspects that are lost in a photo. Maybe I can do a video after I move it into the tank. The arch is fulling rodded and bonded (its made out 2 pieces/2 halves.) The tower I will be finalizing tonight I hope. Thank I can move them into the tank.
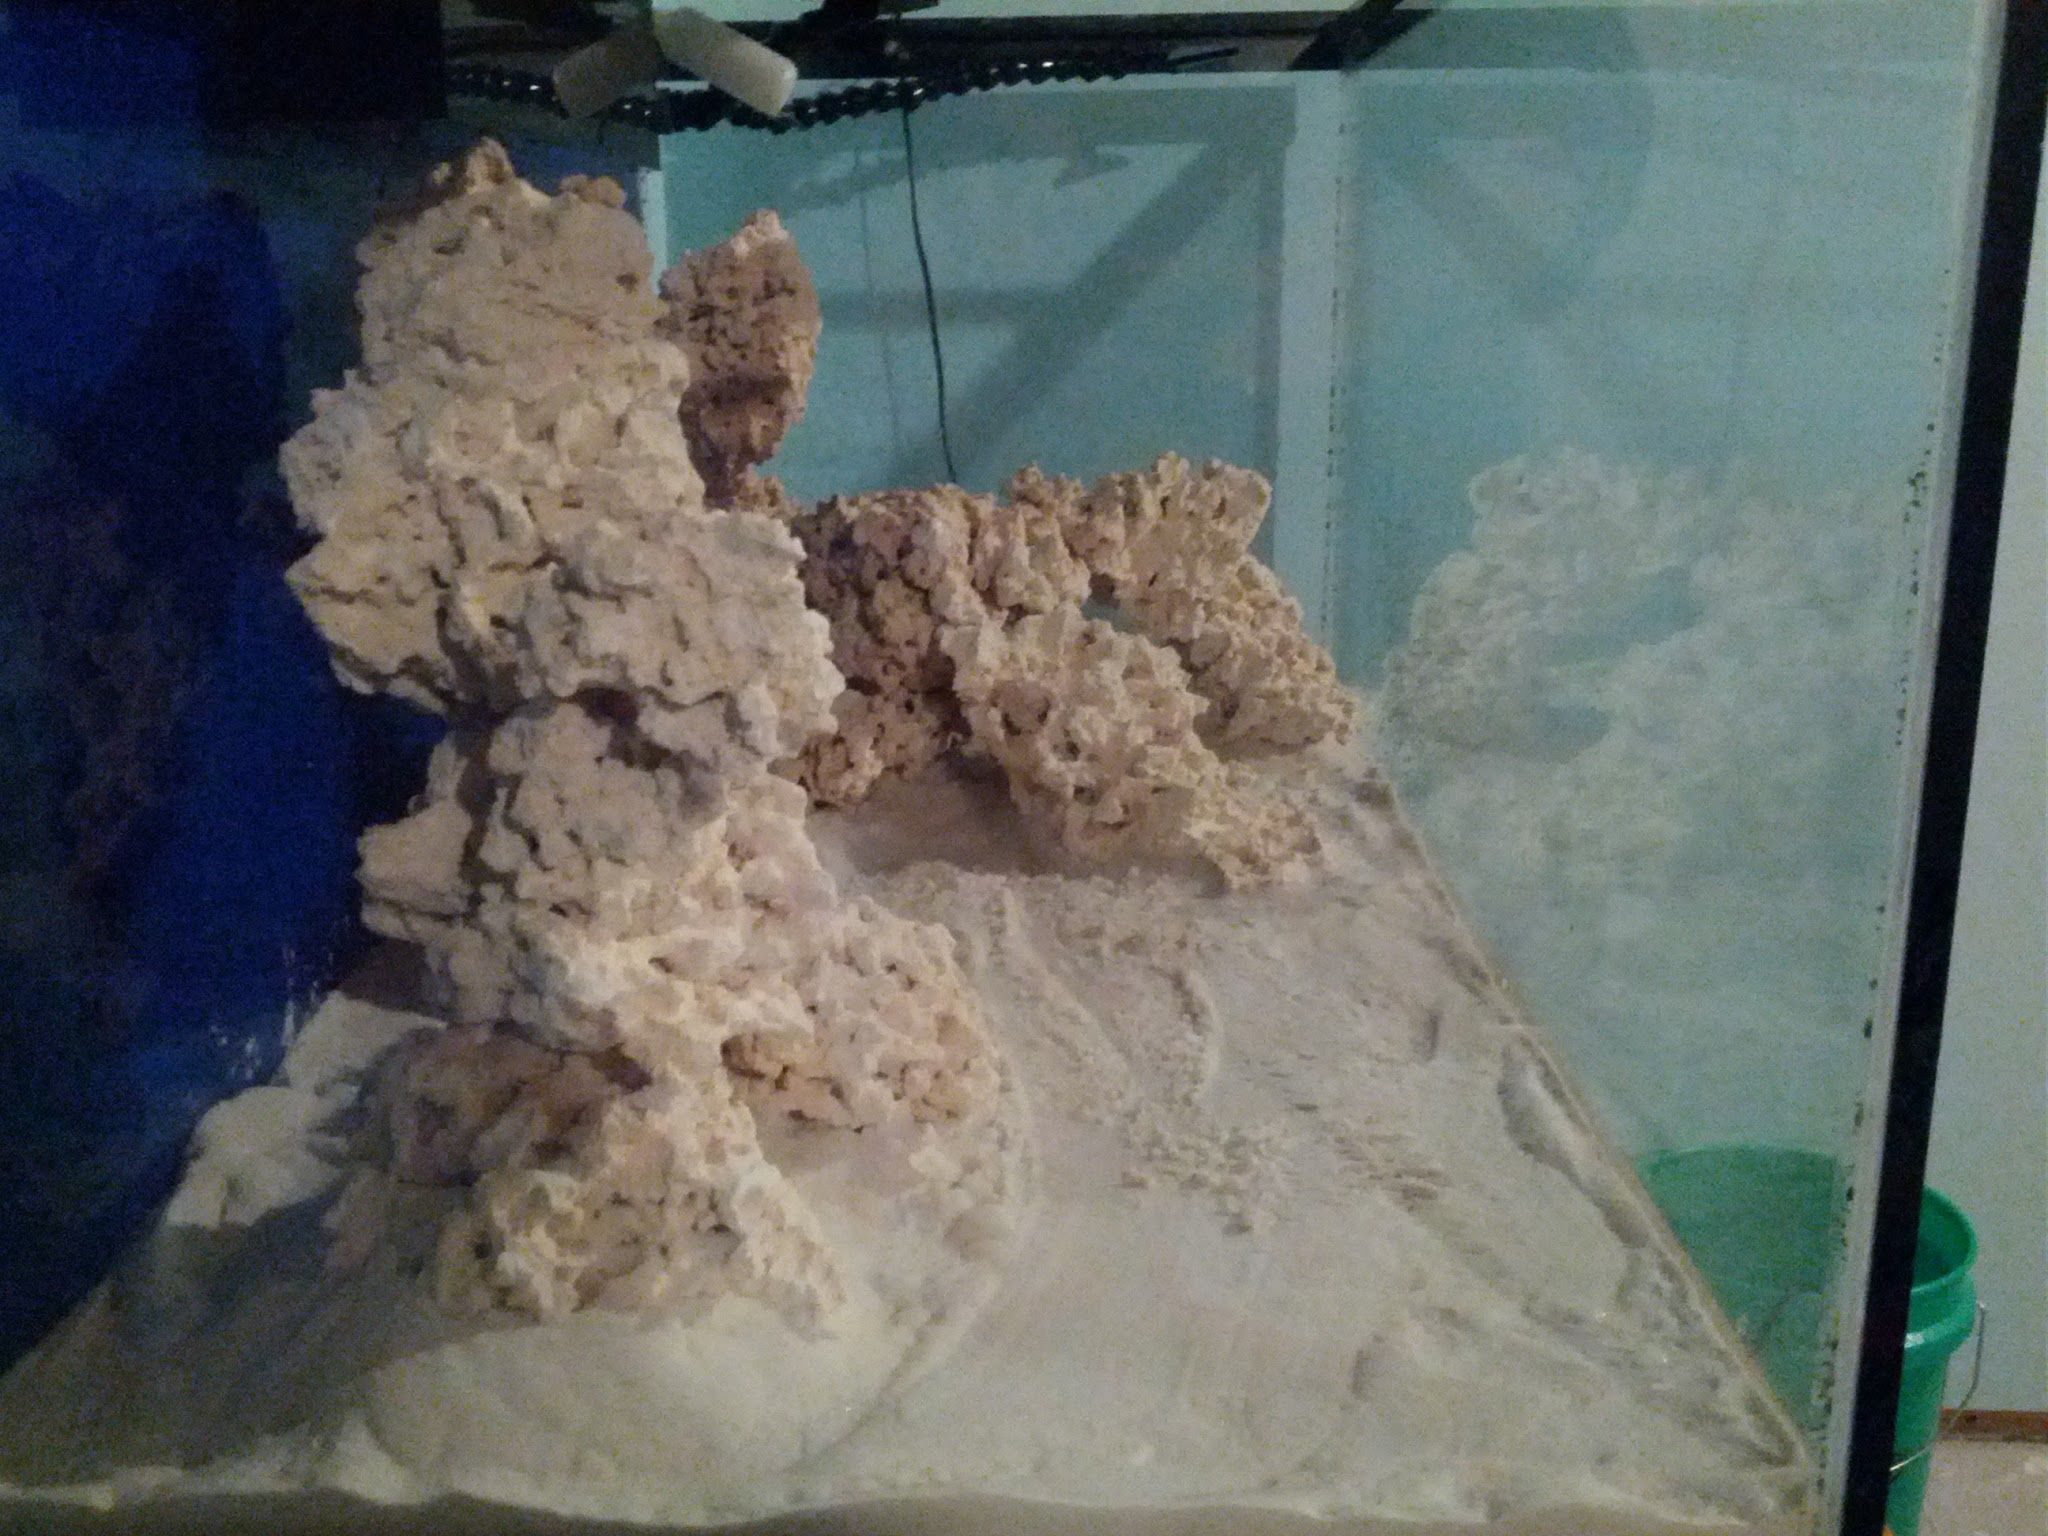
This brings me to my next area of discussion. My tank has an un-tempered bottom. I was worried about the weight of the rock directly on the glass. Main my worry has to do with points of pressure. I had a thought to use some scrap acrylic sheeting to place the base of each structure on. My thought was that this would create a nice base to distribute the pressure out. Since I will have a 1- 2 inch sand bed you will never see the acrylic base. Does that sound about right?
I'll get some more pictures up later. I have to run out and do some last minute Christmas Shopping!
I love the rock work.....Takes a bit of time, but as your seeing your quite pleased and it looks very good IMO.....Your thought or worry about the rock being on the glass isn't an issue......There is no pressure point as your referring or thinking of.....Rock on bare glass is done all the time. It won't hurt anything with using acrylic, but definitely not needed.....