29 Gallon to 120 Gallon Upgrade Build

acrylic51

Active Member
I'm curious is the RO continuously connected to the sump or DT or to a separate vat that supplies the DT or sump......
 

marvelfan

Member
Presently I have the ATO attached directly to my 44 Gallon RO storage. From there the water is pulled out to my overflow. The float switches are in my sump.
 

marvelfan

Member
I'm mad at myself. I took a shortcut and it cost me. I went downstairs before leaving for work just to check out my handy-work from last night. I decided to stay up late and glue together the PVC for the water station. As I walked away it dawned on me that I placed the first valves coming out of each bin on the wrong side of the Tee. At this moment if I open up the valves the water will just flow out of the front into the buckets. I'm just irritated with myself for not testing the system out before gluing and making such an obvious error. I don't have the option to move them at this point. I didn't leave any room to cut them out.
I came up with 2 solutions. One is to place an additional valve on each of the 90 degree out-spouts in the front ($10 fix). While this will work I have to buy 2 more valves =(
The other option is to just install Threaded end caps on the 90's. Since I will only be using them to fill buckets if/when there is an emergency (pump is broken, etc). This way I can simply remove the threaded end cap and fill my buckets. I still have the valve placement to control the flow into the buckets while the cap is off, so it wont' just freely start to flow once I remove the cap. The whole goal was to have a bucket-less water exchange system anyways.
The end cap solution will only cost ($2). I'm leaning towards this as my easy fix.
**WARNING - THIS PLUMBING CONFIGURATION IS WRONG! - DO NOT COPY THIS EXAMPLE!!!

So learn from my mistake. Don't glue until you test!
 

acrylic51

Active Member
I'll have to get a better look at the pic when I get home....
So basically the RO will continually keep the 1 can filled??? So the water will then flow from there to your DT/sump? What happens if the floats fail leaving 44 gallons to fill the sump?
 

marvelfan

Member
Quote:
Originally Posted by acrylic51 http:///t/393629/29-gallon-to-120-gallon-upgrade-build/60#post_3508718
I'll have to get a better look at the pic when I get home....
So basically the RO will continually keep the 1 can filled??? So the water will then flow from there to your DT/sump? What happens if the floats fail leaving 44 gallons to fill the sump?
Good point. I did think of that. I'm pretty confident in the system due to its redundancy.
The float switch configuration I'm using involves 2 switches. If the lower switch fails there is a switch about 3 inches above it that will shut down the pump if the water raises it. So there is some redundancy if the fist switch fails to trip the pump.
However, off the top of my head I guess I could run the pump power through my aquarium controller and tell it to cut power after 1 hour of continuous operation and put it into an alarm mode if this occurs. This way I'll know of any failures. Just one idea. Worst case scenario would be 3 gallons of RO output.
Good thinking though!
 

acrylic51

Active Member
My thinking it would be more failsafe to put the pump through the controller....I know you have double redundancy, but strange things do happen, and having the controller kill the power seems to be the wiser choice. Your using the plastic float valves......
 

marvelfan

Member
http://www.aquahub.com/store/product26.html
I bought it thru BRS. I live in WI and BRS is out of MN.. so even ground shipping comes rpractically overnight :)
The kit is super easy to build and install. All you need is an extension cord that you patch through the relay.
I have the same kit on my 29 gallon set up.
 

acrylic51

Active Member
Thanks for the link.....I think I had seen that site in the past, but looking at so much crap you kinda forget about things....Actually looking through the site, it gives me some ideas for possibly a daily water change setup.......
 

marvelfan

Member
Tonight I built my float switch assemblies for my daily auto water change system. I also ran my plumbing.

I used acrylic to piece it together..its solid and functional but not pretty. There are two adjustable switches. I ran tests in my sump and spaced them to empty and fill the return chamber exactly one gallon.
I started buy manually removing one gallon of water from the sump and marking the levels. From there it was a matter of adjusting the float switches little by little until I was able to have it fill the jug and stop.I simply placed a one gallon container in a 5 gallon bucket to catch any over fill attempts. Adjusted and repeated until it was perfect. I also used a stopwatch to time each fill. It takes 42 seconds per gallon. This way I can now set my controller to cut off power to each pump at the one minute mark in case a float switch failsand prevent any major damage.
 

acrylic51

Active Member
I want to see all the wiring goodies and the plumbing......I'm like a child, I need to see pics.....Fish pics are way better than looking at any girlie magazine IMO......
 

marvelfan

Member
I'm on my lunch break and started thinking about my water changes. The plan is to do the 1 gallon a day automated change. I was contemplating whether or not to buy a heater for my salt water mixing station. Not sure it's necessary at this point, besides helping the salt dissolve I don't see heating the water making any temperature difference with a 1 gallon water change. I broke out my Thermodynamics equations to calculate temperature after mixing:
Final Temperature = ((Vol A * Temp A) + (Vol B * Temp B)) / (Vol A + Vol B).
Note that Volume A would be the Volume after siphoning your water out before the new water is added!
This means that even if I use water that is 33 F (just above freezing) my tank water will only drop 0.09 degrees by adding one gallon.
My basement is probably around 65 F under normal conditions. Given that temperature I can safely change up to 12 gallons of water at one time with only a modest 1 degree change in temp.
I'm just having some fun with numbers!
In reality heaters are cheap and I should just get one to have in case I need to do a major water change (40 gallons or so would be the max I would be able to do)
Calculations show that a 40 gallon change to a 150 gallon volume would result in the following:
(((150-40) * 78) + (40 * 65)) / ((150-40) +40) = 74.53 F
Therefore I would not want to do a maximum change with a sudden 3.5 degree differential.
So I guess science dictates I buy another heater just in case I need to prepare for a large change!
 

marvelfan

Member
Quote:
Originally Posted by acrylic51 http:///t/393629/29-gallon-to-120-gallon-upgrade-build/60#post_3509334
I want to see all the wiring goodies and the plumbing......I'm like a child, I need to see pics.....Fish pics are way better than looking at any girlie magazine IMO......
LOL...I have a couple pics on my phone.

Here is another view of my messy acrylic job. The dremel kept slipping as I cut the slot on the hanger. I used a blow dryer to bend the acrylic (took me 3 attempts) I snapped 2 pieces. Last time I used a heat gun from my neighbor and it was a fast job, this time it took about 2-3 minutes of blow dryer heat before it was soft enough to bend without breaking. I used some nylon nuts and bolts and washers and some spacers with silicone to protect the electronics in the sump.

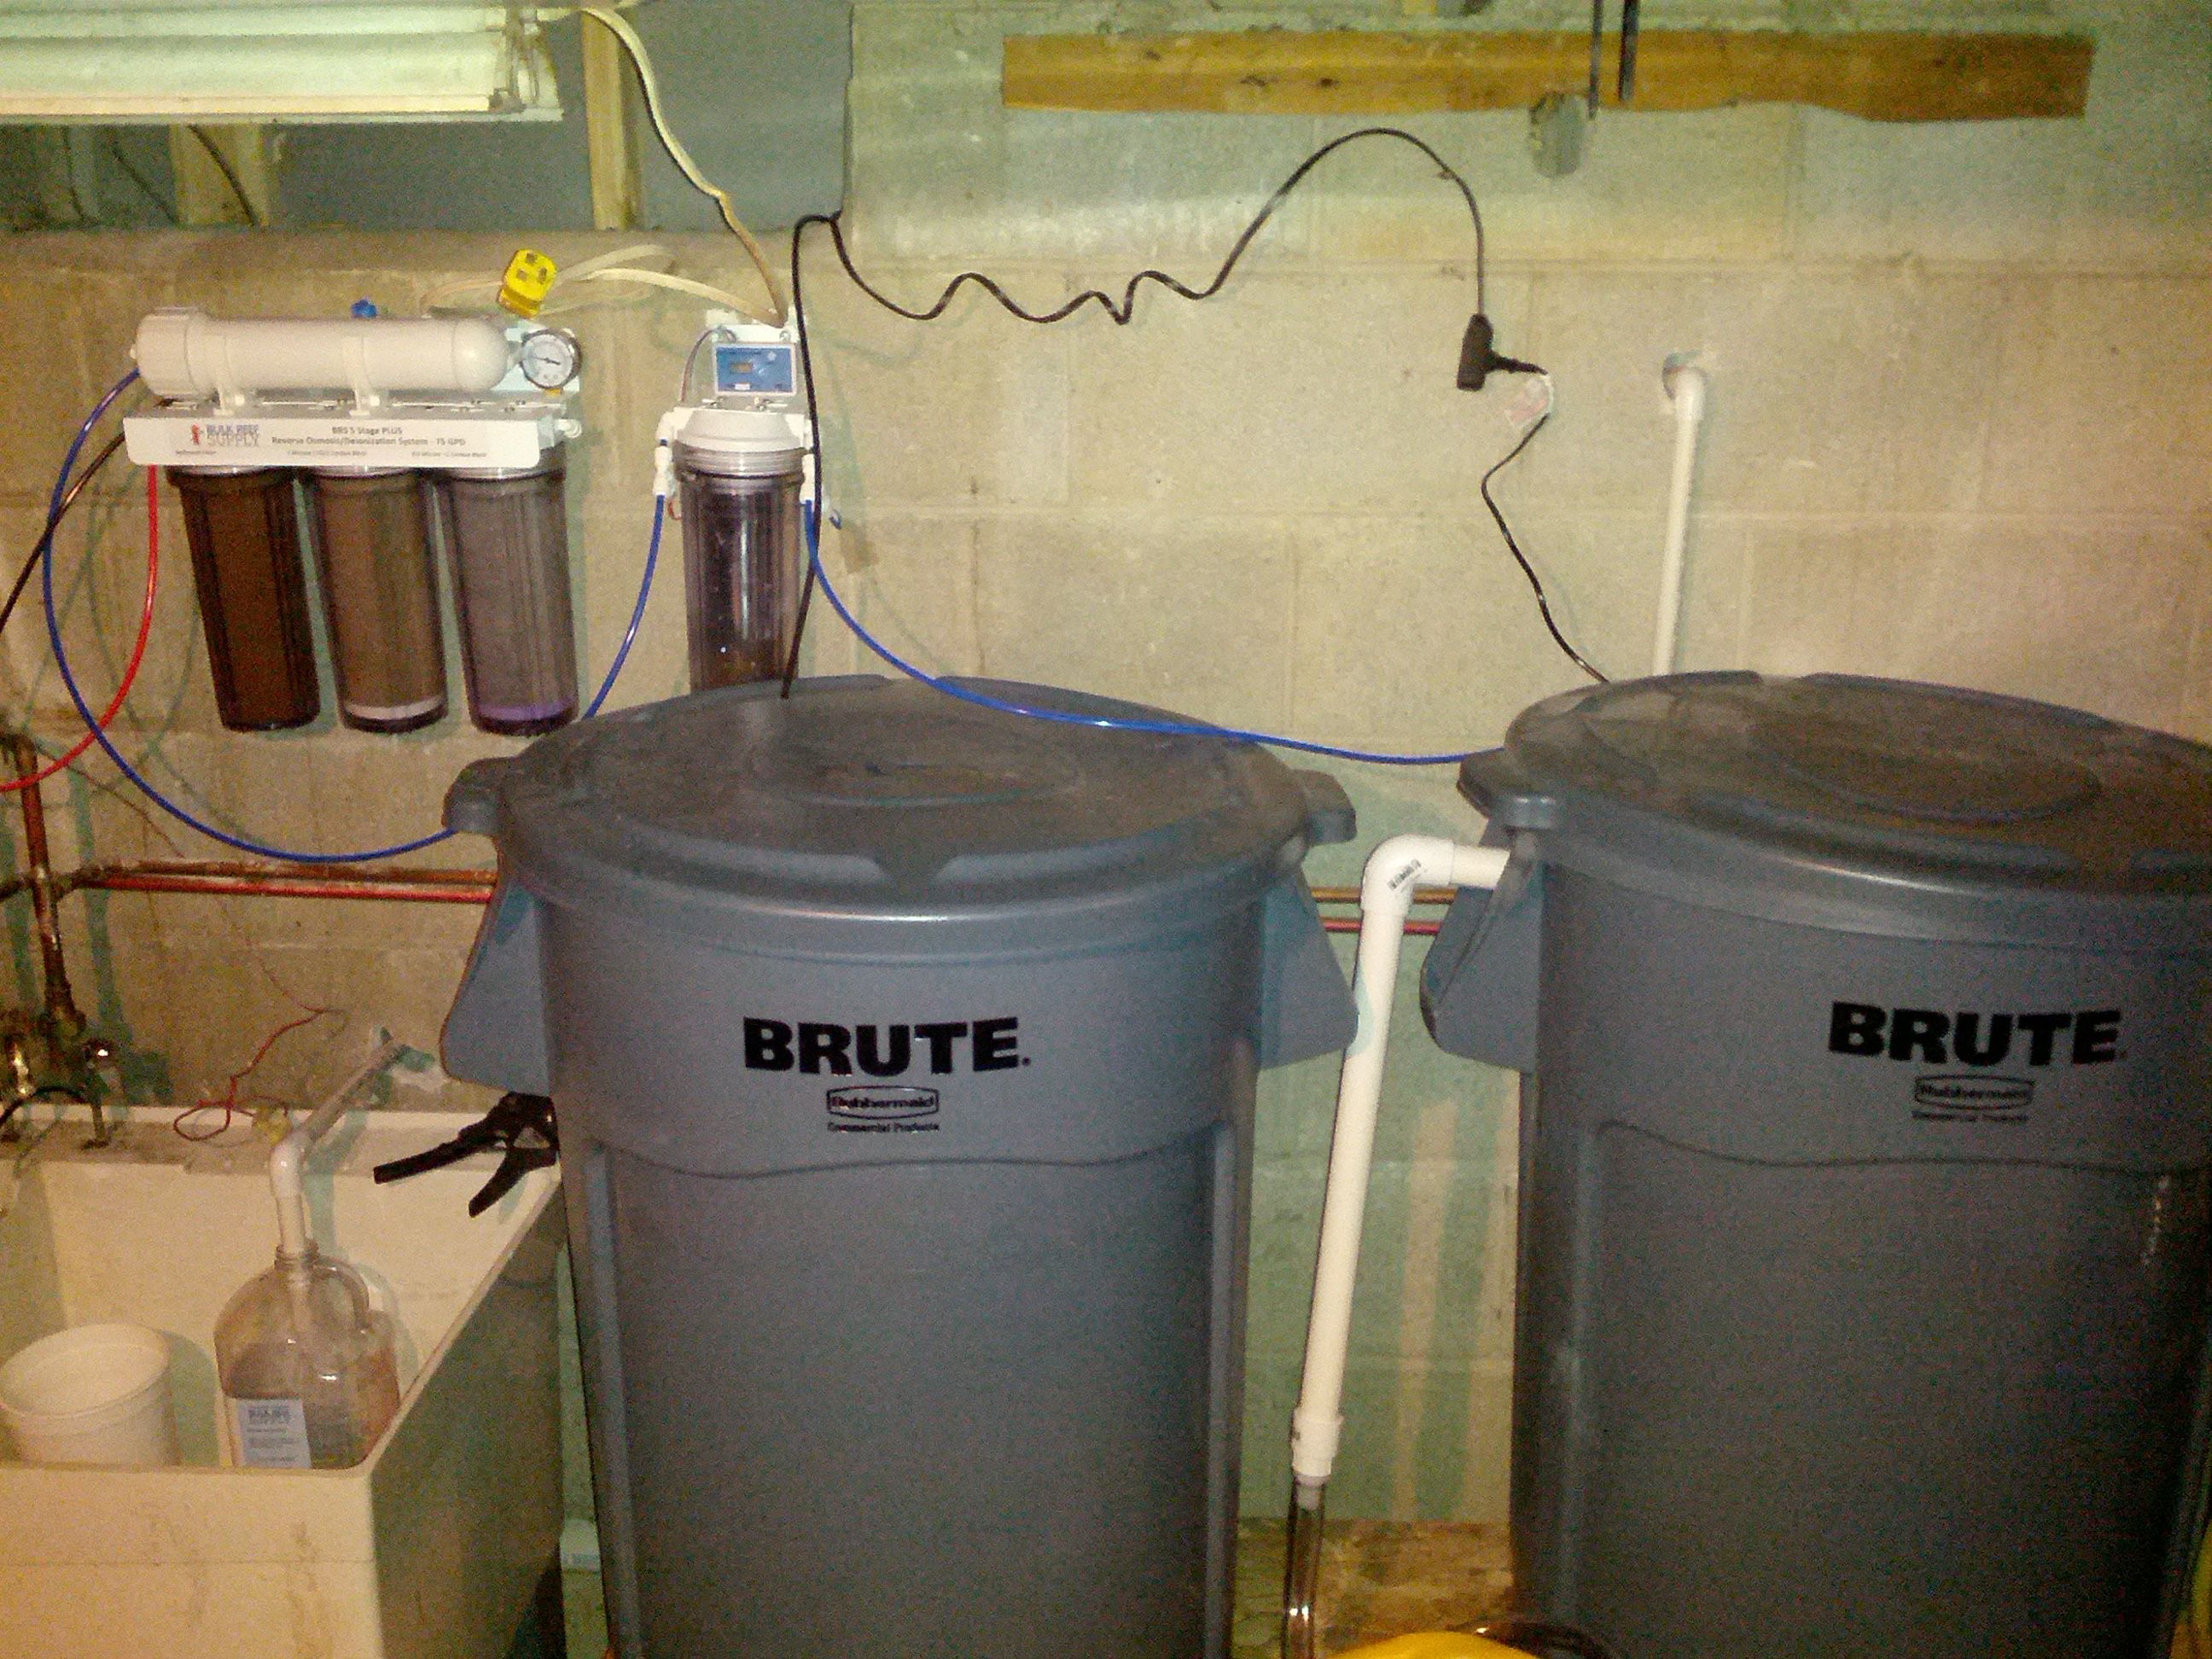
Here is a shot of the utility room/mixing station area. The stationary tub has a piece of 1/2" PVC section that dumps waste water out into the tub from the sump through the wall. (Currently I have a 1 gallon jug set up to test the volume that will actually clear the pipe. Some water will remain in pipe until the next change. The fresh water will come out of the BRUTE container on the right and go up through the wall and down into the DT overflow.

Dirty Water line from tank side up through wall into stationary tub Connection from the sump pump down to the dirty water out line.
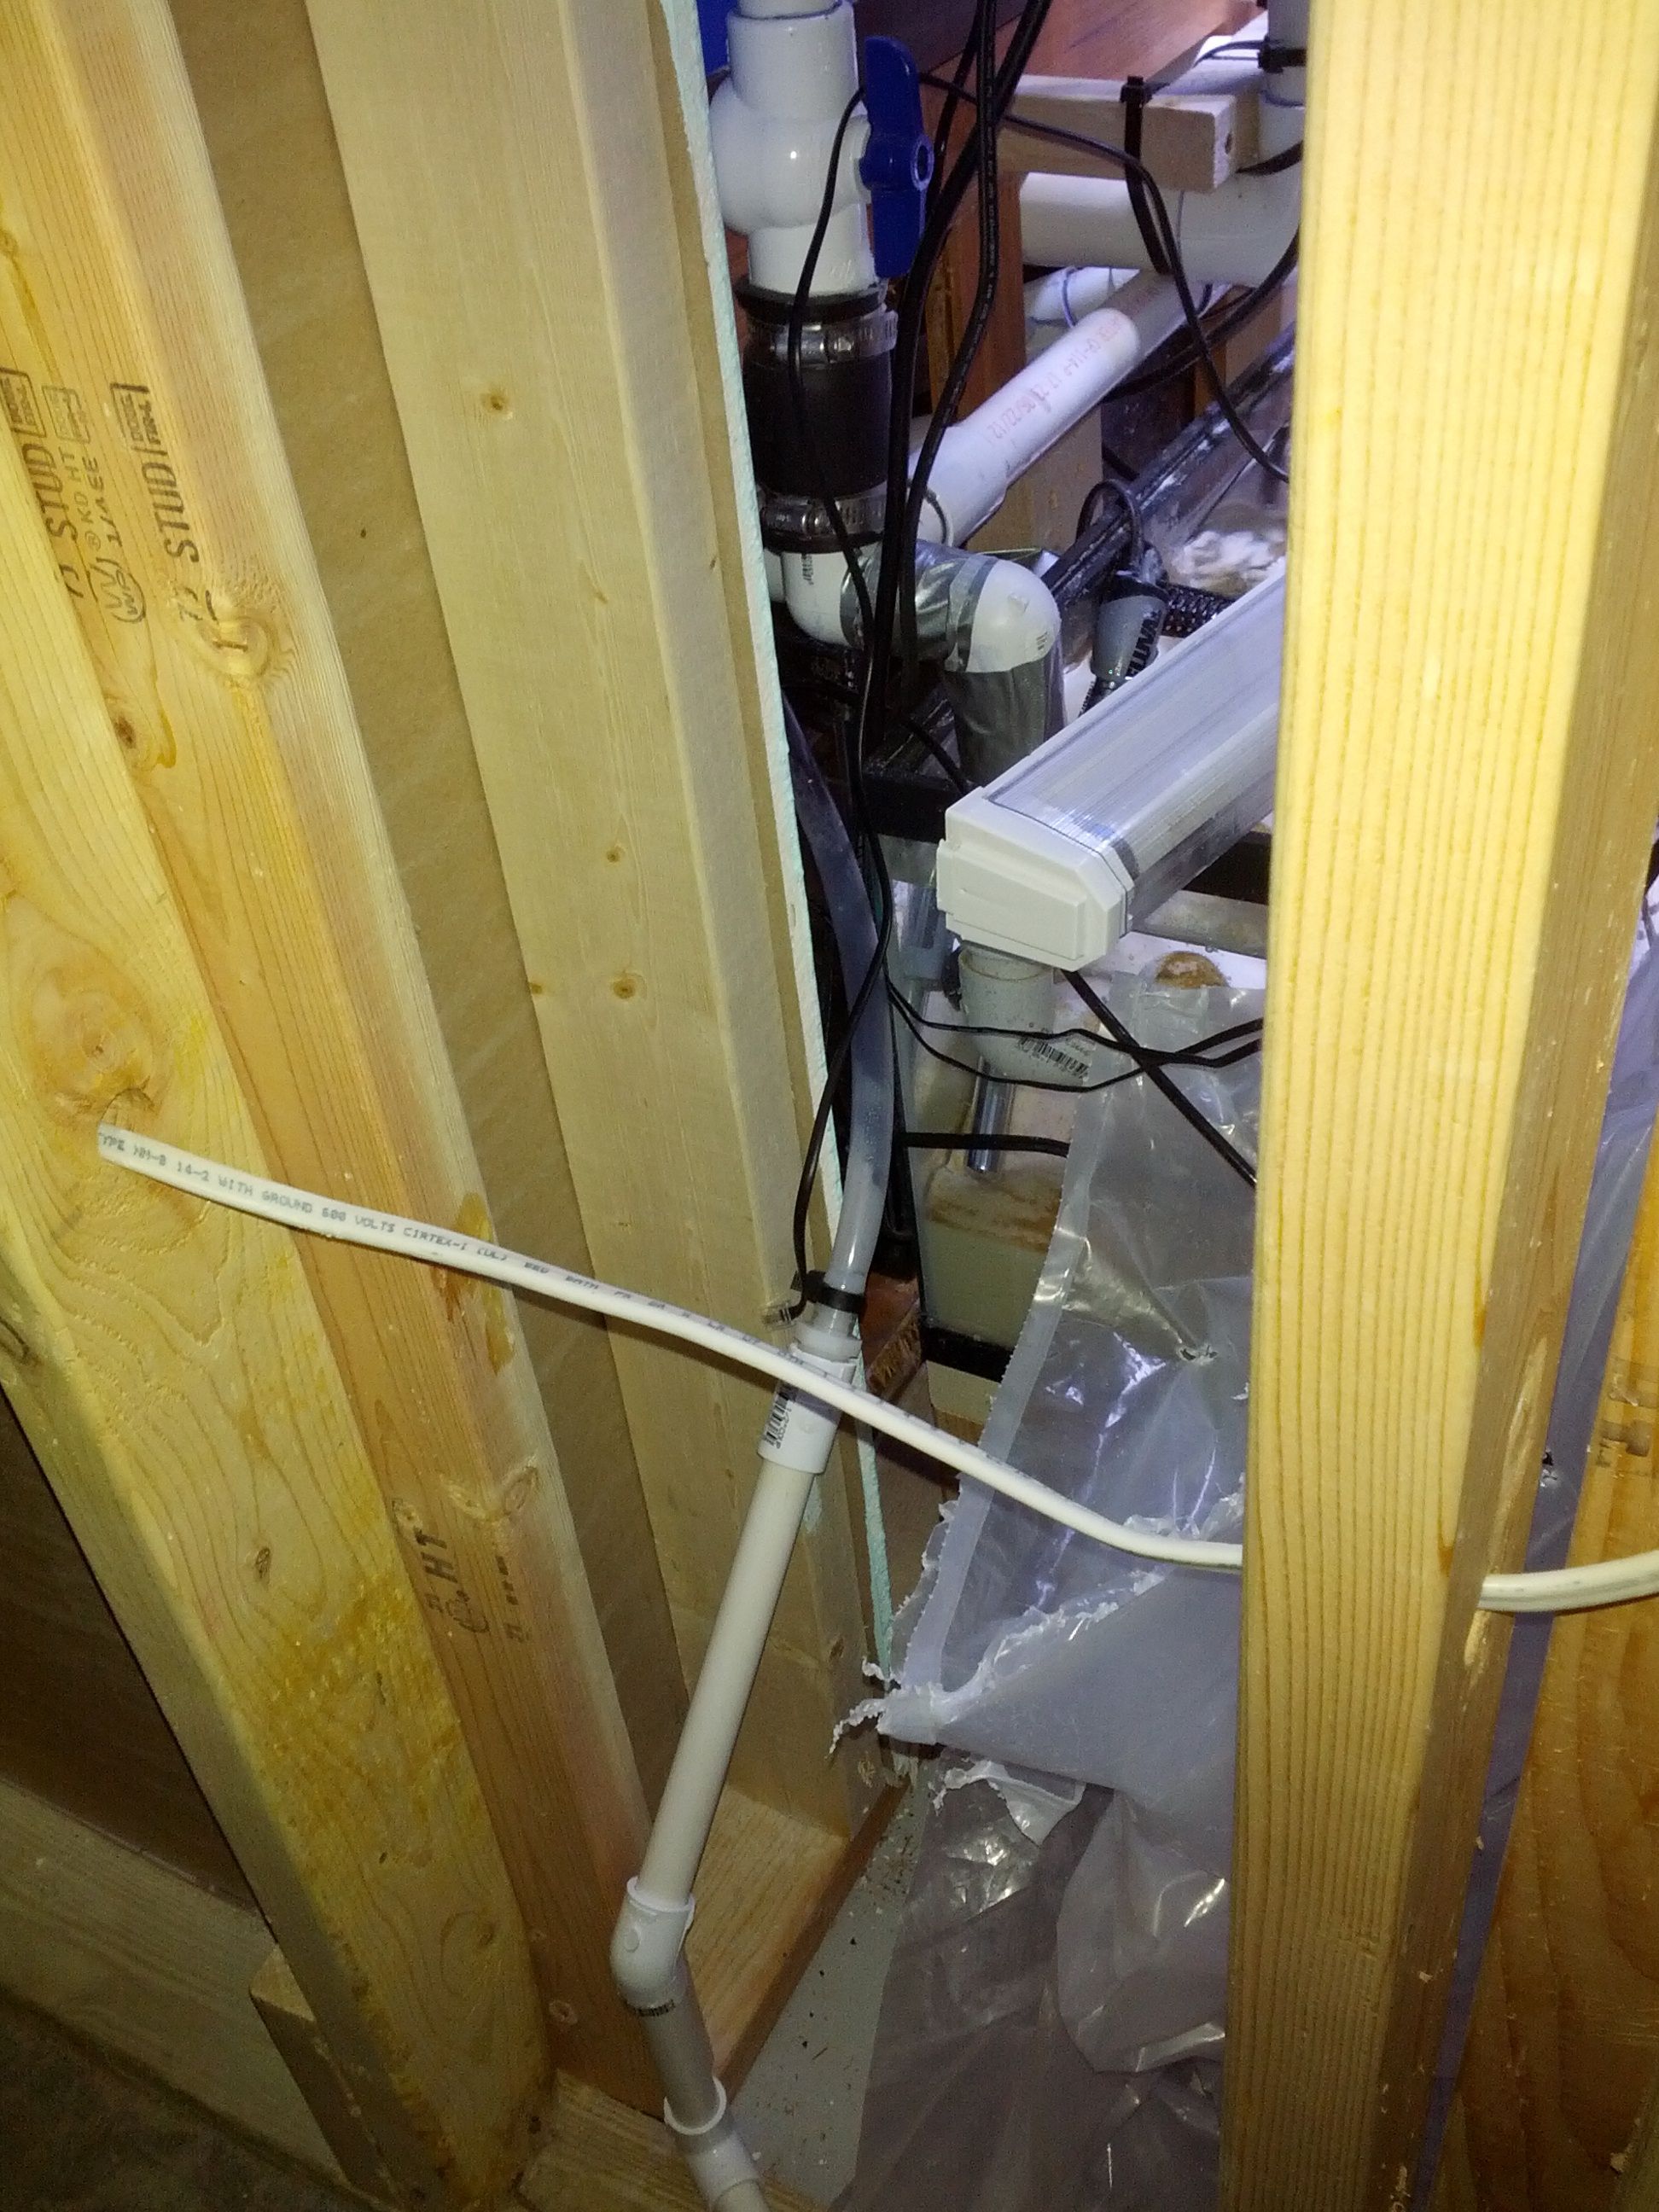
I'm still working on securing and cleaning up my electrical wires

Here is a pic of the clean saltwater line coming into the overflow. I would like to run the water directly into the sump, however the 8" difference between the utility room floor and fish room floor and given the fact that my water storage is on an 18" stand, made the physics impossible. If would basically have a siphon if I run it into my sump. The other issue is that even with a siphon break, the delayed response with a siphon would allow more salt water after the pump turns off. This would gradually throw off my salinity over time.
I still have to test the system with the plumbing the way it is, but I feel good about it. So far all my trials were done with a 3' piece of vinyl tubing and a single pump. I'm hoping to mix up some salt water tonight and then give it a shot. I'm going to program it to do about 30-40 1-gallon water changes in one day. About one ever 30 min or so. Then when all is said and done I can do some testing to see how stable the system is and how much my salinity changes.
I need to perform a 30-40 gallon change anyways to bring my nitrates down before I add my livestock (My API says 0 Nitrates, but my Seneye reports 15). I do have some macro working for me, so I tend to trust the API, but just in case I'm going to do a solid change.
I decided to wait an extra week or two before transferring the livestock due to this current project and the fact its -7 degrees outside. Even though its only a 10 min drive I don't want to be moving them until it at least gets up to double digits.
 

acrylic51

Active Member
Quote:
Originally Posted by MarvelFan http:///t/393629/29-gallon-to-120-gallon-upgrade-build/60#post_3509335
I'm on my lunch break and started thinking about my water changes. The plan is to do the 1 gallon a day automated change. I was contemplating whether or not to buy a heater for my salt water mixing station. Not sure it's necessary at this point, besides helping the salt dissolve I don't see heating the water making any temperature difference with a 1 gallon water change. I broke out my Thermodynamics equations to calculate temperature after mixing:
Final Temperature = ((Vol A * Temp A) + (Vol B * Temp B)) / (Vol A + Vol B).
Note that Volume A would be the Volume after siphoning your water out before the new water is added!
This means that even if I use water that is 33 F (just above freezing) my tank water will only drop 0.09 degrees by adding one gallon.
My basement is probably around 65 F under normal conditions. Given that temperature I can safely change up to 12 gallons of water at one time with only a modest 1 degree change in temp.
I'm just having some fun with numbers!
In reality heaters are cheap and I should just get one to have in case I need to do a major water change (40 gallons or so would be the max I would be able to do)
Calculations show that a 40 gallon change to a 150 gallon volume would result in the following:
(((150-40) * 78) + (40 * 65)) / ((150-40) +40) = 74.53 F
Therefore I would not want to do a maximum change with a sudden 3.5 degree differential.
So I guess science dictates I buy another heater just in case I need to prepare for a large change!
Lunch break......I like how you think.......Maybe I ought to add you to our 3 way calls sometimes......
Your dangerous man!!!!!!! Dangerous.......
 

marvelfan

Member
Working out of the house today. UPS just dropped off some books for me. "The Conscientious Marine Aquarist" by Fenner and "The Practical Guide to Corals for the Reef Aquarium" by Puterbaugh/Borneman. Looking like I won't get much work done today

Mixing some salt water now. Hopefully testing my Auto-Change system tonight!
Quote:
Originally Posted by acrylic51 http:///t/393629/29-gallon-to-120-gallon-upgrade-build/60#post_3509398
Lunch break......I like how you think.......Maybe I ought to add you to our 3 way calls sometimes......
Your dangerous man!!!!!!! Dangerous.......
Just using my time wisely! Holding off on a heater. Just realized I have the one from the tank I'll be tearing down. I'm following your other thread related to heating your mixing station.
 

marvelfan

Member
Small update on the Auto Water Changing system. It's working about 50%. Small set back, but I think I know why and that this will work great!
I mixed up some salt water over the last day. Then last night I programmed my controller to turn on the pump in the sump to turn on for 2 min or until the bottom float switch dropped to a closed position.
The Pump started up but the water didn't pump past the first bend in the vinyl tubing. I tested both pumps before placing them and they seemed to pump fine. Not very powerful, but enough to do the job. After some tinkering it was still not happening. My first thought was that the head pressure was just to much for the tiny pump.
Next I decided manually remove one gallon from the tank to drop my water level to where it would be if the first pump worked. I then tested the other pump. I set it to run for 2 min or until the upper float switched opened. The pump turned on and this time I got a steady slow stream of water to my overflow. It took about the full 2 min to pump the gallon of water, which was a perfect rate. The float switch opened and the water stopped right away. The water level was perfect!
Next I decided to switch the pumps around to see if maybe one pump wasn't quite as strong as the other pump. In the end, after the switch I could still pump water into the tank, but could not pump the water out and up into the stationary tub.
I think I know why, and this issue will be fixed tonight!!!!
here is what I think is wrong with my plumbing.
The side that works with the pump is pumping up the same distance as the other pump, the only difference is that the vertical rise occurs before the horizontal run. In the case of the output, I'm running across the ground for 6 feet before I make the 3 -4 ft rise. The small pump can't do that. If I replumb to pump the water up first and tackle the rise before the run it should work just like the other side. That's my theory. I'll found out tonight when I get home.

Run before Rise (Doesn't work) Rise before Run (should work)
 
Top