lubeck
Active Member
Well I'm picking up a used 110 gal acrylic drilled tank and stand tomorrow for $300. 60x18x24.
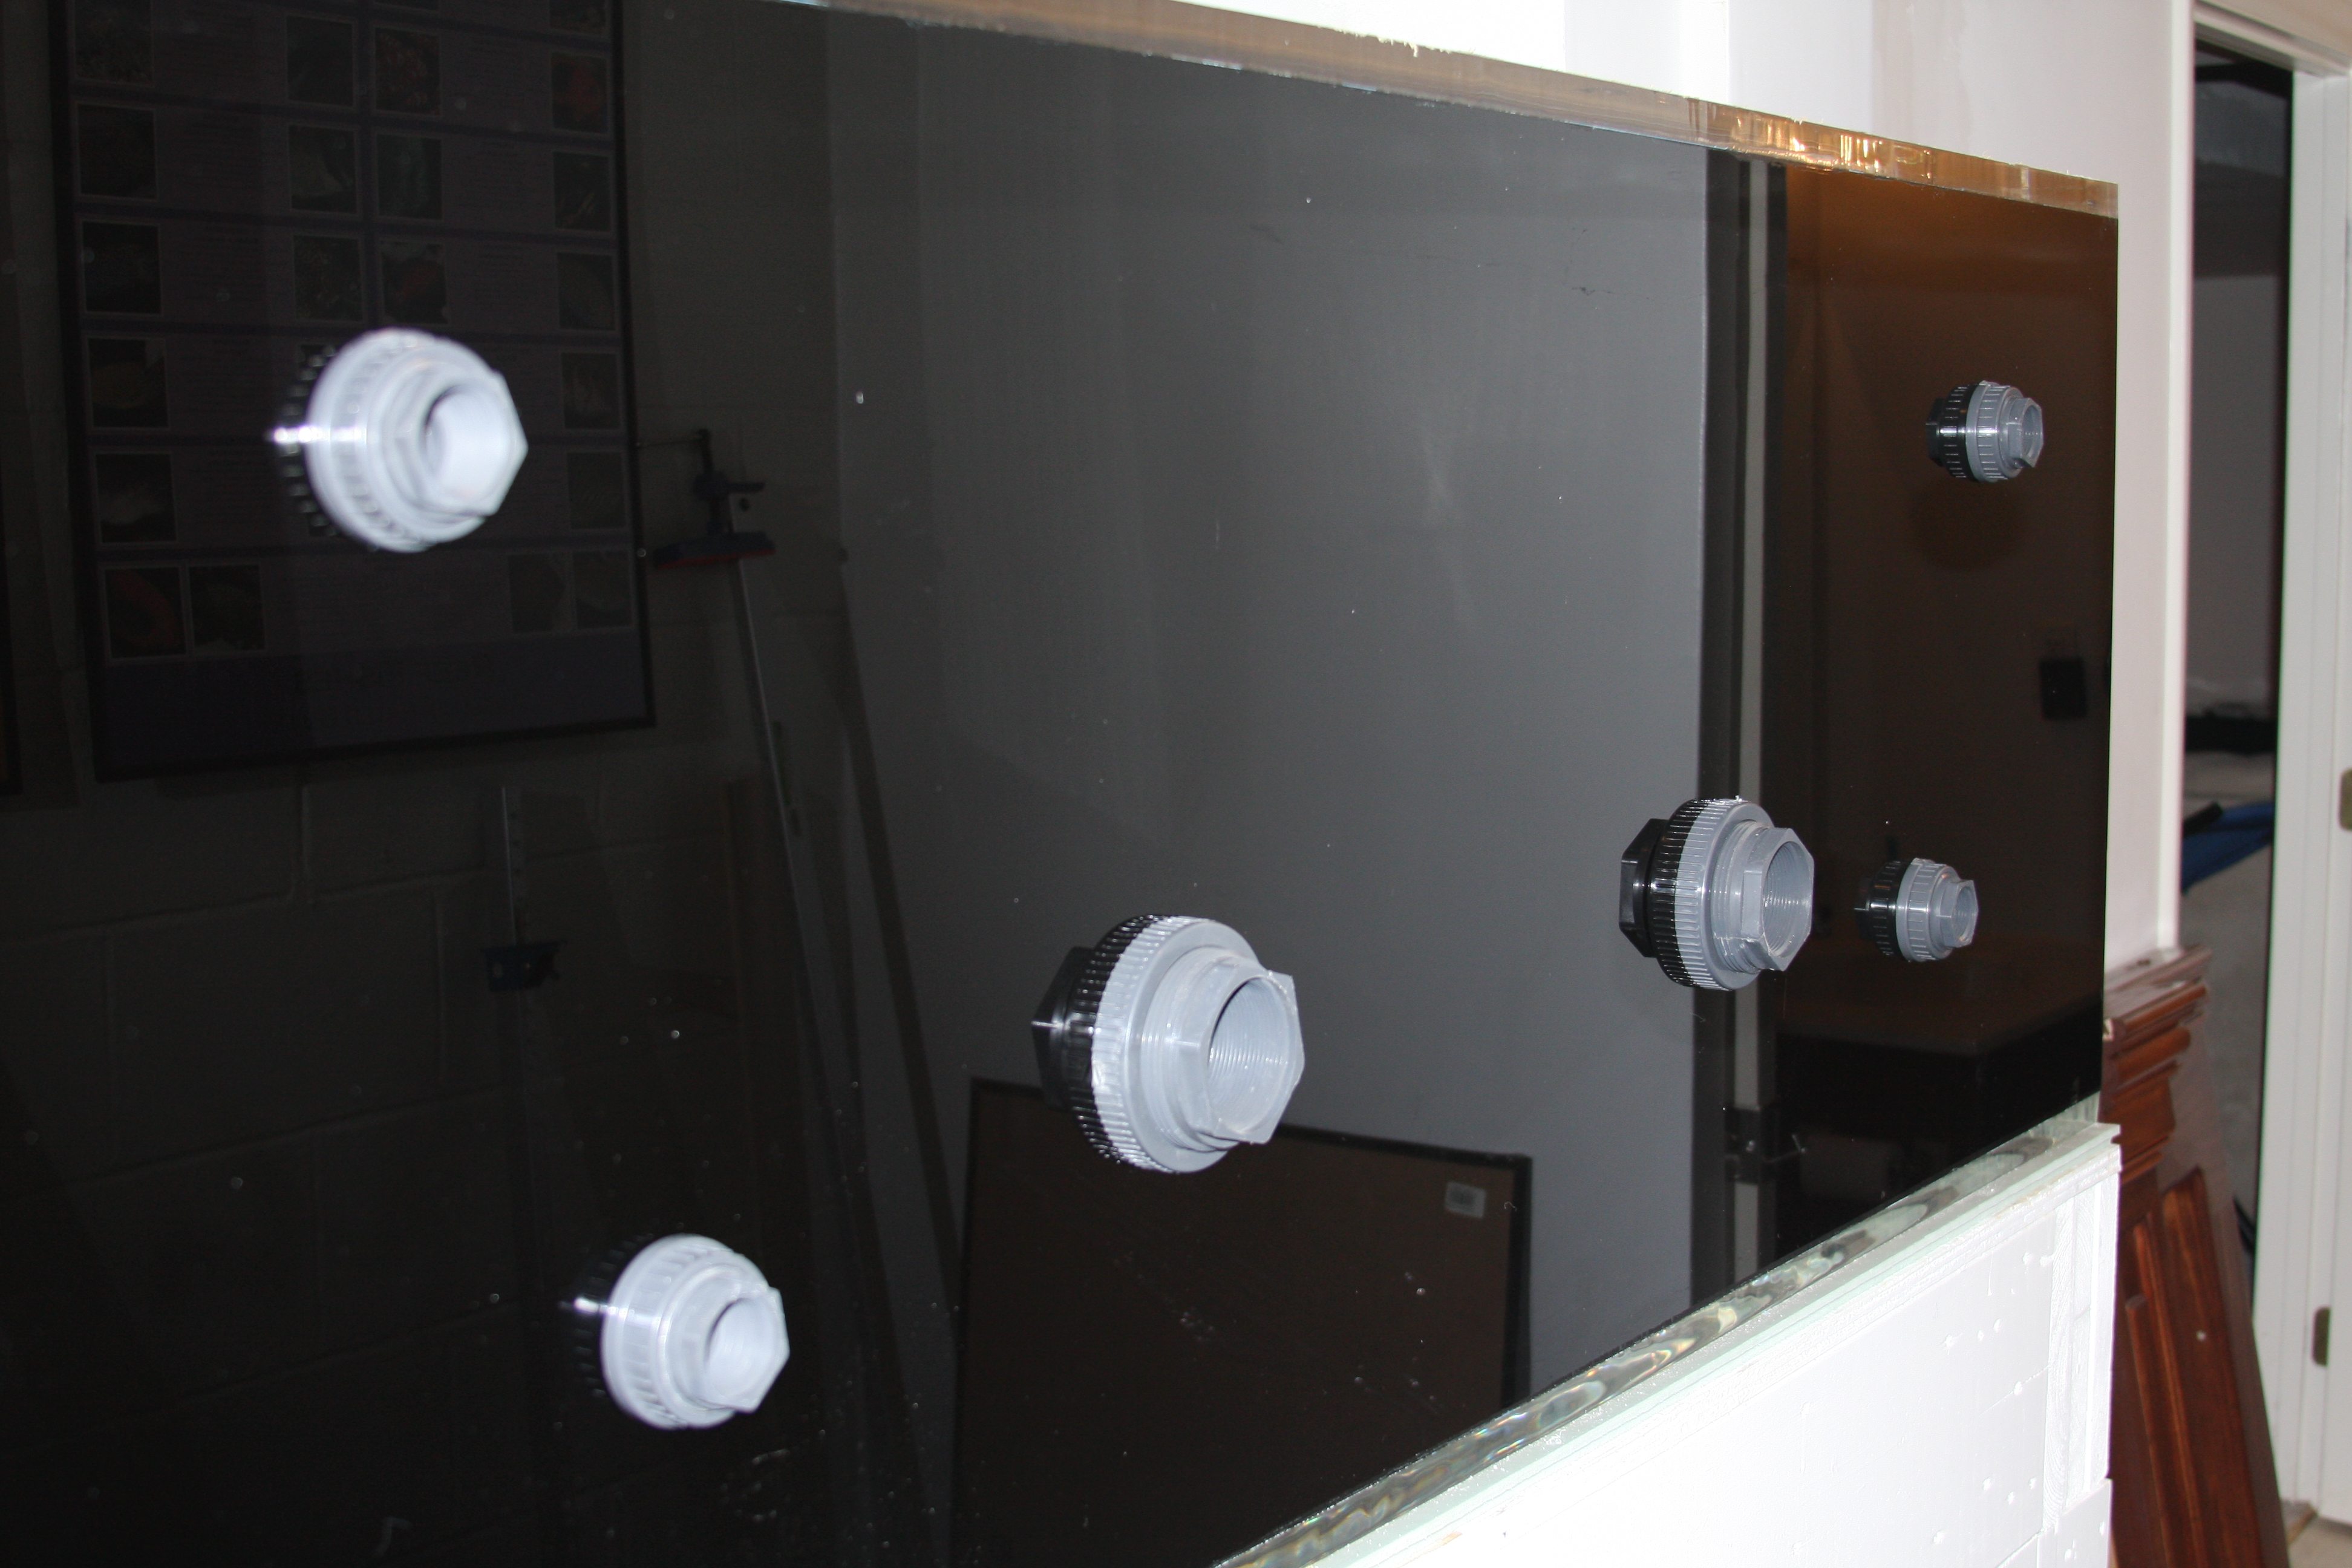
As you can see it has a blue background and is drilled for a closed loop but does not have an overflow.
The stand internal dimensions are 58x15x28. I will need help with this dimension to get the most optimal sump.
So I have lots of questions. Here is round one of many
1. I need to build an overflow and was thinking coast to coast with bean pipe. Sound good?
2 what size over flow and pipe would I use ? 1.5"? How many drains and I was thinking of 1200 or 1800 gal overflow. What size pipe would the return lines be? How many? 2-1.5"?
3 I'm not a fan of the blue background and didn't know if there was any way to make it black? If not I will deal with it. If I have to stick with blue where do I get a blue acrylic overflow coast to coast?
4 I want to fit the biggest sump I can fit in the stand. I was hoping for a 75 gal but prob will only be able to fit a 55? I would consider modifying my stand to go wider if someone would help or suggest an alternative.
5 what is the best sump/fuge setup with a 55 or 75? Does any one have any good drawings I want the fuge to be big. I do have a 20 gal tall that I could repurpose and may be able to squeeze in if I went with a 55?
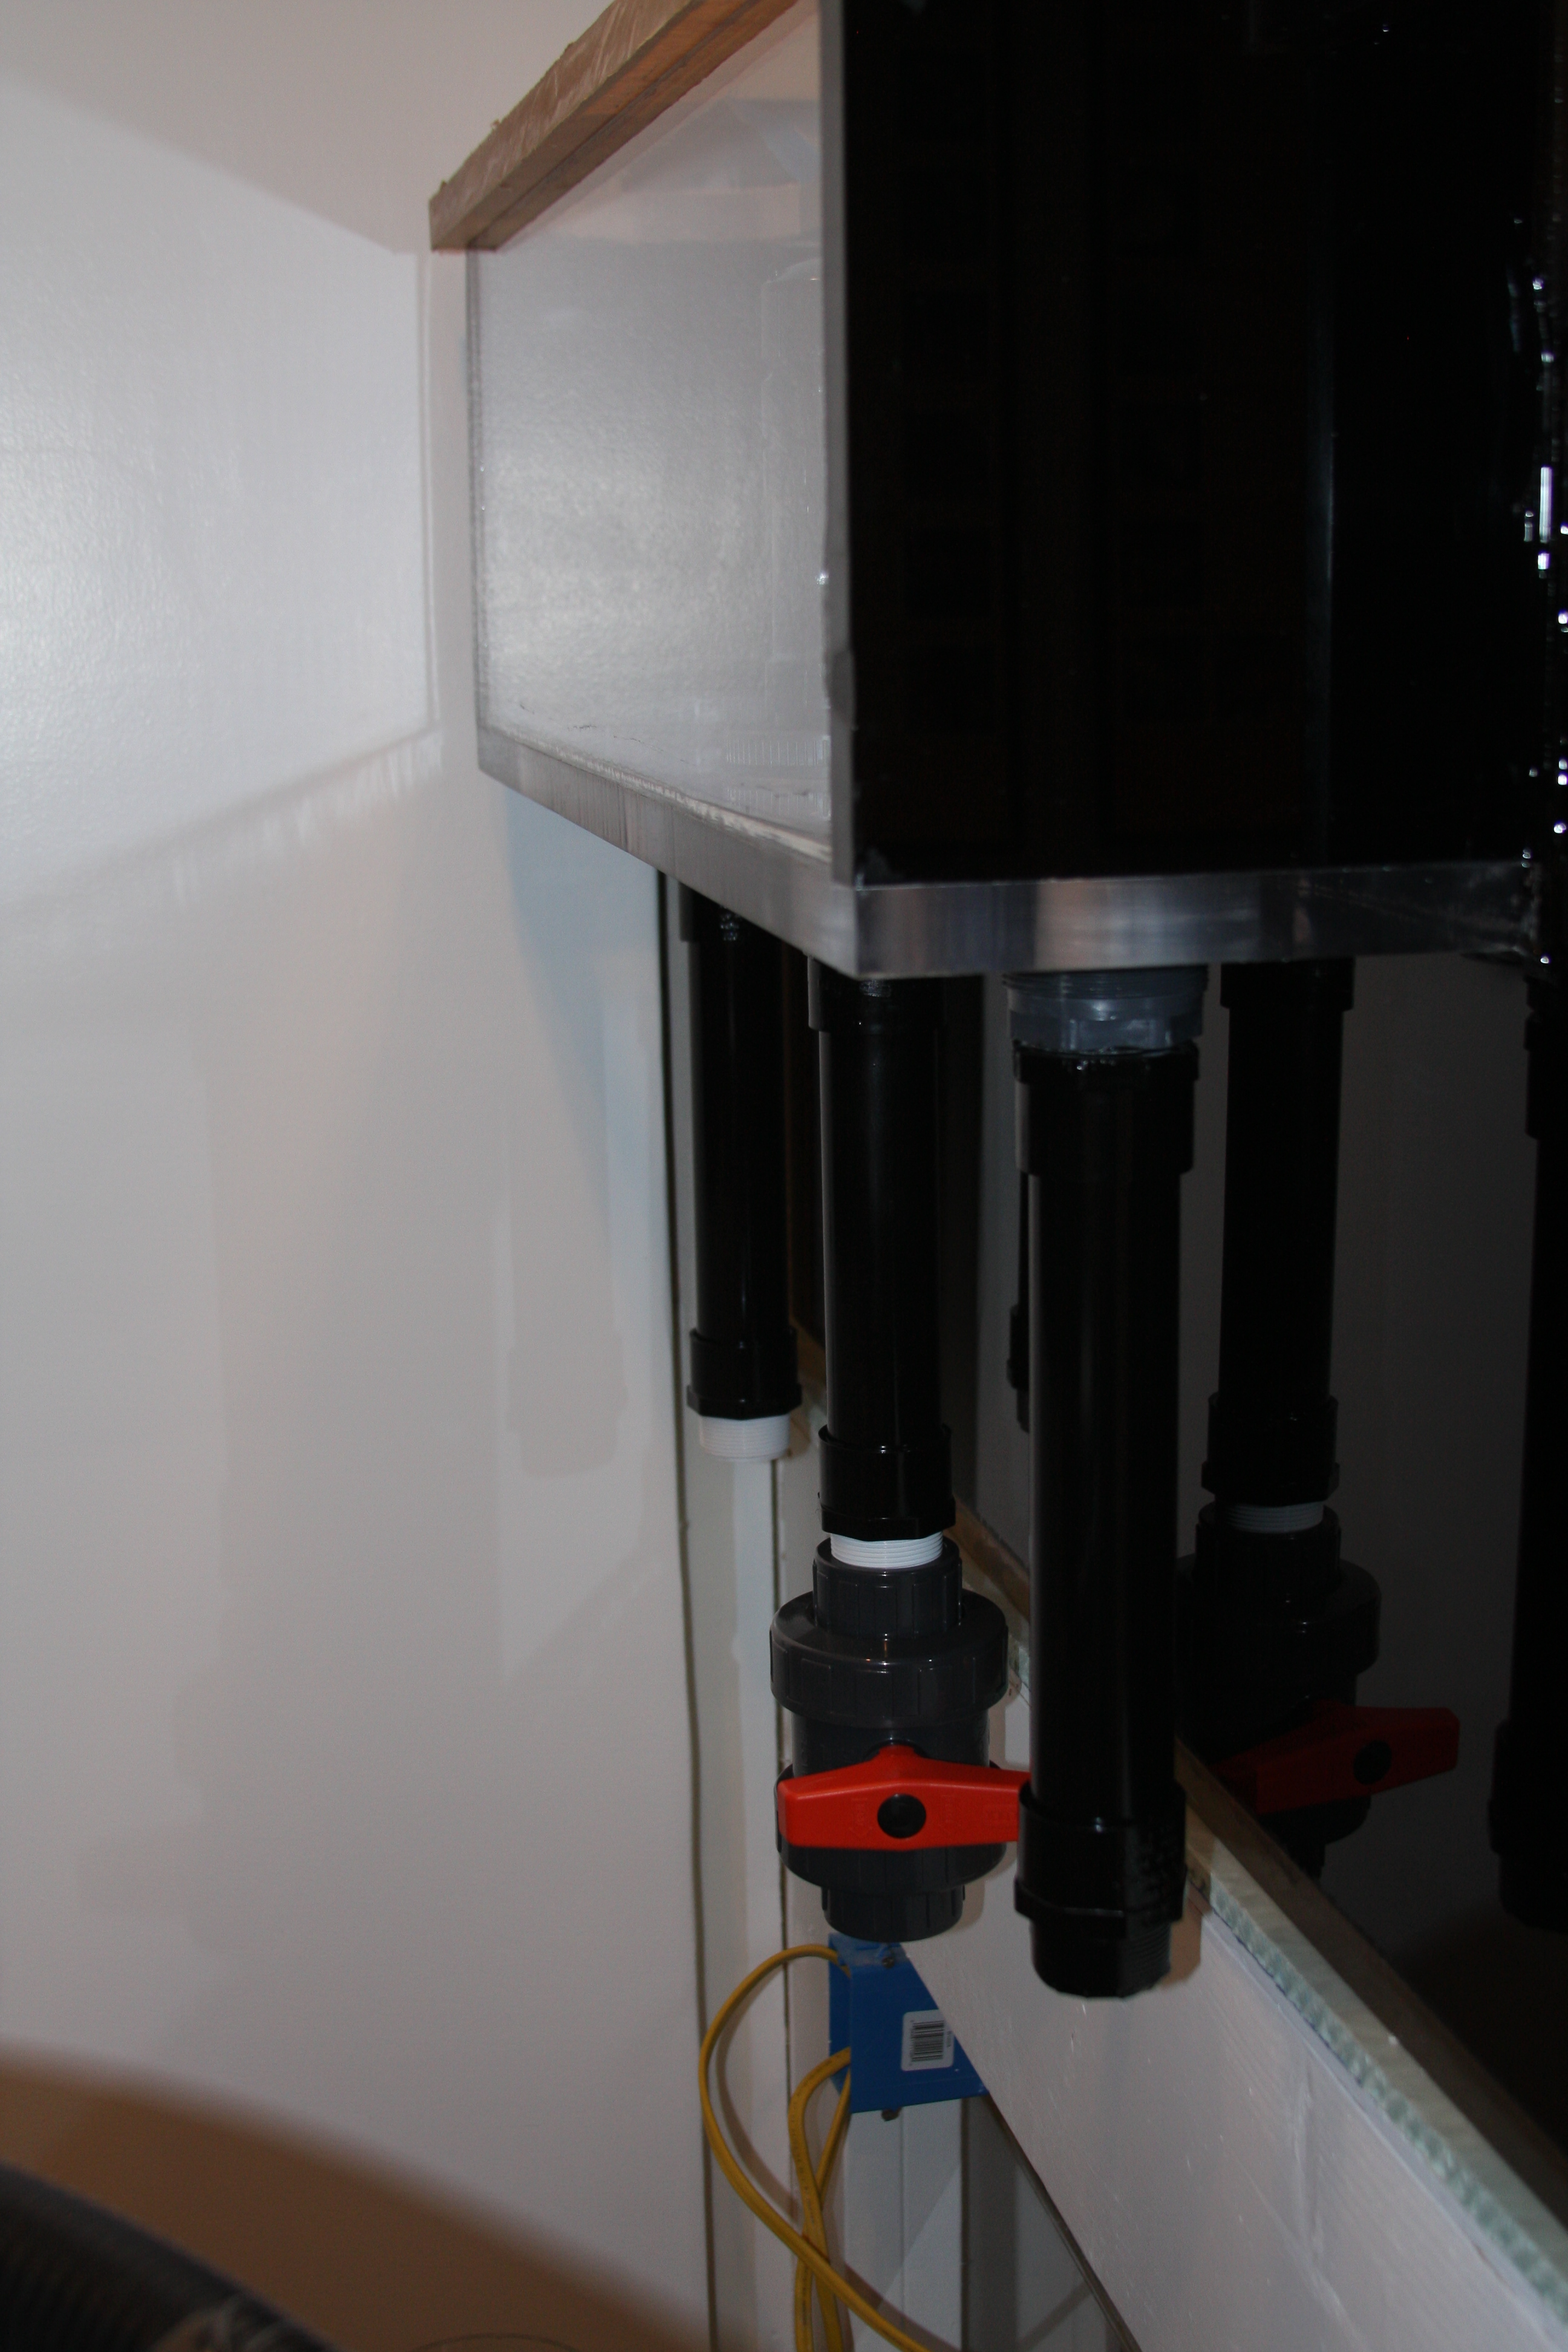
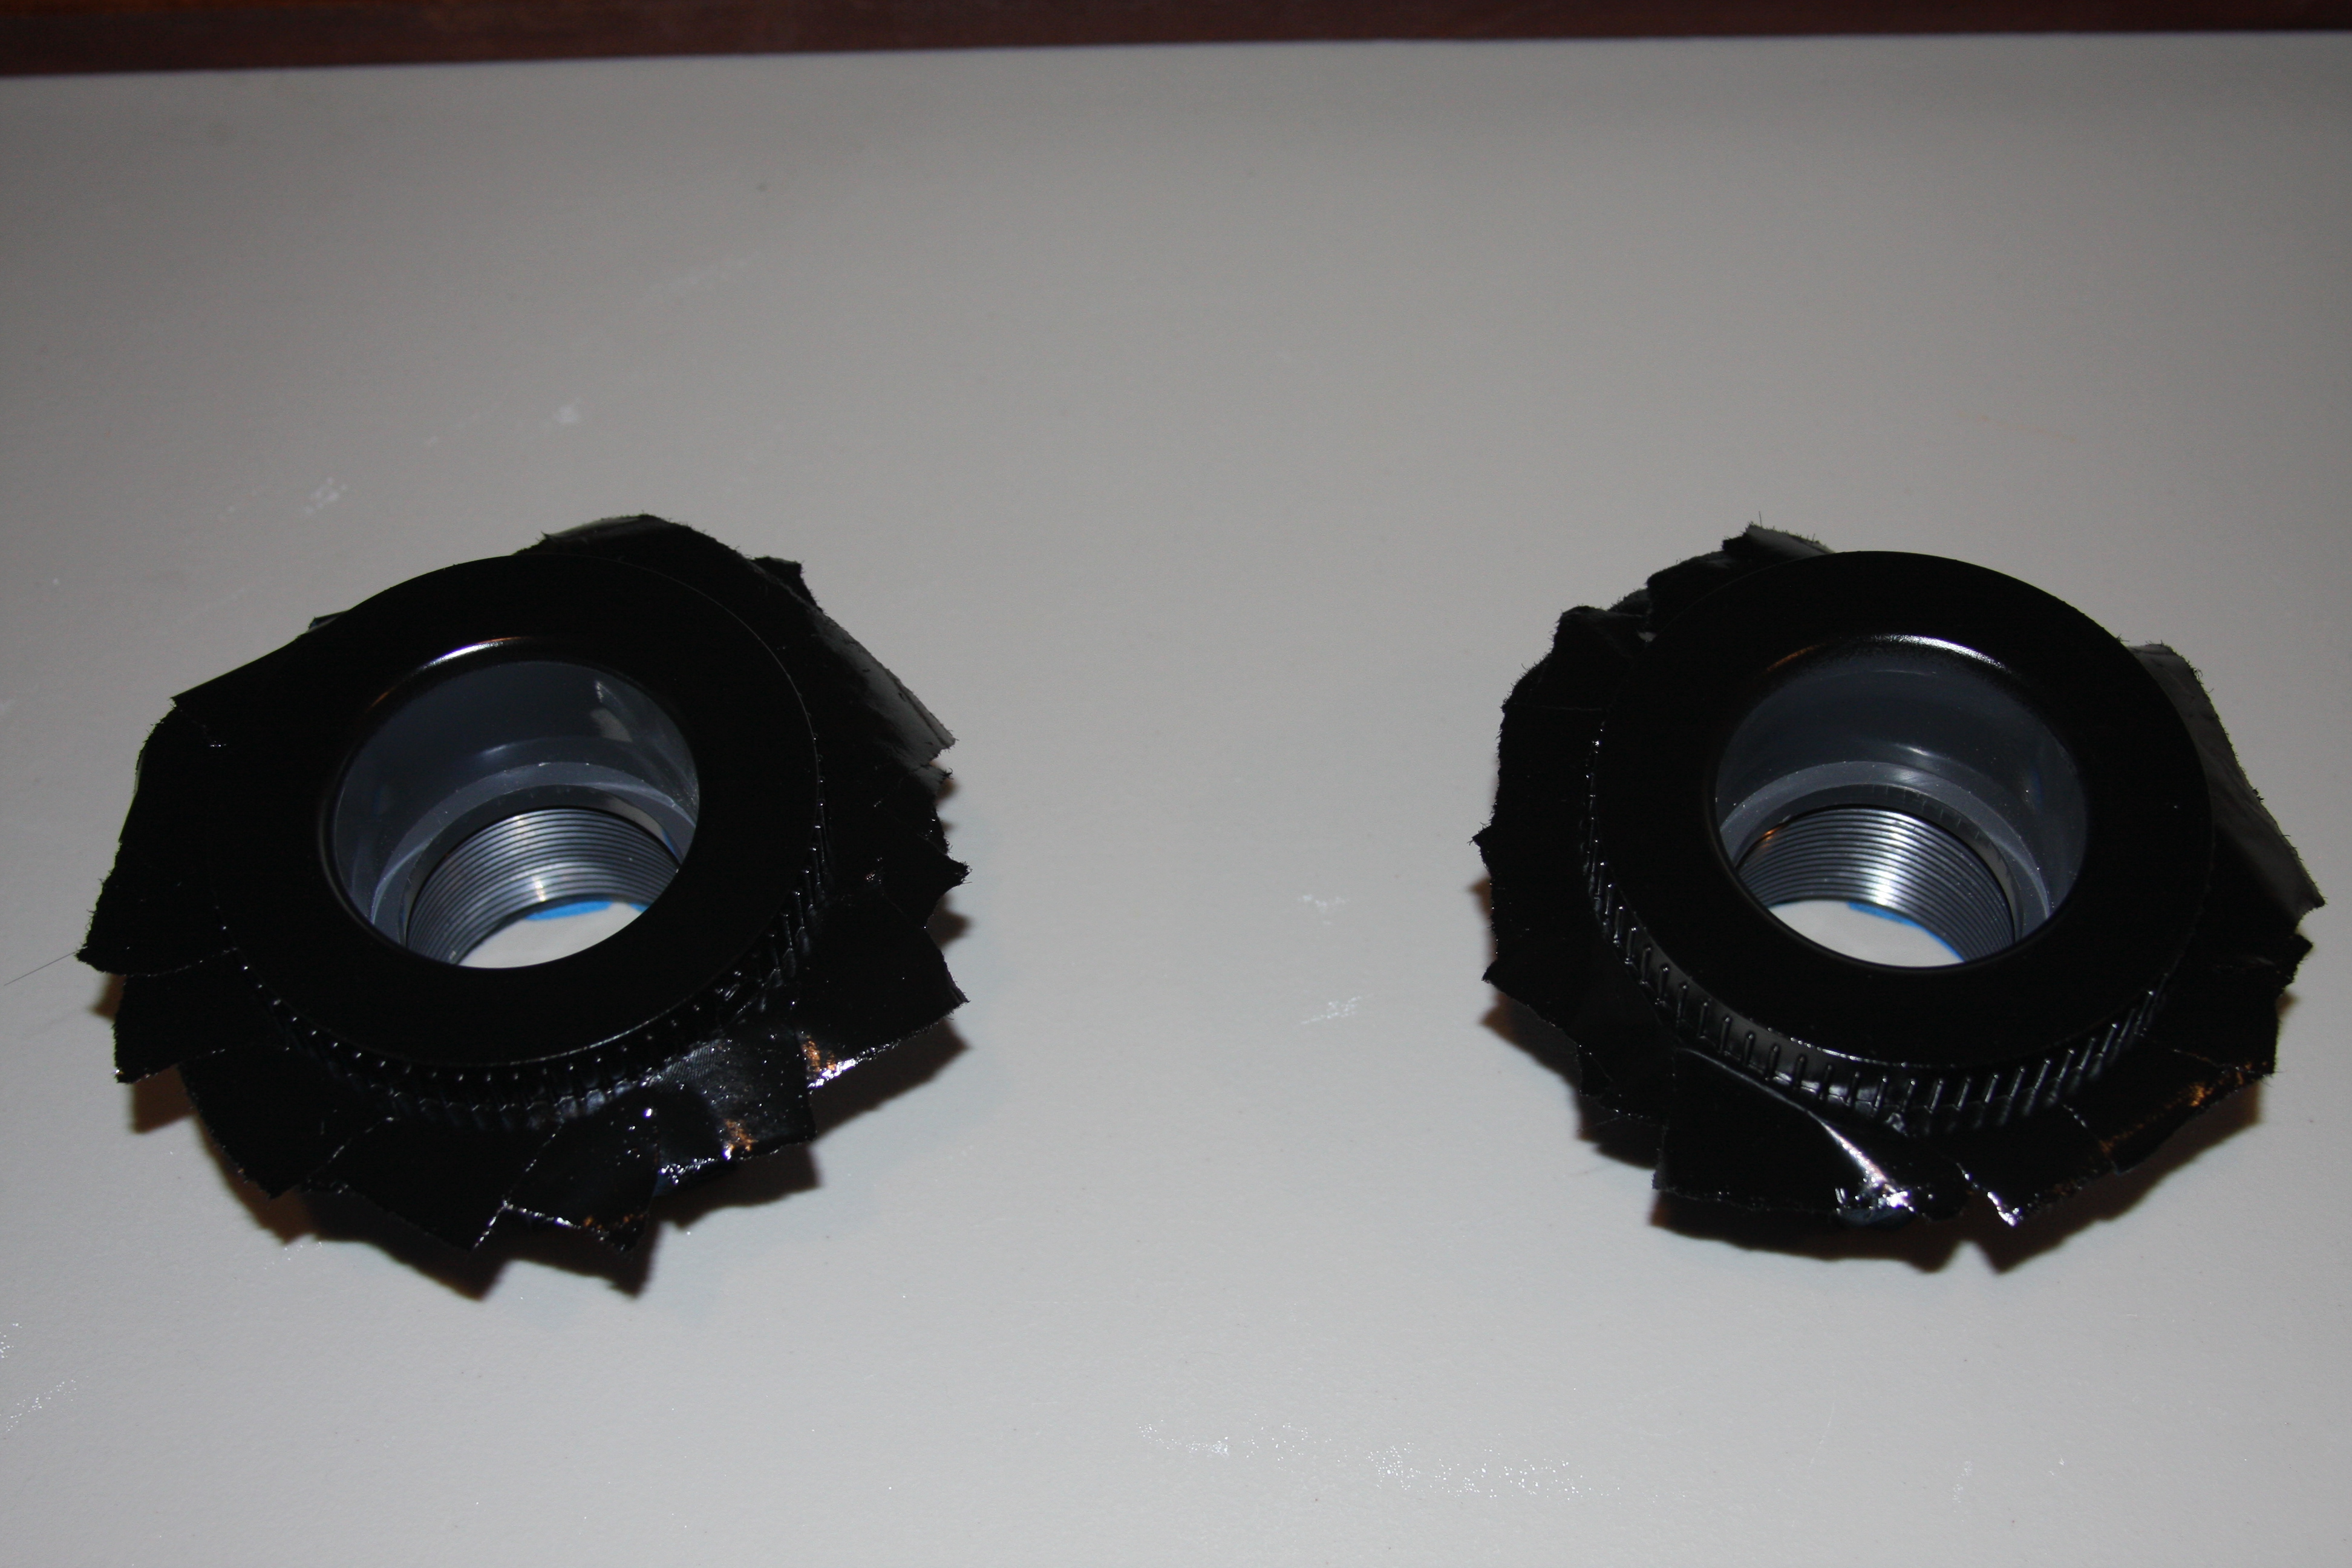
6 I'm going to utilize the closed loop. If you see in the pics it looks like the ID is 1"???? So could I use 1.5" return and intake for the closed loop? I was thinking of using the reef dart pump. Any comments?
7 do you think while I'm drilling I should add additional CL drains or returns?
8 what is used on the intake of the CL so fish don't get sucked up? Got pics?
9 I need to polish and get lots of scratches off the Panels. What to use? Can I use a electric sander? Is it best to do the whole tank or just the places that need it?
I want my turnover to be able to go up to at least 50x turnover


ucket.com/albums/hh542/lubecky1/?action=view¤t=584B8152-CF2E-4636-8CE9-E6E98984E0C9-6128-000009A62DB6B6AC_zps718587b1.jpg" target="_blank">


As you can see it has a blue background and is drilled for a closed loop but does not have an overflow.
The stand internal dimensions are 58x15x28. I will need help with this dimension to get the most optimal sump.
So I have lots of questions. Here is round one of many
1. I need to build an overflow and was thinking coast to coast with bean pipe. Sound good?
2 what size over flow and pipe would I use ? 1.5"? How many drains and I was thinking of 1200 or 1800 gal overflow. What size pipe would the return lines be? How many? 2-1.5"?
3 I'm not a fan of the blue background and didn't know if there was any way to make it black? If not I will deal with it. If I have to stick with blue where do I get a blue acrylic overflow coast to coast?
4 I want to fit the biggest sump I can fit in the stand. I was hoping for a 75 gal but prob will only be able to fit a 55? I would consider modifying my stand to go wider if someone would help or suggest an alternative.
5 what is the best sump/fuge setup with a 55 or 75? Does any one have any good drawings I want the fuge to be big. I do have a 20 gal tall that I could repurpose and may be able to squeeze in if I went with a 55?
6 I'm going to utilize the closed loop. If you see in the pics it looks like the ID is 1"???? So could I use 1.5" return and intake for the closed loop? I was thinking of using the reef dart pump. Any comments?
7 do you think while I'm drilling I should add additional CL drains or returns?
8 what is used on the intake of the CL so fish don't get sucked up? Got pics?
9 I need to polish and get lots of scratches off the Panels. What to use? Can I use a electric sander? Is it best to do the whole tank or just the places that need it?
I want my turnover to be able to go up to at least 50x turnover


ucket.com/albums/hh542/lubecky1/?action=view¤t=584B8152-CF2E-4636-8CE9-E6E98984E0C9-6128-000009A62DB6B6AC_zps718587b1.jpg" target="_blank">