I was having a hard time figuring your work schedule......Being the time difference between us.....
As far as the bryopsi, if that is what it is, some have had good success in raising their Mg levels as you suggested and maintaining it for a period of time.......Again some have and some haven't......
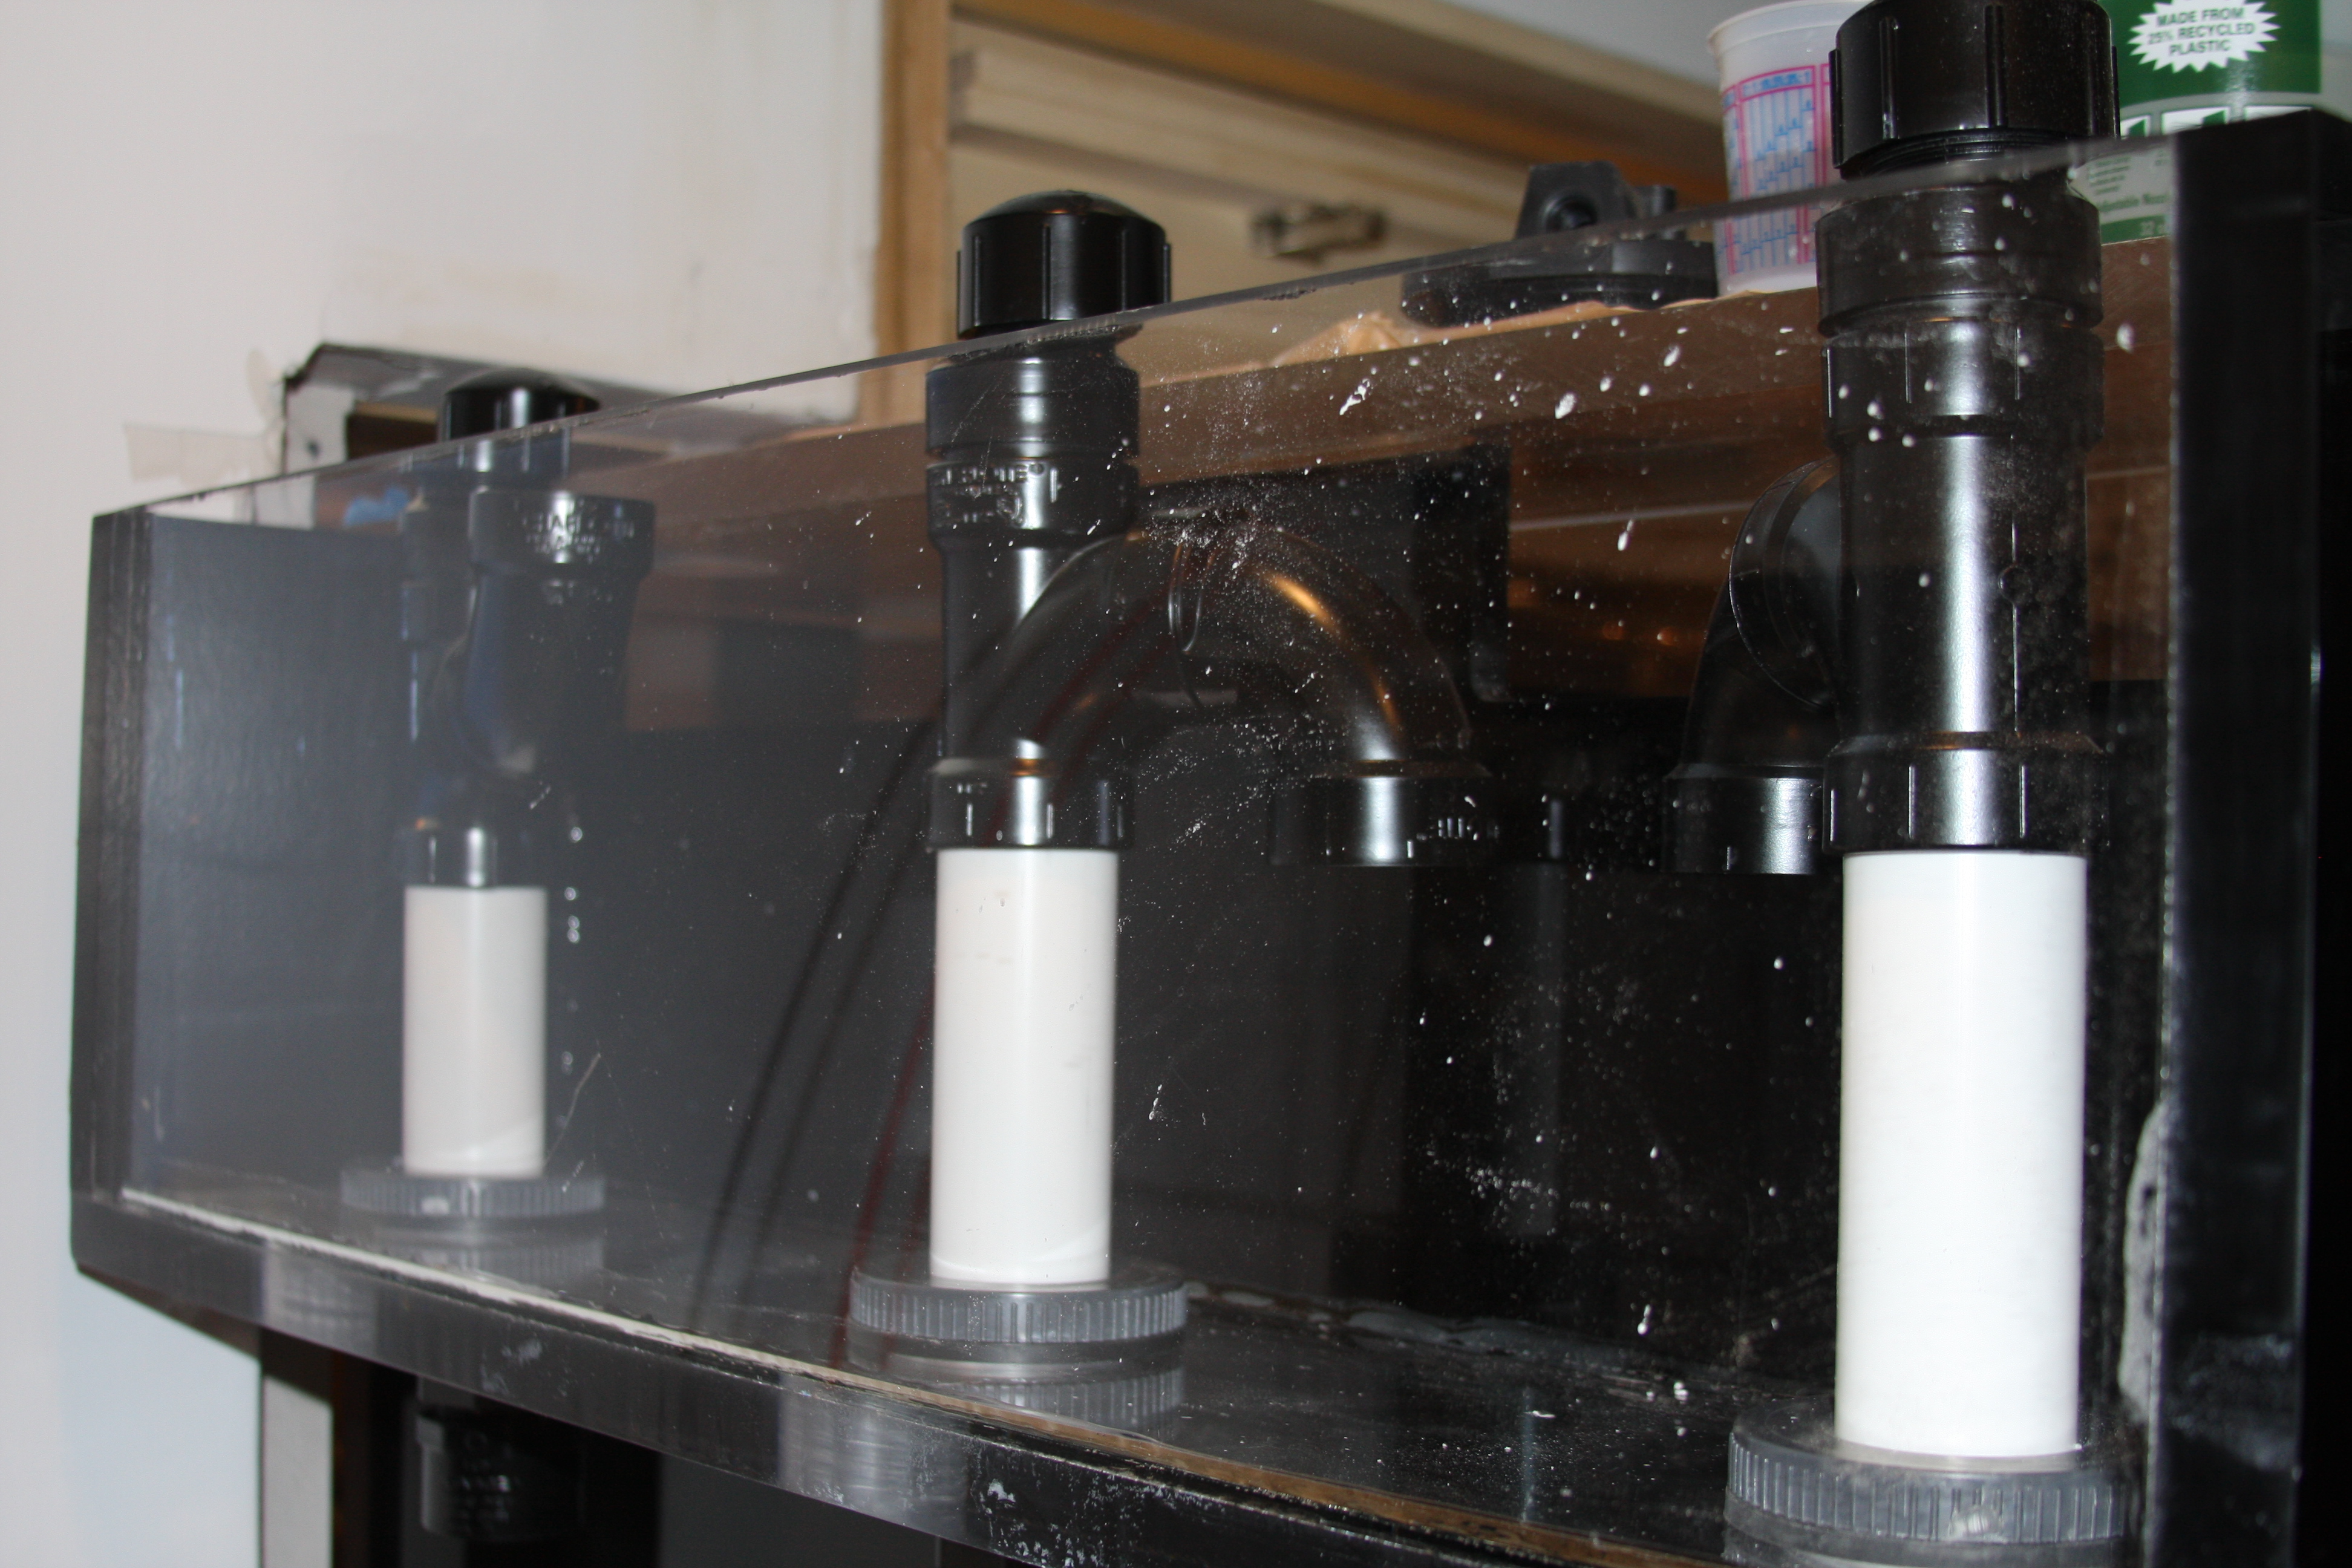
Scrap acrylic is a great tool to practice with....I always like to keep odd ball pieces laying around even though my wife might suggest it's junk and clutter, but you never know when you'll come up with a crazy idea and just need to practice.....Honestly any wood can work as far as making a jig.....I had just suggested MDF since it's super easy to cut and can easily be shaped rather than other material IMO.......You are correct the wood(jig) is nothing more than a guide. Rather than cut "free hand" with a router, which I wouldn't suggest the wood(jig) is nothing more than a pattern for the router to follow.....I can be accomplished a couple of ways.....Really it depends on what type of router bit you choose to work with......
For this work or cut I would personally prefer to use a pattern cutting bit......I prefer this bit to a flush trim bit that could be used, but the pattern bit to me is easier since your "jig" or pattern would be laid on top of the cutting surface and the bearing on the bit would ride against(inside) your pattern you've made.....Whereas if you went with a flush trim bit your pattern would be on the bottom side of the surface you were cutting.....Again both would work, but personally I think the pattern bit with the bearing up top would be the choice.....
Here's what the bit would look like.....Again when choosing your bit you need to know what size shank/shaft the router will take.....some will only take 1/4 shanks/shafts, while other routers are capable of handling both 1/4" & 1/2" shanks. My router I can go back and forth between the sizes, but not sure on the router you have.....Also you'll have to look at what the cutting diameter is on the bit......The smallest I found doing a quick search at WoodCraft was 1/2" I'm sure you could find 3/8" cutting diameter if you looked.....Again that's why I had hinted at a 1/2" slot.....Easily to come by cutting diameter......Anyways here's a pic of the router bit you'll be searching.....

A very good question.......You mentioned the router is a "plunge" style router.....Mine also is a plunge router, but never use the plunge base.........I'd suggest, and this is how I prefer to route on thinner material and this all plays into the quality and HP of the router you have in hand.....A small hp router might not be able to make the cut in 1 single pass.....What HP is the router you have on hand.......
Personally I prefer to pre drill a hole in the area I will be making the cutout and that way I can drop the router bit down through the material and make my cut.......IMO by trying to lower the bit down through the material and as it cuts, could present another mishap if not familiar with how it's going to grab, and yes it will at times grab the material and want to rip you with it.....This is why I suggest to pre drill a hole large enough to pass the router bit through, that way you can set the depth of the bit just below the other side of the material to get a clean cut......
Now on the other hand if the router is under powered, or material is super thick then yes multiple passes on the material is strongly suggested.....My Porter Cable even though beefy than what most might purchase still wasn't enough to handle 1' in a single pass....So what I did was make multiple passes shaving roughly 1/4"-3/8" at a pass.....1 it kept the material and bit cool.....No need to put unneeded heat or stress on the material......Plus it prolongs the life of the bit.....
Another tip.....The bit you do purchase.....Buy 2......You'll laugh and others might say who cares, but you never mix your wood and acrylic bits.....Buy 2 bits, and use 1 to practice and make your jig out of wood, and when your ready to actually cut the tank, then you get the new bit and use it on acrylic only.....Even the top notch pros will tell you never mix.......Trust me I've tried mixing a few times and have learned the hard way....
Hey Shawn yeah my work schedule is pretty crazy usually 9 to 9ish. I just found out that I do not have plunge router. The router is a r181fb . It's not a plunge router. I started reading the manual last night but fell asleep shortly getting into it. Lol. It looks like its 1.5 peak horse power what is the name of the drill bit exactly. I need to do more research but thank you for the direction.