240G Tank Stand & Canopy Build

xcali1985

Active Member
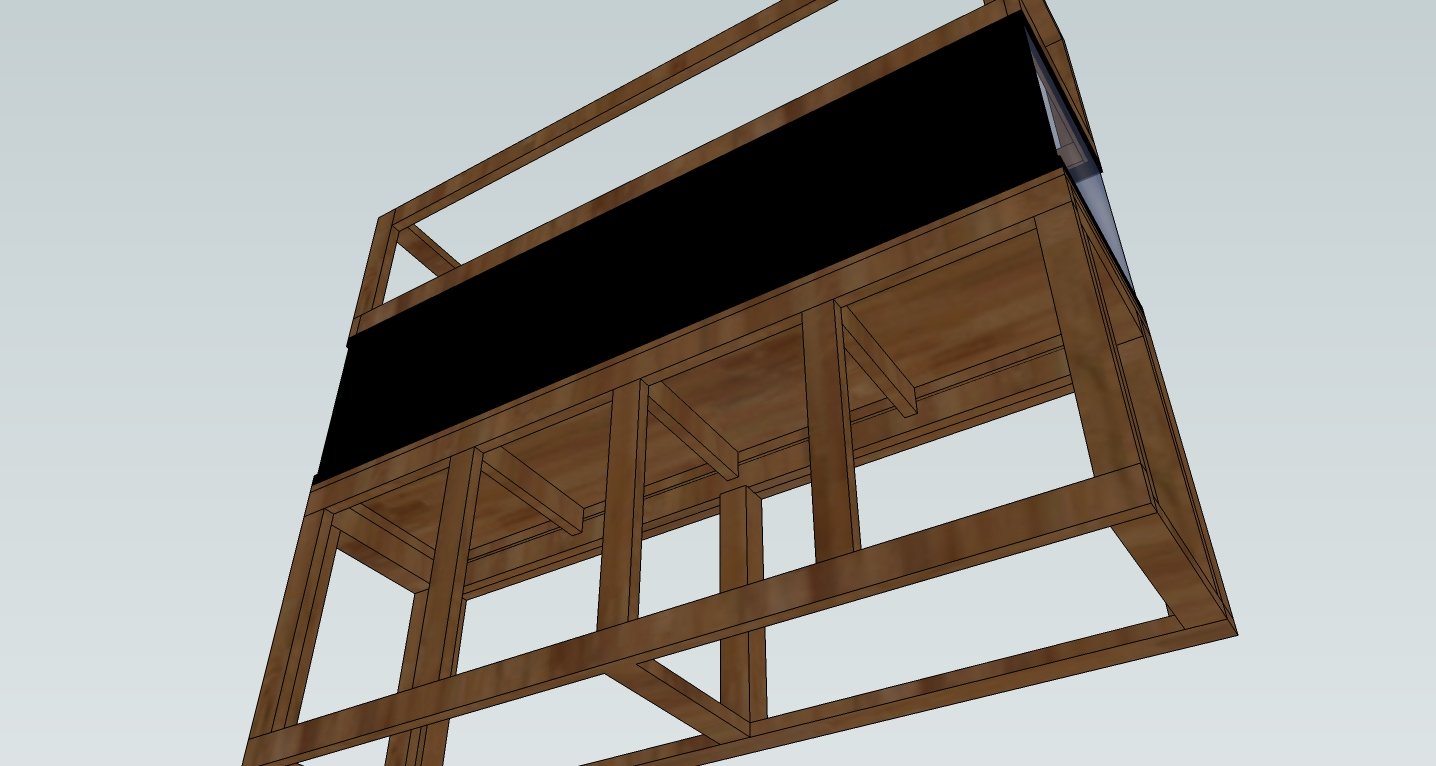
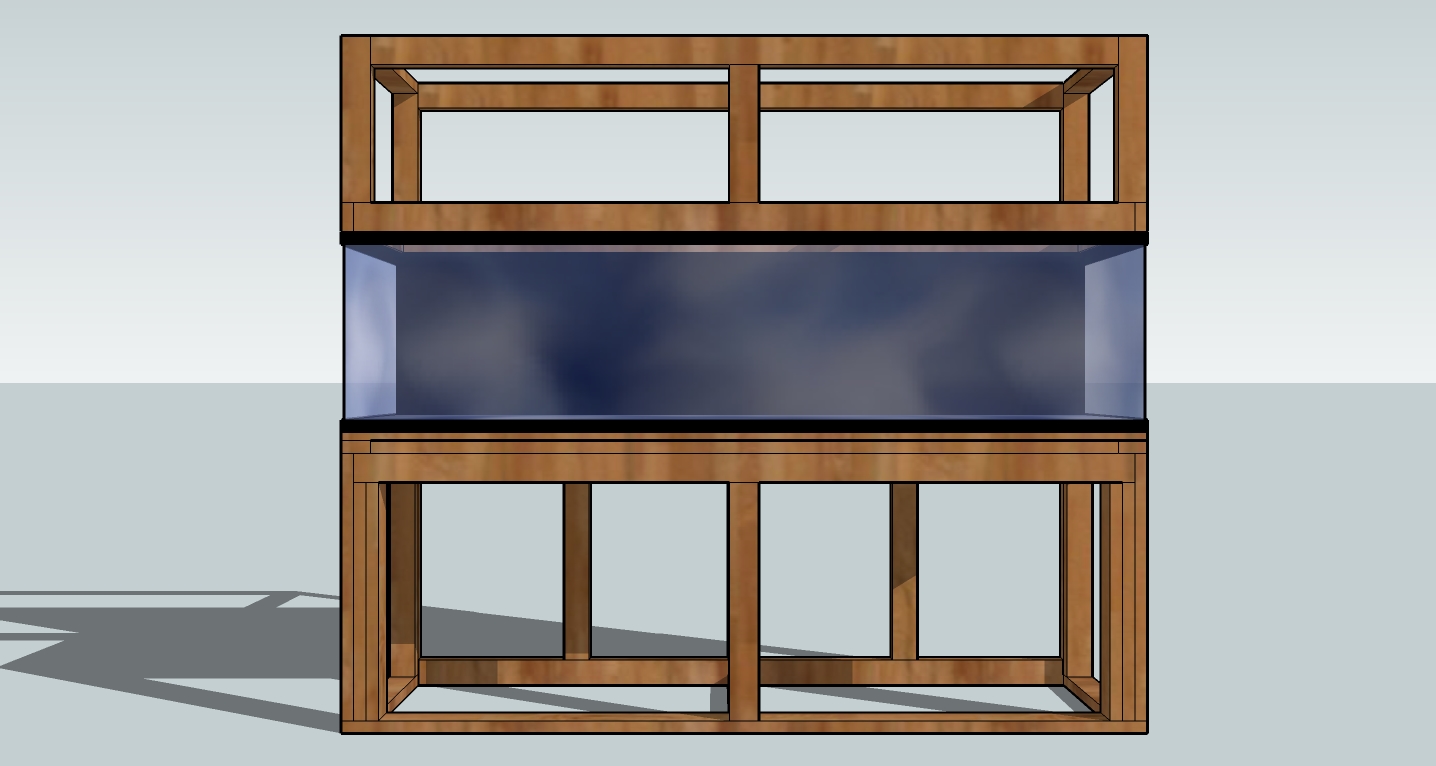
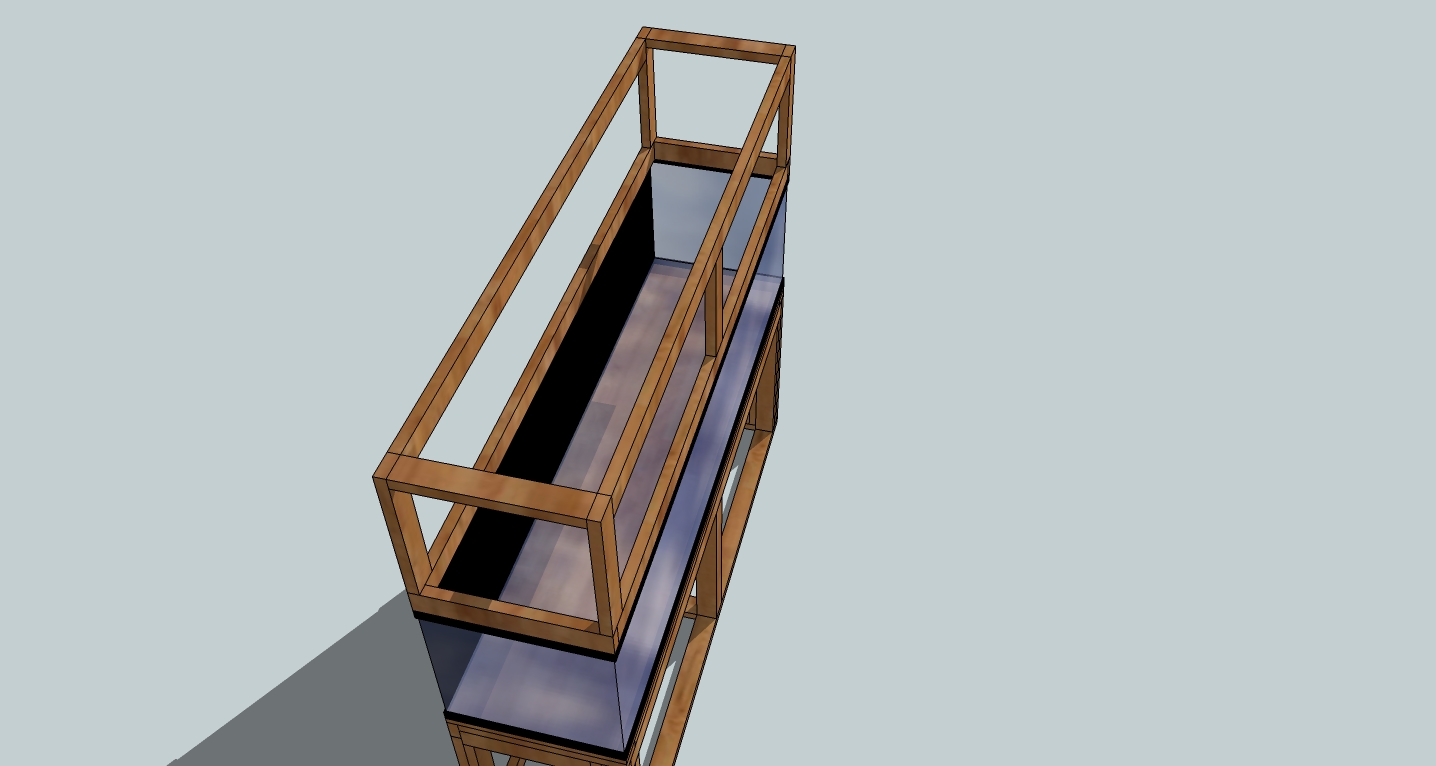
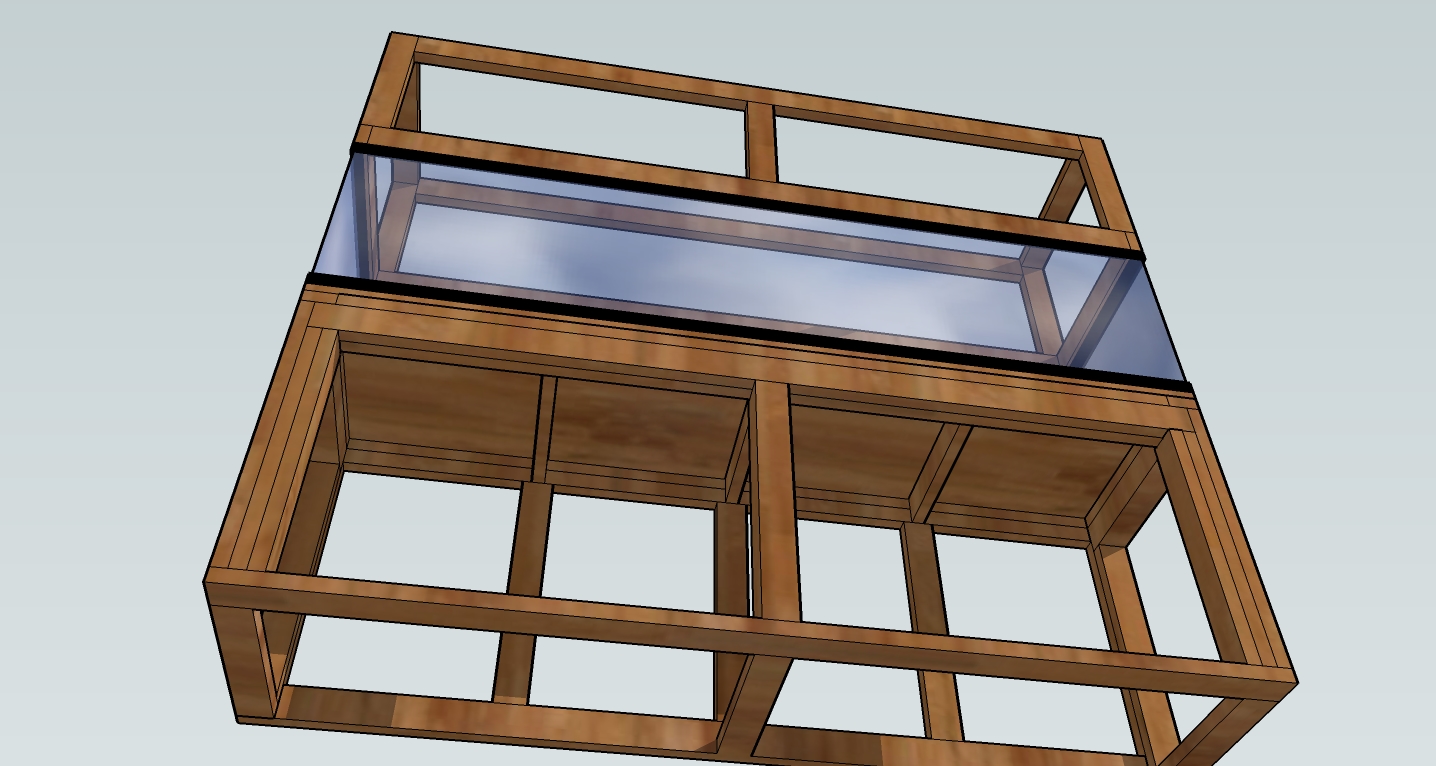
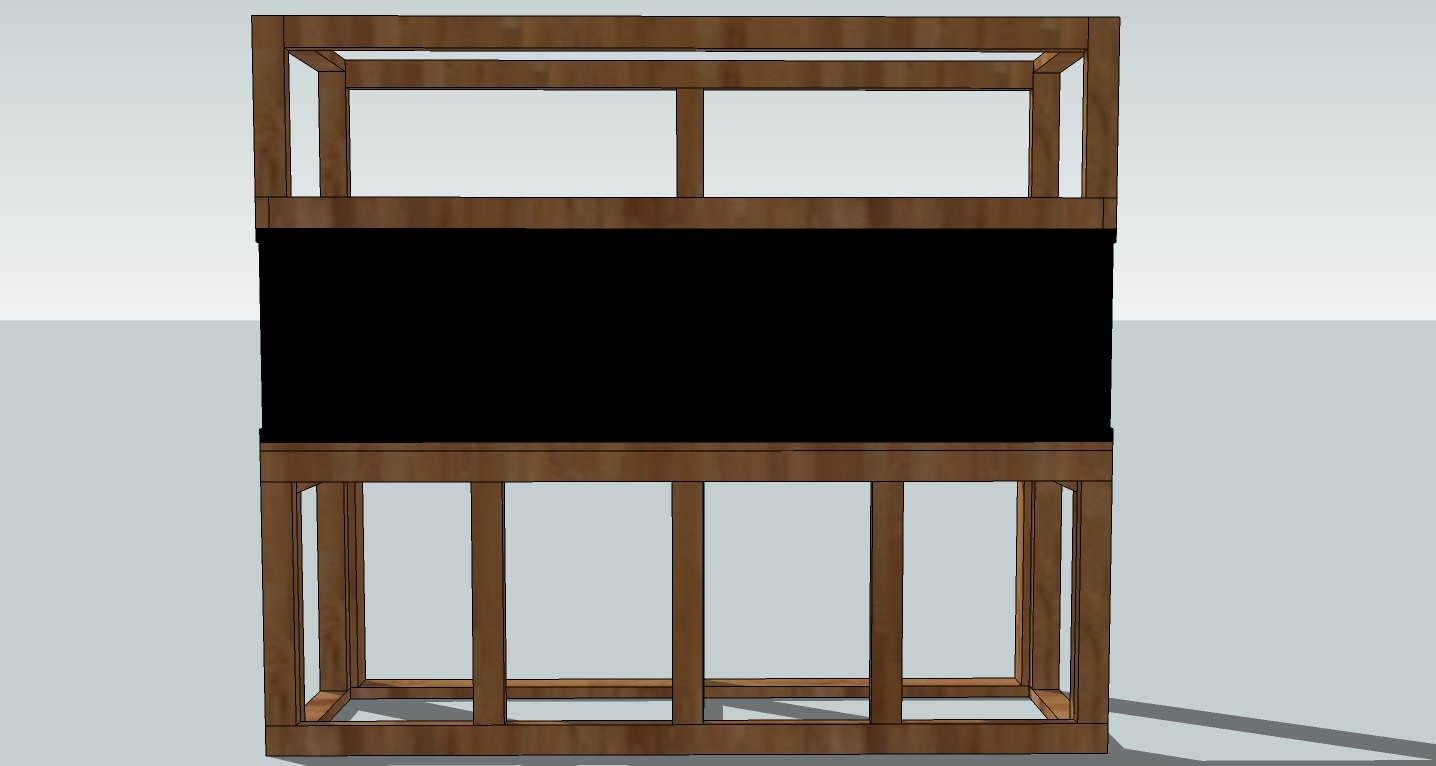
First off the inital design is not mine, however, since it was originally designed for a 125G of course I had to make weight and stability changes. I originally was going to just buy a stand from my LFS's contractor but since I want to do a DIY LED I thought I would save money on the stand and do it myself. Anyways, here goes the details, Its 96.5 Long its 24.5 Depth and its 36" tall. I wont get into tank details now ill save that for another thread after my DIY LED one. But its a standard 96x24x24 tank with Dual Overflows. Ill post the sketchup drawings first so you can see the concept.


xcali1985

Active Member
Here is the work from Day 1. Total Time 2.5 Hours. Total Cost so far 35$. Ignore the garage mess.


cranberry

Active Member
I do it too. I then place a layer of foam board and another sheet of plywood. You can't do that with an open top design.
 

xcali1985

Active Member
@acrylic51: Adds for the desired high while also allowing for weight to be evenly distributed over all the 2x4s. Believe it or not the 2x4s even though I bought them from a cabinet shop which swears they are straight and uniform, they are not. Some are 1.5 inches thick some are 1.75 some are less. same is with the width. SO py placing a 2x4 it kind of deals with that variance without the pressure points. I actually did a level test before and after the board and it fixes when your cut is off 1/16th or 1/8th. Ill also be adding 1" oak board to the top of it .
 

2quills

Well-Known Member
Looks like it's coming along nicely. Might be a tad overkill but I'm actually a big fan of overkill. Keep the pics coming.
 

acrylic51

Active Member
What's the finish height of the stand....I see you used doubled up beams on the top......Did you laminate them?
 

xcali1985

Active Member
@2Quills : I have a friend in carpentry and he said the same thing, I want this strong enough to sustain a 500G.
@acrylic51 : Finished height is 36", Yes I doubled up 2x4s for the top, Yes everything is getting sealed. Project is coming along a lot faster than I thought. My helpers are on vacation otherwise I would guess it would be done already. I have to still go pick up the oak panels to finish everything off nicely.
 

xcali1985

Active Member
@acrylic51 : Negative, got this design off another site but had to redo a few parts due to the original being for a 125Gallon. I have the original stand that came with the tank and this is built way better than it and it held the tank for over a year no problems, bought the tank from a friend. Its just I don't like the look of it structurally or decoratively.
 

xcali1985

Active Member
Did about 20 minutes worth of work today, no real time on my hands right now. But I did take a few pictures. Had to attempt to organize my garage as im running out of room just to move around. Gotta get on the old lady to get rid of some of this stuff, my next project is to set up a work bench and table. But I decided to take this time to mention the tools and approx. pricing of each. This I feel is KEY in deciding if you want to do a DIY project. I would say if you are building to save money, the cost of tools you will have to buy would be part of that.
Powerdrill - 60$ : I would suggest corded drill for something like this, the benefit of having full power at all times is a plus, however, cordless does allow you to move easier, but the cord dosent really get in the way.
Drillbits - 20$: Decent set, take your time drilling and shouldnt be a problem.
Work Horses - 2 x 20$ : of course you need two, if you have a work bench or table that is long enough to support it then take these off the list.
Pocket Jig - $20 : Best way to connect wood especially the beams.
Table Saw - 120$
Miter Saw - 120$ - low end 180$ average. Suggest one with a laser on it for aligning the cuts.
Sand paper - ~1$: depends on size, type
Screws - ~3$ : depends on size, type
Clamps: 2x 30$ and 2 x 15$ : I bought camps that also doubled as spreaders, however you dont have to get those. I would however suggest that you get at least 2 clamps that are big enough for the width and the height of the stand. trying to clamp 8 feet isnt realistic. I suggest 2 smaller ones for the smaller spaces. It makes screwing the wood a lot easier when they are clamped tightly you don't get "screw space" inbetween the boards.
Thats what im at so far. Home Depot allows you to rent tools. Prices I dont know. I can honestly say its only cost me about 40$ in wood so far.
 

al&burke

Active Member
One thing that I do to compensate for any bowing or uneven wood is joint one of the surfaces then run the 2x6 through a table saw. I use a good 6 ft jointer and a good table saw this way everything is true over the length of the wood, sometimes if I feel ambitions I run the boards through a thickness planer. Just my 0.02$. Your stand is going to look great!
 

2quills

Well-Known Member
Hard to put a price on a labor of love. Did you glue any of the joints? What type of screws did you use? The finishes look like nice choices I'm always a fan of dark wood. Incase I missed it what type of wood will be using for the skin or face of the stand?
 

xcali1985

Active Member
I know its been a while, my girlfriend dislocated her knee sometime ago and ive been helping her out along with working massive hours at work. Did manage to get it skinned though its pine. Had to make some adjustments to the frame but minor ones. I do have pictures and they will be coming soon. The final designs is also changed but youll see that as we go.
 

xcali1985

Active Member
Ok, Tank Stand is almost completely done. Ordered a set of Doors as I don't have the tools to make them and dont want to deal with it. LOL. I had about 6 hours the other day and with the help of a friend we knocked most of it out.


novahobbies

Well-Known Member
Excellent build -- good, solid skills there! I've seen precious few 2x4's that were completely true all the way down their length, so I hear ya there.
I'm a little curious as to your choice of plywood......this doesn't look like finished cabinet grade. Were you going for a more rustic look? I admit I didn't really like the look when I first saw it, but the stained pictures look pretty nice...the pattern in the plywood grain is growing on me. I can't wait to see the finished project...thanks for sharing these pics!
 

xcali1985

Active Member
I was originally going to go with oak, which I actually bought a sheet of at first but then decided that I wanted to try pine as my friend has a pine cabinet set that i like. I like you was very skeptical when it wasn't stained but once it was I immediately liked it. One of the reasons was I wanted a straight off the tree look. I was going to sand it completely smooth but decided that I like the feel of the grain when touched. I applied first coal of sealer and ill apply a second today once I run to Lowes and get 220 sand paper. Like I said waiting on doors which will be done next weekend. Then ill place it in house and move the tank onto it.
 
Top