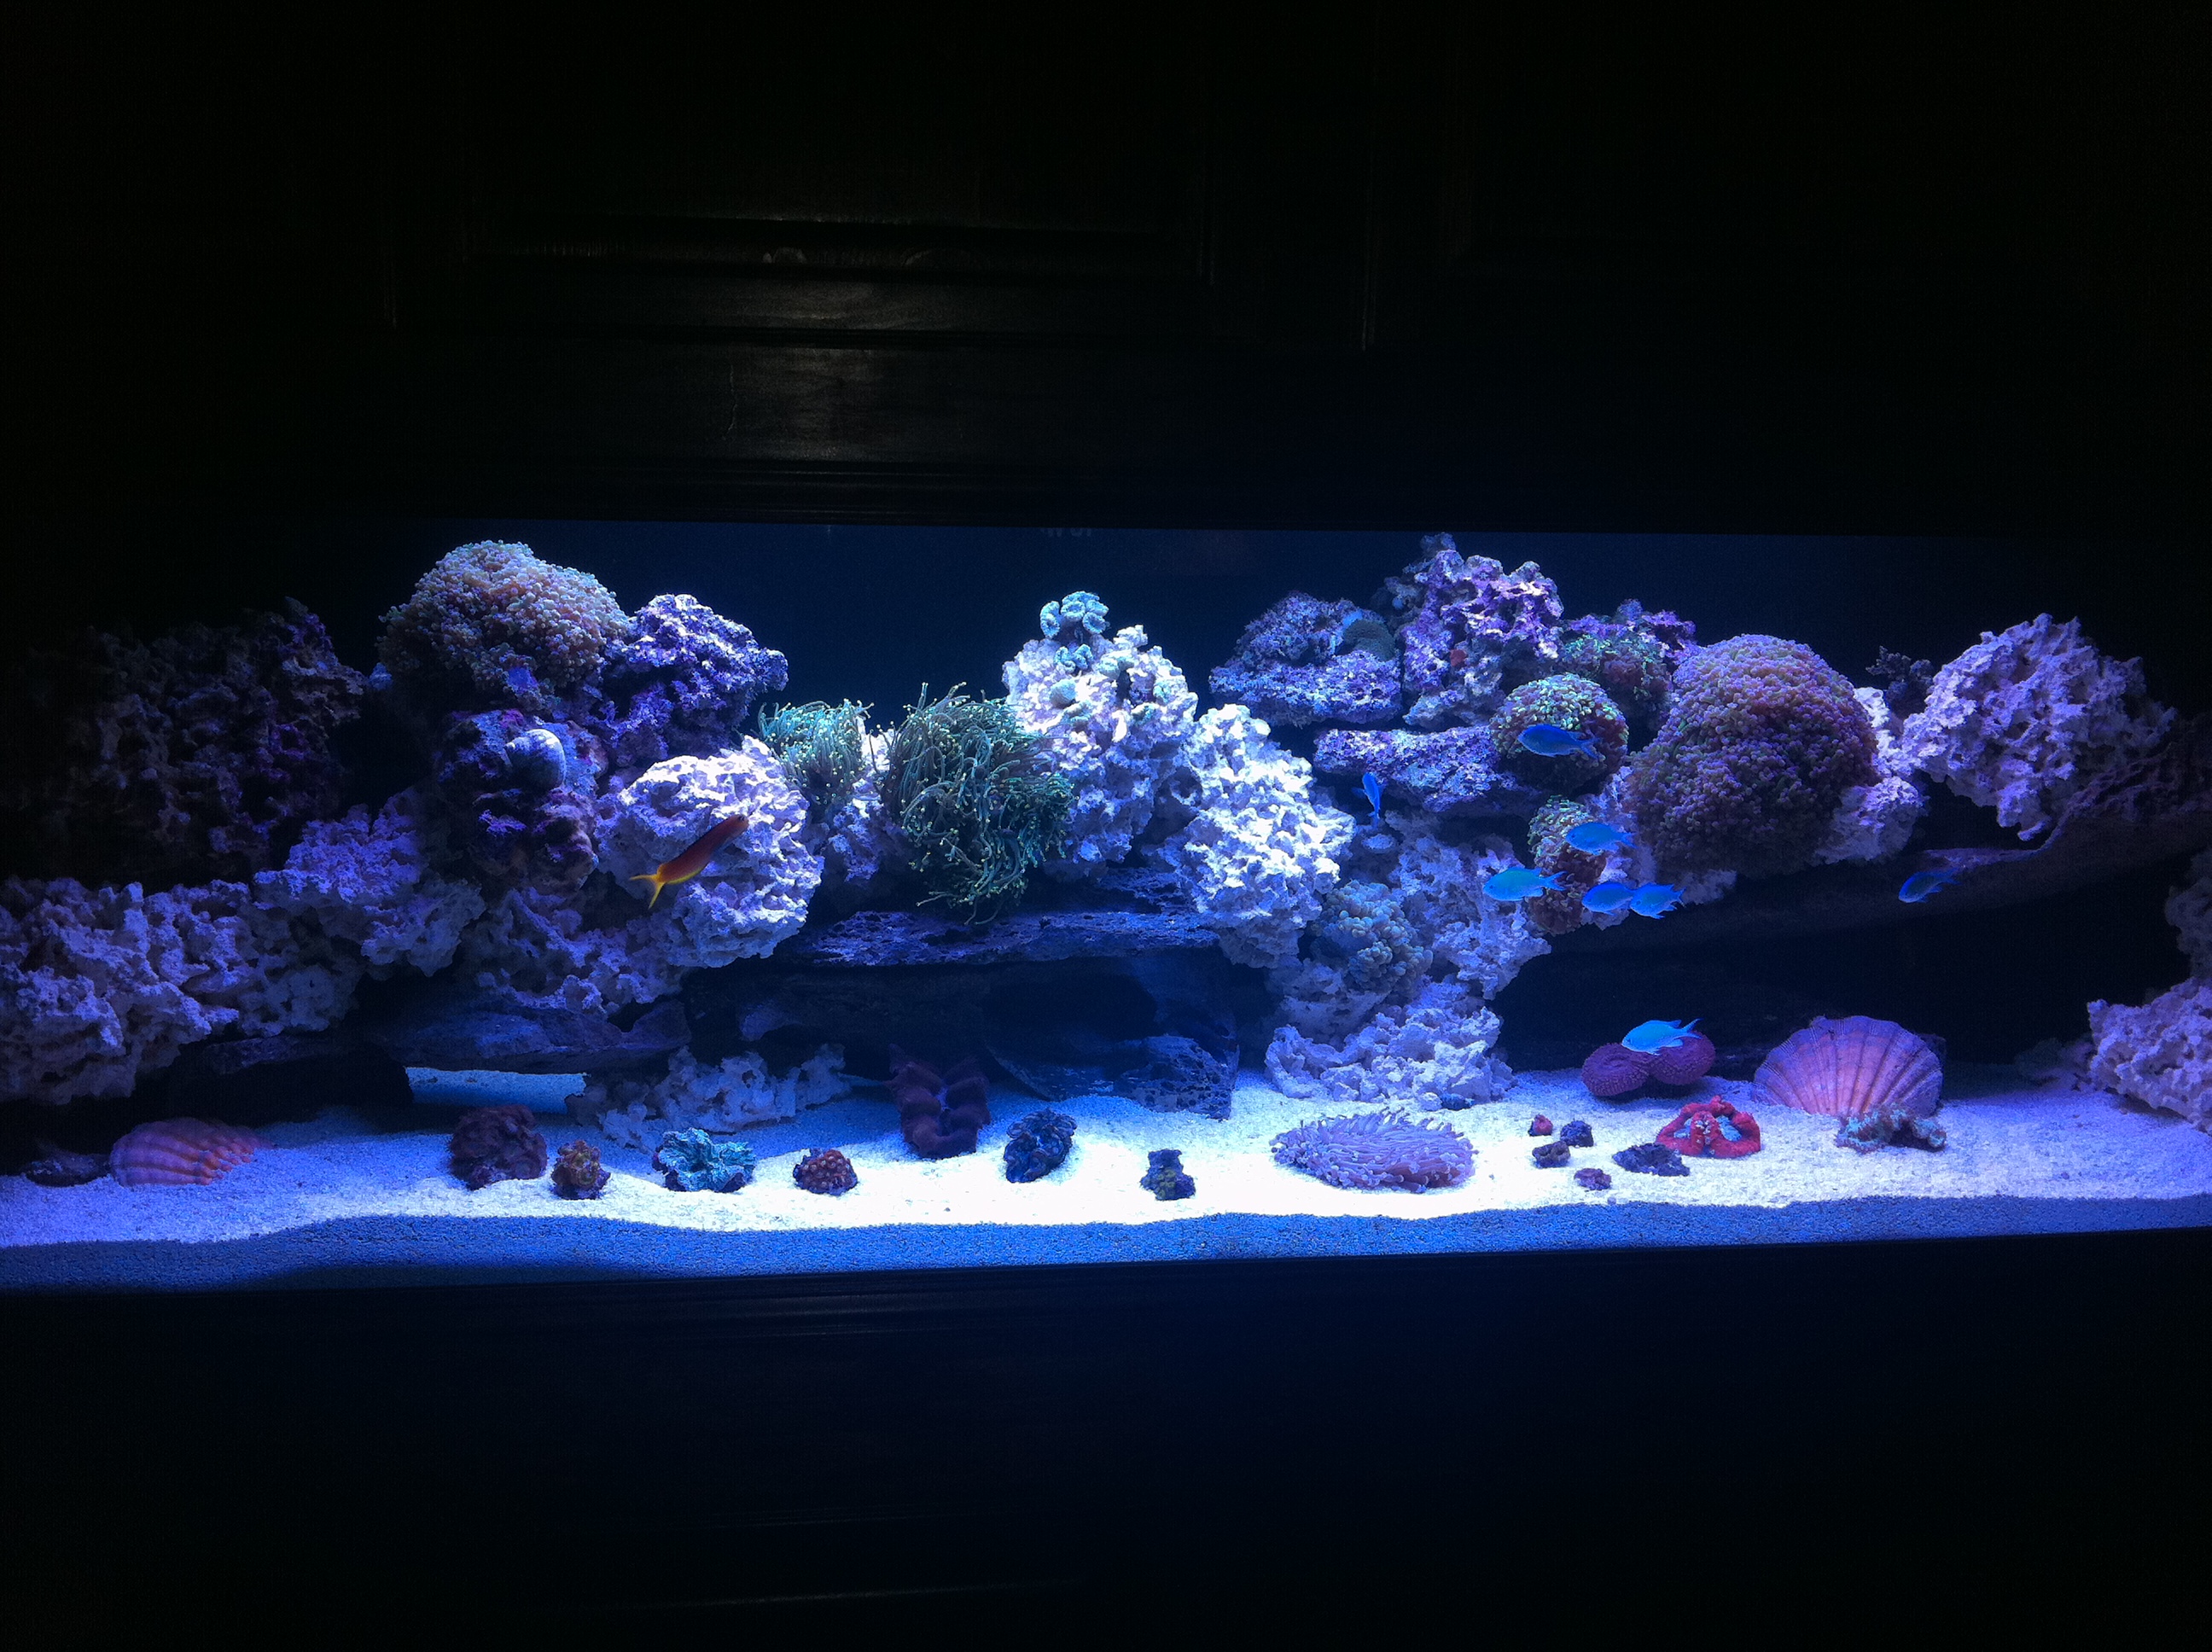
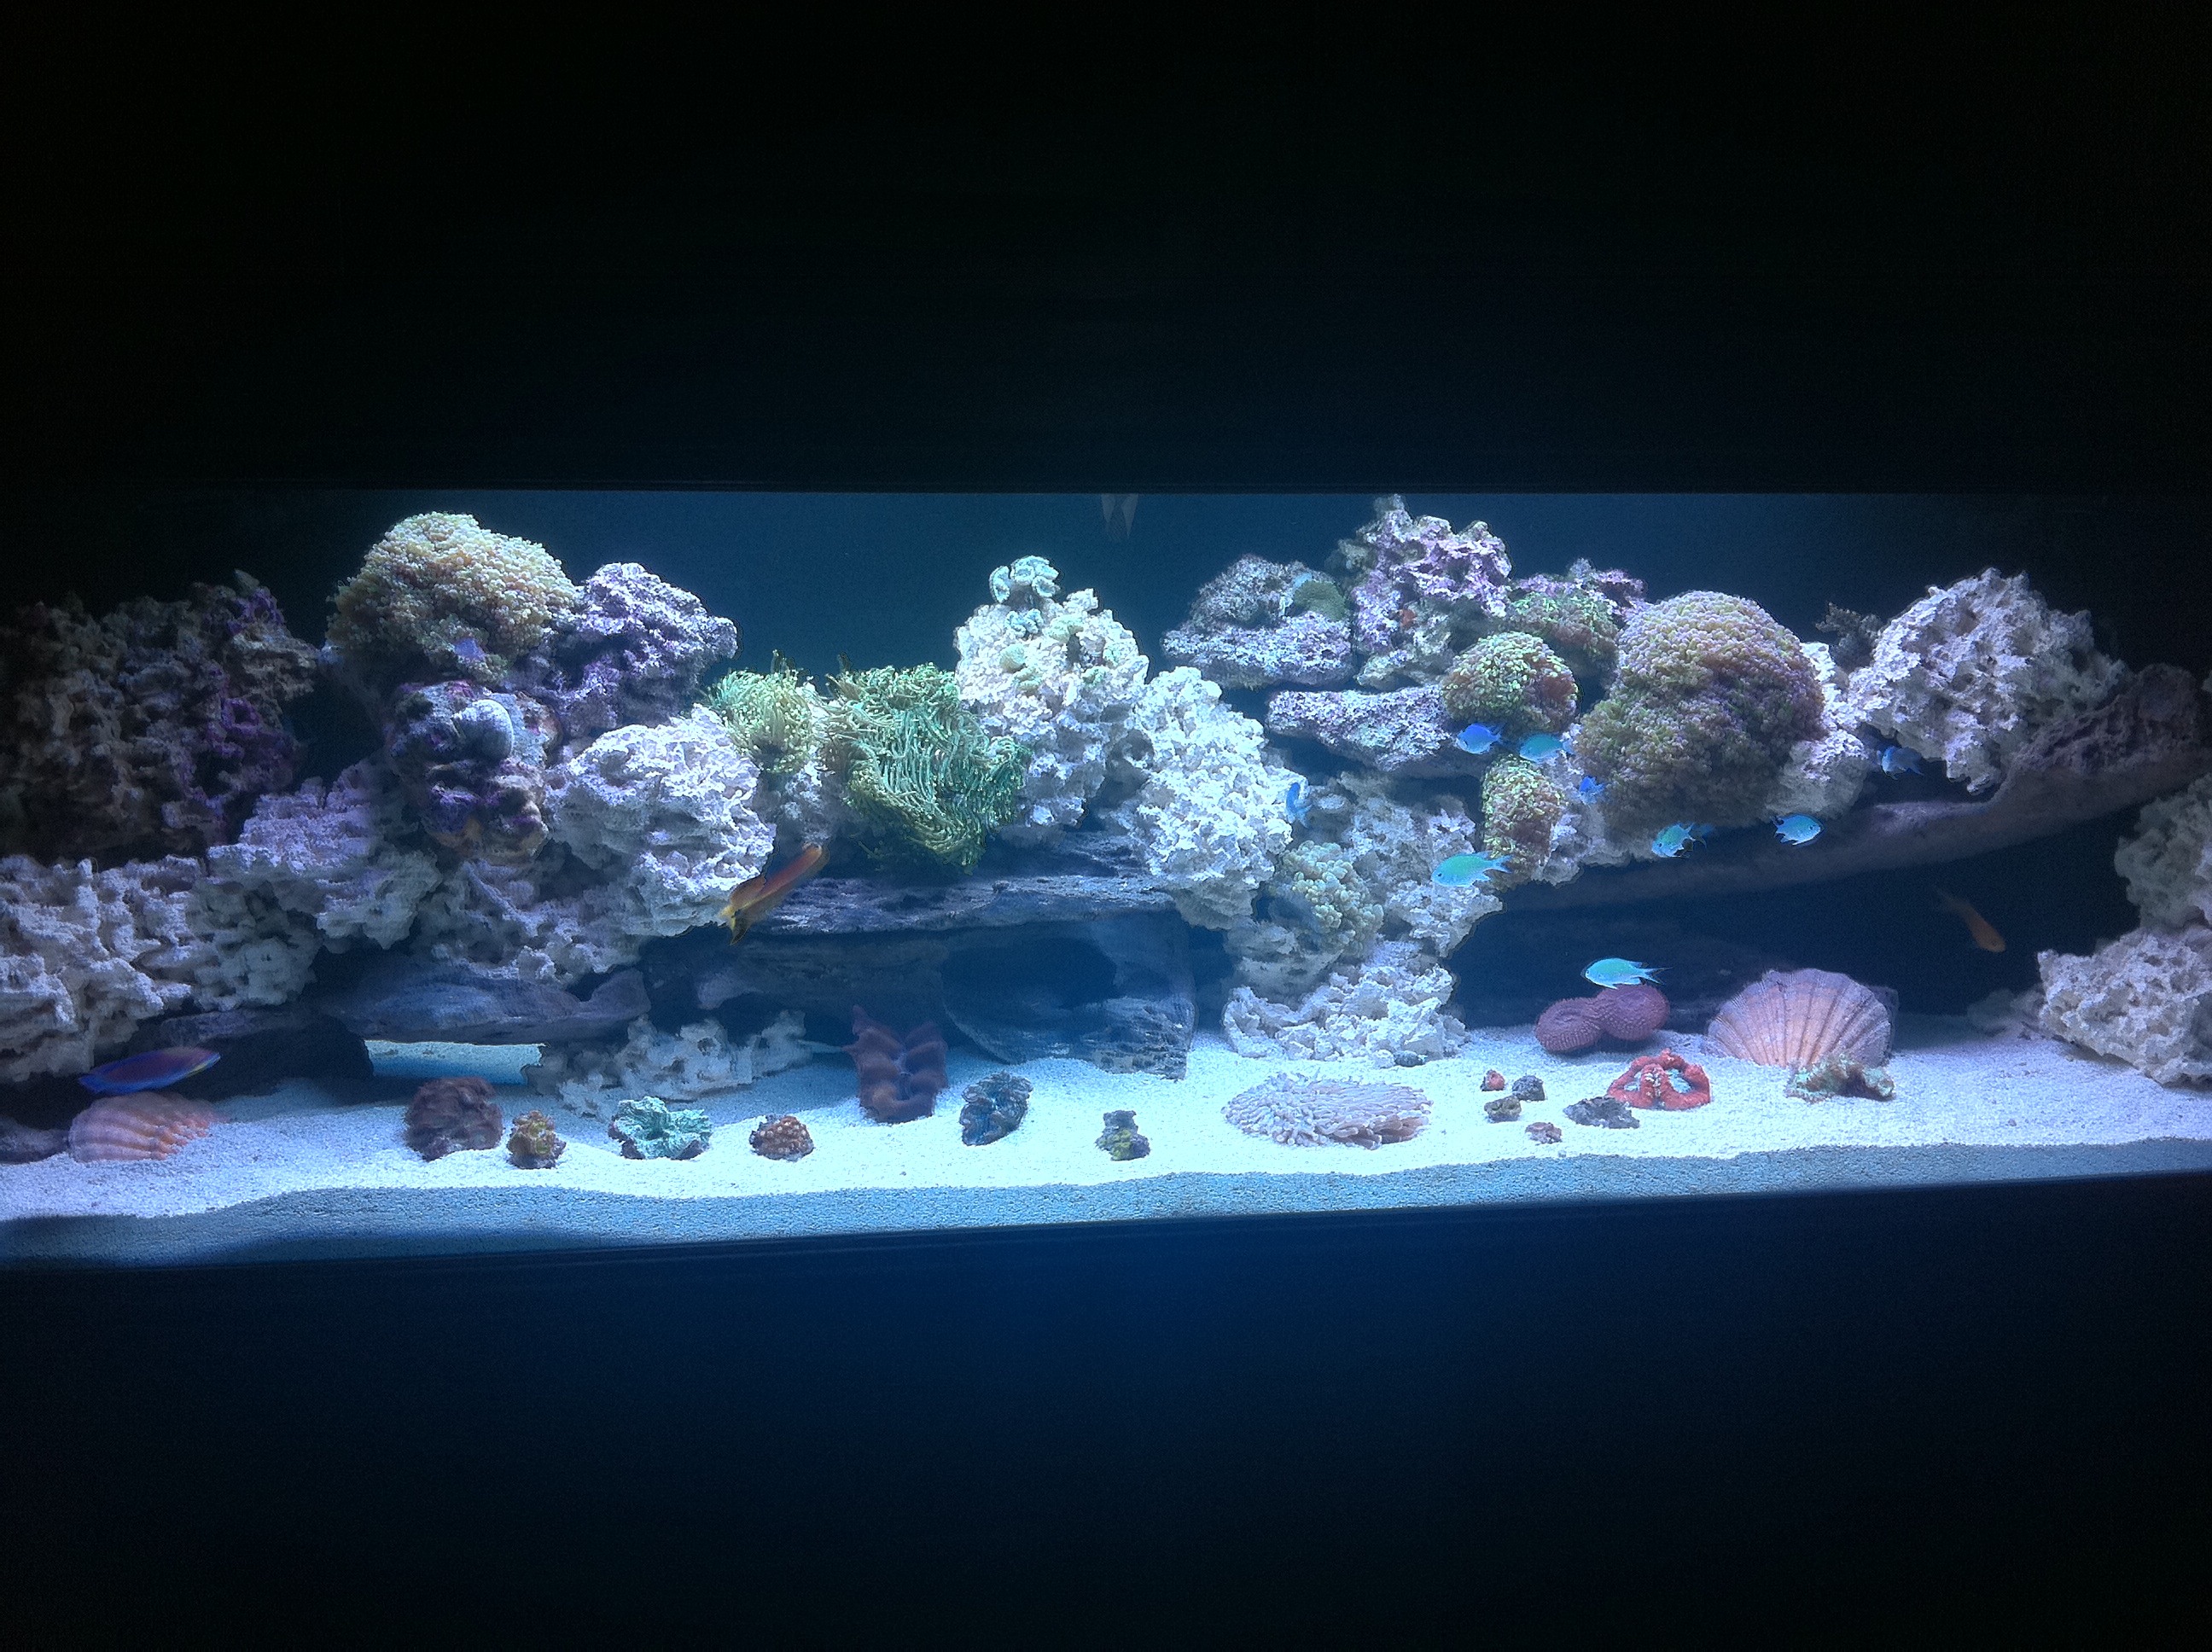
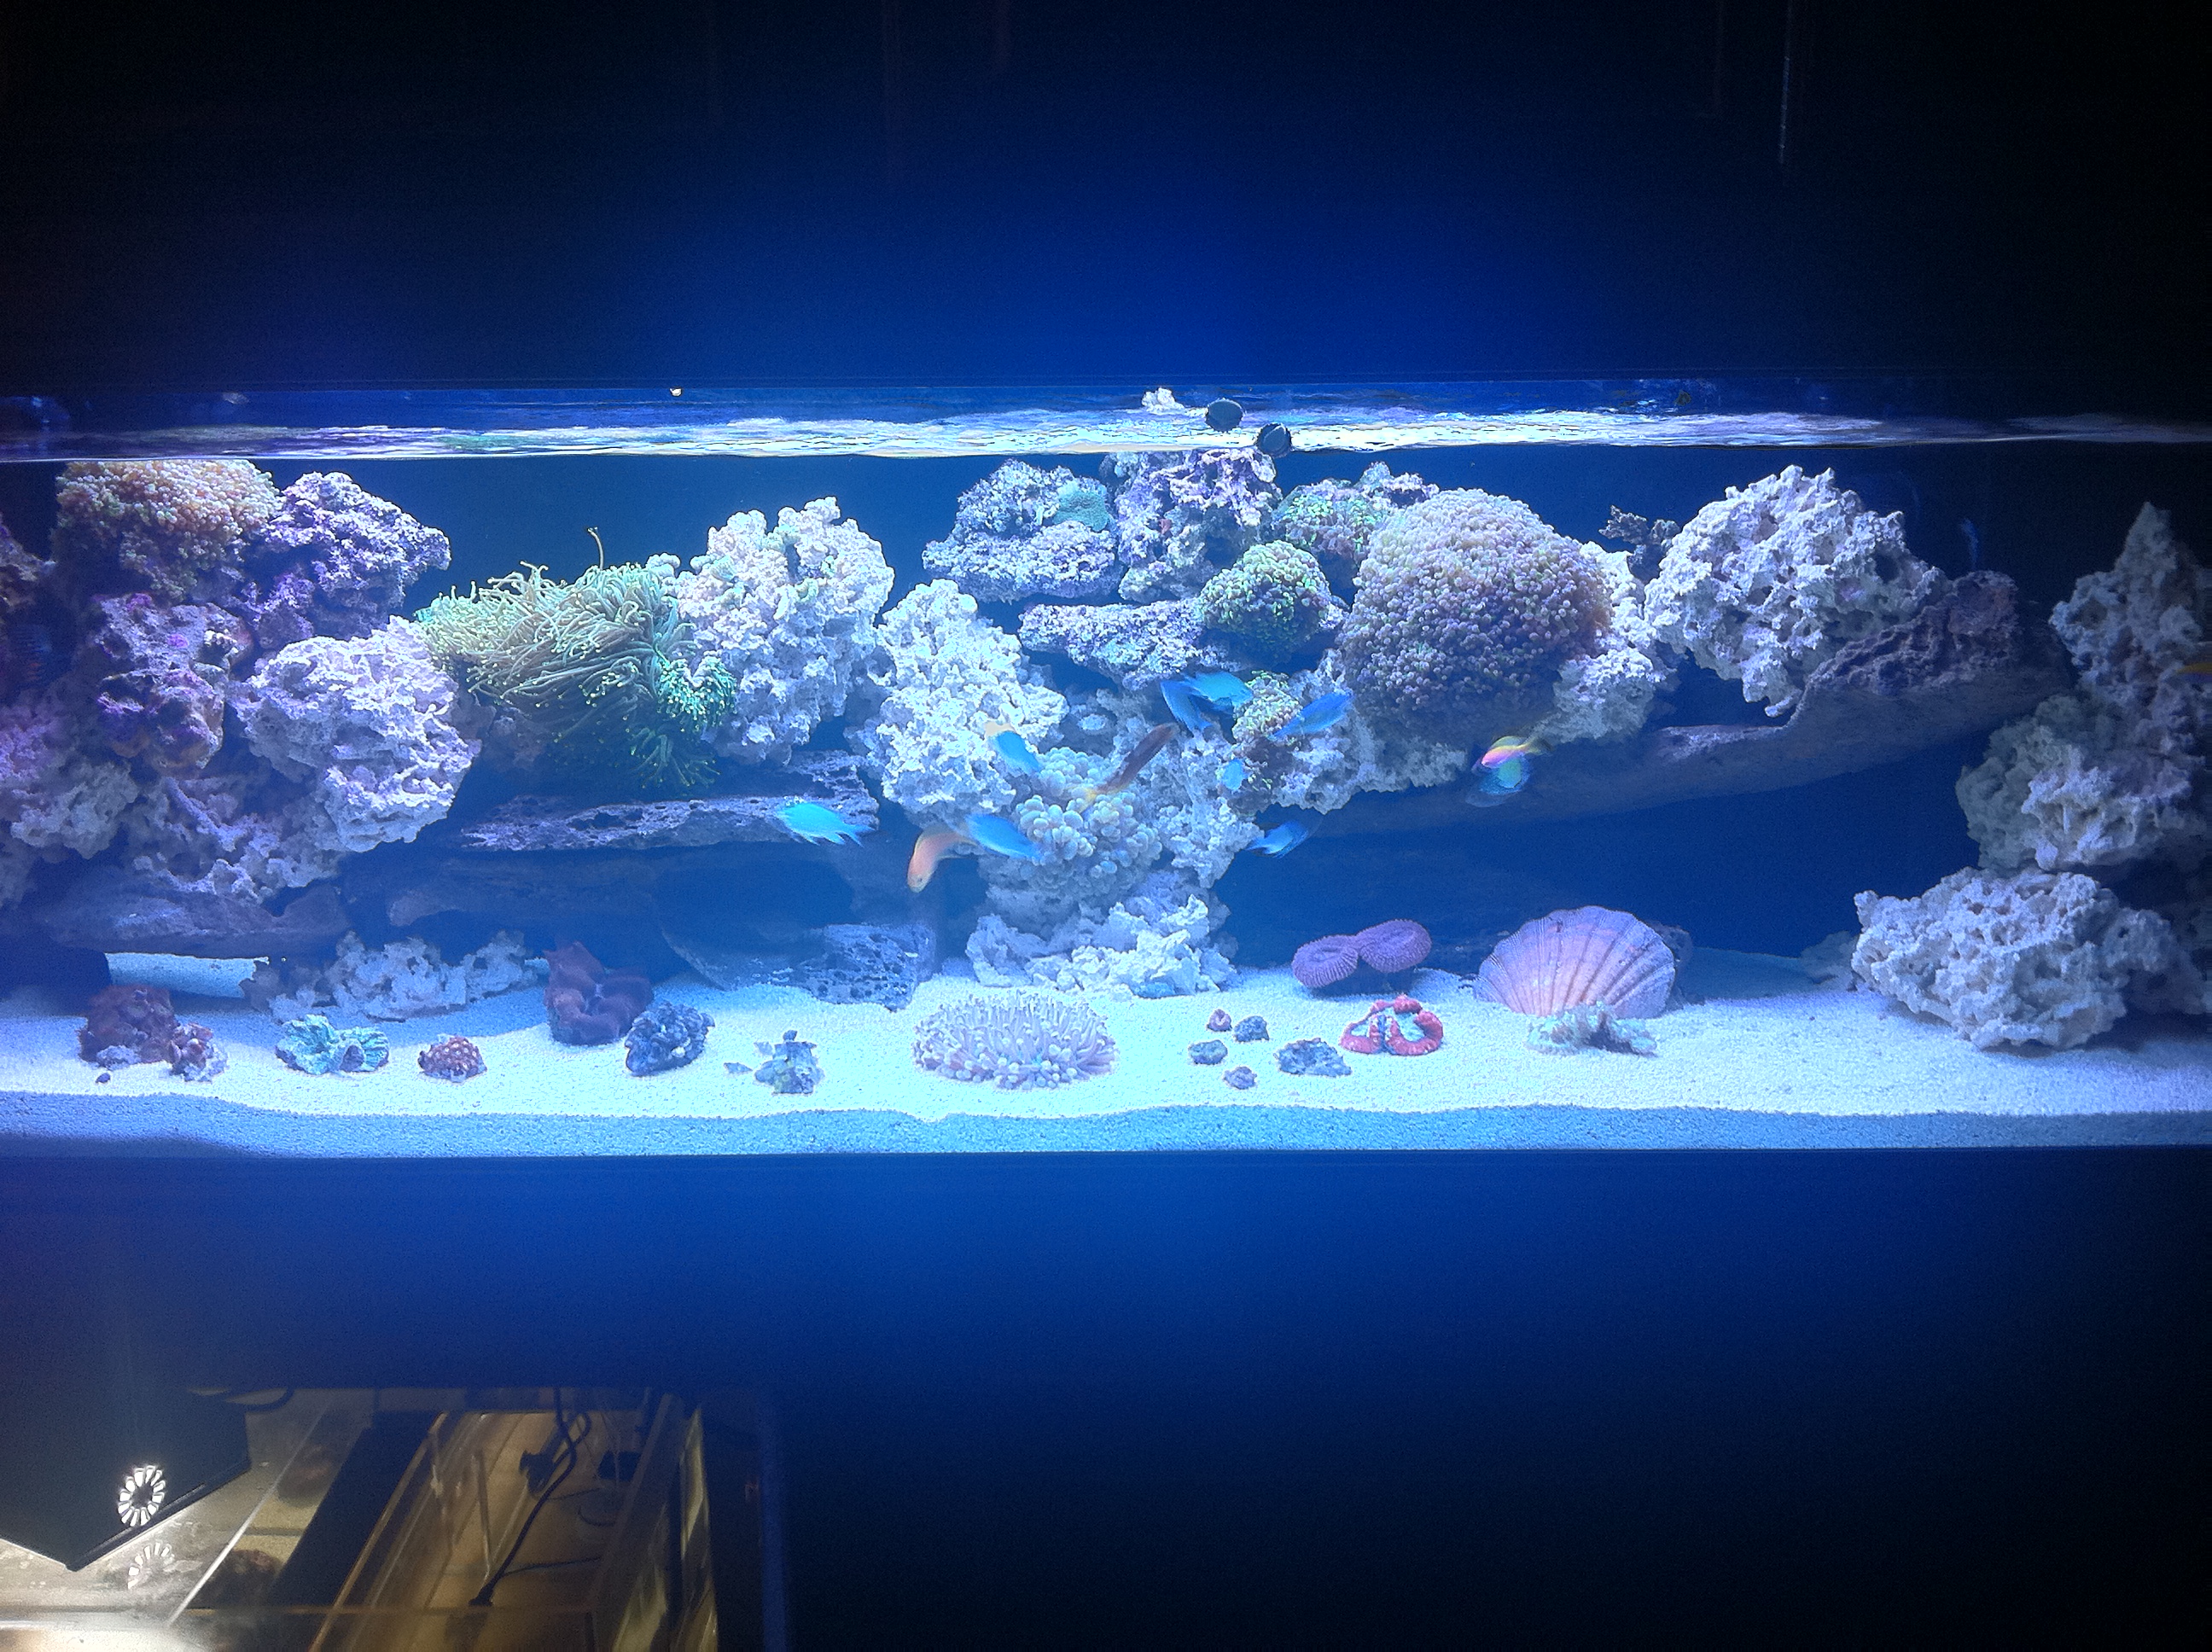
240G Tank Stand & Canopy Build
- Thread starter xcali1985
- Start date
xcali1985
Active Member
Wow! It's been since October since I updated this, well there has been lots of progress, I am finally down to one last purchase before I am complete.
I bought some of my LEDs and started wiring them up yesterday. Found out one of my drivers is broken so that has to be replaced. Got a connection locally so I'll see if I can just get store credit for it.
As far as the stock list goes I now have...
10 Blue Green Chromis
1 Fu Manchu Lionfish
1 Red Firefish
1 Midas Blenny
3 Pink Square Anthias
3 Barlett's Anthias
1 Mystery Wrasse
1 McCosker's Flasher Wrasse
line-height: normal; text-align: -webkit-auto; background-color: rgb(250, 250, 250); ">1 Mandarin Dragonet
I think that's it, lol... So far...
I think I'm going to stick with smaller fish, I love the movement. Maybe 1 bigger fish.
I have been stock piling the higher end zoas.
I now have
Hawiian People Eaters Zoas
Red People Eaters Zoas
Purple Hornets Zoas
Laker Zoas
Grandis Palys
Sunny Delight Zoas
Gobstopper Zoas
Nuclear Green Palys
Red Candy Apple Zoas
Incredible Hulks
Mind Blowing Zoas
Also a couple SPS & Acans
Skittles Acan
Blue Nova Acan
Hulk Acan
Fire & Ice Acan
Setosa Monti =====AMAZING
I still have a few of my LPS but nothing special.
My 80Gallon is gone, gave it to my moms... I almost cried as it was loaded into the back of her SUV like a hearse and casket. HEHE at least its in the family.
I started the LEDs and the tank started to glow. Didn't even have the LEDs in the tank, they were 3 feet away on the floor. Coloring is amazing. I will keep everyone updated.
xcali1985
Active Member
Quote:
Originally Posted by meowzer http:///t/383662/240g-tank-stand-canopy-build/60#post_3448514
WHAT....NO PICTURES????
Sorry at work, also tried to take some pictures the other day, I have my light temp at 20,000K very hard to get camera to take good pictures, I shall try again today.
Here is a picture of some of the blue LEDs.
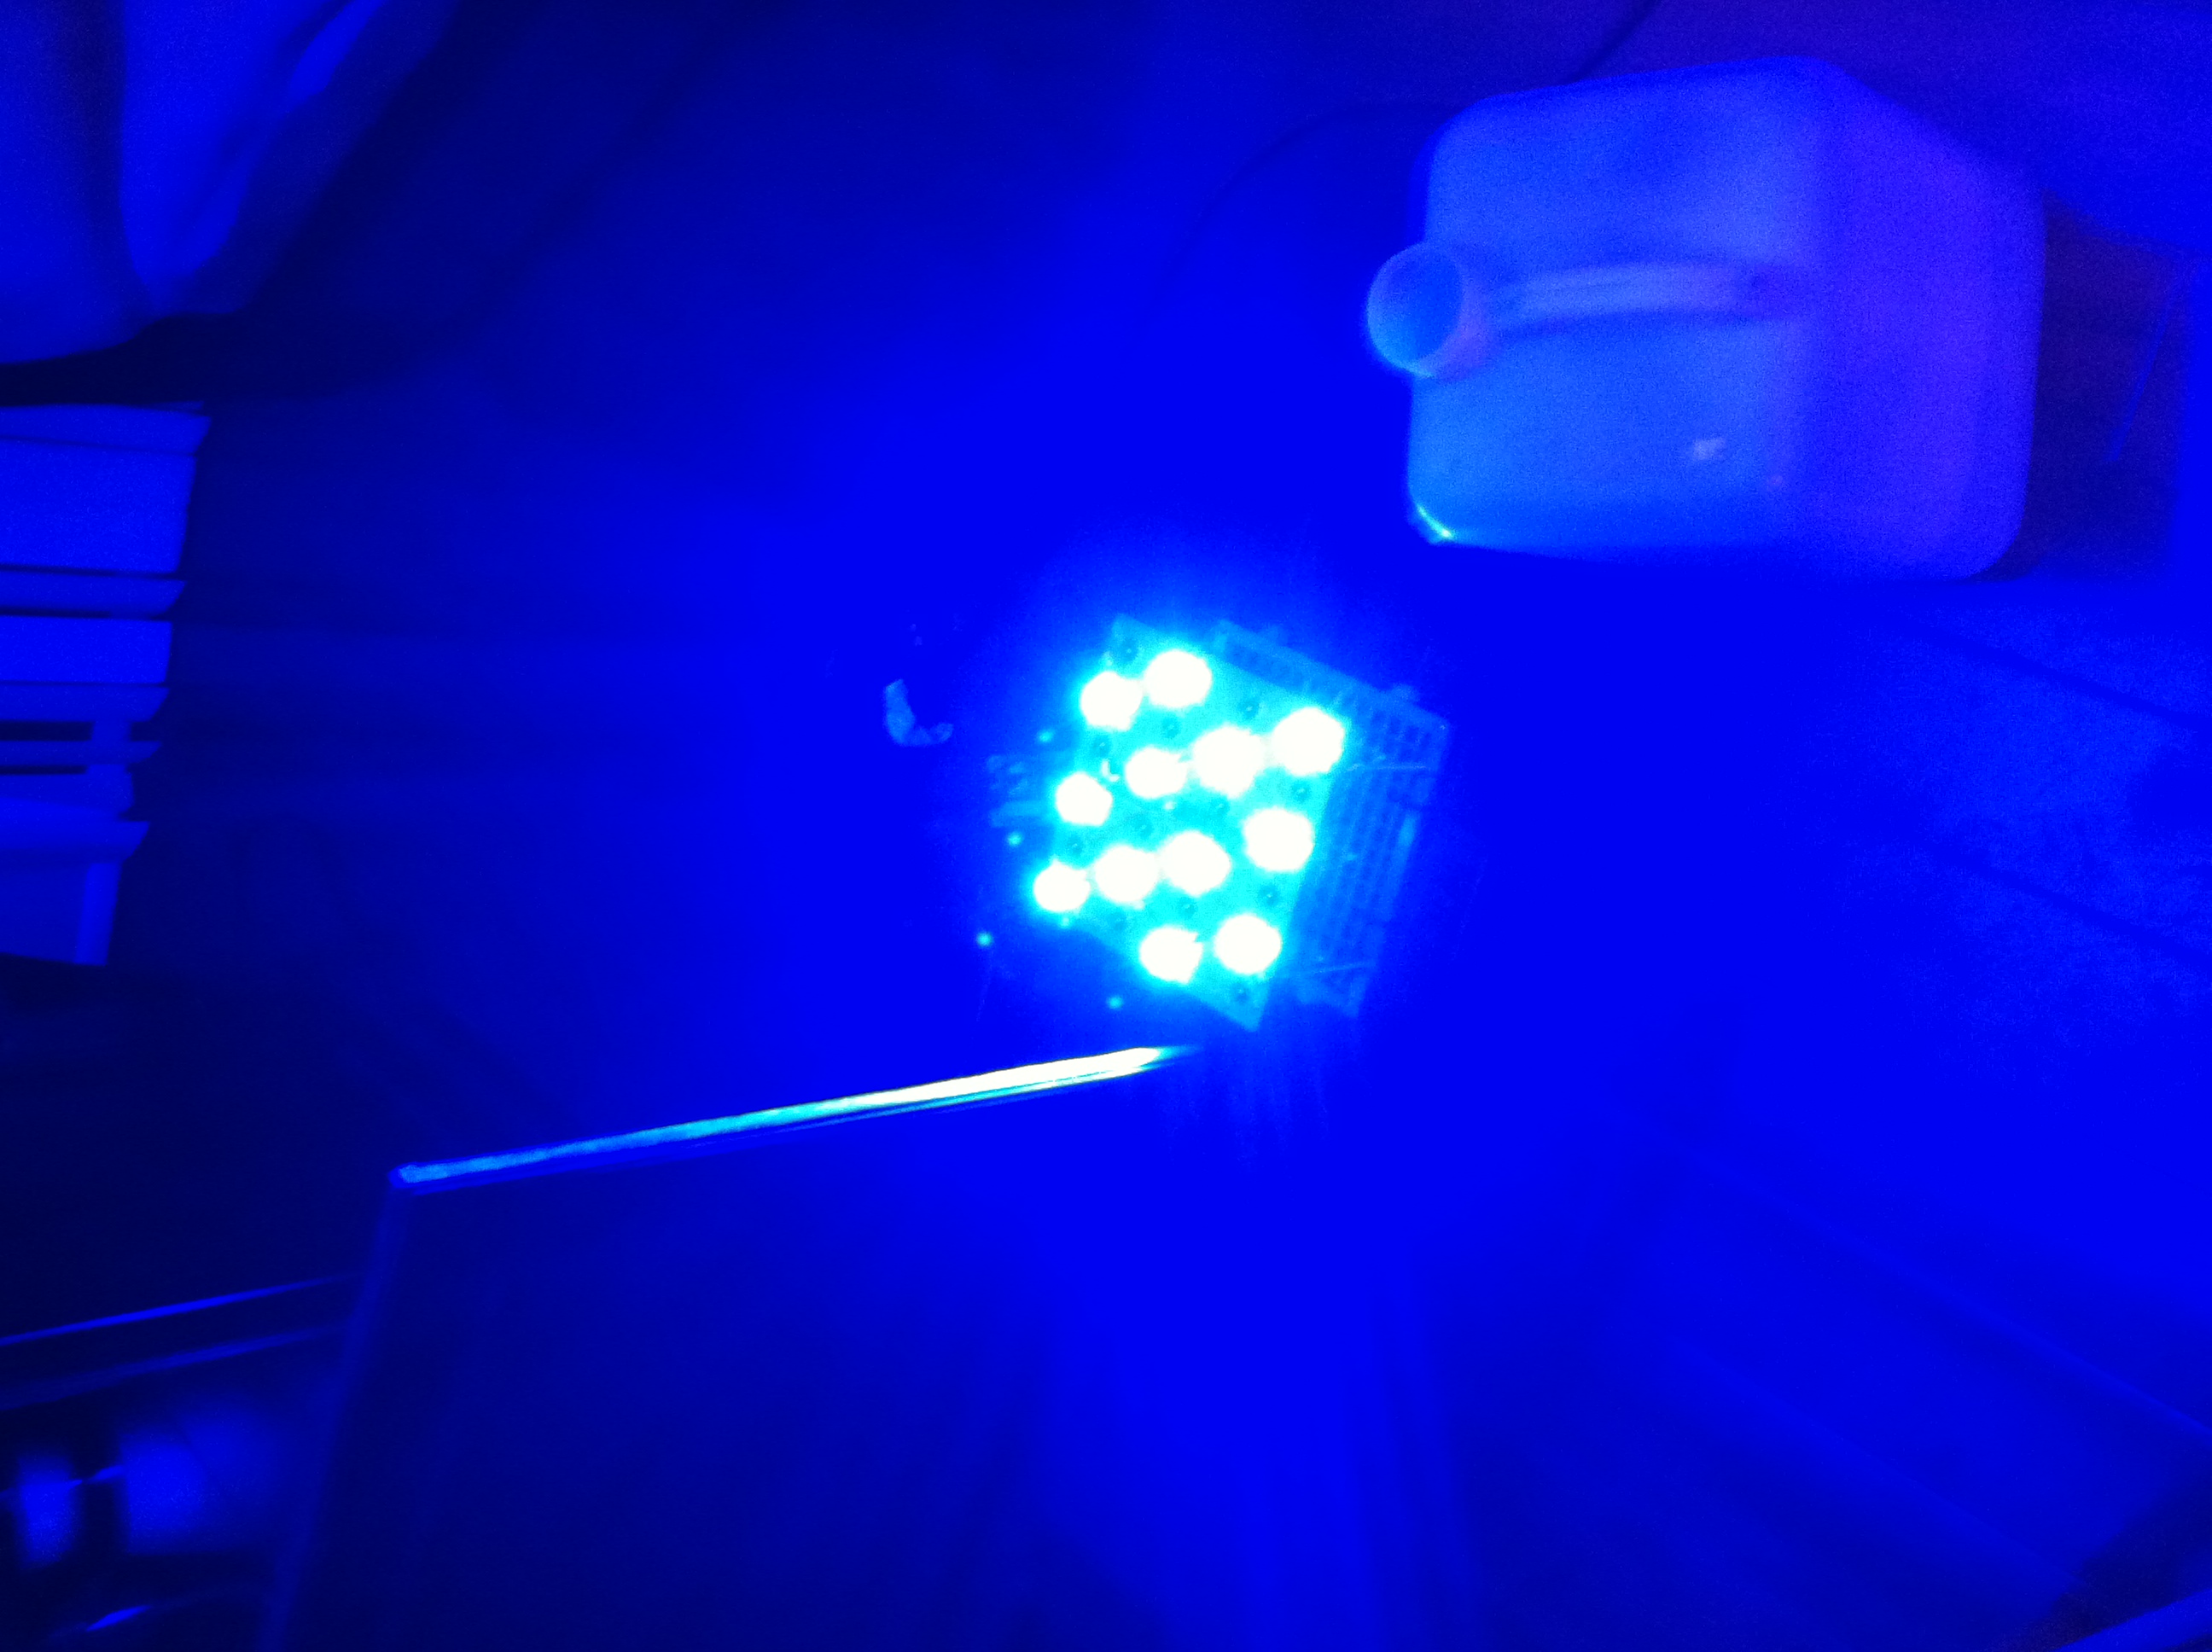
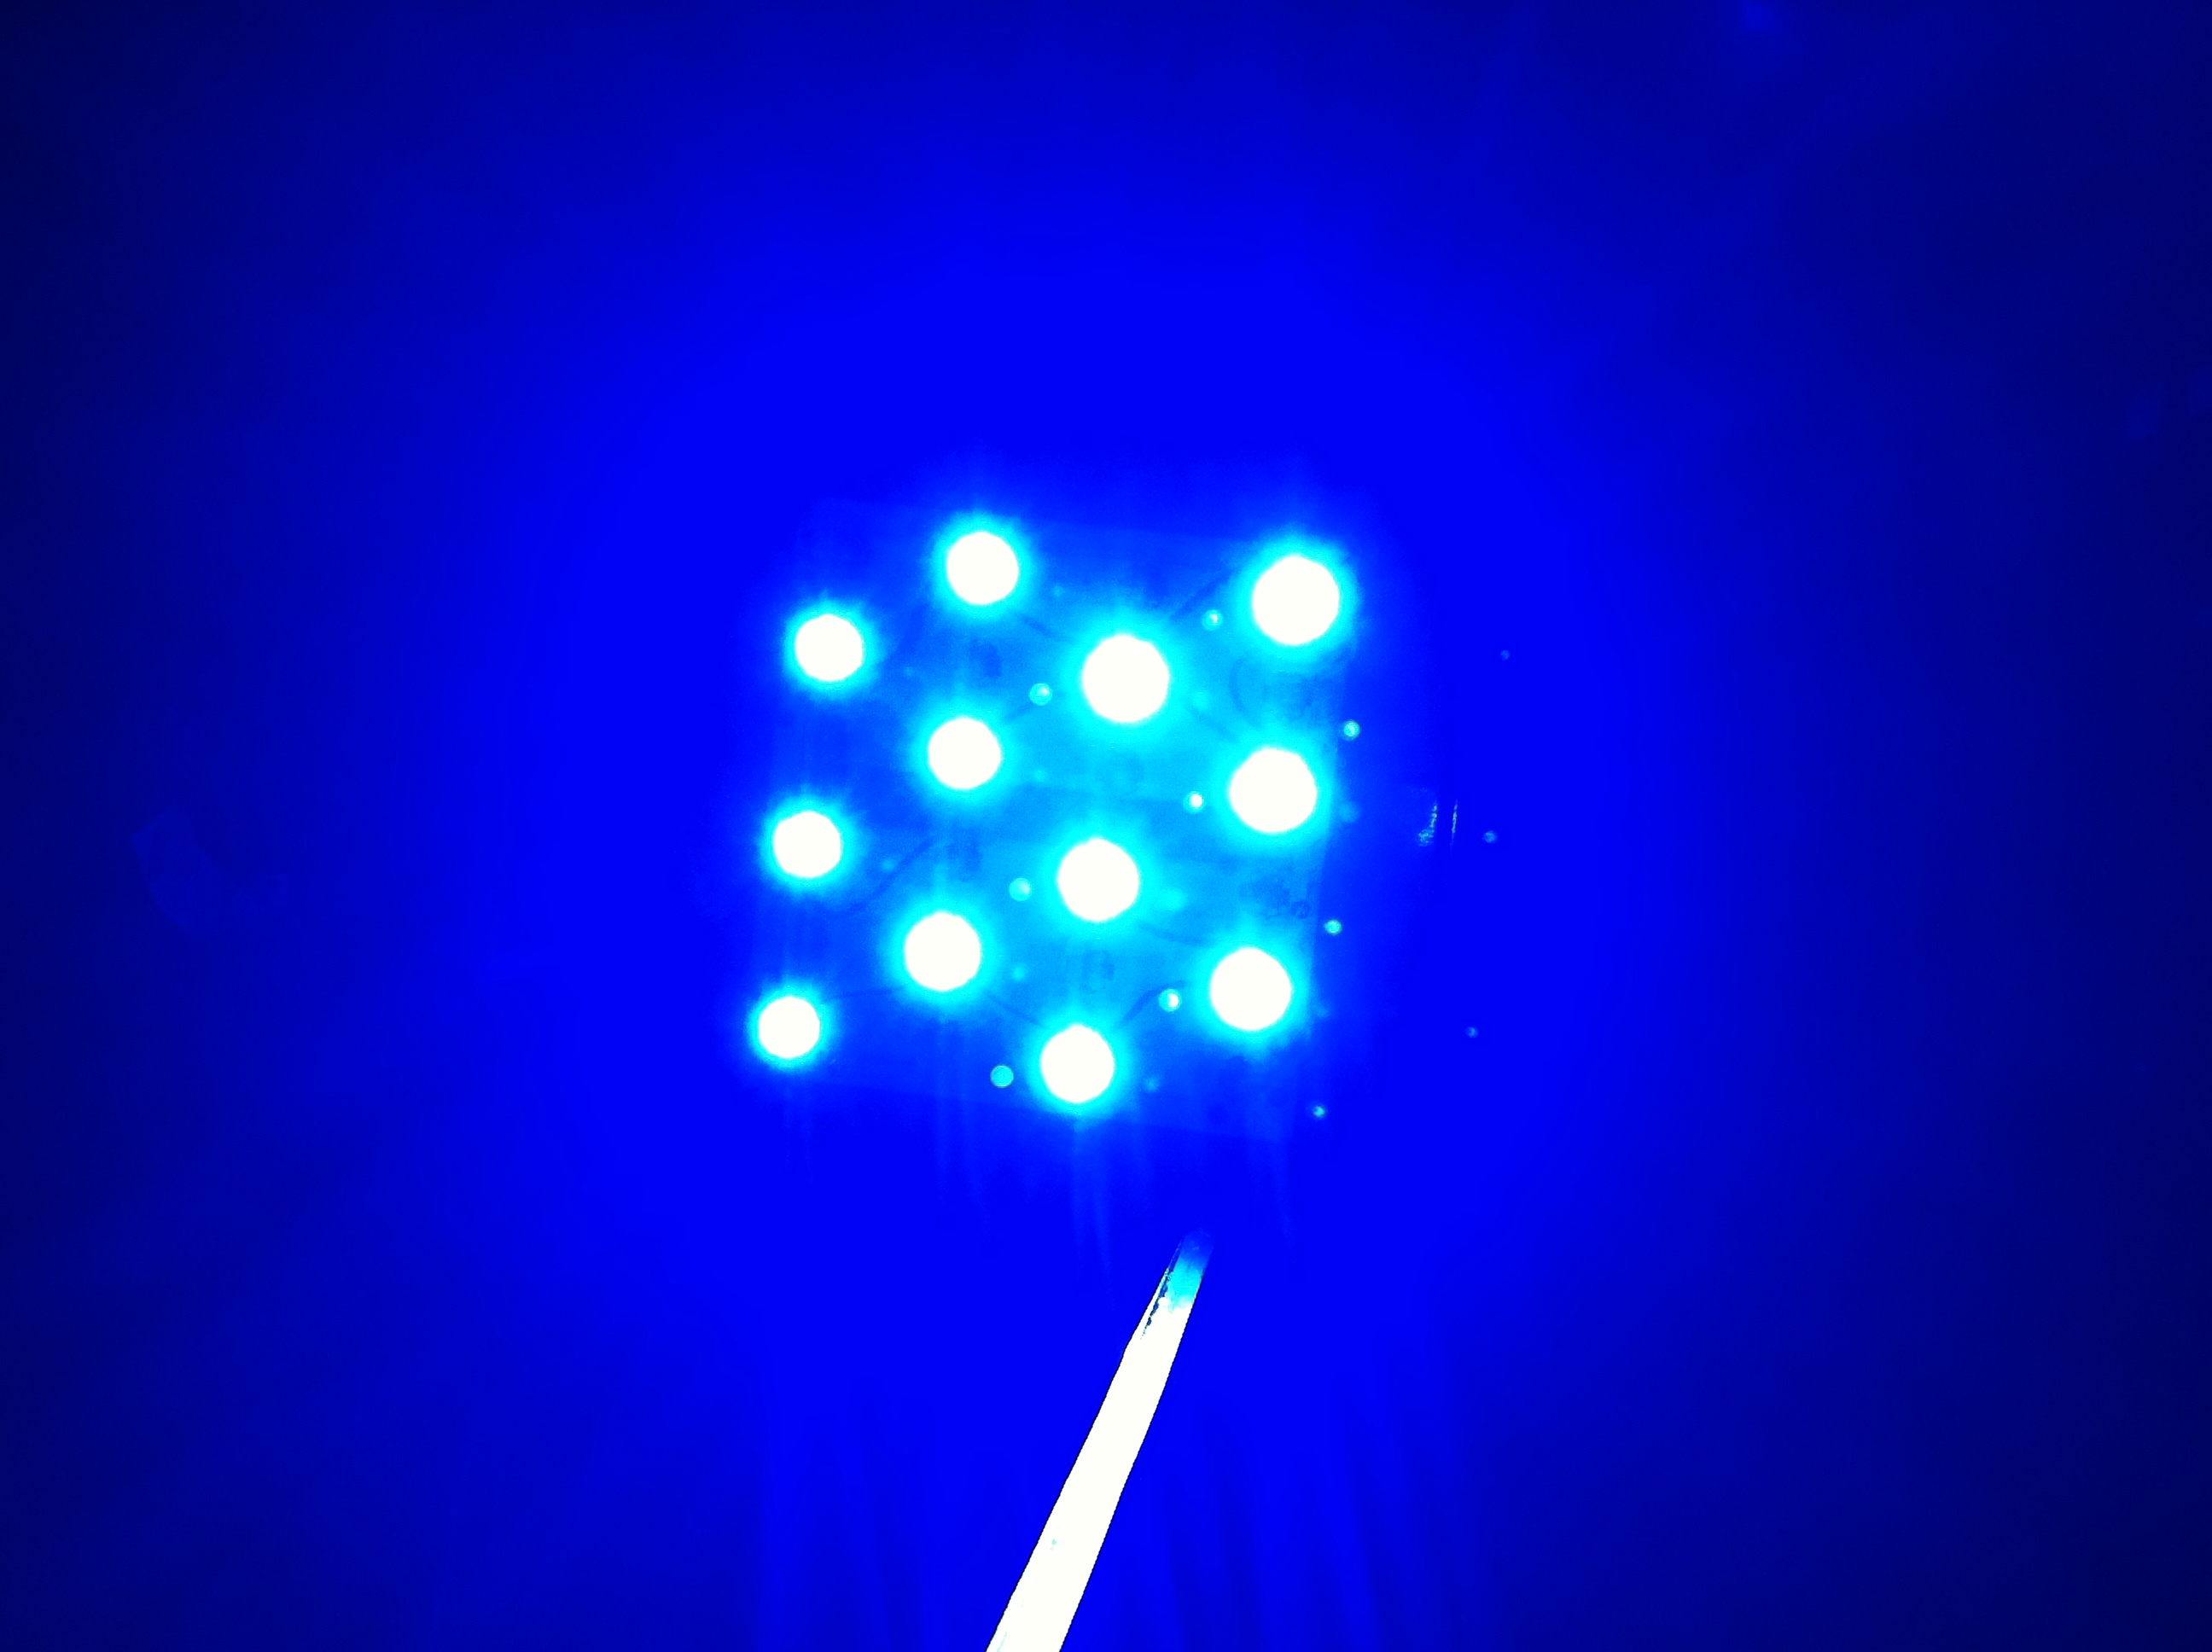
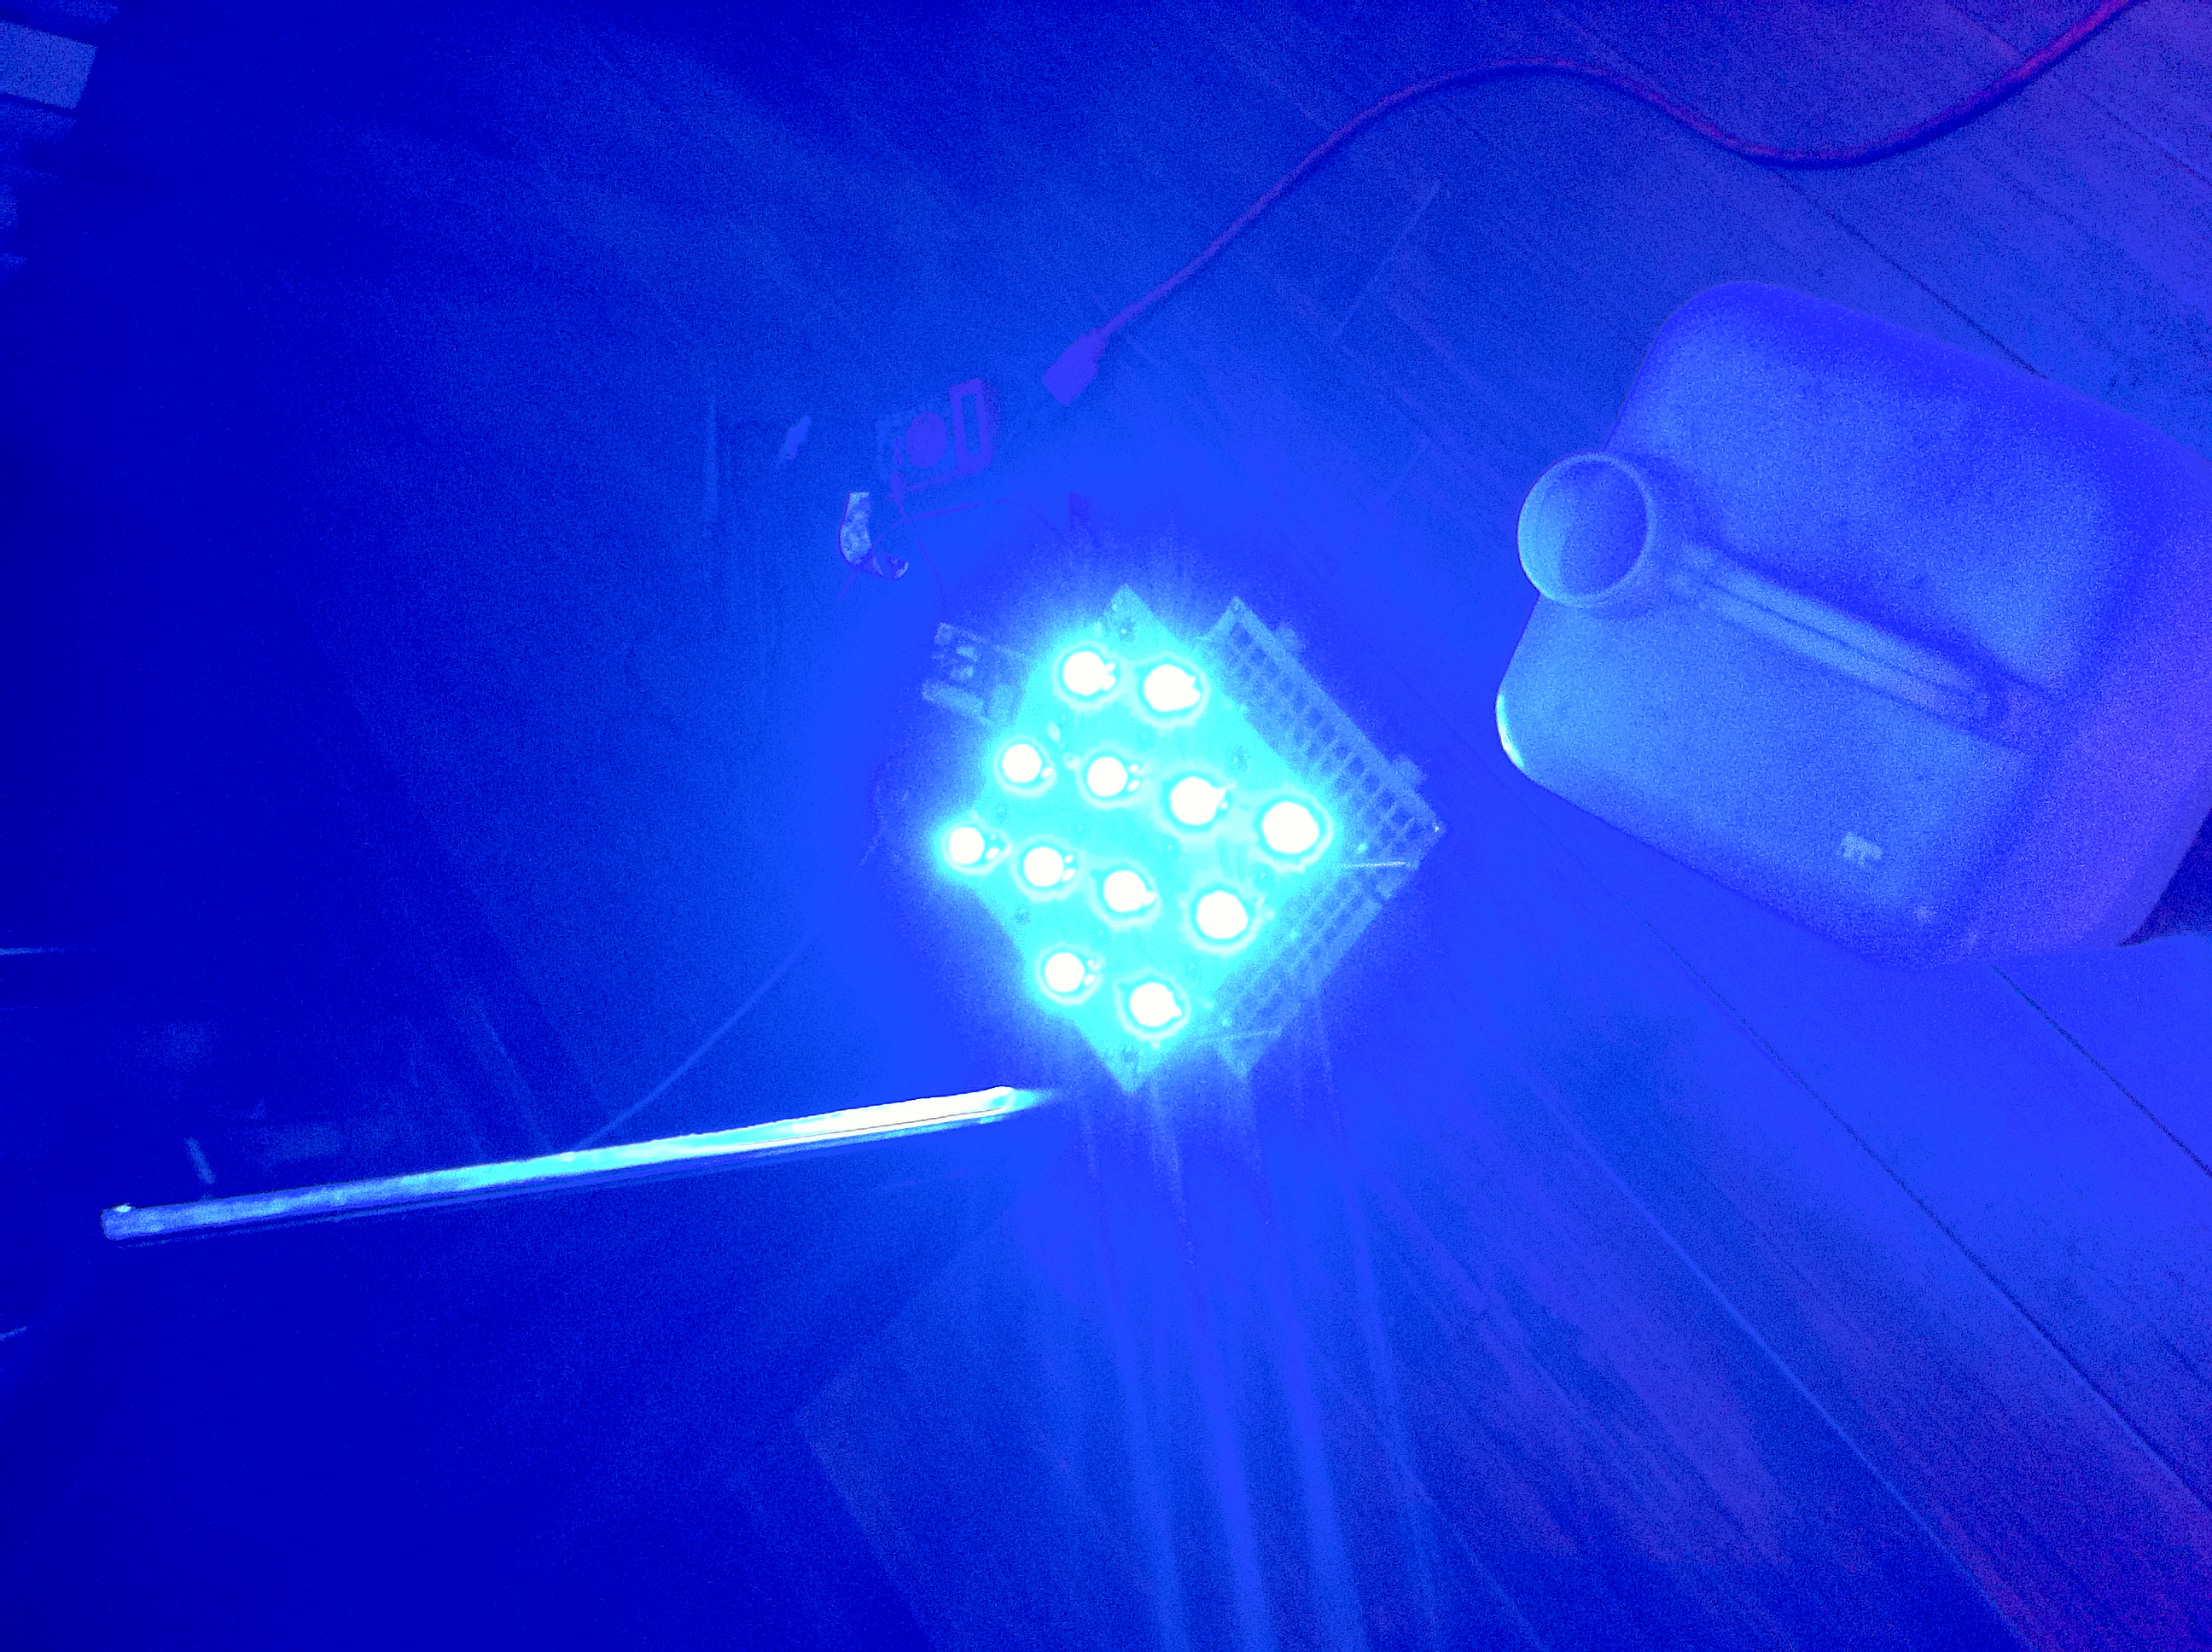
Ill see what I have on my phone to see if I can email them to myself and post them. Like I said, not very good quality, blue is very hard to catch.
Originally Posted by meowzer http:///t/383662/240g-tank-stand-canopy-build/60#post_3448514
WHAT....NO PICTURES????
Sorry at work, also tried to take some pictures the other day, I have my light temp at 20,000K very hard to get camera to take good pictures, I shall try again today.
Here is a picture of some of the blue LEDs.


Ill see what I have on my phone to see if I can email them to myself and post them. Like I said, not very good quality, blue is very hard to catch.
xcali1985
Active Member
Your build gave me the idea to do this. I took your idea and put a little spin on it. HEHE!
I like the individual look. I haven't gotten to the moon lights yet. Still havent figured out how im going to do those. Possibly a bar across the center high up, with 60 optics. Maybe...
I like the individual look. I haven't gotten to the moon lights yet. Still havent figured out how im going to do those. Possibly a bar across the center high up, with 60 optics. Maybe...
xcali1985
Active Member
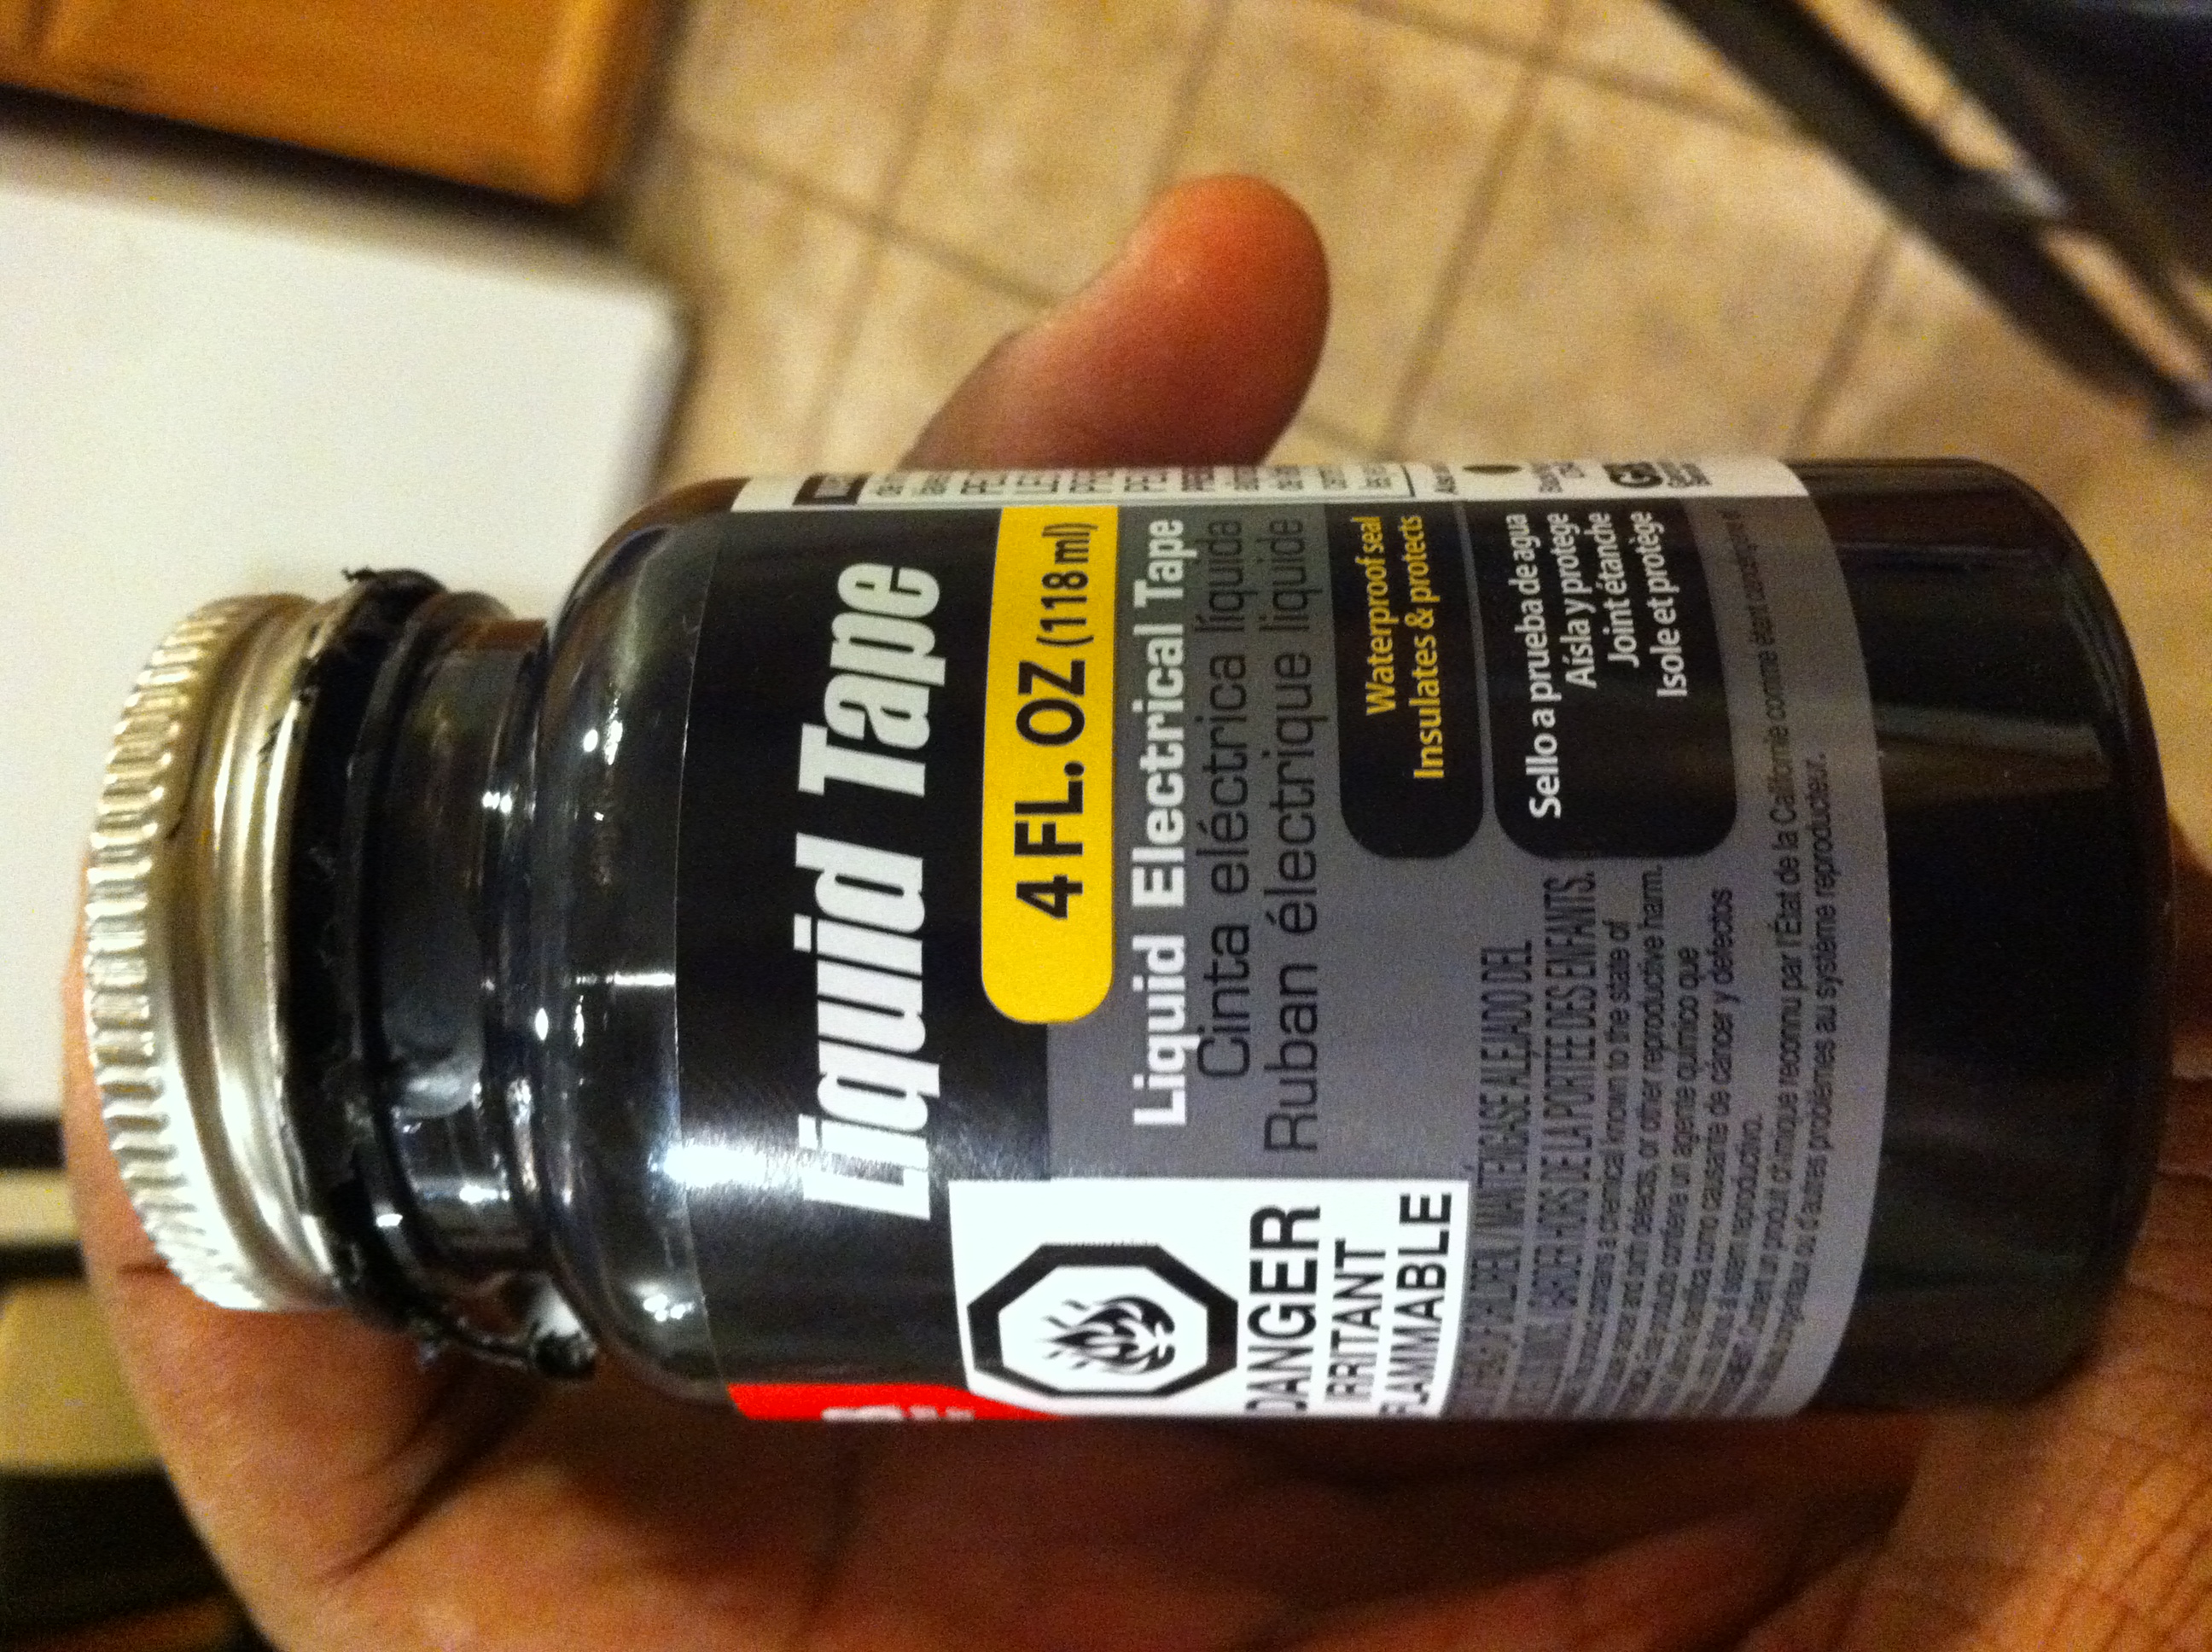
Ok, so another night of little sleep due to this project. Im actually not happy with the way my wires are secured with the quick connects, so im thinking ill be heading to lowes tonight and getting something to make the entire setup look cleaner. Possibly heat shrink and a heat gun. Really don't care what the actual heat sink looks like, but I need to be comfortable and secure about the wiring. That I am not.Also thanks kent for the liquid e tape suggestion.Anyone have any ideas on how to secure the fans to the heatsinks? I have ideas, including adding a little superglue to it to hold it in place. Any pictures of other DIYS?
Here are a few pictures of the lights at 50%
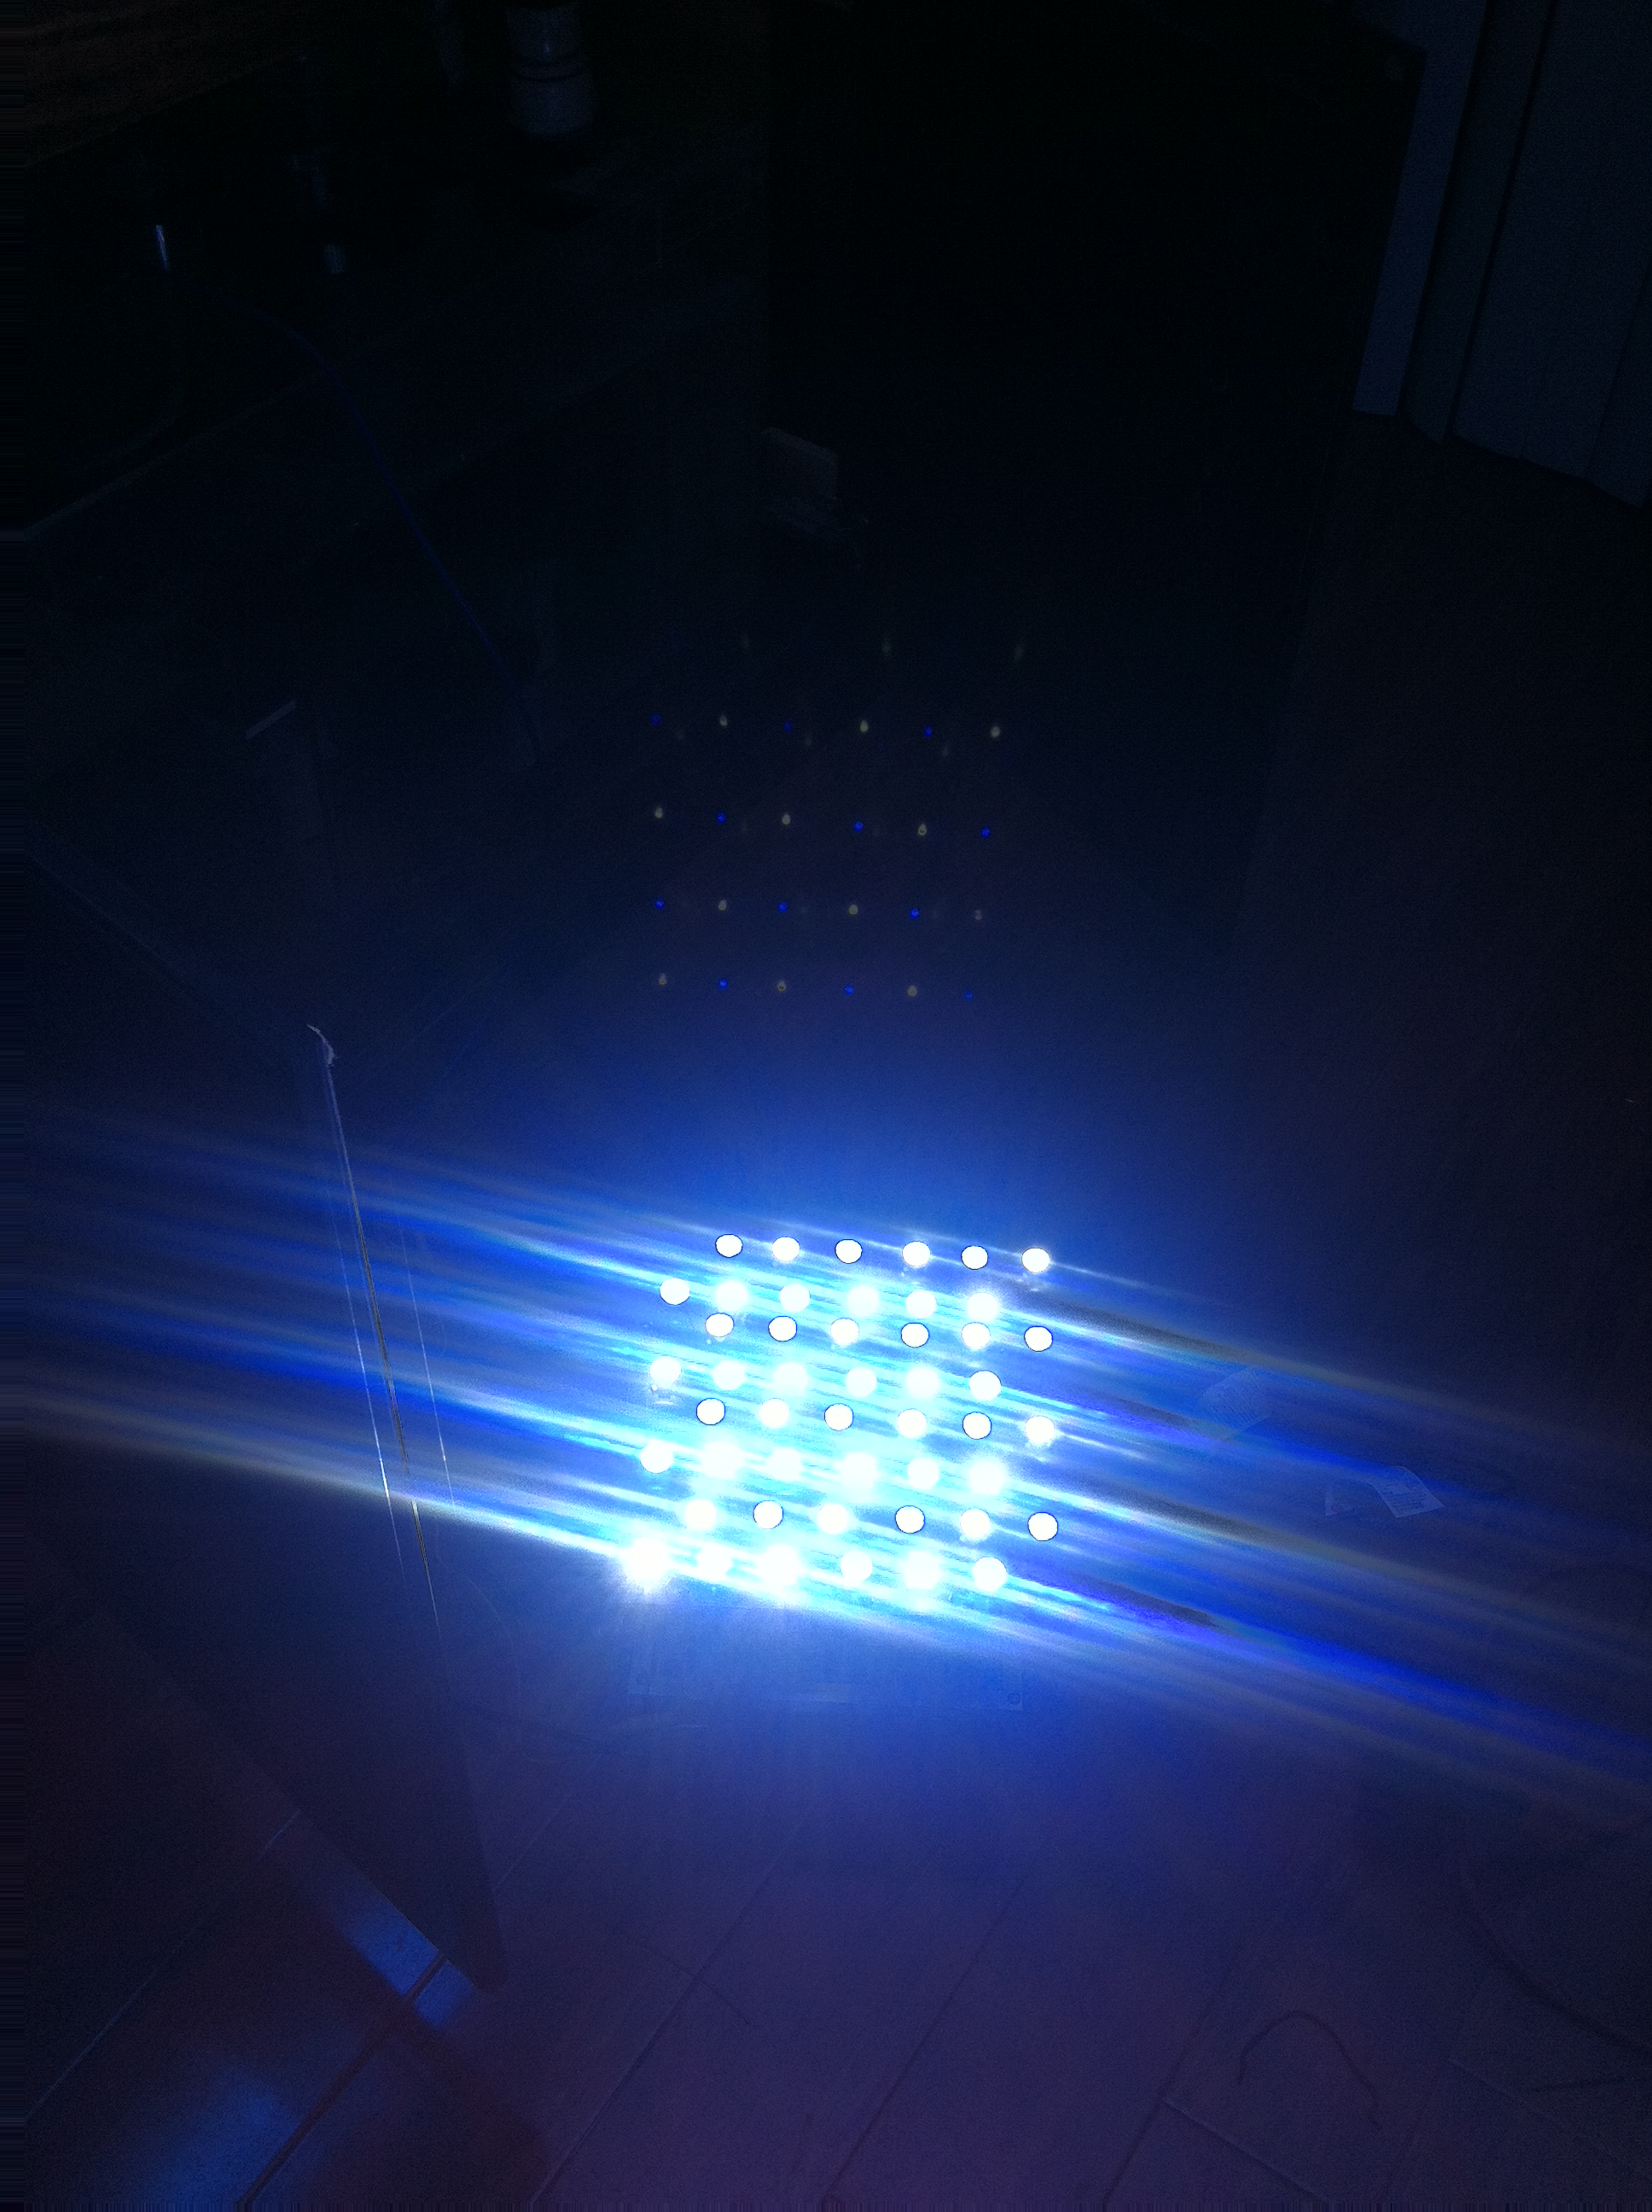
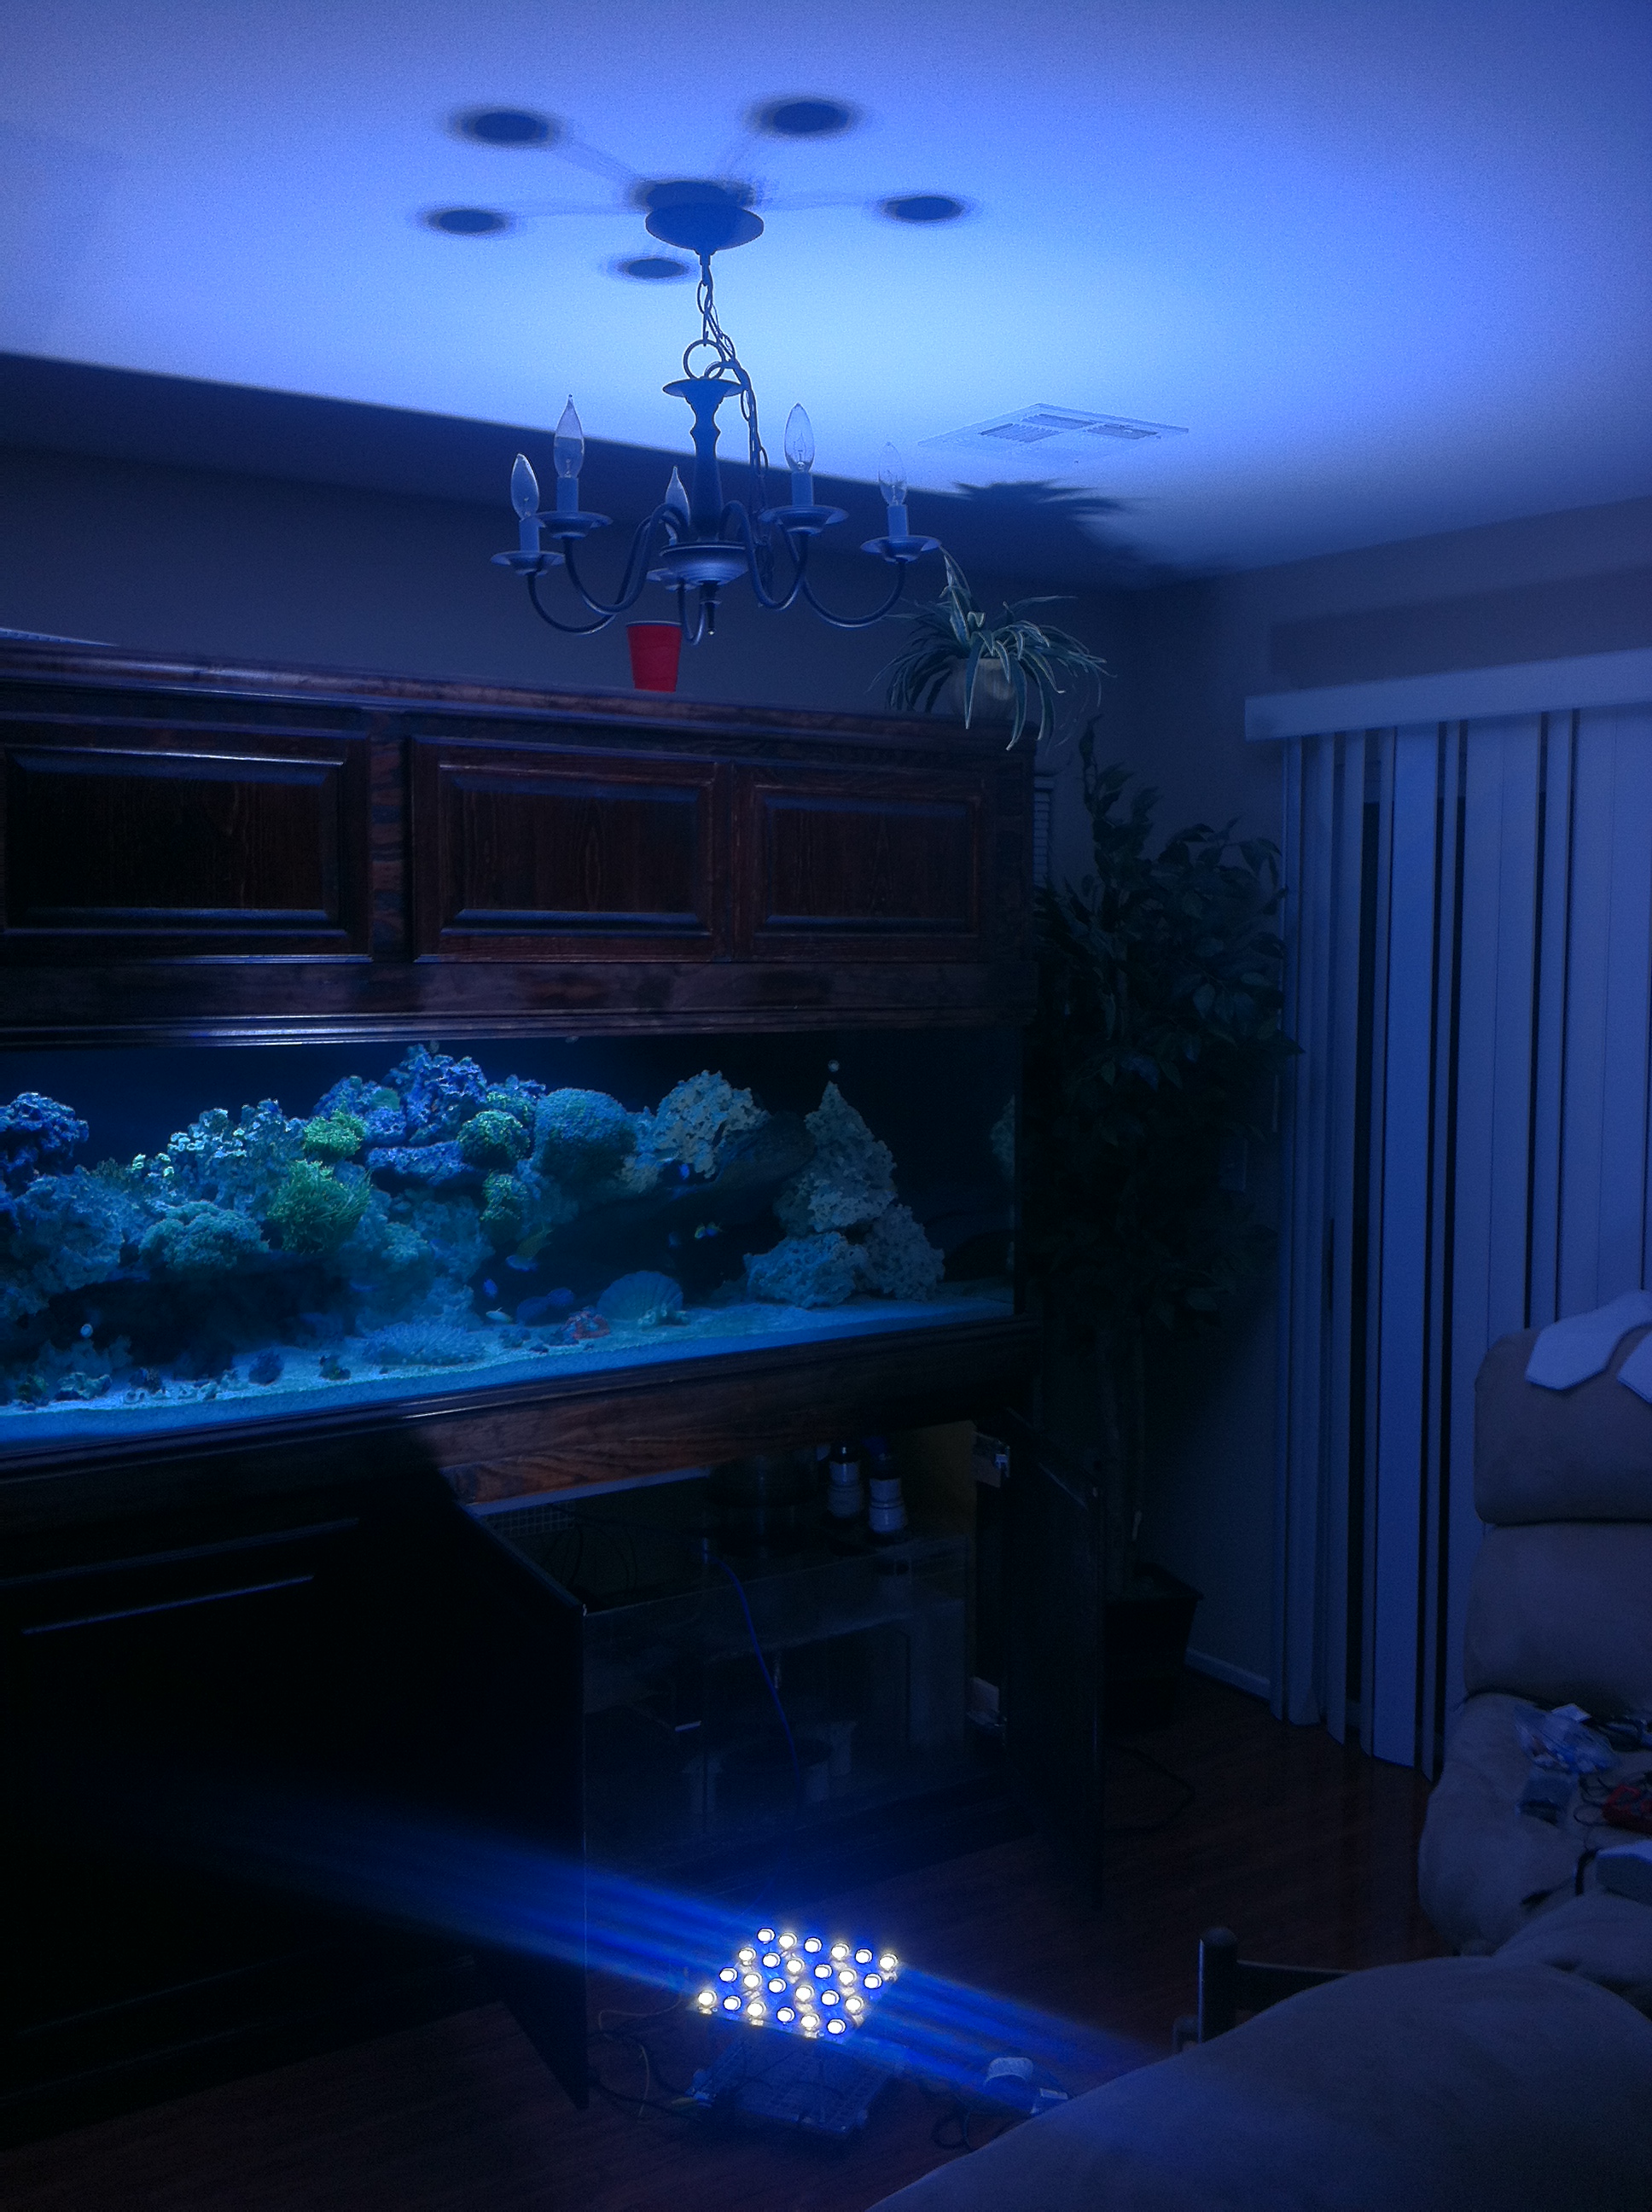
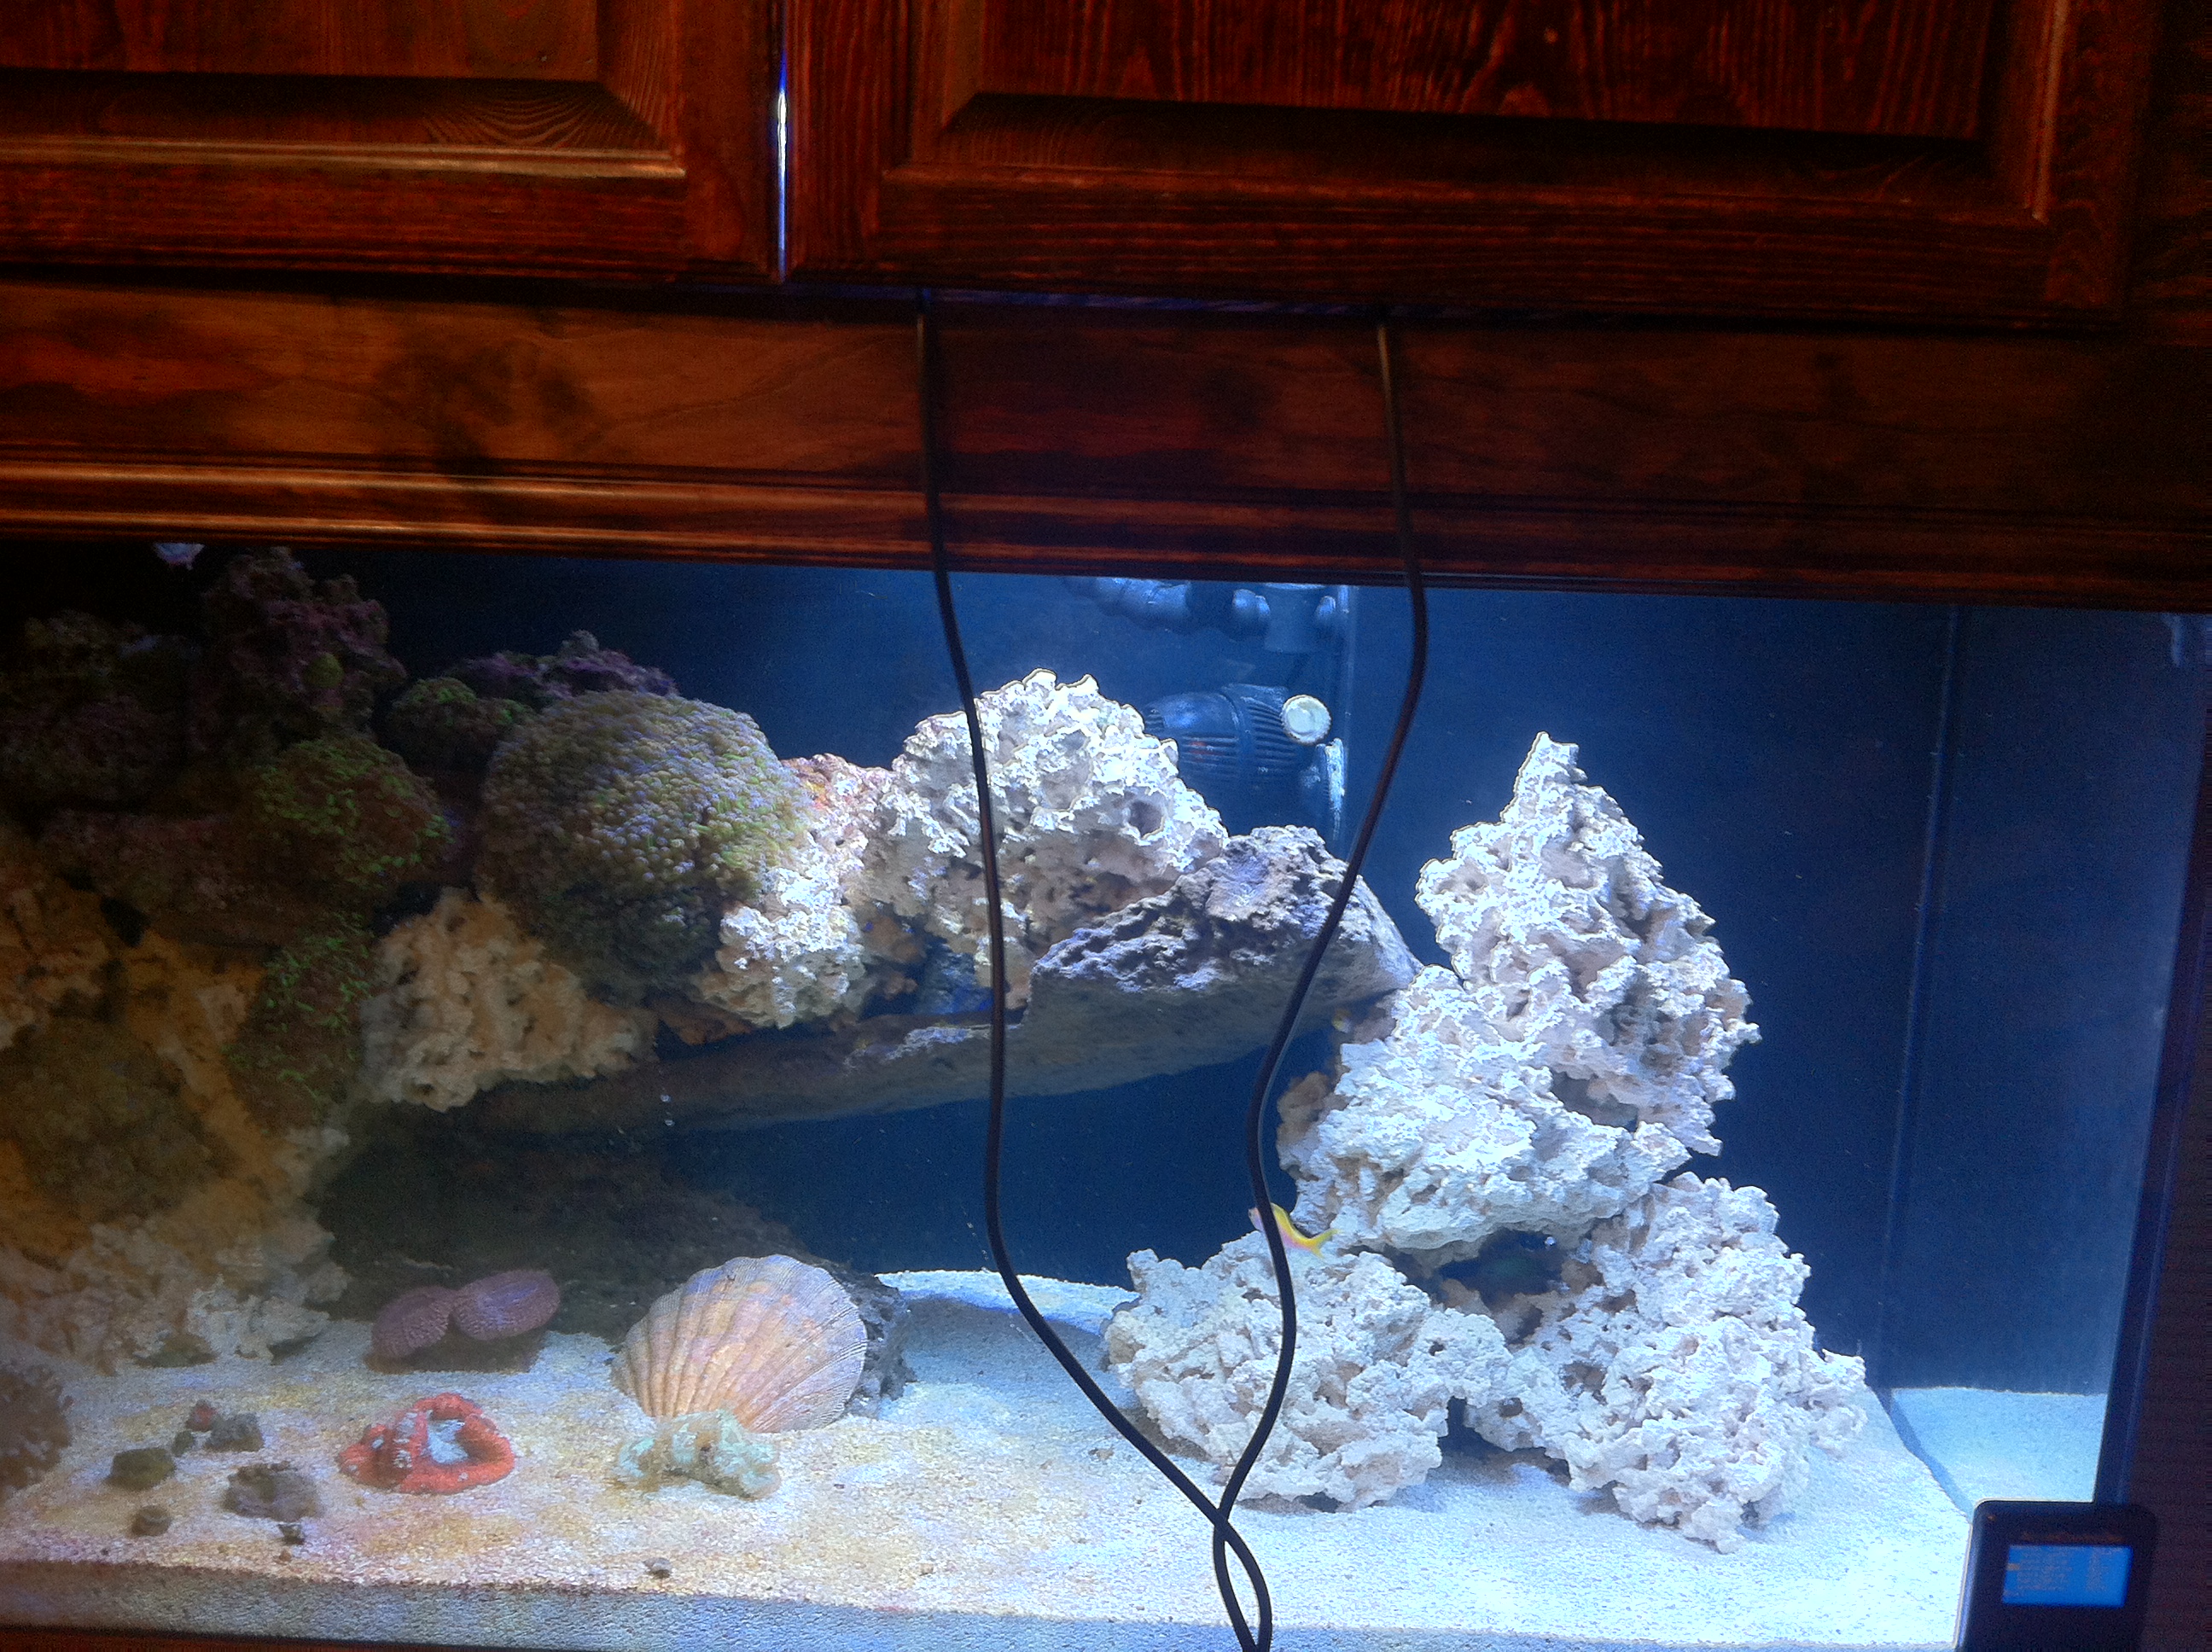
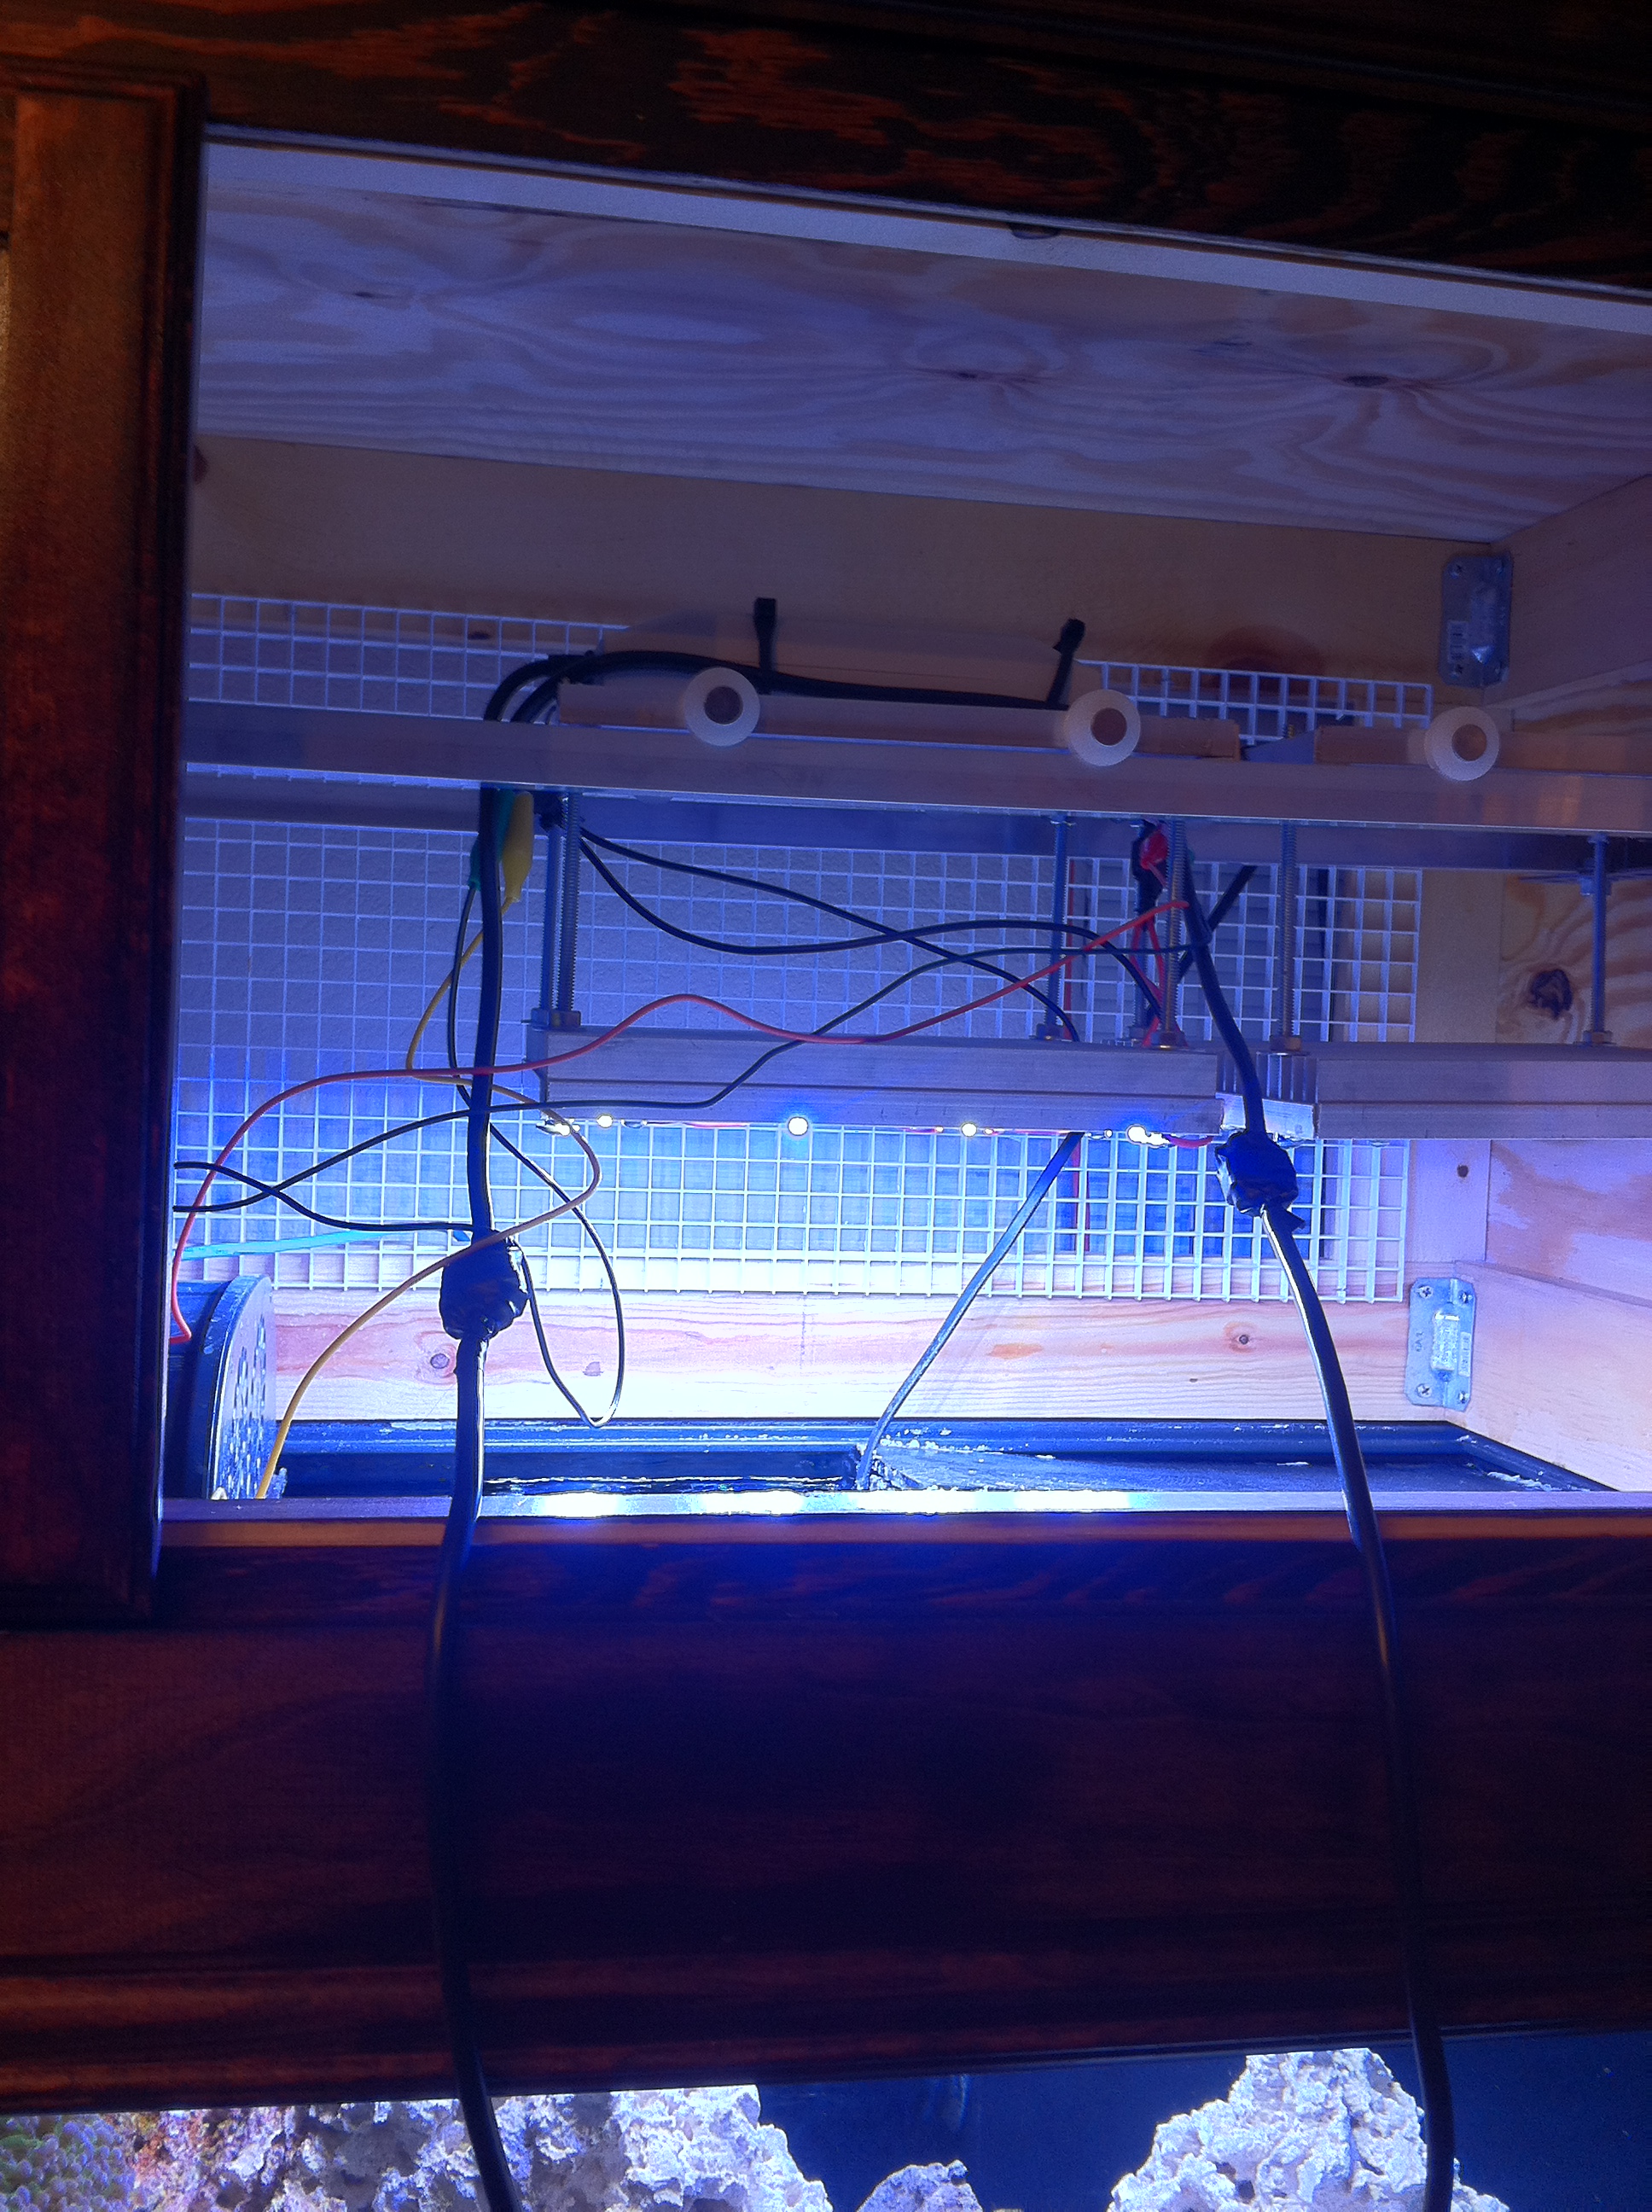
Here are a few pictures of the lights at 50%


acrylic51
Active Member
Quote:
Originally Posted by Xcali1985 http:///t/383662/240g-tank-stand-canopy-build/60#post_3448805
Ok, so another night of little sleep due to this project. Im actually not happy with the way my wires are secured with the quick connects, so im thinking ill be heading to lowes tonight and getting something to make the entire setup look cleaner. Possibly heat shrink and a heat gun. Really don't care what the actual heat sink looks like, but I need to be comfortable and secure about the wiring. That I am not.Also thanks kent for the liquid e tape suggestion.Anyone have any ideas on how to secure the fans to the heatsinks? I have ideas, including adding a little superglue to it to hold it in place. Any pictures of other DIYS?
Here are a few pictures of the lights at 50%


Your question about mounting the fan at this point you could use stainless standoffs and screws to secure the fan to the heat sink. If you hadn't already mounted the LEDs I would suggest going the route Corey did with milling/cutting a section of the heat sink to drop the fans into.....We caught that done in a thread over on RC, and just looked sweet.....but check out Corey's thread would give you some ideas.
Originally Posted by Xcali1985 http:///t/383662/240g-tank-stand-canopy-build/60#post_3448805
Ok, so another night of little sleep due to this project. Im actually not happy with the way my wires are secured with the quick connects, so im thinking ill be heading to lowes tonight and getting something to make the entire setup look cleaner. Possibly heat shrink and a heat gun. Really don't care what the actual heat sink looks like, but I need to be comfortable and secure about the wiring. That I am not.Also thanks kent for the liquid e tape suggestion.Anyone have any ideas on how to secure the fans to the heatsinks? I have ideas, including adding a little superglue to it to hold it in place. Any pictures of other DIYS?
Here are a few pictures of the lights at 50%


Your question about mounting the fan at this point you could use stainless standoffs and screws to secure the fan to the heat sink. If you hadn't already mounted the LEDs I would suggest going the route Corey did with milling/cutting a section of the heat sink to drop the fans into.....We caught that done in a thread over on RC, and just looked sweet.....but check out Corey's thread would give you some ideas.
acrylic51
Active Member
Quote:
Originally Posted by Xcali1985 http:///t/383662/240g-tank-stand-canopy-build/60#post_3449456
Gotta love iPhone photo stream. Pictures instantly on your computer. This is with just 2 banks on in the corners and T5s in the middle.
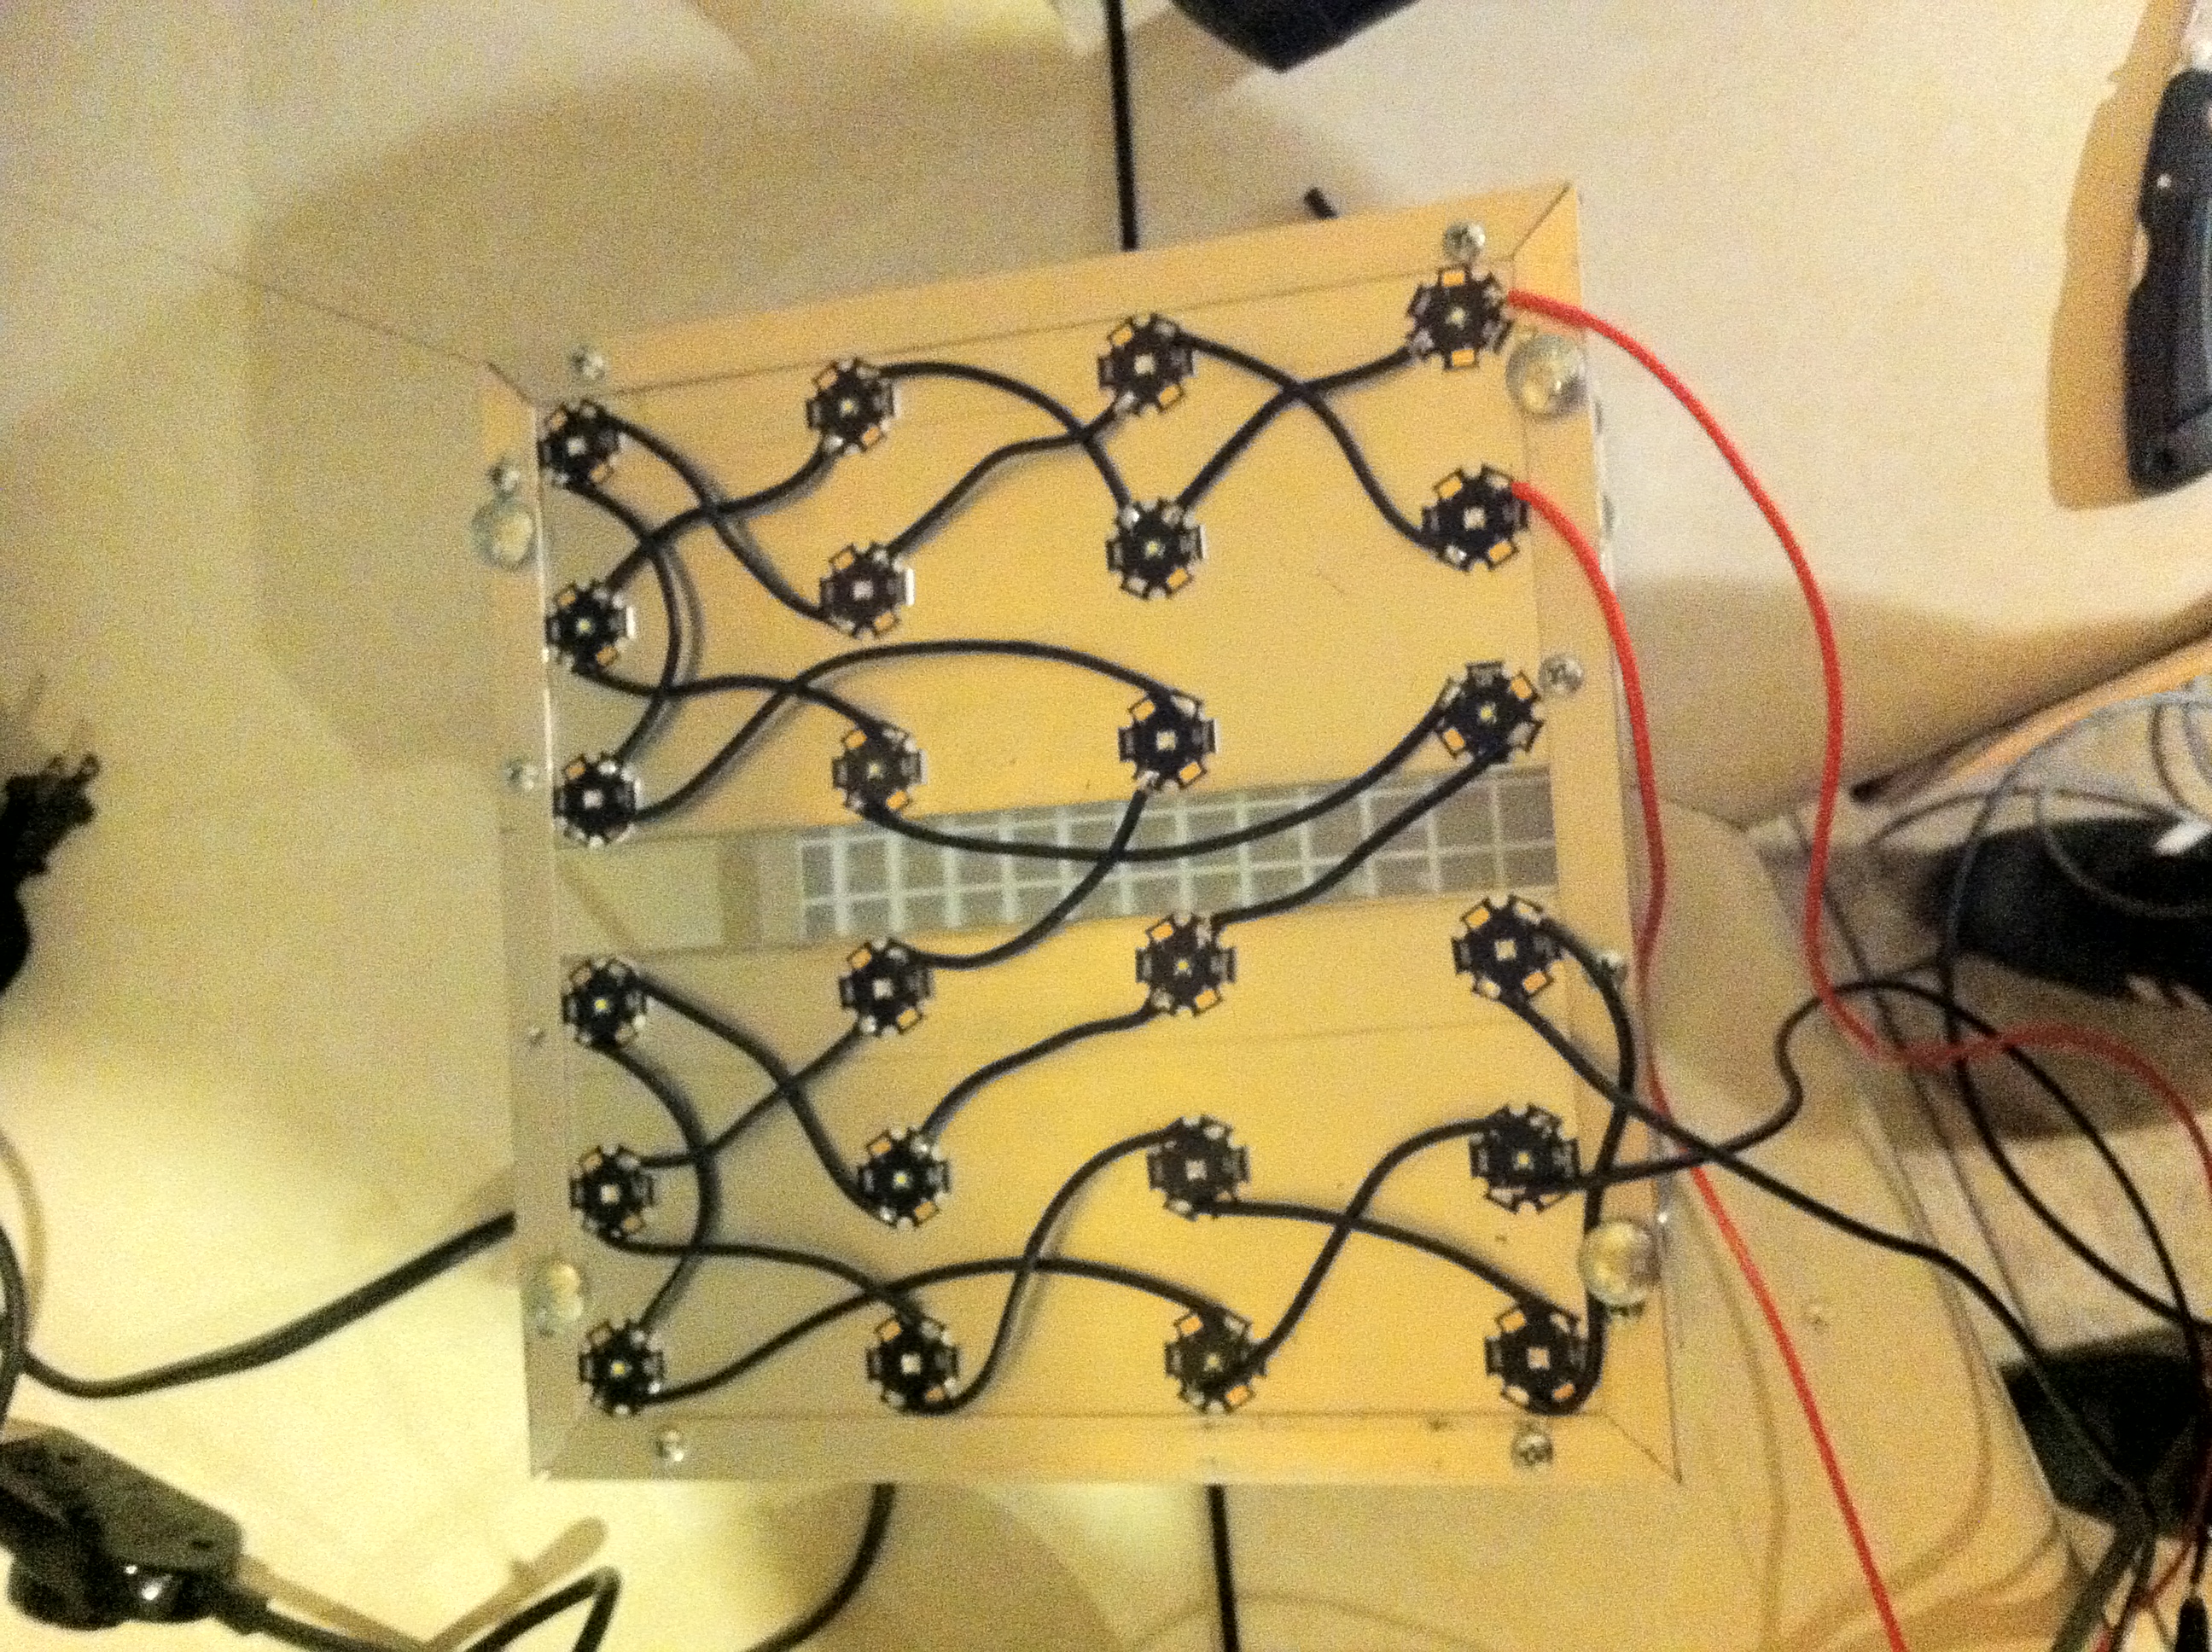
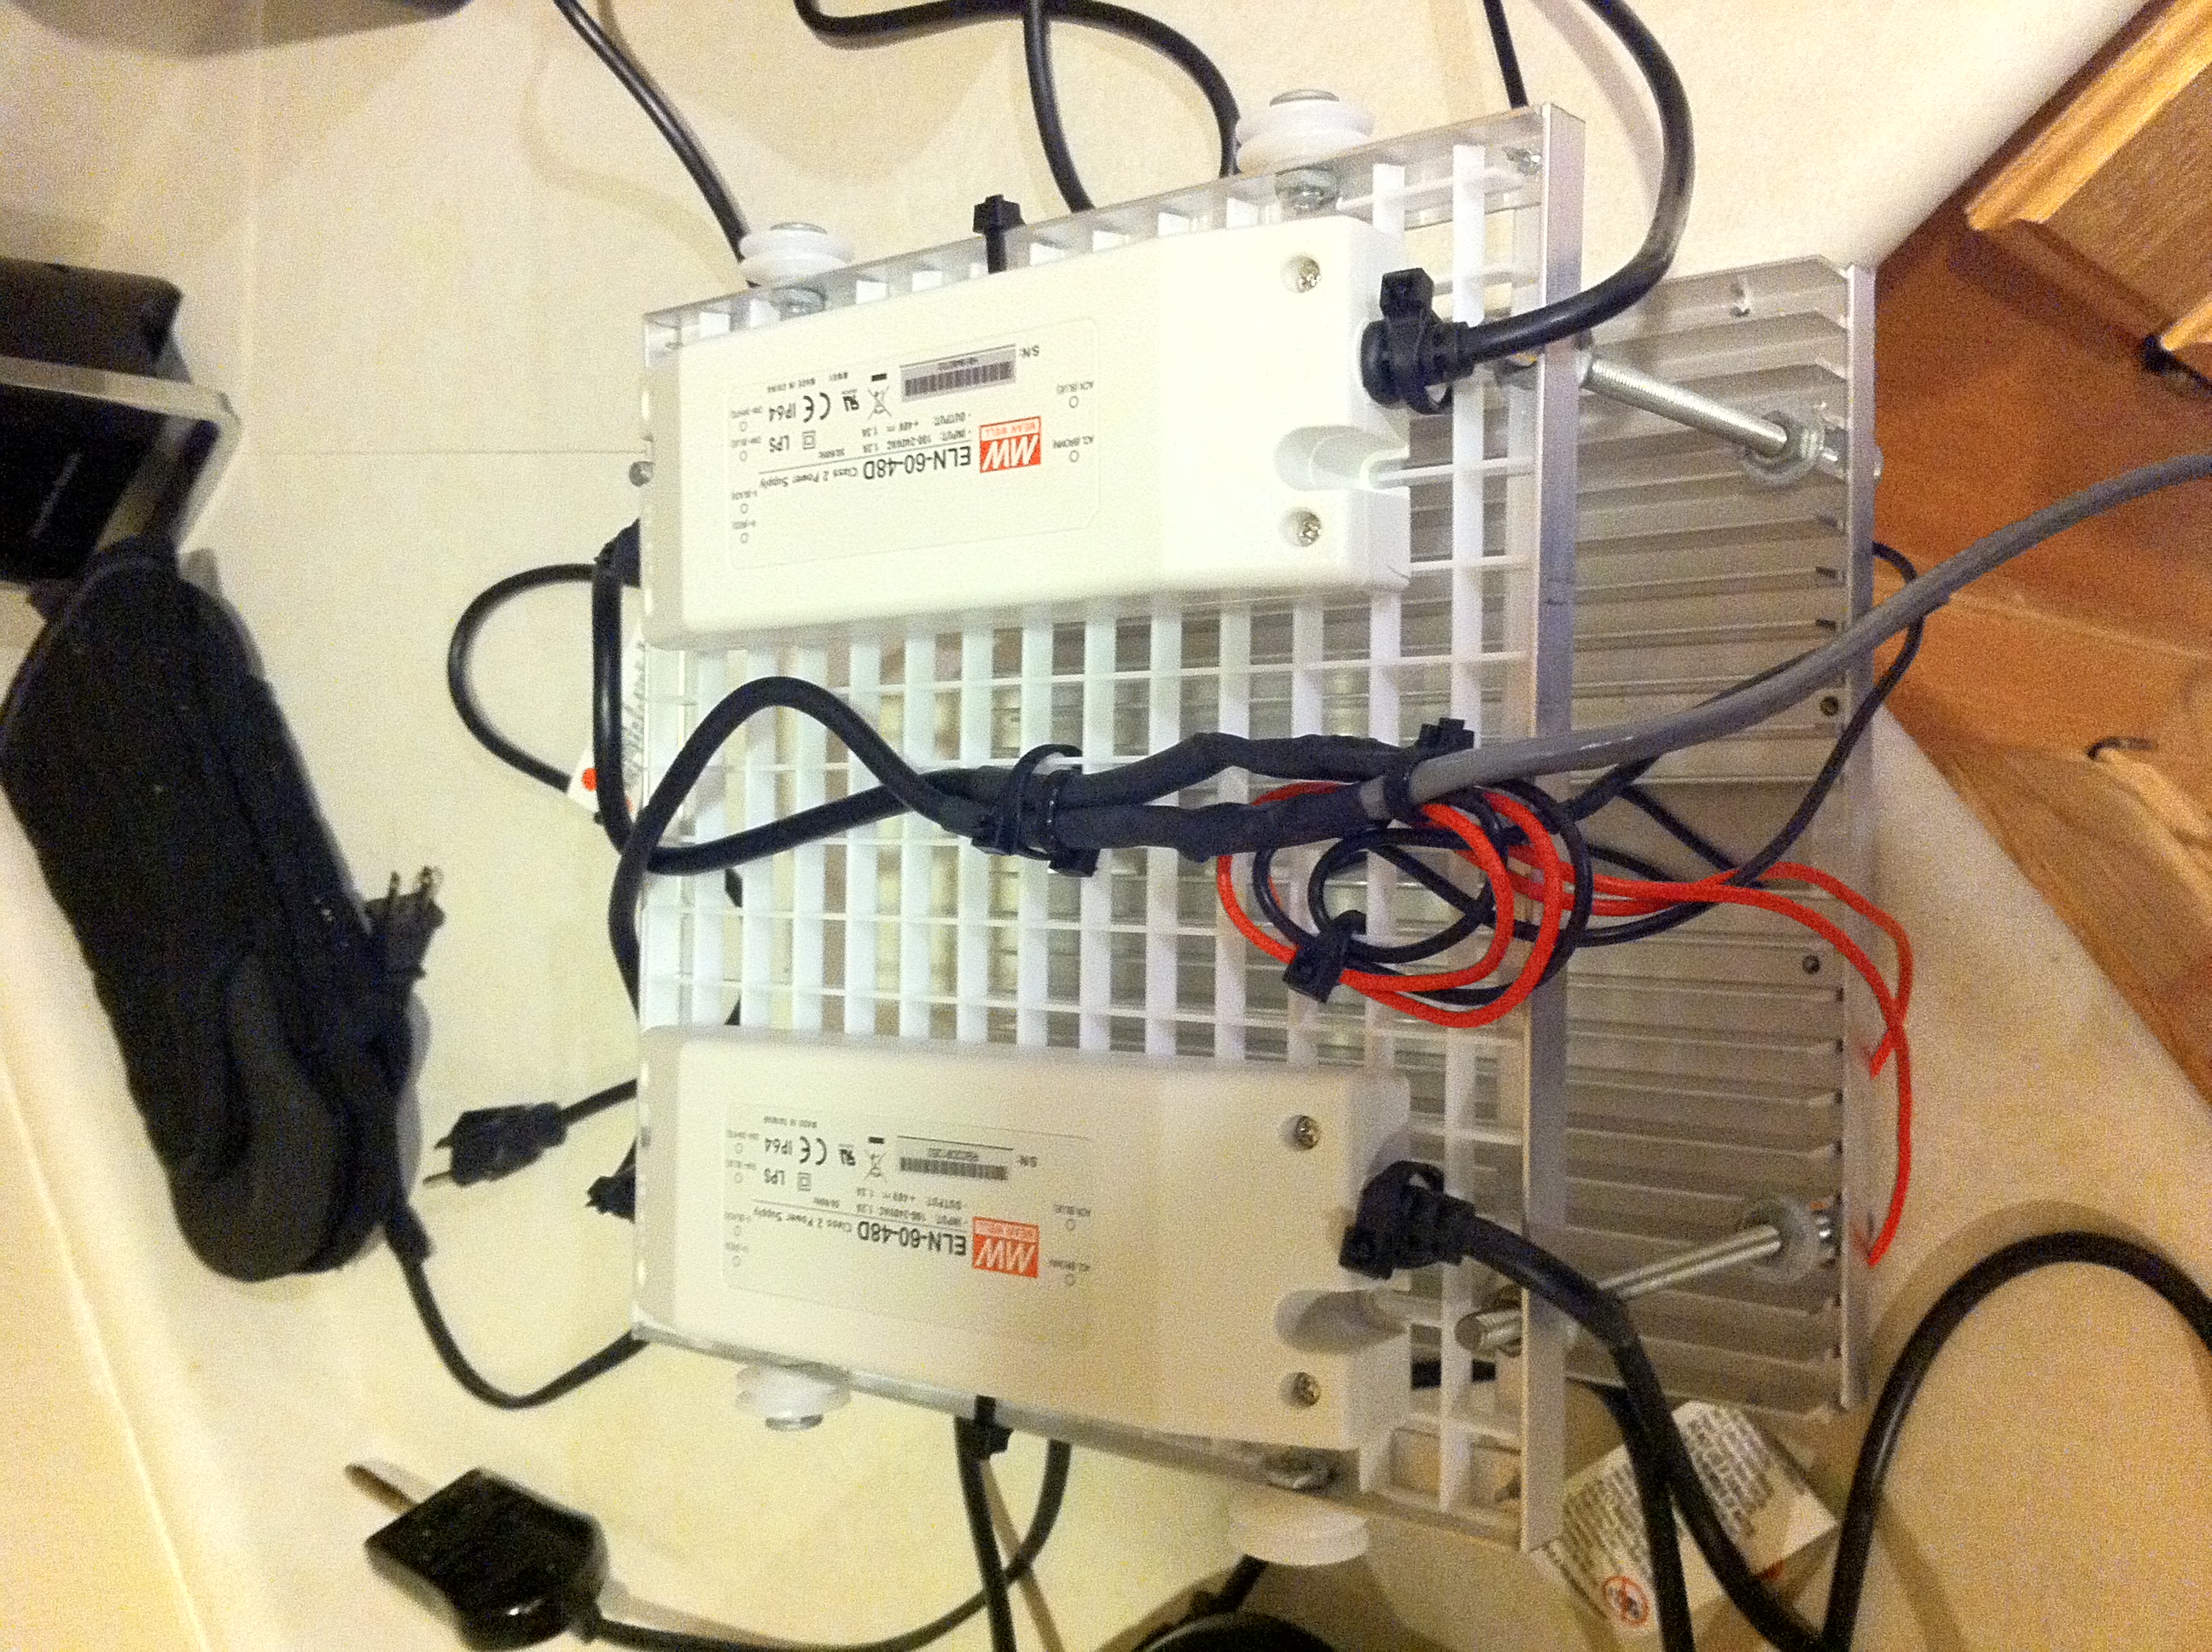
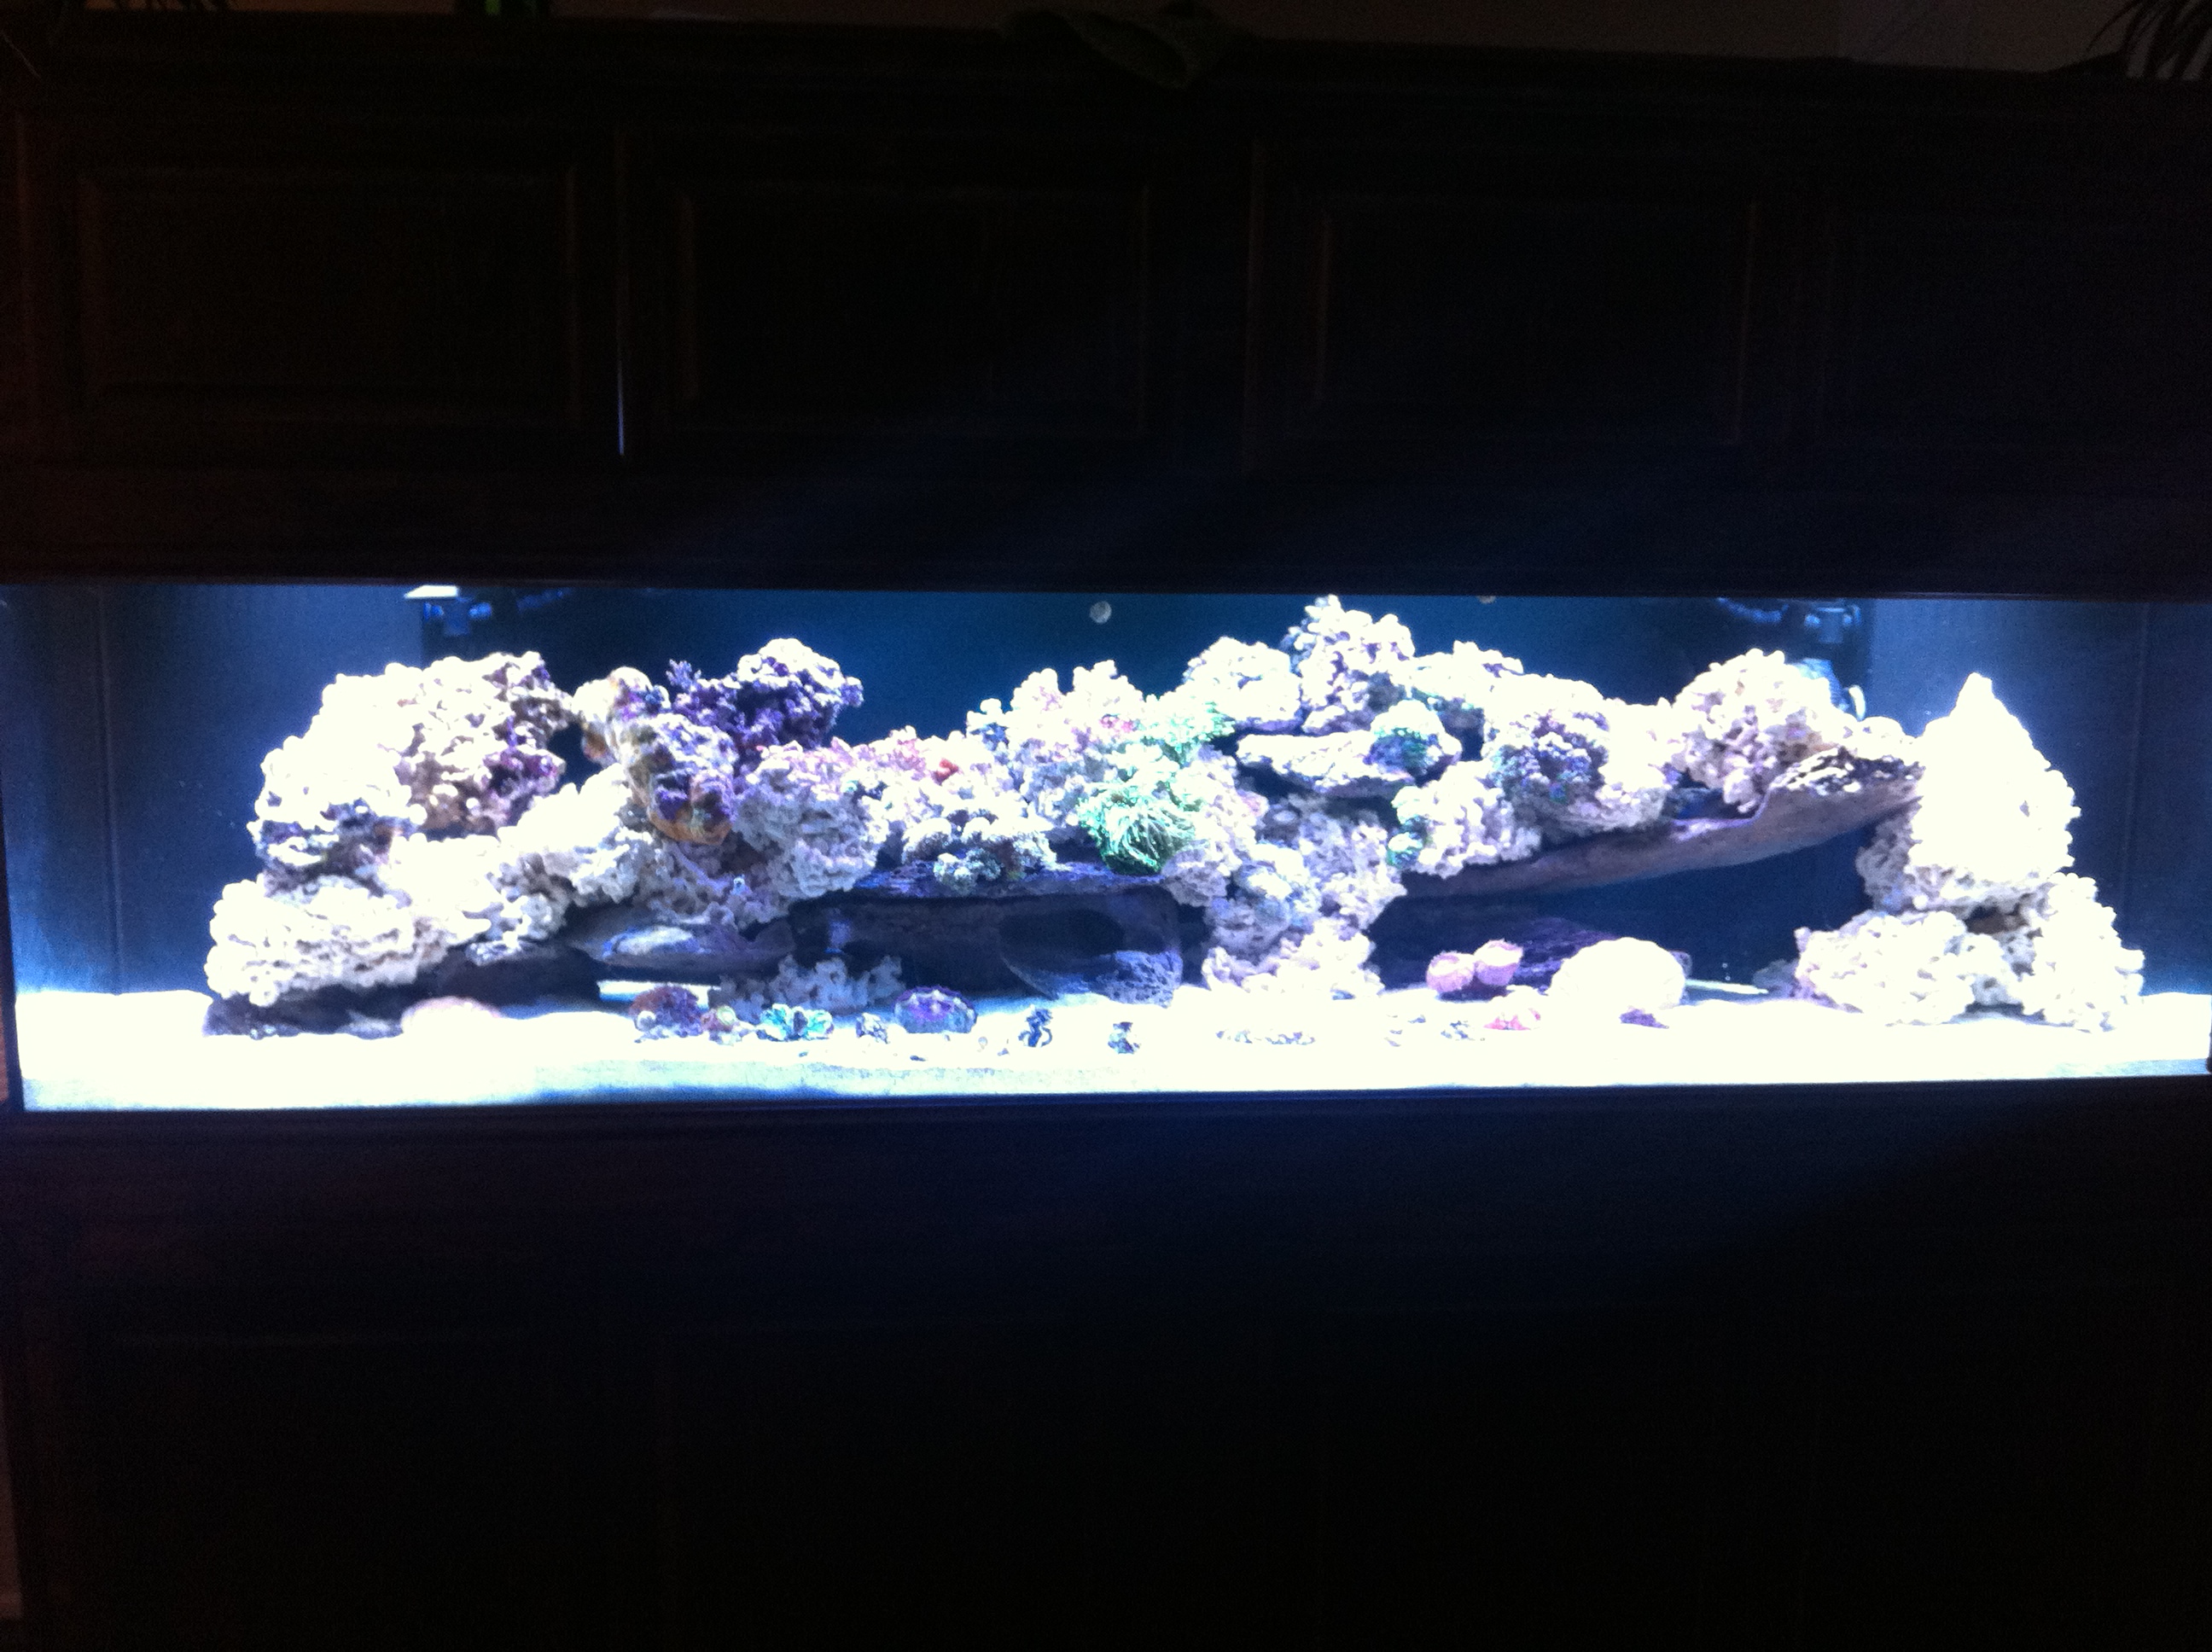
Looks very good....What is your color mix/ratio of LEDs......Cameras just don't care them correctly.....You could also drill additional holes in the heat sink and pass your connecting wires through the holes to the backside of the heat sink and with another hole next to the corresponding LED bring it back out through to make your connection. I'm sure there's ways to secure and tuck the wiring between the fins of the heat sink....
Originally Posted by Xcali1985 http:///t/383662/240g-tank-stand-canopy-build/60#post_3449456
Gotta love iPhone photo stream. Pictures instantly on your computer. This is with just 2 banks on in the corners and T5s in the middle.


Looks very good....What is your color mix/ratio of LEDs......Cameras just don't care them correctly.....You could also drill additional holes in the heat sink and pass your connecting wires through the holes to the backside of the heat sink and with another hole next to the corresponding LED bring it back out through to make your connection. I'm sure there's ways to secure and tuck the wiring between the fins of the heat sink....
xcali1985
Active Member
Quote:
Originally Posted by acrylic51 http:///t/383662/240g-tank-stand-canopy-build/60#post_3449460
Looks very good....What is your color mix/ratio of LEDs......Cameras just don't care them correctly.....You could also drill additional holes in the heat sink and pass your connecting wires through the holes to the backside of the heat sink and with another hole next to the corresponding LED bring it back out through to make your connection. I'm sure there's ways to secure and tuck the wiring between the fins of the heat sink....
Mix is 1:1. Most of the people locally that run LEDs rarely run them at even 70% as they burn their corals. So I figure I can just play with the color temp by mixing the blues and whites until I like what I see. Sorry for the bad photos, this is a tank you really have to see in person to see the true effects! The colors for my corals are amazing...
2quills
Well-Known Member
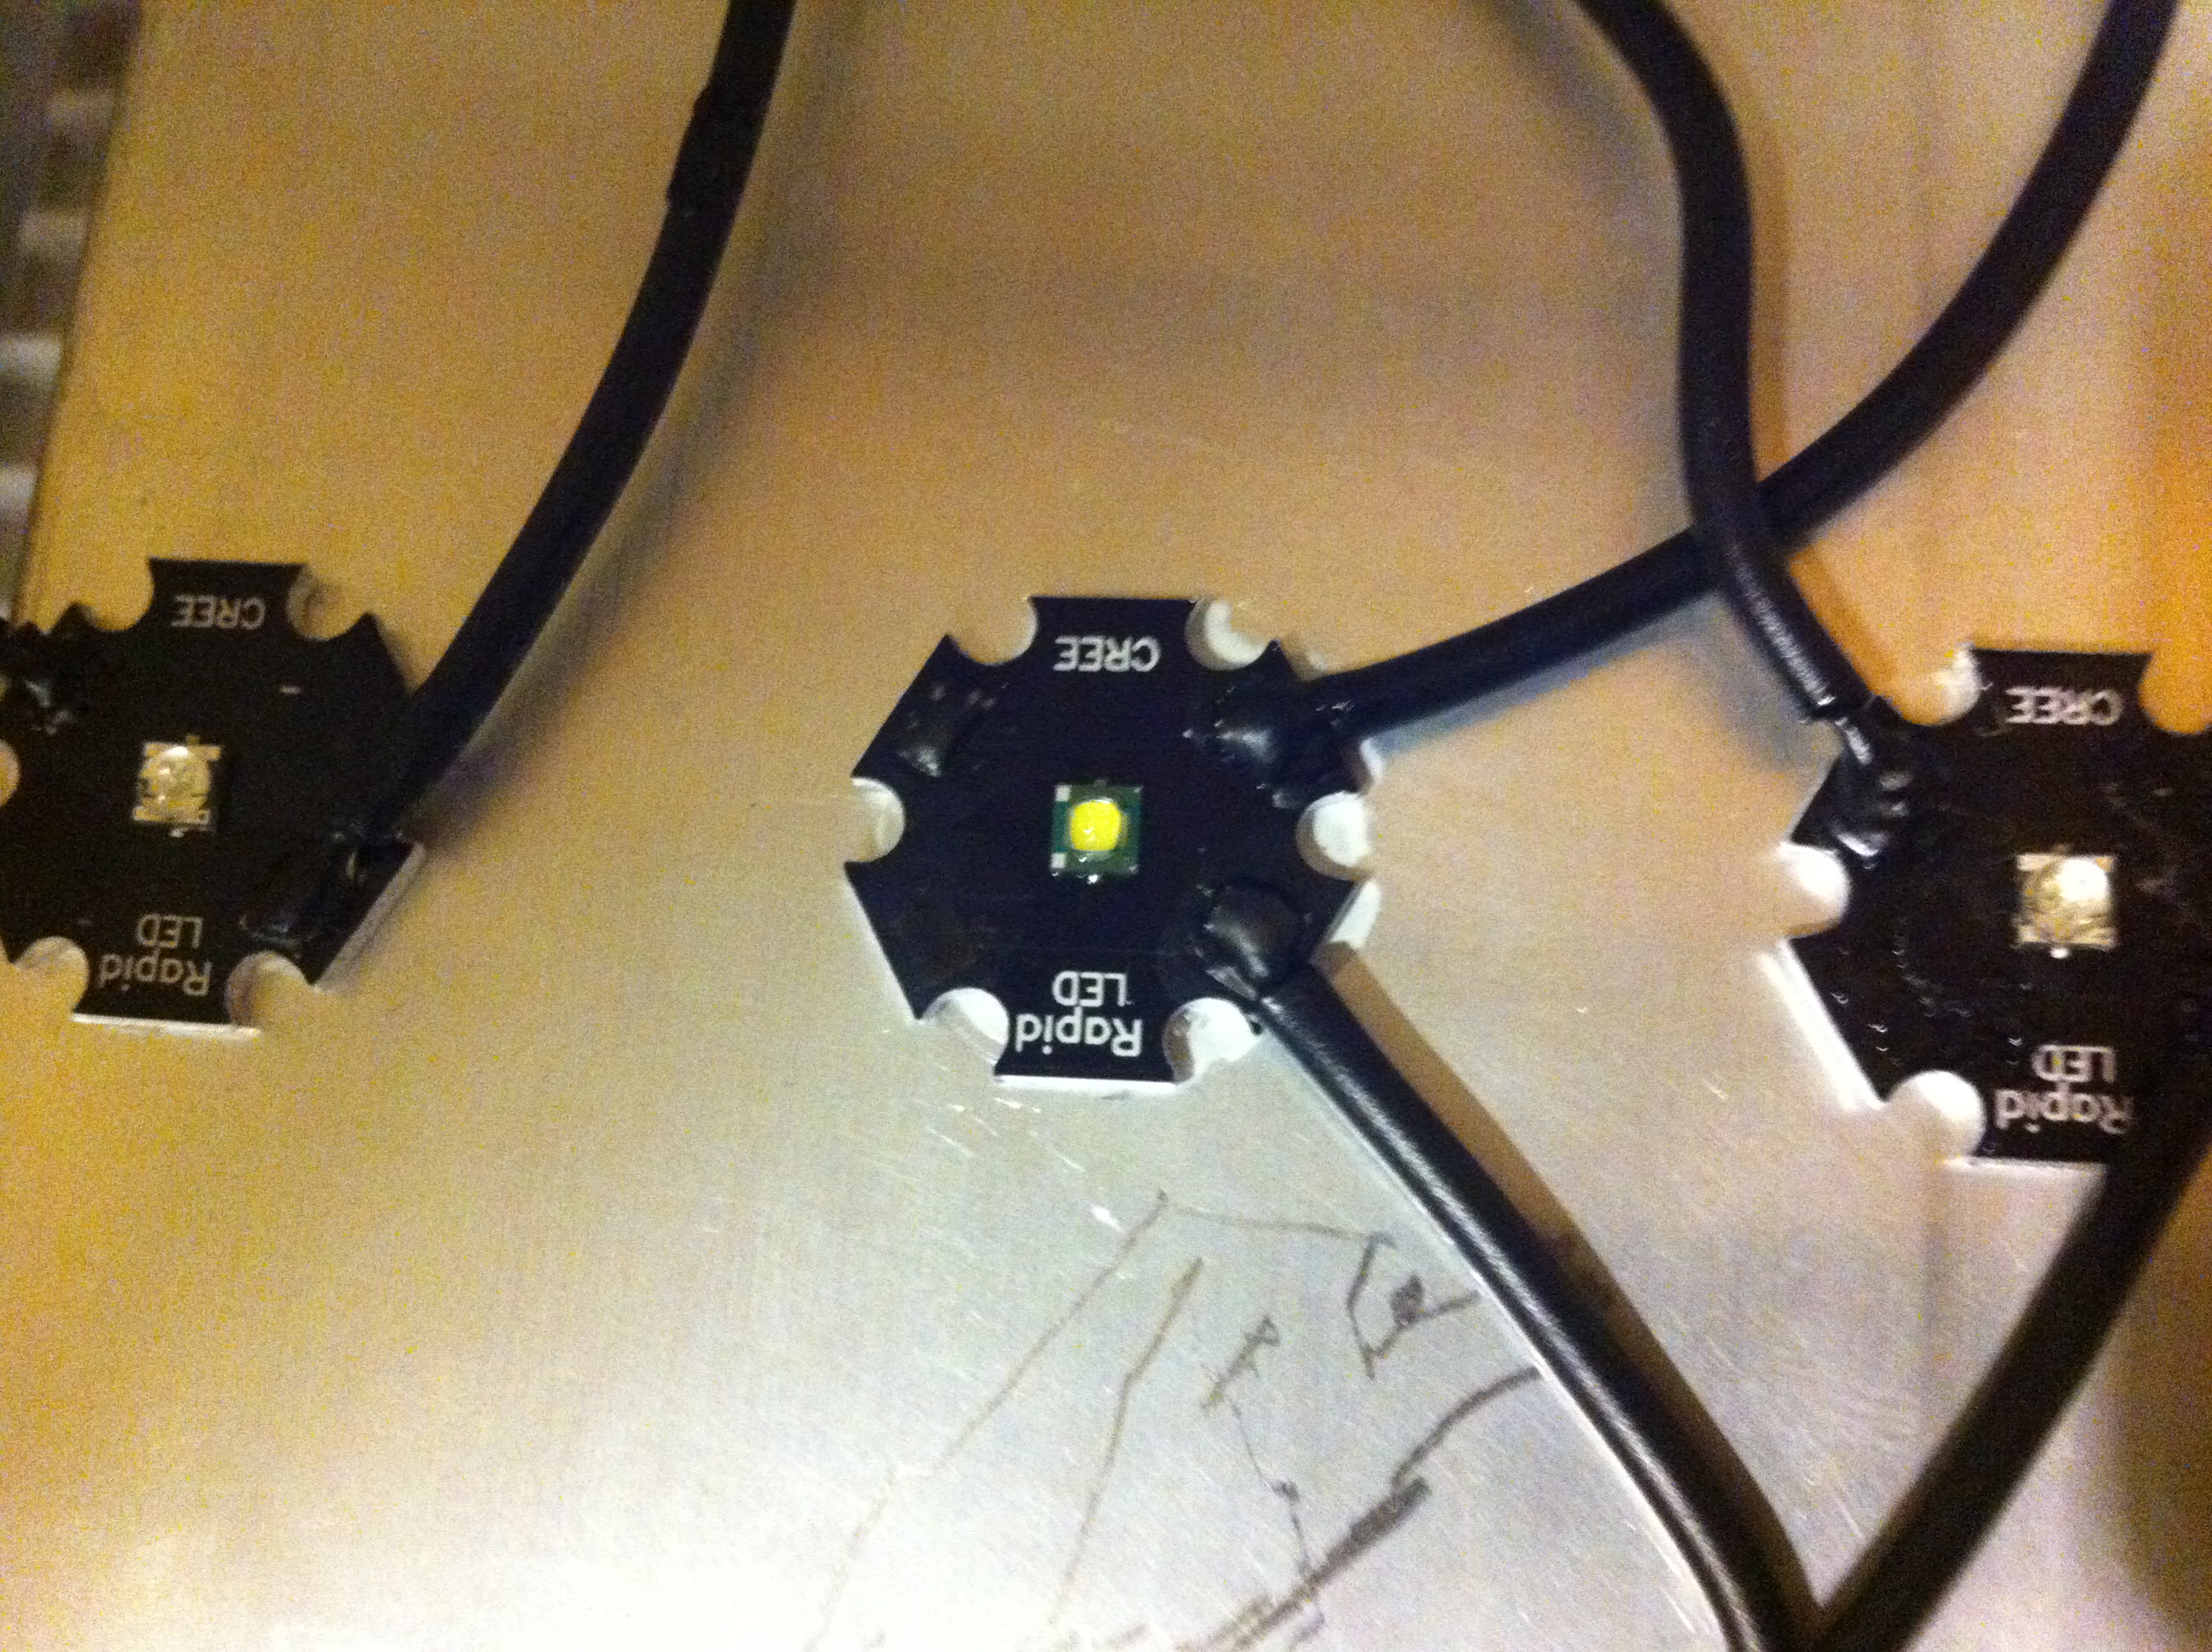
Looks good, X. I was thinking to myself for a minute that design looked farmilliar. I like the use of the liquid tape and was thinking of using it to coat the contacts on the stars, myself. Have you had to replace, or resolder a led after it's been applied, yet? Just wondering what that process is going to be like.
One of my ideas is to bundle my wires in pairs from the pendants to the drivers with colored heat shrink for the individual colors. Like one white cable for whites and one for blues. Helps clean things up a bit for sure and just adds that extra layer of protection. Actually, I'm probably going to be the crazy guy that heat shrinks every single wire on his build lol. Even the ones between leds.
One of my ideas is to bundle my wires in pairs from the pendants to the drivers with colored heat shrink for the individual colors. Like one white cable for whites and one for blues. Helps clean things up a bit for sure and just adds that extra layer of protection. Actually, I'm probably going to be the crazy guy that heat shrinks every single wire on his build lol. Even the ones between leds.
xcali1985
Active Member
Quote:
Originally Posted by 2Quills http:///t/383662/240g-tank-stand-canopy-build/60#post_3449473
Looks good, X. I was thinking to myself for a minute that design looked farmilliar. I like the use of the liquid tape and was thinking of using it to coat the contacts on the stars, myself. Have you had to replace, or resolder a led after it's been applied, yet? Just wondering what that process is going to be like.
One of my ideas is to bundle my wires in pairs from the pendants to the drivers with colored heat shrink for the individual colors. Like one white cable for whites and one for blues. Helps clean things up a bit for sure and just adds that extra layer of protection. Actually, I'm probably going to be the crazy guy that heat shrinks every single wire on his build lol. Even the ones between leds.
Thanks, as for removal. I don't see it being that hard. It's not cement, I would think something like a dry wall spade would work with the light tap of the hammer. The look of your heatsink doesn't matter all that much. As long as its solid. Any gouges you put in it is technically more surface area.
I have not had to resolder anything. What I did, albeit it take a little more time is... I pretinned the wires and the stars. When I tinned the stars I checked them with the LED checker. Then as I soldered each one I checked the LED again, but using the ends of the wires as the test points. I can tell you this. 2 fresh AA batteries can make these LEDs light up pretty good. I even powered the 10V dimmer wires with it. As that just reads the voltage to know what to power the lights at.
As far as wiring them up. The second one came out a lot nicer than the 1st and im sure the 3rd one will come out even better, as I haven't soldered for a while so my technique was off a bit. Lastly, The only thing I would say is Label your Drivers, Blue and White. Once they were on the banks I made, I had to flip it over a few times to check find out.
Would be my luck though, after finishing 4 of them I found a guy in town with a plasma cutter that could have cut me some nice enclosures for the banks to make it look like a pro job. However, im more concerned about the functionality and accessibility of the unit more so than the actual look as it is in a canopy.
acrylic51
Active Member
X that's funny you mention about after finishing your builds you find a guy with a plasma cutter.....Corey and I were talking about getting the heat sinks milled and it totally slipped my mind about the metal guy down the road that builds race cars and it just popped into my mind when I was in the shop that they have a mill......


xcali1985
Active Member
Since I don't have moon lights yet, It was hard to get the camera to focus on the light as it turned on for brief periods of time. The lights are at the minimum for the LEDs to actually turn on. It isn't very bright, but gives the effects that I wanted. Once I remove my t5 structure I will have outlets to plug in some standard desktop speakers that will allow me to attach a cheap mp3 player with a looping thunder sound. Then I can program the speakers outlet to turn on with the thunderstorm... AWESOME!
Since I only have the two LED banks set up, this is only a sample of things to come.
Since I only have the two LED banks set up, this is only a sample of things to come.

